


My 1979 mini/budget resto.

Posted
#643466
(In Topic #77480)
Settled In

My 1979 mini/budget resto.
Anyway, the plan is to do it up, and get it looking a lot tidier than it does at the moment - whilst sticking to a very tight budget (I've also got a 1961 Karmann Ghia in the garage which is eating up all my spare funds - hence the need to keep this cheap!).
I thought it'd be best to start up a thread, charting my progress, and hopefully get some feedback from you guys. Hopefully a little encouragement will get me a long way.
Pics to follow.
Posted
Settled In
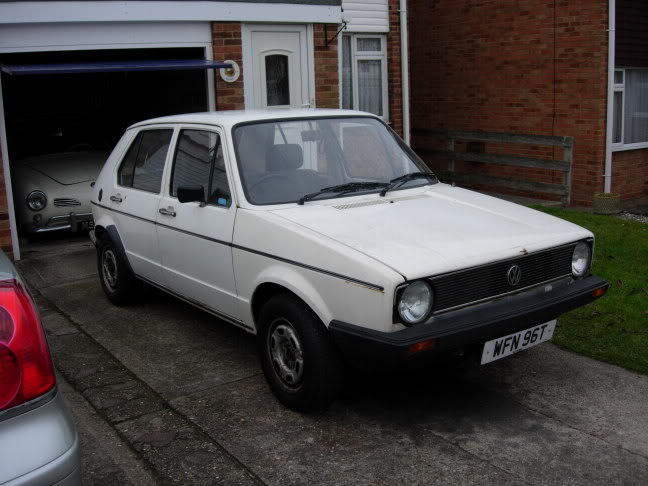
It's been off the road for the best part of two years, so driving it home (it is MOTed I hasten to add) was a bit hairy to say the least. Useless brakes and a dodgy seat fitting not being the greatest combination.
Plans for it include a good bit of tidying to the body (lots of little bits need replacing), plus a subtle lowering and change of wheels. Obviously I'll be keeping the stock springs and wheels should I ever feel the need to go back (but at least whilst they're off I can give them a bit of a refurb!).
Posted

Local Hero


Andy :wink:
Andy
LINCOLNSHIRE REGION -�https://www.facebook.com/groups/467122313360002/
1983 MK1 Golf GTI Campaign Model - Under (looooong) resto!
1962 Rover P4 80
2002 BMW 745i
2008 BMW Z4 2.5Si
LINCOLNSHIRE REGION -�https://www.facebook.com/groups/467122313360002/
1983 MK1 Golf GTI Campaign Model - Under (looooong) resto!
1962 Rover P4 80
2002 BMW 745i
2008 BMW Z4 2.5Si
Posted
Local Hero

Looks damn good for ?200! 8O
Andy
LINCOLNSHIRE REGION -�https://www.facebook.com/groups/467122313360002/
1983 MK1 Golf GTI Campaign Model - Under (looooong) resto!
1962 Rover P4 80
2002 BMW 745i
2008 BMW Z4 2.5Si
LINCOLNSHIRE REGION -�https://www.facebook.com/groups/467122313360002/
1983 MK1 Golf GTI Campaign Model - Under (looooong) resto!
1962 Rover P4 80
2002 BMW 745i
2008 BMW Z4 2.5Si
Posted
Settled In
The second job involved sorting out the good from the bad. I decided to bin the front parcel tray, as this was beyond repair. I also removed the later 5 speed gearknob in favour of an original 4 speed (as sourced from eBay). The next thing to go was the rear parcel shelf. Whilst not being unuseable, it's certainly seen better days. Thankfully I manage to get a much better one on some website called the 'VW Golf MK1 Owners' Club' :wink: Should hopefully be winging it's way to me right now!
All the small jobs aside I decided to tackle the grot. So out came the boot liner (which has been thoroughly clean now aswell) to reveal this;
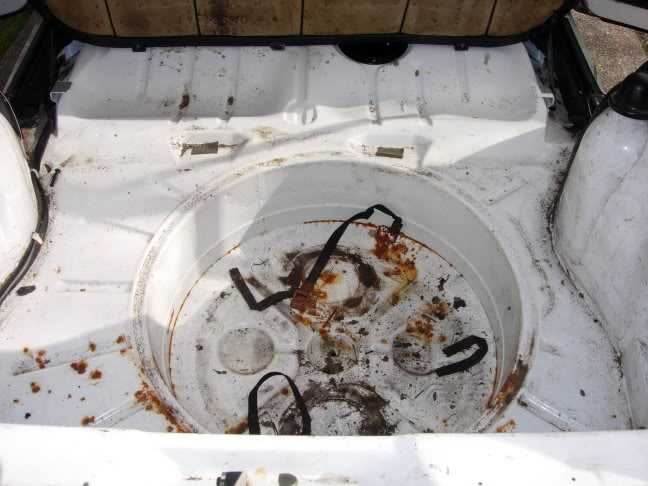
Luckily most of the rust was superficial, so a few hours of cleaning, a little bit of sanding, and a tiny bit of priming/spraying/lacquering had it looking like this;
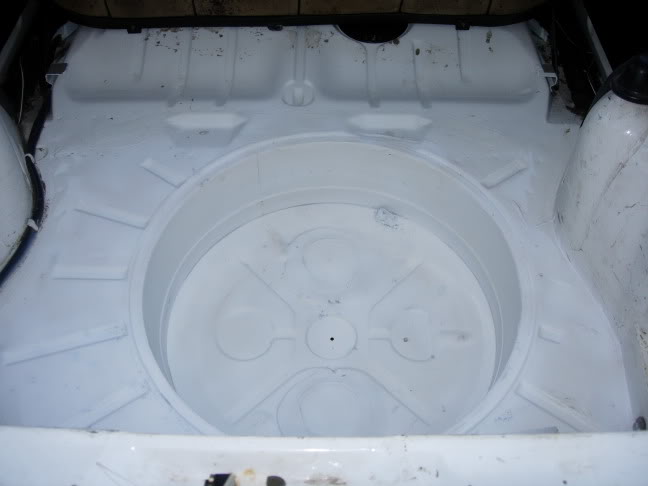
Hopefully the rest of the car will be this easy! This weekend I've been cleaning the engine, so I'll get some pics up soon.
Posted

Local Hero
mine was a bit mroe than that and was missing the front panel 8O and needed about ?150 in replacement panels
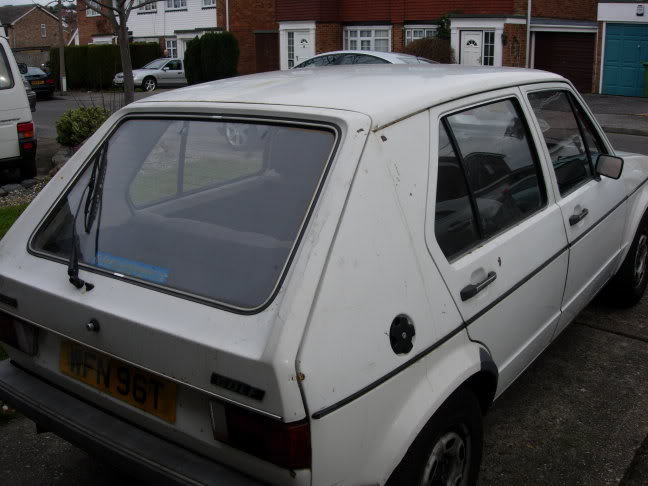
body doesn't look too bad, nothing a little TLC won't sort
keep the updates coming
Posted
Settled In
Hairyarse said
….must have posted as you put the pics up!!!
Looks damn good for ?200! 8O
Cheers buddy. To be honest, the photos make it look pretty good. Realistically mechanically and structurally it seems sound just a couple of small holes below the bumpers, nowt major), but the bodywork needs a whole new lease of life breathing into it. There's surface rust everywhere. Hopefully it'll clean out fairly easily though.
Posted
Settled In
That takes us up to this weekend just gone. As the sun was shining and I was in the mood for getting dirty, I decided to tackle the engine;
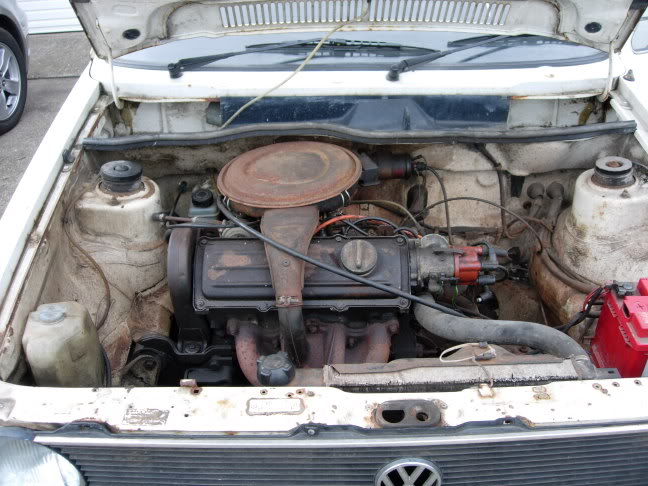
It's not gonna win any beauty prizes, but for a 1.1 it pulls pretty well and does 'exactly what it says on the tin'!
I don't claim to be any great mechanic, and using the 'if it ain't broken' theory, I decided not to do any tinkering, just carry on with the clean up. A few hours of cleaning later, and another small bit of painting (this time to all the tinware) had it looking like this;
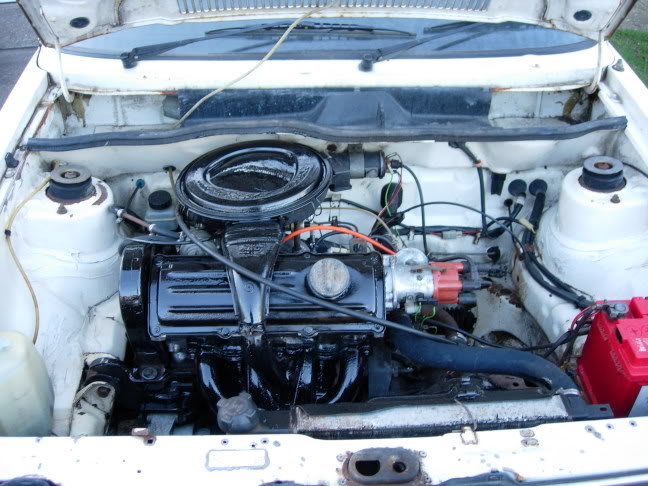
It's not finished yet, but next week I should be removing the slam panel and changing the front springs, so I'll get those harder to reach areas then. I also plan on painting the slam panel, so may give the engine bay a bit of a touch up in the necessary areas.
That's it for the time being, next updates some point next week.

Posted
Local Hero
Posted
Local Hero
Andy
LINCOLNSHIRE REGION -�https://www.facebook.com/groups/467122313360002/
1983 MK1 Golf GTI Campaign Model - Under (looooong) resto!
1962 Rover P4 80
2002 BMW 745i
2008 BMW Z4 2.5Si
LINCOLNSHIRE REGION -�https://www.facebook.com/groups/467122313360002/
1983 MK1 Golf GTI Campaign Model - Under (looooong) resto!
1962 Rover P4 80
2002 BMW 745i
2008 BMW Z4 2.5Si
Posted
Old Timer

good job on cleaning the engine and spare wheel compartment!
Keep us updated, i love restoration stories!

Andrew

Posted
Settling In

resto
Posted
Settled In
Posted
Settled In
Re: resto
eddie said
how do you put your pictures on the site mate.
You need to chose an image hosting site that allows remote linking, personally I use photobucket, but there's loads out there.
Here's a couple of handy step by step guides that are available on other forums (this one may even have one somewhere - I've not checked). Just follow the instructions;
http://www.spiny.co.uk/vzifaq/picture_tutorial.html
http://retrorides.proboards29.com/index.cgi?board=gae&action=display&thread=1137179842
Hope these help!
Posted
Settling In
photo
Posted

Local Hero
Re: photo
eddie said
iv used photobuchet but it puts the images on the post to big.
Whilst in your photobucket album, try editing to 75% or 50%.
DubPartz
Posted
Settled In
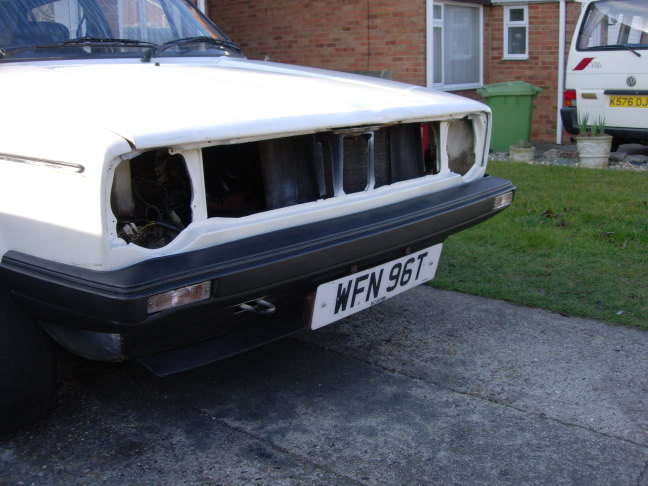
Following on from last week, I decided to remove the headlights and grill, so I could access those harder to reach areas of the engine bay and carry on cleaning.
Once I'd got the grill, lights and bumper off it looked like this;
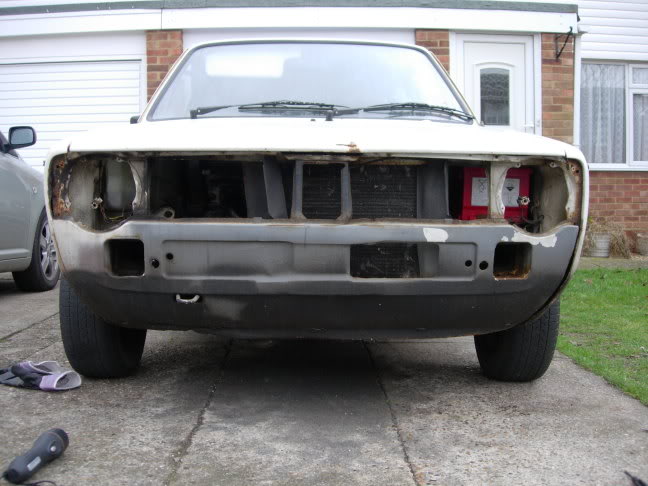
The fact this areas not painted to match the car really bothers me so out came the paint! I wasn't too worried about doing this area perfectly as it's obviously not greatly visible behind the grill, so a quick bit of wire brushing and on went the primer. Then came the snow! Thankfully it was only a couple of small showers so no damage done.
Went back out there this morning to give it a couple of coats of paint;

Seeing as the day was still looking good I also decided to refit the front bumper (now with clear indicator lenses), and also the thin chin spoiler (to make it look that bit lower). Following on from advice on another forum I decided to attack them with Kiwi Black Leather shoe polish and was amazed by the transformation;
The bumpers a bit bent, and missing the chrome inserts, so I'm keeping my eyes open for a cheap replacement, but until then it'll do.
Posted

Settled In
Amazing the before and after like said, what adifference a bit of elbow grease can door should that be kiwi boot polish.
Keep us updated youll be showin next month in the concours at that rate.
Posted

Old Timer
Did you just use aerosols or a proper gun for that front panel?
Posted
Settled In
With regard to the painting. First the engine was steam cleaned to get all the major grime off, then the engine bay was cleaned using a rag and toothbrush in those hard to reach places. Th engine was then painted using engine paint and a paintbrush - simple as that. It's just a case of taking your time and making sure not to spill anything.
The slam panel was equally as simple. Firstly cleaned using rags/toothbrush/wire brush. Then primered and sprayed, both using an aerosol can. All done on the drive in the wind! The finish is nowhere near immaculate, but it's good enough for an area you're not really gonna see. The only problem was there was quite a bit of blowback onto the stonechipped area below. Thankfully some thinners and more Kiwi boot polish got rid of all that. I did originally contemplate spraying the whole front, but I prefer the under bumper area in black personally.
0 guests and 0 members have just viewed this: None.