


mk1 resto!

Posted
#628939
(In Topic #75679)
Settling In

mk1 resto!
today i have just started to strip down my golf c for a complete strip down/rebuild 8O (completely removed the interior today) and was wondering how easy is it to replace the rear valance, i know crazyquiff does them but i would like to know how/what its like to change. also when replacing the rear arches how does the valance fit to them and the rear of the body, 1 last thing theres a nice big hole in the r/h/r inner arch is this easy to repair or is it worth changing that aswell :dontknow: .
any info/advice would be greatly appreciated,
thanks in advance
p.s dont wanna sound stupid but this is the first time i have ever really rebuilt a car so please could you talk in the more simpler terms
 as this is a very steep learning curve for me and hope that i can make a really good go of it. hopefully i can get some pics on tomorrow to show you what im dealing with.
regards
levy
Posted

Local Hero

You can see where the rear panel is attached to the rear quarters (which the rears arches are part of) as a groove running downm the outer sides of the rear lights. You'll also need to attach it to the bootfloor, the chassis legs and the bottom of the bootlid pillars.
Pattern rear arches include some 15-20 cm of the metal that runs around the arch, this includes the lower part of the rear quarter that butts up against the rear panel.
When you say inner arch, do you mean the side of the arch that is attatched to the boot floor and has the rear struts mounted through it or part the runs donw behind the outer arch which the filler neck exits through? You can buy the second area as a pattern panel, but the side atthached to the boot floor is easier to let metal as it is more complex construction and holds the tops of the shocks. Hope that makes sense :?
If its any help have a look at some the pics of my rear arch restoration
Cheers
1981 1600 GTI (coming to a road near you soon…)
1983 1100 C
1983 1100 C
Posted
Settling In
thanks for the reply
levy
Posted
Settling In
regards
levy
Posted
Local Hero
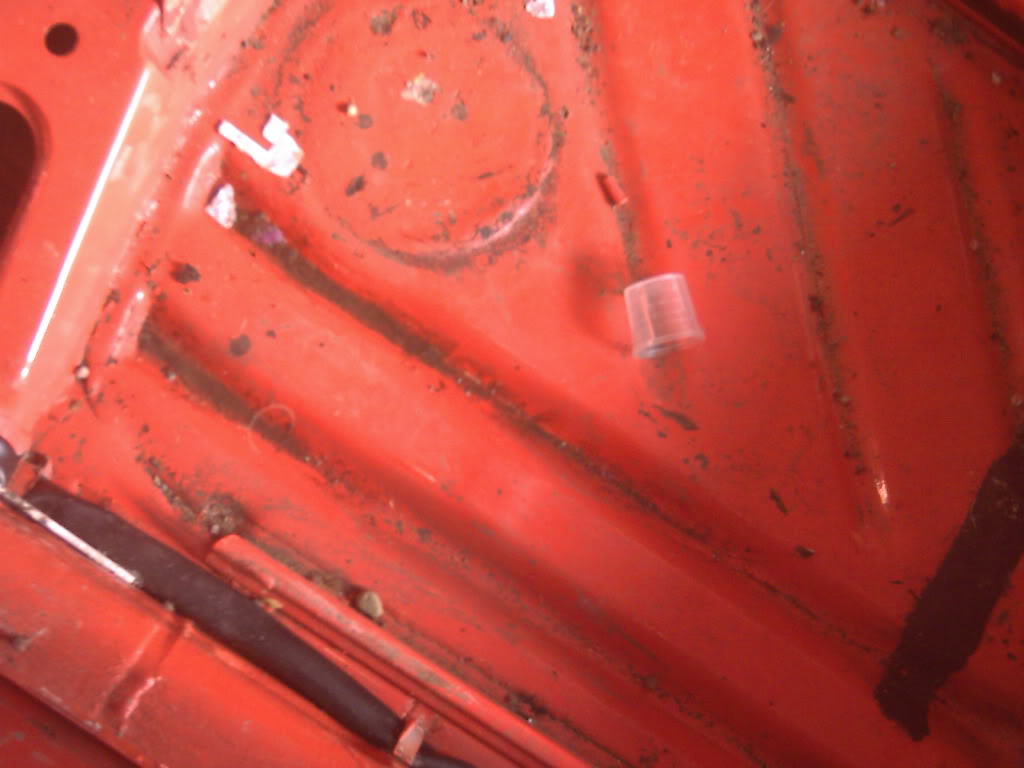
From what you say about the arch sounds like the panel pictured below is what you need.

These are spot welded around the flange running around the outside of the panel when constructed. Then the outer rear quarter panel is then welded over the top, preventing access to the spots welds and the option of drilling them out. I resorted to cutting the arch area out with an angle grinder and metal shears. I then ground and chisselled off the remaining scraps of metal around the flange leaving it as below (looking forward into rear r/h arch area).

1981 1600 GTI (coming to a road near you soon…)
1983 1100 C
1983 1100 C
Posted
Settling In
levy
Posted
Local Hero
Cheers
1981 1600 GTI (coming to a road near you soon…)
1983 1100 C
1983 1100 C
Posted
Local Hero
1981 1600 GTI (coming to a road near you soon…)
1983 1100 C
1983 1100 C
Posted
Settling In
levy
Posted
Old Timer

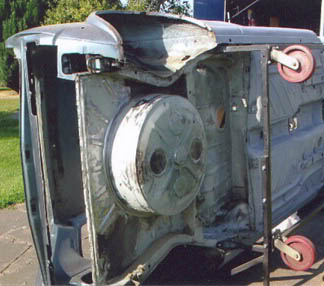
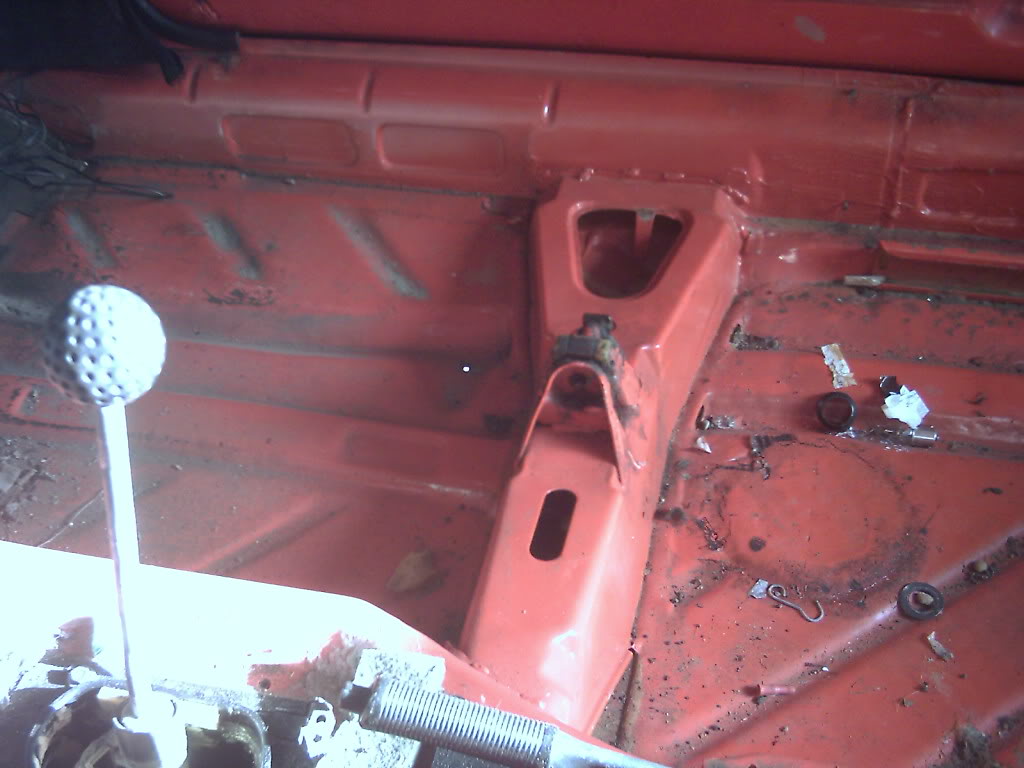
i had mine cut out in about 2 hours with breaks in between as it was such a nice day and i had the car outside on her side!
here is a picture showing the major part of the panel removed and the parts that you cannot cut out as behind these lie the main body of the car - the bits that remain you have to clean away the sealer from the inside with a drill and wire brush attachment this will show you where the welds are the the simplest method is grinding the welds from the outside - simply grind the outer panel away very gently then you will see the metal change colour when you reach the second skin STOP there and move to the next
I left in the section which holds the lock catch mechanism simply for some ridgidity when it was on its side - this just grinds out when your ready to offer up the new panel.
Posted
Settling In
regards
levy
Posted
Settling In
regards
levy
Posted
Settling In
Posted
Settling In
spare wheel tray.
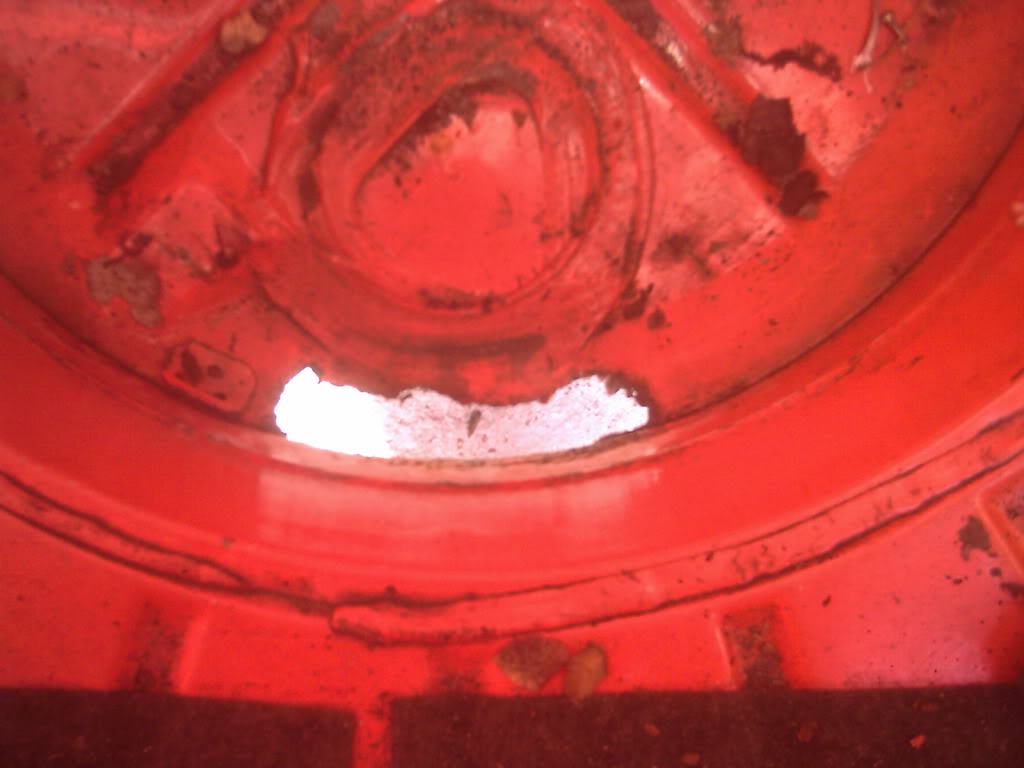
heres the hole in the inner arch i was talking about,

and heres the outside of the arch,
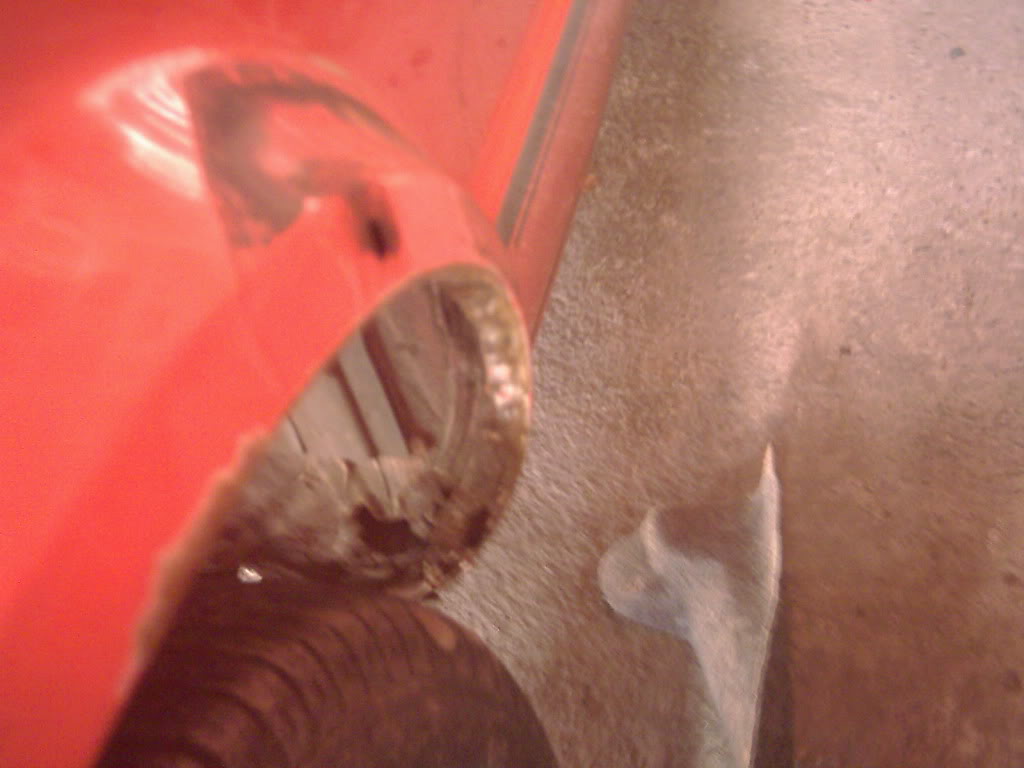
here's the passenger side arch,

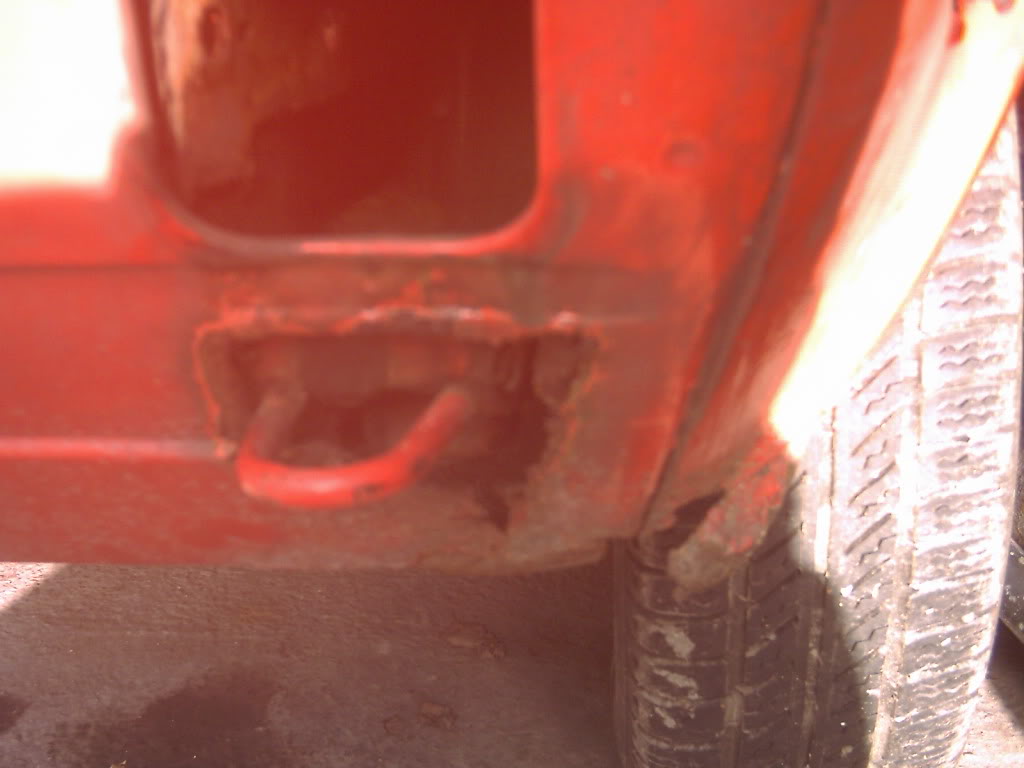
heres the passenger side corner of the valance,
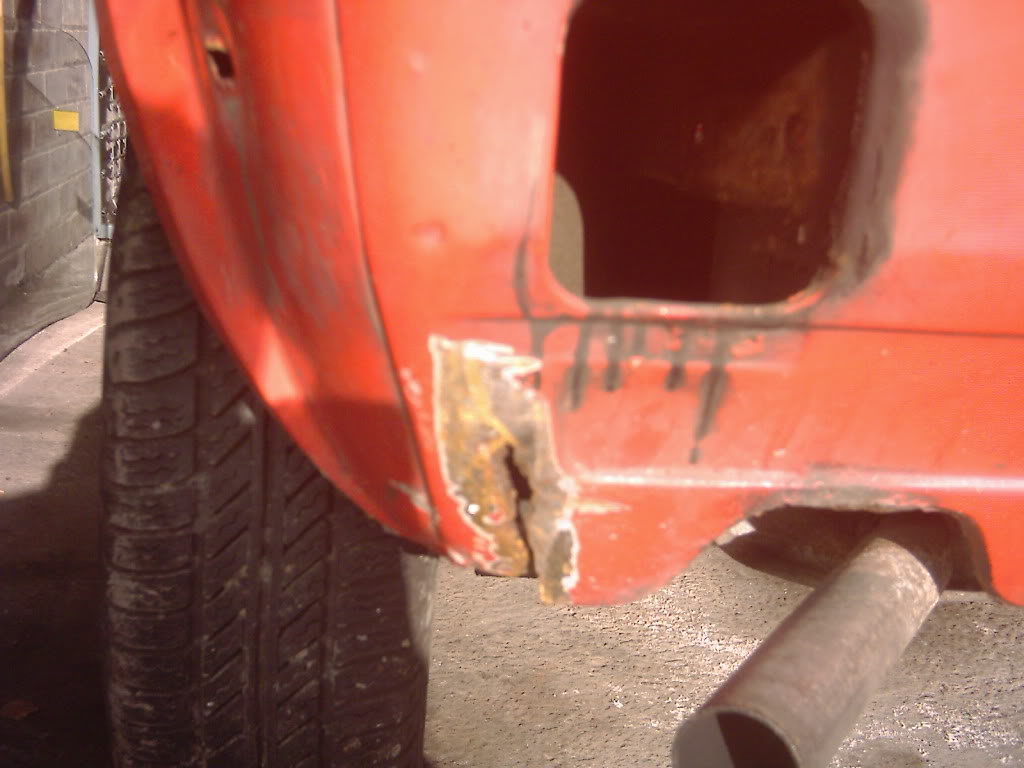
this is the drivers corner of the valance, as you can see its a bit nasty,
passenger side rear footwell thing (theres was water here underneath the carpet when i pulled it out yesterday)
and this is the drivers side rear footwell thing (dry as a bone)
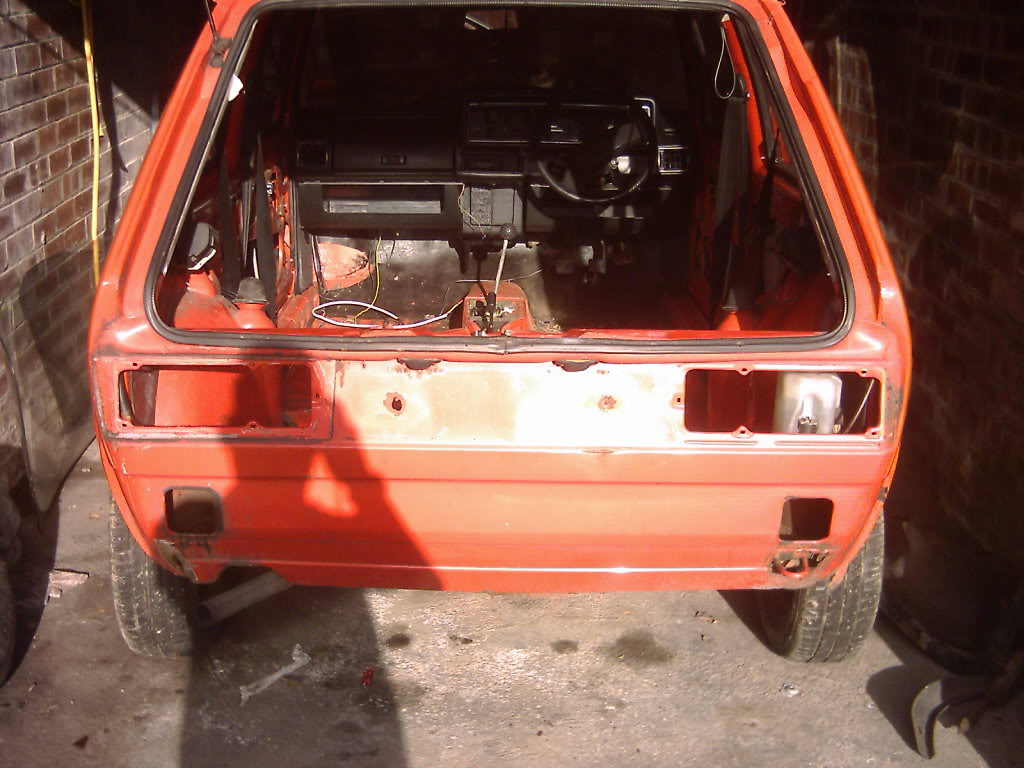
here's a couple of pics of the back of the beast

Posted
Settling In
hope they help you to help me lol :mrgreen:
Posted

Local Hero


I have some used wheel wells that i can slice up into pizza slices to repair yours if you like. Also got new rear panels if you ned one.
Keep the pics of the progress coming
Cheers
Rich
Crazyquiff's Mk1 Golf Parts Emporium
www.golfmk1.co.uk - you know you want to….

www.golfmk1.co.uk - you know you want to….
Posted
Settling In
will keep the pics coming.
levy
Posted
Old Timer
a nice new rear panel is hard to beat though instead of just a lower section - give Crazyquiff a PM…
Posted
Local Hero
Cheers
1981 1600 GTI (coming to a road near you soon…)
1983 1100 C
1983 1100 C
Posted
Settling In
regards
levy
0 guests and 0 members have just viewed this: None.