


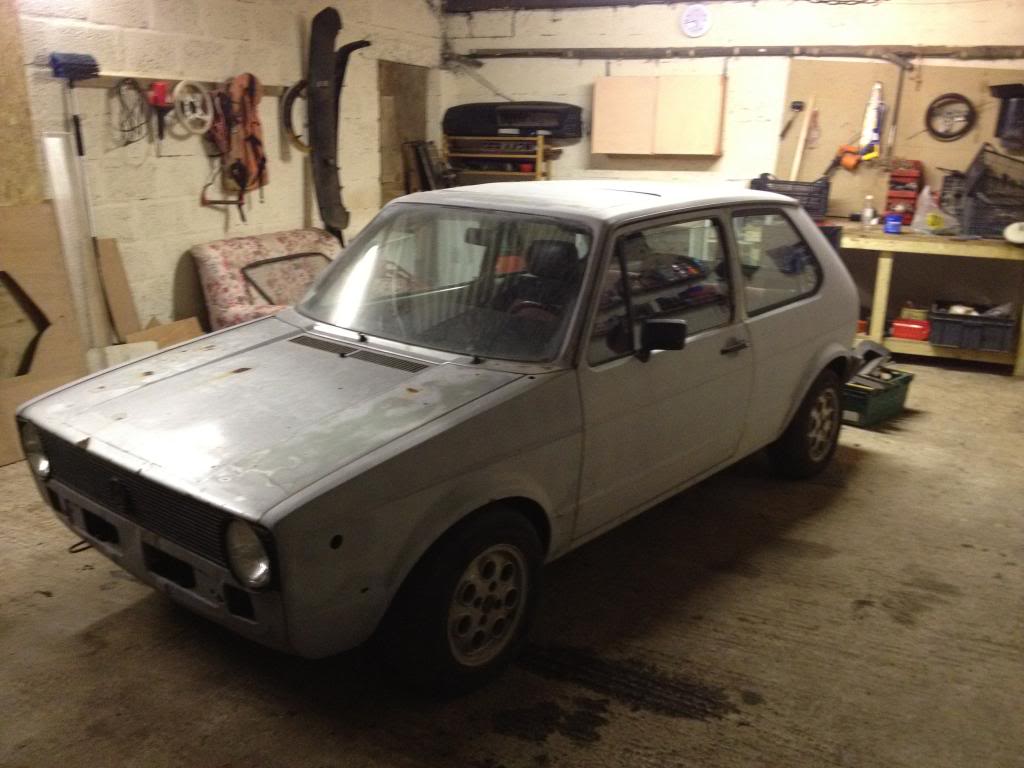
LHD Helios Blue Mk1 Tintop Full Restoration With 20vt AGU

Posted
#1257324
(In Topic #150784)
Settled In

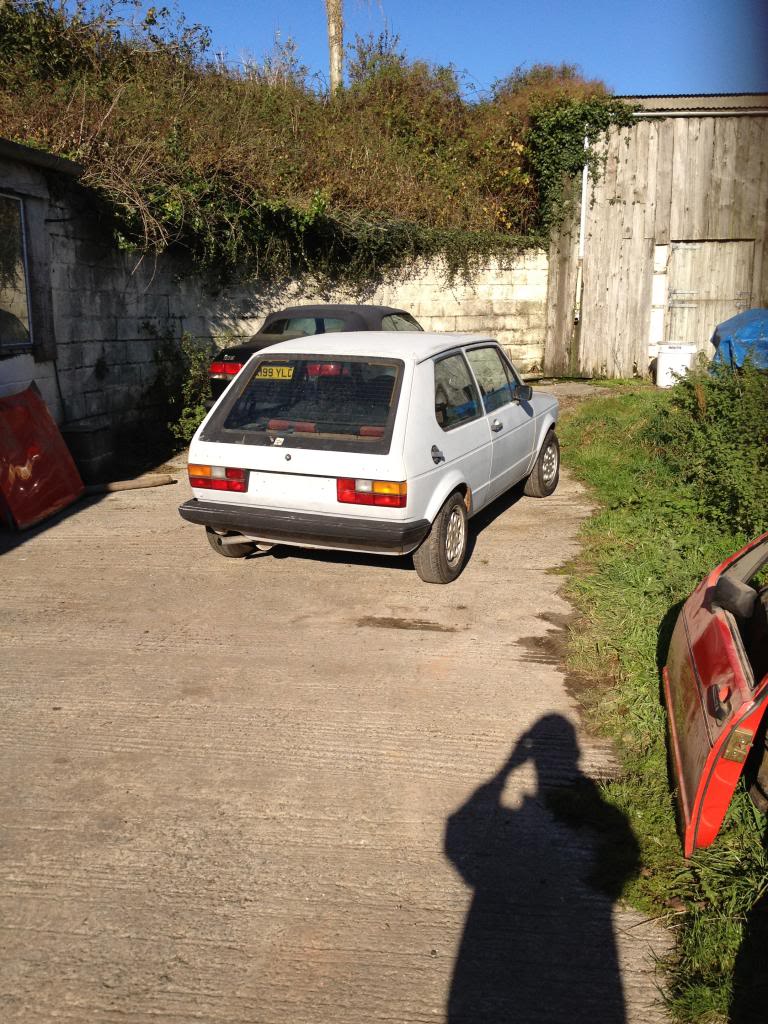
Originally the car was bought in Monaco by some rich chap to be his second car, it was then left in a garage over there for several years
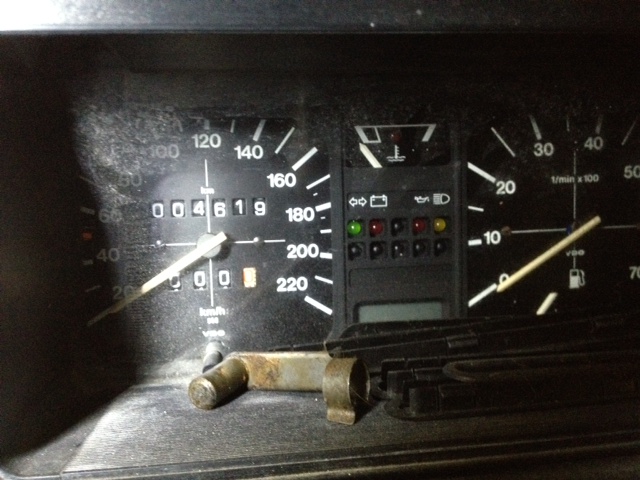
The car has actually only covered just over 4 thousand kilometers ever!! See pic below.
The car was then brought over to the uk when he moved to a village local to me. It sat on a drive and was never used!
I bought from a friends dad for �50! He was given it as part payment for some work he did for the owner!
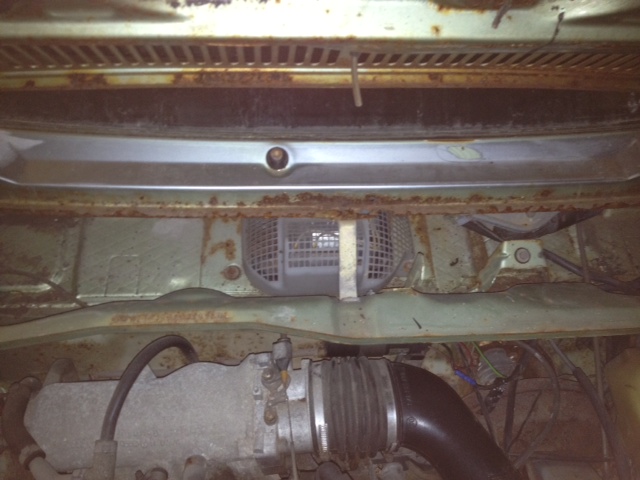
He had left it in a field for a while which caused some rust issues!
I then sold it on and bought it again a few years later….long story. But here it is!!
When i got it back!� Hand Painted in primer!


Original seats which I have sold

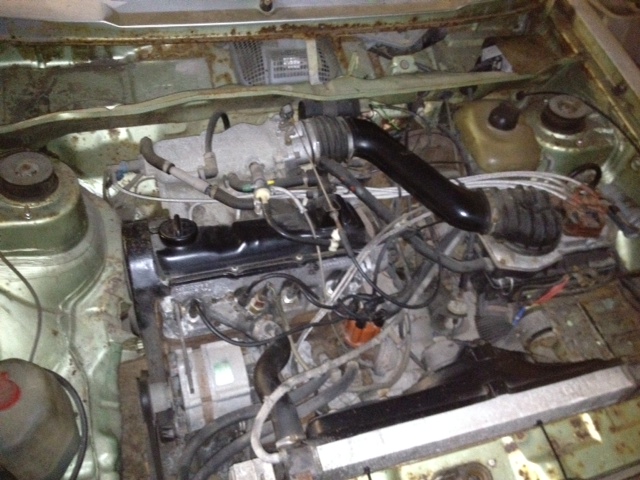
Engine and interior removed!

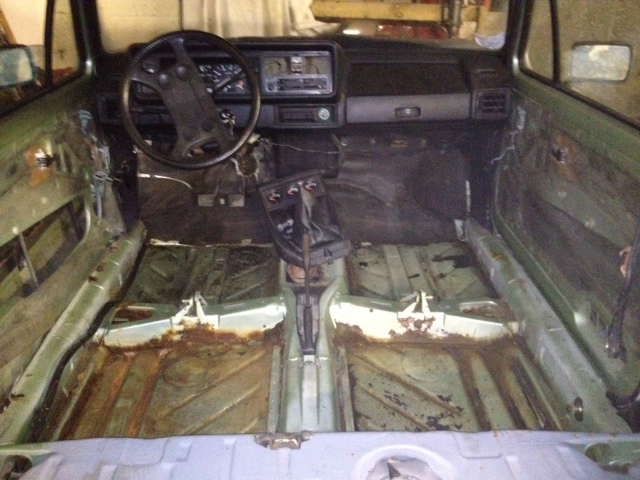
I removed the engine and the car went off to sprayed.
I started to (well pretty much finished) rebuilding the engine
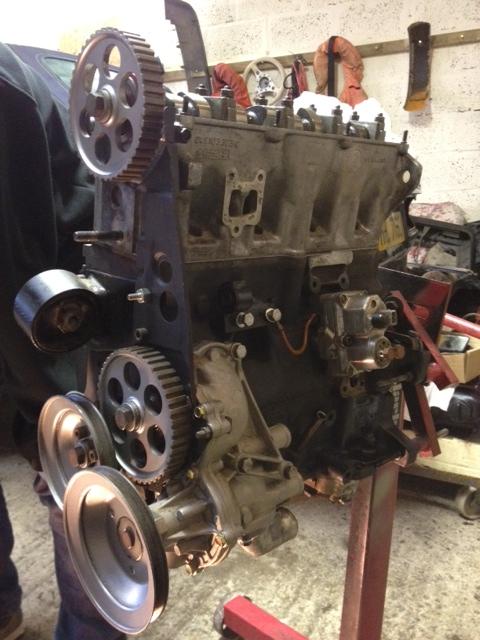

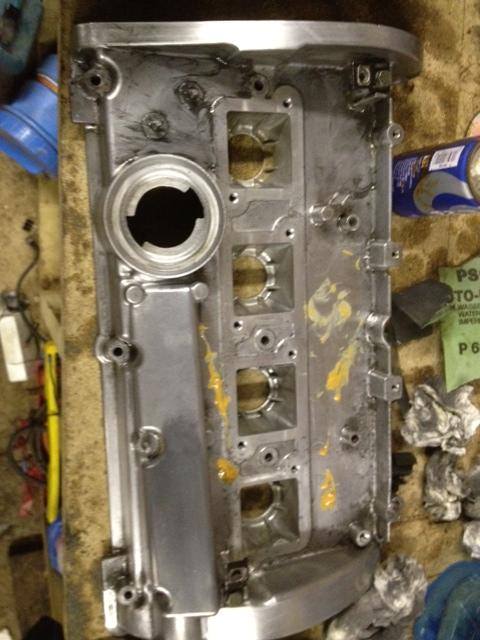
Had the head re-conditioned! Well, the head specialist said there was nothing really wrong with it, but any way. I only do things properly!
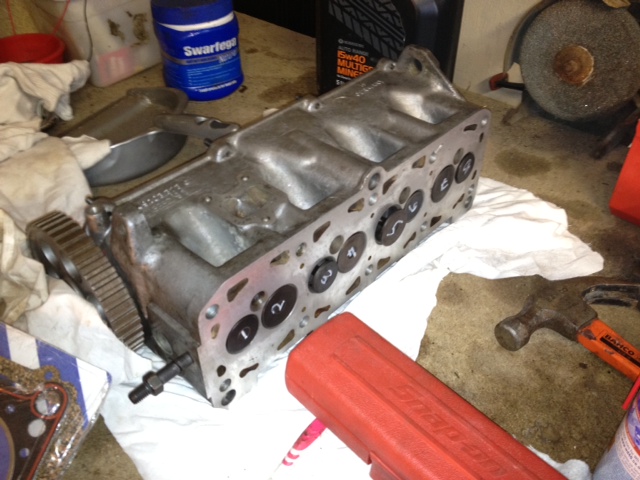
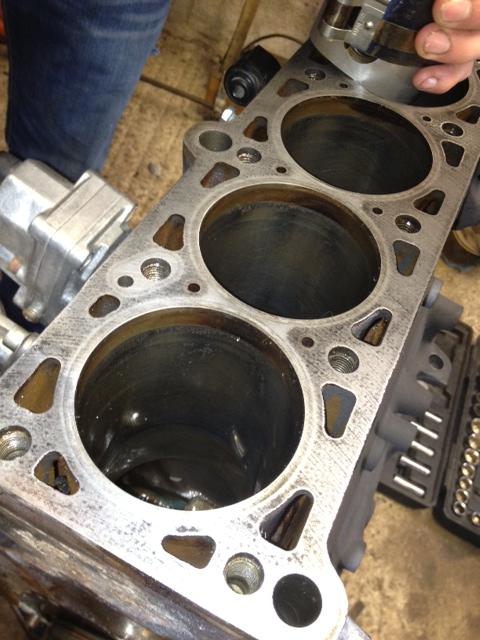
You can still see the cross hatching in the old engine!
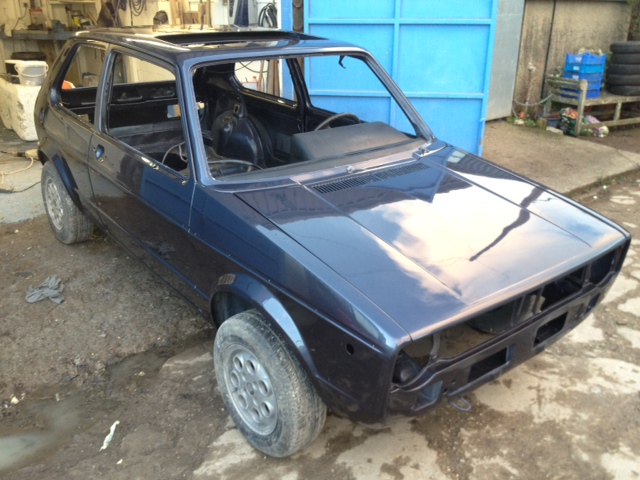
I then got the car back from the bodyshop!

I then started reading about 20vt conversions…..
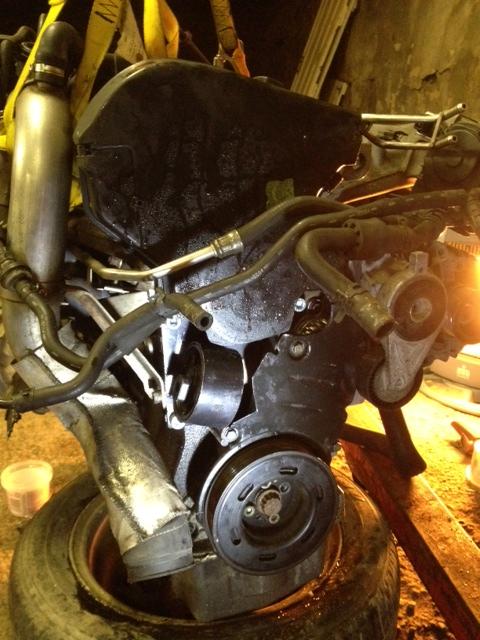
I am almost ready to drop the engine into the car, but here are some pics.


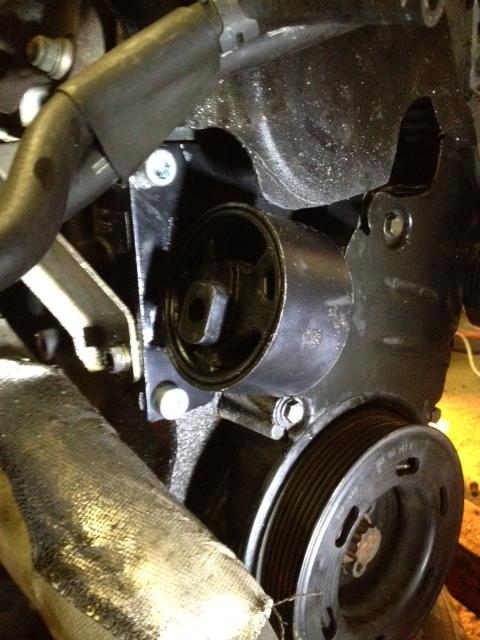
Mk1 modified mount with new cambelt and 16v tensioner.
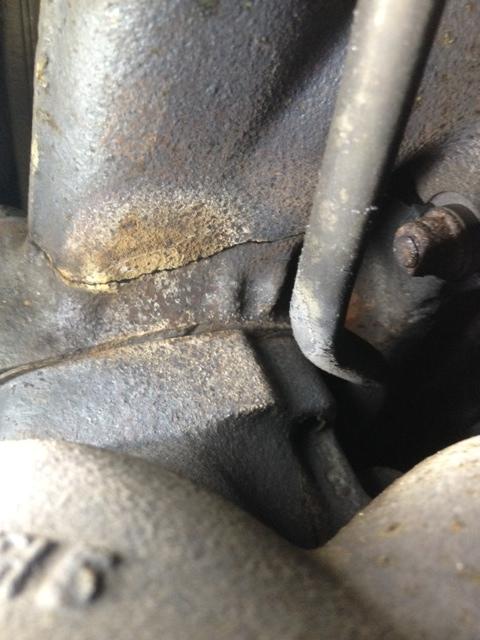
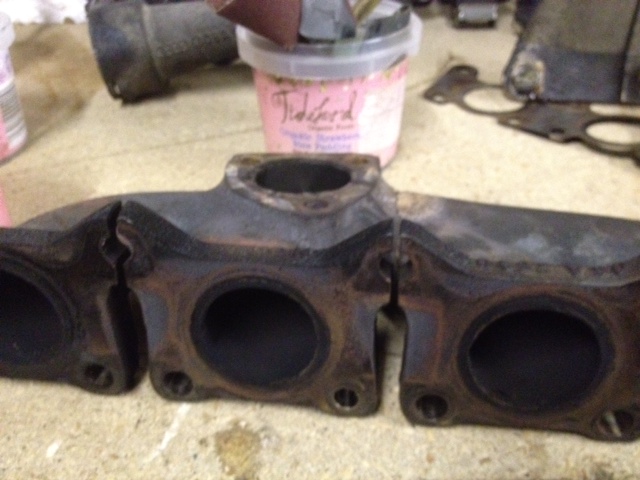
found a few cheeky cracks in the exhaust manifold…new one on the way..
I also found lots of end to end play in the turbo so have got another one of the way.
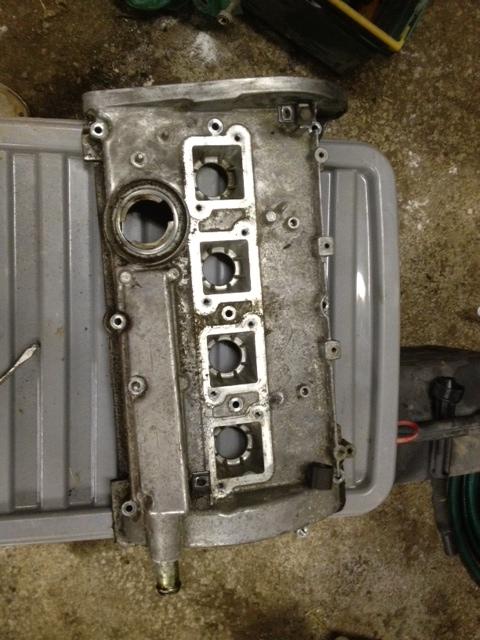
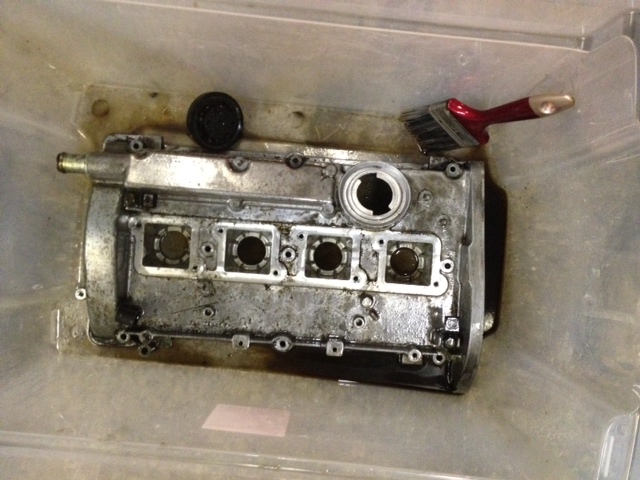
Rocker cover gasket leaking, so i removed the rocker and cleaned it up! Lots of polishing!!
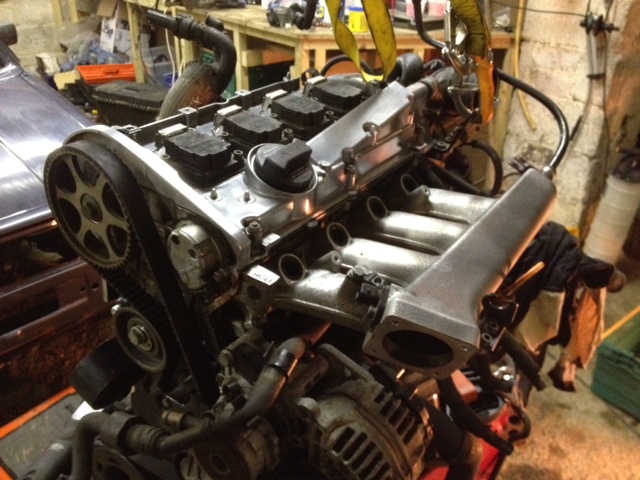
Back on looking a bit better!

Inlet cleaned and back on
Gave the gearbox a quick clean up but not much because I wont be having the 020 gearbox in there for long!

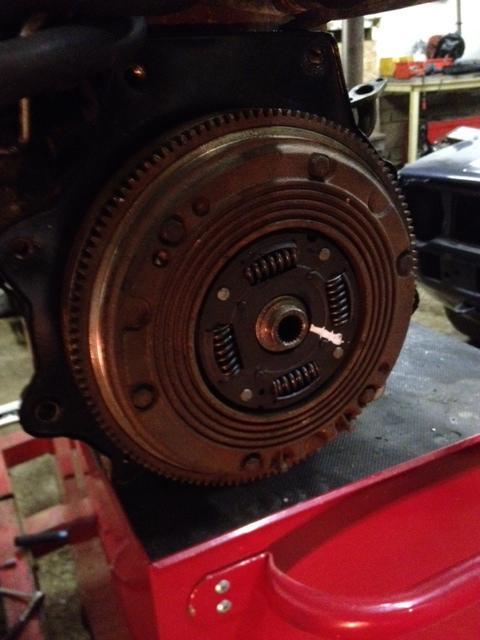
Old backplate painted and clutch and flywheel fitted from old engine. New clutch obviously
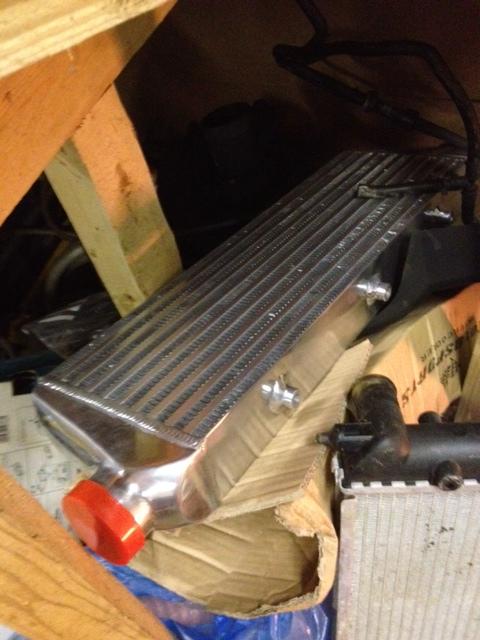
My intercooler
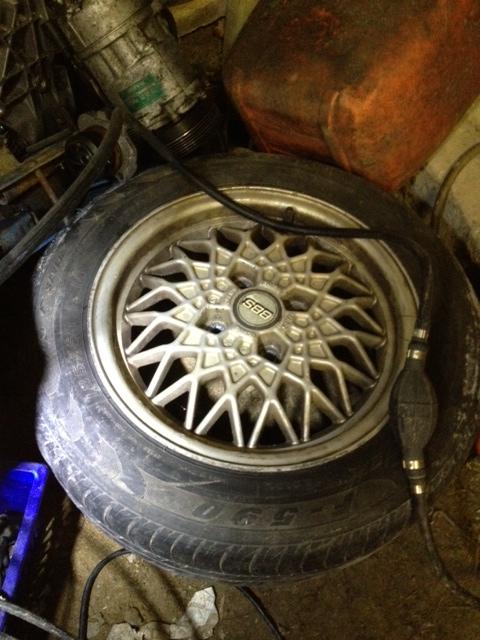
The wheels I will use when I have the cash to have the refurbed
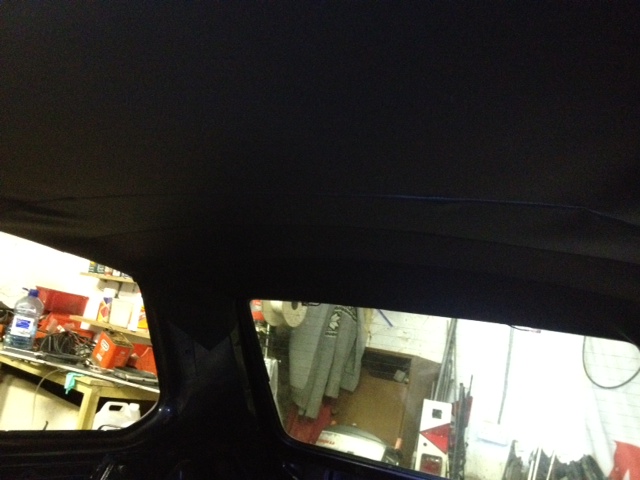
Black rear windscreen surround on

New headlining, creases will go after a while!
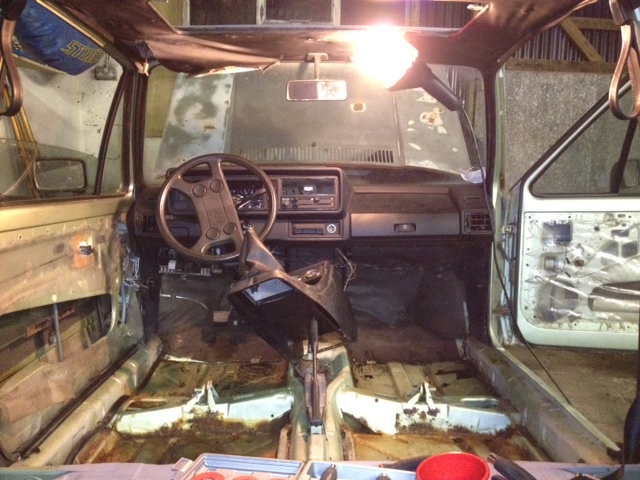
My old wiring loom and interior (looks black, but has been colour coded)
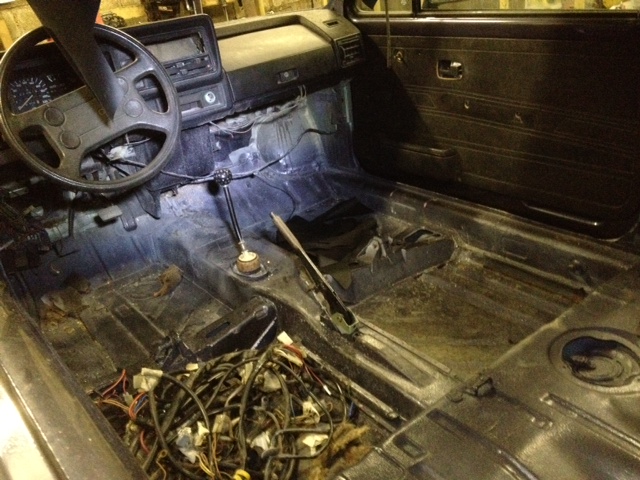
In my new workshop
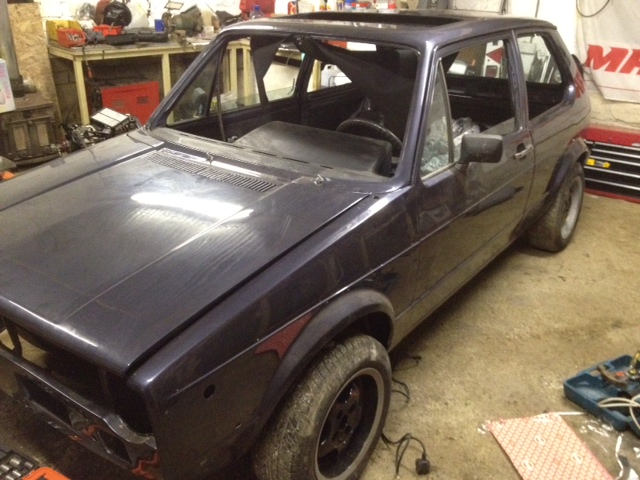
Engine bay eagerly waiting for engine!

Only got these wheels on because the tyres dont loose pressure!

So I am now just waiting for my new turbo and exhaust manifold, then I should be ready to drop the engine into the beast.
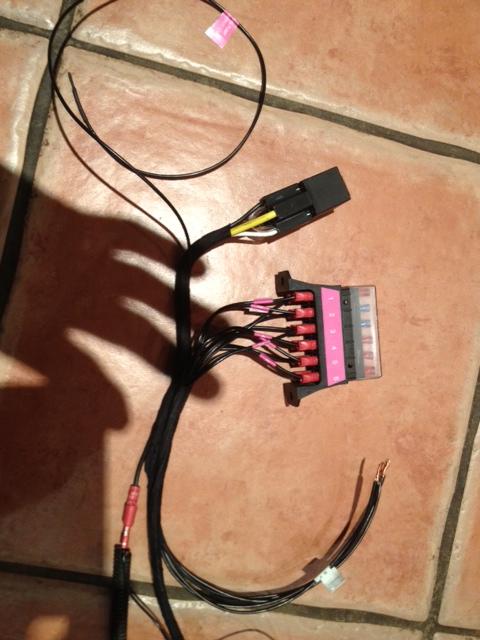
Ive had my AGU loom sorted by Vagtronics which should make it simple to wire into the fusebox and that should be with me tomorrow
I hope.
I am hoping to write very detailed a step by step guide of how to do the 20vt conversion when I have finished and get more time.
Im hoping this will save people time because I know it took me a while to gather all of the information I needed. I will also include how much everything has cost me down to the silly little bits so you can get an idea! Its not all that cheap!
Thanks for looking.
Charlie
Posted

Local Hero


Thanks in advance for the write-up - I'm sure that would go down very well if you could do that

Andy
LINCOLNSHIRE REGION -�https://www.facebook.com/groups/467122313360002/
1983 MK1 Golf GTI Campaign Model - Under (looooong) resto!
1962 Rover P4 80
2002 BMW 745i
2008 BMW Z4 2.5Si
LINCOLNSHIRE REGION -�https://www.facebook.com/groups/467122313360002/
1983 MK1 Golf GTI Campaign Model - Under (looooong) resto!
1962 Rover P4 80
2002 BMW 745i
2008 BMW Z4 2.5Si
Posted
Settled In
Thanks
Posted

Moderator
I am also doing a 20vt conversion at the moment. You are right it isn't cheap
 It soon mounts up when you start buying all the little buts and pieces.
Good luck getting it finished off. Come back and update the thread soon


Posted
Settled In
Posted

Settling In

Andy
Posted
Newbie

Like you i`m just trying to gather info (and parts)�for this conversion and it`s difficult to pool it all together.
� Anyway great thread so far,looking forward to more instalments
Posted
Settled In
plastermaster said
�� Brilliant idea to do a detailed step by step guide.
Like you i`m just trying to gather info (and parts)�for this conversion and it`s difficult to pool it all together.
� Anyway great thread so far,looking forward to more instalments
This is a price and parts list I just made. Prob not all there but almost.
http://vwgolfmk1.org.uk/forum/index.php?page=topicview&id=modifications-and_2%2Fagu-1-8-20v-basic-price
Posted
Newbie
� Thanks really really helpfull
If you bought your engine around Christmas time then i nearly bought that one.(I`ve�just bought another one from them).Worrying part for me� �<WIRING>��� but�vagtronics could be the answer.
If you don`t mind just one question.�My engine package came with two wiring looms, one with a large connector to ecu and
one with a small connector to ecu.� Is it the one with the large connector you send off to be modified?
��� Thanks again.
��
Posted

Old Timer

Some radiator hoses will be needed - �mk2 16v coolant pipe top hose and mercades 190e bottom hoses are supposed to be a good fit
other way around top hose merc bottom mk2 16v �
�. send both parts of the loom. i sent of both parts and also my own loom that was in the mk1. the one with the big white plug going into bk of fusebox to engine
 Last edit: by peterg60


Posted

Settled In
Mk1 golf gti
Mk1 golf gti project View topic: 1982 original Irish GTi - The Mk1 Golf Owners Club
mTDI corrado
Mk1 skoda octavia vrs combi

Mk1 golf gti project View topic: 1982 original Irish GTi - The Mk1 Golf Owners Club
mTDI corrado
Mk1 skoda octavia vrs combi
Posted
Settled In
plastermaster said
� Just reading that parts list has made me feel so much more confident about doing this conversion.
� Thanks really really helpfull
Worrying part for me� �<WIRING>��� but�vagtronics could be the answer.
If you don`t mind just one question.�My engine package came with two wiring looms, one with a large connector to ecu and
one with a small connector to ecu.� Is it the one with the large connector you send off to be modified?
��� Thanks again.
��
I sent them both off to vagtronics so they can be labelled as well as modified
cheers
Posted
Newbie
Wiring doesn`t seem so daunting now.
Posted
Settled In
Posted
Settled In
Looks very good and I only need to connect up these wires when i put it in:
constant +
Ignition +
earth
fuel pump +
Thats it!! until i start playing with rpm and temp etc

still no manifold!
Posted
Settling In
chaz11bb said
Loom arrived back today!!
Looks very good and I only need to connect up these wires when i put it in:
constant +
Ignition +
earth
fuel pump +
Thats it!! until i start playing with rpm and temp etc


still no manifold!
hi mate who did your loom
Posted
Settled In
Posted
Moderator

Posted
Settled In
Oh and put some of my heat protection on the bulkhead�
Posted
Old Timer

0 guests and 0 members have just viewed this: None.