


Fatman's MK1

Posted
#1202509
(In Topic #143706)
Settled In

Fatman's MK1
Always wanted something to jump into on a Saturday/Sunday and head to an Autotest, Nav rally, track day, Bishopscourt, etc… hoak around in, have a bit of craic and then toodle home happy and content
 .
. Suppose a pic would useful… just to illustrate what I'm on about.
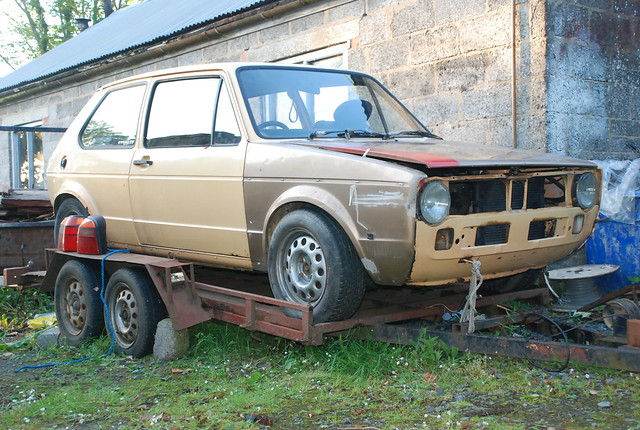
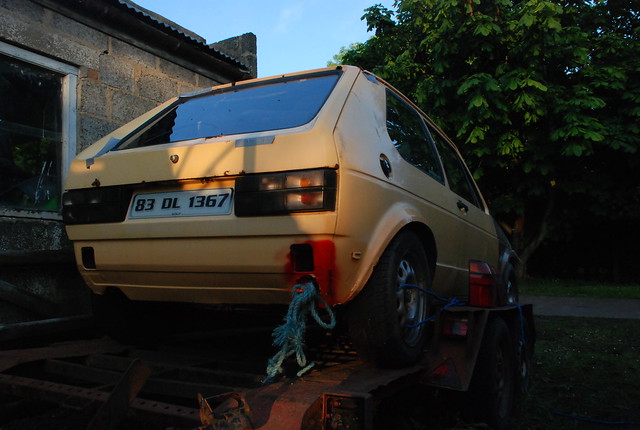

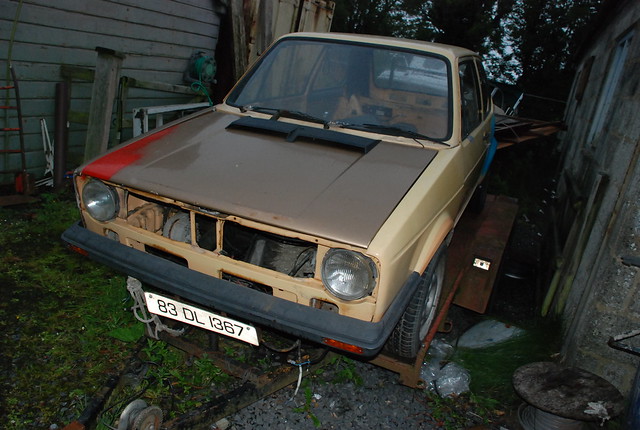
Yeaaa… I own a MK1.
The car is definitely a project… but it was a case of "if you don't buy it… it gets scrapped"… would be a sin, would it not? So a minuscule sum of the pounds sterling where exchanged and it was mine. At this point Id like to say a massive thanks to Chris (Toph) for the car and Connor (Loeb), Lee (Dominoka) and Connors dad Eugene for helping run out and lift the car for me. It is greatly appreciated.
It needs patches in the sills and rear arches, ideally a new boot lid and a new passengers side wing… but it maybe salvageable. The floor is solid but there are some holes drilled in where the previous owner mounted some strange seats… not sure what there out of but they are going in the bin. Engine is knackered but well discuss this later on… a suitable replacement has been purchased. Oh… and if your looking to know what the stance will be like… then I hope this will moisten your appetite…

Posted
Old Timer

Re: A Golden Oldie
Posted
Settled In
Posted
Settling In


Posted

COTM Team

my project was something similar to yours, get it or watch it die in a pile of rust and rot, i now own it and have done most of the work on him
chris

Chris

Posted
Settled In
Been chipping away at the old girl all week… been out at the workshop every evening this week. It appears that I have my motivation back
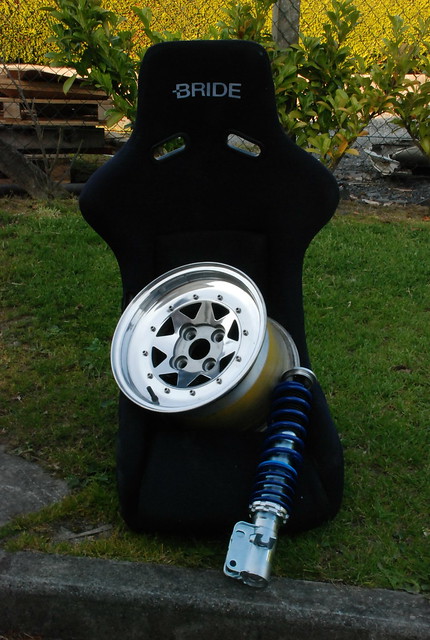
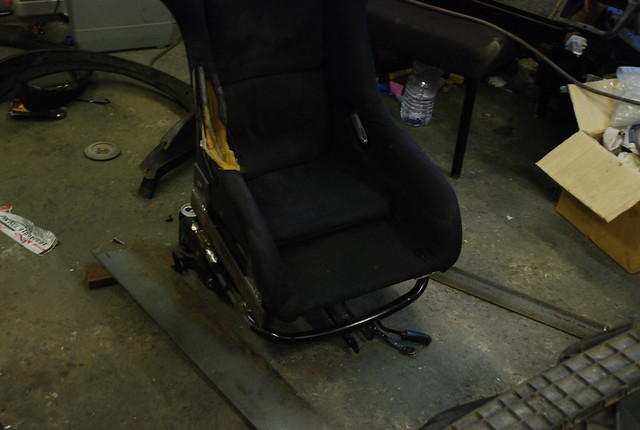
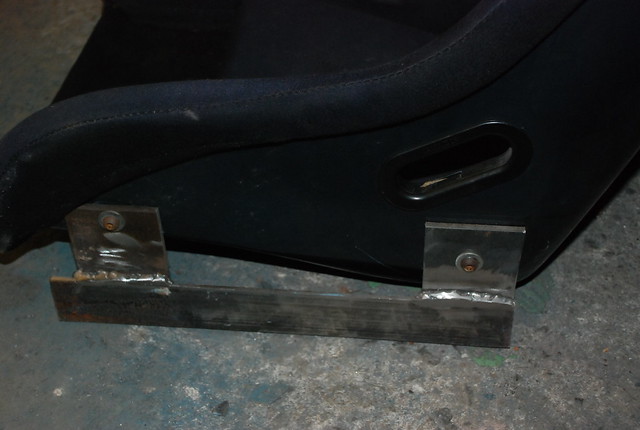
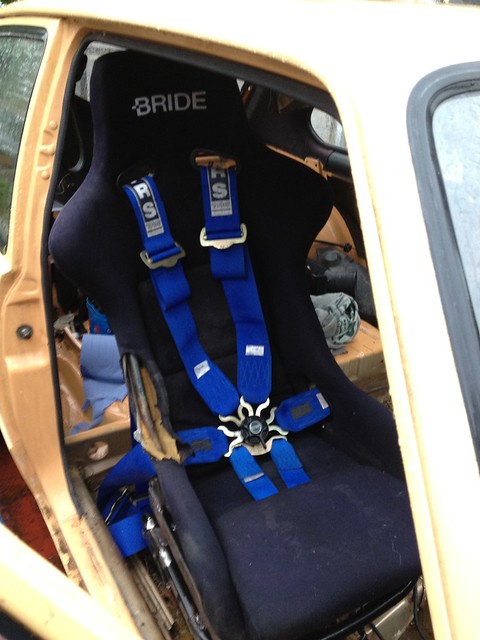
So… messed about this week with Bride and making a subframe and some side mounts for it. The results:
DSC_0793 by fperformance, on Flickr
DSC_0787 by fperformance, on Flickr
It looks a little agricultural. Planning to take the square look off it by rounding off the edges and drilling some holes in it to bring the weight of it down.
Also took to the interior and stripped out the Renault seats that where in it… still need to cut the rear seat brackets… terrible idea and those responsible should be fed to the pigs!
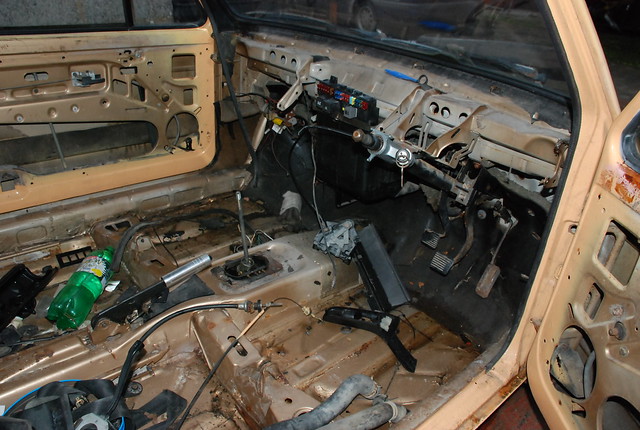
DSC_0797 by fperformance, on Flickr

DSC_0798 by fperformance, on Flickr
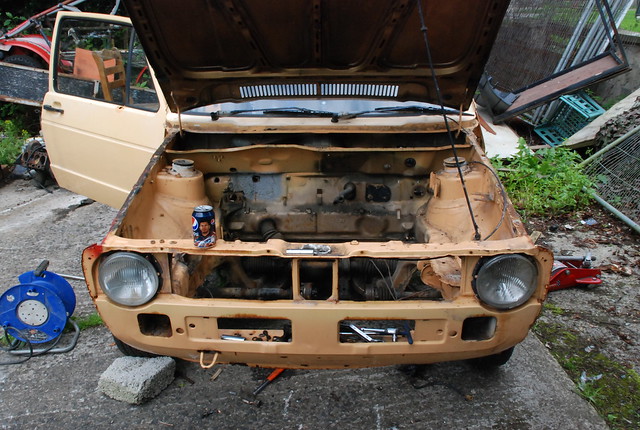
The engine also got smacked with the strip stick.
Before:
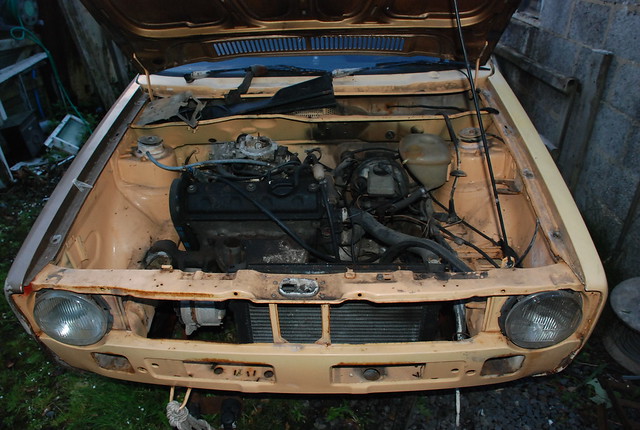
DSC_0706 by fperformance, on Flickr
After:
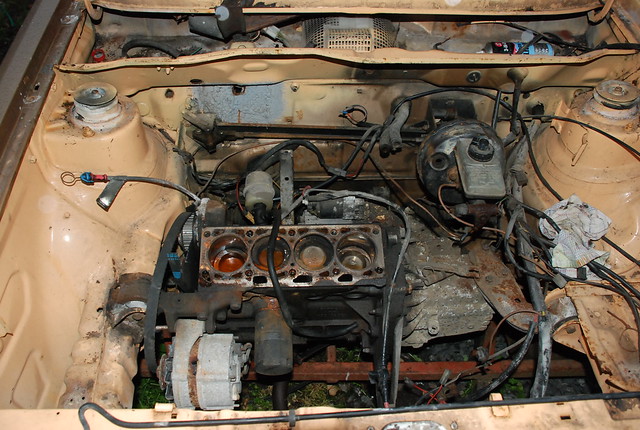
DSC_0801 by fperformance, on Flickr
The car is still on the trailer so getting the engine out is a bit of a hassle but we may take a go at it during the week.
Also been collecting a few bits and pieces for it…
GTi Arches trims… for hiding the rusty arches

DSC_0796 by fperformance, on Flickr
GTi duck bill splitter

DSC_0795 by fperformance, on Flickr
And a Rare Kamei bonnet scoop… possibly my favourite thing to be purchased… thus far
DSC_0800 by fperformance, on Flickr
Cheers for looking folks… More to come in the coming week
. Managed to find my heat gun so Ill be able to remove all the sound deadening.
Posted

Settled In

Good work so far dude. glad you started a thread. watching with interest 8)

The Mk1 Golfs older and better looking sibling……..
Posted
Settled In
Posted
Settled In
Basically I have been doing an assignment the last week for University to haven't really had time to work on this. All done now tho so back to the grindstone…
Connor managed to get the car down off the transporter last week in my absence so working on the car is ALOT easier!
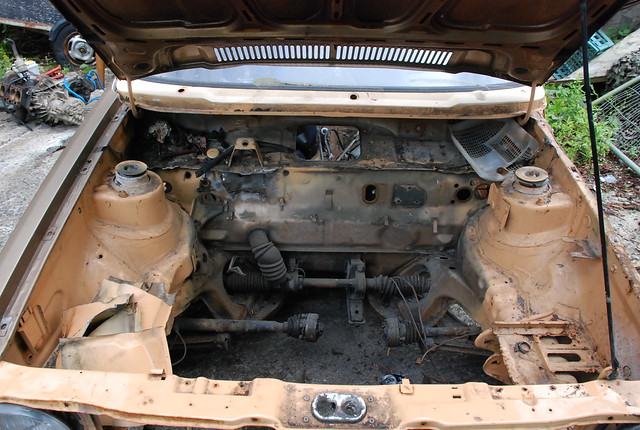
We also took to the engine today… or what was left of it (see previous update lol). Unbolted the driveshafts, gear linkage and mounts and dropped it (literally) on the floor… then we dragged it up the yard with some rope and a seatbelt
DSC_0806 by fperformance, on Flickr
Next I decided to attack the rest of what ever was left in the bay… Wiring, brake bar, wiper linkage where all removed and set to one side. After this… I got out the grinder and removed the rash amount of seam sealer smeared around the previously repaired clutch cable hole… now when I say repaired… I use the term with the minimal of definity. Basically… a patch was welded in over the previous rust and then covered in seam sealer. Good work guys :facepalm: No Pics of this… but Ill grab some tomorrow.
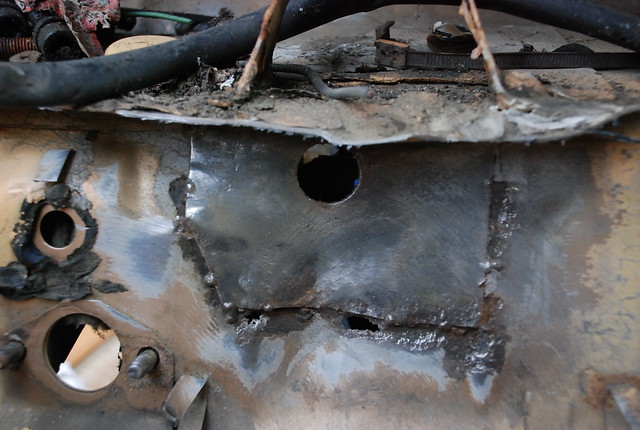
So while I had the grinder out… I thought I may as well start to remove the scuttle panel. Also removed the heater box as well.

DSC_0823 by fperformance, on Flickr
Ill probably take a tear at it tomorrow as I'm OFF WORK


Posted
Settled In
Not much of an update tbh… rain stopped play and I spent about an hour trying to find an extension lead lol
 .
. So… How it started
DSC_0825 by fperformance, on Flickr
And how it finished…

DSC_0826 by fperformance, on Flickr
Managed to get the battery tray and other brackets and tabs removed with the exception of a few. Also removed the wiper motor bracket and sound deadening up in the scuttle area and started to remove what was left of the scuttle panel I cut out yesterday.
. Also removed the botch job done on the clutch cable hole… Heres a pic of the "Repair"
DSC_0824 by fperformance, on Flickr
And when I removed the plate… OH GAD! Luckily you can buy a replacement panel for this section for about �15… so Ill be ordering one of them ASAP
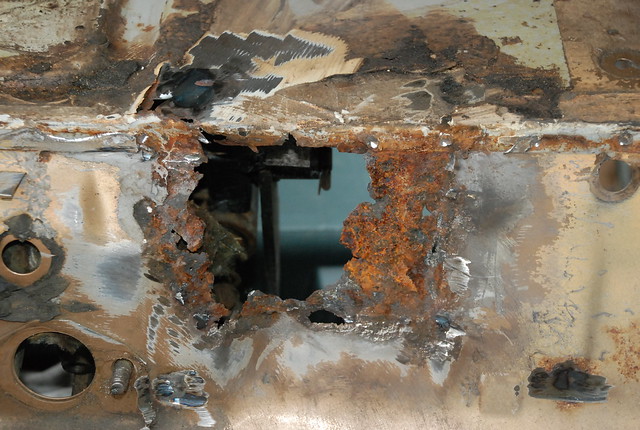
DSC_0827 by fperformance, on Flickr
Rather disappointed by todays progress… Stupid rain. Brought home the engine mounts to I can remove the bushes from them… with diesel and fire
. May also start to repaint the brake servo lol.
Posted
Settled In
I do apologise for the terrible picture quality…. Iphone fail
. I had a few ideas for what engine to put into this. First was the obvious turbo diesel engine… but then cut that idea loose as it wouldn't be great for a track car. Next came a 1.3 with some bike carbs… idea binned as it would be under powered. So thought about slapping a turbo onto the 1.3… but this was a costly idea… �250 for the exhaust manifold alone
. Then this came along… 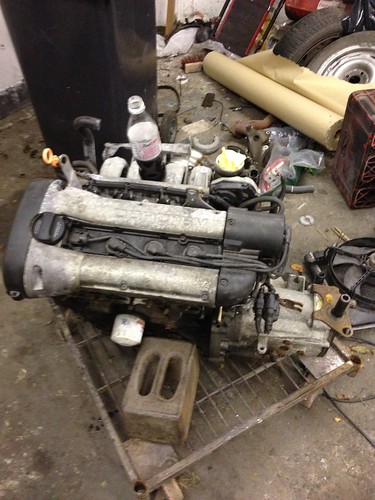
Untitled by fperformance, on Flickr
1.4 16v AFH engine from a 6n Polo. It came up cheap as a full conversion… so went for it. Bike carbs and a 4 branch and it'll be all go
. So the engine sat for a day or two and then it got brutally attacked but some sockets. Ready to go on the stand
.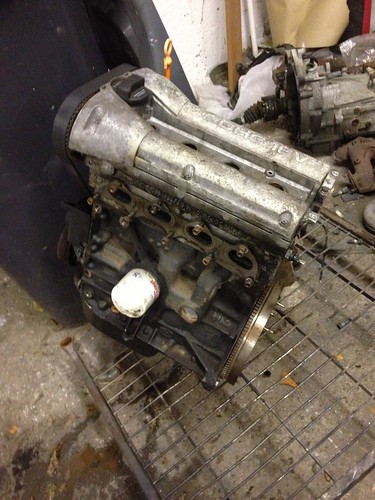
Untitled by fperformance, on Flickr
Received a box today.
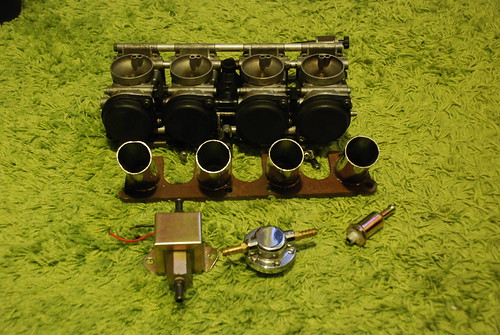
DSC_0194 by fperformance, on Flickr
CBR600 bike carbs
Facet Solid state fuel pump
Sytec FPR
and an 8v inlet manifold
The 8v inlet manifold is no use to me so Ill be selling it on instantaneously lol. I have bought a steel AFH flange on clubpolo so when that gets here then I have get started on the manifold.
I have also got the front engine mounting plate sorted out and an Autocavan style front engine mount welded up… just need to measure and weld the bit that bolts to the car.
I have also got a 4branch manifold and the slim starter motor sorted out as well for this
. Can't wait until I start bolting it all together More soon.
0 guests and 0 members have just viewed this: None.