


Andys 1983 lhasa green gti restoration

Posted
#1076740
(In Topic #128874)
Settled In

Andys 1983 lhasa green gti restoration
When i was a mere teenager in the late 70s early 80s i always wanted a mk1 golf gti but never got round to owning one, so now im a little older and wiser, the kids have grown up, and i have more spare time on my hands i thought it time i got myself one.
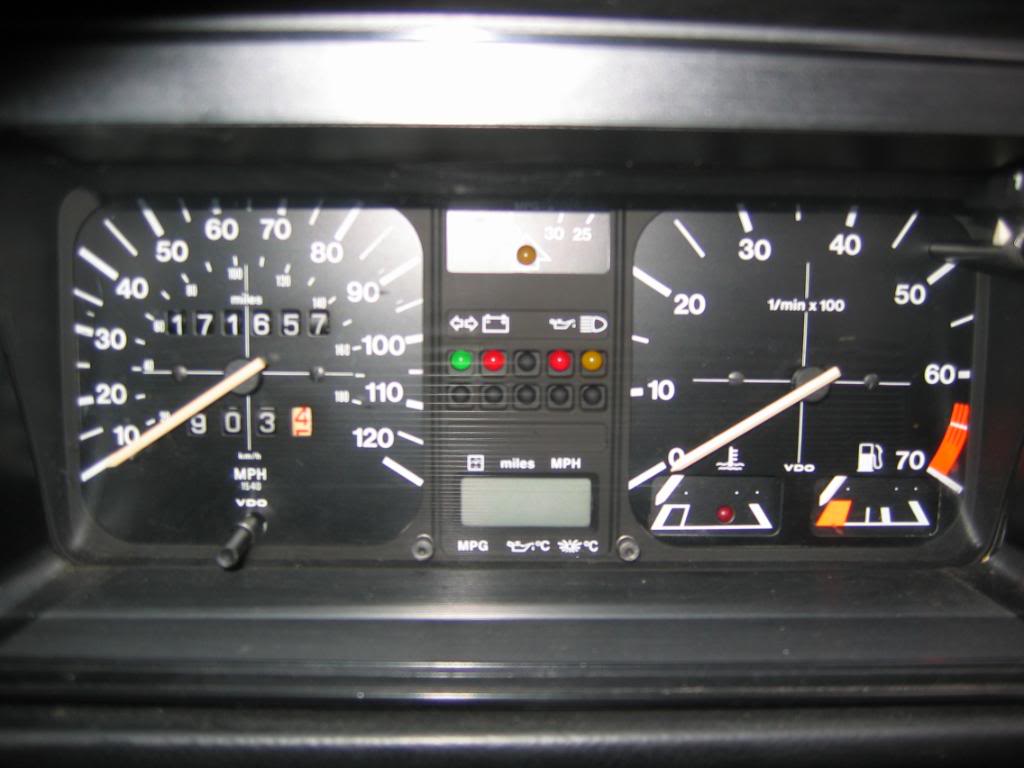
So i purchased my first mk1 golf end of summer �2008, its a lhasa green 1.8 gti in completely original condition, (and thats how its gonna stay). although the car has done 171,000 miles it is in exceptional condition for its age and the interior is near perfect. the bodywork is very straight with only a couple of small dents, the odd stonechip, and it sits in its original paint.
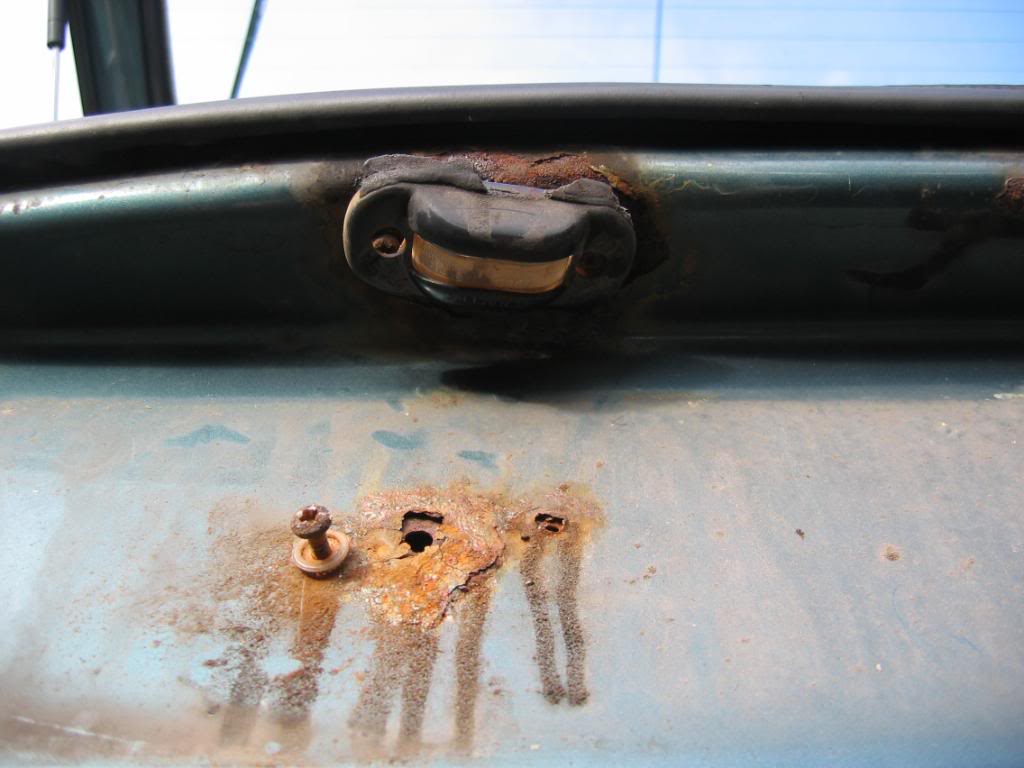
The only bad points are surface rust on the two rear arches and a not so good rear panel (see pics), holes behind the number plate, number plate light fixings have rusted badly, rust around the towing eye, and around the lower seams, i hope to replacing the rear panel once i can source a new one.
The cars been sitting in my garage now for nearly two years, now's the time to roll up my sleeves and get my hands dirty, (i hope i don't regret this as i know there will be a few set backs along the way).
So the plan is to strip the car to a bare shell and do a complete restoration, which will include stripping the factory rubbery sealant from the underside and inner wings, then stonechip, topcoat, and laquer which i shall paint myself, the body will be painted by a profesional bodyshop.
I started stripping the car in jan 2010, and since then have spent many hours dismantling, stripping, sanding, and painting, i have just finished laquering the underside of the car today.
Ive been meaning to start a build thread since i started on the car back in feb, so i suppose now is as good a time as any, i will keep this topic updated as much as posible.
Sorry didn't take any pics before i stripped the car.
Hope you like.


Engine strip down and head removal


Pistons and valves badly carbed up

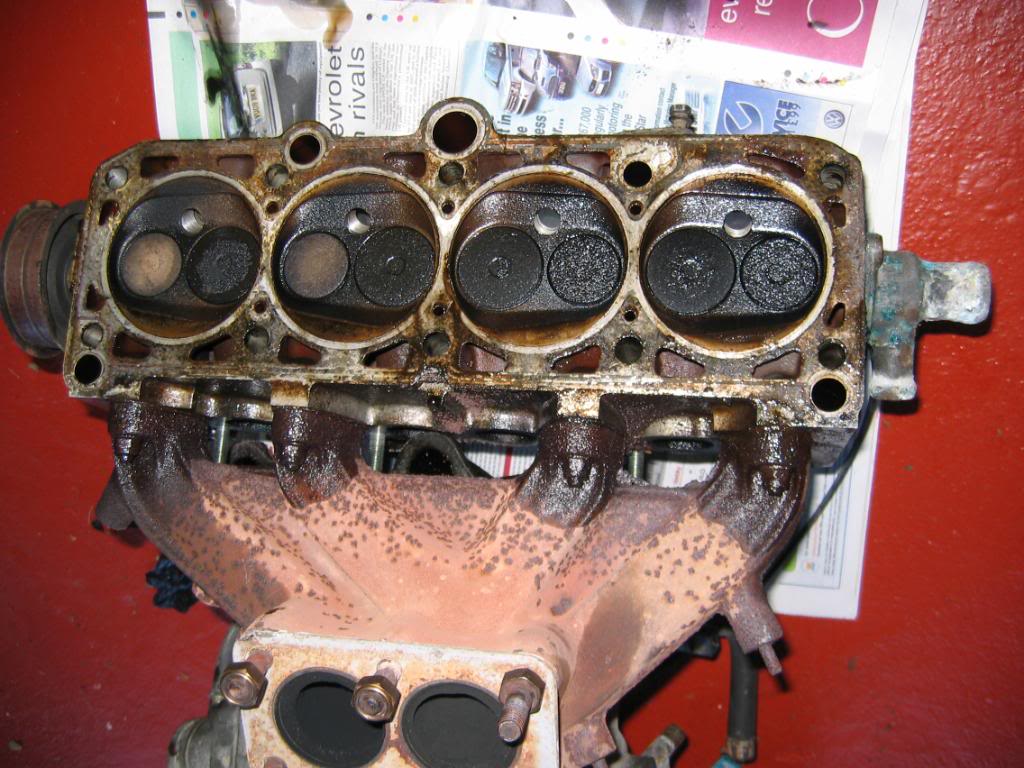

Then cleaned with carb cleaner


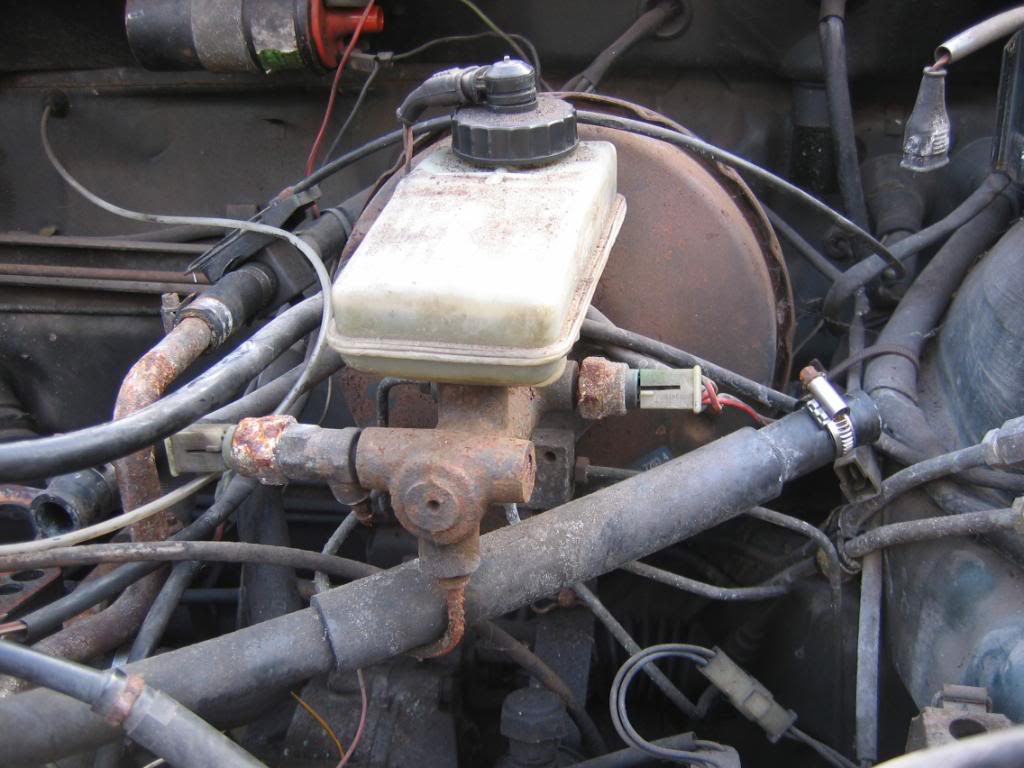
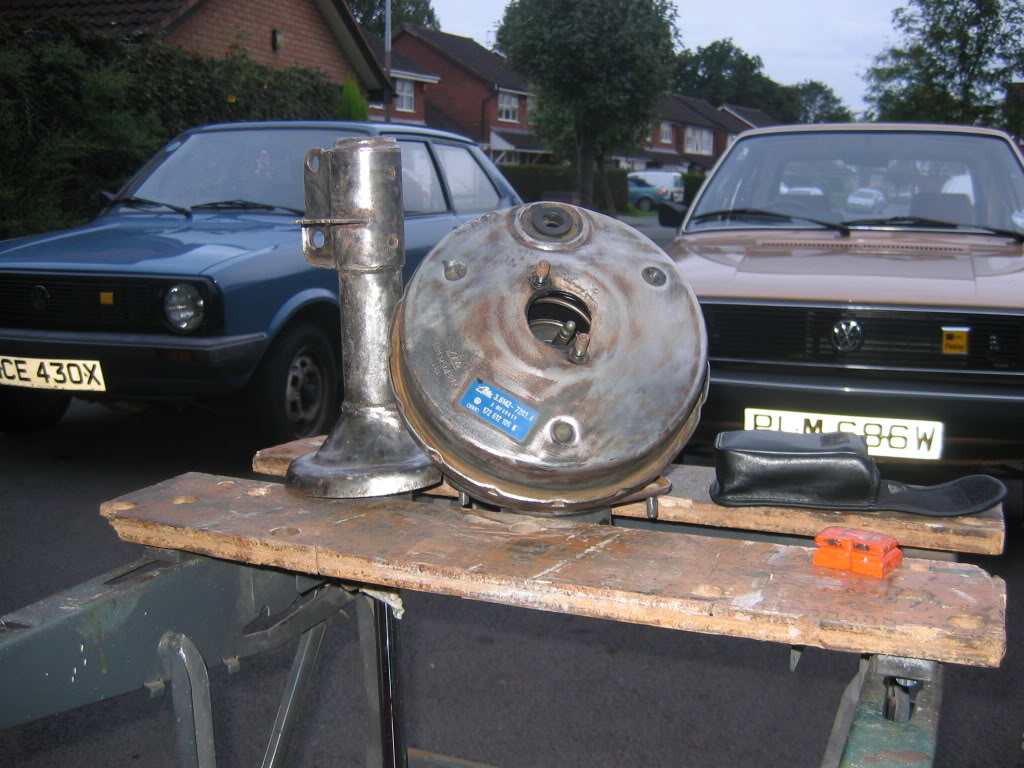
Next job was to strip the underside. limited pics im afraid.


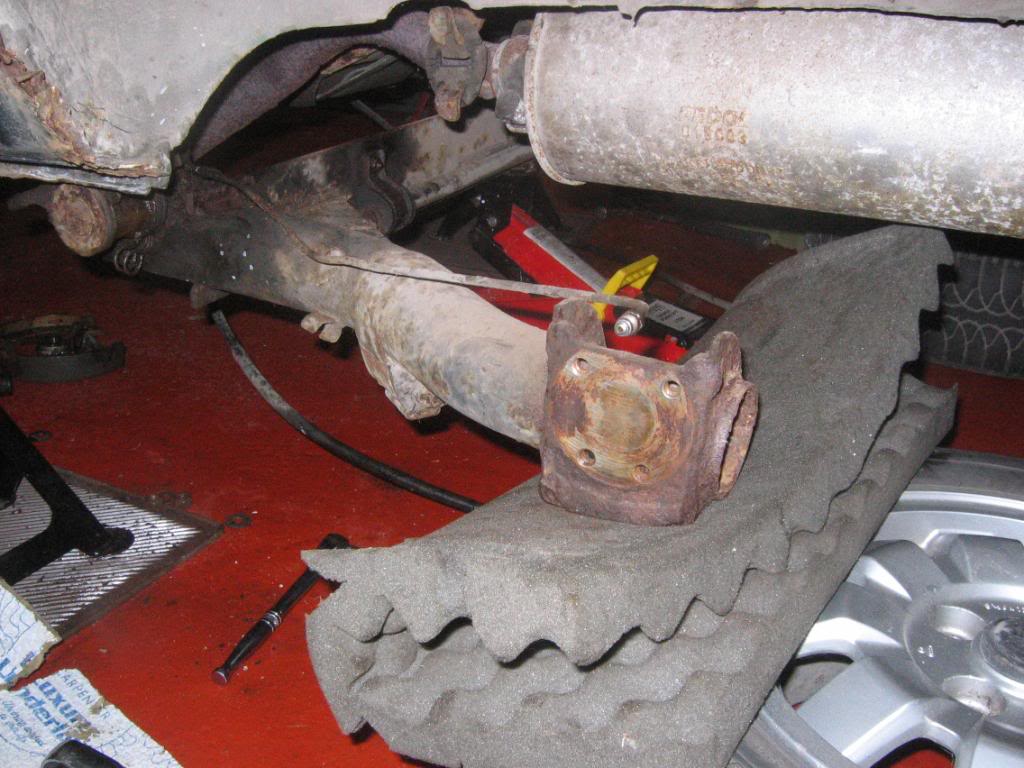

Rear beam out

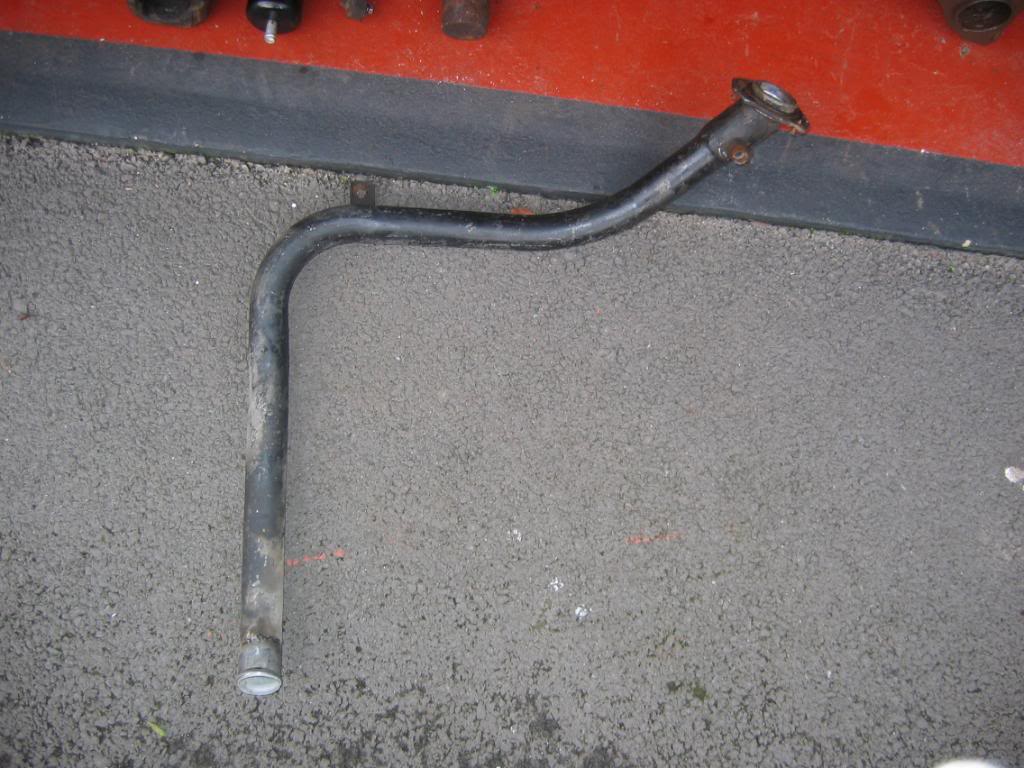
Petrol tank and pipes removed.


Filler pipe is in good condition.


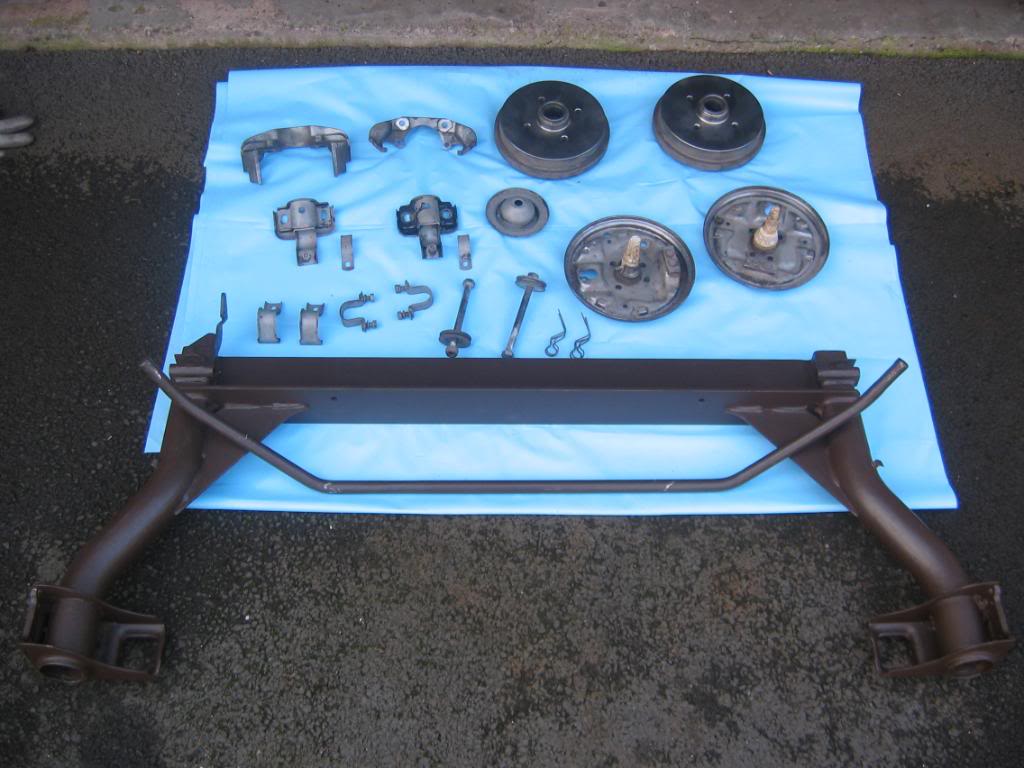
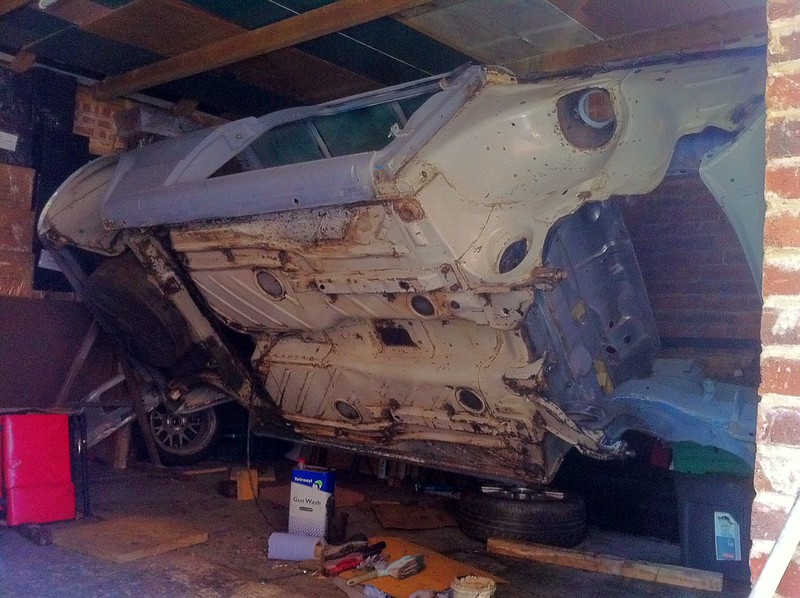
Cleaned up the rear beam and all its fittings ready to go back on the car,because i managed to get hold of a rottiseie.

Started to remove the rear panel and do a bit of body work.


The bit i dreaded, stripping the underside.
And i also took the engine out.


Nightmare to remove, but im getting there slowly


One of my sons many polo's


10mm thick in places, the primmer is like new underneath


Had you noticed the rottiserie bolted to the rear suspension?
 �this was restricting me from stripping all the bottom of the car , so luckily for me i managed to get hold of another one that bolted to the bumper bracket fixings
  , now i have access to all the underneath.
And after a few weeks of stripping managed to give the underneath two coats of red oxide primer.
The underside was totally rust free. factory sealer did its job


I will add more pics in the next few days.
 Last edit: by andywolves
Posted
Settled In
Posted
Settled In

Posted

Settled In
will be following this thread
Posted
Old Timer

Posted
Settled In
Im very pleased with the finish of the primer
, i will post the pics of the underside stonechipped in the next day or two.
Posted
Settled In
Hi gazvennGazvenn said
Ever so slightly jealous of how solid yours is underneath. Where did you get hold of the rottiserie from as I think I do really need 1
I looked at a lot of gti's before i purchased this one, most were in not so good condition, so i was well pleased when i came across this one, the few pics i did take before i stripped it down dont do the car justice it really is dead straight and solid with a superb interior only the rear panel and the rust on the rear arches let the car down.
As for the rottiserie, i borrowed it of a friend, i don't know what id have done without it,it really does make working on the underside so much easier.
Posted
Settled In


New rear panel fitted

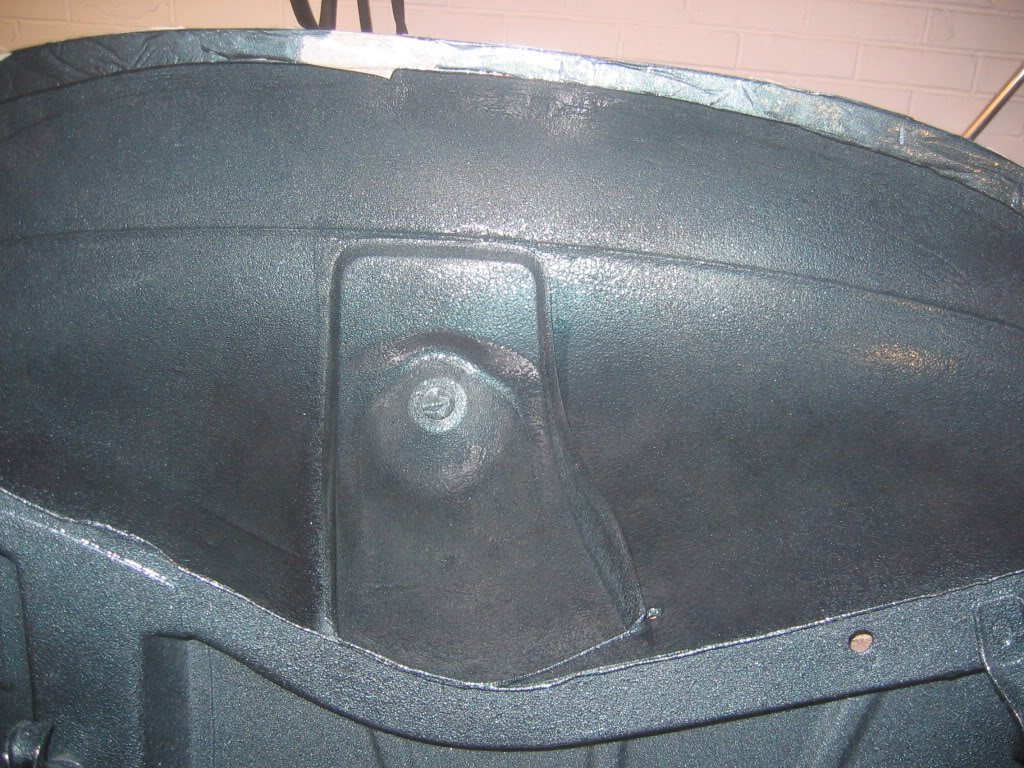
Engine bay stripped of paint and seam seeler

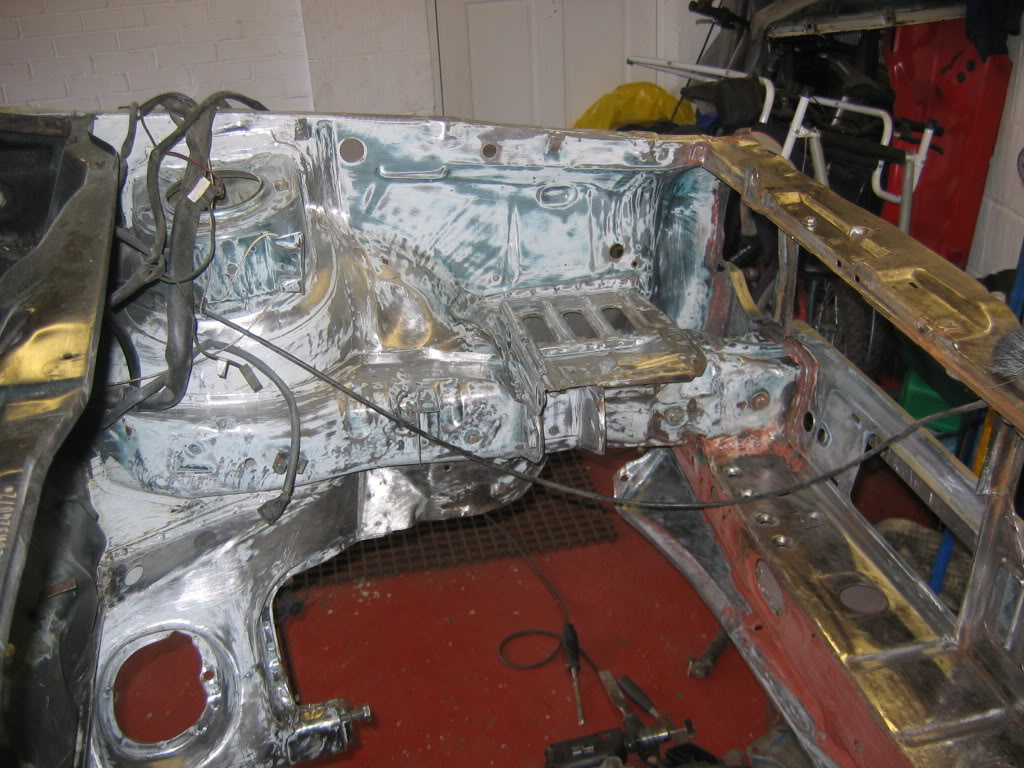
Battery tray in really good nick.

Then stonechipped 8)


All done, next job lhasa green top coat
Posted
Settled In


Then laquered. 8)


Really pleased with the results, cars booked in to the body shop and all been well will be picked up on sat 13th nov and i should get it back mid december, can't wait.
I will have a break on sunday 14th going to the classic car show, (im looking forward to that) anyone else going?
So ive got around four weeks to get a lot of parts sanded, sandblasted, powdercoated, and painted.
The engine needs a good clean and then painting as well as all its parts, need to send the head away for skimming, new valves etc:
and i hope to get it finished by mid march.
Do you think thats a realistic target?
Posted
Settling In

wolves
Posted
Settled In
Looks like a real quality job you have done.What spraying set up are you using? It seems you have it nailed
MK1 owners have a stand at the NEC see here NEC 2010 and i guess a lot of members will be going to, not me though falls on the worst weekend for me this year

March is realistic target, you have done a a lot of the time consuming stuff, but if you do get it done by the beginning of Summer then that will be great timing and give you a chance to drive it in good weather and take it to some shows and the AGM
good luck
Posted
Settled In
Hi toby, thanks for the commentstobyio said
Looks awesome Andy 8O
Looks like a real quality job you have done.What spraying set up are you using? It seems you have it nailed
MK1 owners have a stand at the NEC see here NEC 2010 and i guess a lot of members will be going to, not me though falls on the worst weekend for me this year
March is realistic target, you have done a a lot of the time consuming stuff, but if you do get it done by the beginning of Summer then that will be great timing and give you a chance to drive it in good weather and take it to some shows and the AGM
For the stonechip i used a compressor and shultz gun, for the lhasa green and laquer i used a earlex spray station as i hadn't
got a proper spray paint gun. it did an awsome job and gave a brilliant finish, which im well pleased with
.Hope i can be done by 14th march :dontknow: i can then debut the car in concours at ultimate dubs.
So fingers crossed
Posted

COTM Team

chris

Chris

Posted
Settled In

cool background 8)


Plenty of red oxide on the seams


Couple of coats of red oxide on the rear beam


Hopefully will throw on some paint in the next day or so
Posted
Settled In
Maybe its cause she won't be in my garage for the next four weeks,
or perhaps not knowing how the paint job will turn out, 8O and all those months of long weekends and late nights spent in the garage come down to this THE ALL IMPORTANT PAINT JOB.She's gonna be in good hands for the next month or so and i will keep you updated with plenty of pics of the prep work and respray.
Last few jobs, beam, suspension, and rear wheels put back on first, and two swivel wheels fitted to the front.
Then got her down of rottiserie (took four of us to lift the car down) still pretty heavy for a stripped car.
The front inner wings havn't been laquered yet, they will have a couple more coats of paint when the engine bay is painted

Then the job i was dreading, taking out the dash.


Not as bad as i thought it was gonna be
One thing i am dreading though is rebuilding the car as most of it was stripped getting on for a year ago now, and when you get to my age you start to forget where you put things
"now, where did i put that engine"…

Posted
Settled In
Posted

Old Timer
Looks like a nice solid shell to.
Look forward to some more pics
Pete.
Posted
Old Timer
This is what mine looks like now and how I managed to come accross your thread..

Any updates would be cool

Wanted: Front Bumper, DESPERATELY NEED A DRIVERS WING!
MY Build Thread
My Facebook Build Page #Project83
�
0 guests and 0 members have just viewed this: None.