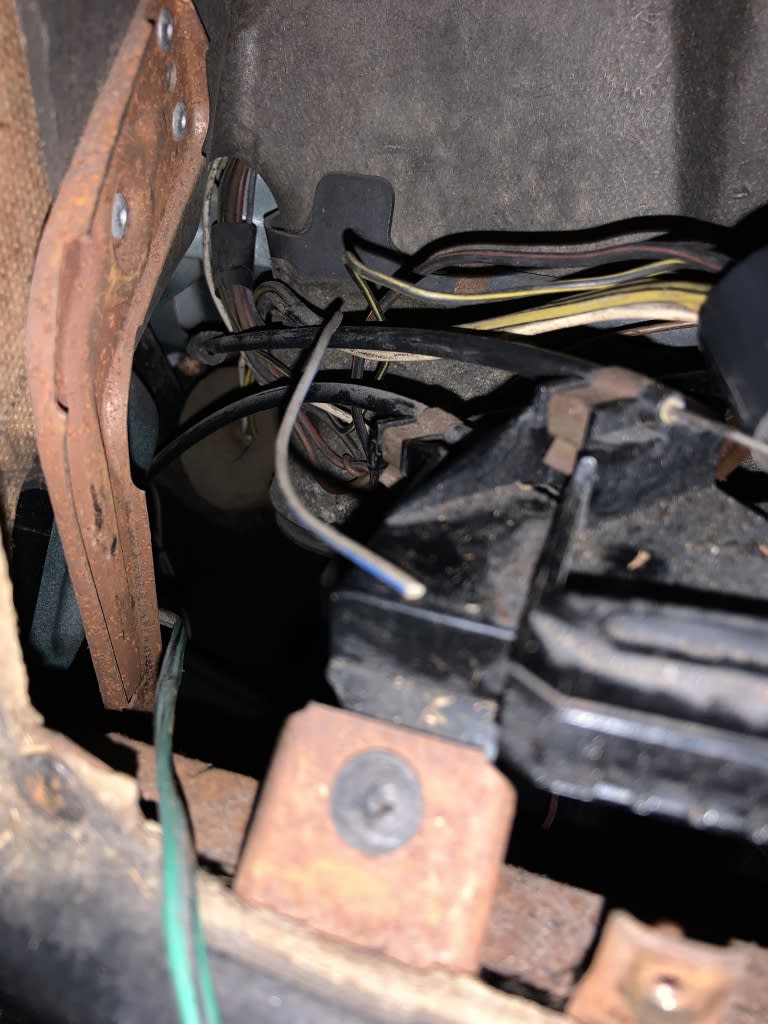
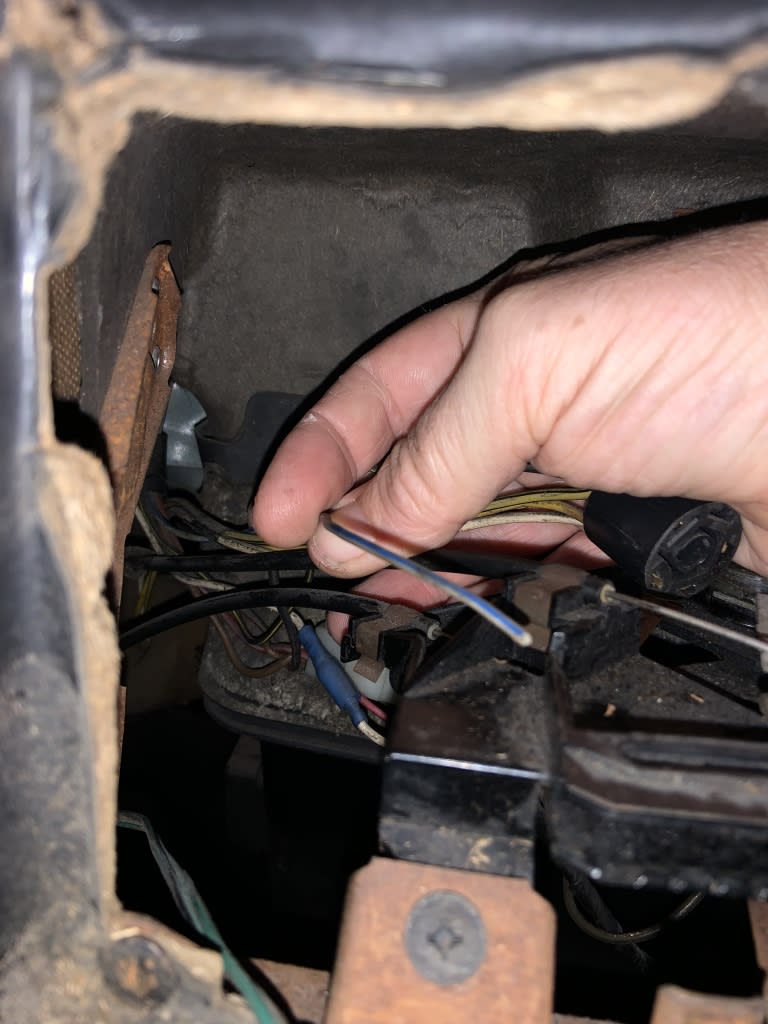
Dash illumination wire
Posted
#1670770
(In Topic #240963)
Newbie


Thanks


Posted
Local Hero

Here is my Take.
Since it is coming from the fuse panel is there 12V+DC to frame or ground on it? Yes/No.
Yes,
Early models of the Cabriolet and Golfs this was a unfused switched line. So if there isn't any +Voltage to it, you will need to find a switched source Back of the Demister switch works and it is fused. Why because if you short it out it burns a bunch of wires which is why it may have been cut.
No, then if an later Cabriolet it is a fused circuit and the fuse could be blown, other wise if it has +12Vdc to ground I would start by placing a in-line fuse 10 or 15A rated.
You will need to trace the whole wire gray/blue to
All your switches, Facia controls Gauges, including the Clocks and splice the Fused wire into it. I is used to illuminate all the switches ie: Defroster/headlamp/heater controls, aux gauges, and ciggie lighter. It goes everywhere, and may have burned through other wires.
It starts at the fuse panel, then goes over to the Cigarette Lighter, from there it branches off to the other circuits. As it is part of the DImmer side of the headlight switch, make sure that your dimmer switch isn't burned up, by doing a resistance check of it from low to high, then full on. The resistance on low is @ 300 Ohms as I can't remember exact but the switch when fully bright the value approaches 0 ohms, and full on is 0 ohms. The higher the resistance the dimmer the lamps.
Some folks when wiring new head units, (stereos) mistakenly connect the blue/gray or Gray/blue to the illumination light which on a OEM (VW) unit is correct, but on after market's don't do this as you will burn your wires. Most newer After Market's use the 12V switched internally to power the illumination.
Good luck, but I would inspect your full wiring looms to trace that wire and validate that it hasn't caused or fused (usually grounds) to it.
What do Divorces, Great Coffee, and Car Electrics all have in common?
They all start with GOOD Grounds.
Where are my DIY Links?
They all start with GOOD Grounds.
Where are my DIY Links?
Posted
Newbie


Posted
Local Hero

My manuals have been misplaced as I know where my up to 79 Gasser Bentley is, and my Cabby is on my Puter, but I have misplaced my Haynes for the 80's rabbit/golf/jetta and well they are probably for the Westy Built anyways.
Here are the ones I usually can find, (download them)
VW Wiring Diagram PDFs; 1982, 1983, 1984 | chris.chemidl.in
From my various links in the Archive.
Repair a broken heater control mount. Cabriolet | Volkswagen Owners Club Forum
 Last edit: by Briano1234
What do Divorces, Great Coffee, and Car Electrics all have in common?
They all start with GOOD Grounds.
Where are my DIY Links?
They all start with GOOD Grounds.
Where are my DIY Links?
Posted
Newbie


There are too many online users to list.


