


GUIDE : Rebuilding the rear end

Posted
#1043116
(In Topic #124468)
Settled In

GUIDE : Rebuilding the rear end
This one has been a really difficult guide for me, taken almost a year to finish because I lost motivation half way through! Hopefully it doesn't show and the results are good:
This is a guide on how to recondition the rear of the car, from the guide you should have enough info to repair the following:
1. Rear brake shoes (and brake fluid change), these last a long time but should be regularly checked for wear
2. Wheel bearings - These wear over time and you often get a grinding noise
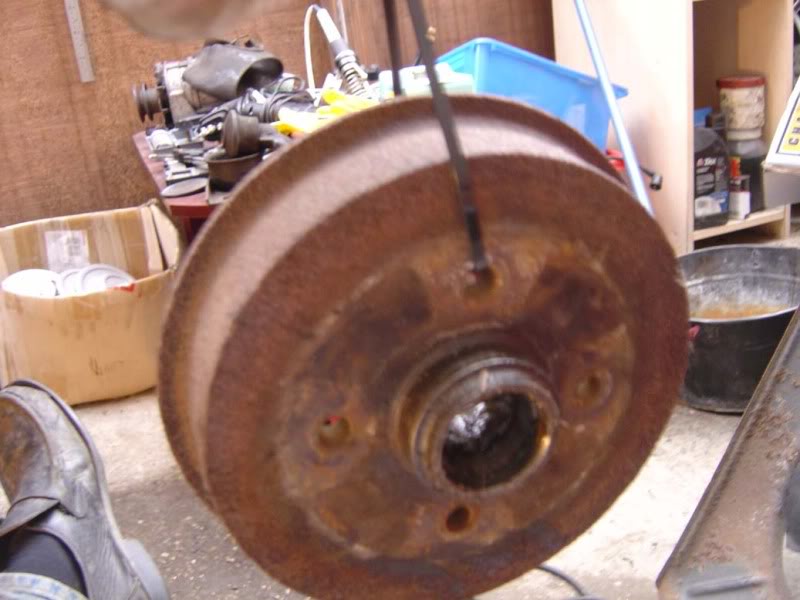
3. Brake drum, these are consumable items but have very long lives
4. Rear suspension - leaking shocks or snapped springs will be MOT failures and cause ride issues
5. Rear subframe - The bushes are designed to take the wear and tear of a car's life but often perish and need replacing
6. Rear anti-roll bar - The bar itself is unlikely to need replacing (but can be uprated for stiffer ones to improve handling), it is normally the bushes that are replaced as they perish over time
When it comes to working on the rear of the car I suggest you have large sockets, a big breaker bar and a large hammer handy. You will be hitting some of the toughest nuts and bolts on a car with high torque and likely corrosion due to exposure to the elements underneath the car. Brain overpowers brute force here - long levers make the job easier, if you try some of this stuff with a normal ratchet you'll hurt your hands and fail miserably so get the right tools for the job. Saying that, these jobs are nice and simple - just nuts and bolts and anybody can do it. Don't be afraid to tackle this sort of stuff because it really isn't that difficult.
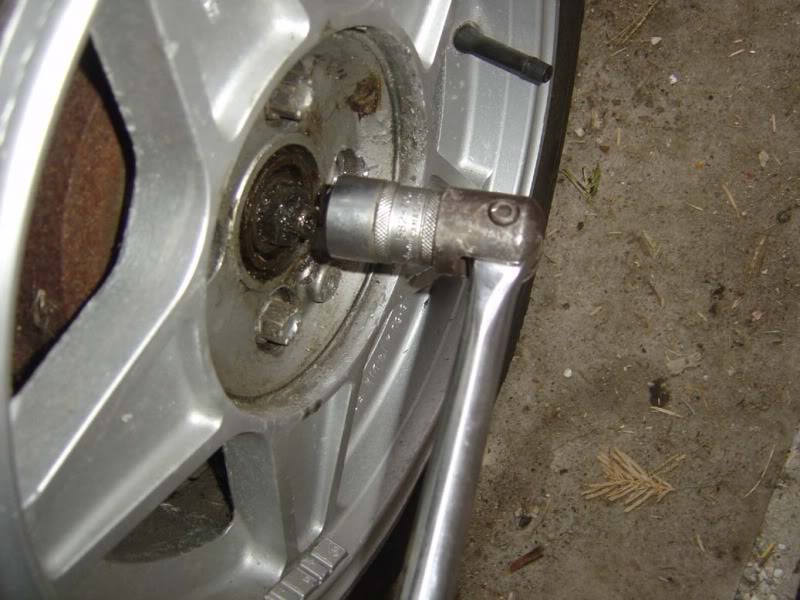
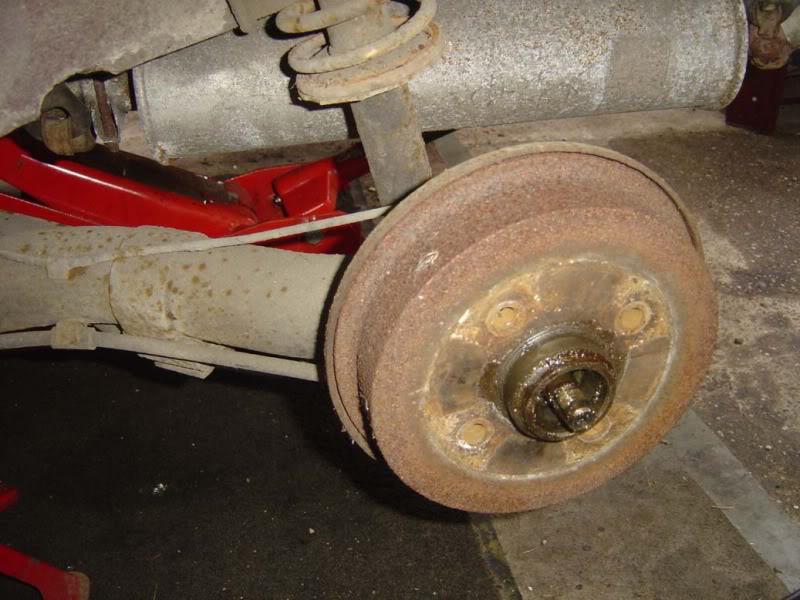
Step 1. Remove the centre cap of each rear wheel (see guide for rebuilding the front end for info) to reveal the split pin and hub nut
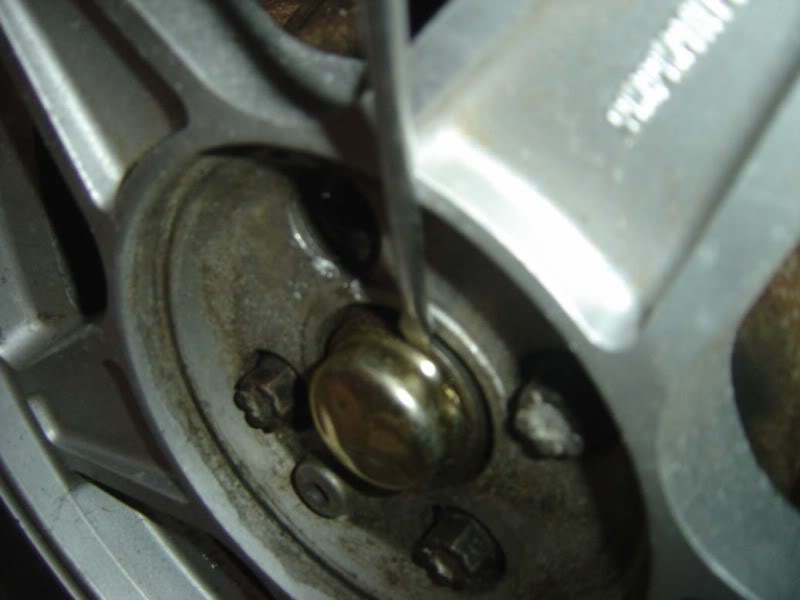
Step 2 - Bend the two legs of the split pin down and pinch them together (pliers will help here)
Step 3 - Use pliers to remove the split pin. Rotating the pin will help and also using leverage to pull it through (a gentle tap with a hammer sometimes helps as well)

Posted
Settled In
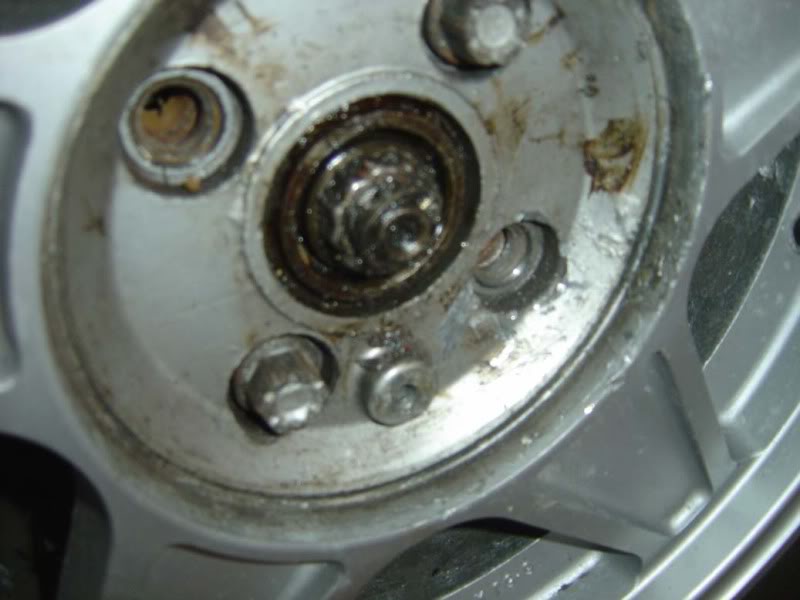
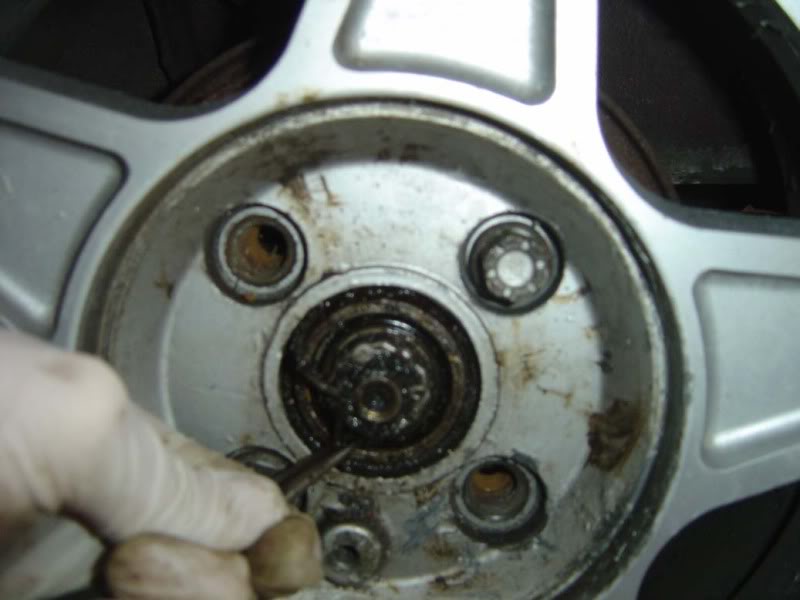
Step 5 - Now with the weight of the car on the wheels and the handbrake firmly on you should be able to crack off the centre nut with a breaker bar (it's pretty tight)
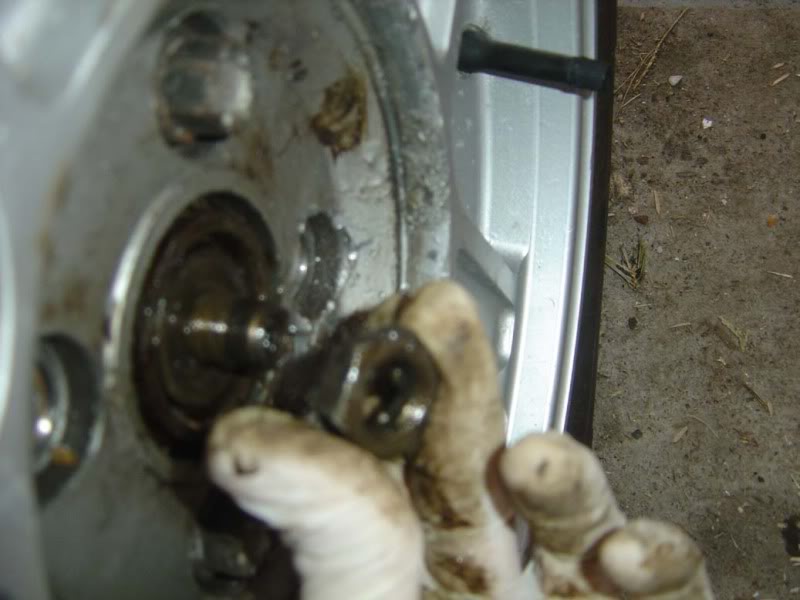
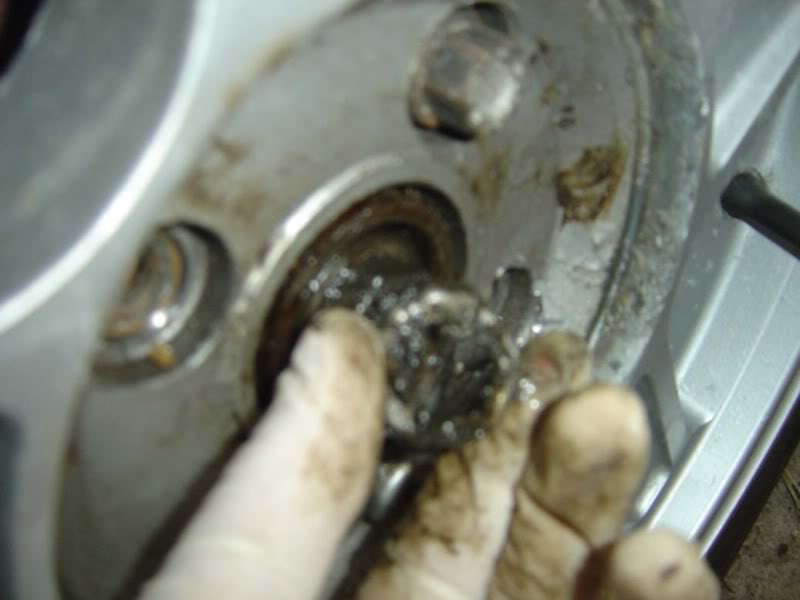
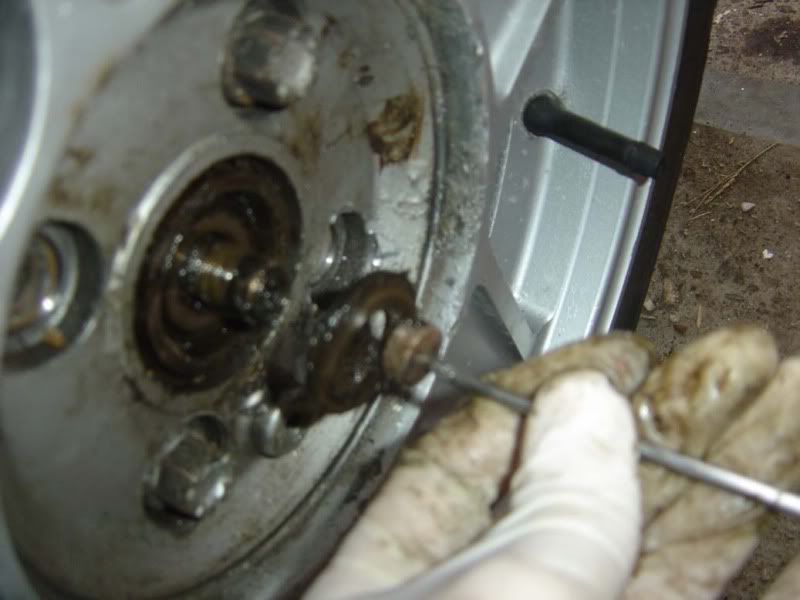
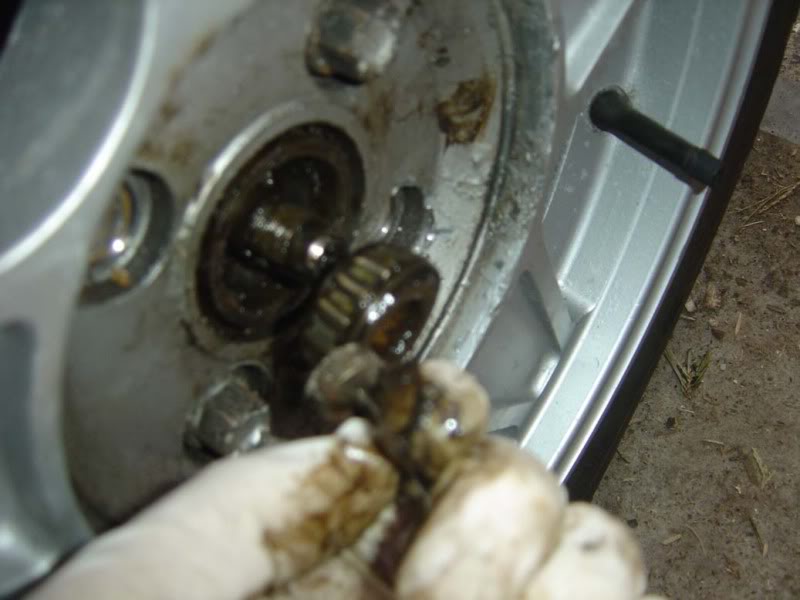
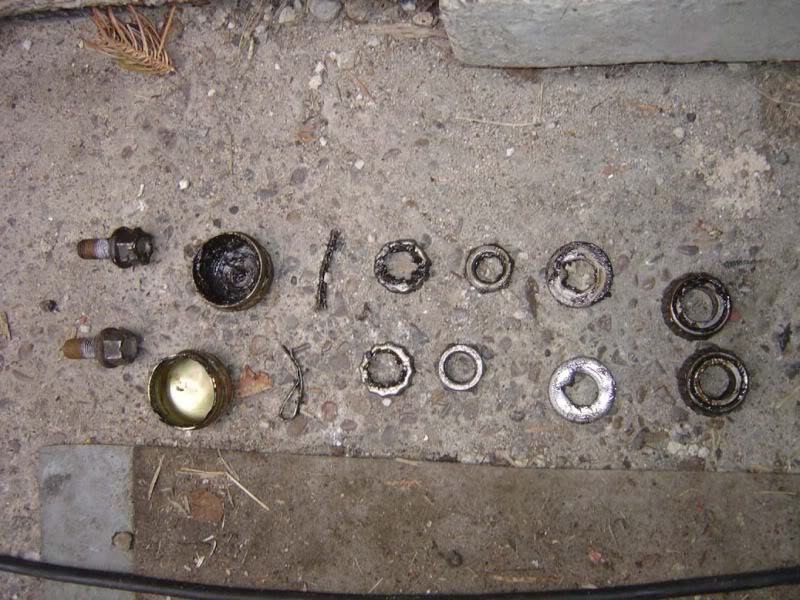
Step 6 - Remove the thrust washer and wheel bearing next and put to one side. I found a magnetic parts retriever was a nice easy way to do this
Posted
Settled In
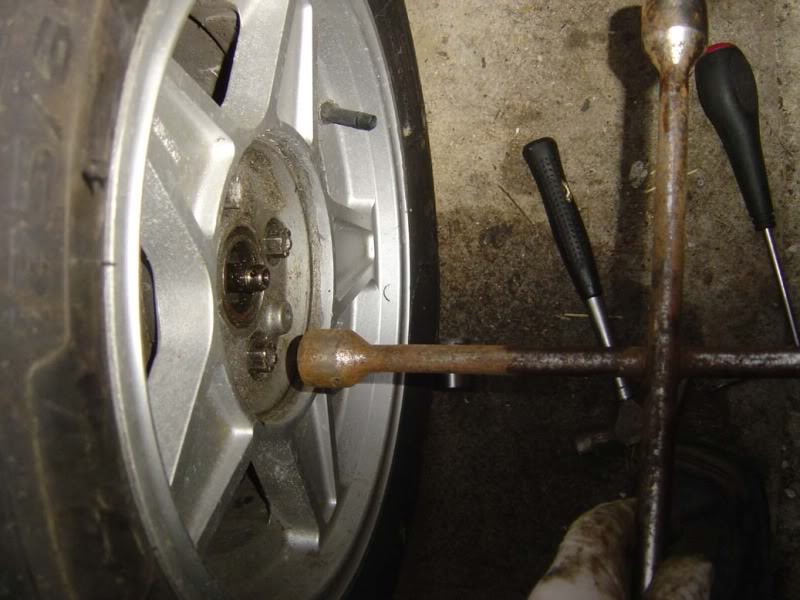
Step 8 - Crack off the wheel bolts while the car is still on the ground
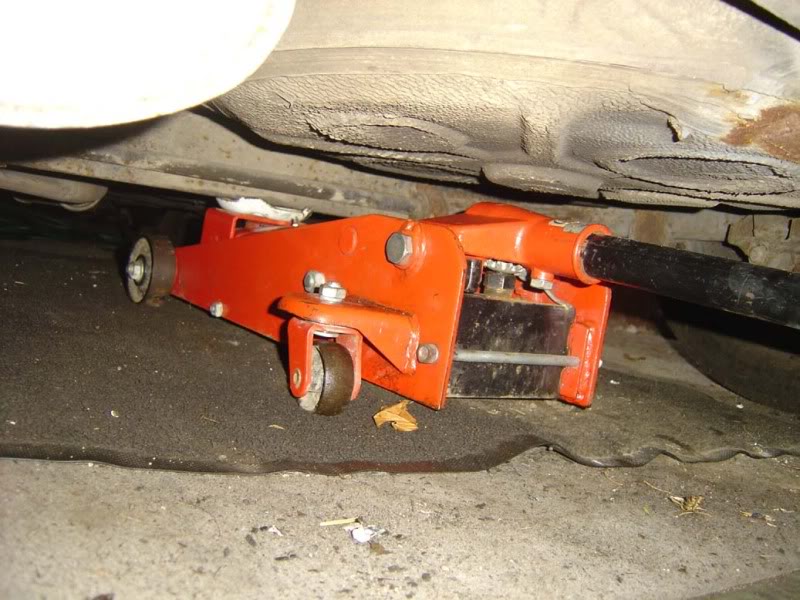
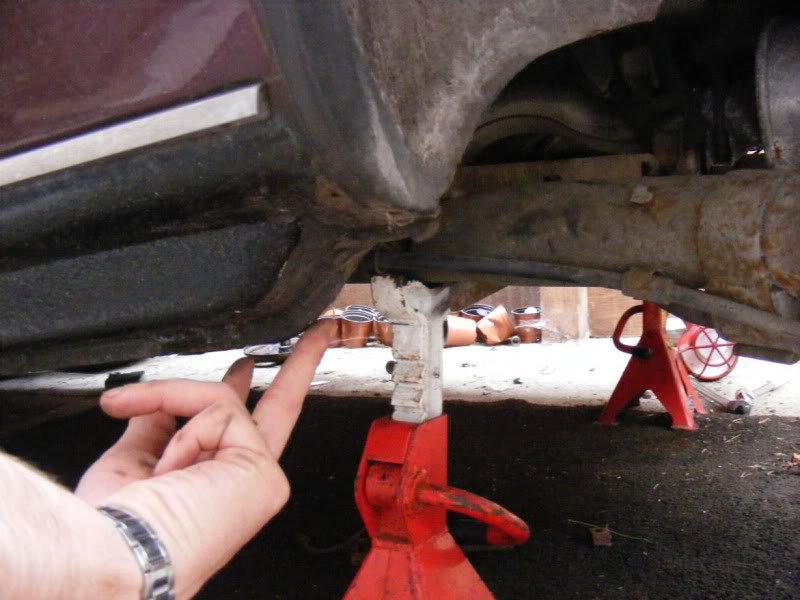
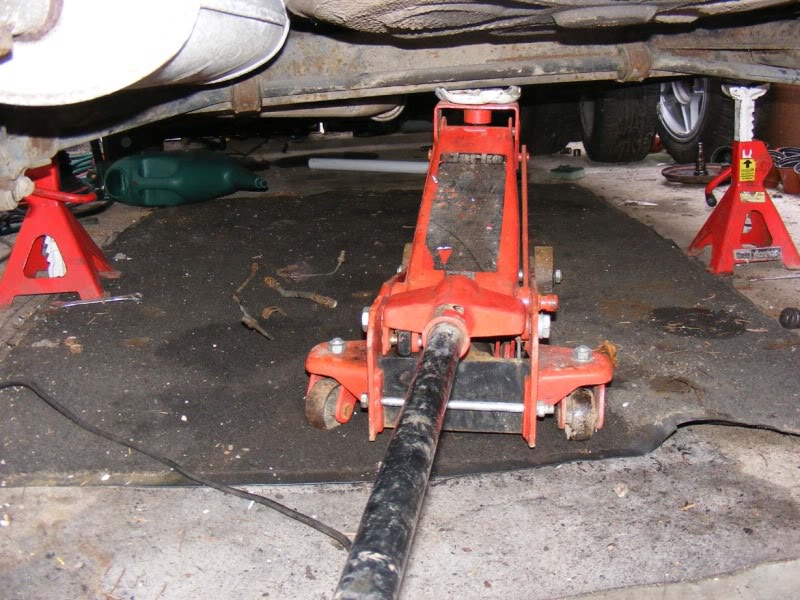
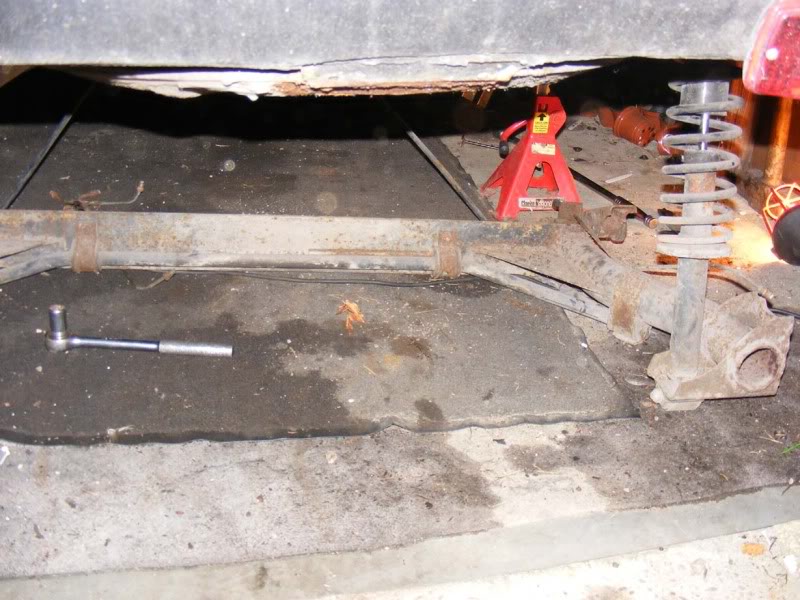
Step 9 - Jack up the car nice and high, I used the centre of this crossmember on the rear subframe (picture 1) then support on axle stands on either side - make sure it's well supported with both road wheels removed, you don't want any risk of the car toppling - also chock the front wheels if possible
Posted
Settled In
Step 11 - Slacken the handbrake completely
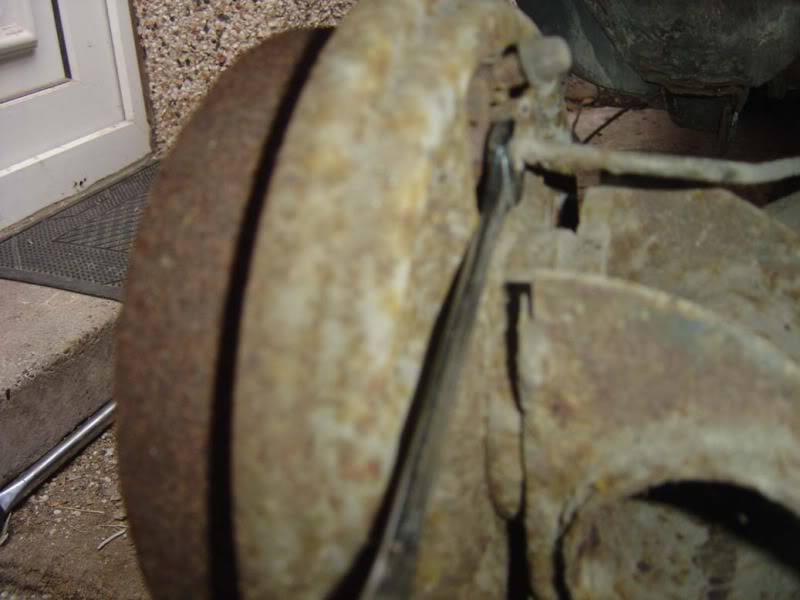
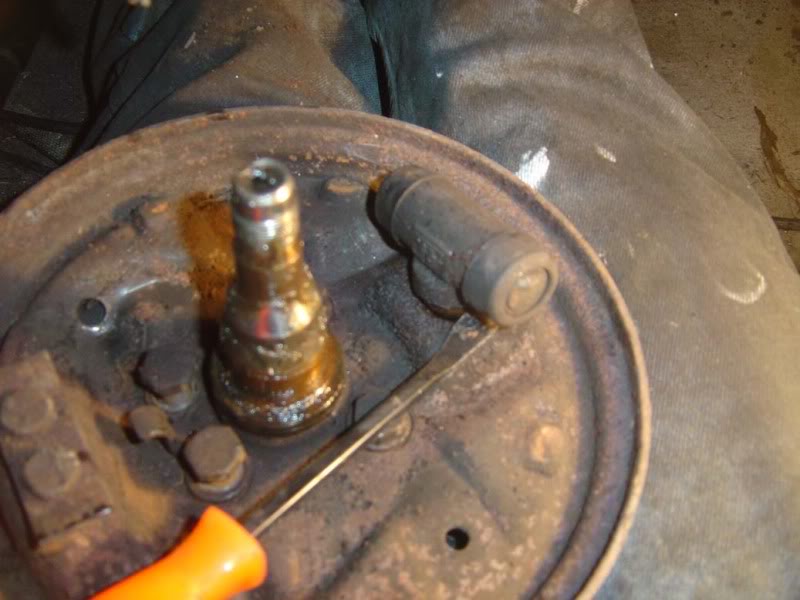
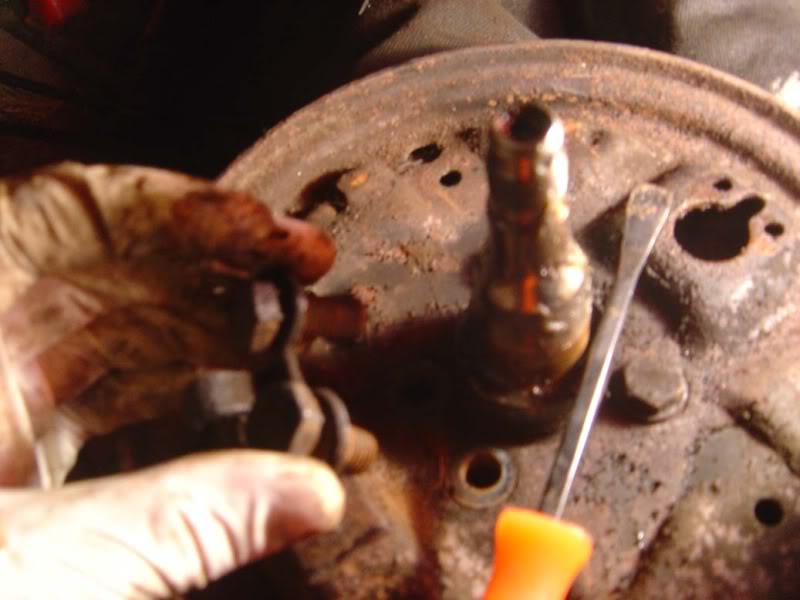
Step 12 - Looking round the back of the drum you will see an Allen key bolt which needs removing, if it is stiff you might want to use a ratchet as opposed to an Allen key (both approaches shown). Crack this off now but don't remove it just yet, it's just easier while everything's held in placeSee step 35 if you really struggle with this
Posted
Settled In
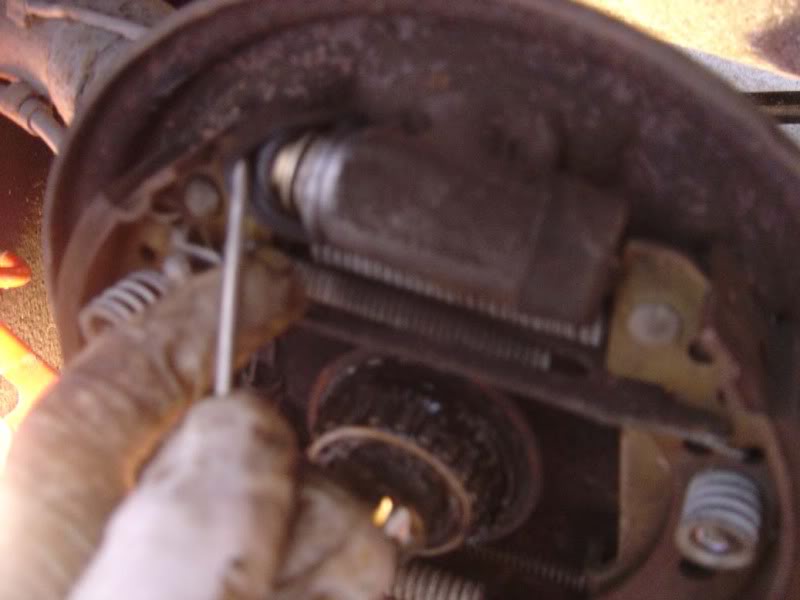
Step 14 - If you have a brake pressure regulator fitted then depress the lever (push it towards the rear of the car) to relieve pressure
Step 15 - Use a flatblade screwdriver to slacken off the adjuster (either via a rubber grommet and a toothed wheel or in my case my applying leverage to the brake mechanism in an upwards direction - it depends whether you have the self adjusting mechanism)
Posted
Settled In
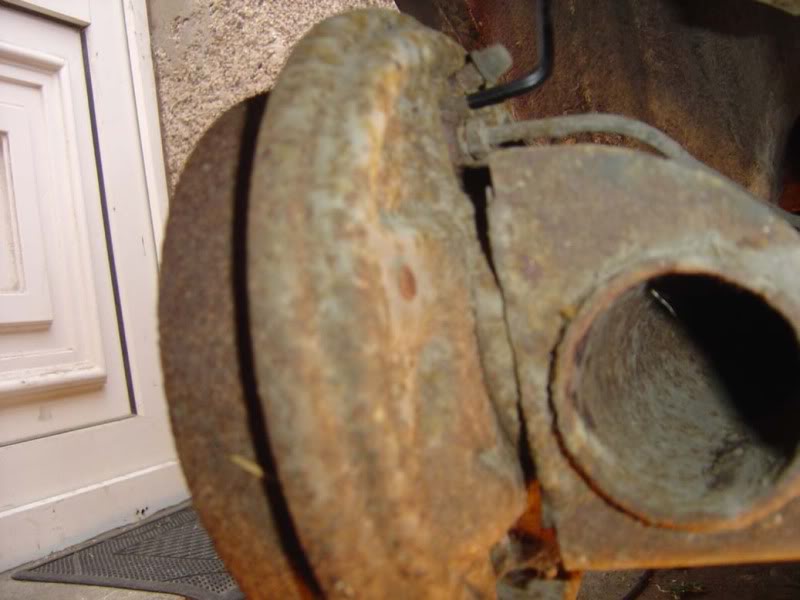
Step 17 - A crude method to test a drum is to tie it with a piece of string (or cable tie in my case) and tap it with a screwdriver. It should ring like a bell normally but if cracked it won't. Check the inside for pitting and scoring and replace as necessary
Step 18 - Peel back the seals on the piston to check for signs of leaking fluid, if necessary replace the assembly
Posted
Settled In
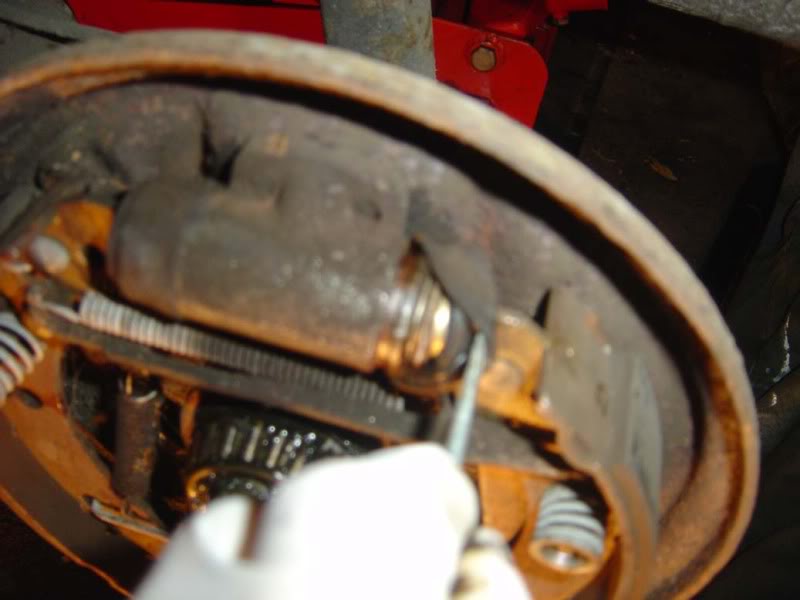
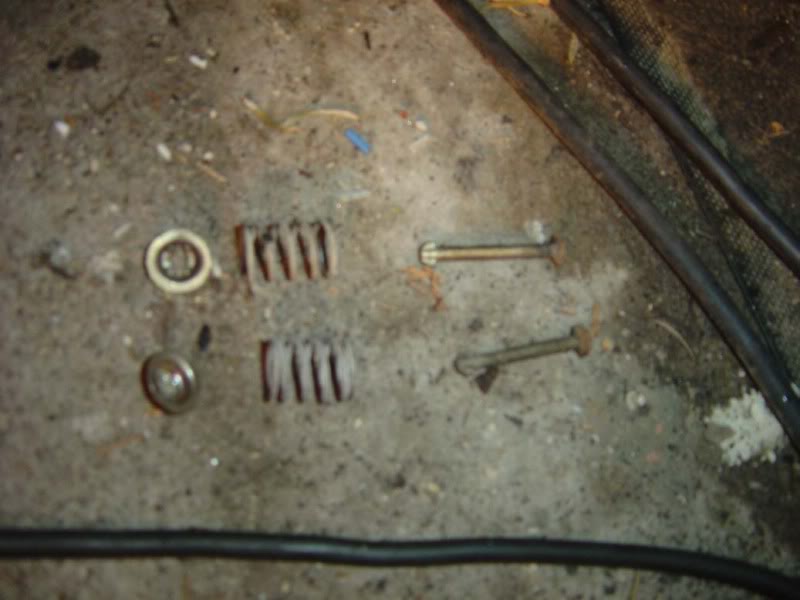
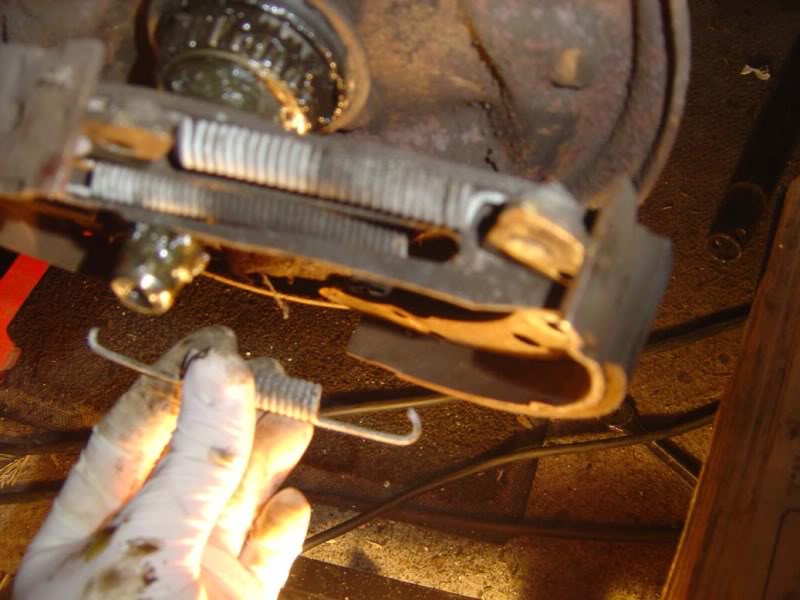
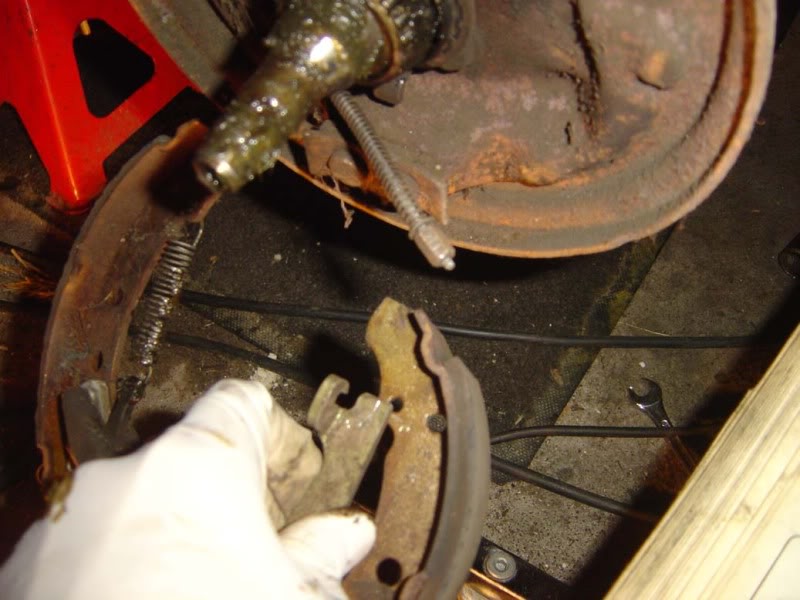
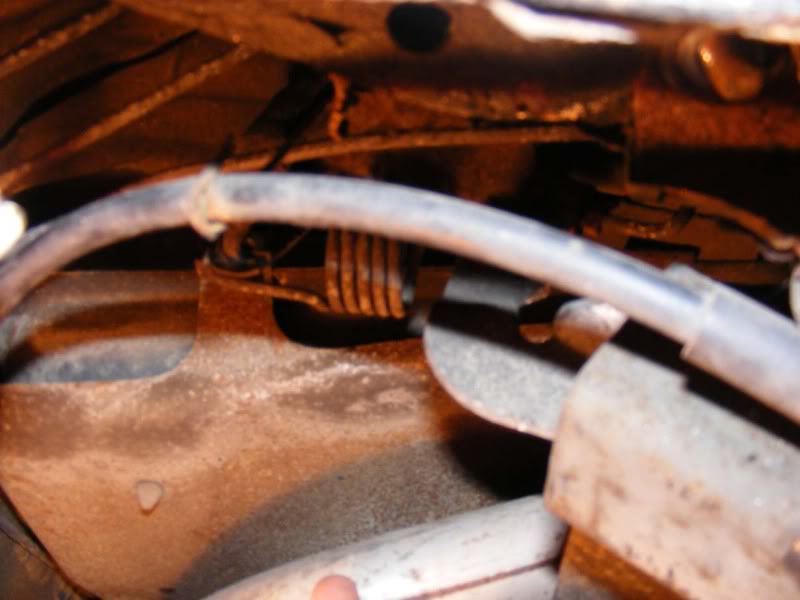
To remove them, place your finger on the end of the pin round the back of the drum then use a pair of pliers/grips to grip the collet and compress the spring. You can then rotate the cup through 90 degrees and it will release the tension allowing you to pull the cap and spring away
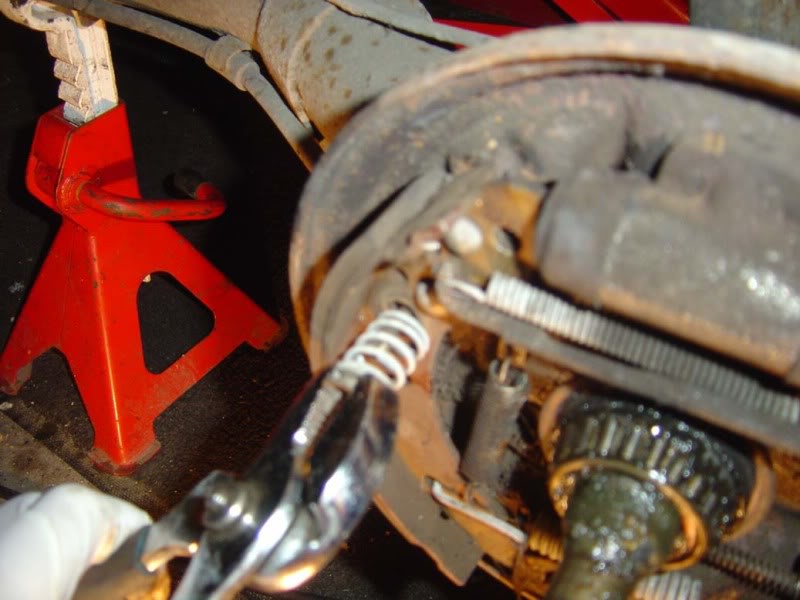
Step 20 - This is to show you what the pin/spring/collet looks like
Step 21 - We'll now remove the tension from the shoes. To do this, pull the trailing (rear) shoe outwards then hook it towards the face of the road wheel so it is no longer in line with the piston
Posted
Settled In
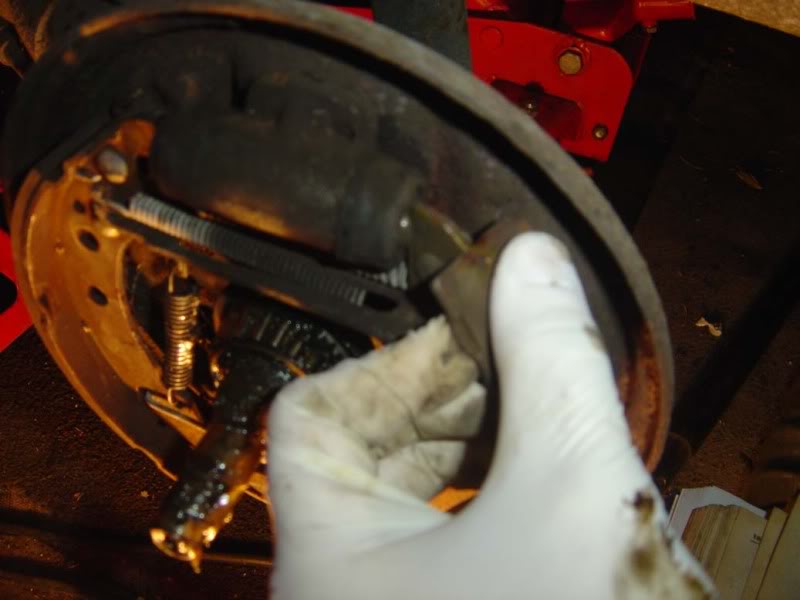
Note that when you remove the shoes from the pistons they can be retained with an elastic band/piece of wire if they start to creep out (and you don't want them to i.e. you're not replacing them)

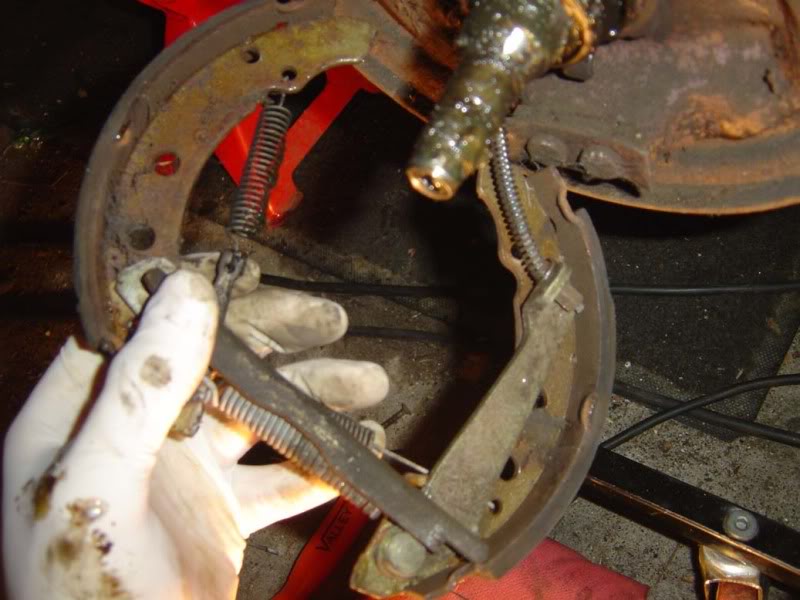
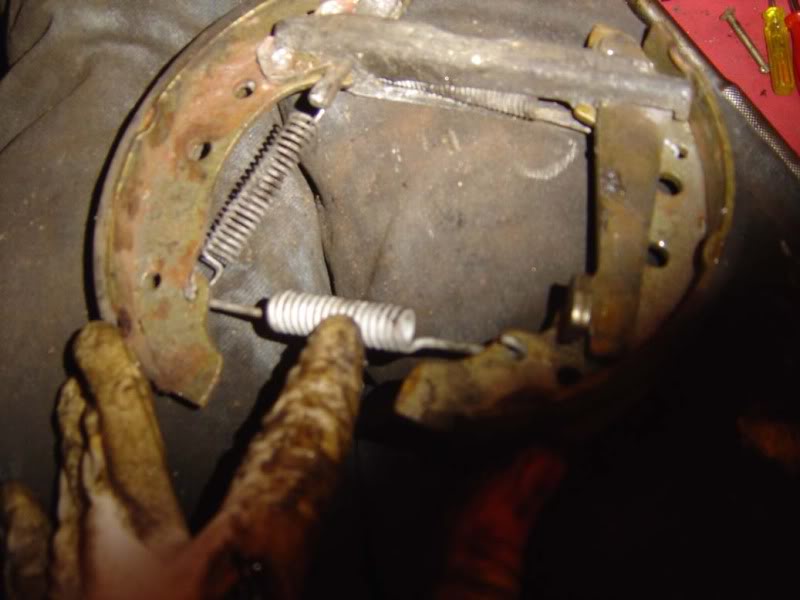
Step 23 - The two shoes should drop forwards now as shown
Step 24 - Now simply unhook the bottom spring (noting which holes it goes in). To do this, use a flatblade screwdriver down the back of the shoes and flick the spring out (second picture shows this)
Posted
Settled In
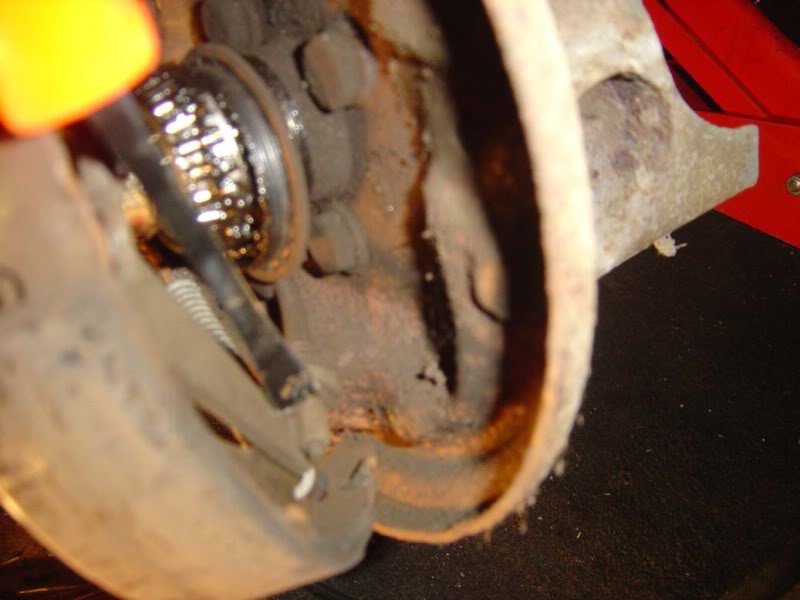
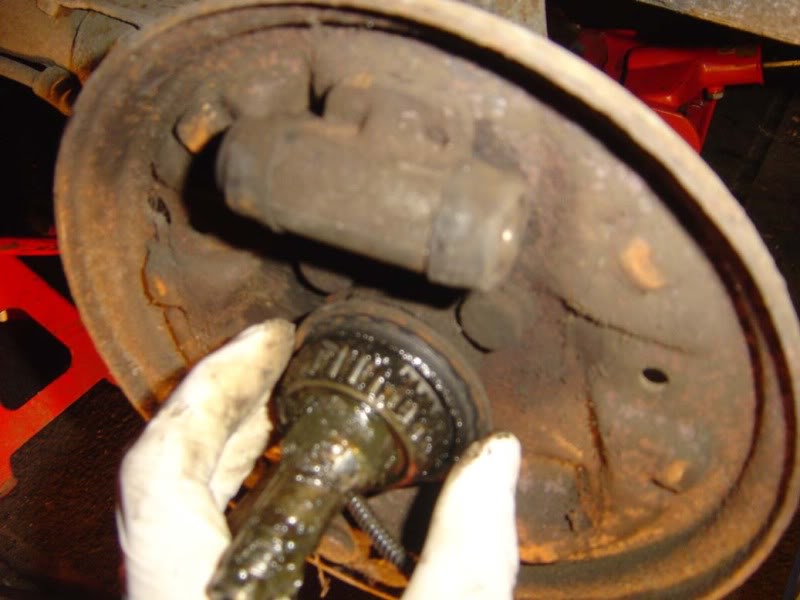
Step 26 - With the tension removed you can easily unhook the handbrake cable as shown
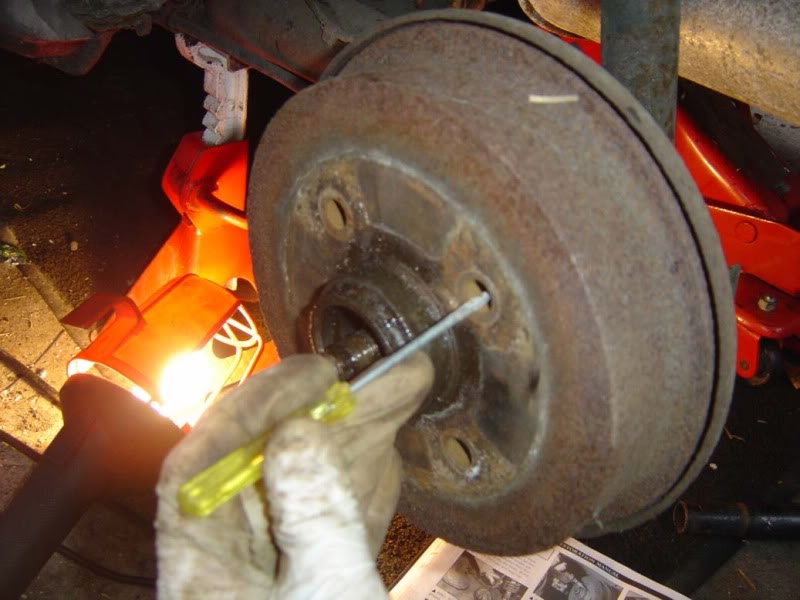
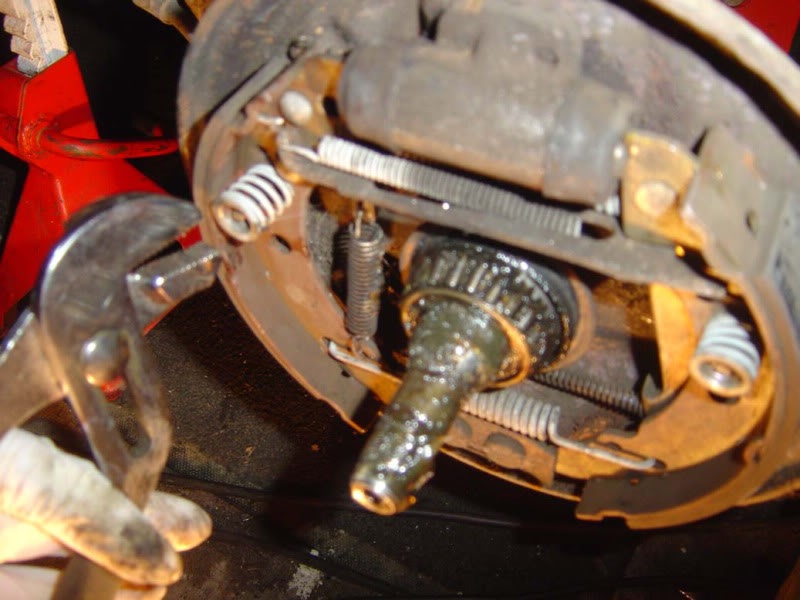
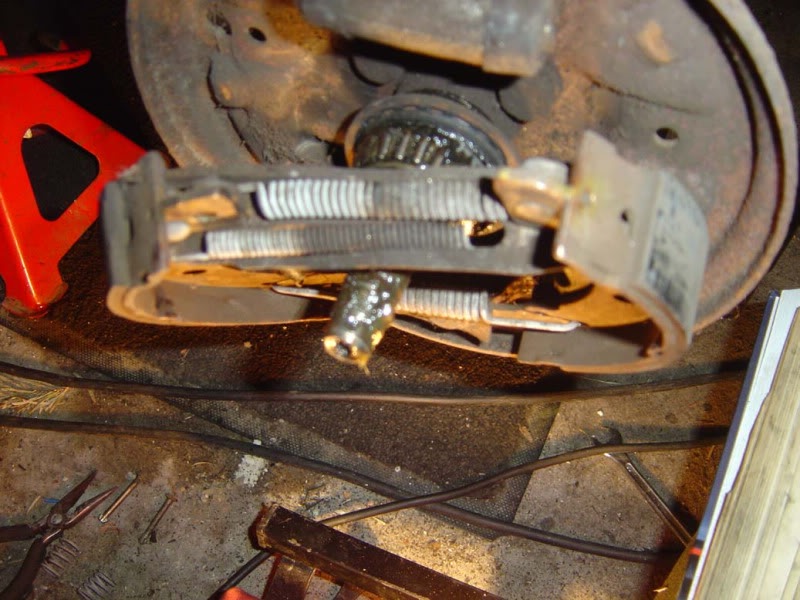
Step 27 - Now you can remove the shoes completely and leave them laid out in some form so you can remember which springs go where! Move on to the stub axle where you have the other wheel bearing which should just slide off
Posted
Settled In
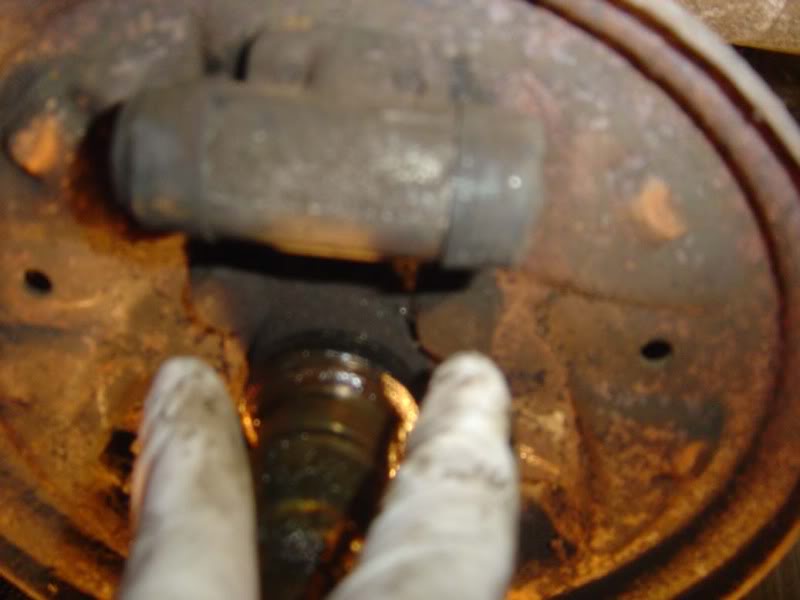
Step 29 - With the 4 bolts slackened you can remove the back plate completely
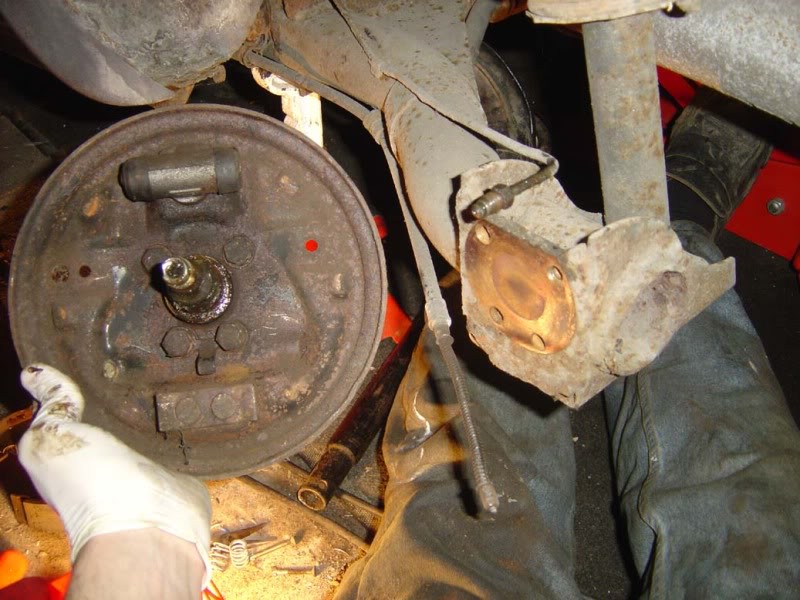
Step 30 - With the rear brake hose now going nowhere you can cover it with a rubber glove or some suitable means to prevent fluid loss. Make sure you keep it nice and clean if you aren't doing a fluid change

Posted
Settled In
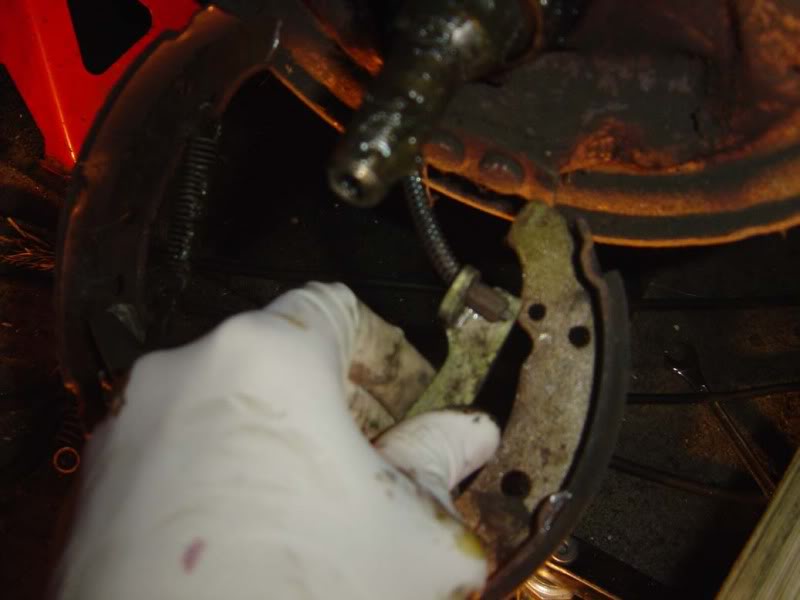
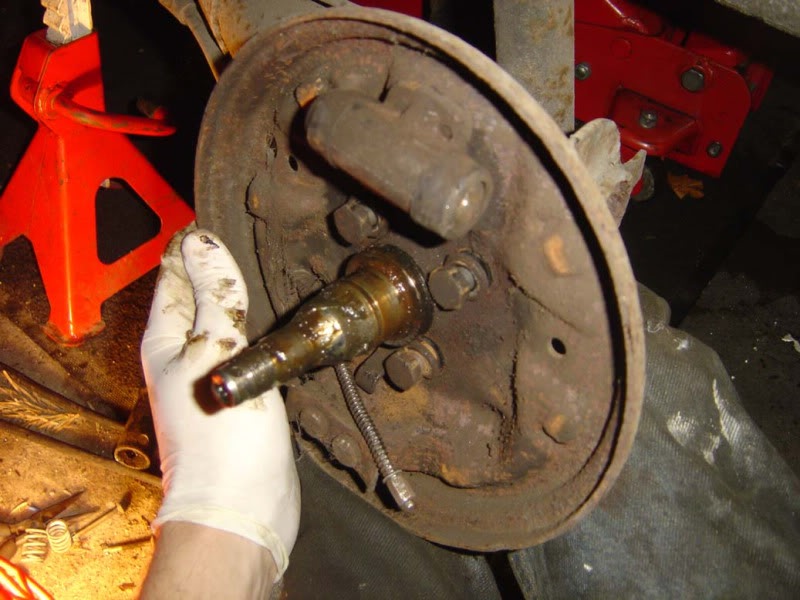
Step 32 - Once removed, ease the pistons out with a screwdriver or similar
Step 33 - At this stage I took the two 14mm bolts that held the stub axle in place and placed them safely with the piece of metal that joins them
Posted
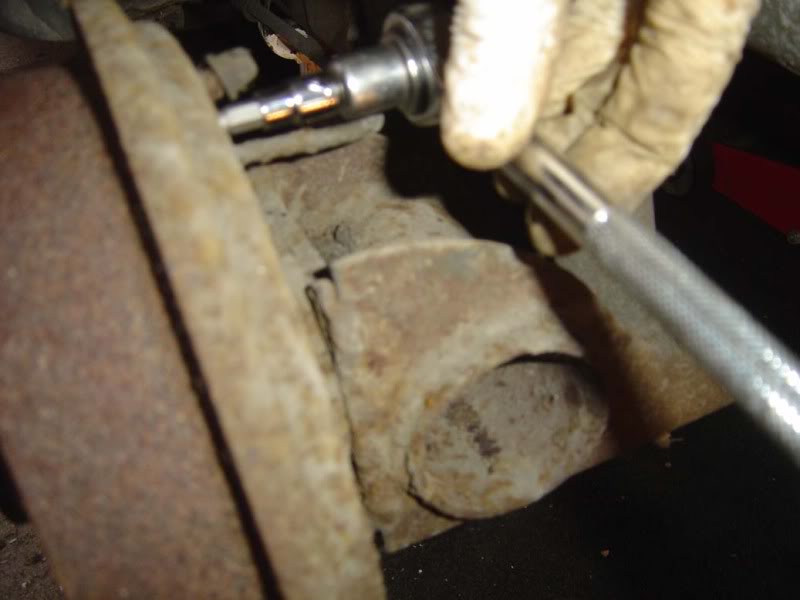
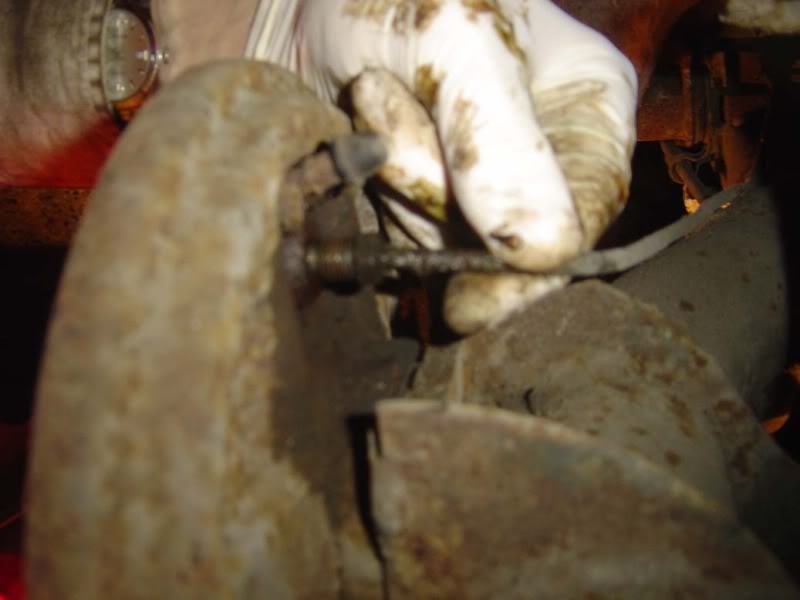
Settled In
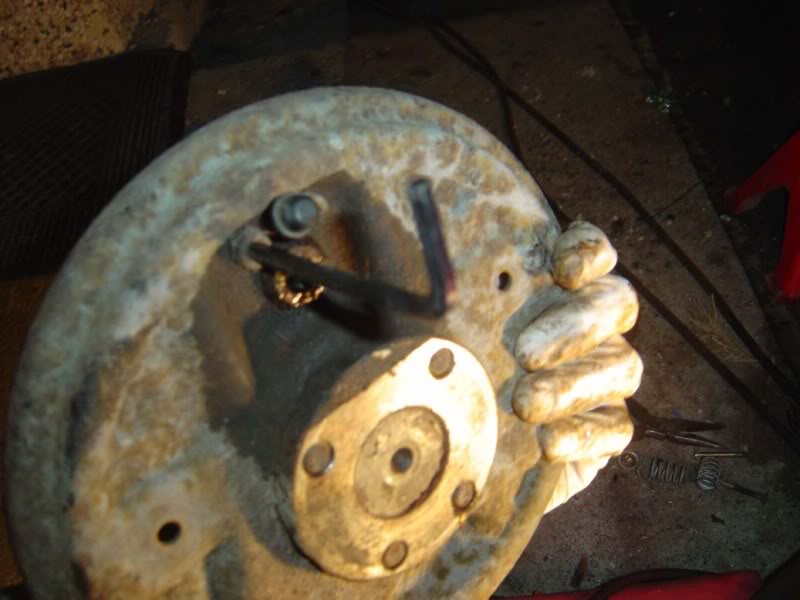
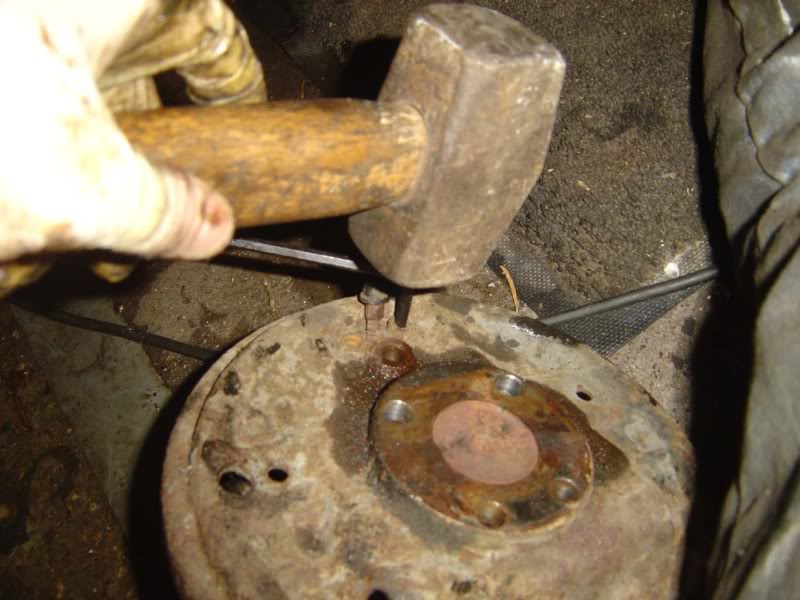
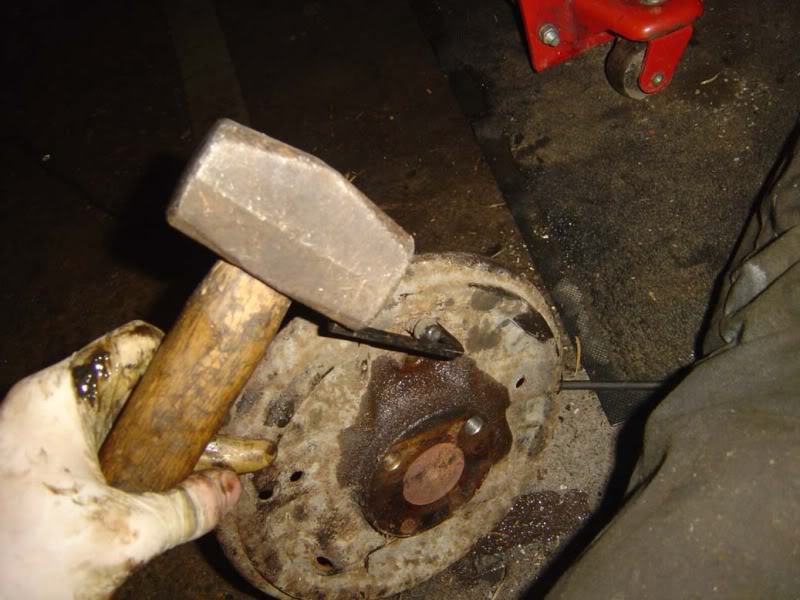
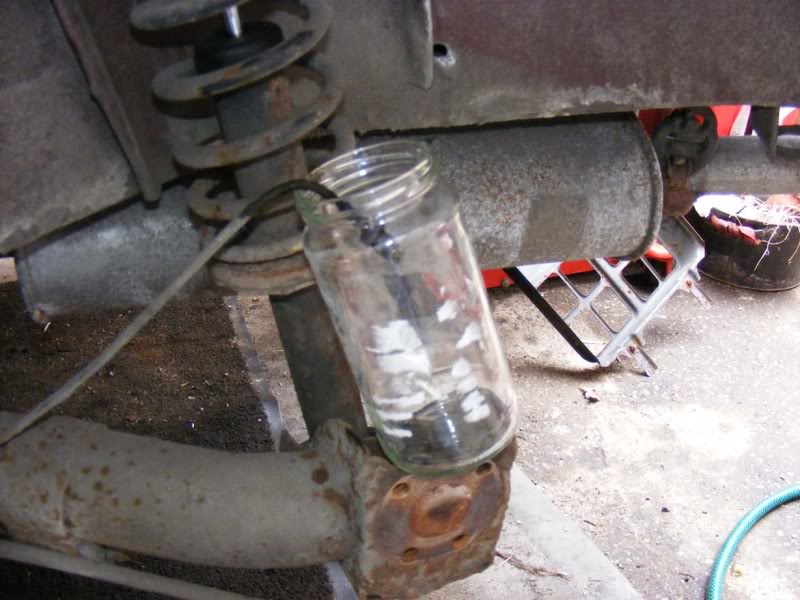
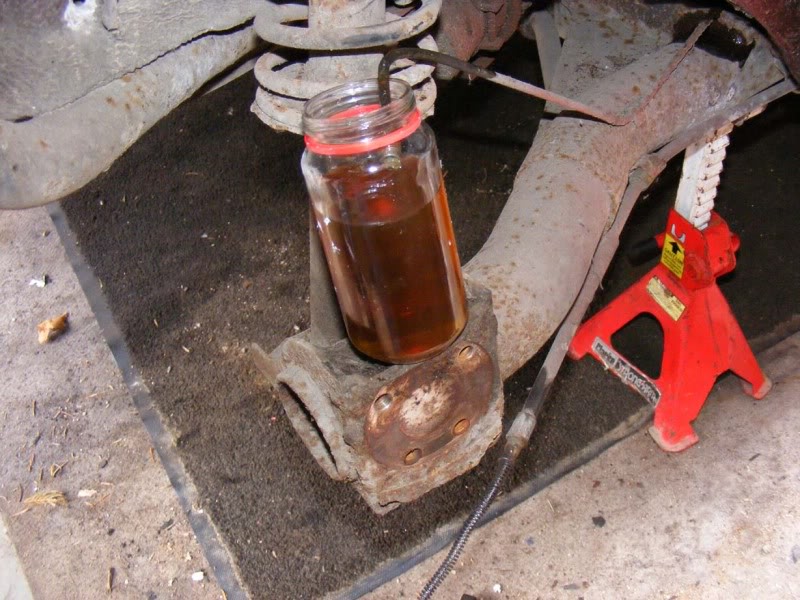
Step 35 - If you get a very stubborn Allen key for the pistons (as I did on the second drum), wait until you've removed the backplate completely them tap the Allen key in to get a solid fitting all the way in and then tap it down as shown
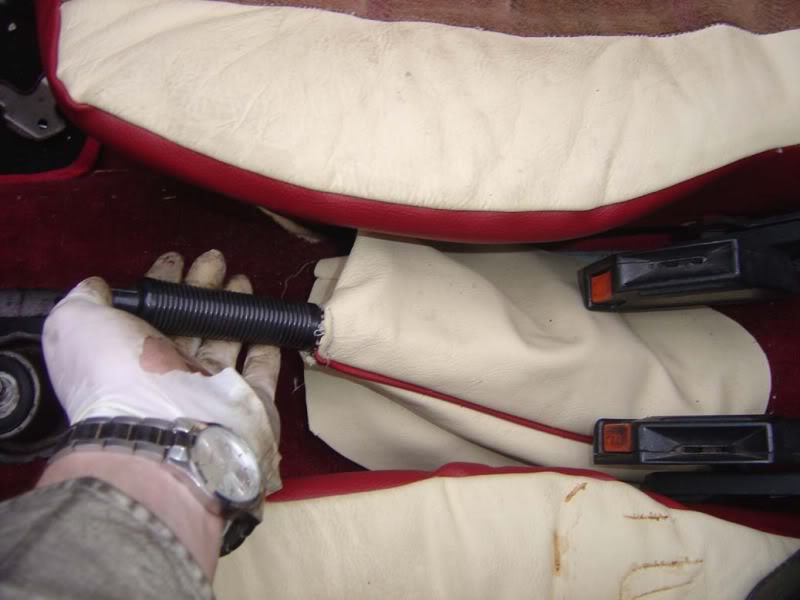
Step 36 - For me this was time to empty the braking system so pop both brake lines into a jam jar and pump the brakes (with the fluid reservoir cap off) to flush the system
Posted
Settled In
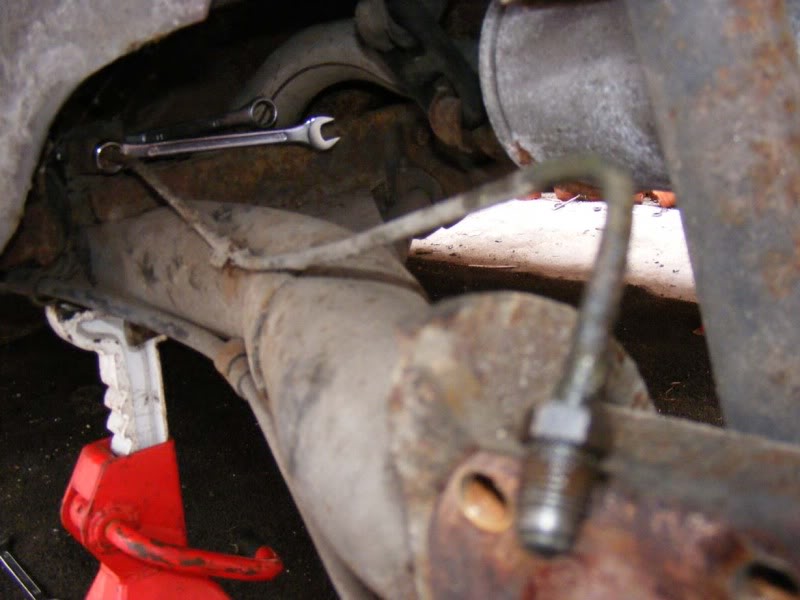
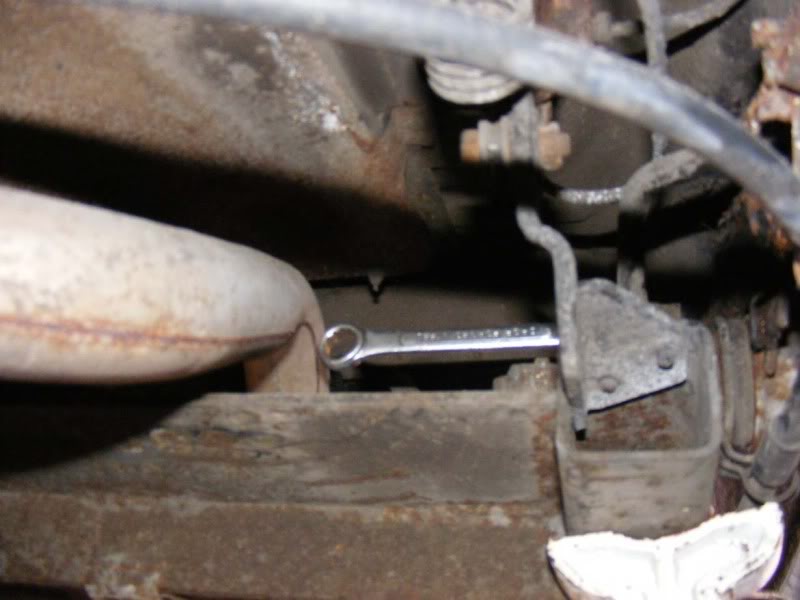
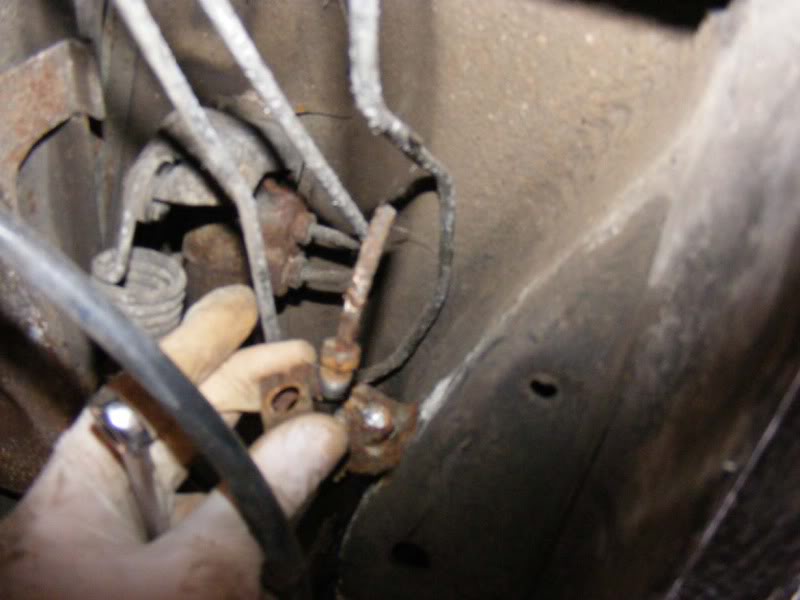
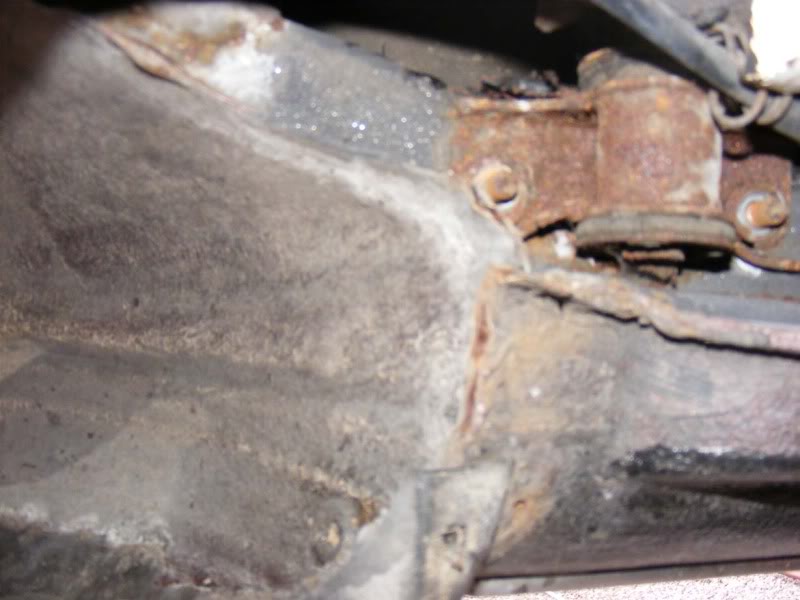
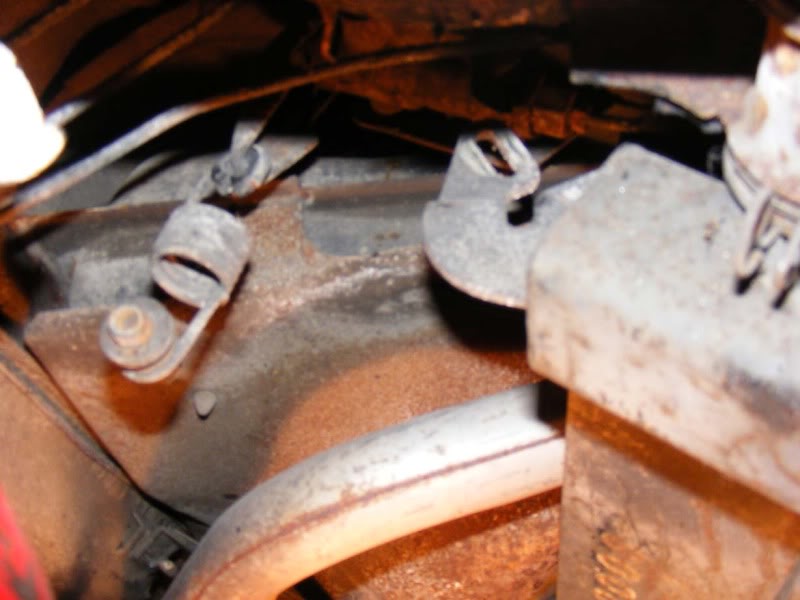
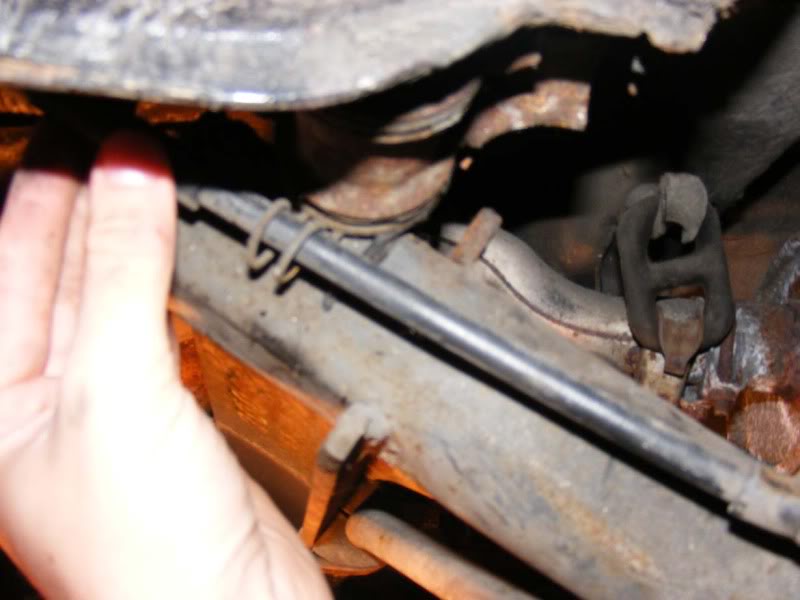
Step 38 - Onto the subframe next, lever up the metal retaining tags that hold the brake line to the subframe
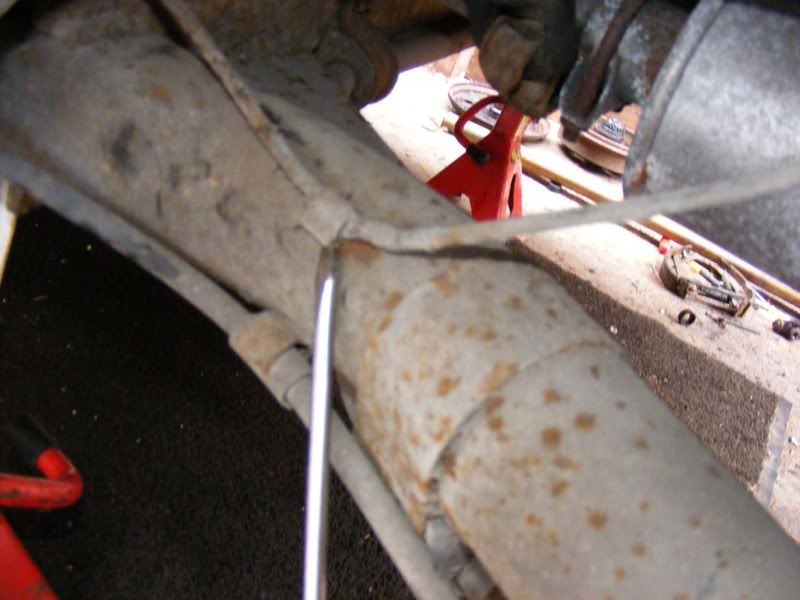
Step 39 - Slide a spanner over the end of the brake line that connected to the drum and all the way up to the nut that links it in place. I think it was two 11mm spanners I used for this, remove completely. The second picture was an effort to show where the second spanner goes with a bit of perspective
Posted
Settled In
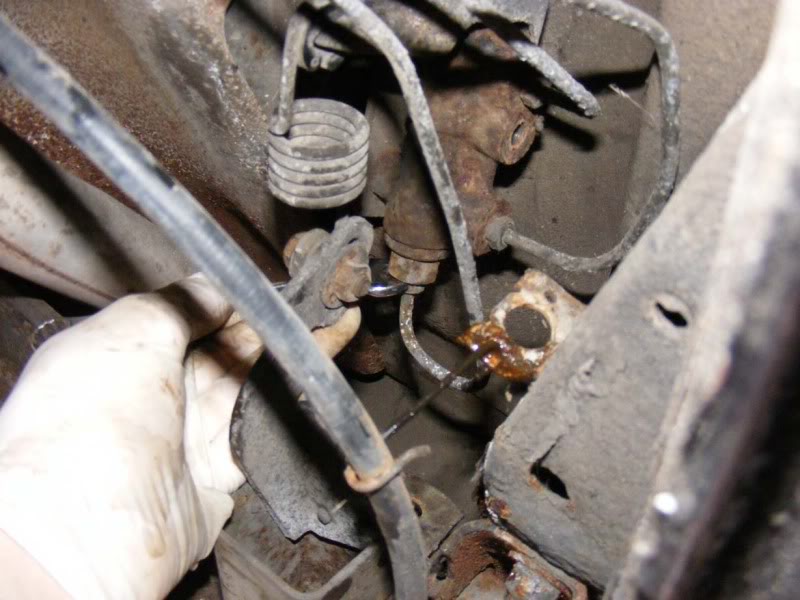
Step 41 - Now remove the metal retaining clip you left behind
Step 42 - Onto the other side of this joint now where the flexi pipe meets the second hard pipe run, much the same affair with your fiddly 11mm spanners again
Posted
Settled In
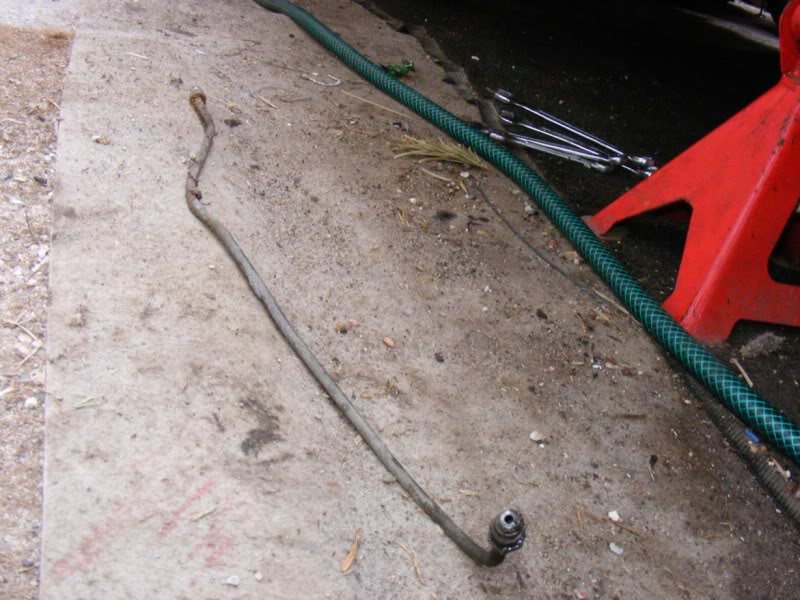
Step 44 - The flexi pipe should be free now so remove this
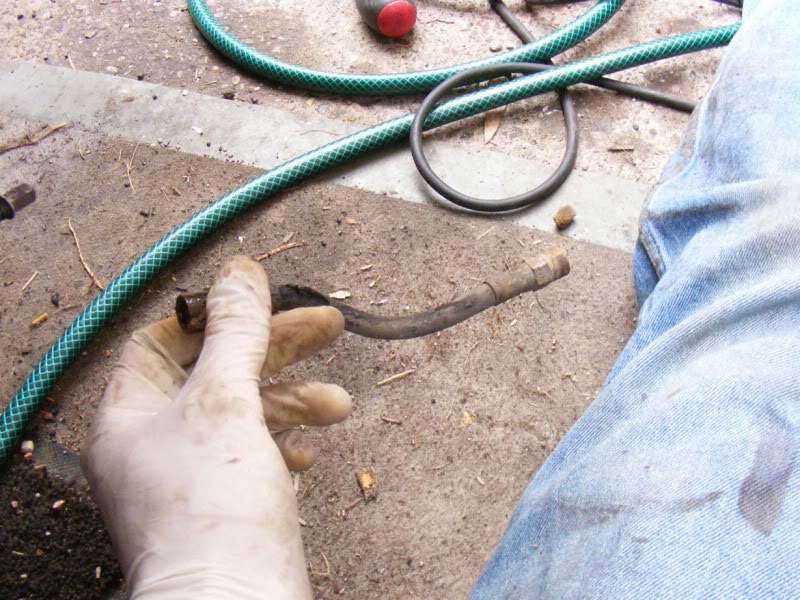
Step 45 - If you want to, at this stage you can remove the pipes to the brake pressure regulator and replace this item but it wasn't required for me
Posted
Settled In
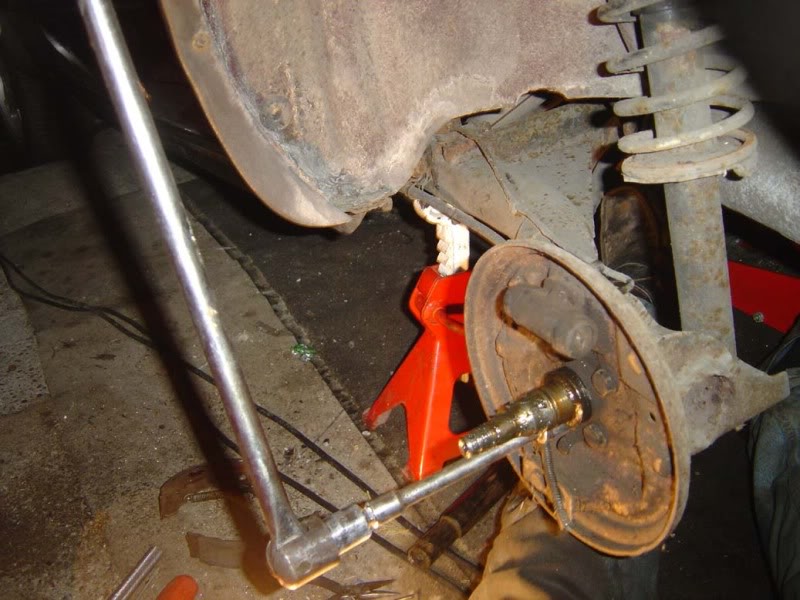
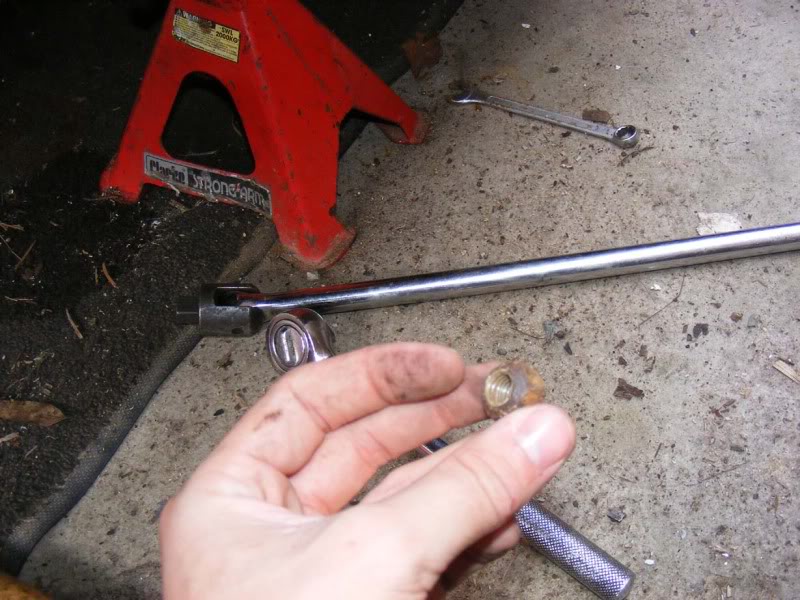
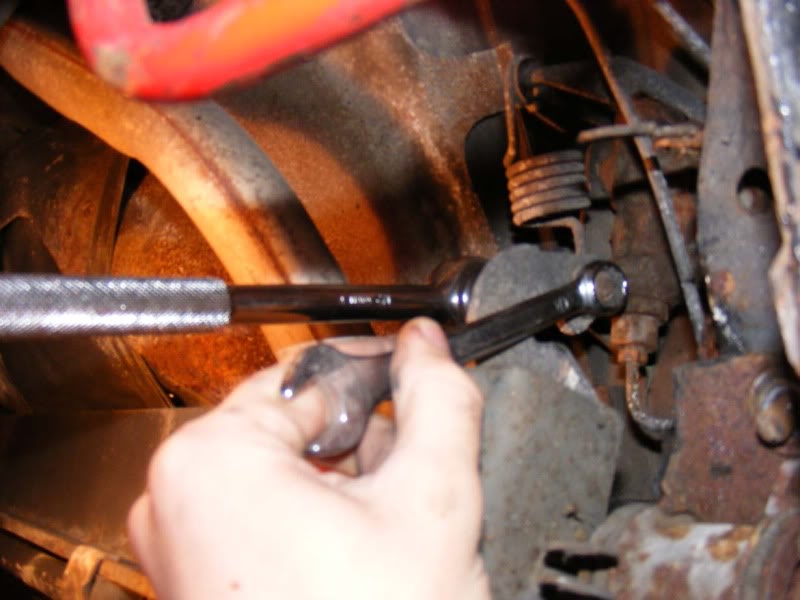
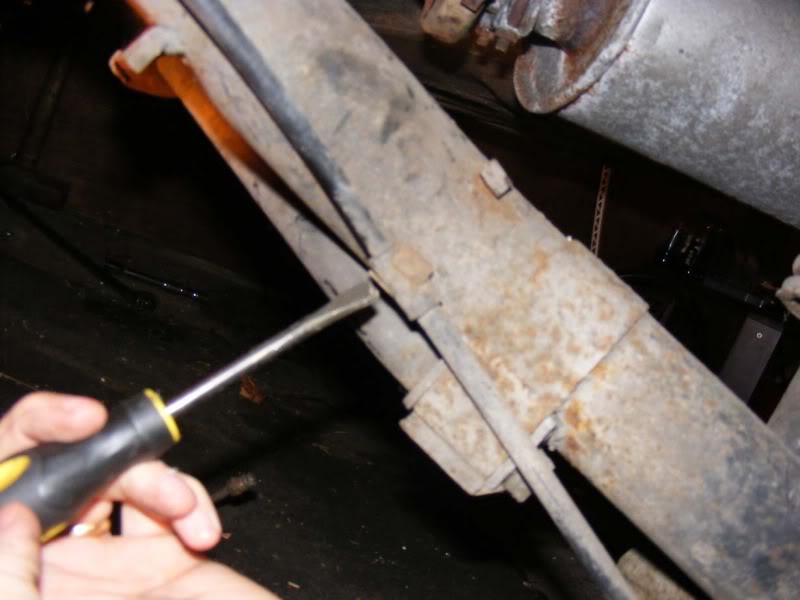
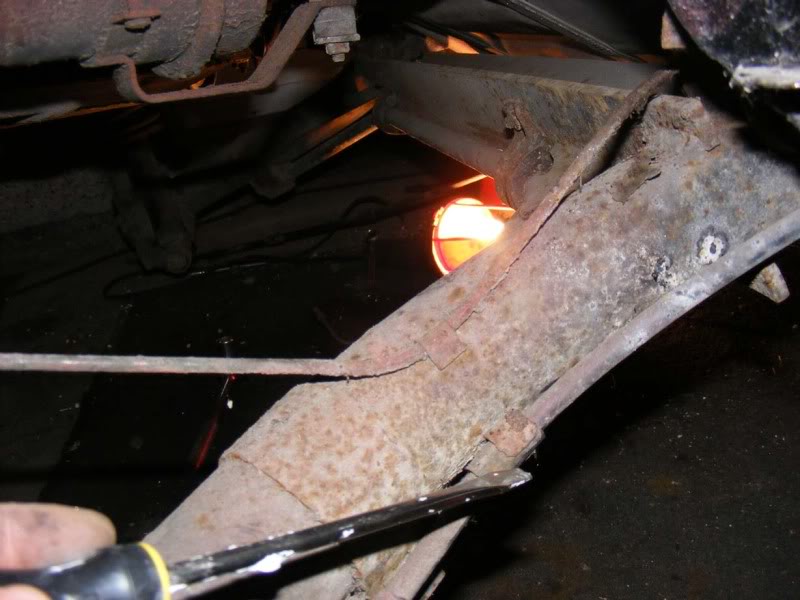
Step 47 - Remove the 2 bolts with a 3 foot breaker bar. 17mm and rusty so prepare for some force but the trick is to tap the socket on with a hammer as far as it will go (you will need a reasonably long walled socket to clear the stud and I recommend 1/2" drive) and then to give a smooth action with the long breaker bar to crack them off. I also recommend alternating between the bolts as you undo them, you may have noticed that stiff nuts/bolts get very hot when you undo them because of friction so allow them to cool to reduce shearing risk - believe me you don't want to be drilling and tapping these!
Posted
Settled In
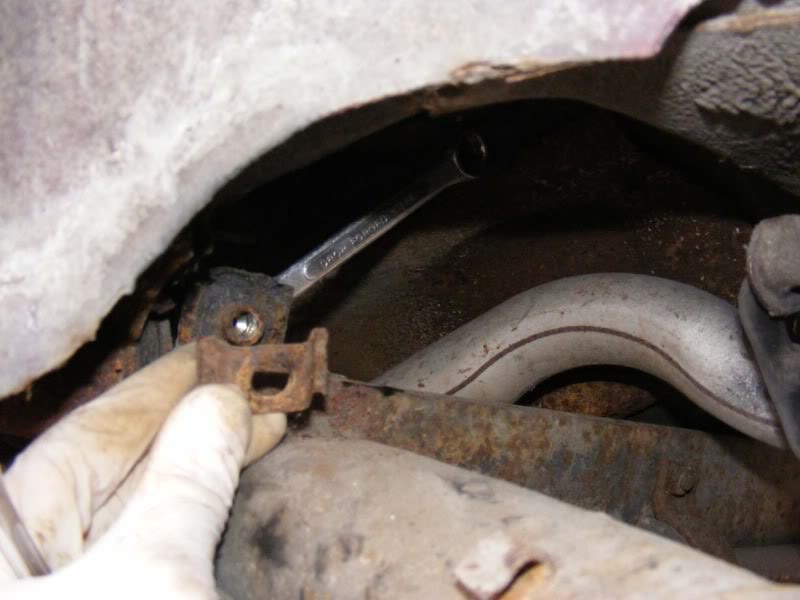
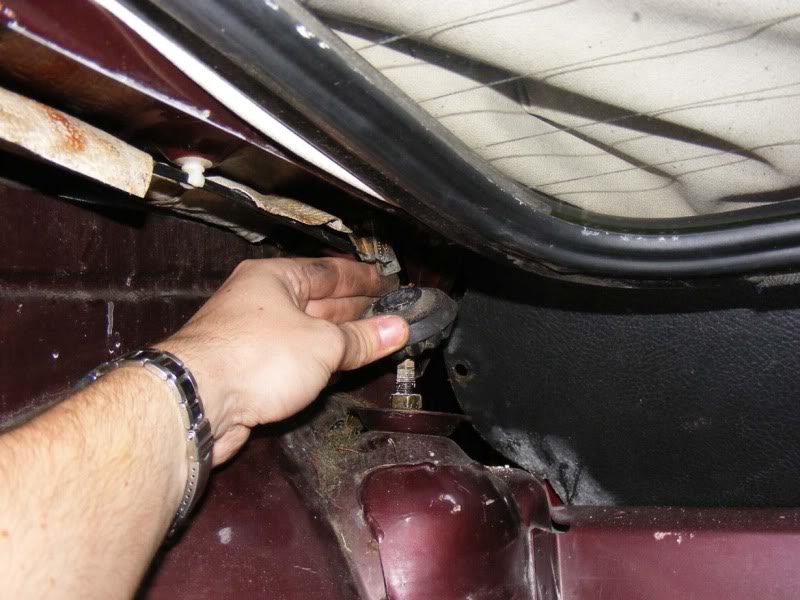
Step 49 - Now use a 17mm socket to remove the nut holding it in place, this isn't particularly tight once cracked off but might have suffered from rust due to water ingress. You may find a spanner more easy to wield in the tight space
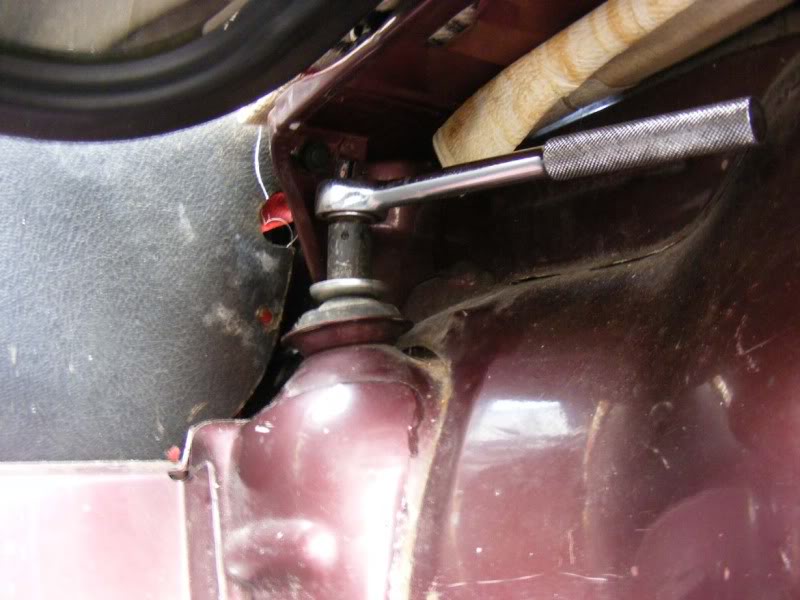
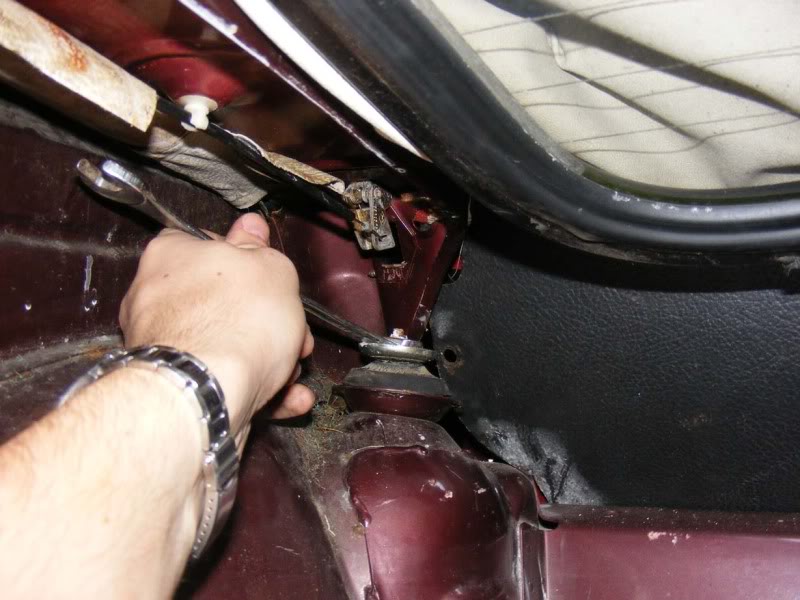
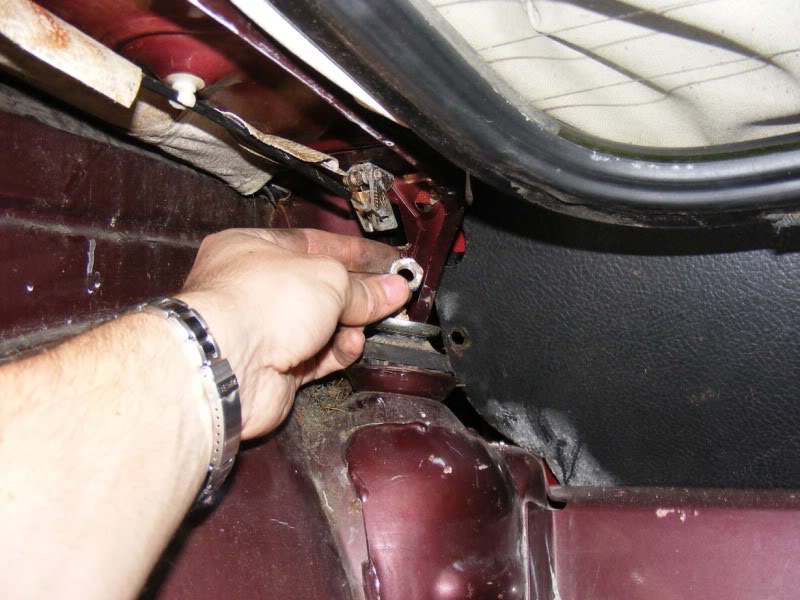
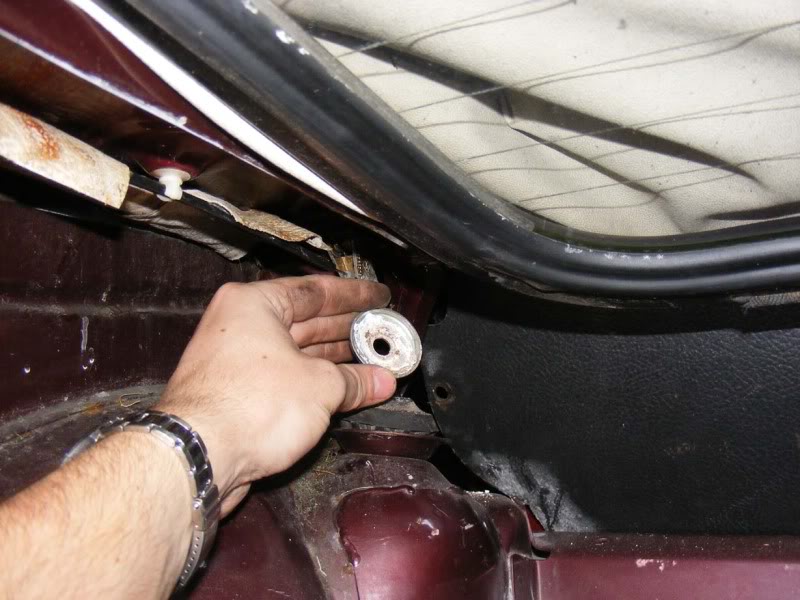
Step 50 - Remove the nut then the dished washer
Posted
Settled In
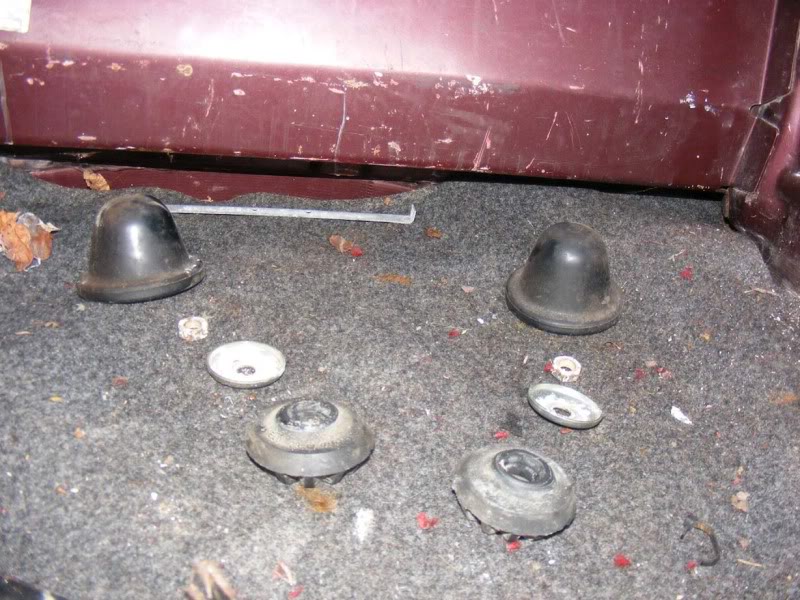
Step 52 - Do the same for both sides and keep your bits in a logical order
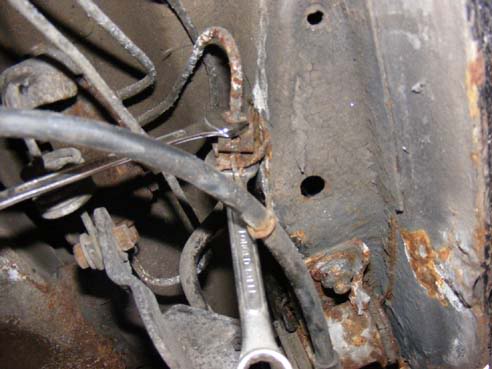
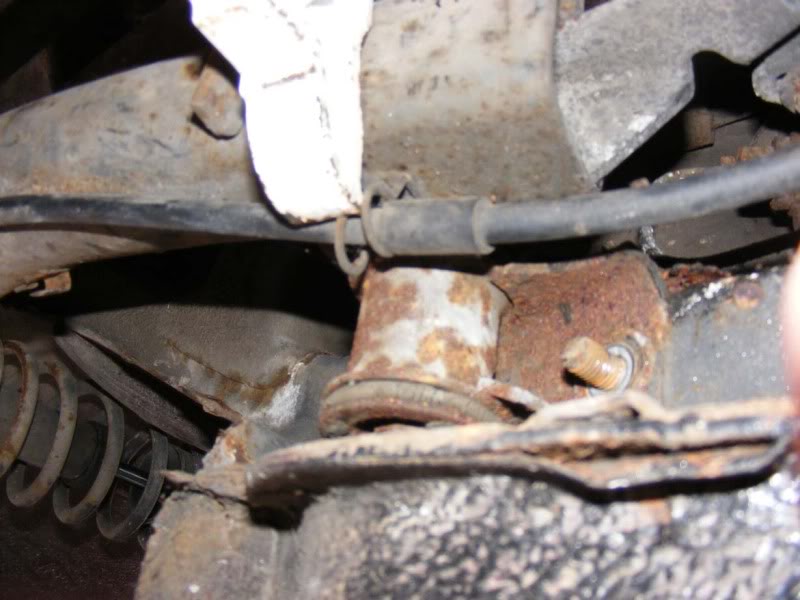
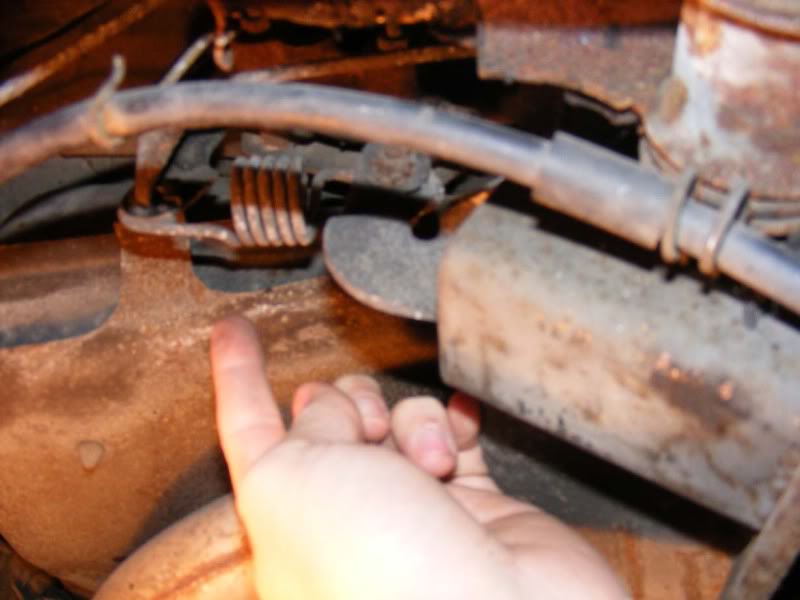
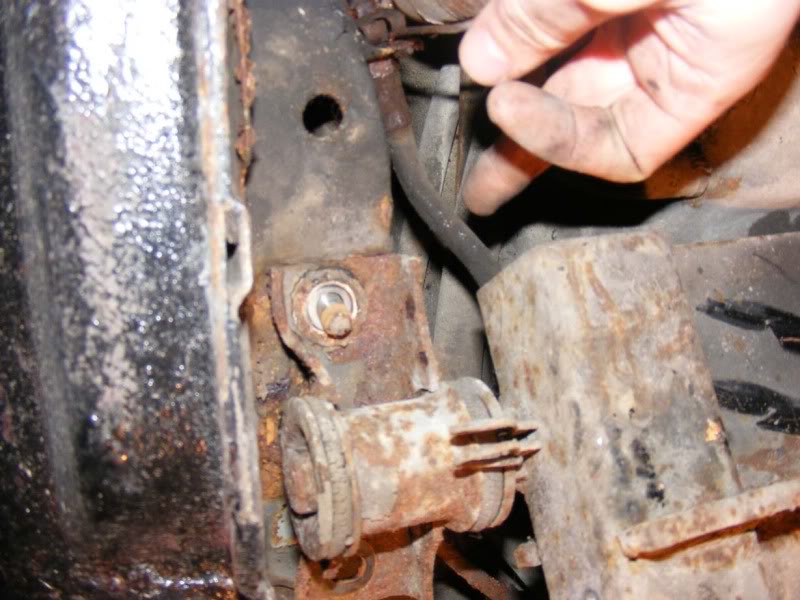
Step 53 - Time to disconnect that brake pressure regulator (if you wondered, it's job is to stop the back wheels from locking up) by removing the 10mm nut and washer then letting it drop down and pop the nut back on for safe keeping
Unhook the handbrake cable from the subframe (another metal tag clip affair)
Posted
Settled In
Step 55 - Round to the offside and remove the tab holding the handbrake on that side
Step 56 - Much the same affair with the hooks, slide the handbrake cable back so it is disconnected from the subframe
Posted
Settled In
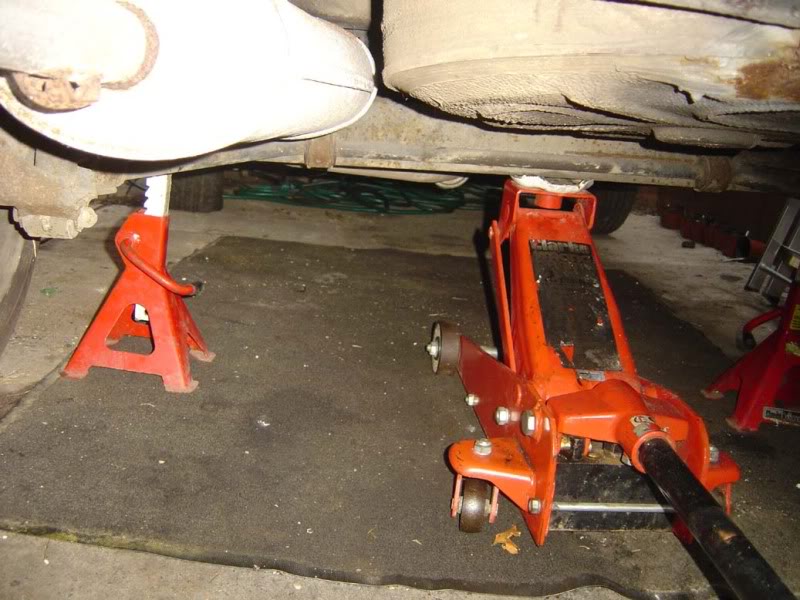
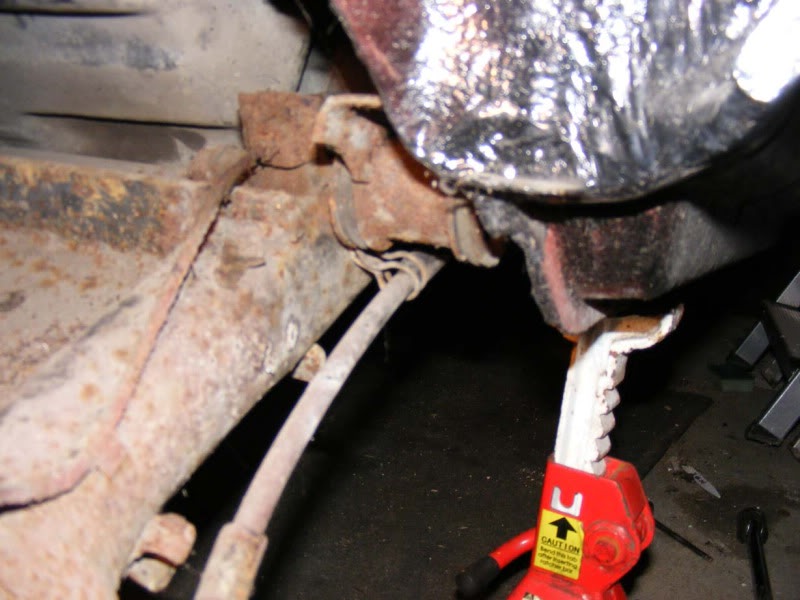
Step 58 - There's now nothing holding the subframe to the car so support the car on axle stands using a suitable mounting point and lower the jack to free it (it may take some wriggling to drop)
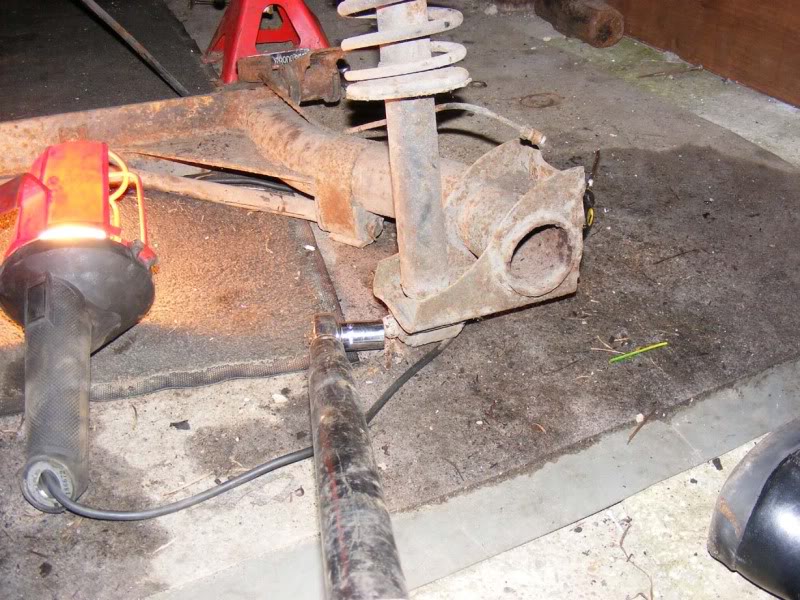
Step 59 - If you're lucky enough to have room to jack the car up properly (unlike me who had another car's roof balanced on top of the golf!) then slide the subframe out and start disassembly. If not, remove one suspension strut's 17mm bolt using a long bar (see my special camouflage black one in the middle of the pic) and then the strut comes away. This allows you to manoeuvre the frame out in a tight space
0 guests and 0 members have just viewed this: None.