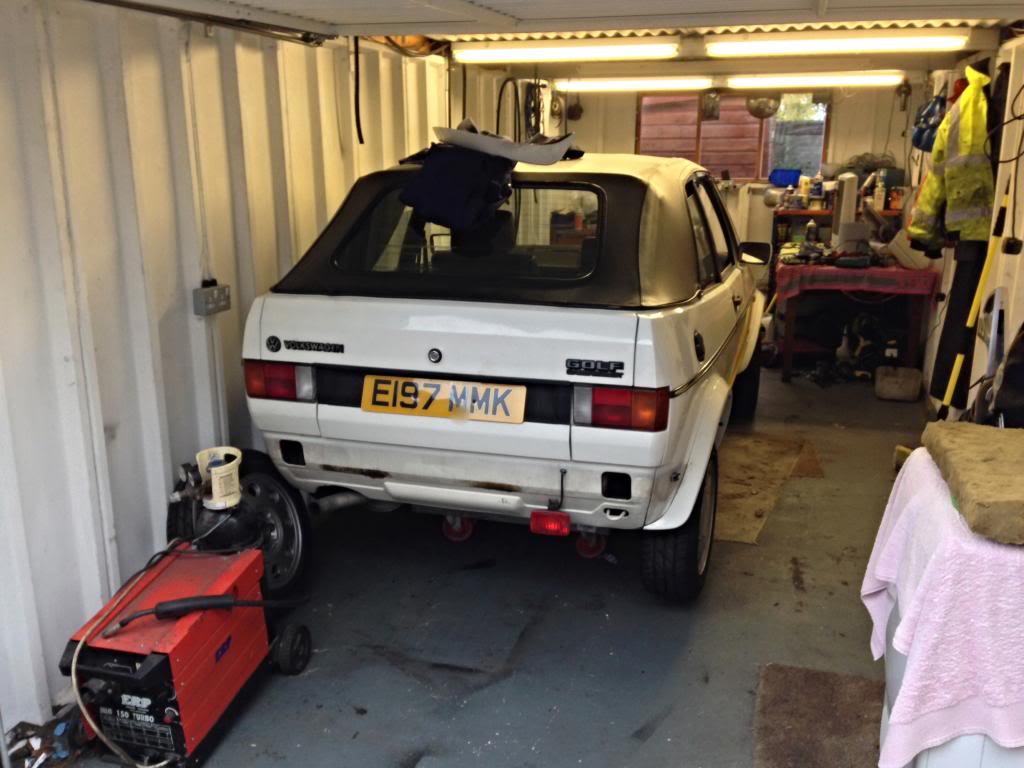
Mk1 Cabby winter project for the wife
Posted
#1364798
(In Topic #167528)
Settling In

Posted
Old Timer

Matt
Posted
Moderator


I'm sure your Wife will love you for it!
Lets see more pictures please before you get to far.
Sent by a smartphone and not a smartperson!
Play Guess the Asking Price 'SEASON 4' as of Sunday the 29th of October 2017.
https://vwgolfmk1.org.uk/forum/index.php?page=topicview&id=chat%2Fmk1-golf-chat_2%2Fguess-the-asking-price_2
OLD.
https://vwgolfmk1.org.uk/forum/index.php?page=topicview&id=chat%2Fmk1-golf-chat_2%2Fold-guess-the-asking
Ever wondered who's behind the scenes of this forum?
https://vwgolfmk1.org.uk/index.php?page=committee
Mike
There's me building mine 28 years ago, almost finished!

Be proud of your VW Golf Mk1, it's very special!
Play Guess the Asking Price 'SEASON 4' as of Sunday the 29th of October 2017.
https://vwgolfmk1.org.uk/forum/index.php?page=topicview&id=chat%2Fmk1-golf-chat_2%2Fguess-the-asking-price_2
OLD.
https://vwgolfmk1.org.uk/forum/index.php?page=topicview&id=chat%2Fmk1-golf-chat_2%2Fold-guess-the-asking
Ever wondered who's behind the scenes of this forum?
https://vwgolfmk1.org.uk/index.php?page=committee
Mike
There's me building mine 28 years ago, almost finished!

Be proud of your VW Golf Mk1, it's very special!
Posted
Settling In

Posted
Settling In

Posted
Settling In

Posted
Settling In

Posted
Settled In

Posted
Settling In

Think it's convinced me to remove all the arches and double check seems as it's having a full spray job too.
Posted

Moderator

Smudger
Posted
Settling In

First job was to look at why the front bumper didn't fit to wing very well so removed bumper and found LOADS of filler in the wing coving what was a VERY tiny ding,So set about with the wire wheel in grinder and after 15mins ended up with this.

Posted
Settling In


Posted
Settling In

Managed to remove the interior and take the roof off.

Posted
Settling In

Just gave it a quick waft of black to stop surface rust for now .

Posted
Settling In


Posted
Settled In

Posted
Settling In

Posted
Settling In


Posted
Settling In


Posted
Local Hero

I wouldn't know where to start as I struggle to cling film a sandwich :-D
0 guests and 0 members have just viewed this: None.


