


Guide - How to stop those leaking handles

Posted
#951384
(In Topic #112221)

Old Timer


Guide - How to stop those leaking handles
You will need a posidrive (philips) screwdriver
Vw Part no 155/871/431 I got 4 for ?13.25 inc VAT
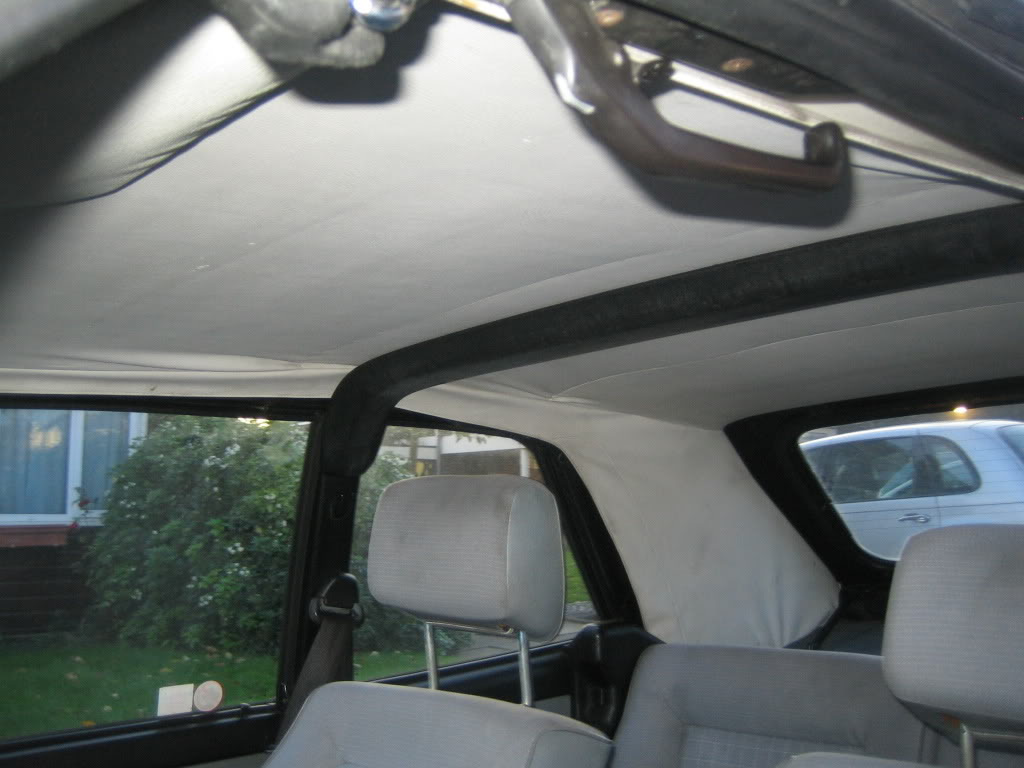
First open the hood up and unscrew the screw by the header end
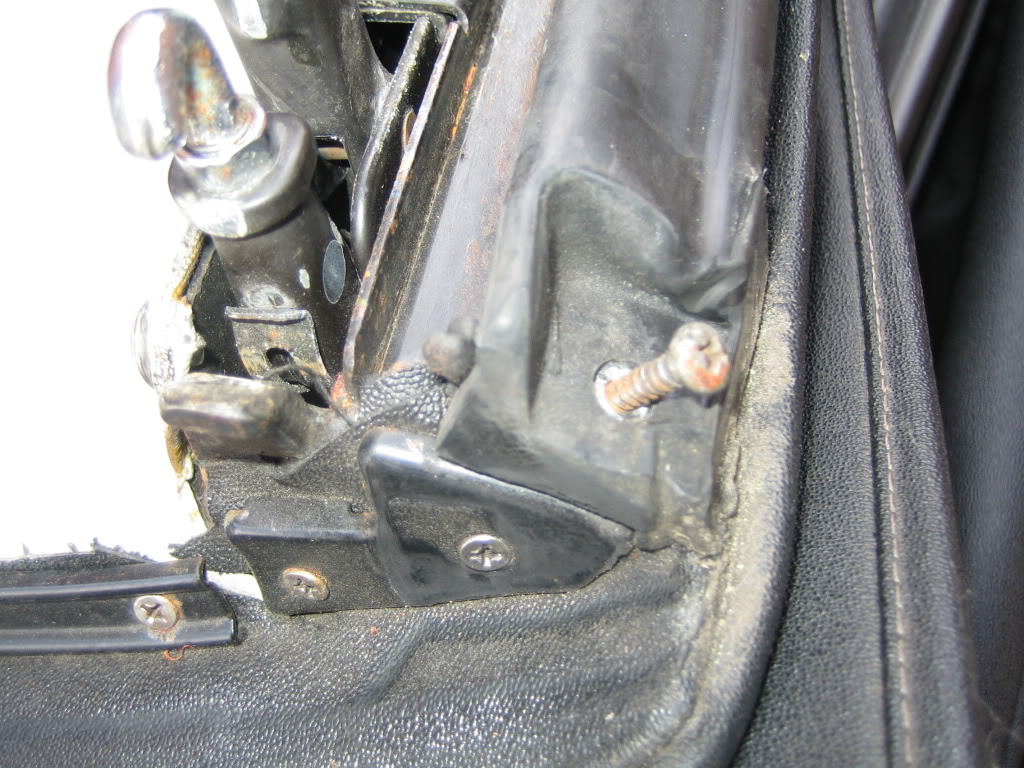
Lift the rubber seal out from one end and peal back
Undo the four screws that hid under the seal (mine only had three :dontknow: )

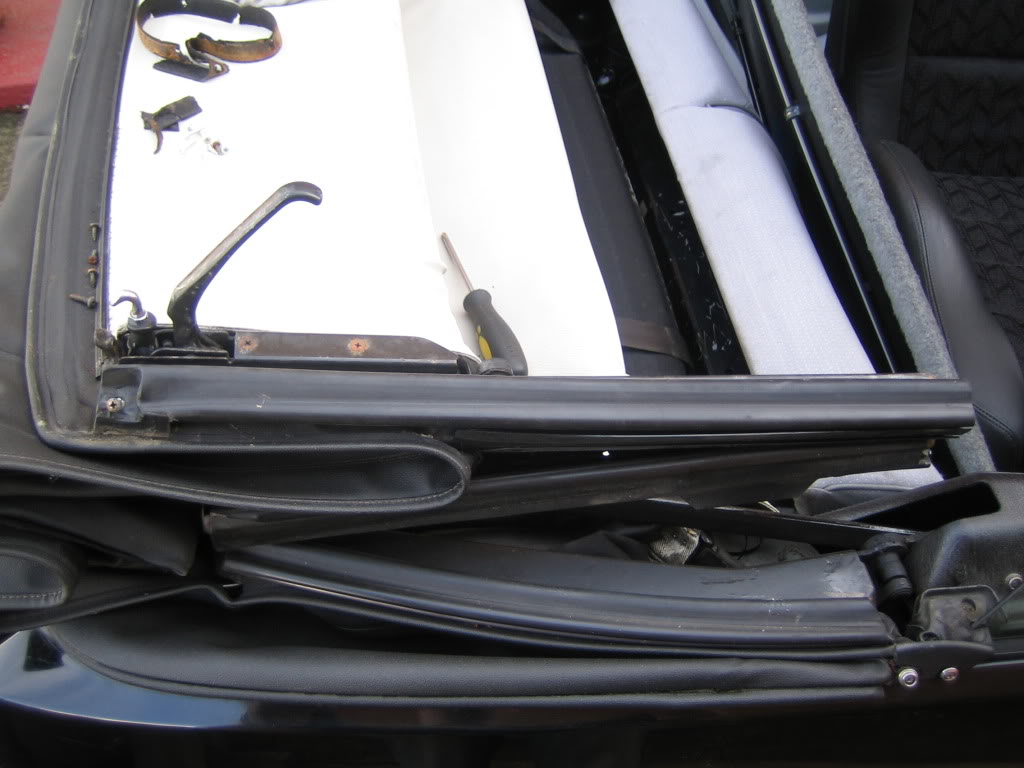
When done you should be left with this

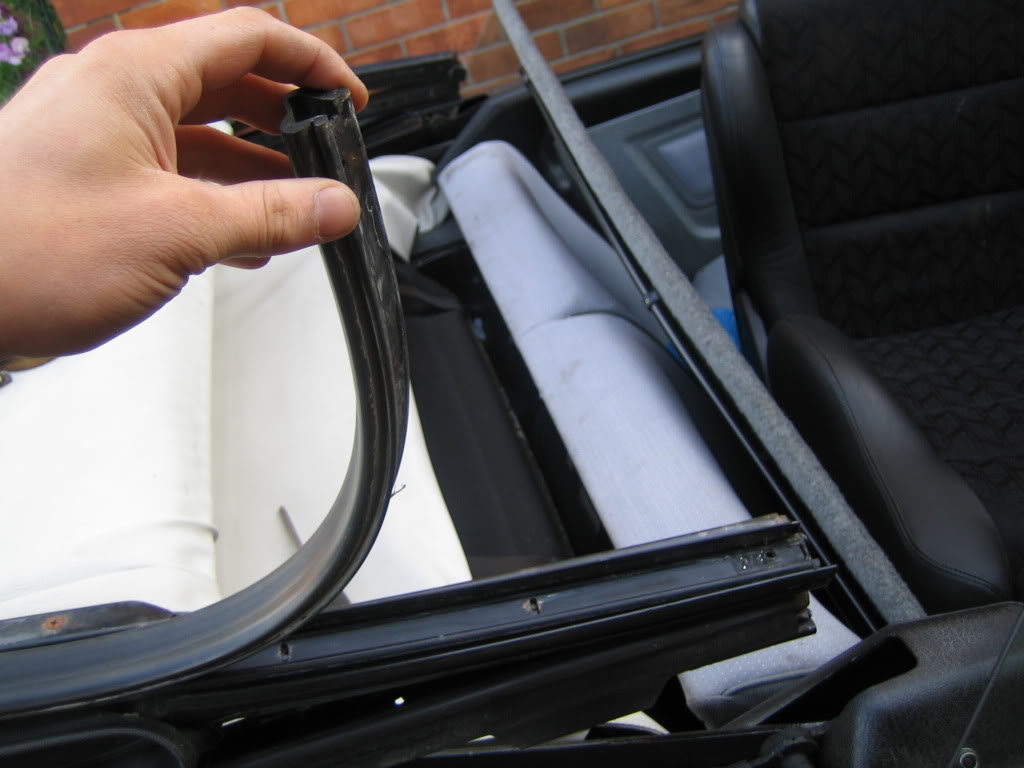
A comparison between the old and new gasket. It looks like mine have never been changed. Old on top new on bottom.
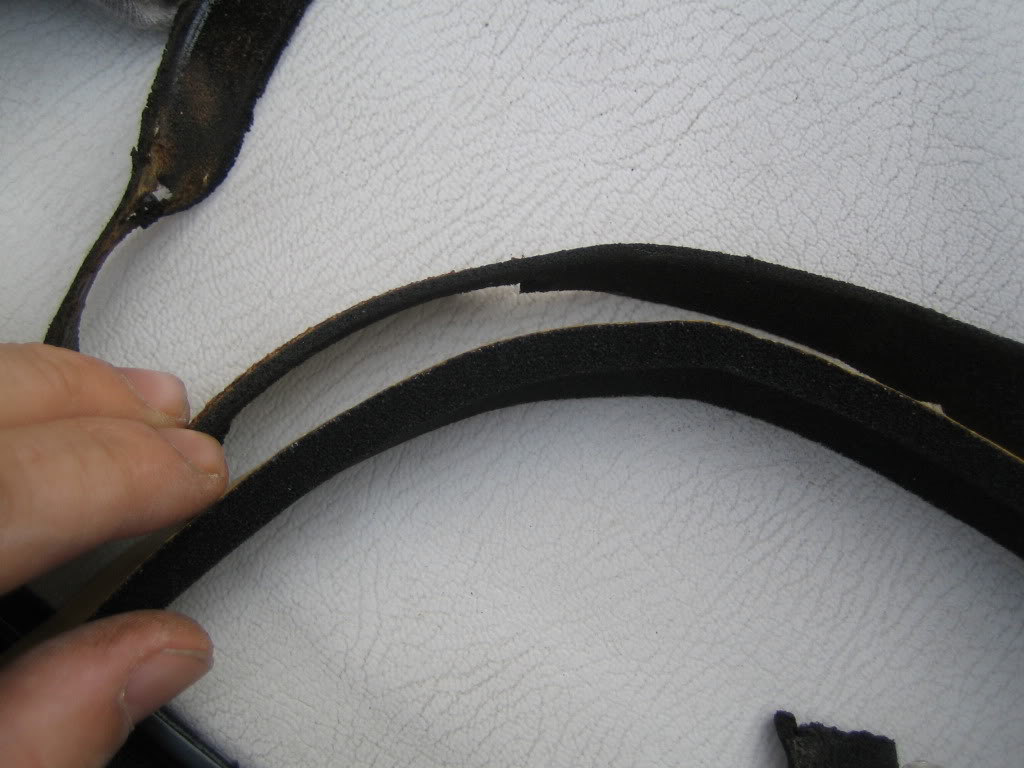
Clean of all of the old gasket so your left with a clean metal strip

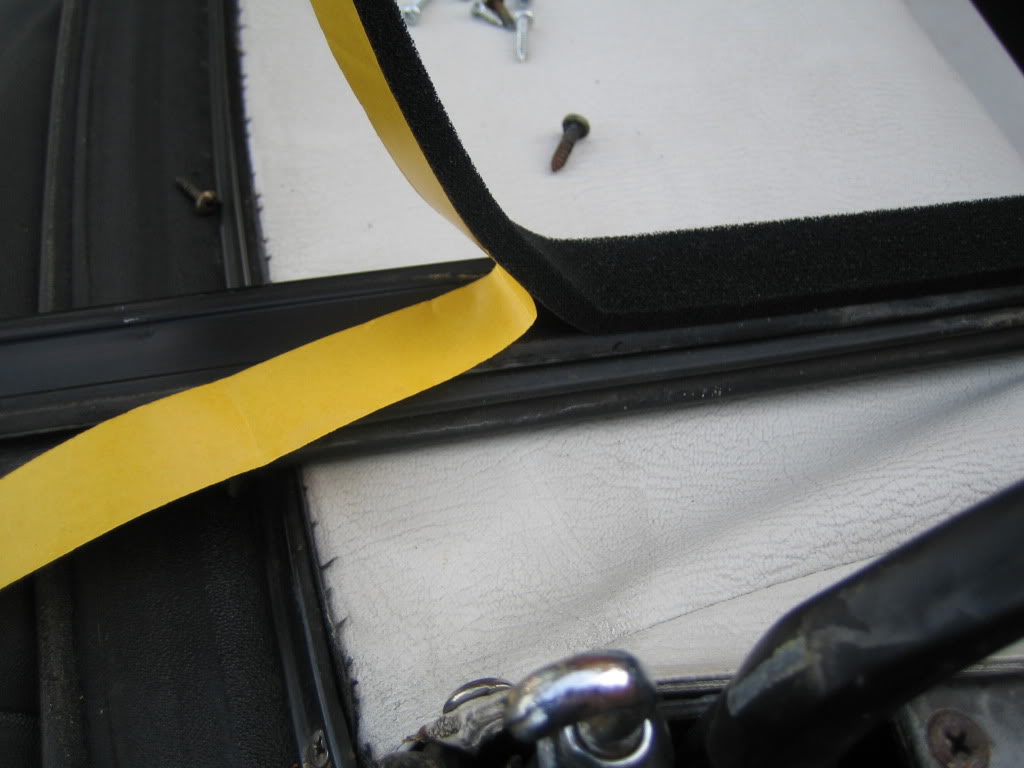
Apply the new gasket from one end to the other.
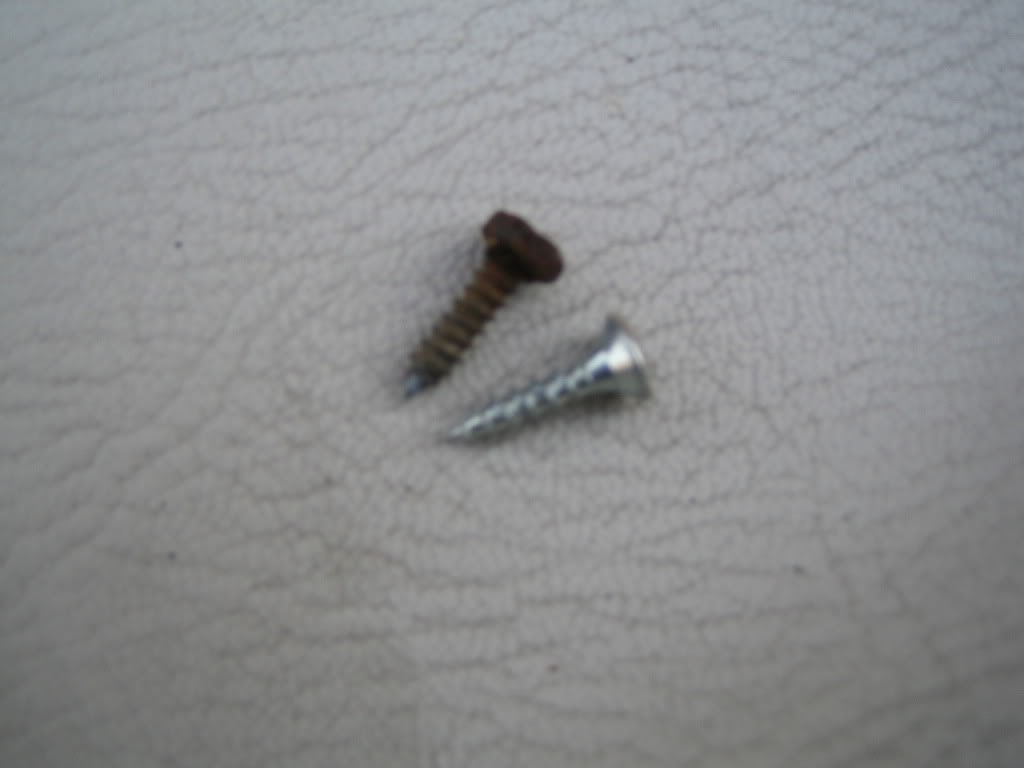
I would advise some new screws
And fitting is the reversal of removing just make sure that the window seals are in fully. The awkward part i found was doing the rears as the way they are positioned when the roof is open just made it a bit fiddly. You dont need to do the rears if they arent leaking but i did as it seemed worth doing while i was there.
None of this is worth doing witout checking that the door is hung properly and that the window is seated correctly as these are also common reasons for leaky handles.
I hope someone finds this helpful 8)

Posted
Moderator

Good how 2 tho mike!
Ever growing range of new mk1 golf parts www.classic-vw.co.uk
Posted
Old Timer
I was halfway through doing it and i thought sod it i will grab the camera and do this guide for all the other novices like me.
The main reason i put this as a remedy for the handles is that i know its a common problem but yeah your right it will fix most leaks and its cheap as chips.
Im gonna run the hose over tomorrow and see if its done the trick and if it has i can get on with getting someone to weld my mk1 subframes onto my new seats and clean the carpet.
Posted

Old Timer

One thing I would advise is just before you get to putting that first screw back, put some sealent on the last few MMs of the rubber seal. Then pull in final position and put the screw back.
If you suffer from bad window seal can also use two pieces of the gasket material to bulk out where needed.
1988 1.8 carb Golf Clipper
Posted
Local Hero
as DJ heap as recommend, plus you should leave a over hang of foam 1/4 in. On pre- 81 models align the front rubber seal, pull it forward till it meets the header seal area, re drill and refit self tappers at the very front if necessary, these don't have the pre-made hole in the seal, as this makes sure of proper seal between the two, line up the middle seal and so on.
Remember to re apply silicone sealant around the front screw hole and head afterwards, before re fitting front seal, coming back a few inches
Leave a over hang of the foam gasket seal at either end and wrap these over the seal ends when replaced. This helps take up any spaces left between the seals.
Prise the centre of the seal out first, as there are clips at either end and these will, snap off.
When replacing the seals apply a little bit of silicone lubricant and insert the ends first over the clip end. You can compress the end bit first and slide in to locate
"Making Cabbies More Beautiful One Roof at a Time"�
Posted
Old Timer
Posted
Old Timer
The door can be adjusted via the bolts on the hinges by adding washers (not by jacking the door up as this can cause major damage) and to gain access to the window adjustments you will need to remove the door cards. Behind the door cards there are bolts to adjust the height and the tilt (fore and aft)
The window should only lightly touch the rubber but there shouldnt be an excessive gap anywhere.
I will send you a link to download a repair manuel so you have a picture reference so you can see what im saying.
If the door and window seem correct then this is the best shot at a remedy before considering anything else.
Posted
Old Timer
Nothing is ever simple is it :cry:
0 guests and 0 members have just viewed this: None.