


.GUIDE: Changing your plugs, leads, rotor arm and distributor

Posted
#815659
(In Topic #97539)
Settled In

GUIDE: Changing your plugs, leads, rotor arm and distributor
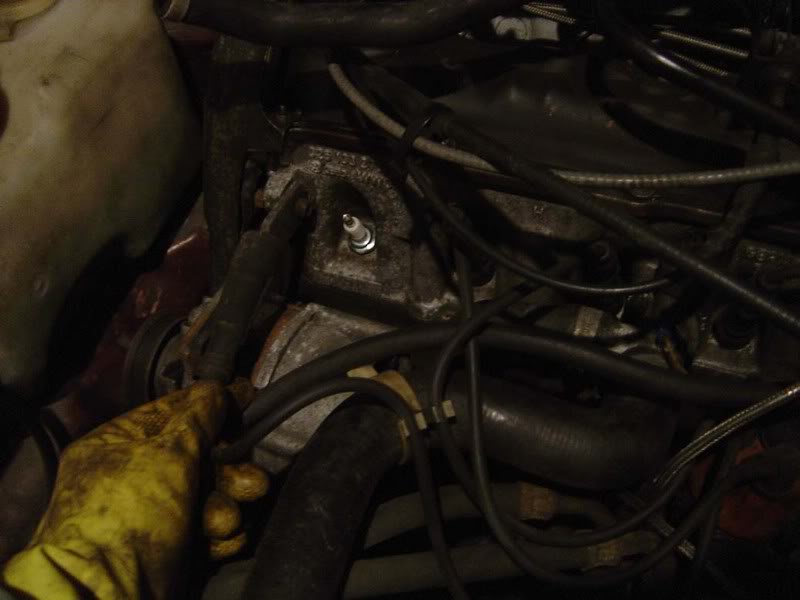
Step 1 - Pull off HT lead #1 (The lead at the far left of the engine bay). The leads are an interference fit, there is no screw or release clip - just tug it off. If you are only checking/changing plugs then take care to pull the lead from the base near the plug so you don't stress it.
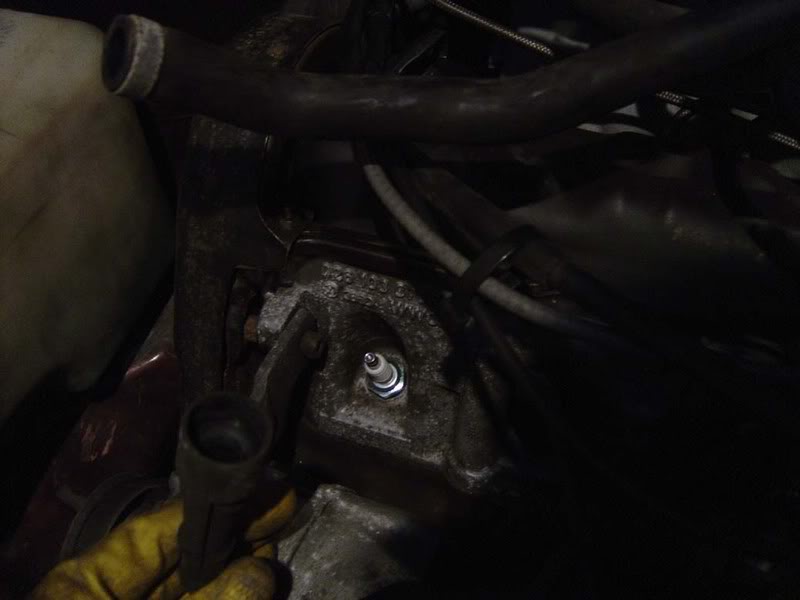
Step 2 - Get a large spark plug socket and put at least one extension bar on (Shown with 2 extensions)
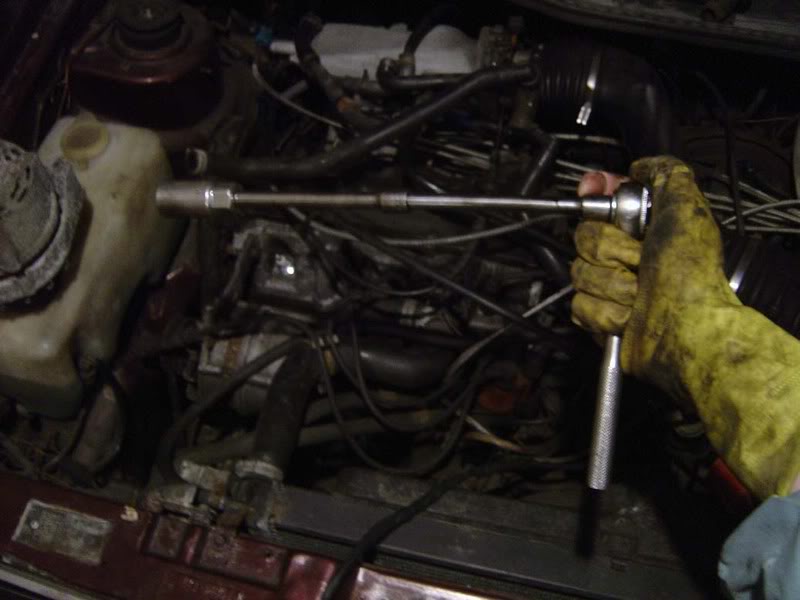
Step 3 - Fit the socket onto the plug you revealed in step #1 and remove the plug (turn anti clockwise to loosen)

Posted
Settled In
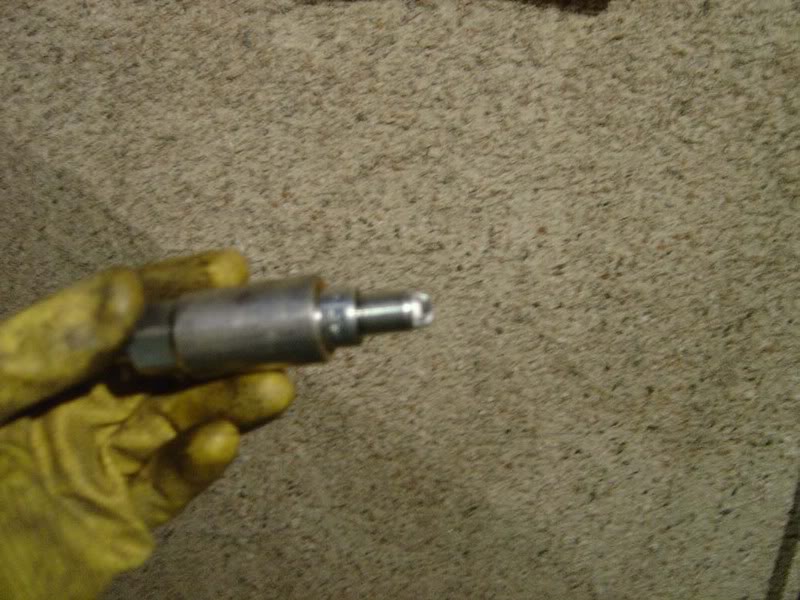
Step 5 - Check the tip of the spark plug (this is blurred but doesn't matter because they were new plugs so wouldn't tell you much). Note that there are two 'prongs' at the bottom of the plug, these are called electrodes. The spark travels between the centre of the base of the spark plug and these electrodes. Because there are 2, we call the plugs 'twin electrode' spark plugs and it is important you get these
Refitting the plug is just the opposite of removal - tighten it up finger tight then about 1 full turn. You might want to use a torque wrench at first until you get a feel for how tight they should be - too lose and they'll be popping out but too tight and you'll strip the threads in the cylinder head - believe me you don't want to have to deal with this!
Step 6 - Grab the HT lead you removed (only do one at a time, it is very important you don't mix them up)
Posted
Settled In
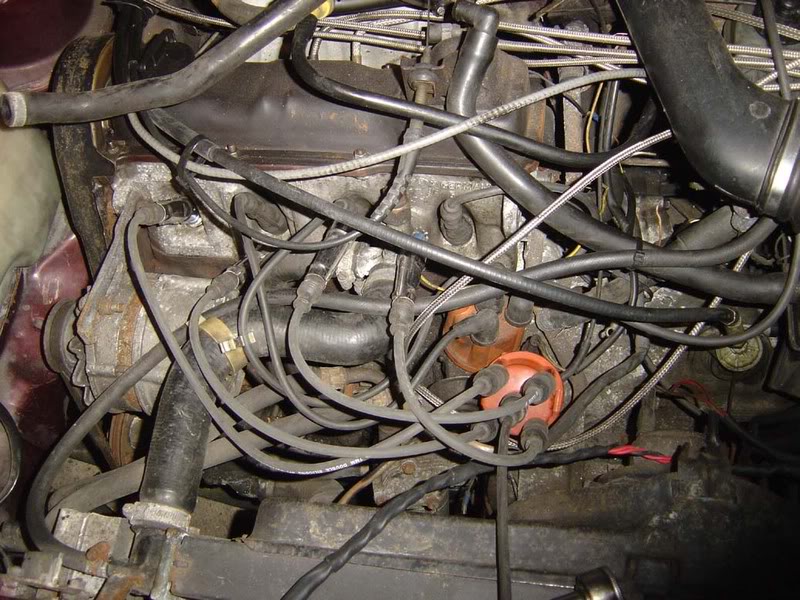
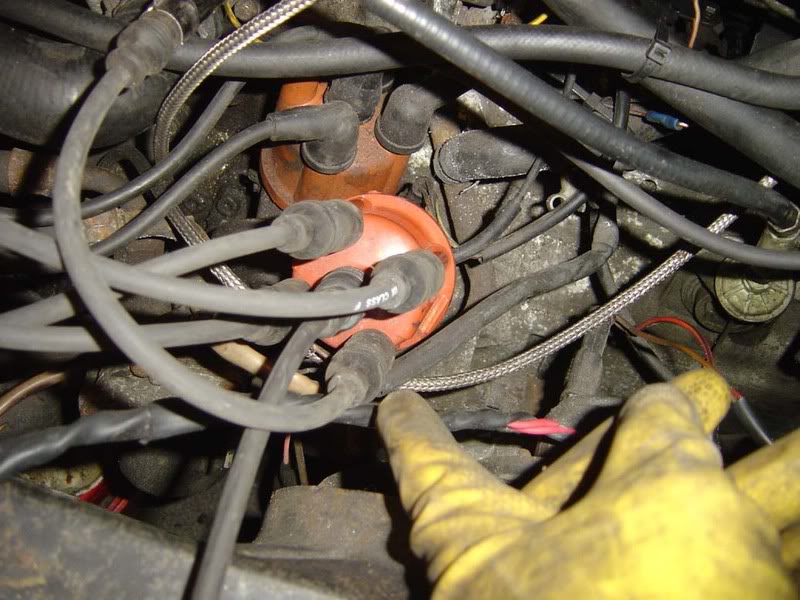
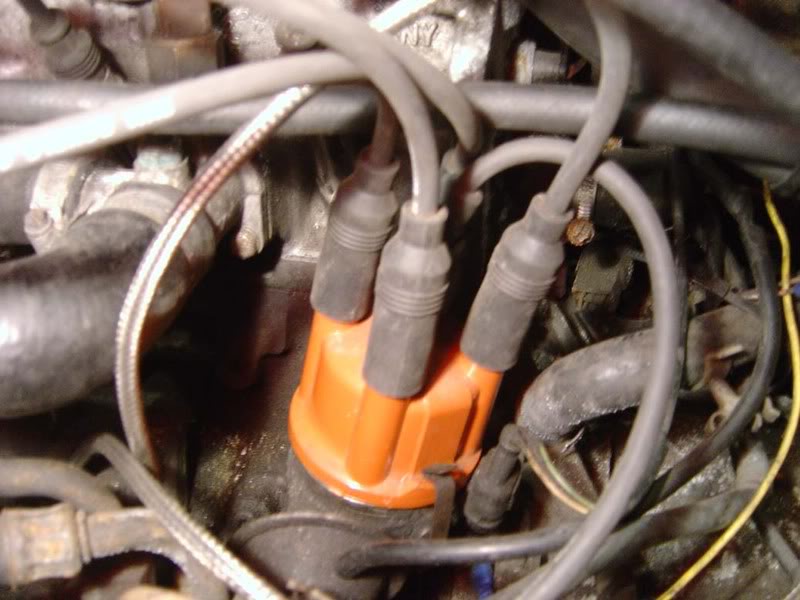
Step 8 - Follow the lead right back to the distributor cap (the orange plastic thing in the picture)
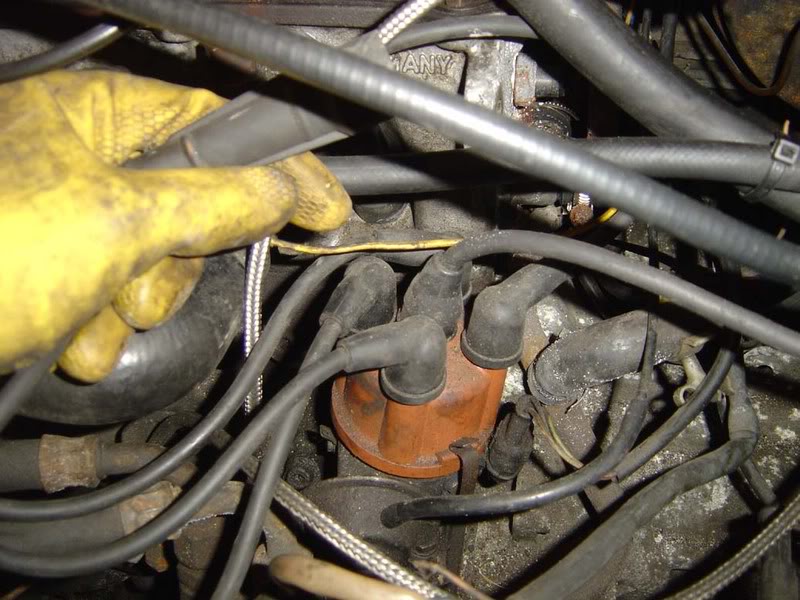
Step 9 - Just like detaching from the spark plug, the HT (which stands for high tension) lead simply pulls off the distributor cap (also called a dizzy cap) as shown
Posted
Settled In
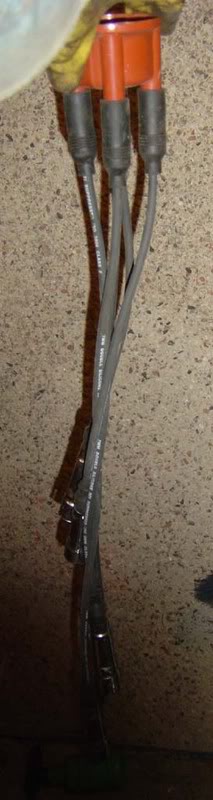
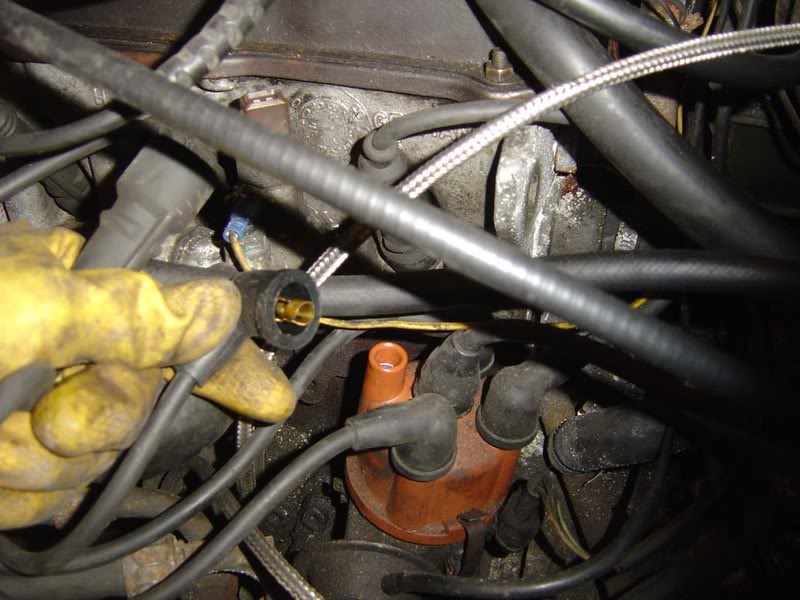
Step 11 - Now fit your new HT lead onto the dizzy, through any clamps and back to the spark plug. For me, I was replacing the dizzy cap too so simply lined all the leads up as shown on the new cap before switching them one at a time to avoid any potential misfires by switching lead positions
Step 12 - If you do manage to confuse yourself then this may help you, the order of HT leads is :
Cylinder #1

Cylinder #2
Cylinder #3
Cylinder #4
You should see from this that as the rotor arm spins around in the dizzy cap, it will fire #1 then #3 then #4 then #2, this is the firing order 1-3-4-2
Posted
Settled In
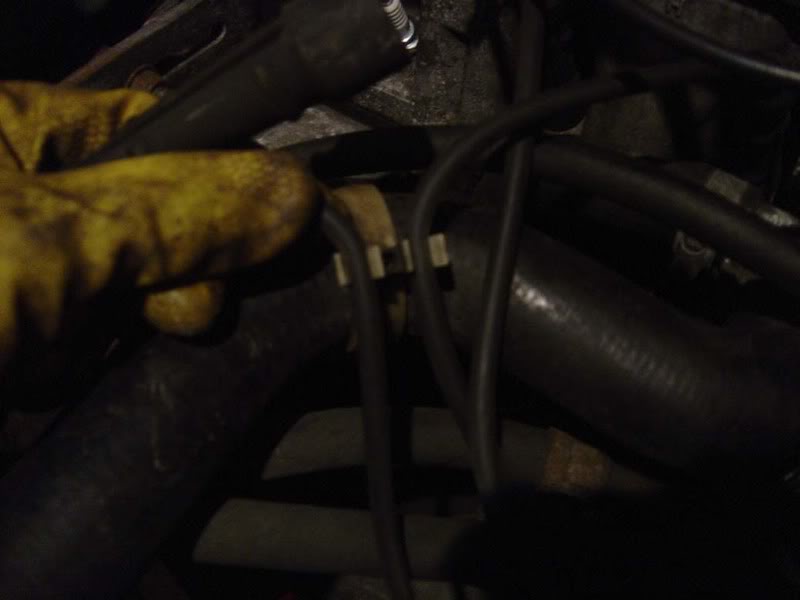
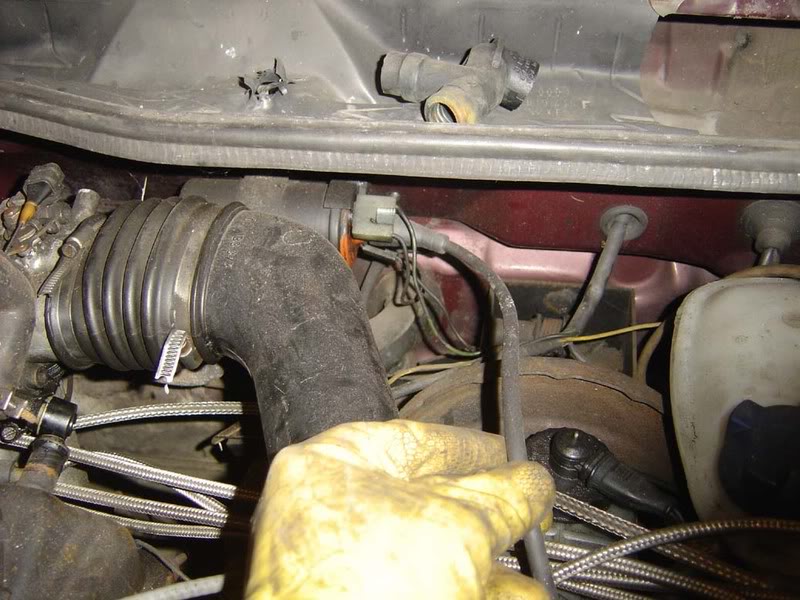
When fitting leads, it sometimes helps to slide the boot back up the lead so you can then insert the metal contact and seat it properly before sliding the cover back on. The second picture shows this on the main lead
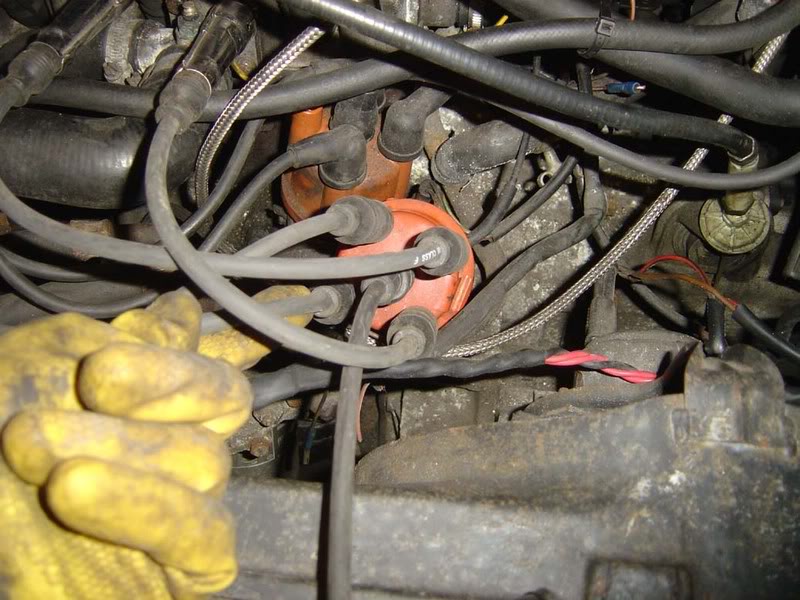
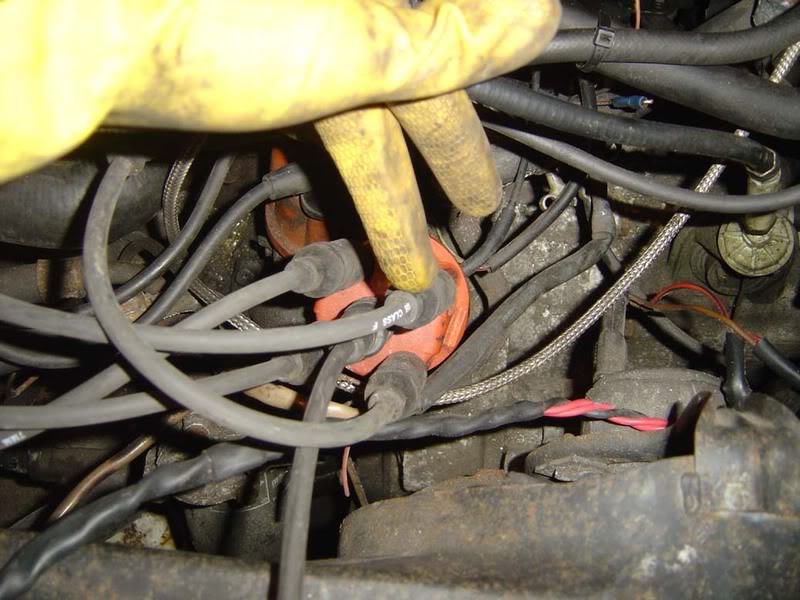
Step 14 - Moving back to the dizzy cap itself, there are two metal clips that hold it in place (front one shown in the picture), unclip these by hand or carefully with a flat blade screwdriver if they are really tight
IMPORTANT: Note the position of the dizzy cap before you remove it, you don't need to be too precise at the moment but ensure you know where #1 lead sits and you'll refit it the right way round (otherwise you could inadvertently spin it through 180 degrees)

Posted
Settled In
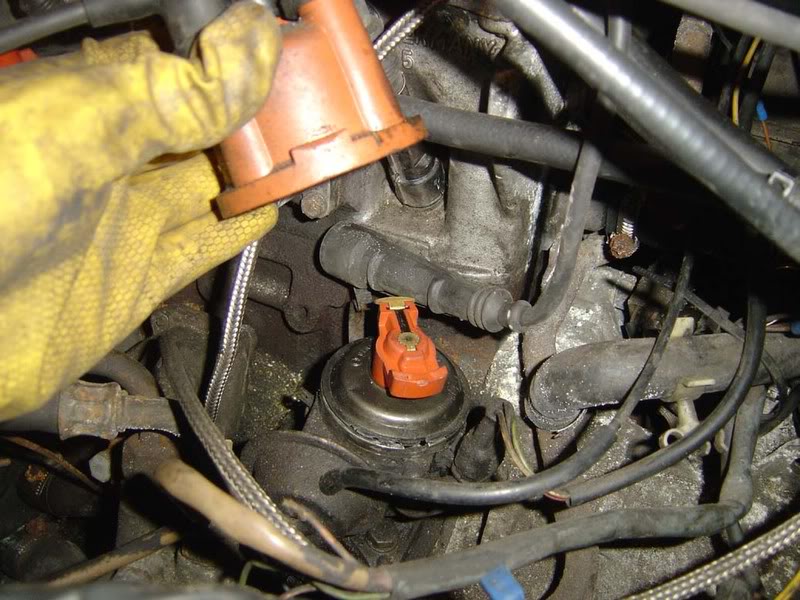
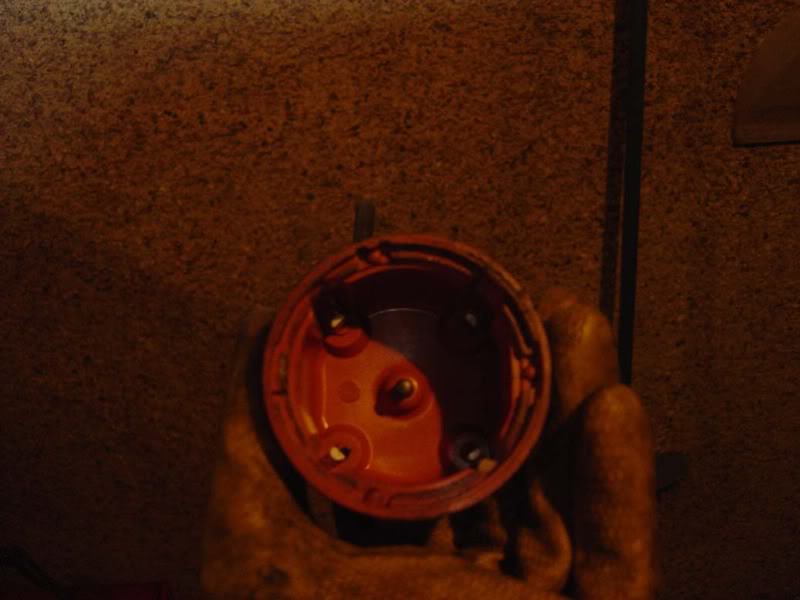
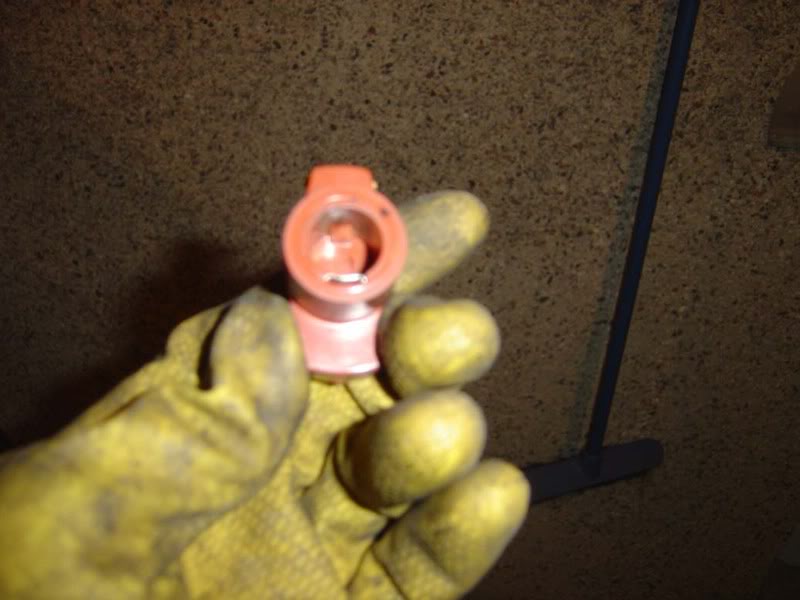
Step 16 - As mentioned earlier, the coil fires a large voltage through the main HT lead which is then passed down the dizzy cap to the centre of the rotor arm (this is the orange piece you uncovered in step 15). The arm itself spins around (driven by the engine via a meshed gear) and the metal contact at the end of the arm comes close enough to the terminals in the dizzy cap to fire a spark to the HT leads one by one. This happens very quickly so that the rotor arm spins and fires all 4 leads in a revolution
The picture here shows the underside of the dizzy cap where the main lead's terminal ends in a sprung connection which sits directly on top of the centre of the rotor arm. There are 4 more fixed terminals around the outside of the cap that will link the rotor arm's output to the HT leads
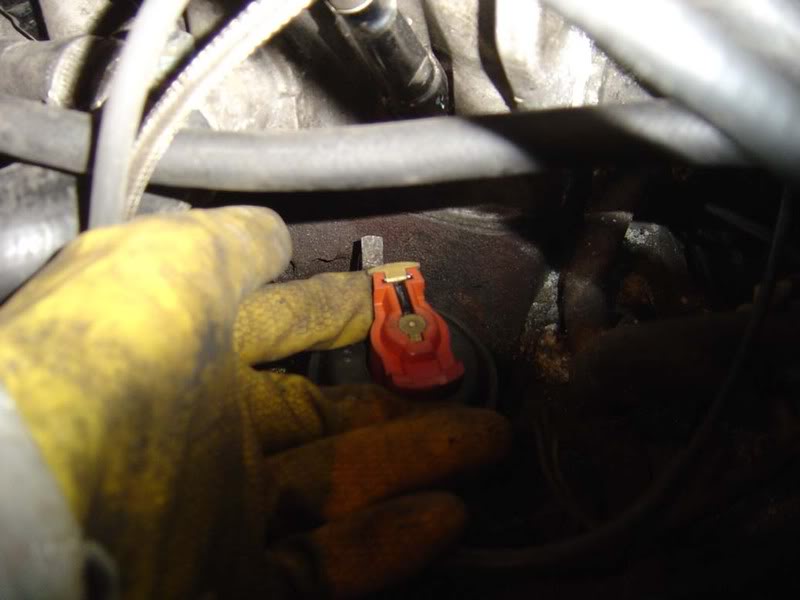
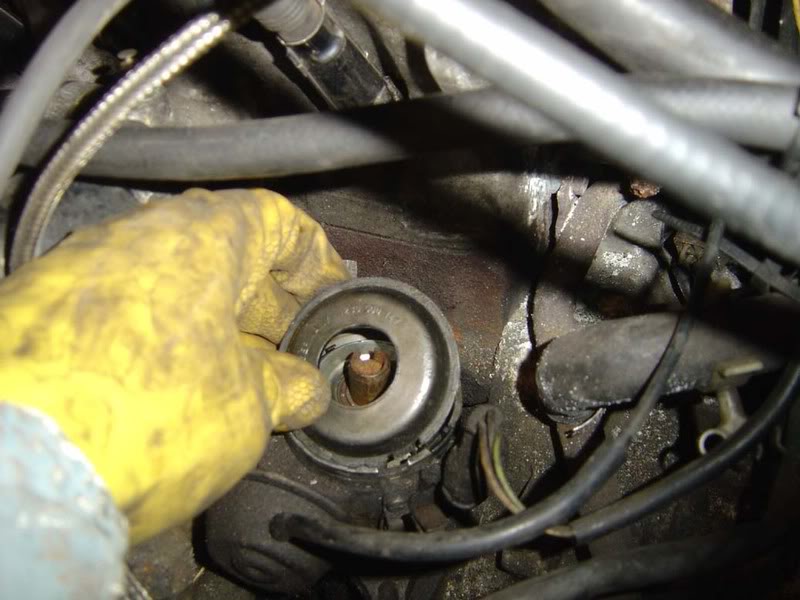
Step 17 - Slide a finger either side of the underneath of the rotor arm and pull it up as shown
IMPORTANT: Just like the dizzy cap itself, note the direction the rotor arm points when removing it. The arm is keyed so you can't get it wrong but double check it is correct before you try and refit the arm
Posted
Settled In
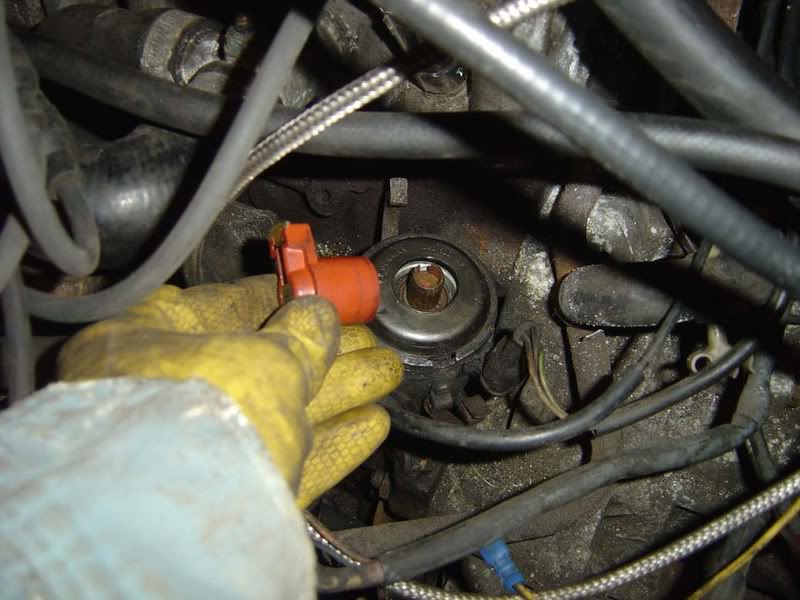
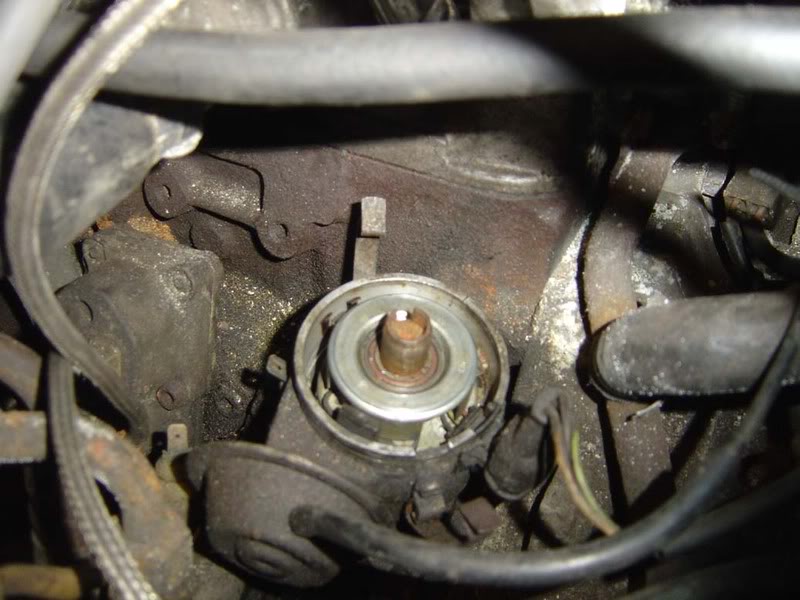
Step 19 - Next, remove the dust cover from the dizzy
Step 20 - If you are faced with this then you have the transistorised ignition so there are no points to contend with. If you have points then you need to regularly check the gap and replace them (see a Haynes manual for that seeing as I didn't have any!)
Step 21 - Once you have replaced the dust cap, rotor arm and dizzy cap, pop the clips back on to hold the dizzy cap down and double check that all leads are tight
Step 22 - Fire the car up and any misfires you had will hopefully be long gone
0 guests and 0 members have just viewed this: None.