Coolant thermostat and sender
Posted
#1669553
(In Topic #240373)
Newbie

Help on location and wiring please
I have a 1998 clipper cabriolet, 1.8 carb with EX engine RHD
Looking for help on 3 things to start my project please
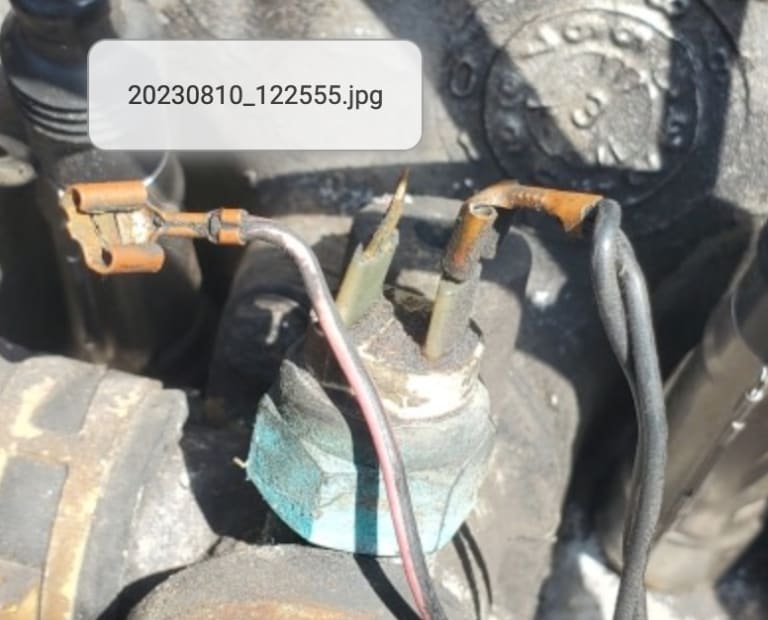
Second pic,
is this my coolant sensor on the top and are the wires correct and are they the right way around? Right spade 2 blacks and when I connect the left spade the radiator starts to steam up? Anybody have a part number?
Last pic
Coolant sender? Is this wired correctly? Looking for a.part number as temp gauge on the dash only rises by a couple of millimetres (On my other gti golf it stay just below middle)
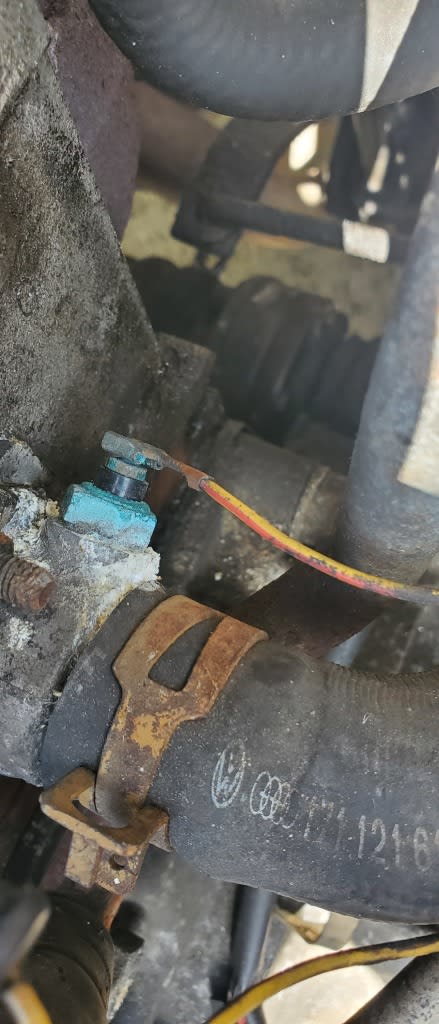
First pic
What's this sensor for underneath the sensor in the second
 photo? Could this be part of the fault?
Many thanks


Posted
Local Hero

Second Your Valve Cover rebar isn't fully attached as you have a couple of nuts missing, those will lead to Gasket Failure and cause a loss of oil. Albeit that VC gasket failures usually happen on the rear side of the VC. If it is bent, then you need to remove it and flatten it straight, then reattach with the proper nuts.

All sensors that have 2 connections on them need 2 wires.

The Green Corrosion on your electrical connections usually can mean poor connectivity of the wires, and one of your wires has corrosion on the connector itself.

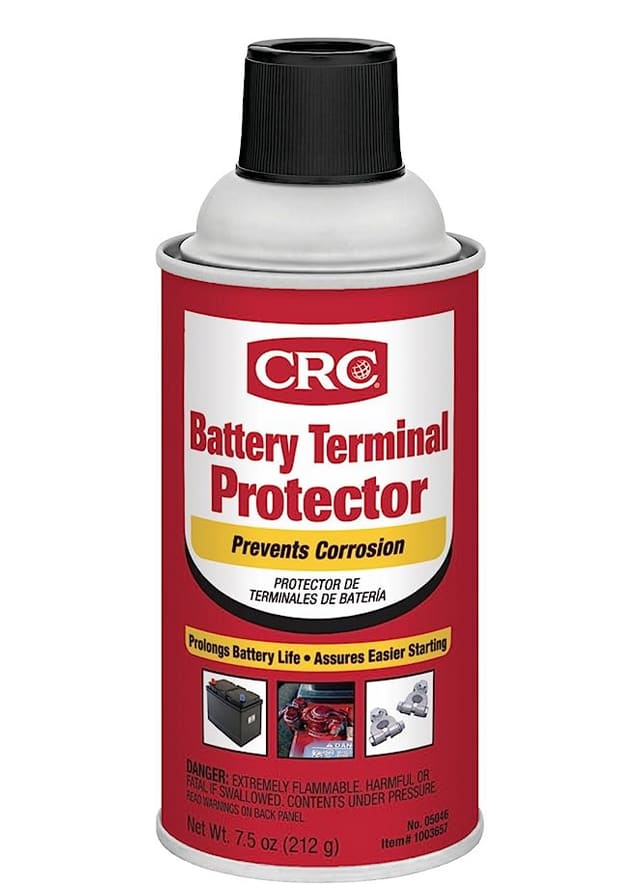
You can try using some Battery Corrosion cleaner on them but for the Senders is it better to replace them.

The little Button Black one is your Coolant temp gauge sender, they are fairly cheap to replace.
The wire connectors need to be clean and shiny, they also need to have the Spads on the senders the same, this is where a good Brass Tooth Brush comes in handy.

After a good cleaning, and re-attachment of the connectors use a good Spray Preventor on them

I have even use it to prevent creap corrosion on Water pump bolts backsides after replacing the pump and copper greasing the Bolts into the pump

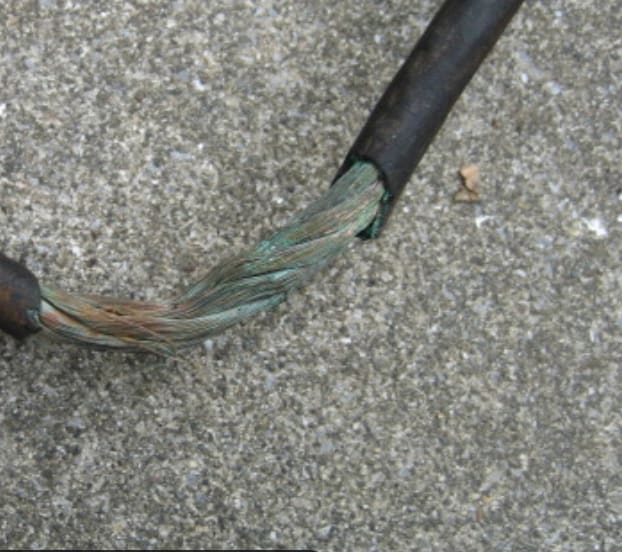
If your Connectors have that much corrosion, then I would do a Brian's Quick Test of your Main Ground Cables on your car, as they are probably bad.
Battery cables that look like below really need to be replaced, as the Corrosion between the wires reduces the Current flow from one big honking cable to individual strands Not a good thing.

Briano's Quick Grounds test. | Volkswagen Owners Club Forum
You can use 2 off the shelf cables to replace your main Battery Grounds, that is Battery to frame and Frame-to engine-Transmission. Your Electrics will than you for them. If you get new off the shelf cables, get ones with the extra Pig tail so you can attach all those little ones that are nutted to the ground with additional ring connectors.

What do Divorces, Great Coffee, and Car Electrics all have in common?
They all start with GOOD Grounds.
Where are my DIY Links?
They all start with GOOD Grounds.
Where are my DIY Links?
Posted
Newbie

I cleaned connections and replaced spade connectors, drained coolant and found the 2 x sensors where corroded and cleaned as you suggested and it worked! Thank you.
Rocker cover bolts have been taken off as I just started to upgrade to rubber gasket whilst I was waiting for new sensors to be delivered that I no longer need !
Great advise on the battery earth and will take a look at this.
Thanks again for your help.
0 guests and 0 members have just viewed this: None.


