Clipper cabriolet rear window leak
Posted
#1536554
(In Topic #205179)
Old Timer


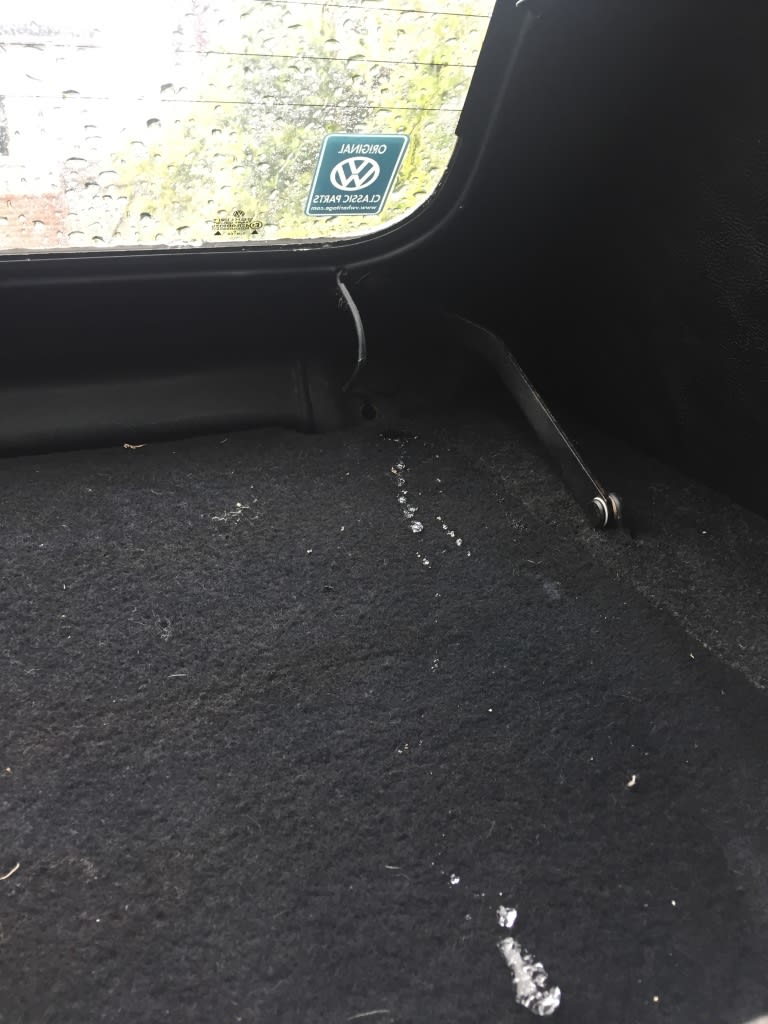
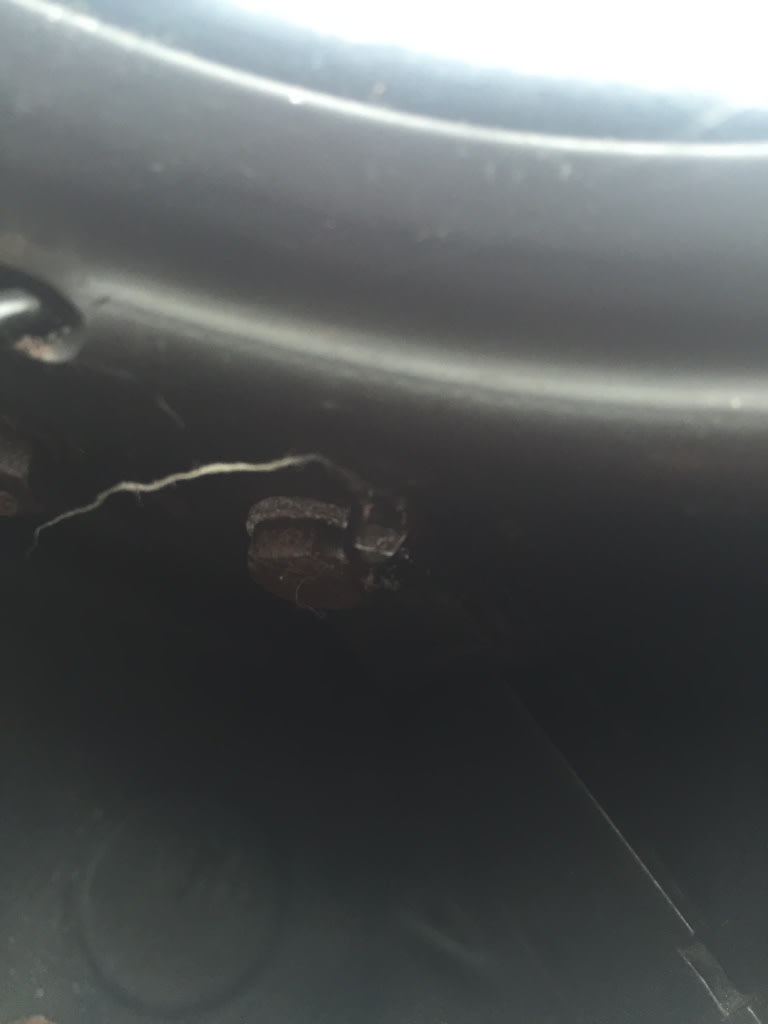
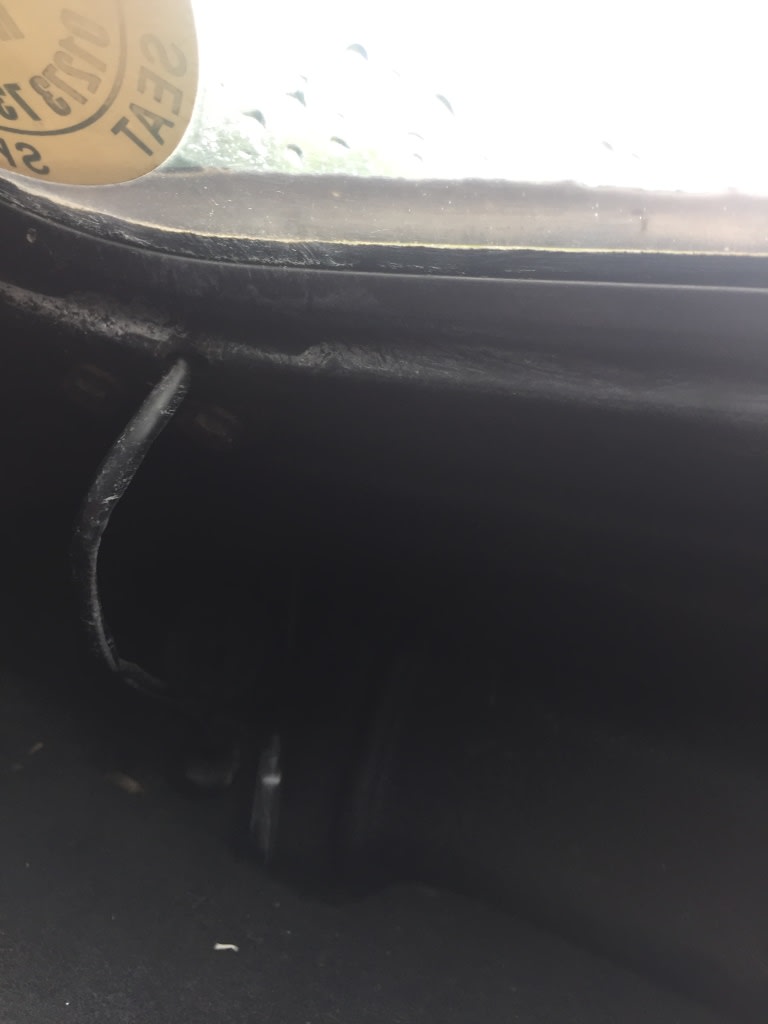
Posted
Local Hero

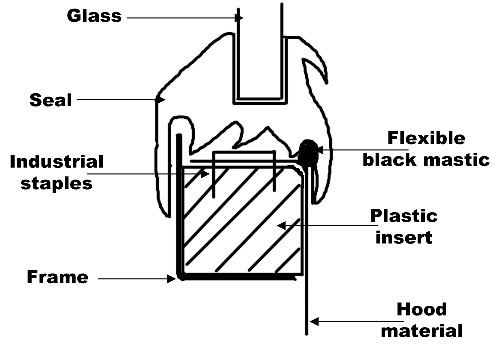
What I typically do is to remove the Seal from the glass.
Clean the edges of the glass with a razor knife, and clean the edges really good.
I remove the seal and spray it with wd-40 LET IT SIT FOR A BIT. I then clean all the external wiper fingers well as I have seen Plumbers Putty used over here on the finger seals.
I also clean the groove inside that goes on the glass, as I want to make sure it isn't holed.
When I go about re-installing it, I use clear silicone to cover the Staples Thin…. when the glass and seals go back then the Silicone also acts as a final water barrier, and a Lubricant.
Chances are the bottom of the seal is the area to be concerned with, as a test you can run Duct tape on the seal (it has to be dry). You can then run it up the sides to the seal (not the top). You can then eliminate the inside of the glass seal to the outer. If the leak still occurs then it is the outside seal.
The Rear window can be removed, and I have a how to on that. but I would wait for dry weather.
Even on a good seal the water will pool on the bottom inner lip of the seal against the glass.
What do Divorces, Great Coffee, and Car Electrics all have in common?
They all start with GOOD Grounds.
Where are my DIY Links?
They all start with GOOD Grounds.
Where are my DIY Links?
Posted
Old Timer

Thanks for that info, I bought the stainless frame and had it fitted when they done the new roof & headliner, I wasn't there so am unable to say how meticulous their work was with cleaning etc, when the water builds up on the inside bottom edge is hust unavoidable that a bit of water will get through? Or do you think once I've pin pointed the leak I can seal it up in situ? I have access to proper clear rtv silicones etc at work if neededBriano1234 said
When your hood was replaced the rear window is removed.
What I typically do is to remove the Seal from the glass.
Clean the edges of the glass with a razor knife, and clean the edges really good.
I remove the seal and spray it with wd-40 LET IT SIT FOR A BIT. I then clean all the external wiper fingers well as I have seen Plumbers Putty used over here on the finger seals.
I also clean the groove inside that goes on the glass, as I want to make sure it isn't holed.
When I go about re-installing it, I use clear silicone to cover the Staples Thin…. when the glass and seals go back then the Silicone also acts as a final water barrier, and a Lubricant.
Chances are the bottom of the seal is the area to be concerned with, as a test you can run Duct tape on the seal (it has to be dry). You can then run it up the sides to the seal (not the top). You can then eliminate the inside of the glass seal to the outer. If the leak still occurs then it is the outside seal.
The Rear window can be removed, and I have a how to on that. but I would wait for dry weather.
Even on a good seal the water will pool on the bottom inner lip of the seal against the glass.
Posted
Local Hero

The windows will either leak from the top edge and work it's way around to the bottom, as there are holes in the inner seal for the Demister wires, or Leak at the bottom of the seal where it is Pooled because your gasket has a hole between the glass slot and the outer fingers.
Only a good inspection will find the leak.
If the Shop warranted the work I would take it back and say "Hey, I have a leak, didn't you seal this ?"
Removing the Glass and seal to effect the repair is fairly easy. You just have to be a bit careful on prying the glass out.
I did a how to on it, but you don't need to remove the staples, you need to but remove the window and seal.
Verify that the Seal and the Frame are clean.
Verify that all the staples are Seated to the frame and not snaggily. As a raised Staple can cause a miss fit of the seal to the edge of the frame.
Remove the seal from the Glass and clean it good.
Replace the cleaned gasket on to the glass.
Run a bead (thin is best) over the staples.
Replace the Seal and Glass to the frame.
Cabriolet Rear Window Replacement. | Volkswagen Owners Club Forum
Water dripping on the carpet could also lead to the Parcel shelf becoming droopy.
While I had the glad out, I would oil the hinge points on the parcel shelf pivots, these if binding can twist the window a wee bit and that warpage how ever slight could be flexing the seal causing a void.
OBTW, the Pictures in the Thread are from many tops that I have replaced… so No you don't have to remove the staples or cut your hood….
What do Divorces, Great Coffee, and Car Electrics all have in common?
They all start with GOOD Grounds.
Where are my DIY Links?
They all start with GOOD Grounds.
Where are my DIY Links?
Posted
Local Hero

You can gently lift the seal and clean the area with alcohol on a rag with a Dull Flat Blade.
You want to clean the top edge and the Seal at the same time so you can get a good bind of the RTV to the Seal and Hood ( We use the word Top over here.. so replace top with hood.).
Gently Lifting the Edge you can place Silicone in to the Seal under the outer lip to the Edge of the Seal inside, as you move around the Frame the Seal will usually force the Silicone in to the void and Seal the seal to the top, as well. I would possibly try this first. When you buy the Silicone or RTV at the store it usually comes with a tip that you cut it as small as possible…. and Squeeze it from the Rear of the tube. Be mindful of oozing to much so that it will get outside the seal area and on the top material.
What do Divorces, Great Coffee, and Car Electrics all have in common?
They all start with GOOD Grounds.
Where are my DIY Links?
They all start with GOOD Grounds.
Where are my DIY Links?
Posted
Local Hero


On the drive
T25 Diesel…sameoldblueshi£ (currently under resto)
Rocco gt2….1990 secret 2…(currently under resto)
Mk4 99 1.8t indigo blue Gti with 43k miles
Caster 93 clipper JH Green cabby
Snowy 91 GTi White cabby( sat waiting for inspiration)
Myvalver 89 GTi Grey mk2 16v
Yuppy Flu 91 GTi Flash Red Sportline
Golf mk1 owner's club on Spotify
Mk1 golf owners club playlist: Golf mk1 owner's club playlist - YouTube
Posted
Old Timer

Posted
Local Hero

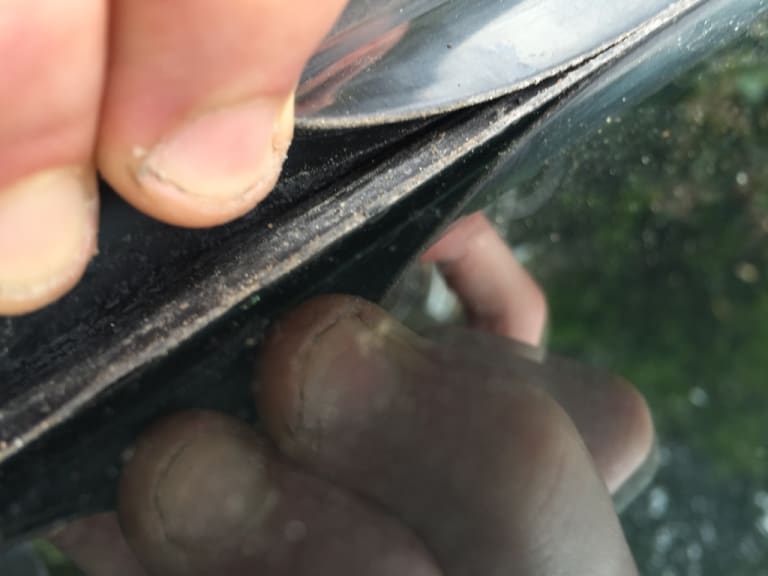
I ran a little bead of sealer between glass and seal along the bottom edge where the water sits.
1988 Mk1 Golf GTi Cabriolet 1.8cc DX, K-jet. Daily drive. 317,000 miles and counting
1978 Mk1 Scirocco GLS 1.6cc FR, Webber carb. Weekend toy.
1978 Mk1 Scirocco GLS 1.6cc FR, Webber carb. Weekend toy.
Posted
Old Timer

Posted
Local Hero

I used 3m black windscreen sealer so you can't see it.
1988 Mk1 Golf GTi Cabriolet 1.8cc DX, K-jet. Daily drive. 317,000 miles and counting
1978 Mk1 Scirocco GLS 1.6cc FR, Webber carb. Weekend toy.
1978 Mk1 Scirocco GLS 1.6cc FR, Webber carb. Weekend toy.
Posted
Old Timer

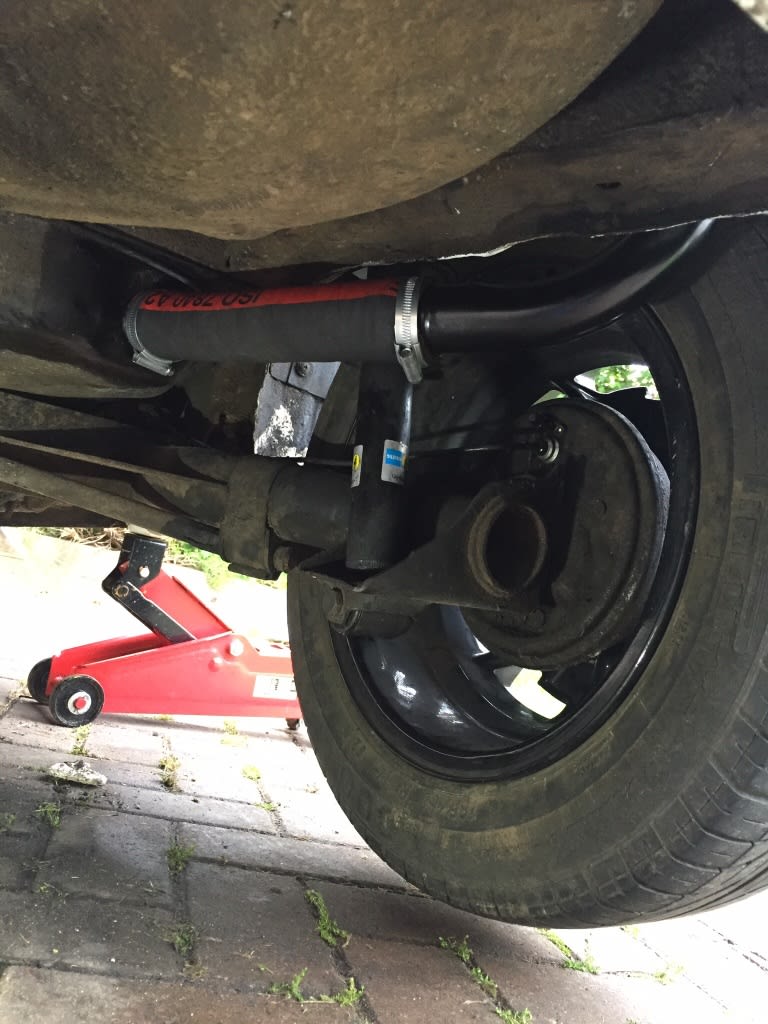
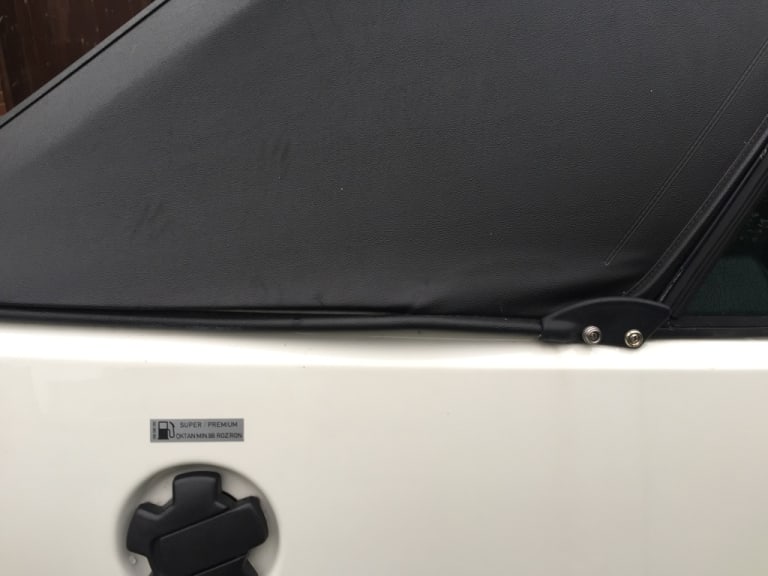 Thanks for that info Mark, need to take it back to them to sort this out at the back anyway so will see if they can do that at the same time, something odd going on with the rear cable
Posted
Local Hero

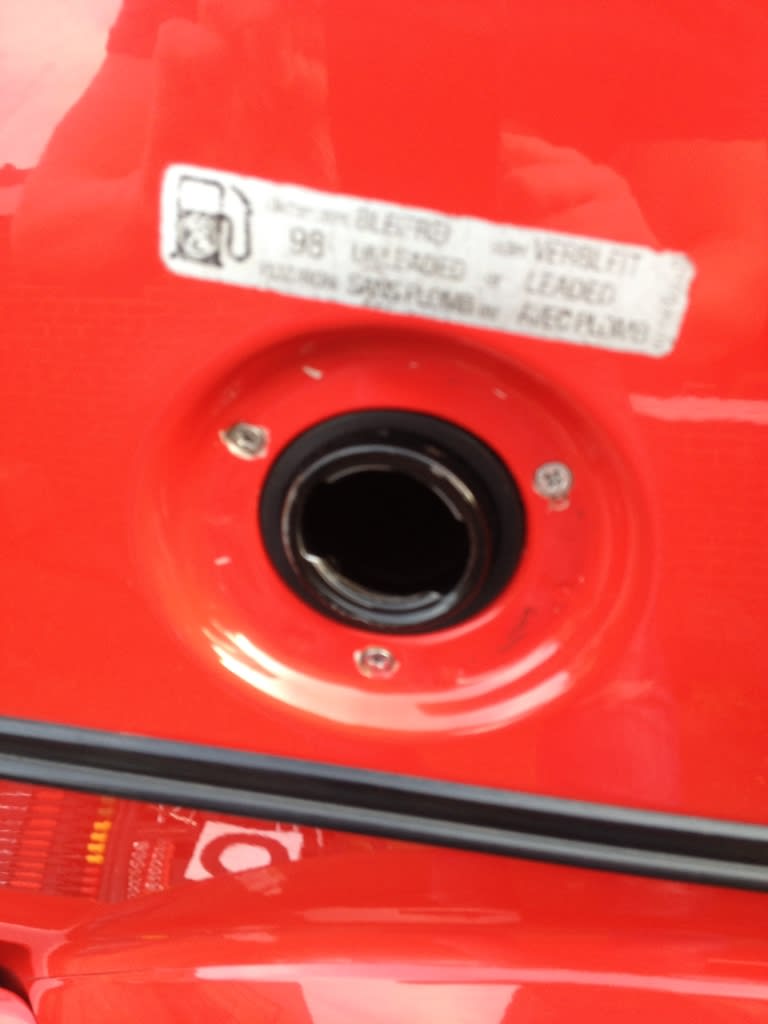
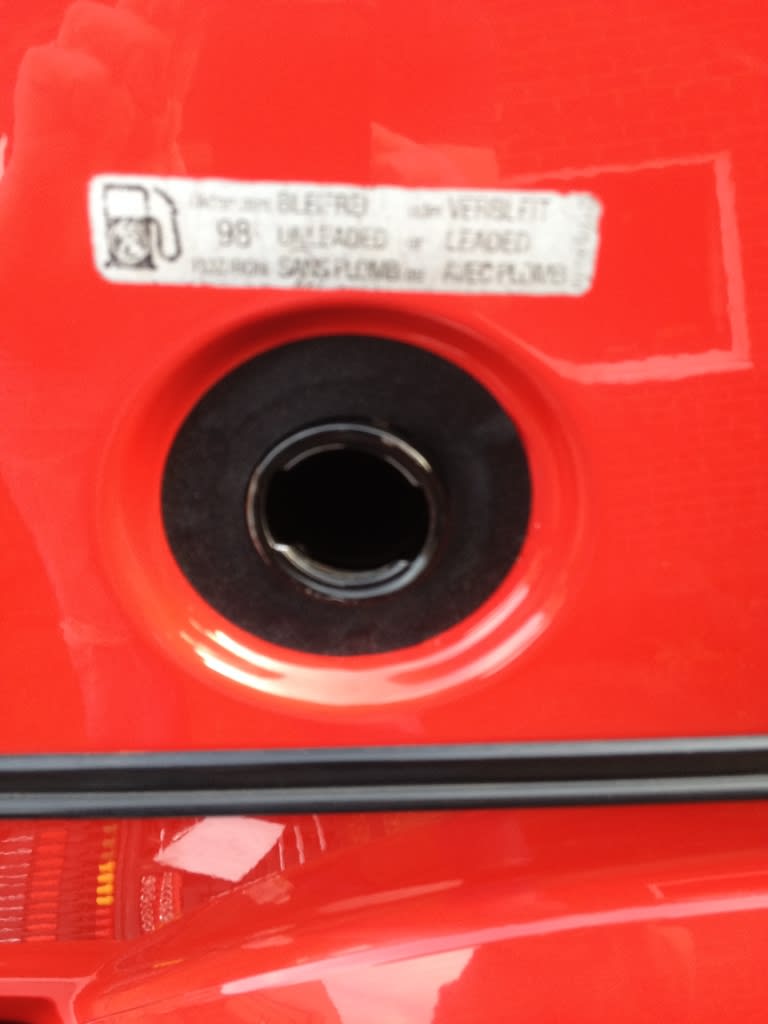
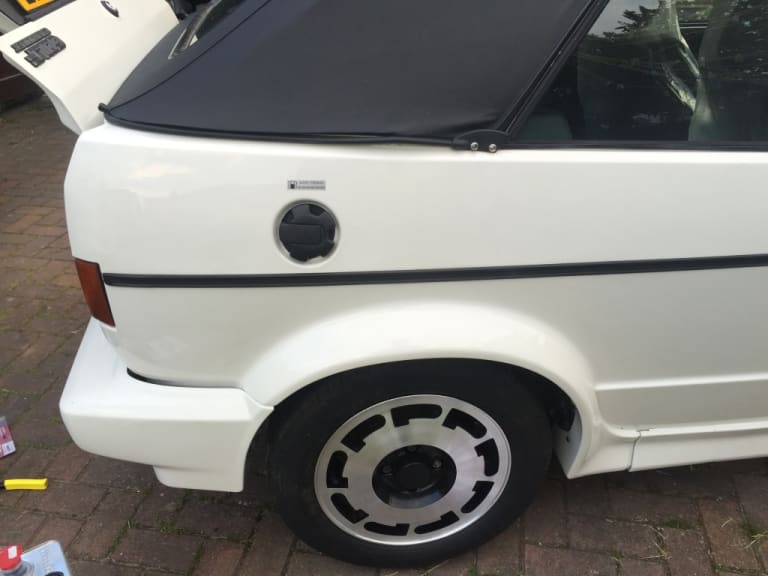
Strange place to have your sticker about fuel, mine is on the B pillar near the tyre pressure lable?
You are also missing a black plastic ring around the filler neck so it hides the screws.
Found a link to one but it says as fitted to GTi so perhaps you did not have one fitted front new?
http://www.ebay.co.uk/itm/MK1-GOLF-Fuel-Filler-Cap-Surround-Black-Vinyl-GTI-171898127-/391367994671?hash=item5b1f59ad2f:g:DBYAAOSw0JpV3aP2
 Last edit: by mark1gls
1988 Mk1 Golf GTi Cabriolet 1.8cc DX, K-jet. Daily drive. 317,000 miles and counting
1978 Mk1 Scirocco GLS 1.6cc FR, Webber carb. Weekend toy.
1978 Mk1 Scirocco GLS 1.6cc FR, Webber carb. Weekend toy.
Posted
Old Timer

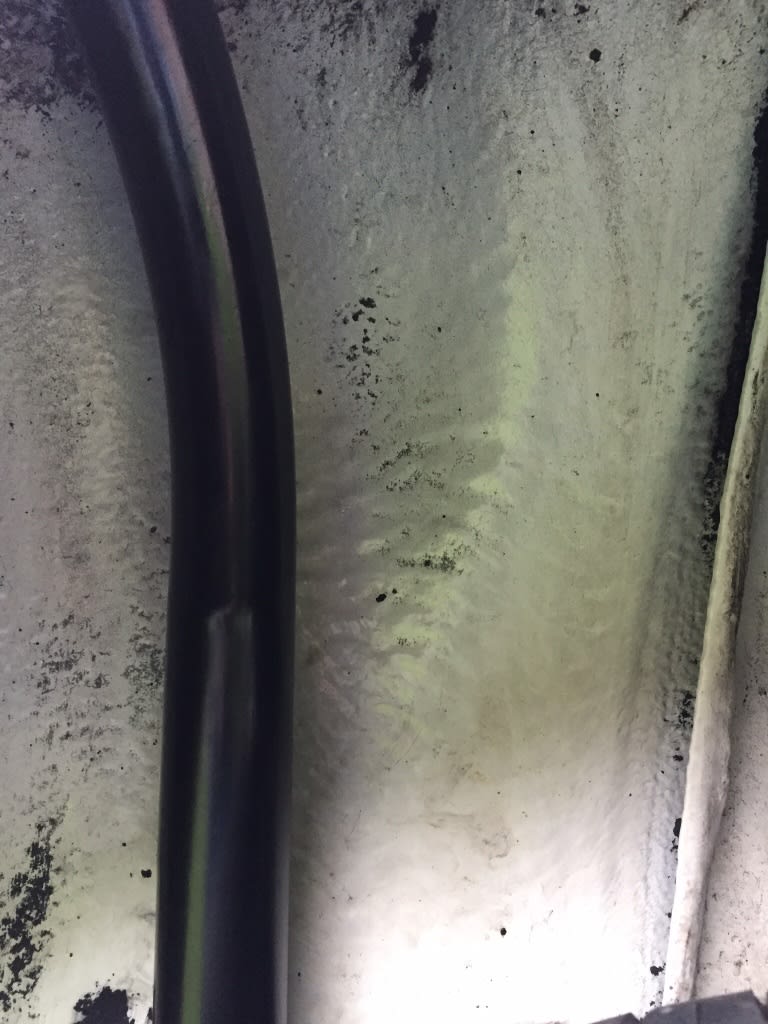
I believe there's a different fuel label that should be there, as that one is for the b pillar, I have the decal it's just that I've only just finished getting my new neck on & need to get the screws flush before I apply the decalmark1gls said
Yes it's not sitting right.
Strange place to have your sticker about fuel, mine is on the B pillar near the tyre pressure lable?
You are also missing a black plastic ring around the filler neck so it hides the screws.
Found a link to one but it says as fitted to GTi so perhaps you did not have one fitted front new?
http://www.ebay.co.uk/itm/MK1-GOLF-Fuel-Filler-Cap-Surround-Black-Vinyl-GTI-171898127-/391367994671?hash=item5b1f59ad2f:g:DBYAAOSw0JpV3aP2
Posted
Settled In

Compulsive buyer of knackered VWs!!!
Previous rides;
'81 Mk1 1100 C
'83 Mk1 1.8 GTI
'93 Corrado 16v 9A
'81 Mk1 GLI cab
'91 Mk2 16v KR
'89 T3 Whitestar
'87 T3 Caravelle GL
'95 Polo G40 LHD
'93 Mk1 Sportline LHD
Previous rides;
'81 Mk1 1100 C
'83 Mk1 1.8 GTI
'93 Corrado 16v 9A
'81 Mk1 GLI cab
'91 Mk2 16v KR
'89 T3 Whitestar
'87 T3 Caravelle GL
'95 Polo G40 LHD
'93 Mk1 Sportline LHD
Posted
Old Timer

0 guests and 0 members have just viewed this: None.


