


hood padding replacment.

Posted
#1078176
(In Topic #129039)
Settling In

hood padding replacment.
Posted
Settling In
What he does not know about these roofs is not worth knowing.
I also think he does sell the inner padding as I have seen him on ebay with these.
Give him a PM I am sure he will help you out.
If this is living the dream I would like to know who's dream.
Posted
Local Hero

Mick the interliners are usually tattered and the Horsehair is NLA from VW and when it was the quote for them both was around the �250 mark. I confirmed this with one of the car hood fitters when I looked at doing mine.
I ended up replacing the whole lot on mine myself as the costs were prohibatitve.
I have been in long talks with an OEM Supplier to VW for months over the padding and They have agreed to remake these for me.
They are at the moment making me up a sample as we speak. These though are not going to be cheap I am afraid as these are made from scratch.
I will phone them tomorow for an update and get back to you.
To do the headliner you will need to strip the hood and interliner and pad back to the headliner it's self and remove it properly to repair.
The hood can be removed by folding the roof down and unscrewing the C Pillar caps. Go inside the car and drop the rear back rest forward, unscrew the plastic side covers that have the hood locking tabs on them the knobs can be pulled off to assist, you will need to remove the rear cards to acsess properly, by removing the window winder handle and prying the card away from the sides. The plastic trims can then be wiggled free to help you get at the 2 10mm nuts that hold the cable in place.(you may also find undoing the hood rams also provides better acsess) undo the rear tensioning cable holding the thin section to prevent the cable from twisting. The 4 bolts that hold the window frame to the shelf supports, the rear foding section rubber seals and retainers and un peeling the side flaps, removal of the tonneau cover trims, remove the front retaining bow and corner plates and unpeeling the hood from the front and front side sections of the frame, by removing the rubber seals and retainers. Once the hood is loose it can be slipped off the front of the hood frame and with the frame in the half open position the side retaining cables can be unhooked from the rear frame sections.
The interliner is glued to the front of the frame and riveted at the rear side arms and stapled into the recess on the rear frame section. The very front is held in place with a retaining rod and band.
The headliner is then accsesible.
with the front bow removed the headliner is glued there so should be easy to peel away.
At the front corners it is held in place by 2 rivets in cup washers, these can be drilled out.
It is also glued to the 2 intermediate cross rails and hung in the rear corners with 2 straps.
The rear part is glued and stapled across the rear frame and the side flasp are glued around the webbing and pulled down the side of the parcel shelf supports and glued and pulled onto the spikes anderneath, plus 2 screws that hold the corner sections in the boot lip area.
"Making Cabbies More Beautiful One Roof at a Time"�
Posted
Local Hero
Will update as soon as possible.
Cheers
"Making Cabbies More Beautiful One Roof at a Time"�
Posted
Settling In
Many thanks
Posted
Local Hero
"Making Cabbies More Beautiful One Roof at a Time"�
Posted
Local Hero
He supplied me with one a short while back when I had my new roof fitted.
The guy doing the roof was very impressed with it.
Ceri.
Posted
Settling In
Posted
Local Hero
I have left him an answer phone message this morning.
I had to photograph and edit and add text to show what the areas that needed reviewing are.
My spollogies for the time it's taking, but I want these to be right.
I have the interliner that the pad goes into in stock.
I will chase him again tomorow.
Cheers
"Making Cabbies More Beautiful One Roof at a Time"�
Posted

MOTY 2013

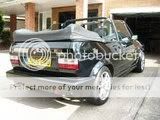
Luckily I had a spare hood to hand, the spare insulation mat was good mostly just worn at the back. i chopped the worn piece out and added a section from the original to make a nice even thickness pad.
7 hours worth of hand sewing later and I ended up with this:


then hood back on:

Hey presto, no more random horsehair falling inside the car
Ignore me if this is what you are actually selling chortle lol
Hello my name is John and I'm a dub addict.
My wiring diagrams and other documents have moved here:
VAG Documents & Downloads
You'll need to sign into google/gmail for the link to work! (its free!)
My wiring diagrams and other documents have moved here:
VAG Documents & Downloads
You'll need to sign into google/gmail for the link to work! (its free!)
Posted
Local Hero
Yes I am doing the pads and interliners these have been on E bay.
The padding is waiting for the final tweaking before they are retailed.
I supplied BigNormRivage with one for the trimmers jack shepperd, who has said he will have some off me when he needs another.
7 hours sewing though, I bet your hand was aching, you can change them over in an hour.
The last one I did had been sewn up and starting to rot on the underneath too.
The interliners
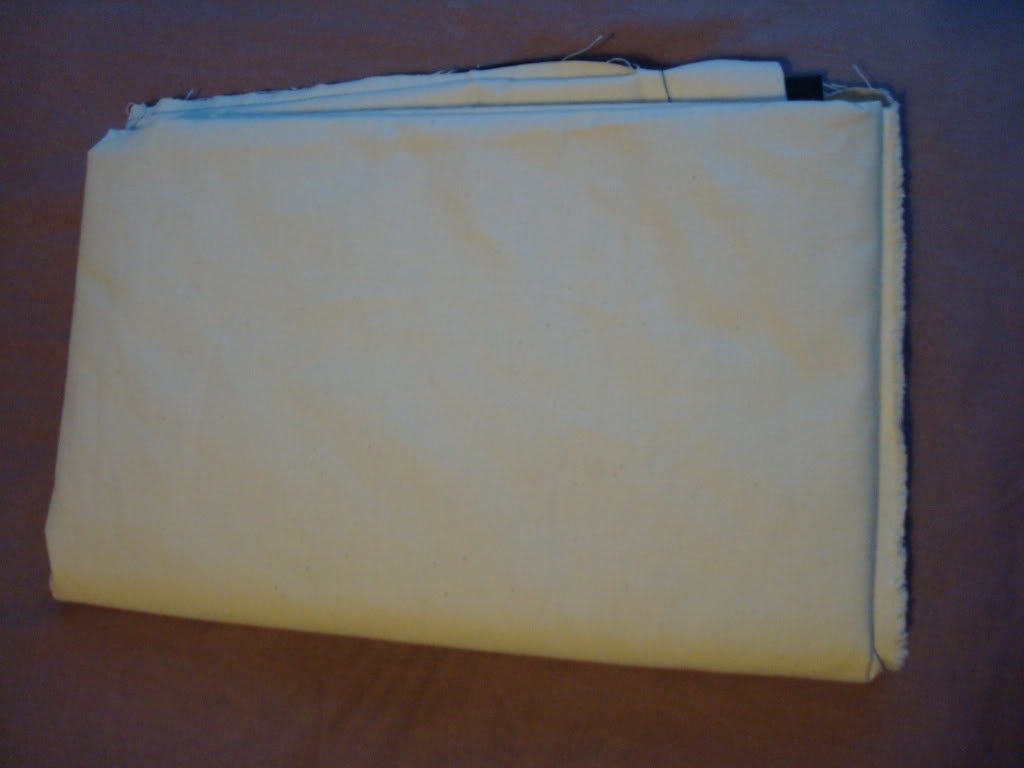


The padding


"Making Cabbies More Beautiful One Roof at a Time"�
Posted
MOTY 2013

yeah i had to do it by hand as didn't have a sewing machine that could cope with the thick vinyl side pieces. on the plus side I can do a mean backstitch now

oh and just to mention if anyone wants to do this job you need a good staple gun! mine was almost good enough, but i had to tap some of the staples fully in with a hammer. can see along the back of the interliner on my pic where it needs to be stapled to the rear frame.
also need to staple round your rear screen, but you could peel the hood back to do this job leaving window alone. just have a damn good look at the frame to make sure it isnt rotten. mine was which was nice. stapling your old hood to a replacement frame is a bit of as mission too but I managed it eventually
Hello my name is John and I'm a dub addict.
My wiring diagrams and other documents have moved here:
VAG Documents & Downloads
You'll need to sign into google/gmail for the link to work! (its free!)
My wiring diagrams and other documents have moved here:
VAG Documents & Downloads
You'll need to sign into google/gmail for the link to work! (its free!)
Posted
Local Hero
All the interliners I have seen have all rotted away, once you get the hood off they just shred away.
The last one I stripped down the base cloth was just as bad with slash marks in it also.
The pads also wear very thin too, like you have noticed the bits falling into the car, but leave the finish poor.
You never know the history of the tops though.
People often change the hood without realising that if the headliner is tatterd too it's the best time to swap whilst your stripping the frame down any way.
For some reason people think they can change the headliner at a later date!!!!
I have done a few of these now and I have yet to hear of someone doing that with the hood in place sucessfully.
You would need to remove the newly installed top to get at the frame, underneath the interliner and padding undoing all the work done.
The main reason of course is cost and the need for a dry bum and security.
But it's a bit of a pain to end up re-doing the top all over again.
My hand sewing isn't bad but your a trooper at it for 7 hours, I take my hat off to you for your dedication. :notworthy:
"Making Cabbies More Beautiful One Roof at a Time"�
Posted
MOTY 2013
i was even more lucky to have that extra frame when i actually came to do it as it turned out. Once i stripepd it back i found my old frame was totally rotten along the front. so i had to swap that over too! plus the headliner as it had a nice black one plus the one on my spare frame was all ripped on the inside. half a day job turned into 1.5day job lol
Hello my name is John and I'm a dub addict.
My wiring diagrams and other documents have moved here:
VAG Documents & Downloads
You'll need to sign into google/gmail for the link to work! (its free!)
My wiring diagrams and other documents have moved here:
VAG Documents & Downloads
You'll need to sign into google/gmail for the link to work! (its free!)
Posted
Local Hero
But we only needed to take the rear window frame out as that's alll we needed.
I wire brushed, rust killed it, zinc primered it and 4 coats of black paint. Looked Mint.
Having spares is allways handy for sure.
I am glad someone else recognises the headliner cannot be changed with the hood in-situ.
Quite a few have claimed they have or it can be done?
It can take a while to do a complete install, I did mine and it took 3 days
 The stripping down is tedious but it's exciting as you start to build it all back up, well maybe it's just me being weird LOL.
"Making Cabbies More Beautiful One Roof at a Time"�
Posted
MOTY 2013
you could prob bodge the headliner in there, but you just cant do the job 100% properly. for 1 thing it goes over the rear frame, and as you can see from my piccy the hood pad bag needs to be stapled down over the top of it!
depends how much pride you take in your work i guess. good to see i am not the oly one with car ocd

Hello my name is John and I'm a dub addict.
My wiring diagrams and other documents have moved here:
VAG Documents & Downloads
You'll need to sign into google/gmail for the link to work! (its free!)
My wiring diagrams and other documents have moved here:
VAG Documents & Downloads
You'll need to sign into google/gmail for the link to work! (its free!)
Posted
Settling In
0 guests and 0 members have just viewed this: None.