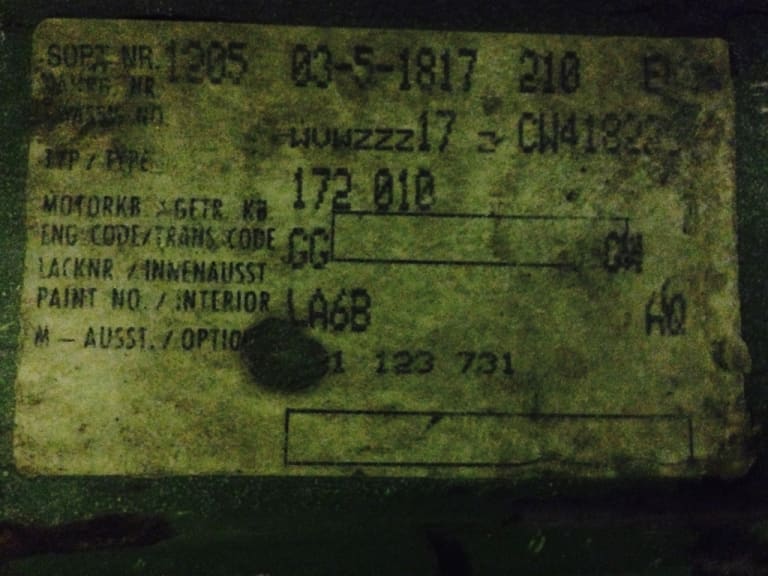
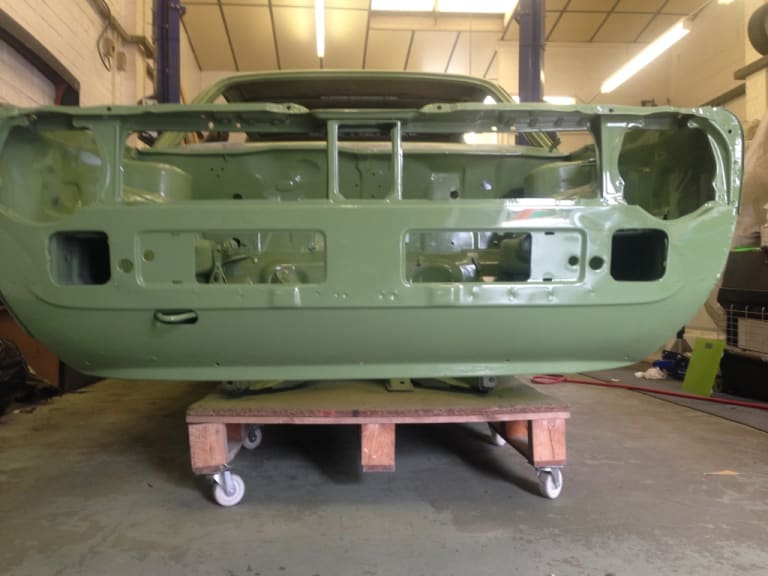
1982 lido green resto
Posted
#1599536
(In Topic #217571)
Settling In

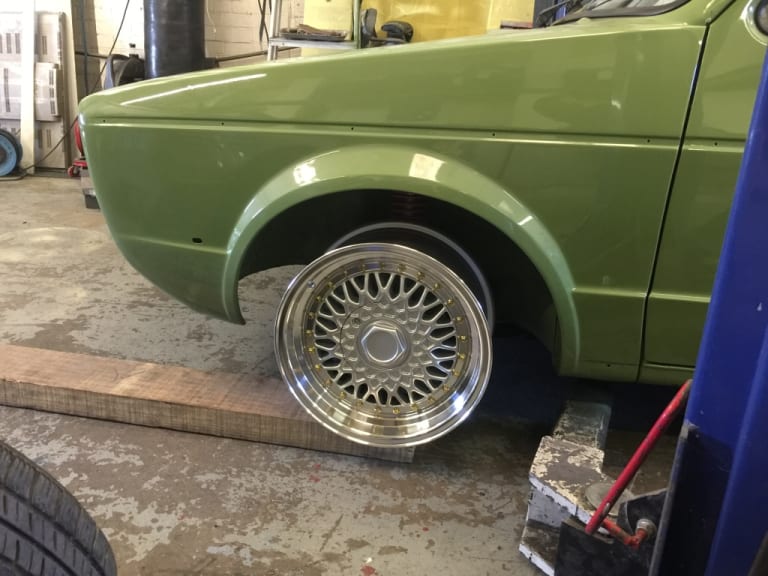
†since looking at the pics again I'm wondering…. what mind altering drugs was i on to even think about handing over actual real english pounds for what can only be described as an oversized airfix kit!!!
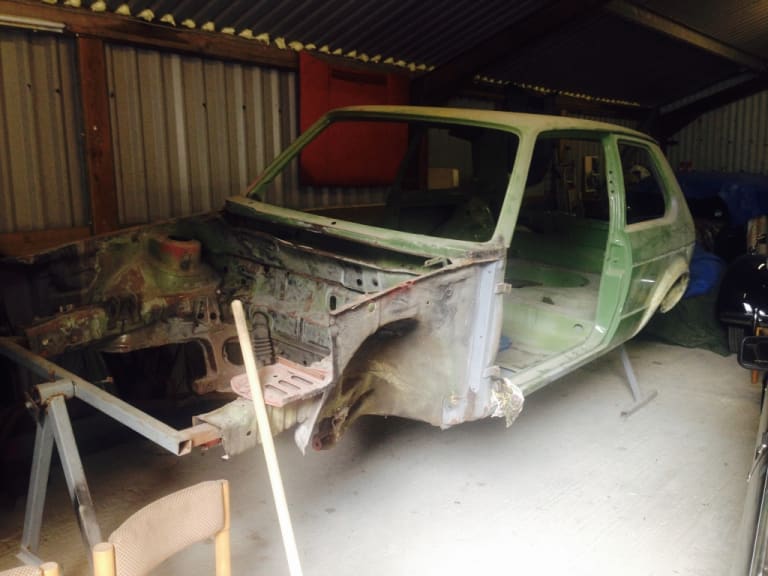

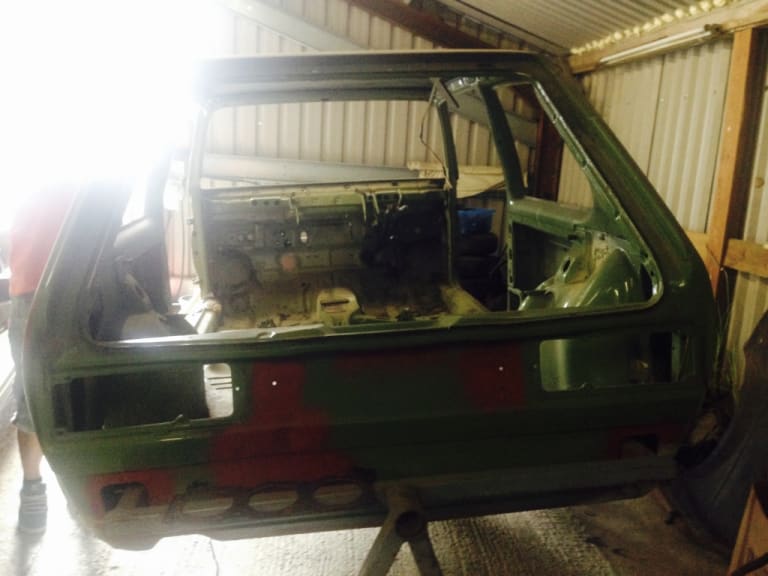


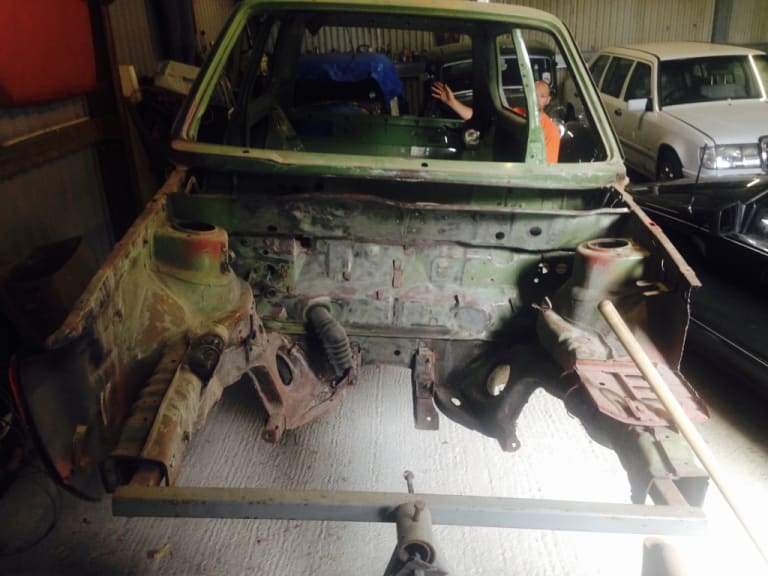
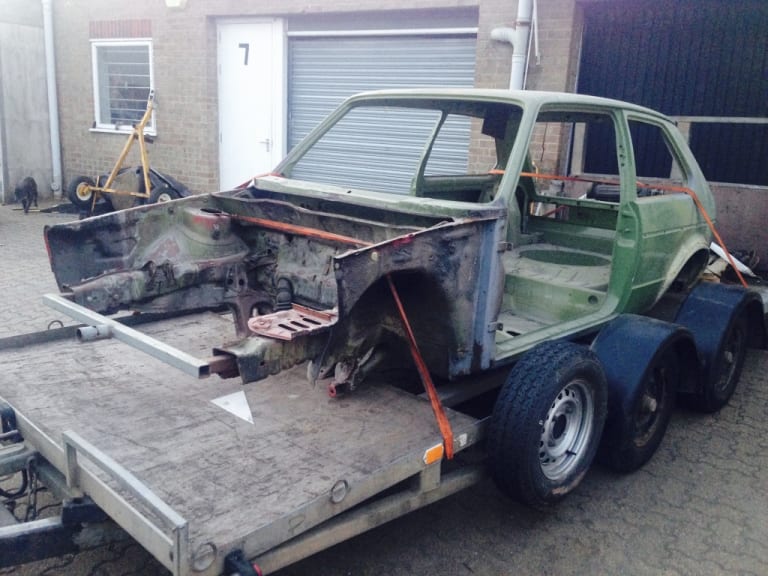

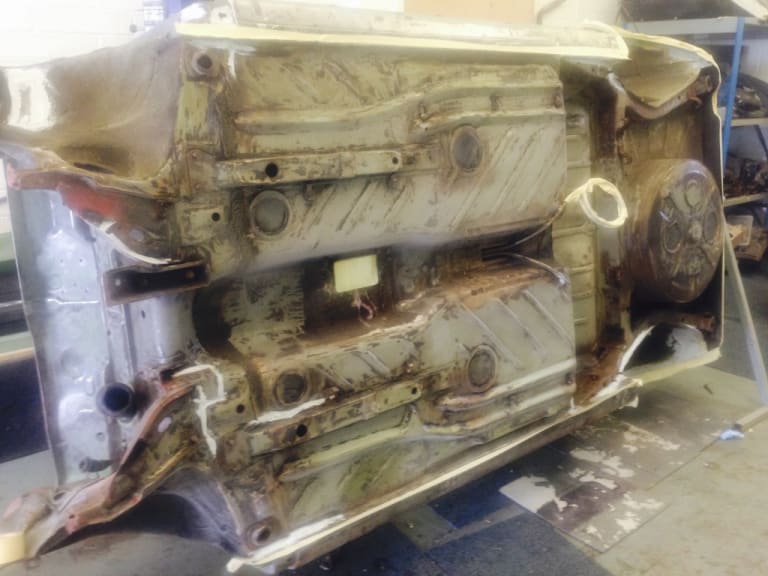
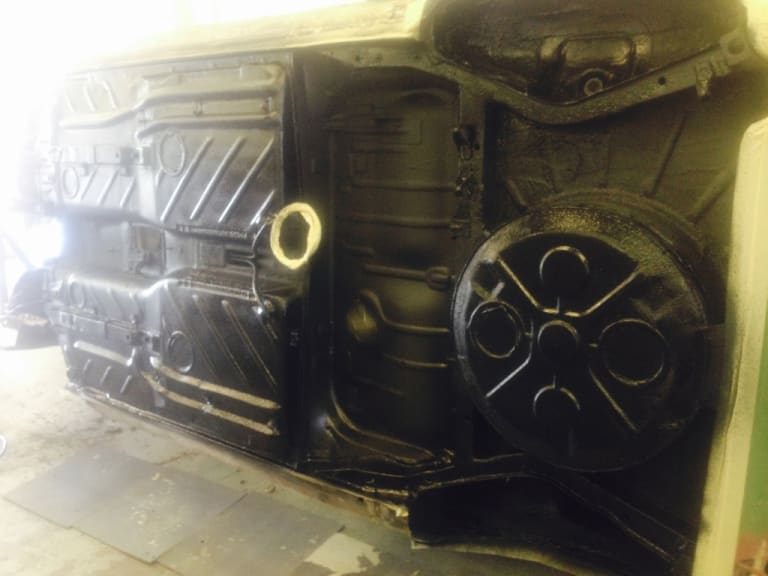


tbc
Posted
Settling In



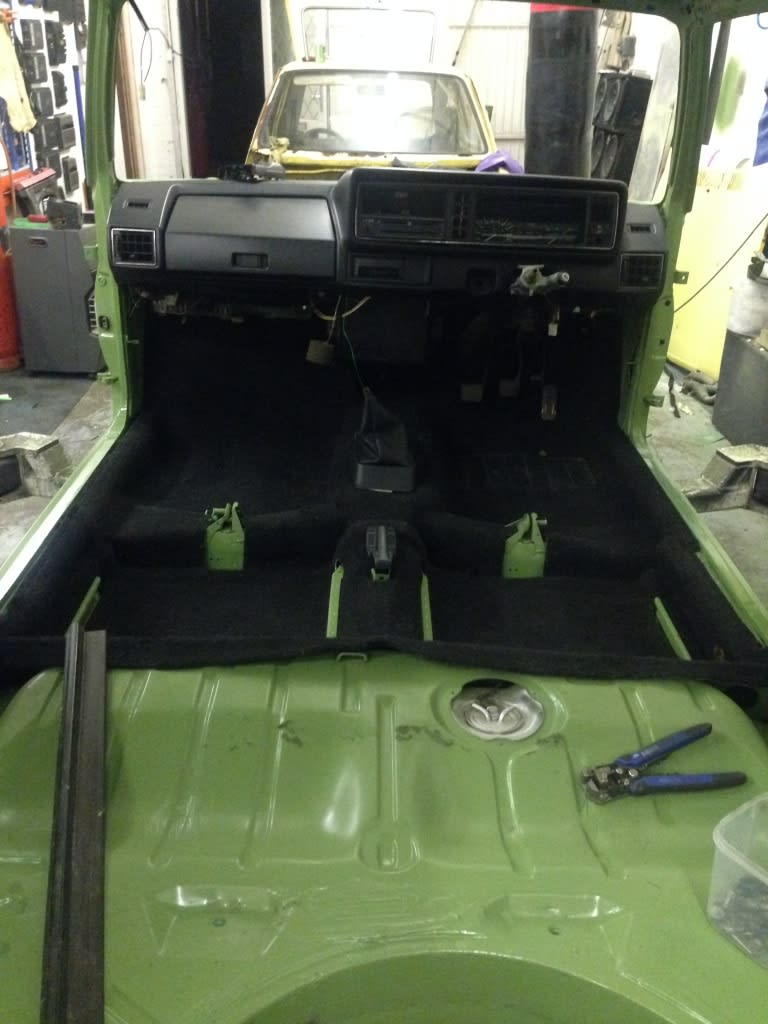
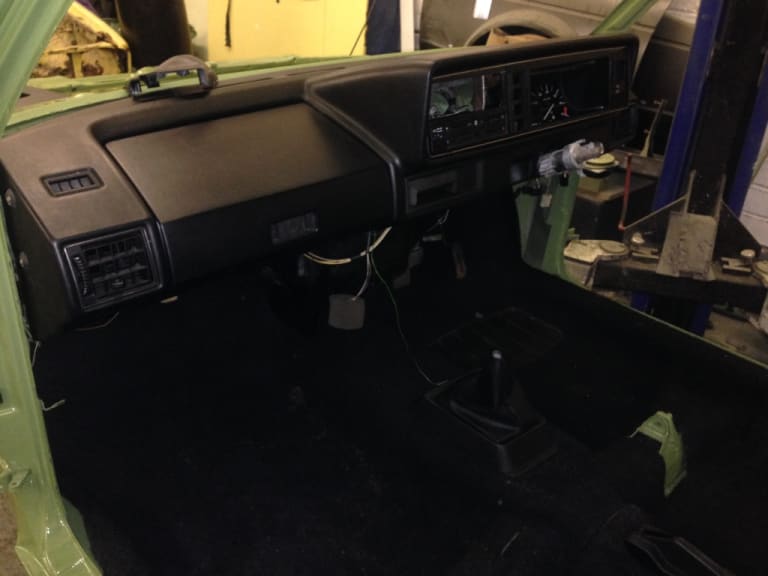
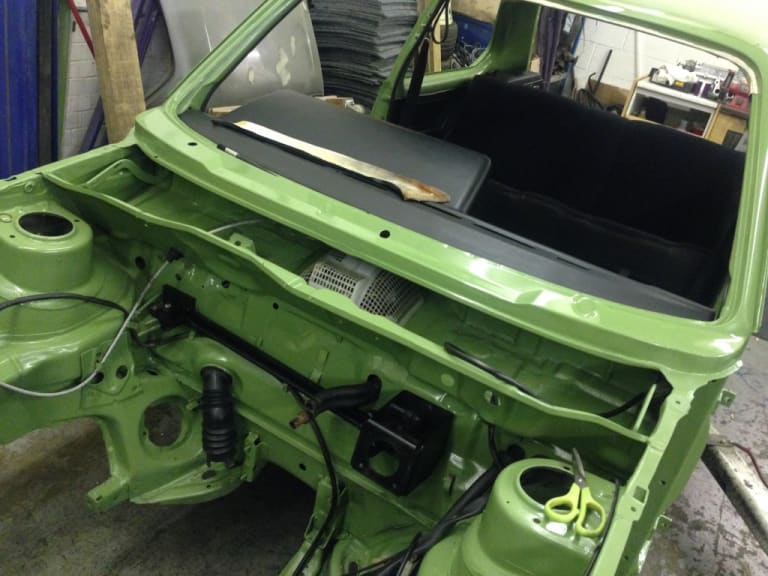


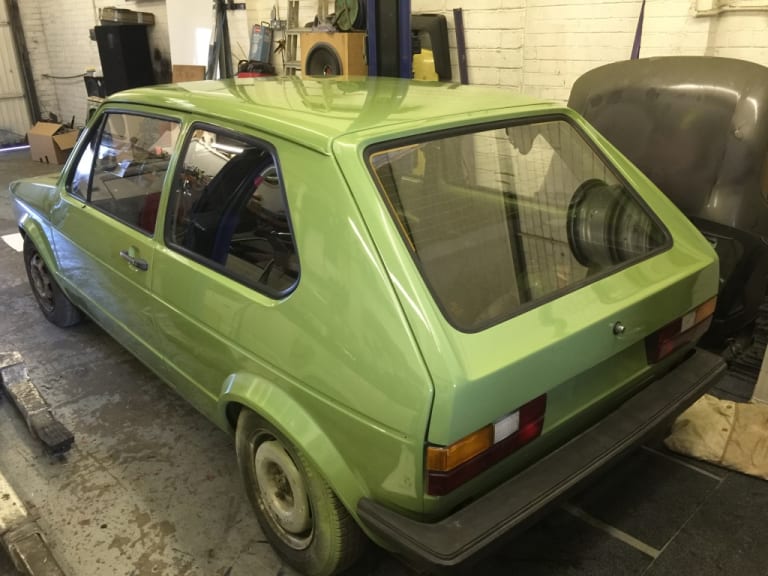




Posted
Local Hero

1988 Mk1 Golf GTi Cabriolet 1.8cc DX, K-jet. Daily drive. 317,000 miles and counting
1978 Mk1 Scirocco GLS 1.6cc FR, Webber carb. Weekend toy.
1978 Mk1 Scirocco GLS 1.6cc FR, Webber carb. Weekend toy.
Posted
Settled In

Challenges and results like this just underline how a strategic approach to completing one task at a time, rather than being overwhelmed by the enormity of the overall task wins through in the end.
Anyone undertaking a restoration needs to see this before they start.
Now bloody hurry up and finish it!
Posted
Settling In

If i had been the one to strip it it would have been finished a long time ago but I'm finding the images in a haynes manual aren't exactly "high res" †
On the plus side i had a couple of hours on it this week so far and managed to build the passenger door including fitting the ridiculously annoying door rubber. and i also got time in my paint booth to blow a couple of bits in.
†I'm getting "http error" whilst trying to upload pics so will try again when i get 5
†
Posted
Settling In


†

†

Posted
Settling In

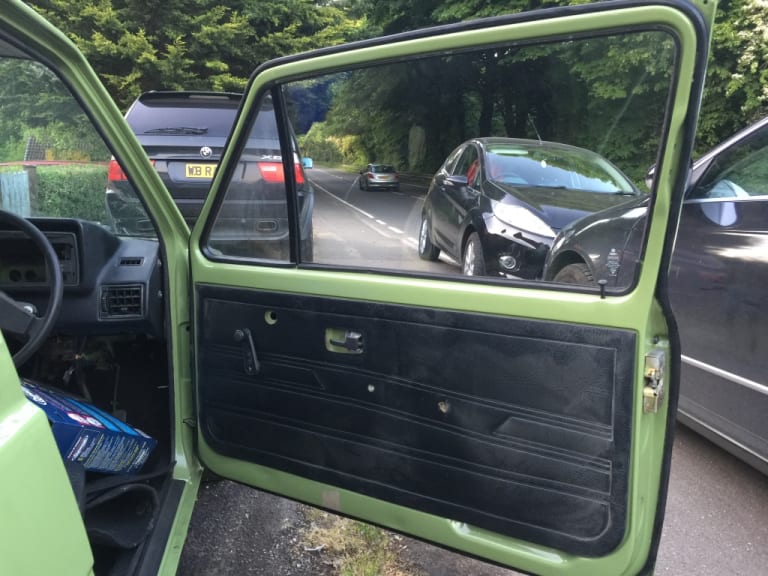
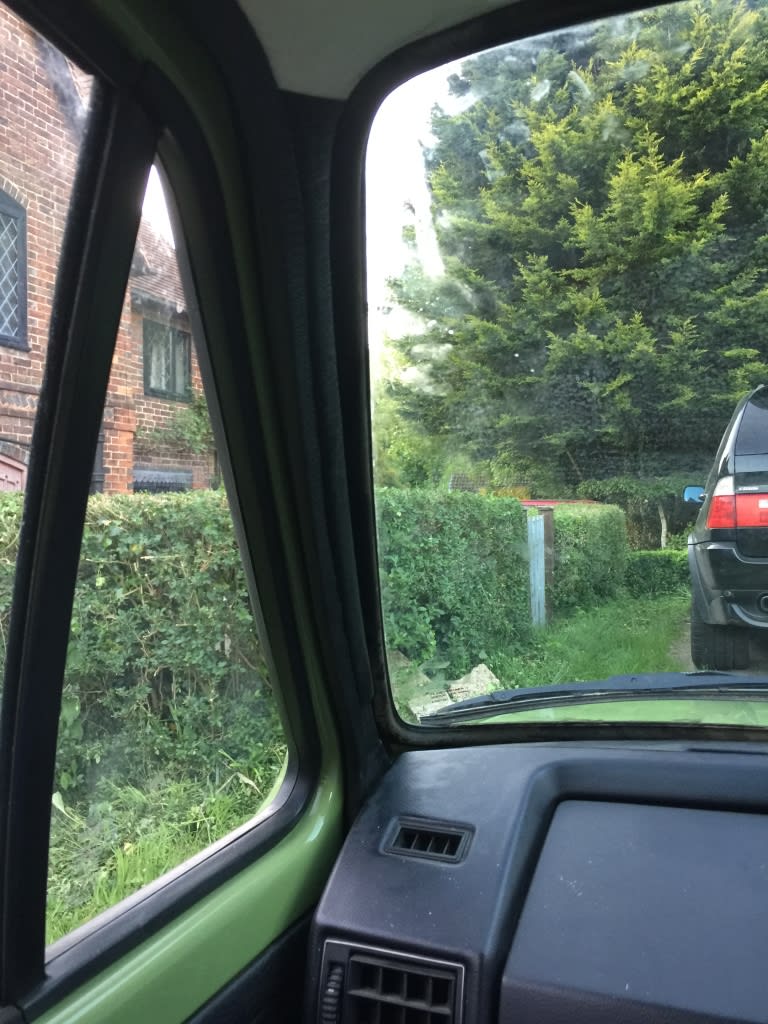
Gave her a bit of a wash off this evening to see how the bodywork has faired over the winter whilst outside under a cover.


Posted
Old Timer


†
Nut & Bolt Resto Complete (Mars Red GTi original):††https://vwgolfmk1.org.uk/forum/index.php?page=topicview&type=misc&id=projects%2Fyour-mk1-golfs_2%2Fpistolpete-s-mars-red&start__keyed=
Nut & Bolt Resto in Progress (Lhasa 16v):† https://vwgolfmk1.org.uk/forum/index.php?page=topicview&type=misc&id=projects%2Fyour-mk1-golfs_2%2Fpistolpete-s-lhasa&redirected=1
Nut & Bolt Resto in Progress (Lhasa 16v):† https://vwgolfmk1.org.uk/forum/index.php?page=topicview&type=misc&id=projects%2Fyour-mk1-golfs_2%2Fpistolpete-s-lhasa&redirected=1
Posted
Settling In

Pistol said
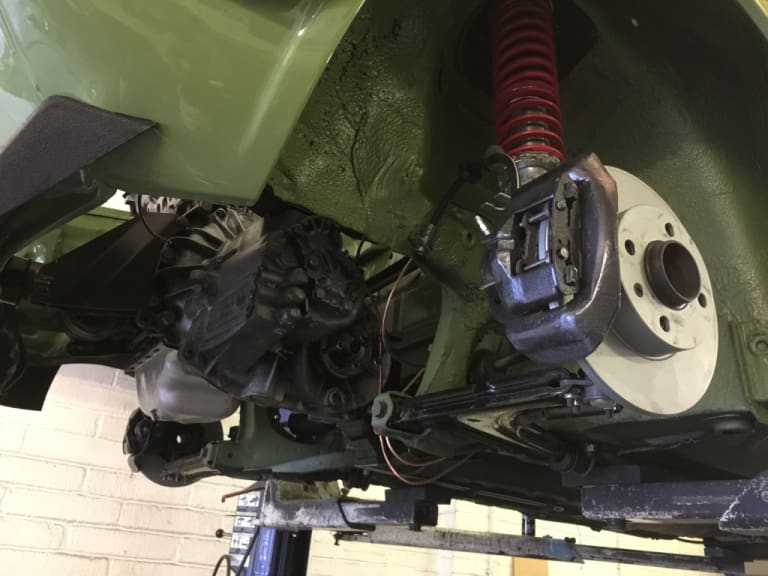
Might just be the angle of the photo, but are your brake pipes not running quite low to the ground?  They look a bit vulnerable.
   
They aren't fitted in that pic, they were just hanging after running them down the car.†
†You missed the nails being used to hold the pads in tho 😉
Posted
Local Hero

On the subject of brake calipers and pads, you are also missing the anti rattle clip?
1988 Mk1 Golf GTi Cabriolet 1.8cc DX, K-jet. Daily drive. 317,000 miles and counting
1978 Mk1 Scirocco GLS 1.6cc FR, Webber carb. Weekend toy.
1978 Mk1 Scirocco GLS 1.6cc FR, Webber carb. Weekend toy.
Posted
Settling In

rest assured after the mock up it was assembled correctly
Posted
Settling In

Thanks to Roach who sent me out the last lot of missing parts for the car, bit of a legend
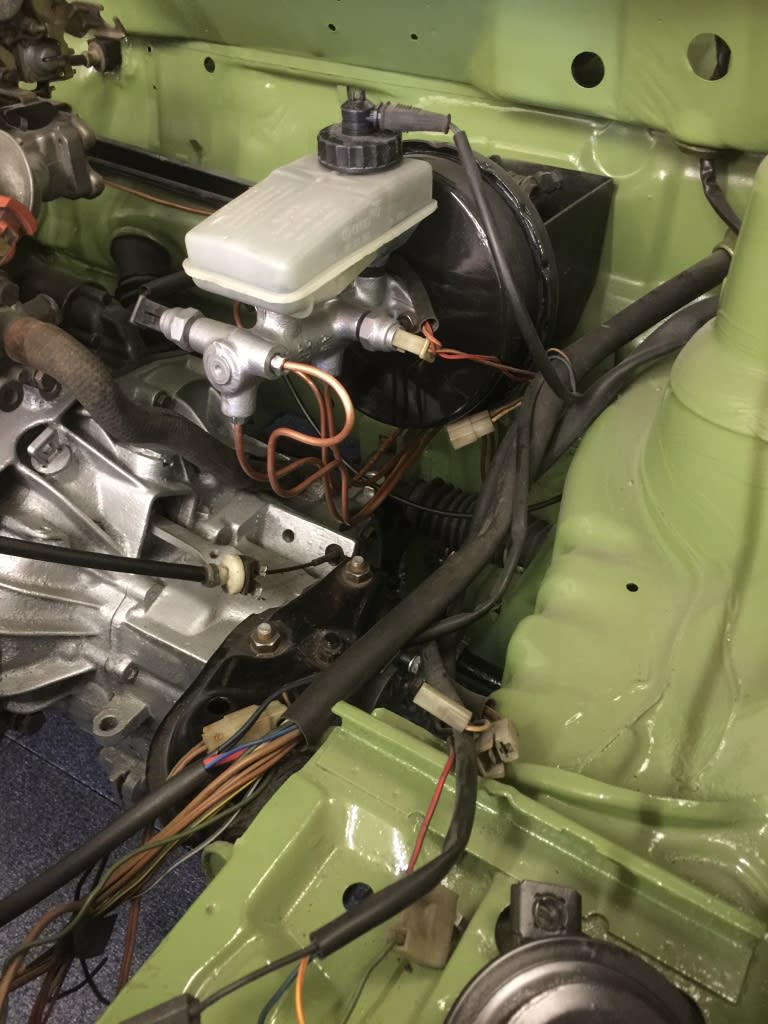
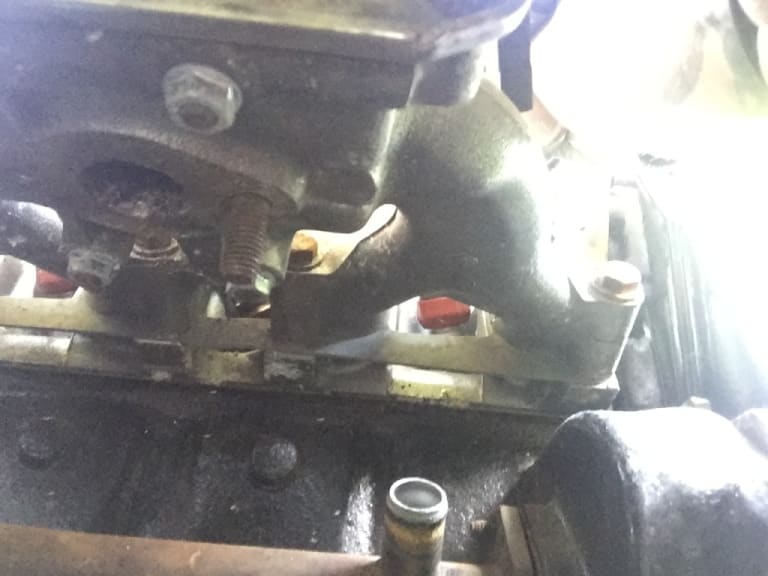
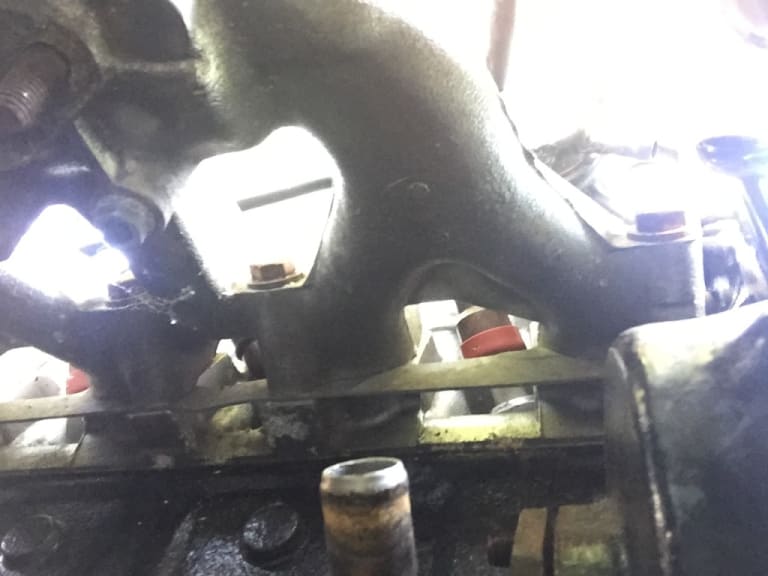
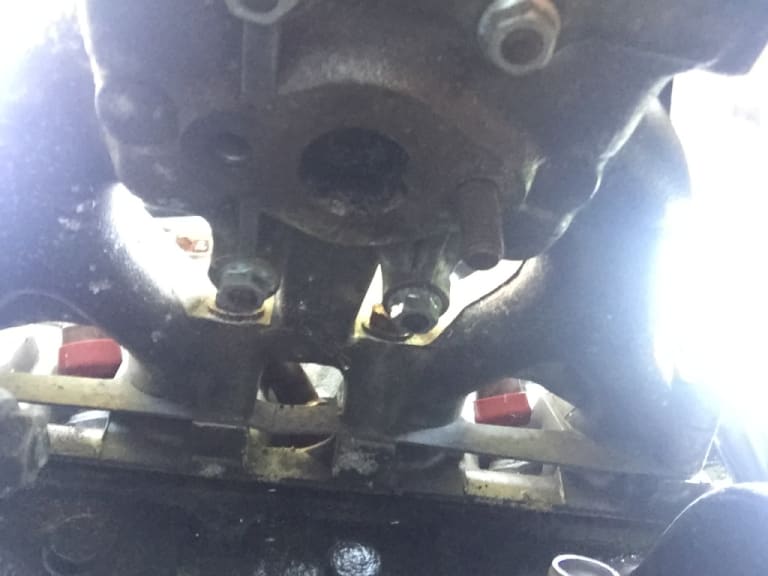
kinda fallen at the first hurdle. According to the manual and all the info i can find online the pipe id the right one for my engine but…. as the you can see from the photo's theres no water inlet on the bottom of the manifold. il have to get a bit of pipe and blank it off as the rest of the pipework is spot on.
Posted
Local Hero

Yeah just blank off that outlet I guess, earlier cars had a water fed inlet mani.
Posted
Settling In

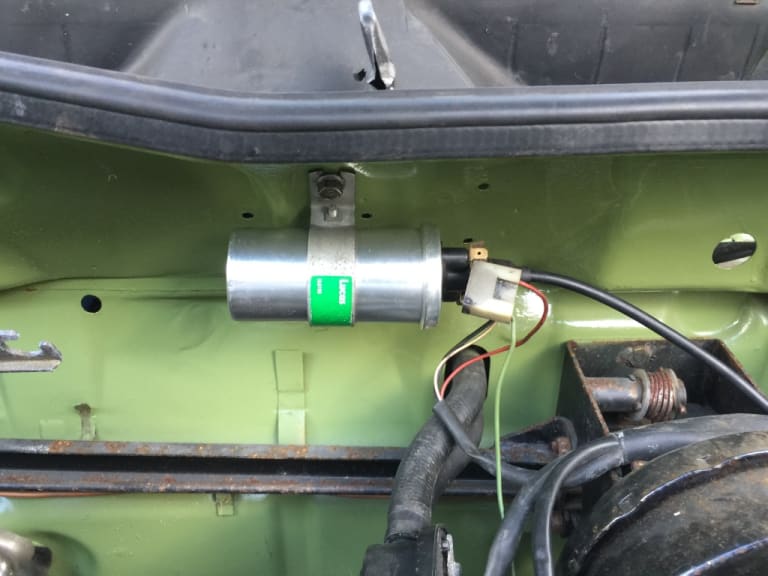
Realised both the coil and the horn are the wrong ones, i can work around them for now.with a bit of wiring bodgery until i find the right ones.
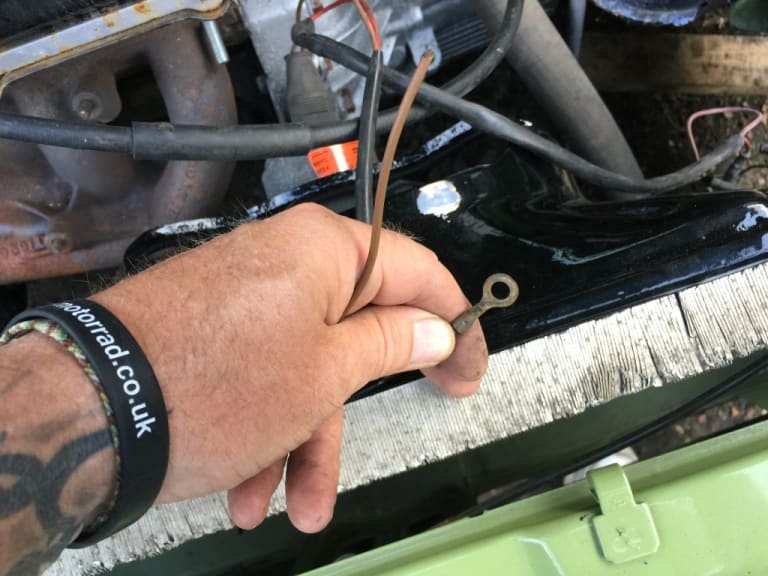
The one thing that has me puzzled is the rad fan as it has a direct feed to the battery for both the live and earth (via the thermo switch) and no fuse, im wondering if someone has at some point bypassed a fuse or relay or if its standard.
anyhoo… pics… the year stood outside hasn't done the bare ally surfaces any favours.

Posted
Old Timer


0 guests and 0 members have just viewed this: None.


