"TAG" - 1983 Campaign restoration blog
Posted
Old Timer


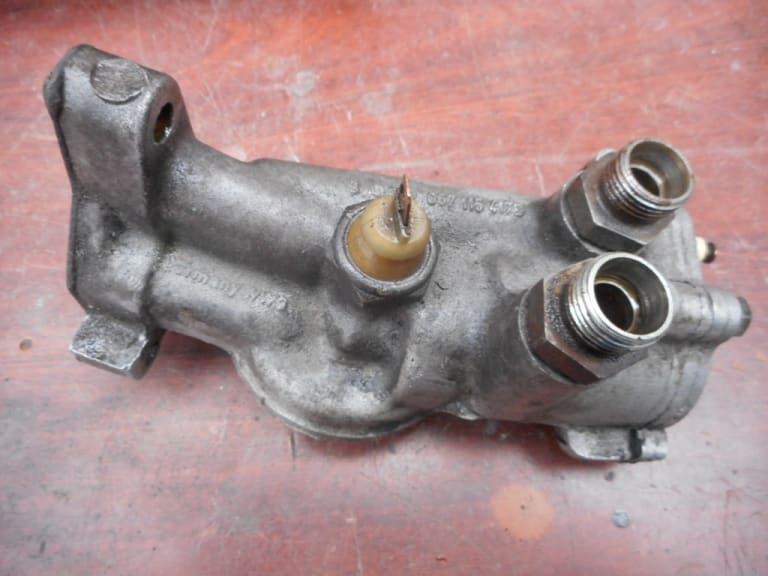
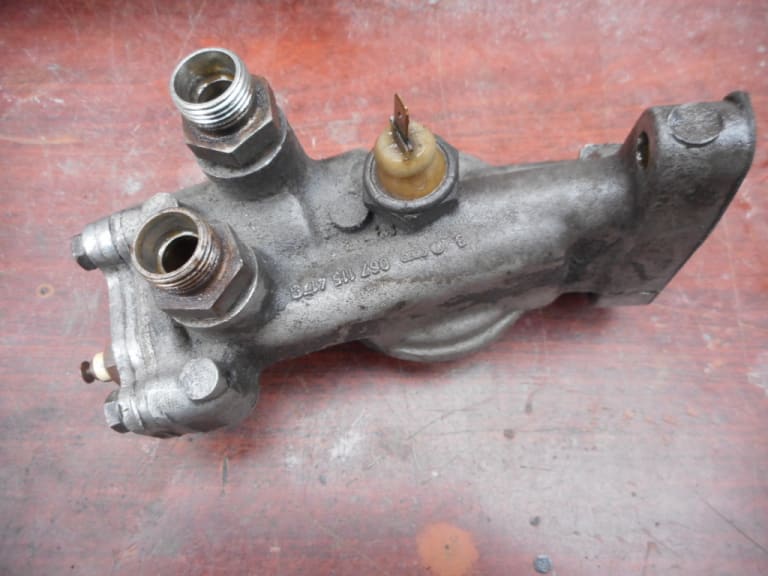

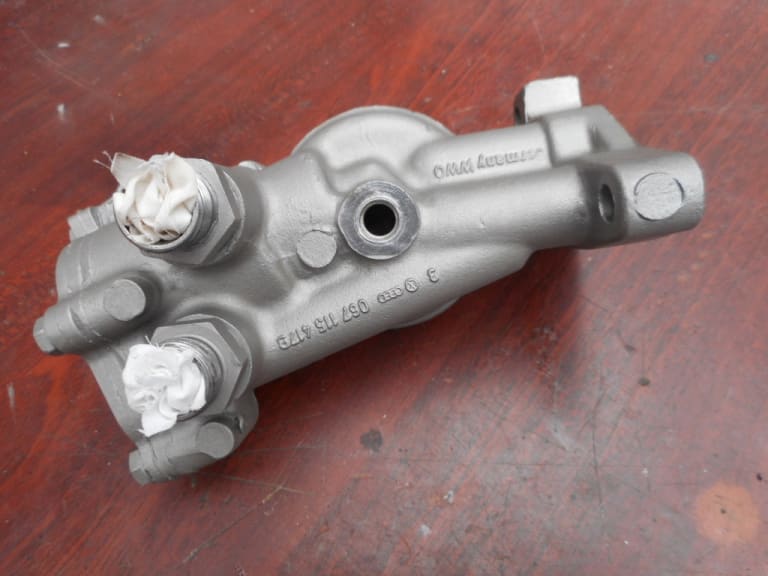
1983 Golf GTi Campaign Edition, Diamond Silver
http://vwgolfmk1.org.uk/forum/index.php?page=topicview&id=projects%2Fyour-mk1-golfs_2%2F-tag-1983-campaign&redirected=1#post_1551531
http://vwgolfmk1.org.uk/forum/index.php?page=topicview&id=projects%2Fyour-mk1-golfs_2%2F-tag-1983-campaign&redirected=1#post_1551531
Posted
Old Timer
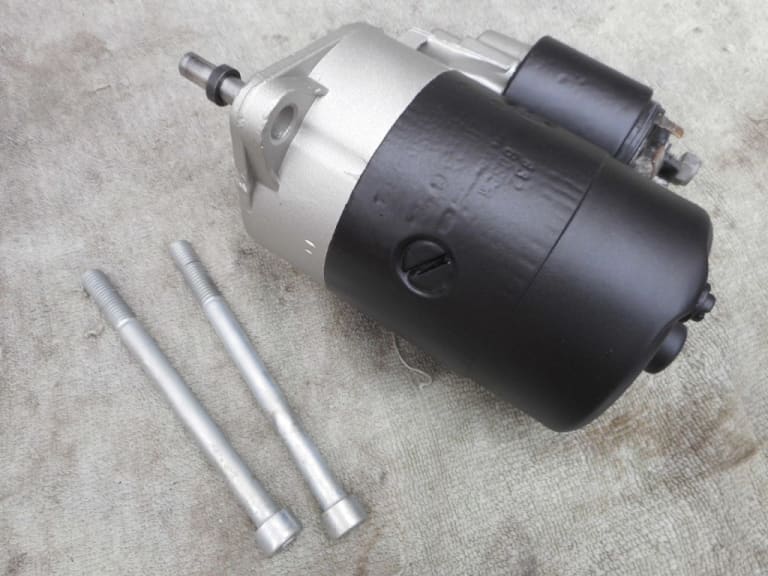
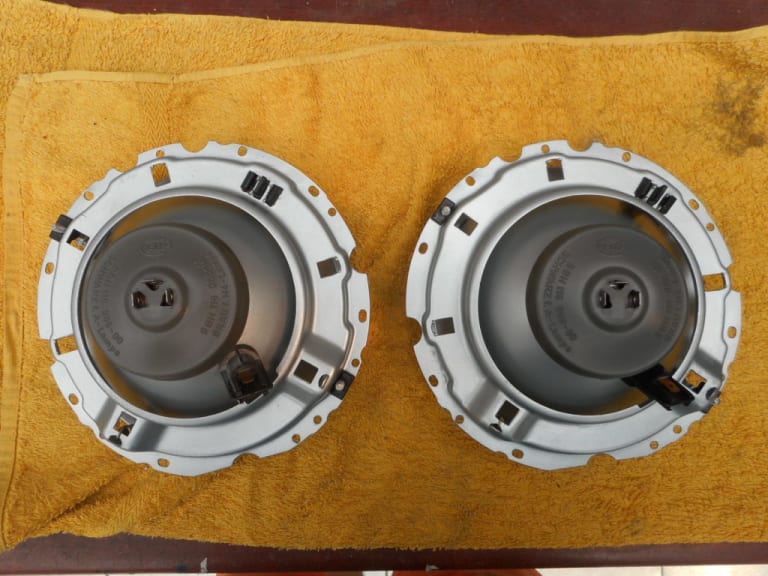
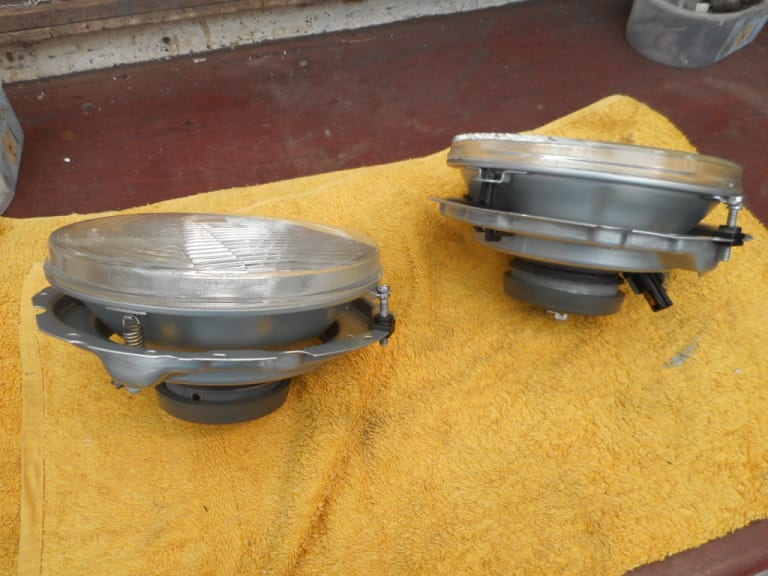


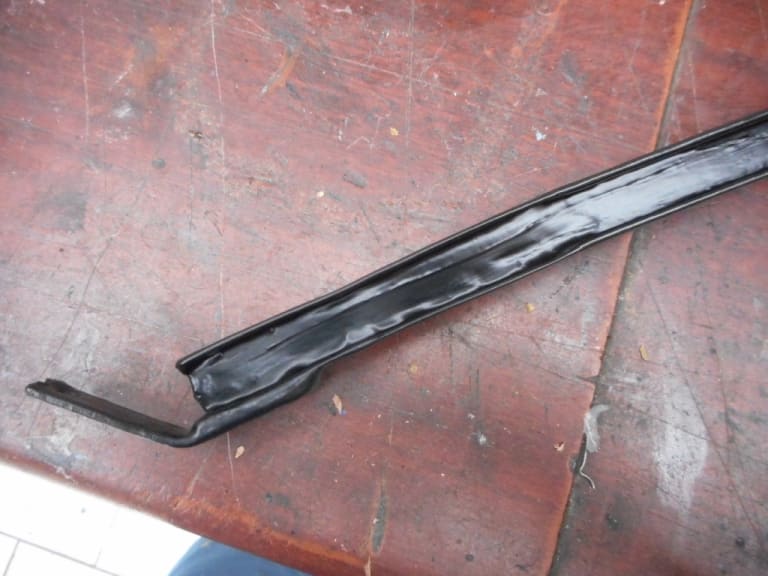
They fit between the front quarter light and wind down window. At the bottom they are held, in my case, by a pop rivet. Water had gathered in the bottom of the door due to a damaged plastic membrane and caused inevitable rot.
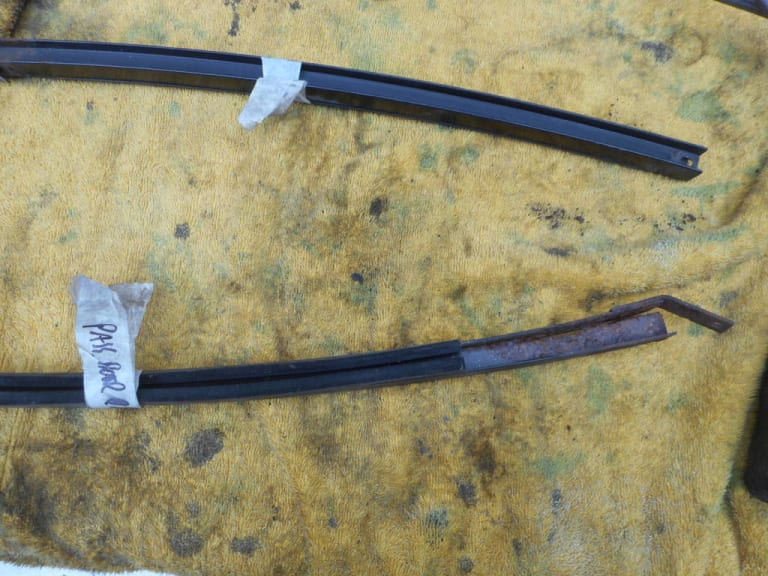
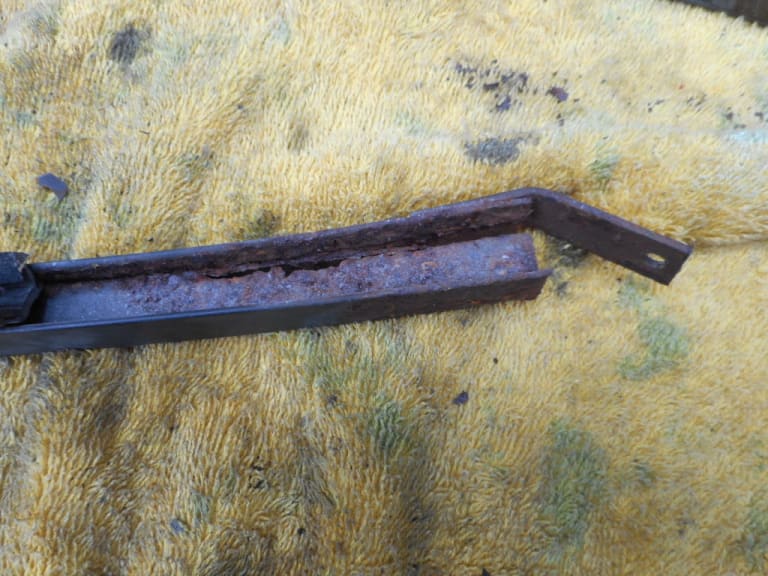
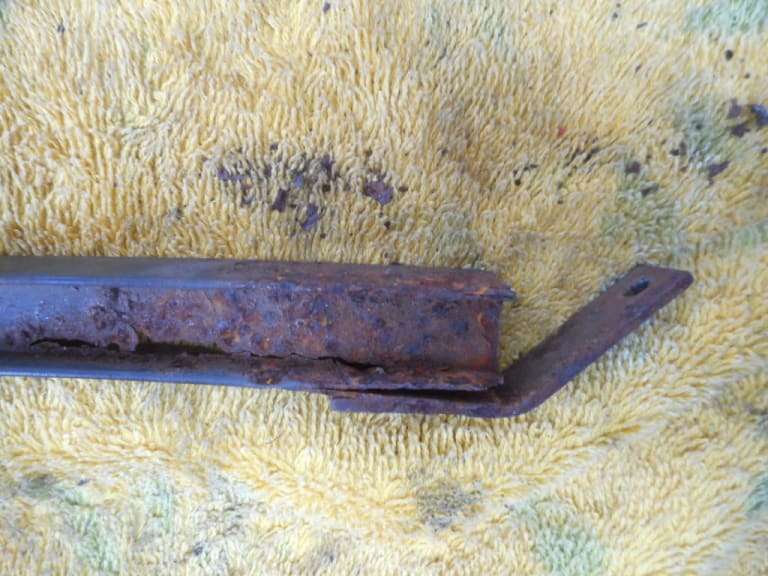
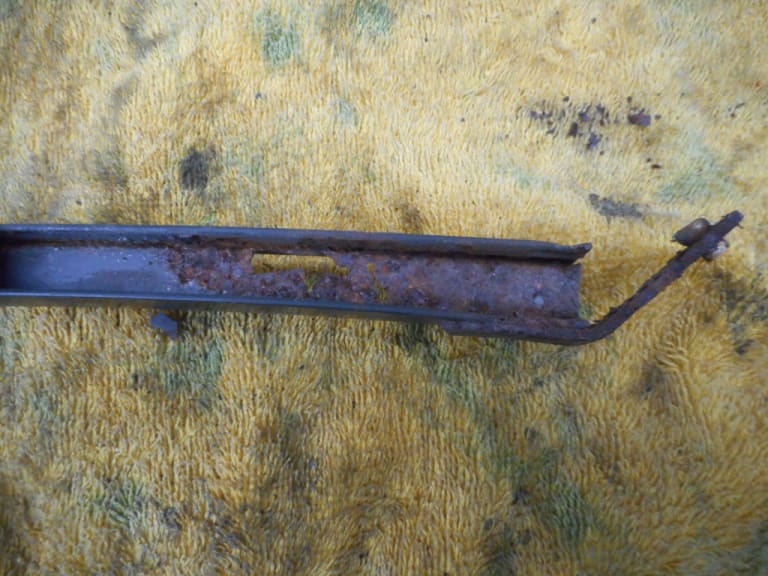
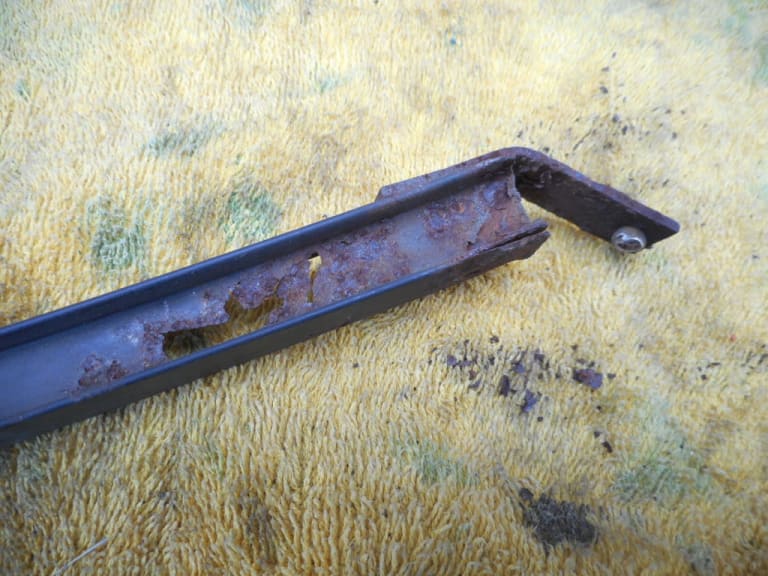
I cleaned up the metal and then cut out the rot.
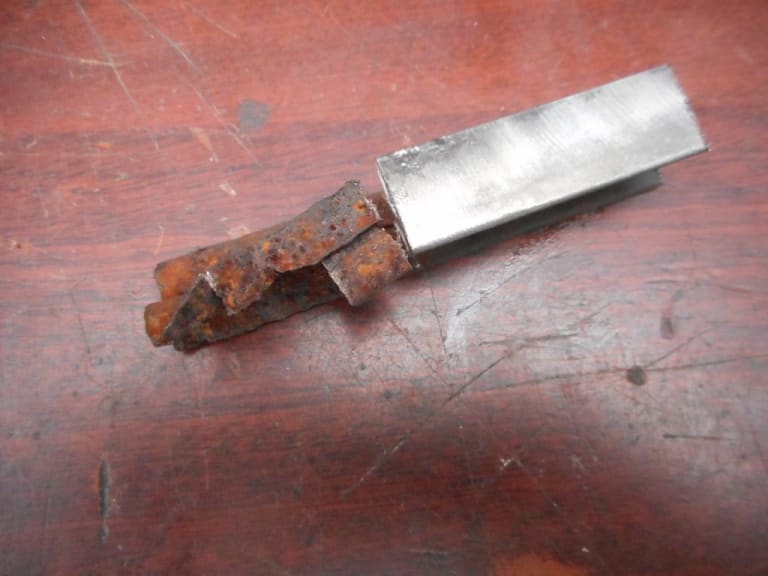
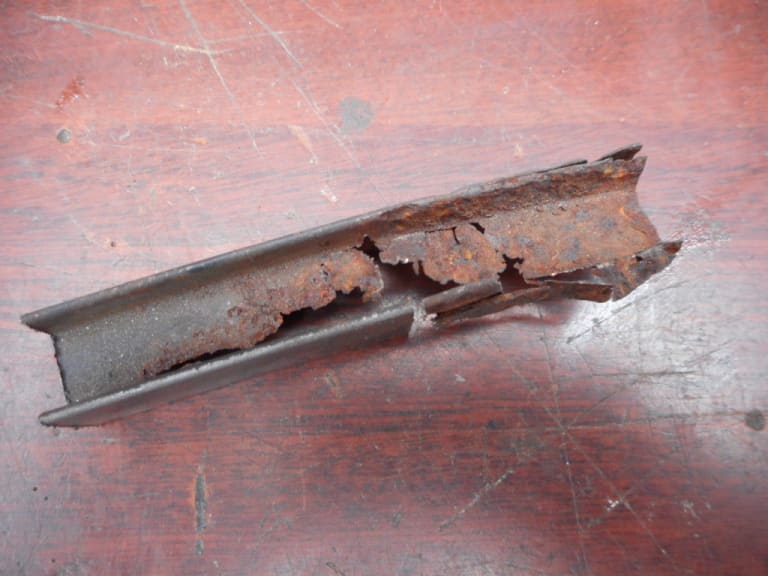
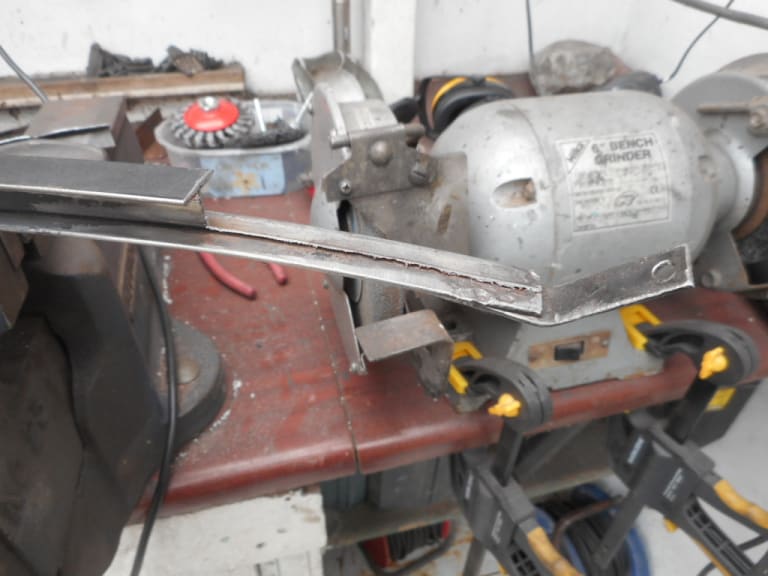
The created new sections. Difficult as the guide is like a girder section. I could fold one section then weld the other to it to form the shape.
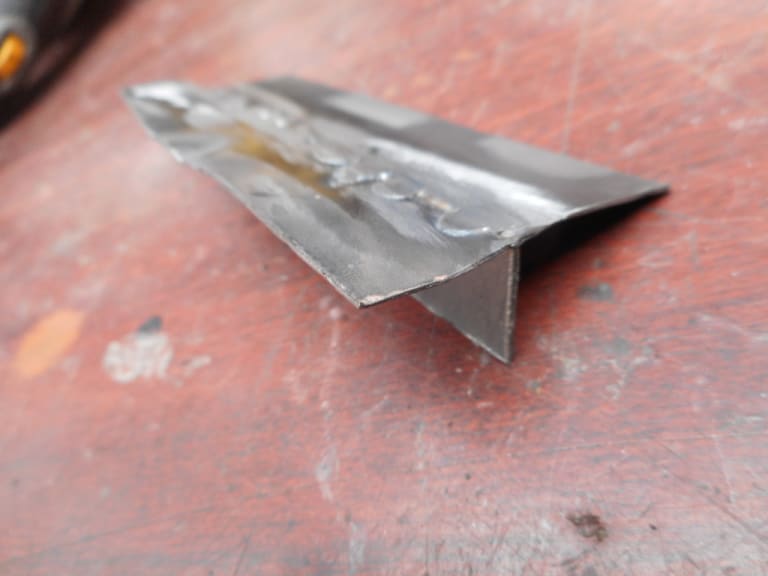
Once the new section was formed I could weld it to the existing clean metal. Trying to maintain the curve of the guide as best as possible.

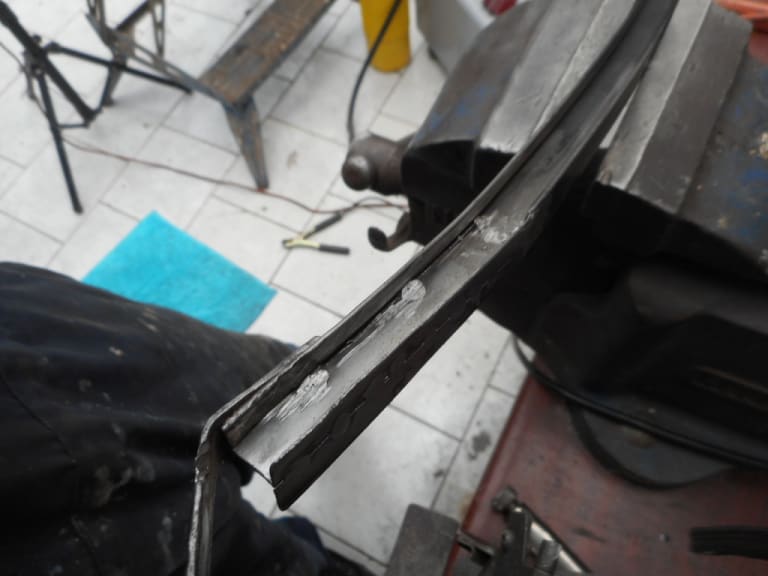
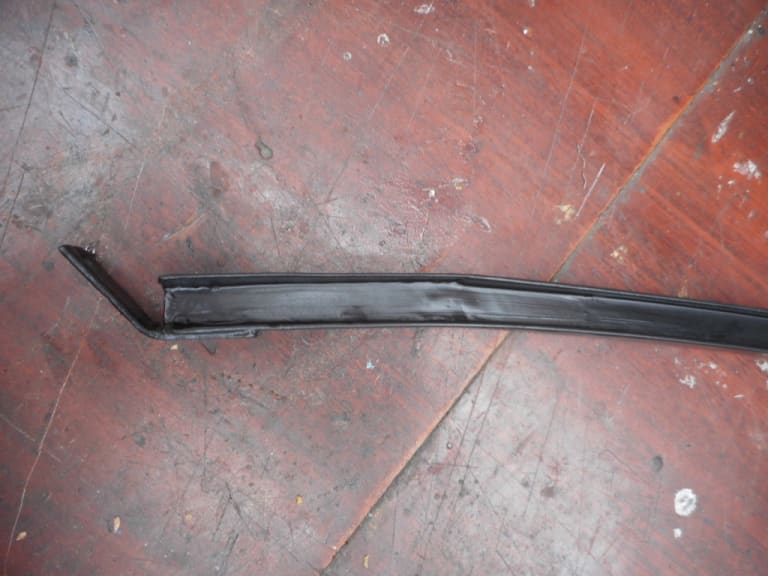
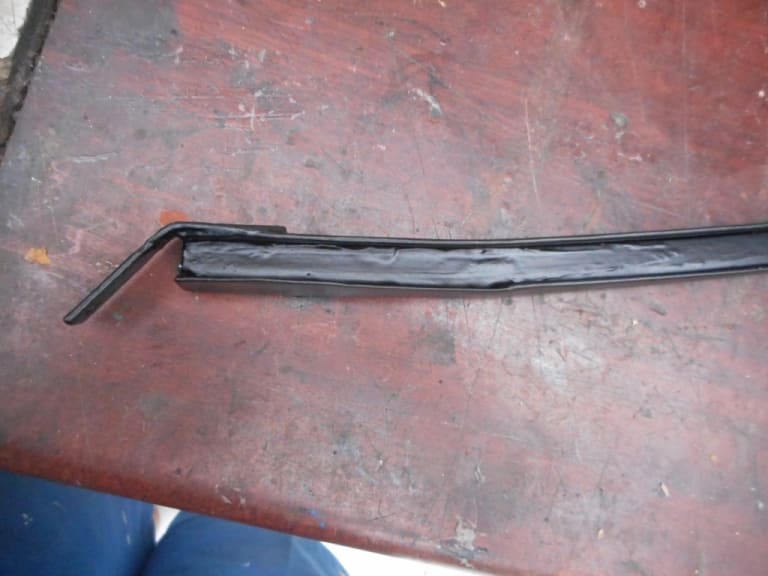
Finally treated with full POR 15 treatments, then some rust proofing seam sealer before etch primer and top coat. They dont look too bad considering the state they were in!

1983 Golf GTi Campaign Edition, Diamond Silver
http://vwgolfmk1.org.uk/forum/index.php?page=topicview&id=projects%2Fyour-mk1-golfs_2%2F-tag-1983-campaign&redirected=1#post_1551531
http://vwgolfmk1.org.uk/forum/index.php?page=topicview&id=projects%2Fyour-mk1-golfs_2%2F-tag-1983-campaign&redirected=1#post_1551531
Posted
Old Timer


Air flow meter before:
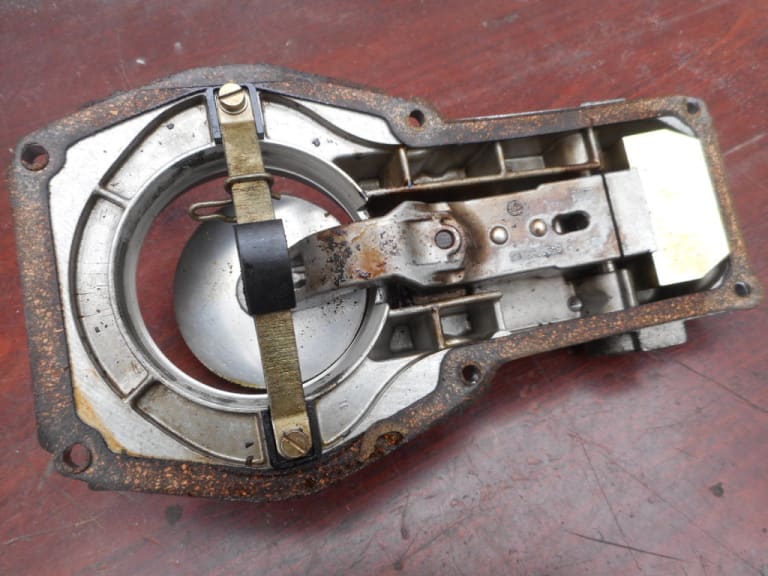
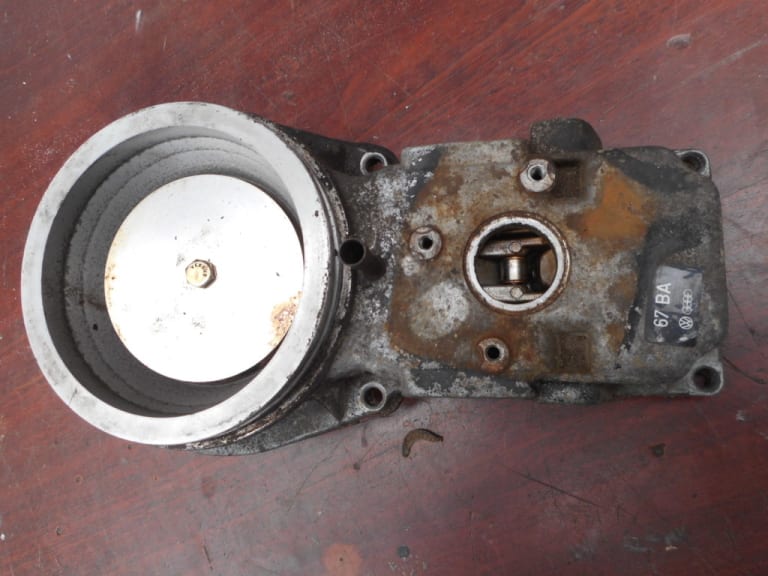
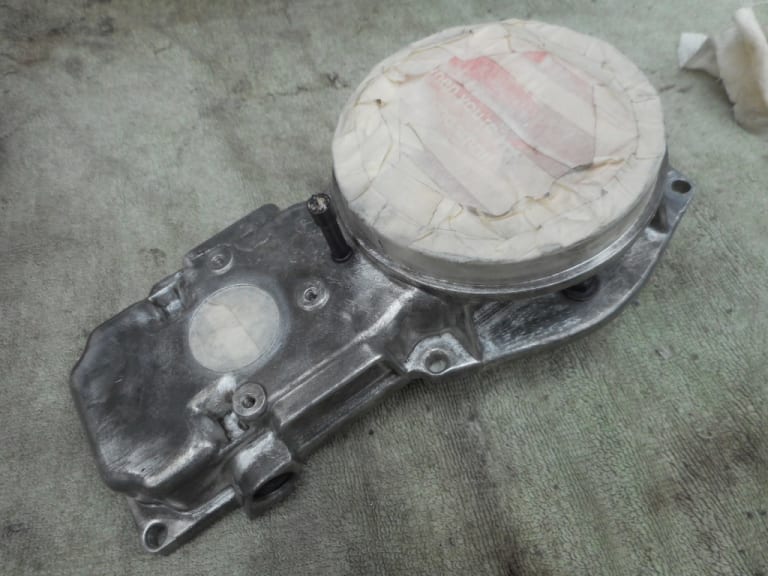
and after:
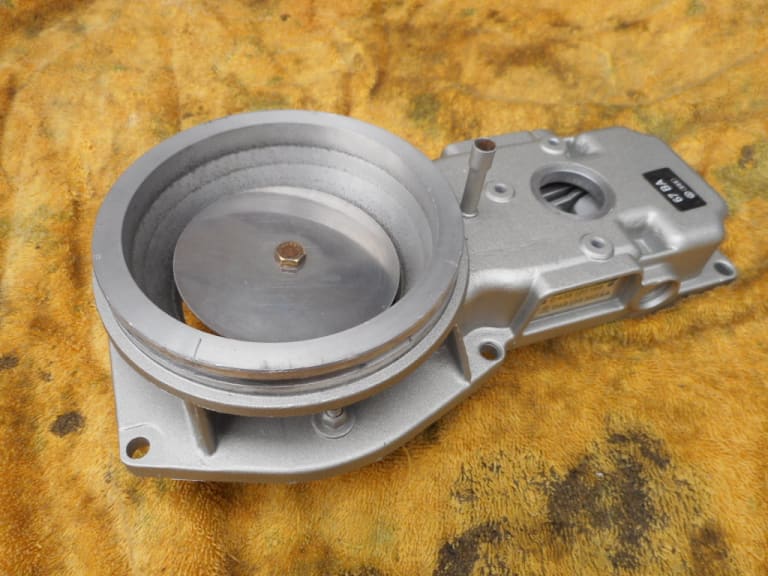
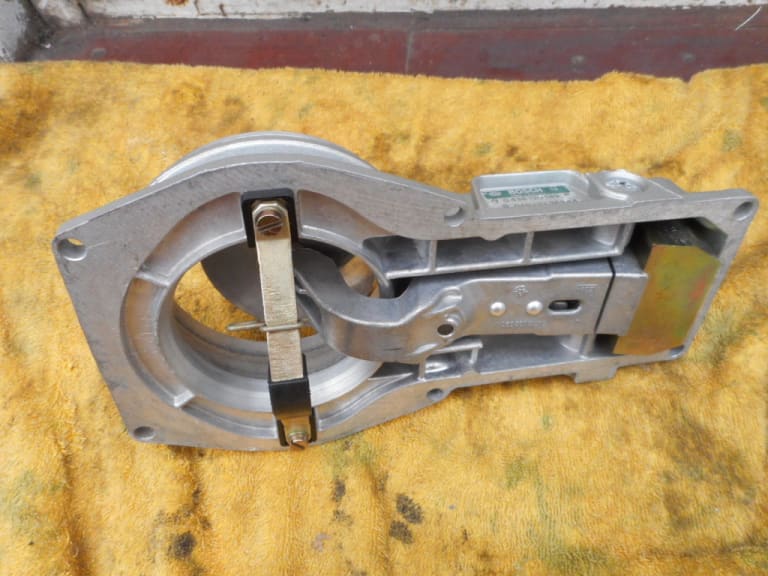
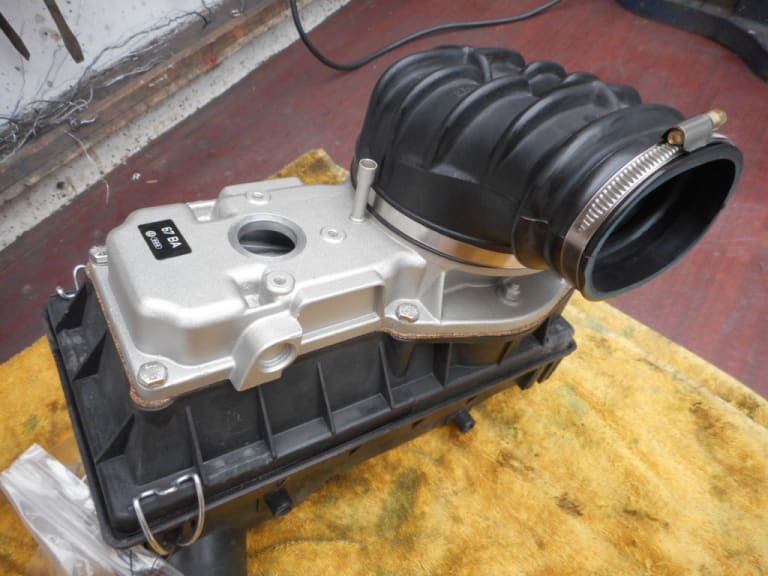
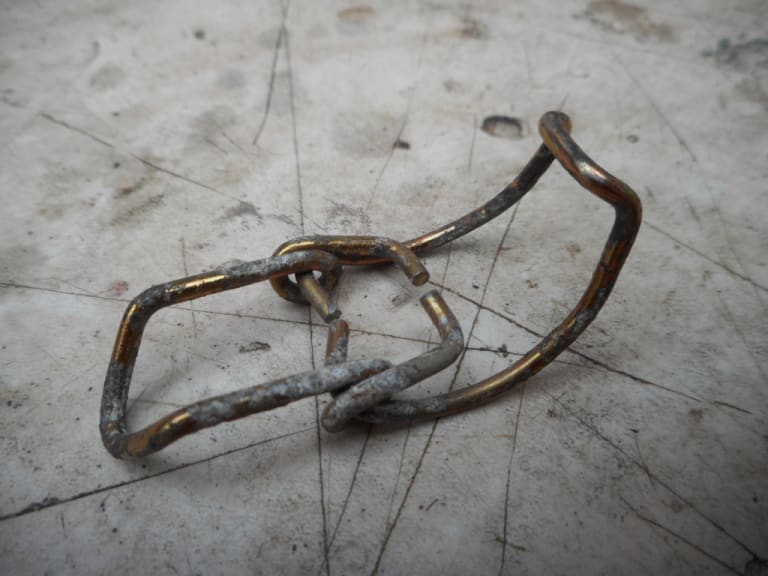
Also cleaned up and electro-plated the catches
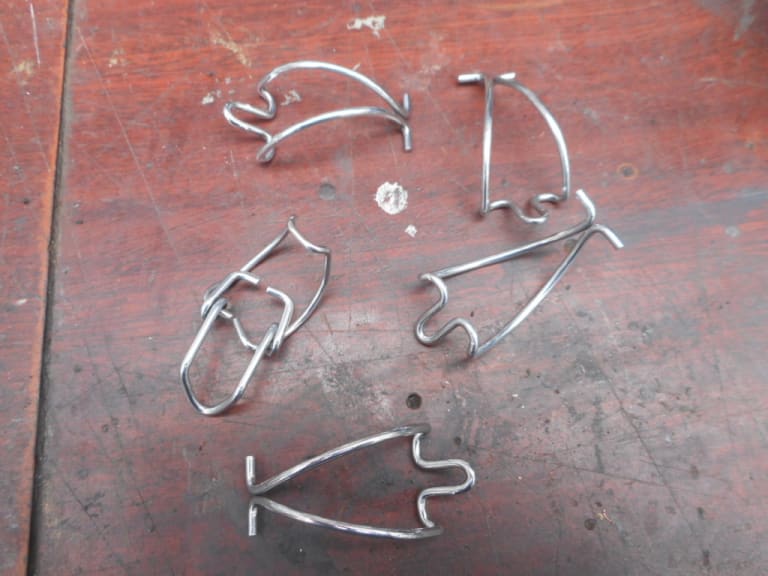
1983 Golf GTi Campaign Edition, Diamond Silver
http://vwgolfmk1.org.uk/forum/index.php?page=topicview&id=projects%2Fyour-mk1-golfs_2%2F-tag-1983-campaign&redirected=1#post_1551531
http://vwgolfmk1.org.uk/forum/index.php?page=topicview&id=projects%2Fyour-mk1-golfs_2%2F-tag-1983-campaign&redirected=1#post_1551531
Posted
Old Timer
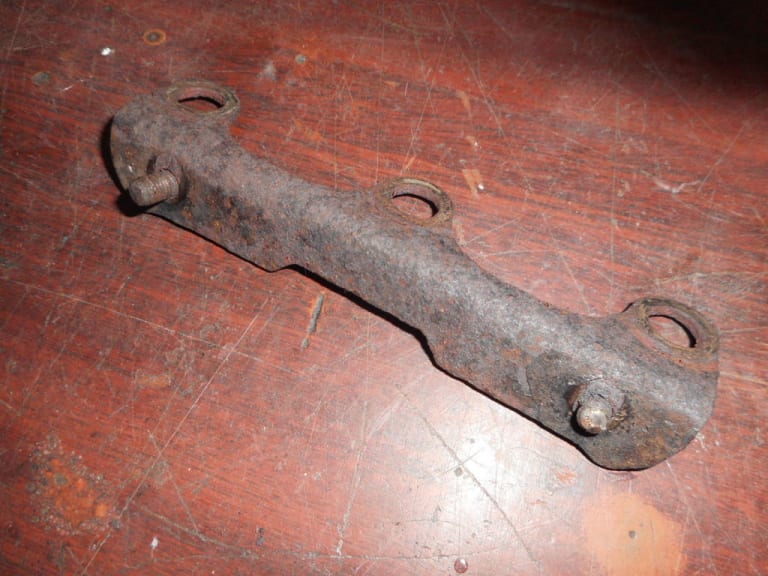
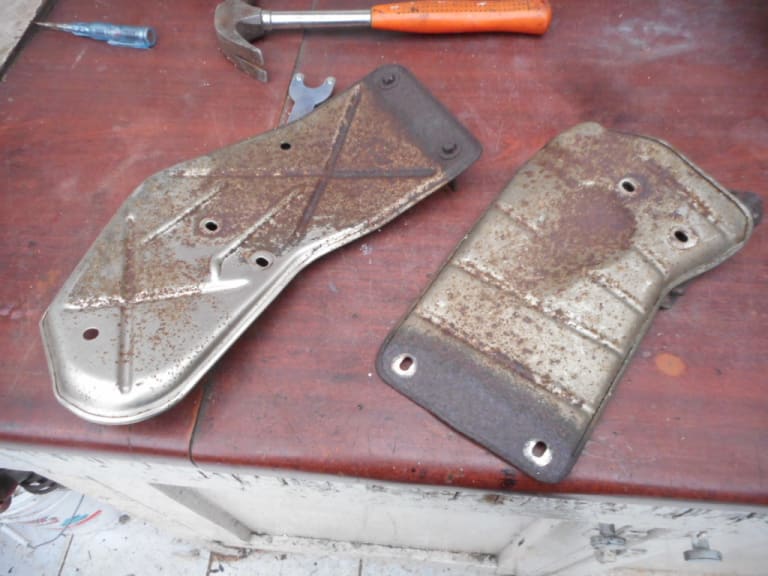
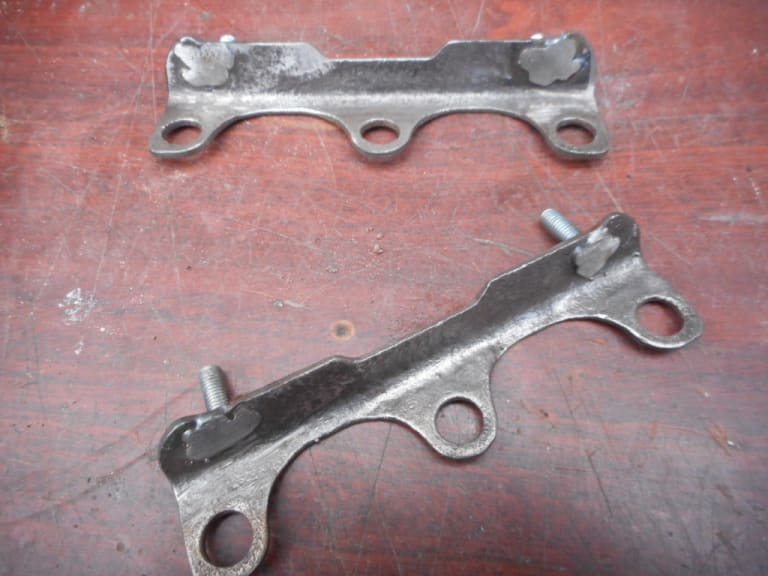
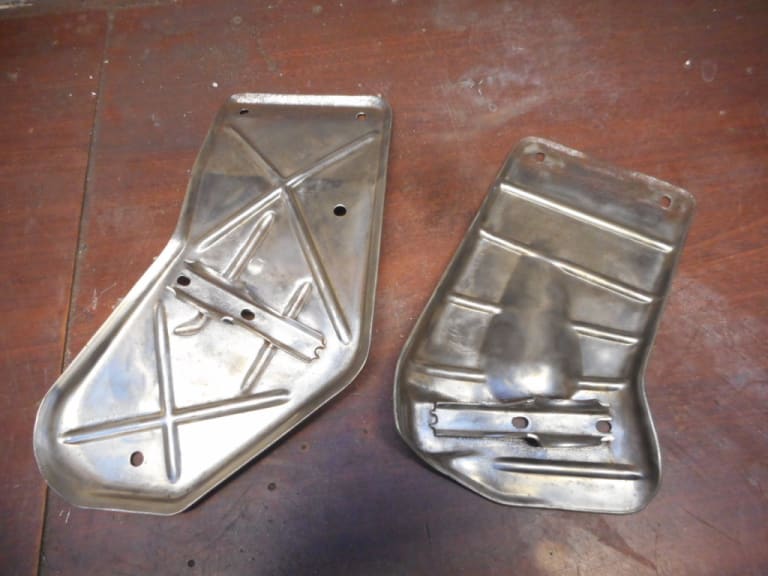
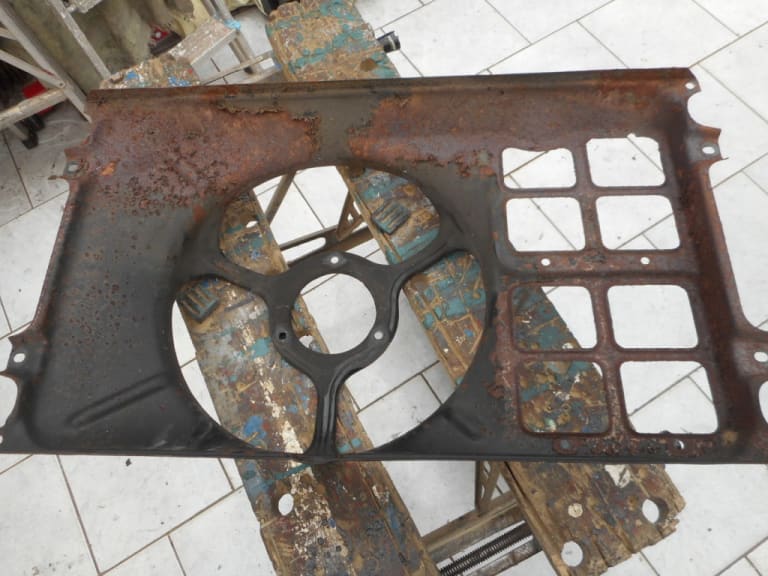
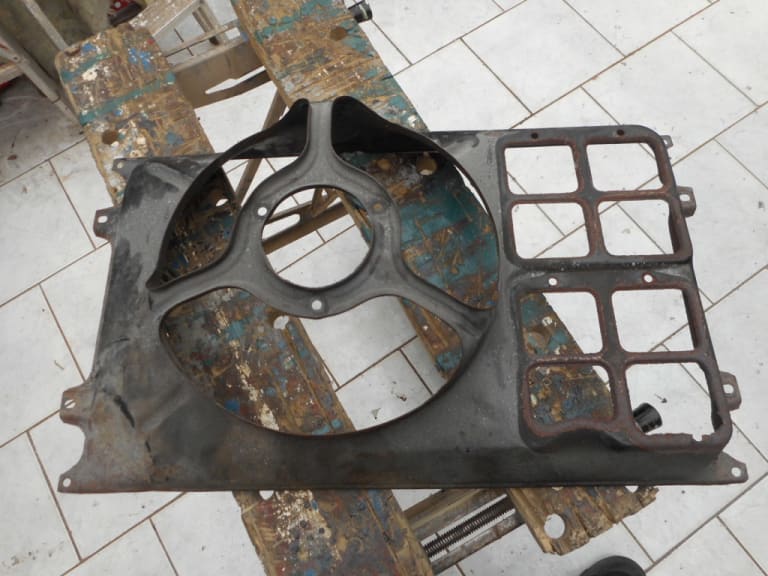
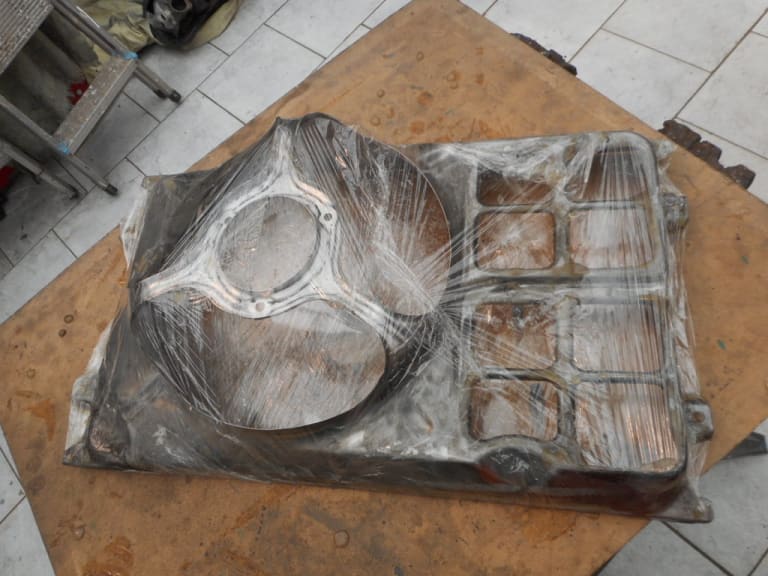
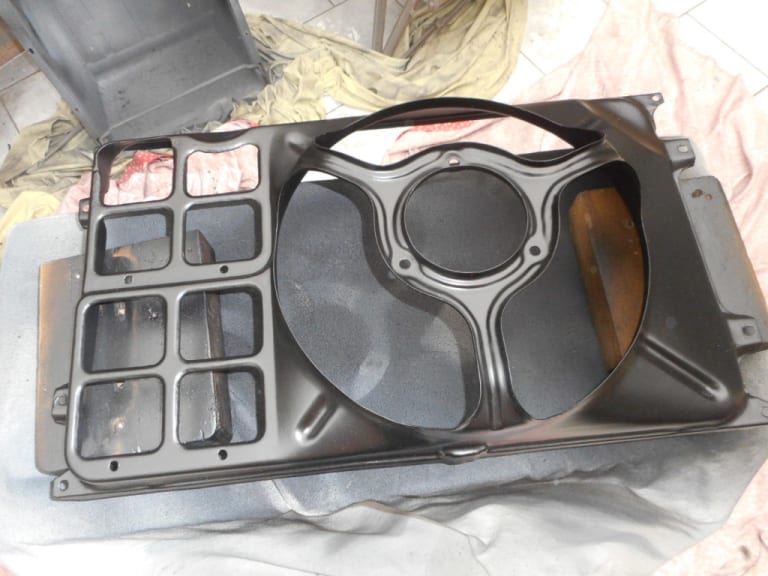
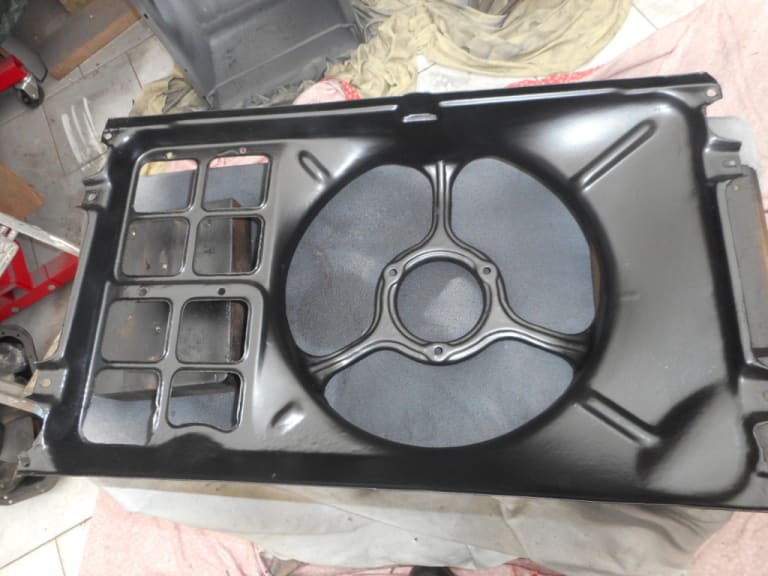
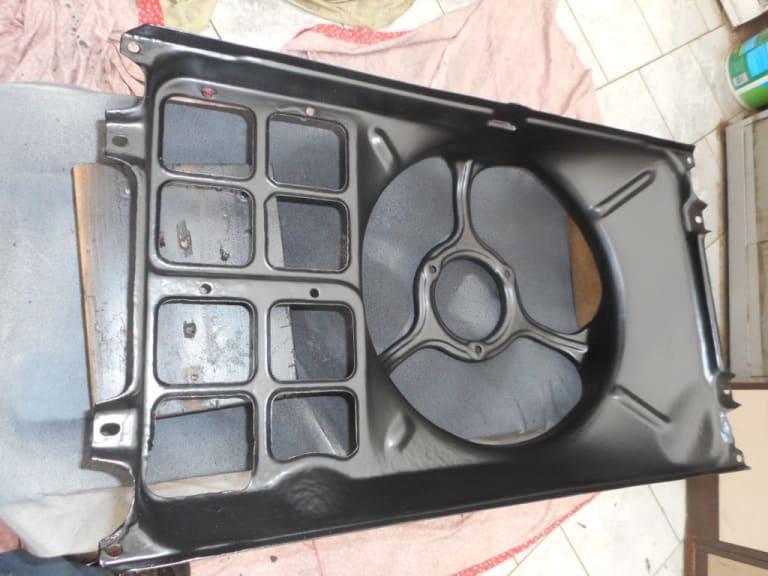


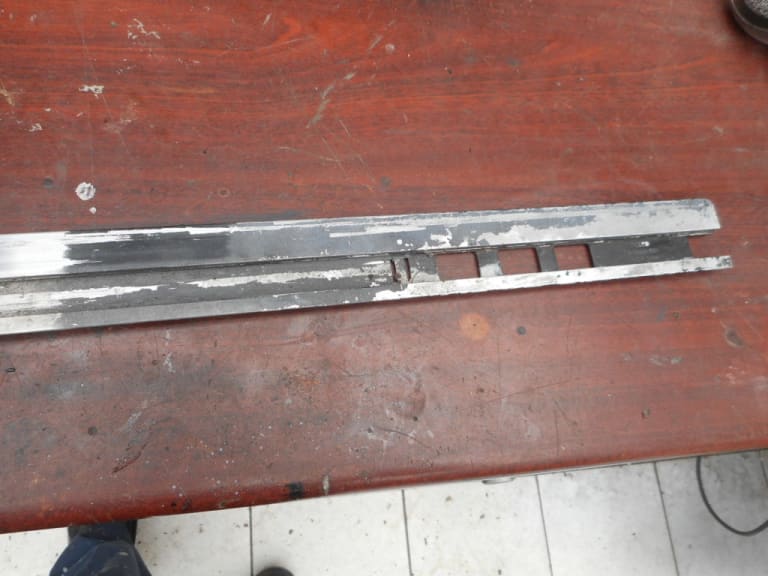
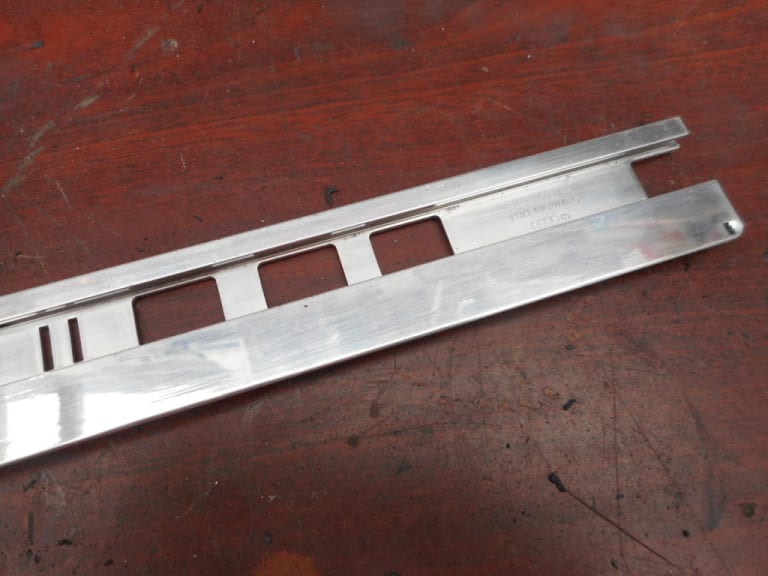

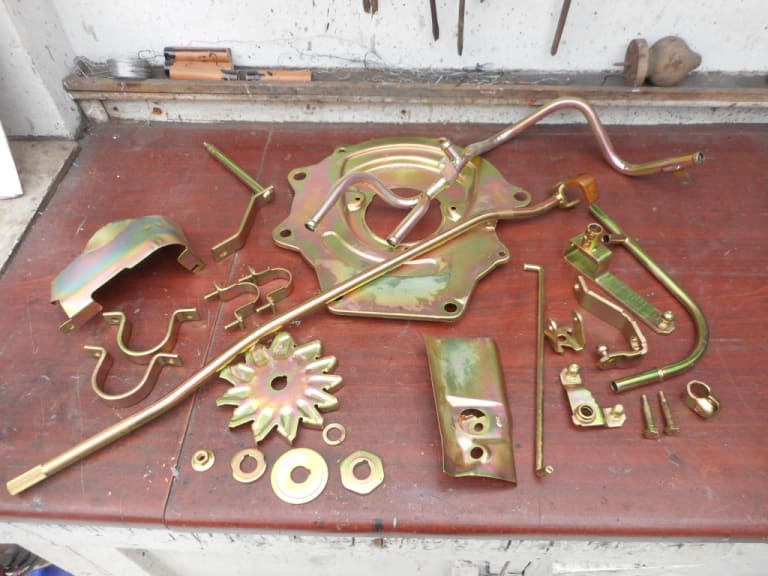
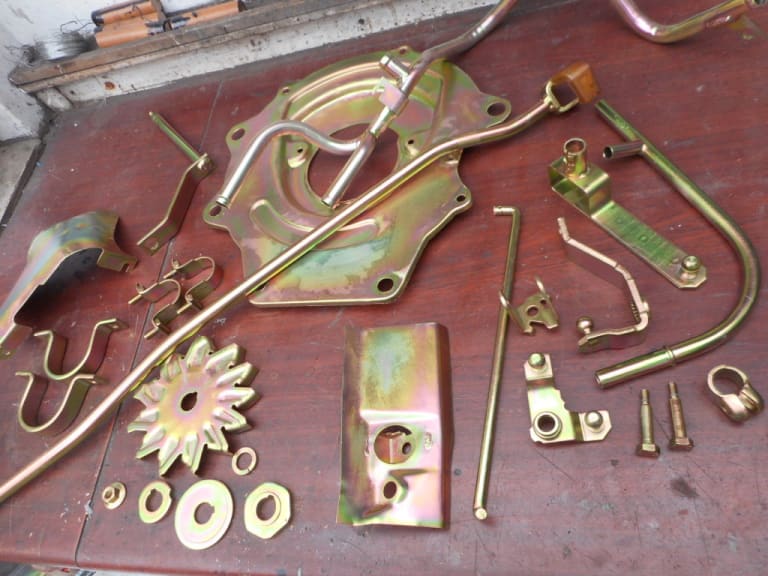
and cleaned and plated all sunroof fittings:
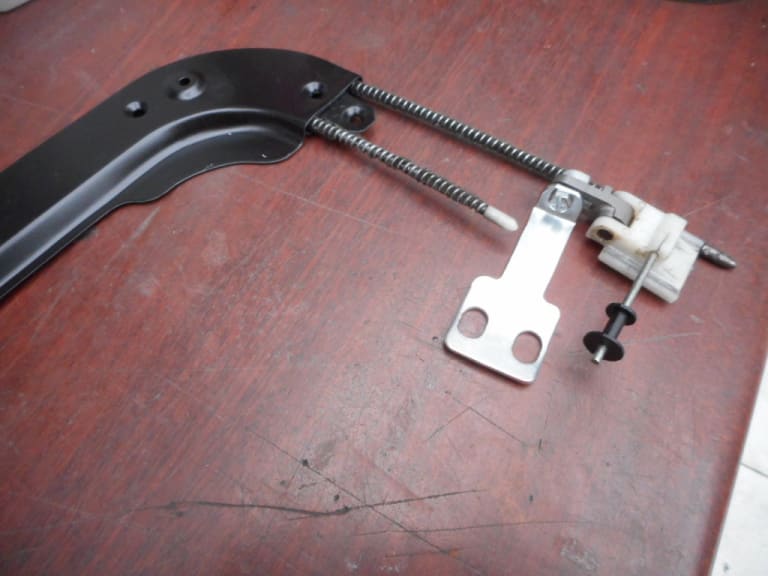
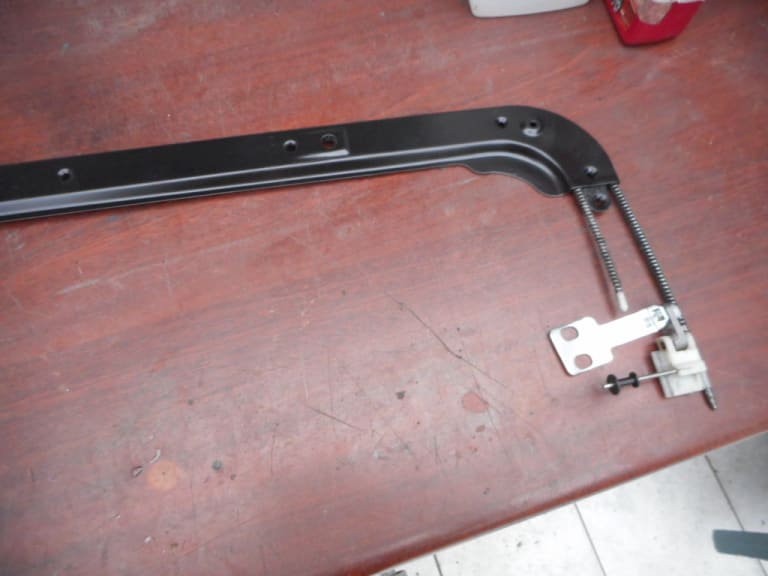
1983 Golf GTi Campaign Edition, Diamond Silver
http://vwgolfmk1.org.uk/forum/index.php?page=topicview&id=projects%2Fyour-mk1-golfs_2%2F-tag-1983-campaign&redirected=1#post_1551531
http://vwgolfmk1.org.uk/forum/index.php?page=topicview&id=projects%2Fyour-mk1-golfs_2%2F-tag-1983-campaign&redirected=1#post_1551531
Posted
Old Timer
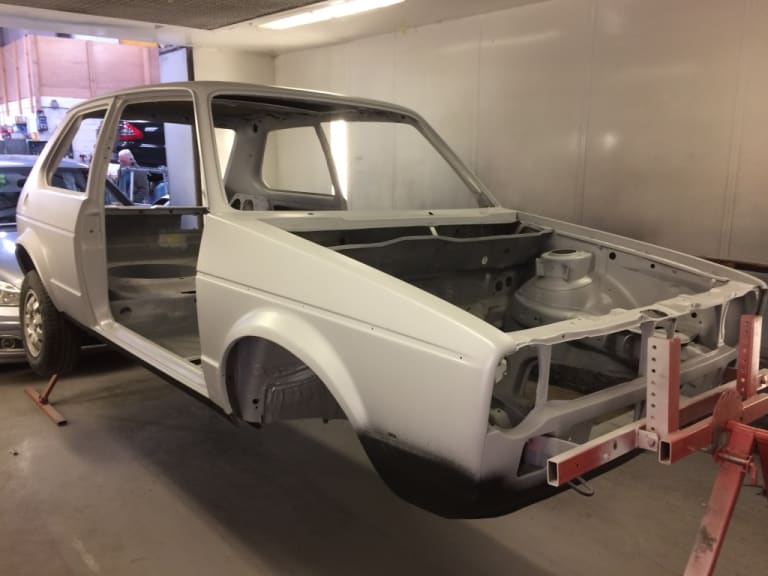
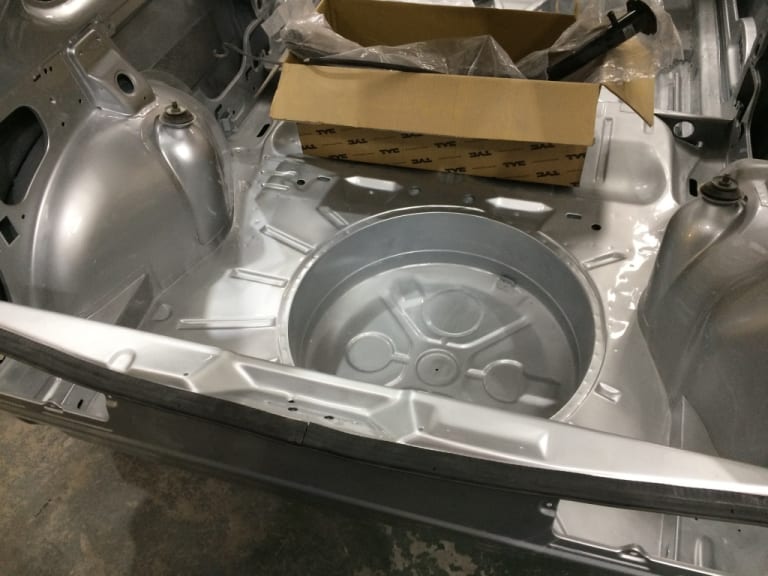
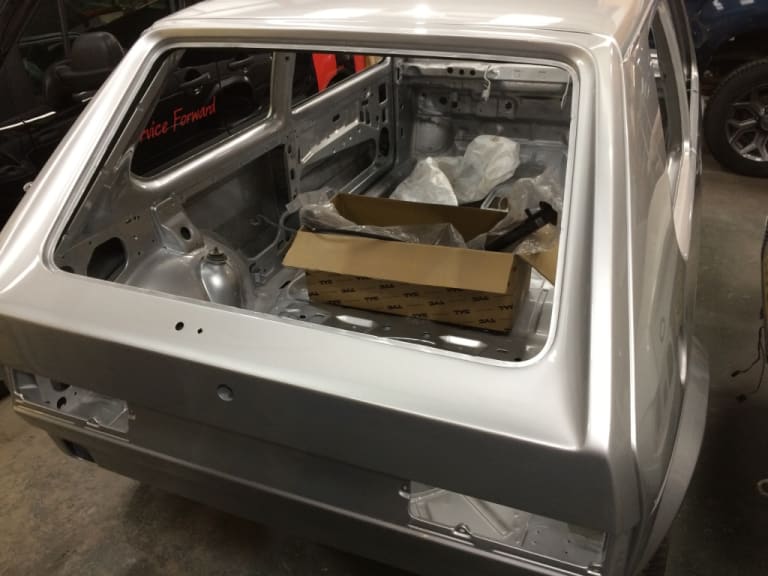
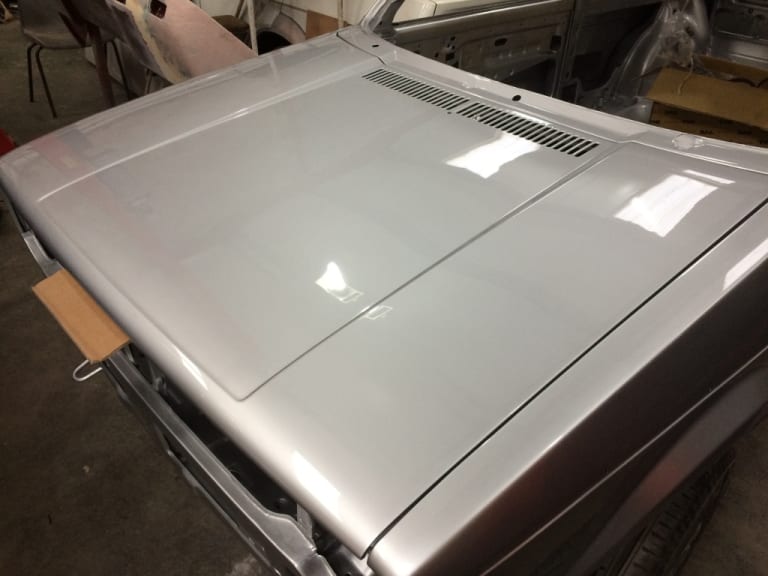
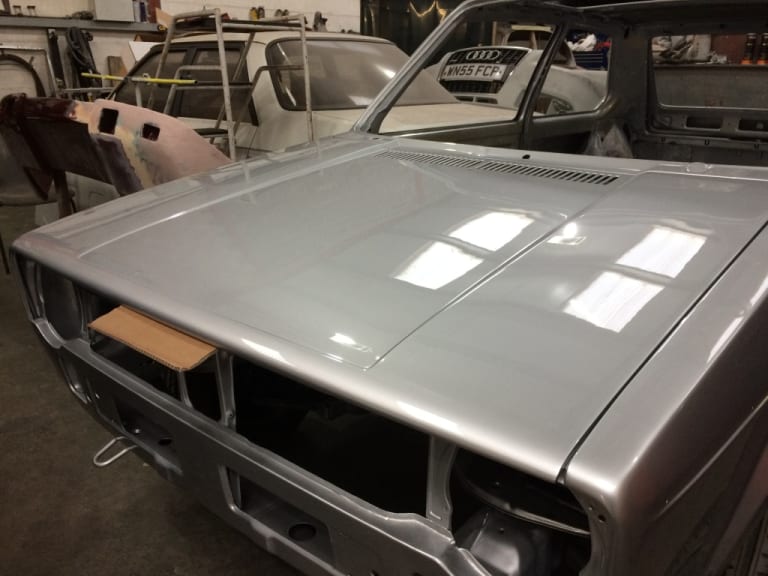
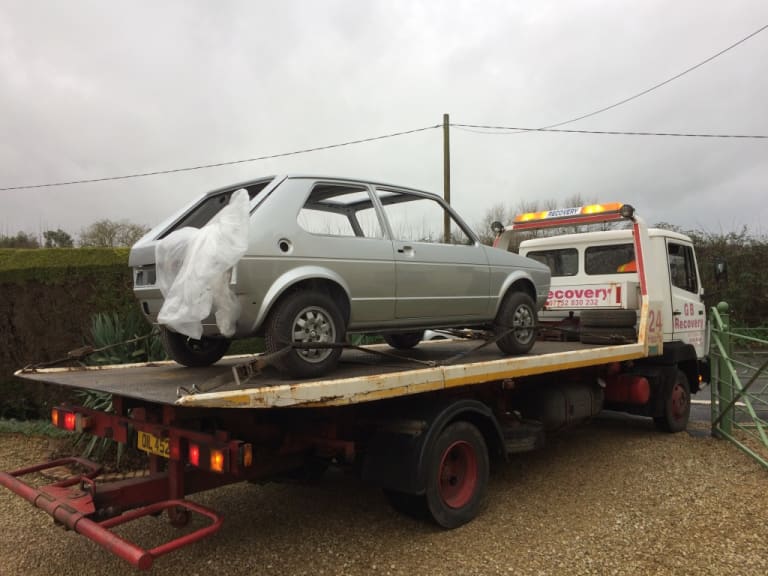
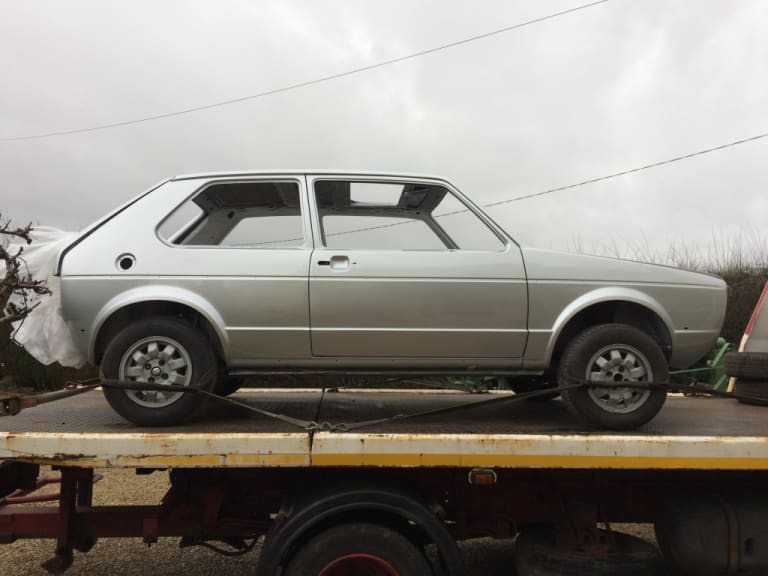
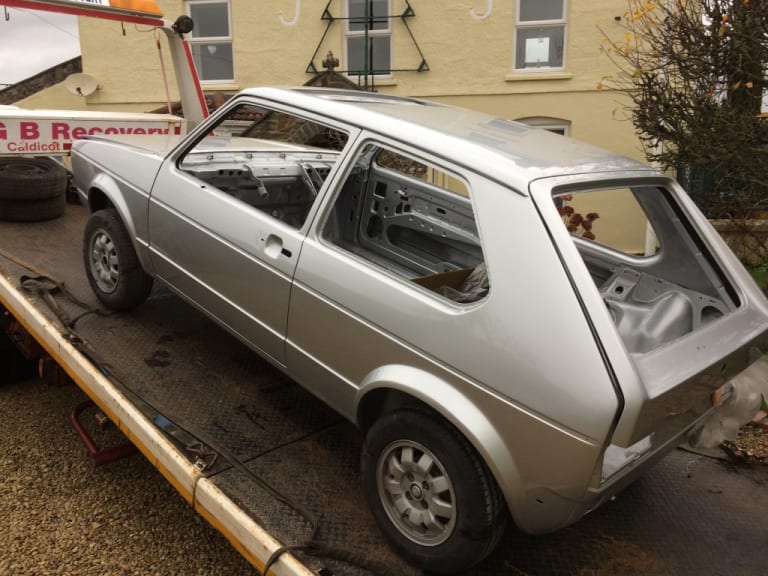
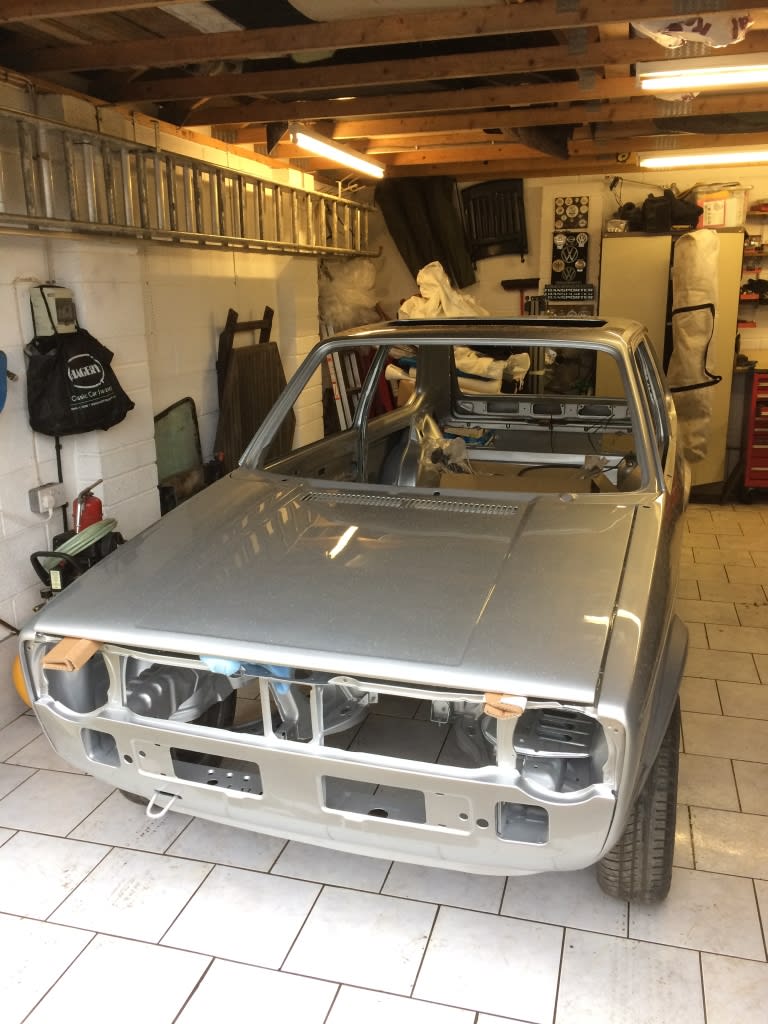


Hear stripped
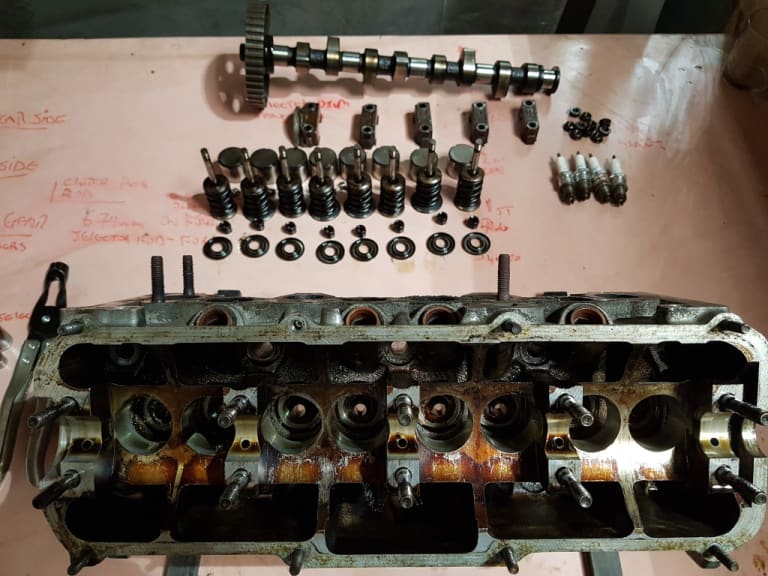
Porting work
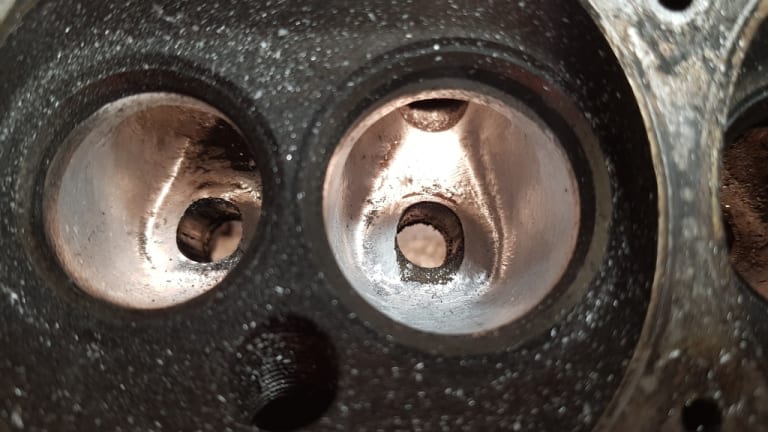
Triple valve cut
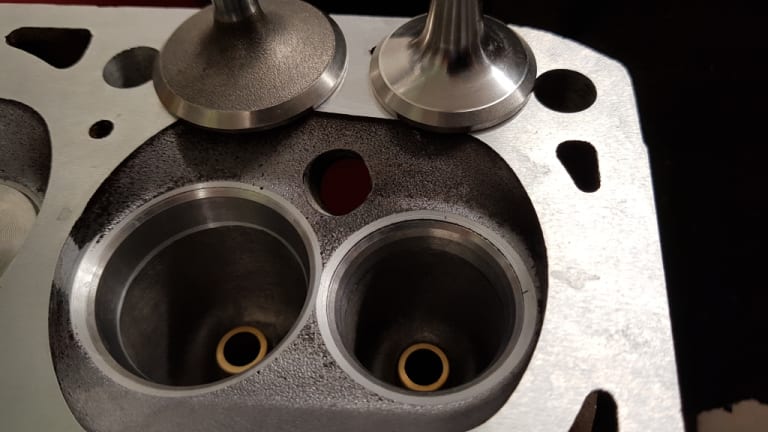
New guides
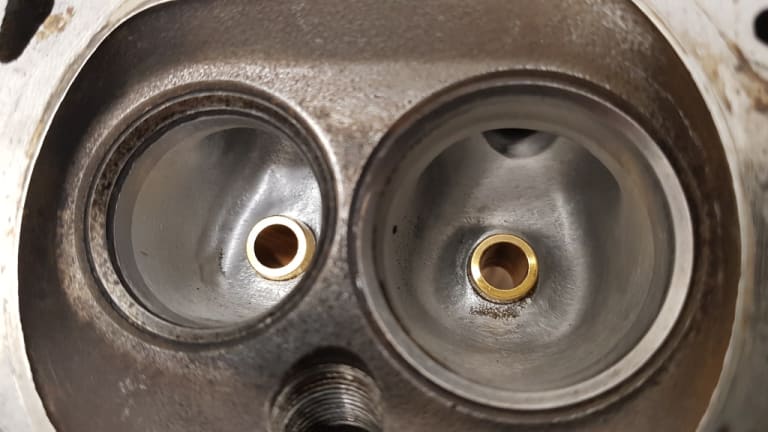
New guides

Rebuilt head
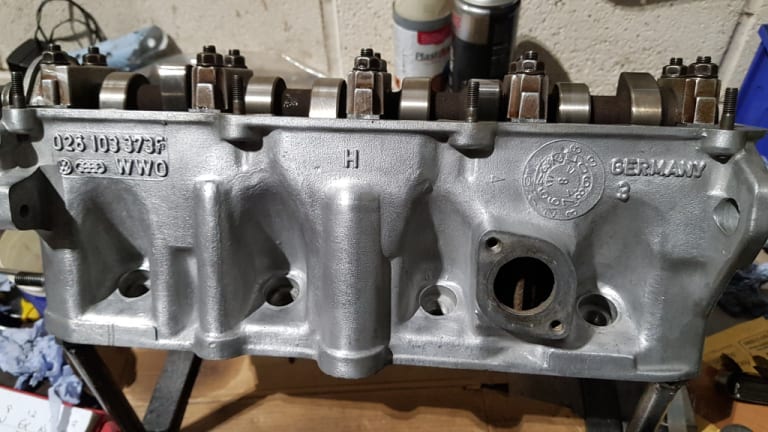
Painted block
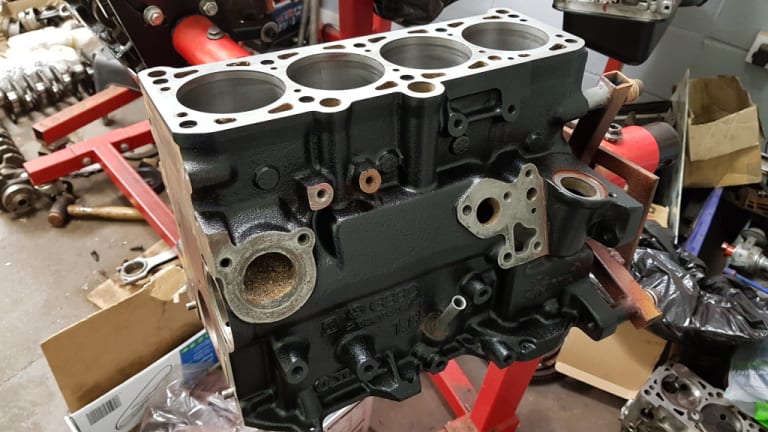
Painted block
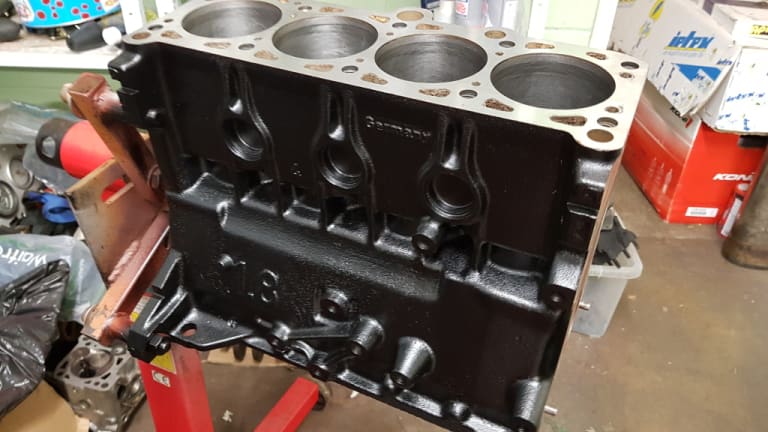
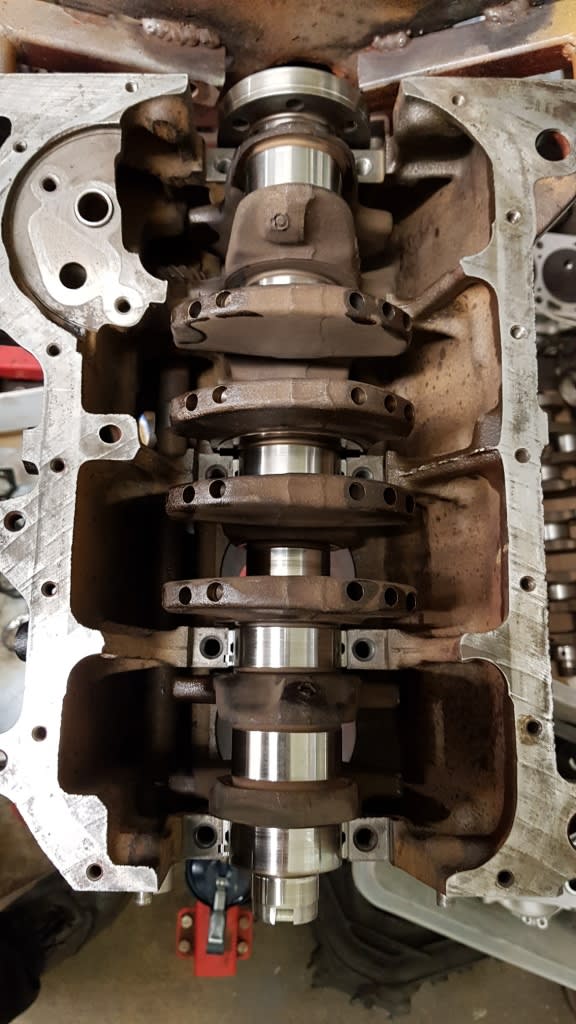

1983 Golf GTi Campaign Edition, Diamond Silver
http://vwgolfmk1.org.uk/forum/index.php?page=topicview&id=projects%2Fyour-mk1-golfs_2%2F-tag-1983-campaign&redirected=1#post_1551531
http://vwgolfmk1.org.uk/forum/index.php?page=topicview&id=projects%2Fyour-mk1-golfs_2%2F-tag-1983-campaign&redirected=1#post_1551531
Posted
Old Timer


The gearbox restorer found that the pin had been welded into the diff housing??????
Welded diff pin
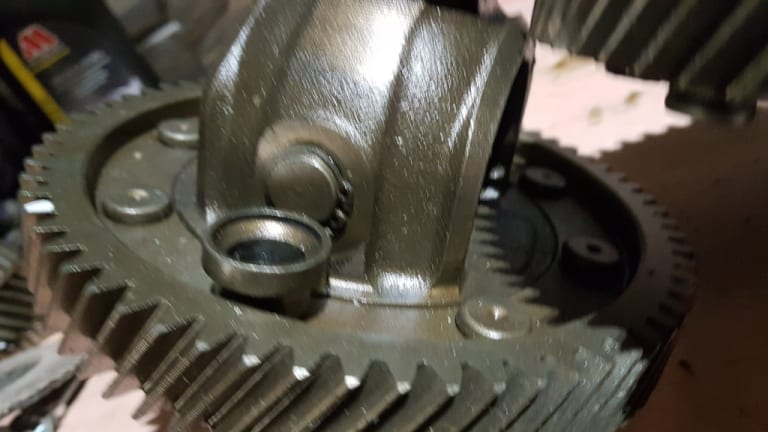
Welded diff pin
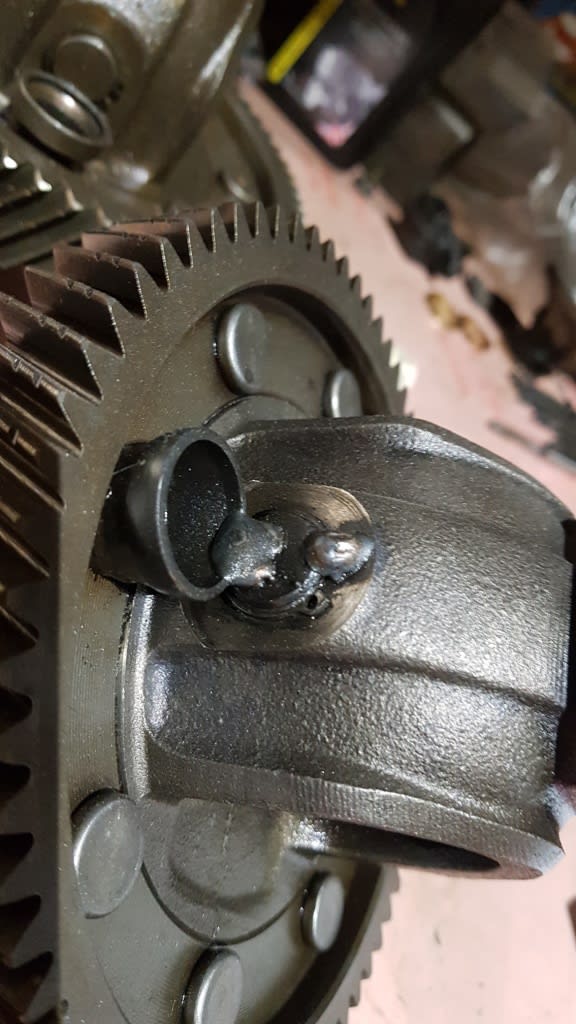

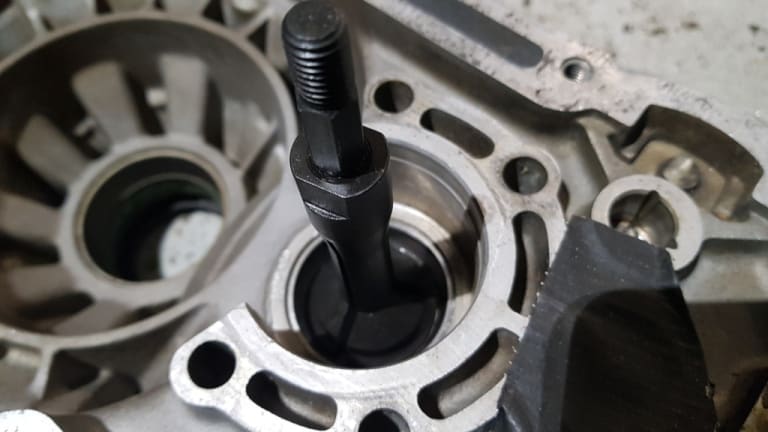
Diff rivets being drilled out to replace with bolts


1983 Golf GTi Campaign Edition, Diamond Silver
http://vwgolfmk1.org.uk/forum/index.php?page=topicview&id=projects%2Fyour-mk1-golfs_2%2F-tag-1983-campaign&redirected=1#post_1551531
http://vwgolfmk1.org.uk/forum/index.php?page=topicview&id=projects%2Fyour-mk1-golfs_2%2F-tag-1983-campaign&redirected=1#post_1551531
Posted
Old Timer



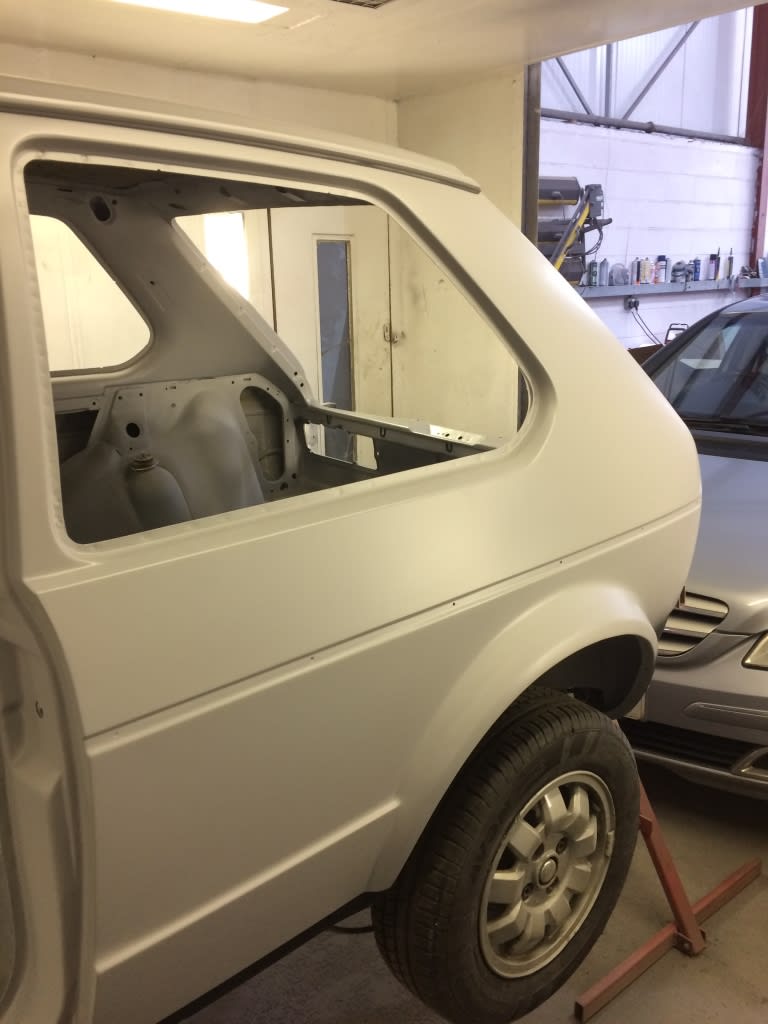
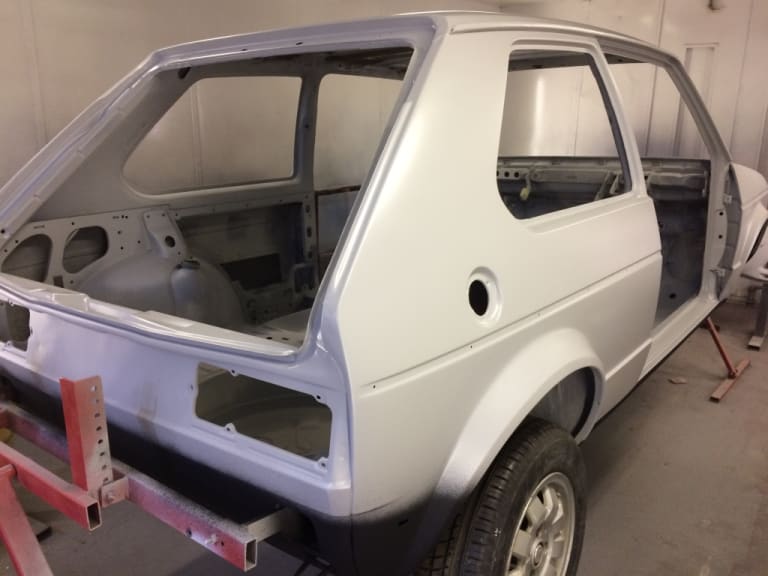
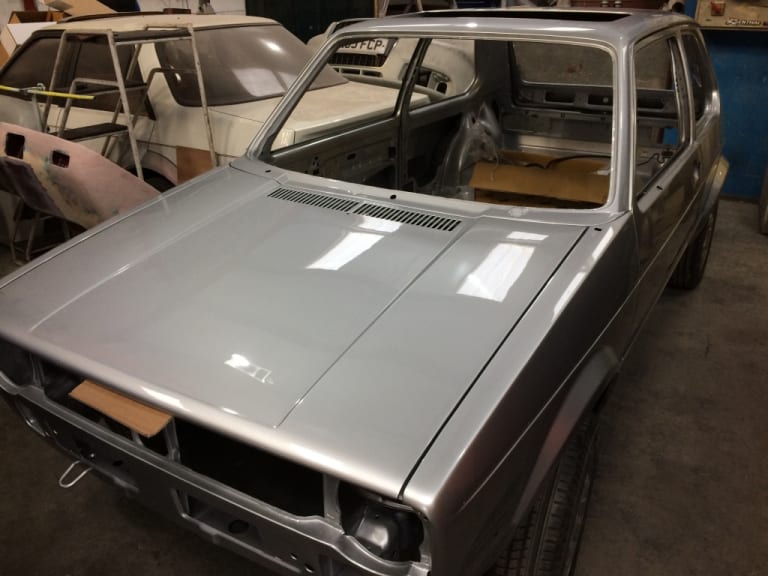
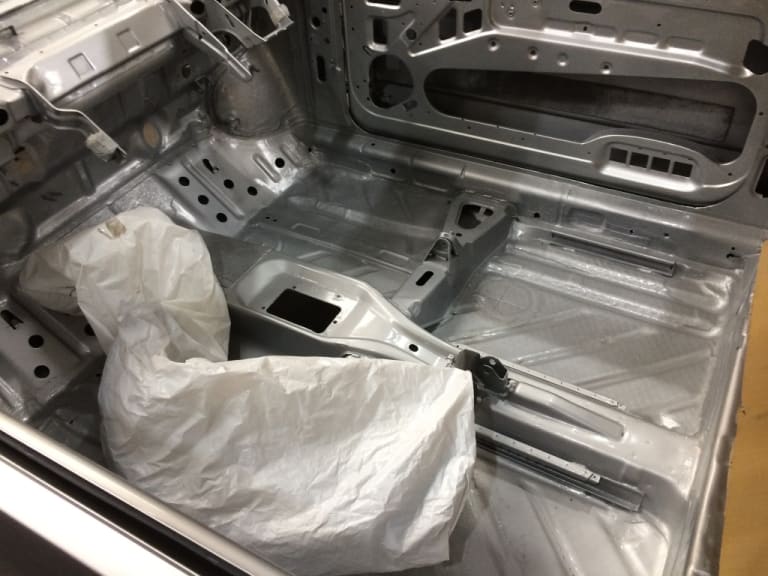
That silver looks stunning.
Posted
Settling In

Posted
Moderator


There are too many online users to list.


