


Shellby - 83 gti ABF on carbs

Posted
#1193068
(In Topic #142563)
Old Timer

Shellby - 83 gti ABF on carbs
I've wanted a mk1 golf gti for many years, but after looking at posts on this site i came to the conclusion that even though these cars can look immaculate, once stripped down a whole host of horrors can be uncovered. So I decided to do it the hard way and build from scratch.
I started with this:-

Golf gti shell off ebay for �122. Also attached are the roller frames, again ebay �40.
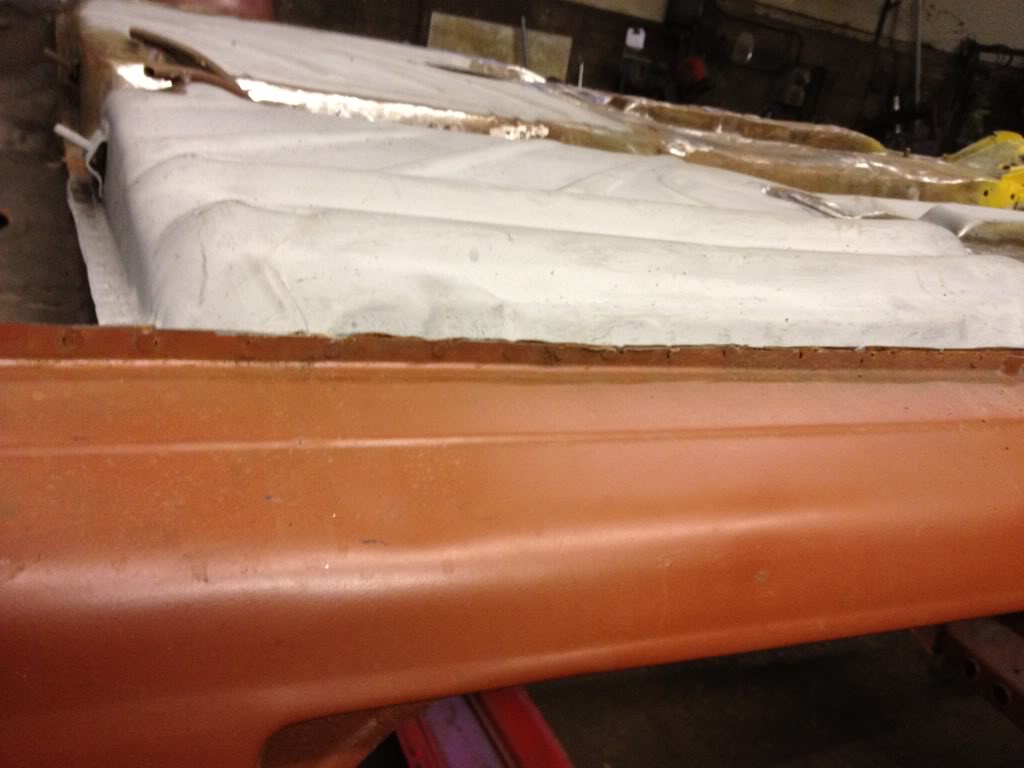
The shell is in a engineering workshop in a converted barn. I bought the shell in June and since then have stripped the floorpan paint to check the condition of the steel. All seems rust free, a lot of work has been done on this shell, but there are a lot of different pieces of steel used, so i've been slowly welding and grinding to get the shell looking like once piece


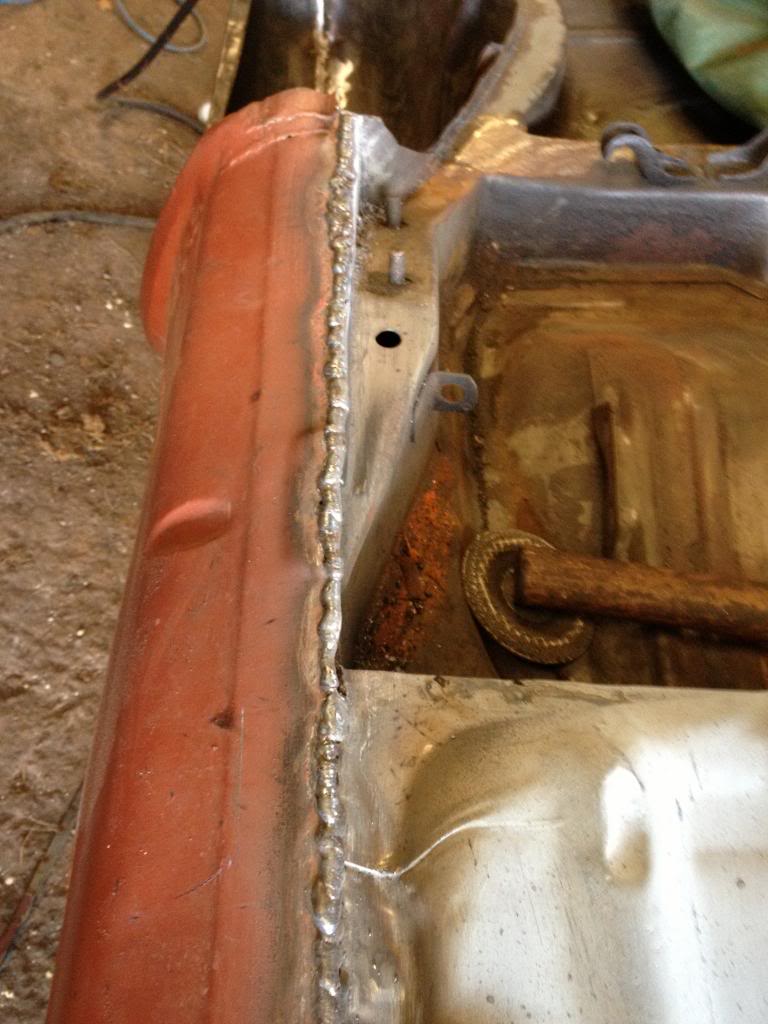
You can see some of the welding and grinding. I used to be a welder, but it's been 20 years since I last did any fabrication, but my welding is improving week by week, and car steel is hard to weld as it's so thin, spend a lot of time blowing holes!
Spend most of my time welding at the moment, winter has been a big test, some days it got down to -14 inside the barn, numb fingers and toes is no fun!
Can't remember when, but this arrived at some point:-

1983 golf gti donor, everything included, just an extremely rusty, shot shell, perfect for me.
Other parts i've collected:-

ABF engine

Boot, doors, bonnet and fuel tank.

And finally some BBS alloys, not sure what type, but 15" and in good condition, hopefully look good after a refurb.

I've got more bits and pieces lying around, so i'll update this thread with some more pictures and hopefully some more progress soon.
 Last edit: by pazwaa
Posted

Settled In

 Ive just finished installing the same into my Cabriolet.
Posted
Old Timer
Posted
Settled In
http://www.vwgolfmk1.org.uk/modules.php?name=Forums&file=viewtopic&t=112802
Any help you need just drop me a line.
Good luck.
Posted
Old Timer
Posted
Old Timer
First remove the scuttle:-


Removed!

Then seam weld the suspension towers and grind it all flush:-


All looks a bit rough, but needs cleaning up with a flap wheel and eventually some filler.
Last edit: by pazwaa
Posted
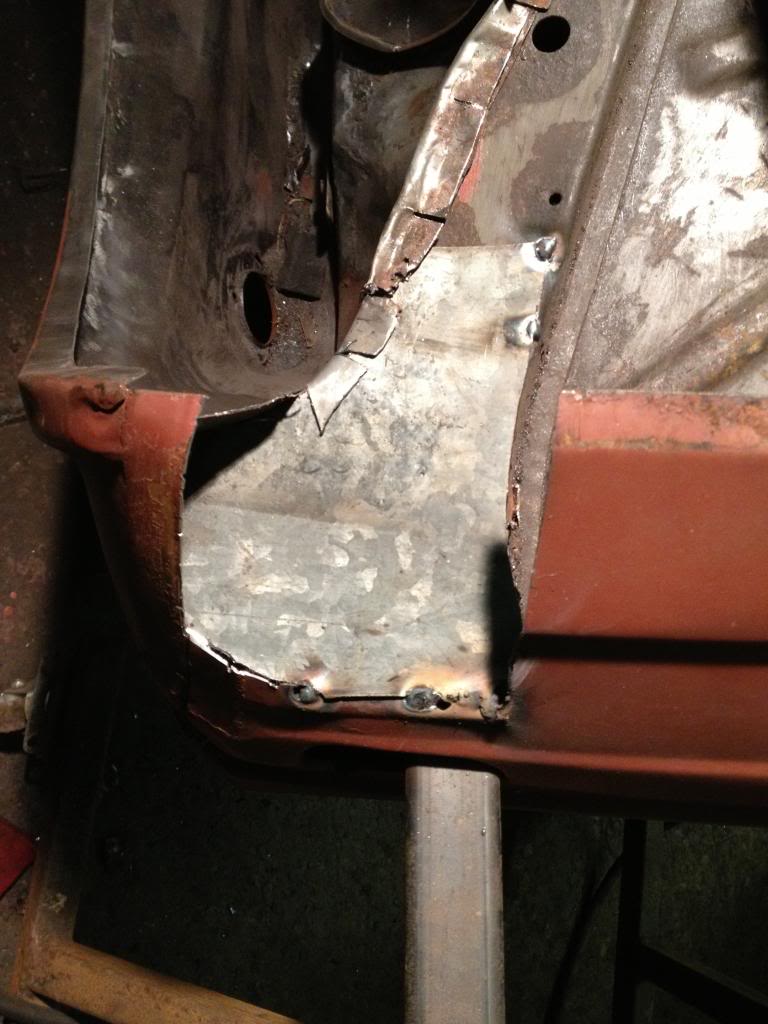
Old Timer
Firstly I made a cardboard template

Then cut the steel out

Finally weld the steel in place


Welds ground up, ready for filler.

Last edit: by pazwaa
Posted
Old Timer


Then everything cleaned up with a flap wheel, then some coarse wet and dry paper.

And finally some filler primer sprayed on. Finally looks like i'm making progress


All ready to start smoothing with filler.
Been cleaning up a few parts at home.
Grubby door cards from my donor car:-


Kids helped with the cleaning. Also notice agent oso dashing to help in the background:-

Clean them with Autoglym bumper care, worked well:-

Last edit: by pazwaa
Posted
Old Timer
Posted
Old Timer
Posted
Old Timer
Posted

Old Timer
Posted
Old Timer
phataz1 - thanks, yeah, peace of mind from rust will be good. Just looked at your build thread, some fine work there, I bow to your fabricating!
Posted
Old Timer
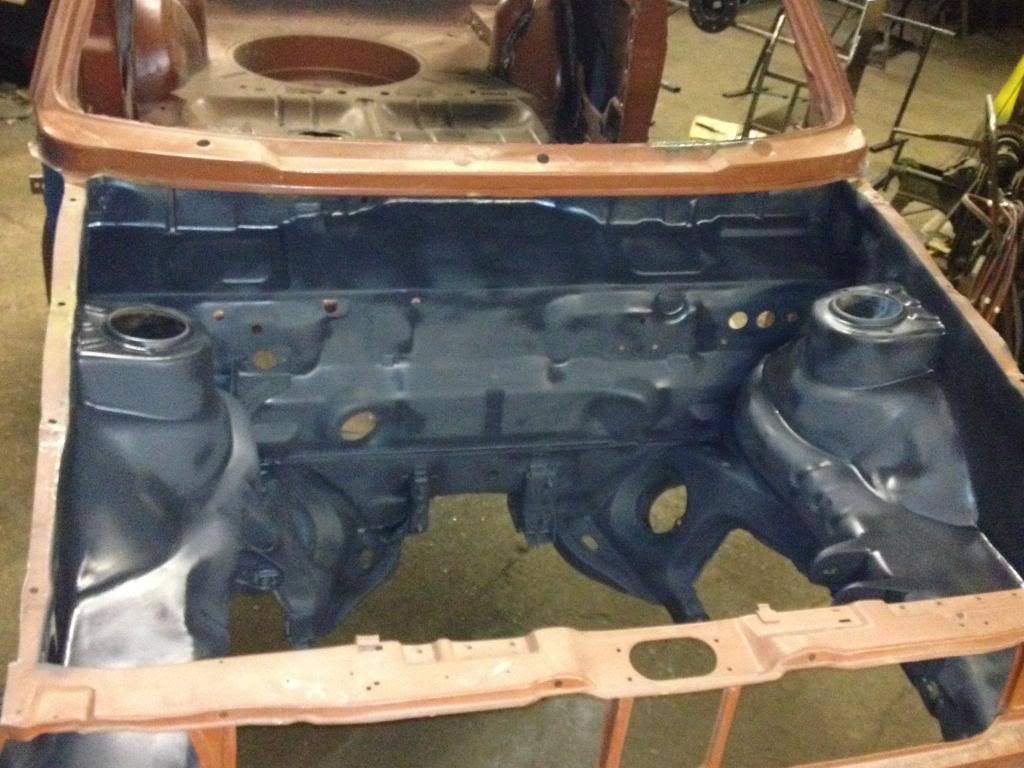
With some nitromors, a wire wheel and a few hours graft, got the front inner wings cleaned up and protected with zinga.

Then the lower portion of the engine bay.

Back to bare metal

Zinga'd

Then been applying filler to the engine bay and sanding smooth.


Then a coat of filler primer to complete.


Few small areas to finish off, but starting to look good!
Last edit: by pazwaa
Posted
Old Timer
Arch to start with

Nitromors, wire wheel and sweat later

Welded the seam between the shell and the arch up. Also need to repair a bit of the suspension support that i cut out because of rust. Will skim with filler later.
Next going to smooth the joint between the back panel and the rear panel

Welded up and ground back, just needs smoothing

Last edit: by pazwaa
Posted
Old Timer
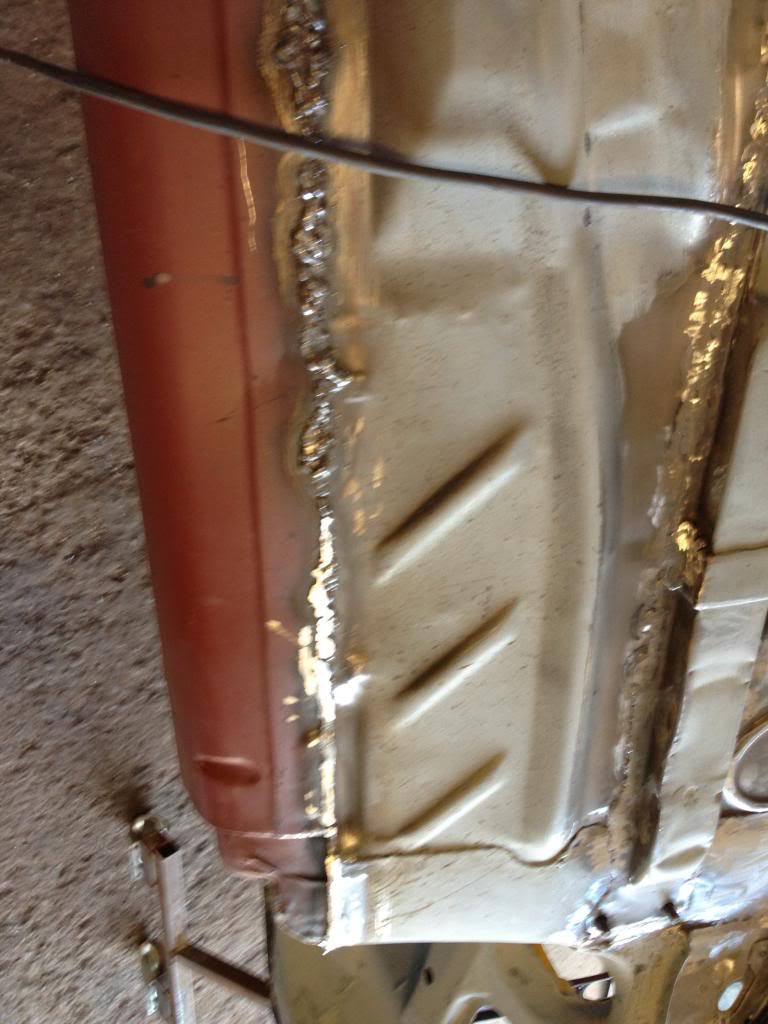
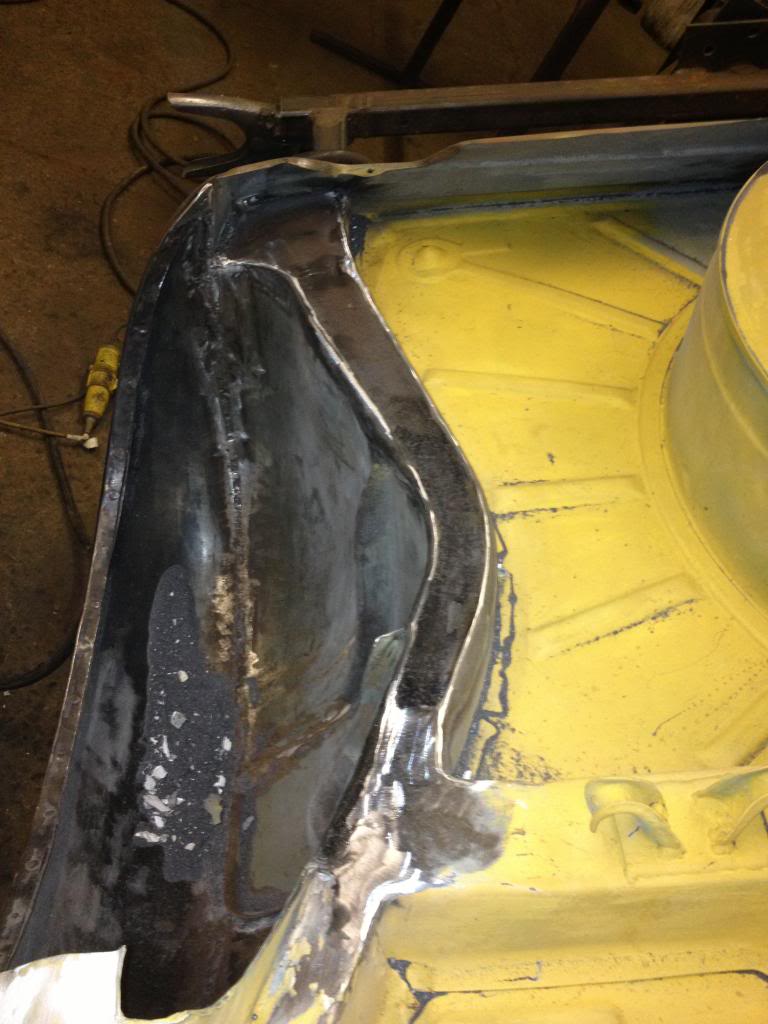
After cleaning up the floor pan I started on the cill joints. These were badly aligned and twisted. So out came the cutting disc, cut them off, rewelded them and ground them flush
next the return over the rear wheel arches. Slit them with the cutting disc, knocked them over with a hammer then welded them
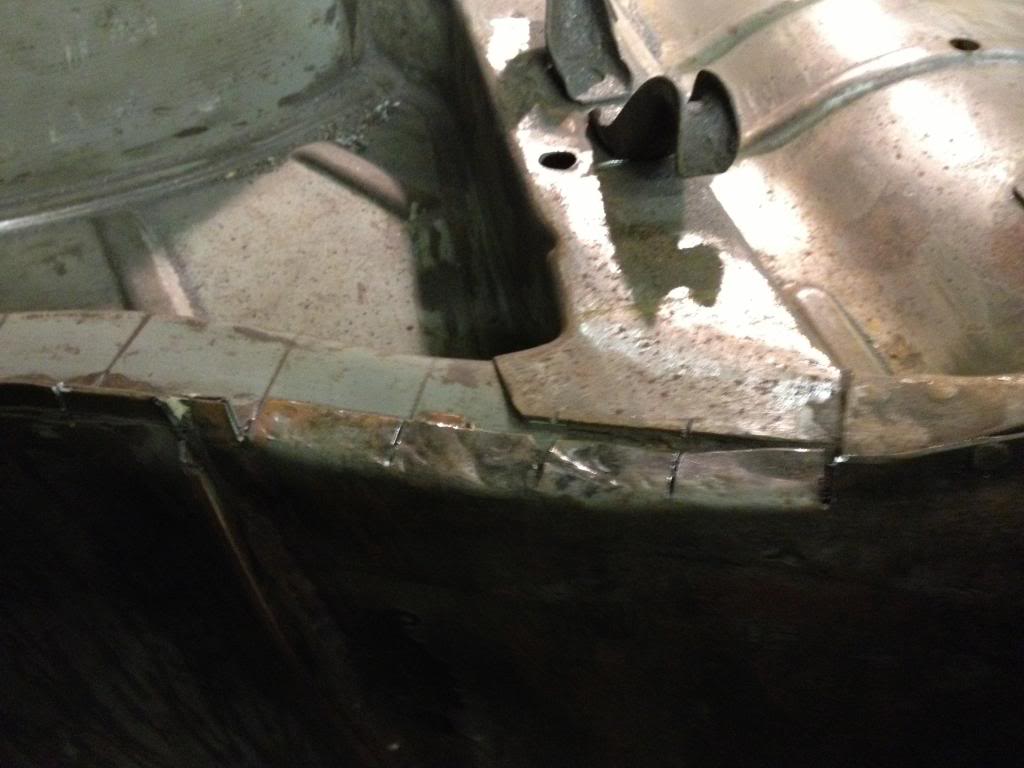
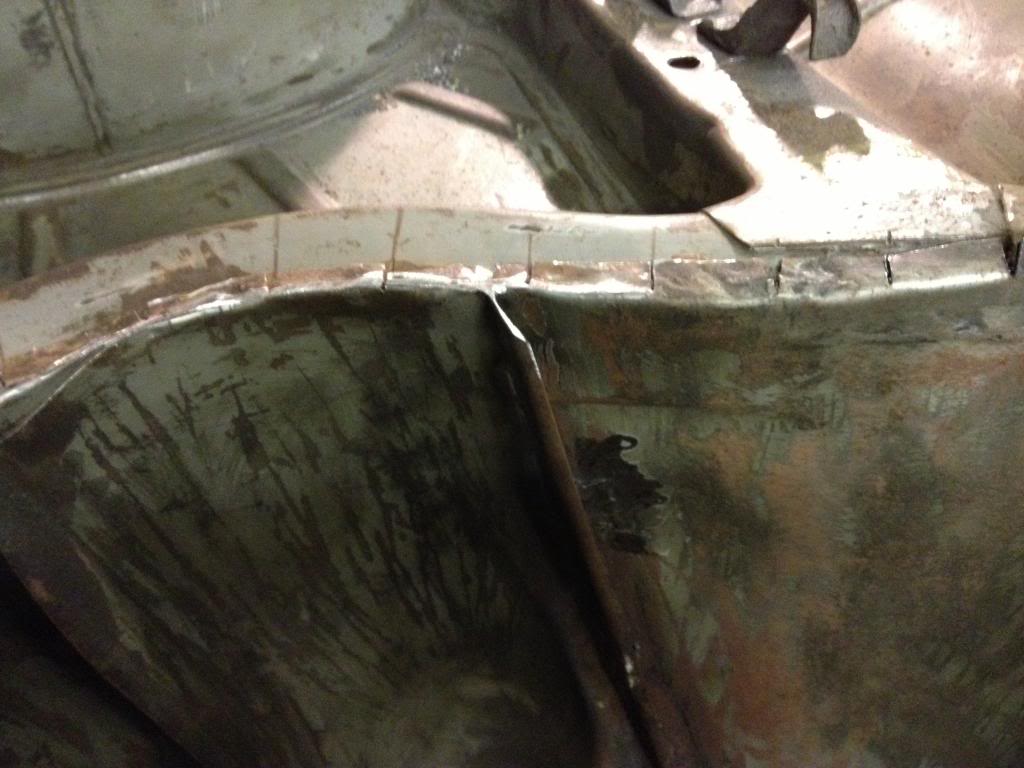
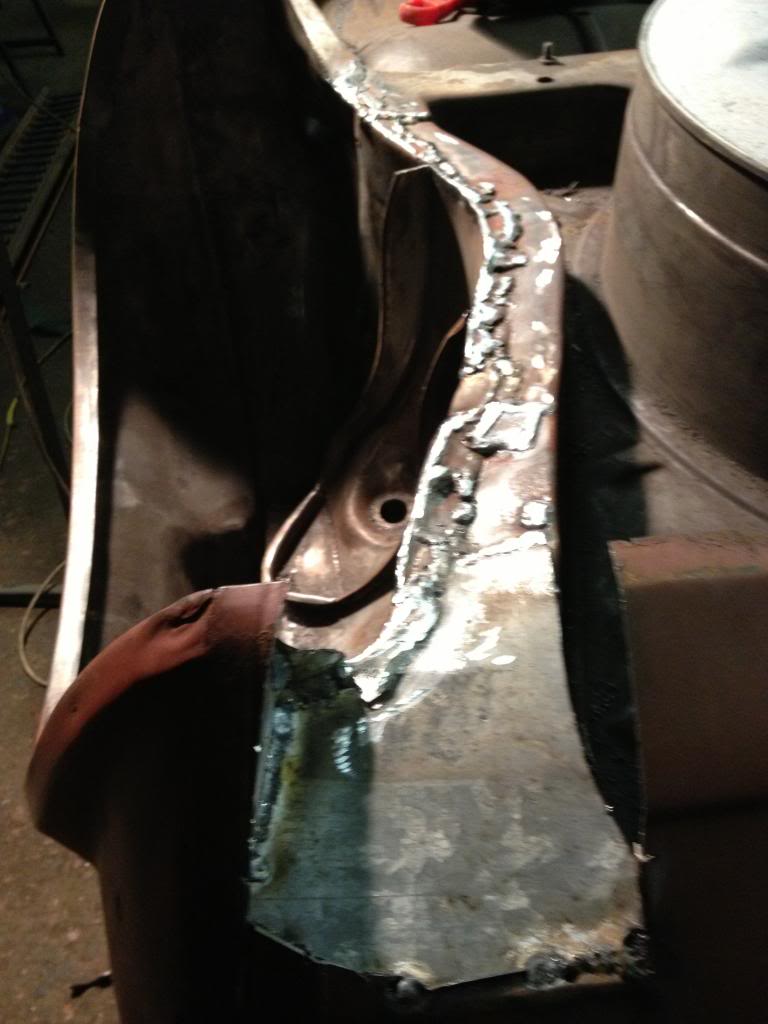
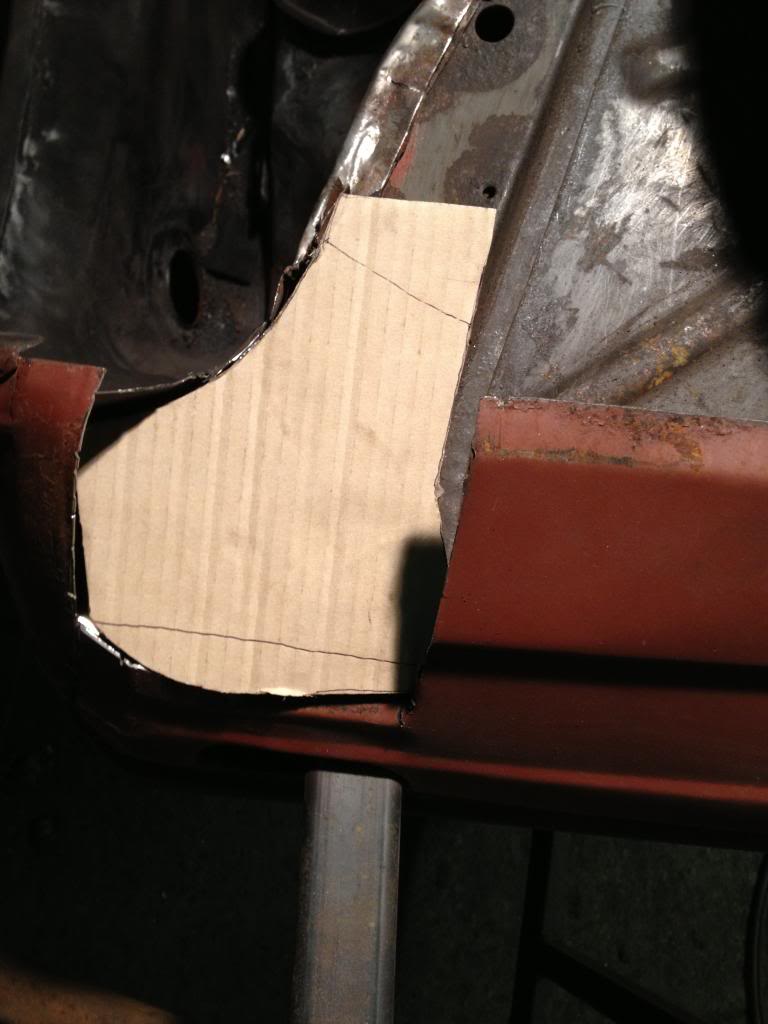
then made some capping plates for a smooth finish. Made a template with some cardboard, then cut the steel about 3mm narrower each side to get a nice weld in, then grind flush
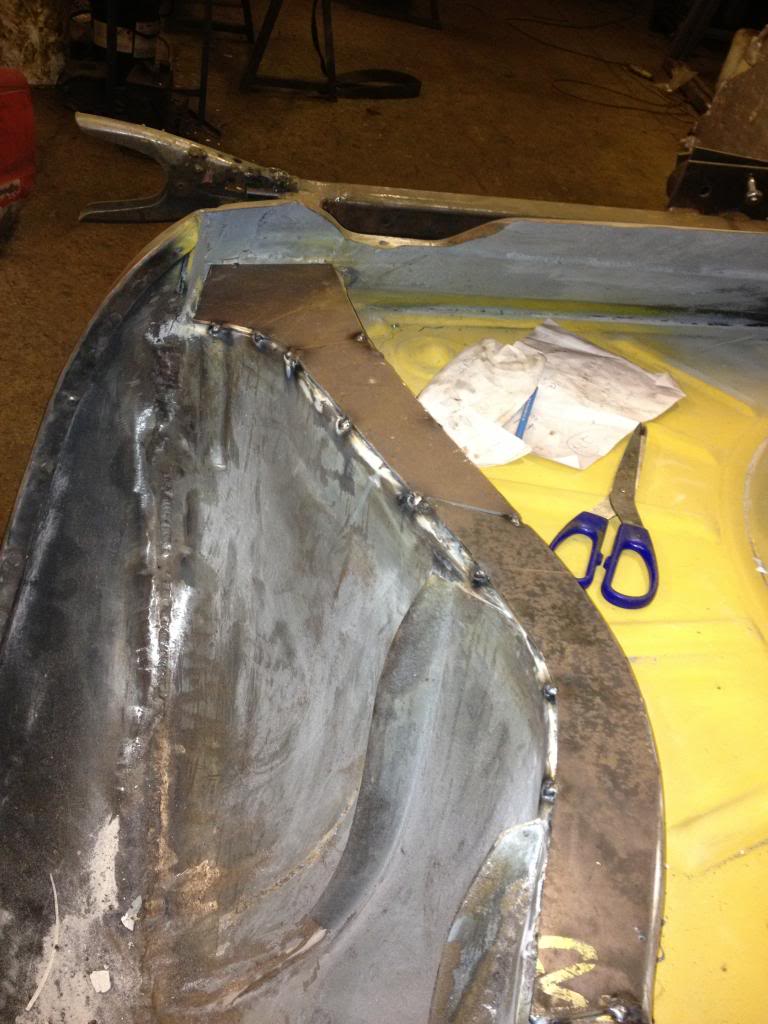
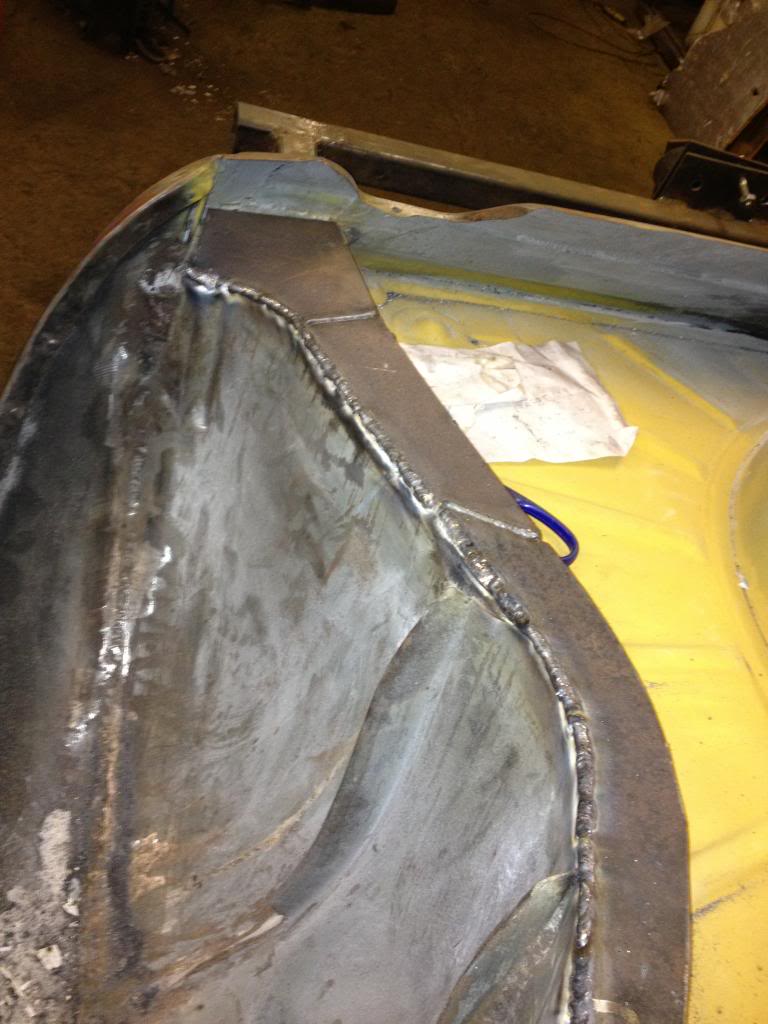
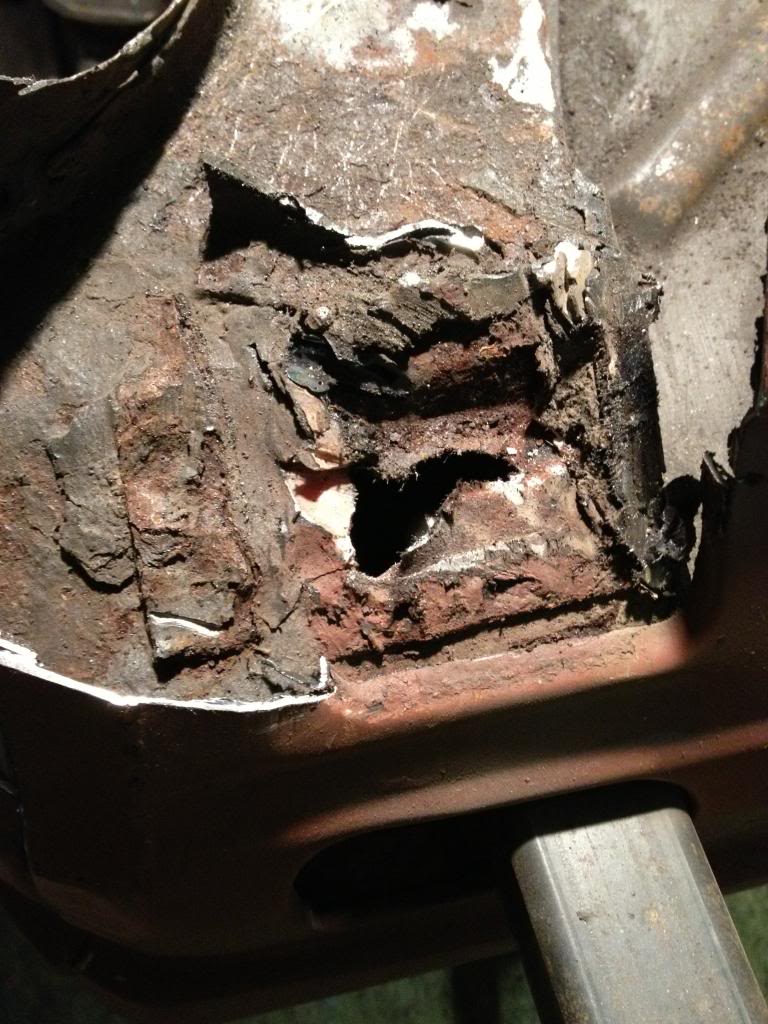
found some rot near the rear toweye, so cut it out, made a template and welded in some new steel

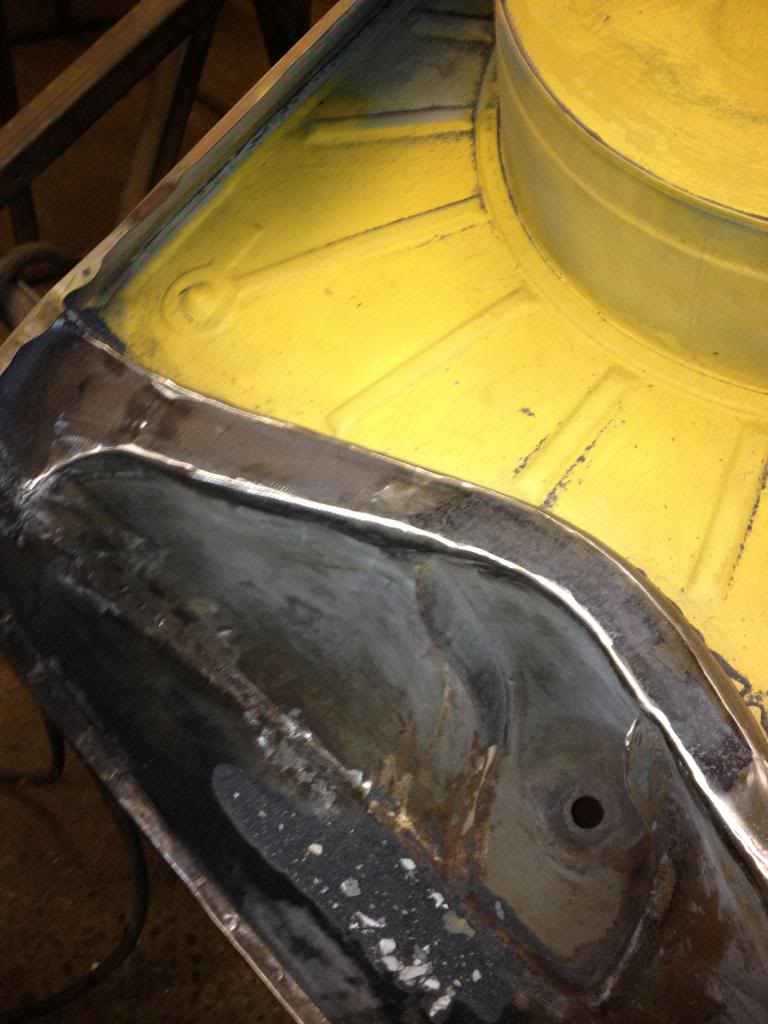
then after cleaning everything up it was time for some primer


also gave the engine bay a coat of primer


So that about finishes the floor pan. Taken nearly two years, but looking quite good. Next trial fit the panels


Havent photographed the wings fitted yet, they were a mile out. Also dropped one of the doors trying to bolt it up and dented it�
 cf_emoticons__BangHead:. Need to spend some time sorting the wings. If anyone has any tips/tricks on getting them to fit please enlighten me.
Any comments/suggestions, glad to hear them. Hopefully update again soon?
Posted

Moderator


Regards, Andy.

Posted
Old Timer

Posted
Old Timer
Melteddrummer said
Looking good, Matt!! your not that far away now bud. With regards to the wings, I think it's just a case of a bit of manipulation, don't be too scared to to flex them a bit, obviously don't bend them out of shape, also you may need to slot some of the fixing holes to get a bit more movement in certain places.
Regards, Andy.
Cheers andy. Did manage to flex the wings a bit, got them to fit better. Think I'll need to tickle them up with the grinder as there's a bit of interference with the shell, but will get them right eventually.
RoadBoss said
Nice work!
Cheers roadboss
Posted

Moderator


0 guests and 0 members have just viewed this: None.