


shadydaz's First ever project...

Posted
Settled In

shadydaz's First ever project...
Posted
Settled In

Posted
Settled In
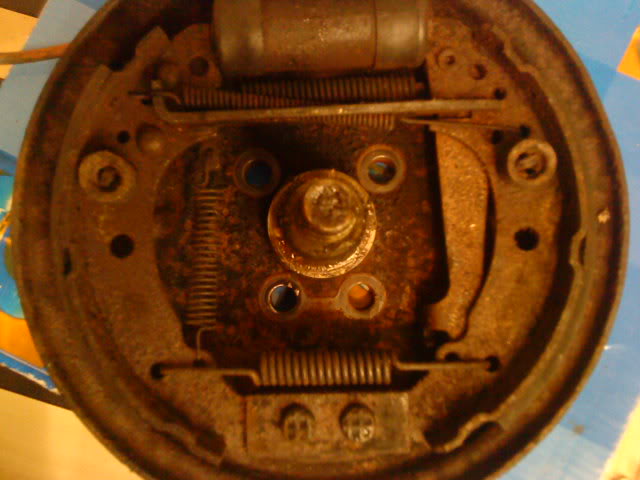
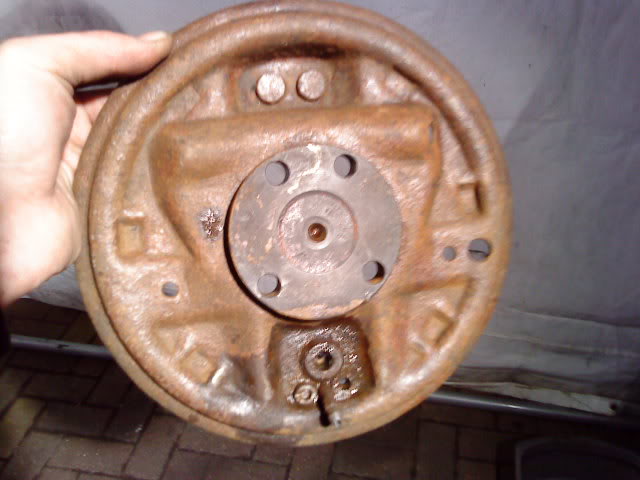
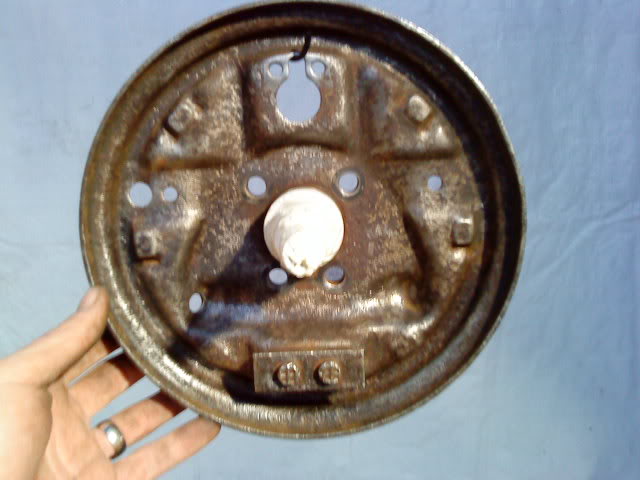
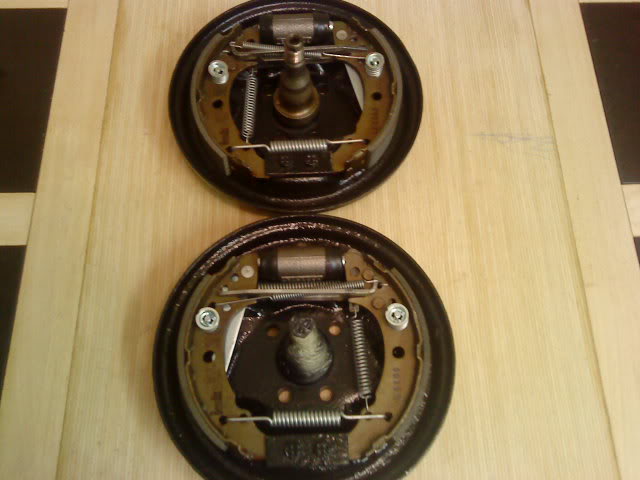
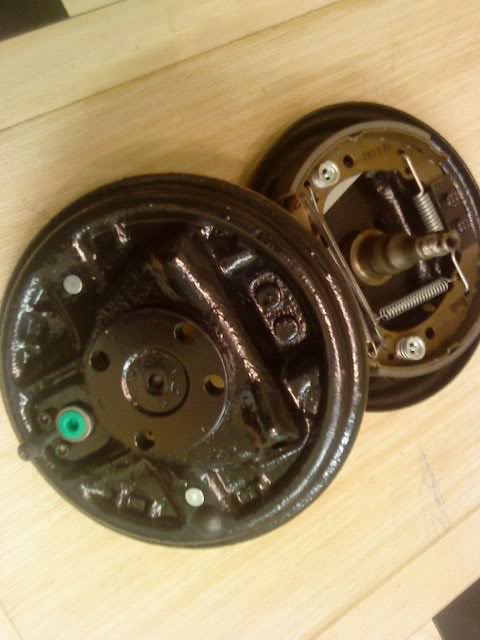
This has turned out to be very time consuming as the regulator bolts are as good as welded in. As you can see they need some attention paying to them too! Got them stripped as much as possible (bar regulators) then wire brushed them. Soaked them in rust eater stuff over night and they looked like this;
Then I managed to get one of the regulators off one of the plate so attacked it with the wire drill brushes until it looked like this…

prepped ready for rust encapsulator;
…and painted…

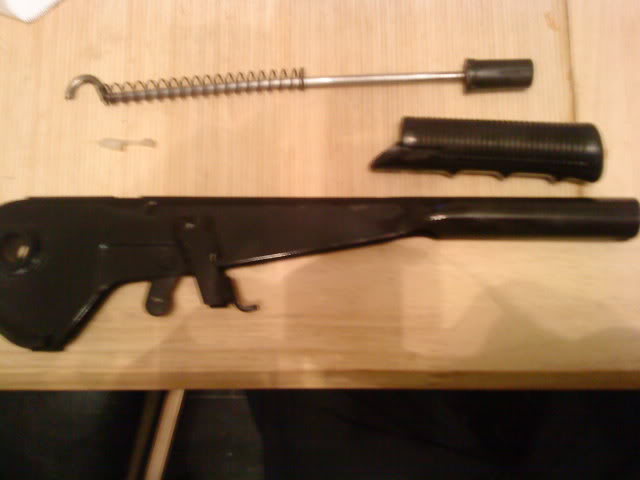
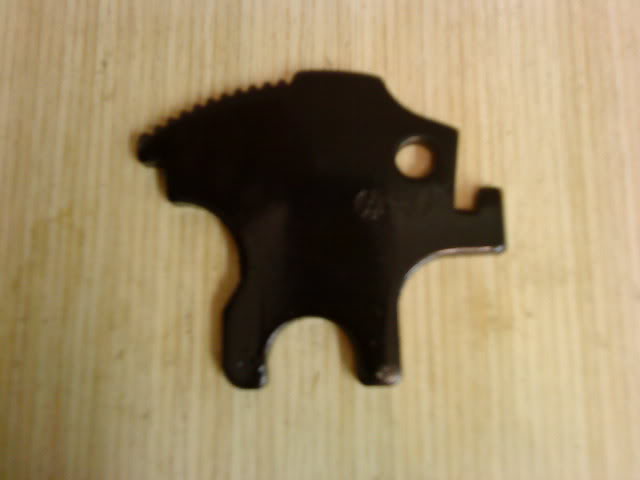
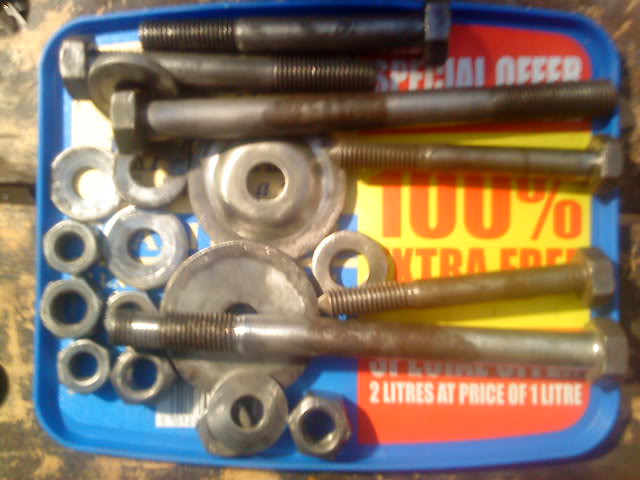
The only other bits I refurbed for the rebuild were these and the little bits that go through them…
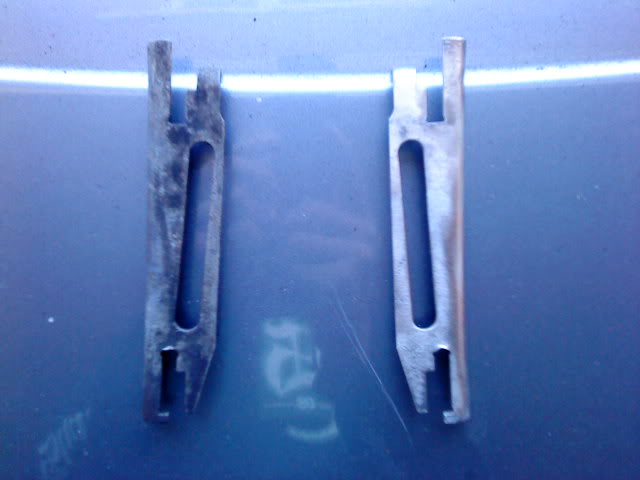
Left one is before, right is after!
I have brand new components to rebuild, just need to sort the other backplate out now.
Posted
Settled In
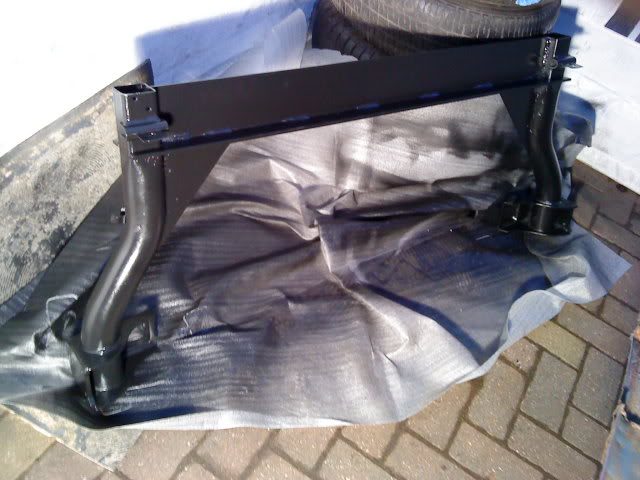
.. the mounting brackets were also done with most of that box of bits form earlier so this will be pre-assembled during next week!
Posted
Settled In

Posted
Settled In
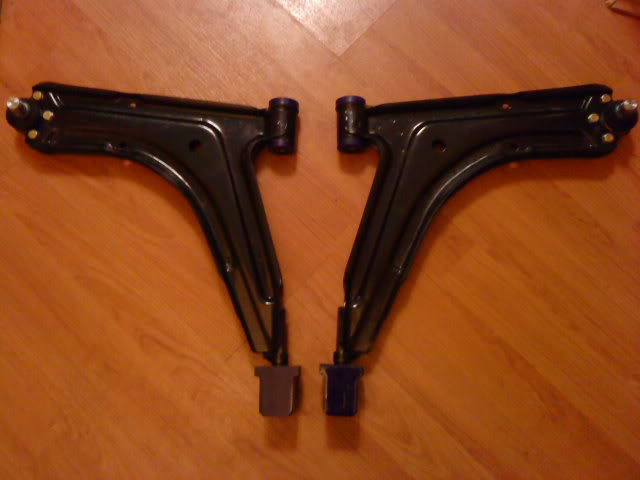
Had a practice on the old ones;
Not too bad I guess, so I tried for real and ended up with…
New bits prepped;
and done;
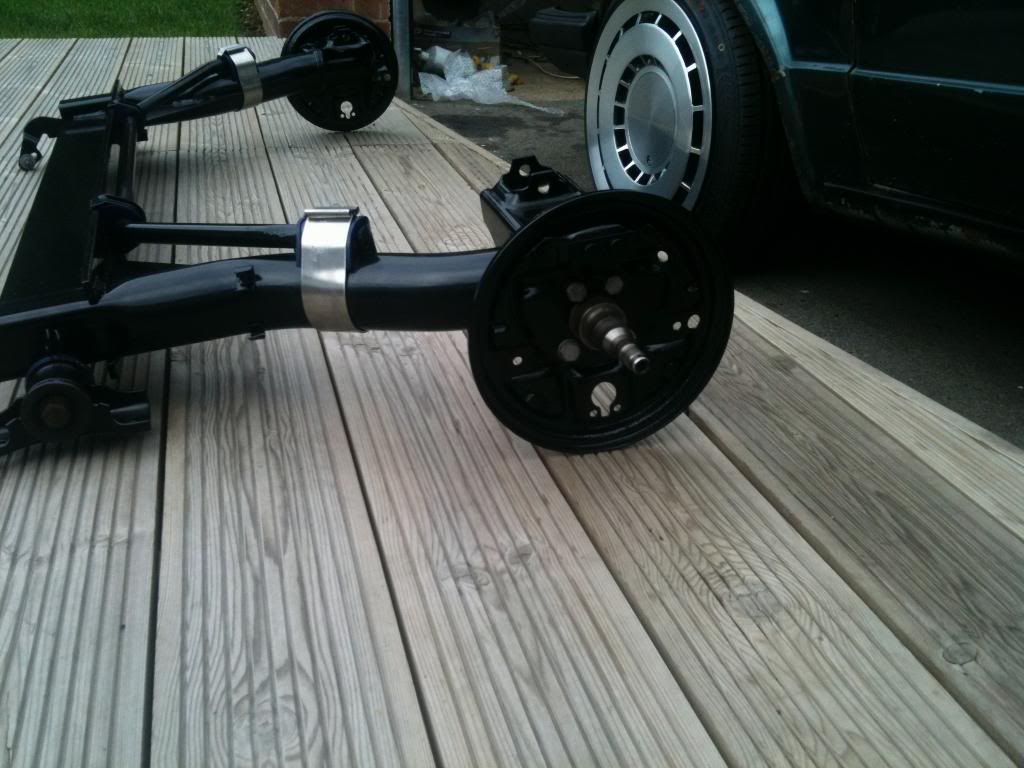
These were rust encapsulated immediatley and each wishbone resprayed with chassis paint ready for assembly.
Wrapped and packed ready for later…
Assembled:

That's all for now folks!!
Posted
Settled In
Posted
Settled In
Posted
Settled In
birkin said
that looks good welding as well on the wish bones to, when do plan on getting it done for….
Thanks, it was my first go so was kind of expecting some abuse but good that it seems to be ok!! Hopefully will be done by end of year, may take a little longer
Posted

Old Timer

Loving the cleaning :wink:
Maybe worth checking the wishbones against each other for lenght etc, as carbs4eva on here had a set where one was longer than the other, and it would'nt track properly. (See his build thread). There are probably fine, but worth a check.
Look forward to some more progress!
Pete.
Posted
Settled In
redpetemk1 said
Excellent work!
Loving the cleaning :wink:
Maybe worth checking the wishbones against each other for lenght etc, as carbs4eva on here had a set where one was longer than the other, and it would'nt track properly. (See his build thread). There are probably fine, but worth a check.
Look forward to some more progress!
Pete.
Thanks for the advice mate. I already read some horror stories on other threads about out of size and weight wishbones. Checked these when they arrived and they were spot on! Guess some poeple are just unlucky with the odd dodgy batch.
Carbs4eva is my hero! When I first visited this site shortly after the purchase his was the first thread I read from start to finish!. It took ages but well worth it as he has given me something to aspire to in this build. If I get a result a quarter as good as his I will be a happy Monkey. Also he is from Norn Iron like me so must be a goo bloke to boot. Leg.

Posted
Settled In
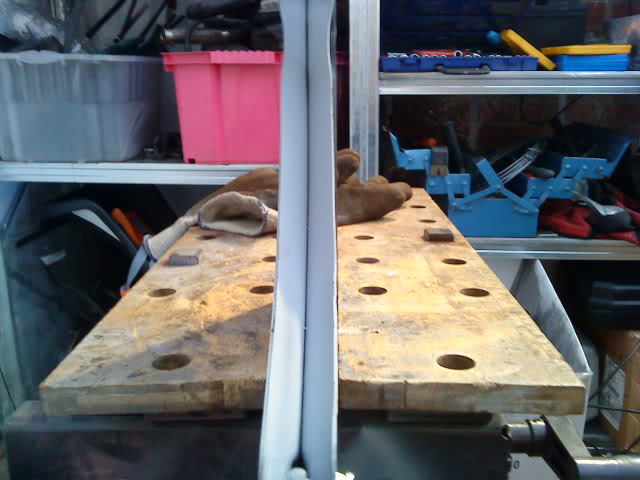
Not exactly conventional but not having the proper equiptment it was down to improvisation…


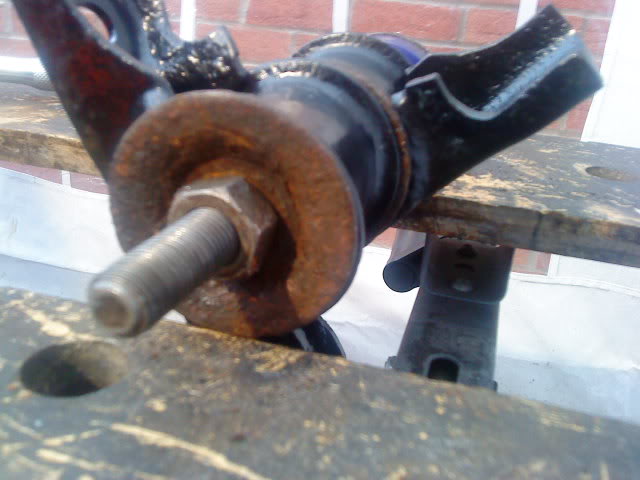
Got there in the end, can you spot the (shall we call it) deliberate mistake?
Luckily, my meachanic neighbour is going to take it to work and get it on the press to sort it out for me, phew!
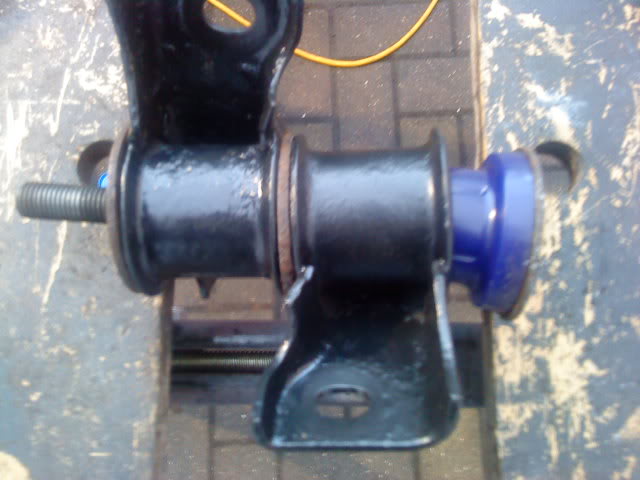
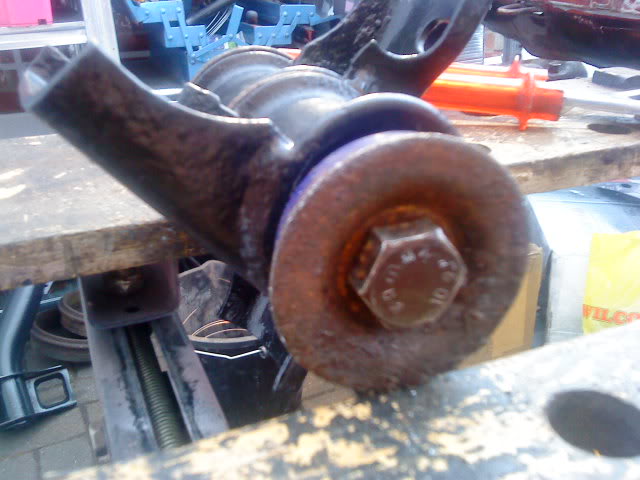
Cleaned these up and kitted them…
Give these a lick of paint…

…so they are ready to go into these…

Also took some sealer off one of the rear arches to see what they were like. As it turns out they are not too bad, just a little patch in the corner needed at the moment.
I haven't done anything to the body as I am still waiting for deliveries of replacement panels!
Posted

Settled In
shadydaz said
Well, just a little update for this week as haven't really had the chance to do a lot!
Not exactly conventional but not having the proper equiptment it was down to improvisation…

Got there in the end, can you spot the (shall we call it) deliberate mistake?


Luckily, my meachanic neighbour is going to take it to work and get it on the press to sort it out for me, phew!
Cleaned these up and kitted them…

Give these a lick of paint…

…so they are ready to go into these…

Also took some sealer off one of the rear arches to see what they were like. As it turns out they are not too bad, just a little patch in the corner needed at the moment.
I haven't done anything to the body as I am still waiting for deliveries of replacement panels!
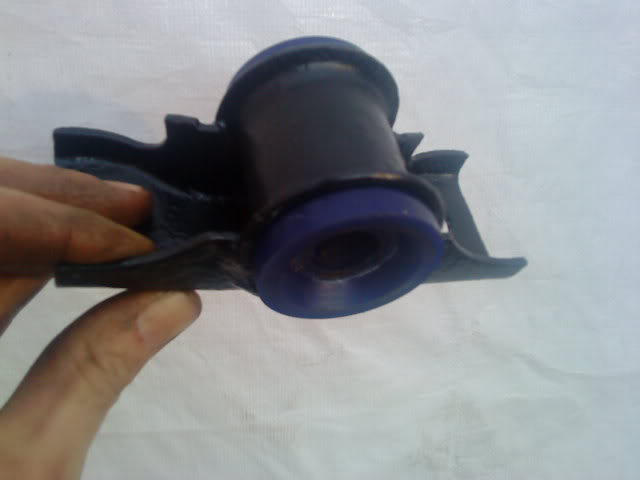
they are a bugger to put in those bushes, but with a bit of washing up liquid, you can pop them in with just your hands. thats what i did.just put the bit with the flange in first at a bit of an angle, and push it through. took me 20minutes to work out how to do the first one, 50seconds to do the second :roll:
Posted
Settled In
The front ploys were a doddle to sqidge in but the rears just seamed to keep slipping off straight when I tried to push them in by hand with lub! That's how come I ended up with the silly homemade contraption above! It was also a result of the metal shop being closed by the time I got there on Saturday so couldn't get the sheet is needed to re-fab the rear end and the thread bar that was intended to do this job!
Don't you just love it when a plan comes together? Haha..
Going to make a start on stripping down the front legs ready for the same treatment as above! (As soon as I finish work!!)
Posted
Old Timer

Posted
Settled In
What are you thoughts on stiffening the front end in this way? Cheers!
79-85 should be able to tell you about those ss brackets, that's his rear beam I think.
Posted
Settling In

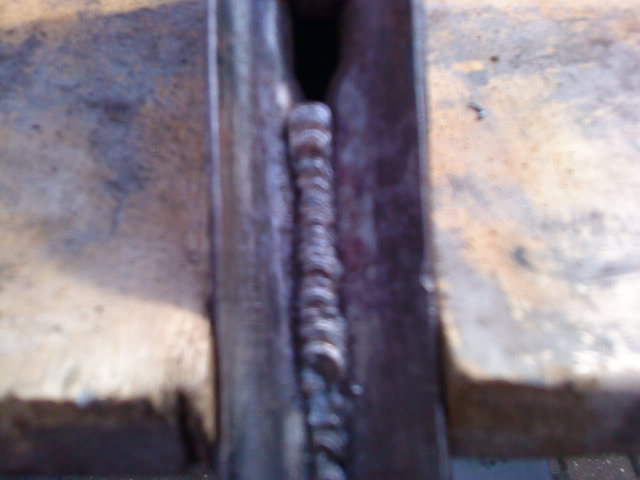
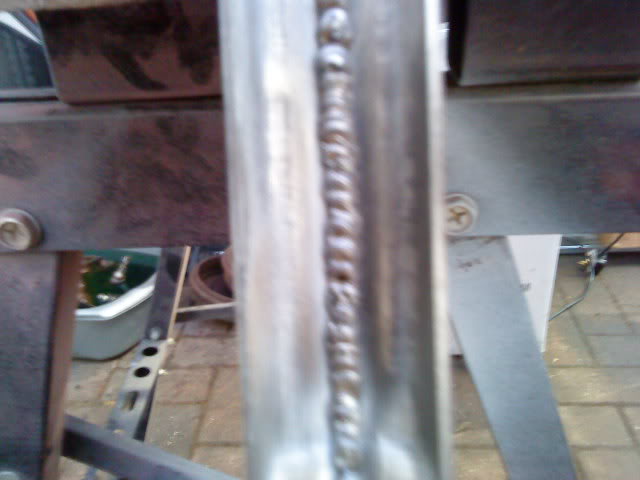
thats stitch welding mate, seam welding is constantabfmk1 said
Actually mate think im right in saying that when seam welding you are meant to weld an inch, leave an inch as a solid weld makes it too stiff with no flex and can cause fractures in the metal. Are those clamps crazy quiffs ss ones?
i would be tempted to turn the heat up on that weld, to get a better penetration mr shady, possibly widen your circles as well
Posted
Settled In
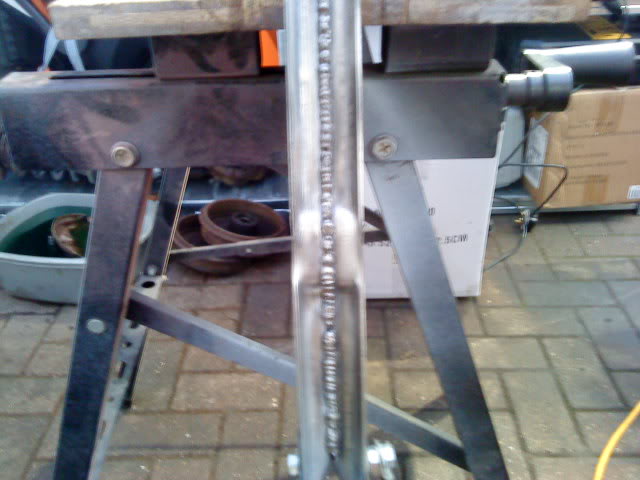
i had the same problems with the rears, but had no contraption, so hands it was, must admit it made my hands ache.shadydaz said
Wow, did you do that rear beam yourself? It looks brand new!!
The front ploys were a doddle to sqidge in but the rears just seamed to keep slipping off straight when I tried to push them in by hand with lub! That's how come I ended up with the silly homemade contraption above! It was also a result of the metal shop being closed by the time I got there on Saturday so couldn't get the sheet is needed to re-fab the rear end and the thread bar that was intended to do this job!
Don't you just love it when a plan comes together? Haha..
Going to make a start on stripping down the front legs ready for the same treatment as above! (As soon as I finish work!!)
did the rear beam myself, have a friend who shot blasts and powder coats, so i pretty much get it done for free. i am really pleased with the results.
Posted
Settled In
yep crazy q's, i got the lot from there, bushes, clamps, complete brake lines,and braided fuel pipes. all the little bits like the little brake pipe clips and such i got from b and b components in maidstone kent, tierod69 is his ebay name 8)shadydaz said
Hi abfmk1. I have read quite a lot fo different opinons on this and it is quite varied. I am assuming that if running front end ARB this problem may be more likely to occur. I was thinking about just having a lower front strut brace. Guess I will have to see what happens when it is together and moving but it is something I will note for the future and montior!
What are you thoughts on stiffening the front end in this way? Cheers!
79-85 should be able to tell you about those ss brackets, that's his rear beam I think.
Posted
Settled In
Charlie_t said
thats stitch welding mate, seam welding is constantabfmk1 said
Actually mate think im right in saying that when seam welding you are meant to weld an inch, leave an inch as a solid weld makes it too stiff with no flex and can cause fractures in the metal. Are those clamps crazy quiffs ss ones?
i would be tempted to turn the heat up on that weld, to get a better penetration mr shady, possibly widen your circles as well
Ok, thanks for the advice both of you. It is a bit late as you can see, I will just have to grin and bear it for now! My 140 was up to 4 when I did that, seemed to get ok heat penetration through the backs so hopefully will be good. It was my first go so am learning all the time! We will have to see what the rear end turns out like when I do that!
0 guests and 0 members have just viewed this: None.