GarytheGolf
Posted
Old Timer


Posted
Old Timer


jellybelly said
there are a few points around for earths
bumper mountings, horn mounting, front cross member where the front engine mount
Thanks for that, initially I used a bumper bolt, I have in fact used the threaded holes either side of the top radiator mounts to create earthing studs.
Just need to tidy up the wiring going to them, it's getting a bit cluttered.
Posted
MOTY 2013

factory all the lighting loom earths all go back to a big crimp joint in the fat brown earth to the battery -ve
I also prefer mk3 golf battery and alternator cables, much thicker and have covering over to help stop the cables corroding. main thign though is the battery clamps much better design and have 4x stud/bolts for accessory feeds which can all be added and removed without disturbing the battery clamp nut
with the uprated loom dont go mad on the bulbs as even if the wirign can handle it they can melt the glue holding the lenses on if you go mega wattage, brand new lamps tend to handle it better but older units not as resilient as the glue is already a bit past it. You dont need to go mad though anyway if the lamps are good, once the loom is sorted you will find decent quality standard wattage lamps are already muich improved, i like phillips vision plus white ones in my mk2
main thing is the chrome reflectors, if old and/or poor quality they dont work nearly as well as new hellas will
Hello my name is John and I'm a dub addict.
My wiring diagrams and other documents have moved here:
VAG Documents & Downloads
You'll need to sign into google/gmail for the link to work! (its free!)
My wiring diagrams and other documents have moved here:
VAG Documents & Downloads
You'll need to sign into google/gmail for the link to work! (its free!)
Posted
Old Timer


I am not looking for powerful lights, just a bit brighter.
I like the idea of the Mk3 cables, could not see any on ebay though.
I have seen these on ebay, might be useful.
http://www.ebay.co.uk/itm/221723018341?_trksid=p2059210.m2749.l2649&ssPageName=STRK%3AMEBIDX%3AIT
Posted
MOTY 2013

http://www.ebay.co.uk/itm/VW-ABA-MK3-Jetta-Golf-Battery-Cable-Negative-1996-1998-1H0971235M-/301559762242
with the -ve it is designed to reach over to a stud on the end of the rear engine -> gearbox mounting bolt, which is a much better engine earth point than the stud on the upper gearbox bracket. other thing is the ring for the chassis earth point wont reach the leg on the mk1, what I do for these is grab another mk3 cable and chop it down giving you a length of cable with ring either end, 1 end to the leg and bolt the other end to the battery -ve ring
the alternative is as per this US ebay auction cable run a thick cable from chassis earth to one of the studs on the battery cable. for some reason the US earths seem to be a different design to euro ones? the euro design is like mk1/2 with a ring in the middle of the cable run which is earthed to chassis.
anyway its an idea, main trouble is with your engine bay being so mint you may struggle to find nice enough cables to use, though they might scrub up well with some of that elbow grease you hear so much about,
Hello my name is John and I'm a dub addict.
My wiring diagrams and other documents have moved here:
VAG Documents & Downloads
You'll need to sign into google/gmail for the link to work! (its free!)
My wiring diagrams and other documents have moved here:
VAG Documents & Downloads
You'll need to sign into google/gmail for the link to work! (its free!)
Posted
Old Timer


rubjonny said
its one of those scrappy jobbers really, but heres a US auction to give you an idea of why I like em
http://www.ebay.co.uk/itm/VW-ABA-MK3-Jetta-Golf-Battery-Cable-Negative-1996-1998-1H0971235M-/301559762242
with the -ve it is designed to reach over to a stud on the end of the rear engine -> gearbox mounting bolt, which is a much better engine earth point than the stud on the upper gearbox bracket. other thing is the ring for the chassis earth point wont reach the leg on the mk1, what I do for these is grab another mk3 cable and chop it down giving you a length of cable with ring either end, 1 end to the leg and bolt the other end to the battery -ve ring
the alternative is as per this US ebay auction cable run a thick cable from chassis earth to one of the studs on the battery cable. for some reason the US earths seem to be a different design to euro ones? the euro design is like mk1/2 with a ring in the middle of the cable run which is earthed to chassis.
anyway its an idea, main trouble is with your engine bay being so mint you may struggle to find nice enough cables to use, though they might scrub up well with some of that elbow grease you hear so much about,
Thanks for that, but the principle could be simulated with new cable. a future mod I think. Particularly about your comment about the engine earth stud being the engine earth, maybe I can piggy back another lead from the stud to the back of the engine.
Posted
MOTY 2013

Hello my name is John and I'm a dub addict.
My wiring diagrams and other documents have moved here:
VAG Documents & Downloads
You'll need to sign into google/gmail for the link to work! (its free!)
My wiring diagrams and other documents have moved here:
VAG Documents & Downloads
You'll need to sign into google/gmail for the link to work! (its free!)
Posted
Old Timer


Posted
MOTY 2013

Hello my name is John and I'm a dub addict.
My wiring diagrams and other documents have moved here:
VAG Documents & Downloads
You'll need to sign into google/gmail for the link to work! (its free!)
My wiring diagrams and other documents have moved here:
VAG Documents & Downloads
You'll need to sign into google/gmail for the link to work! (its free!)
Posted
Local Hero


I fitted an upgraded loom to my Corrado, with mediocre results. I removed the 80/100w upgraded bulbs and fitted some standard 55w jobs from Halfords - but some superbright ones about £30 each. The difference was amazing! So much better.
Then as John says, you'll have no 'melty' issues!
Andy
LINCOLNSHIRE REGION - https://www.facebook.com/groups/467122313360002/
1983 MK1 Golf GTI Campaign Model - Under (looooong) resto!
1962 Rover P4 80
2002 BMW 745i
2008 BMW Z4 2.5Si
LINCOLNSHIRE REGION - https://www.facebook.com/groups/467122313360002/
1983 MK1 Golf GTI Campaign Model - Under (looooong) resto!
1962 Rover P4 80
2002 BMW 745i
2008 BMW Z4 2.5Si
Posted
Old Timer


Posted
Old Timer


Also getting the door seals fitted and door alignment finalised.
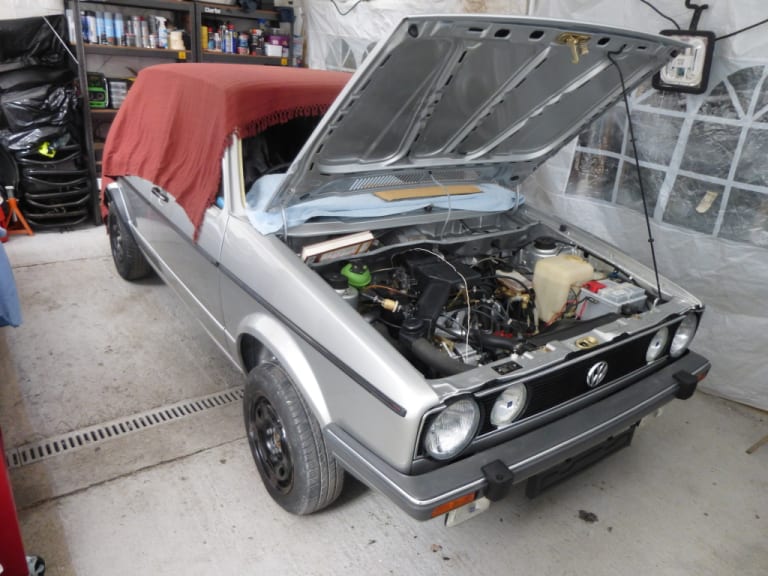
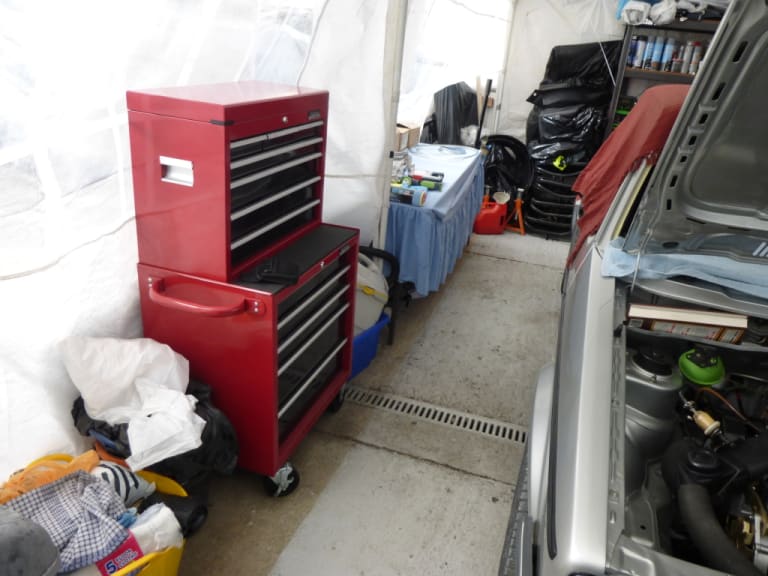
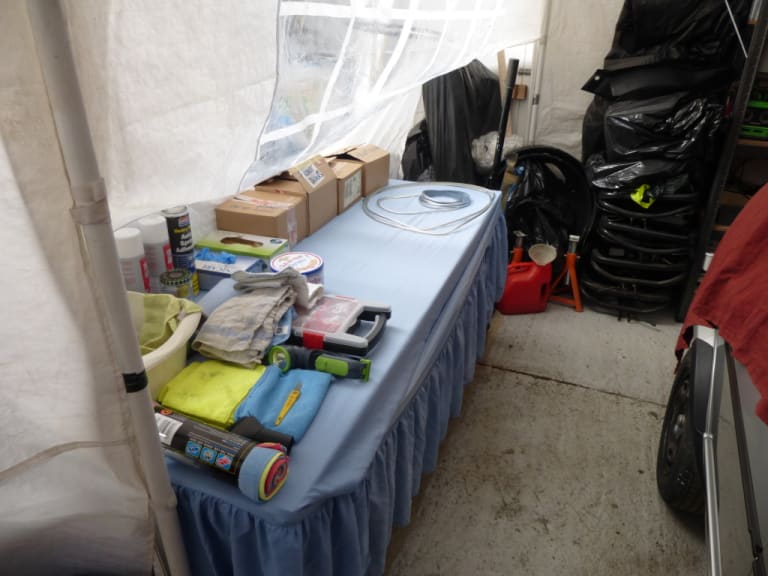
Tidied up the area and found a few things!
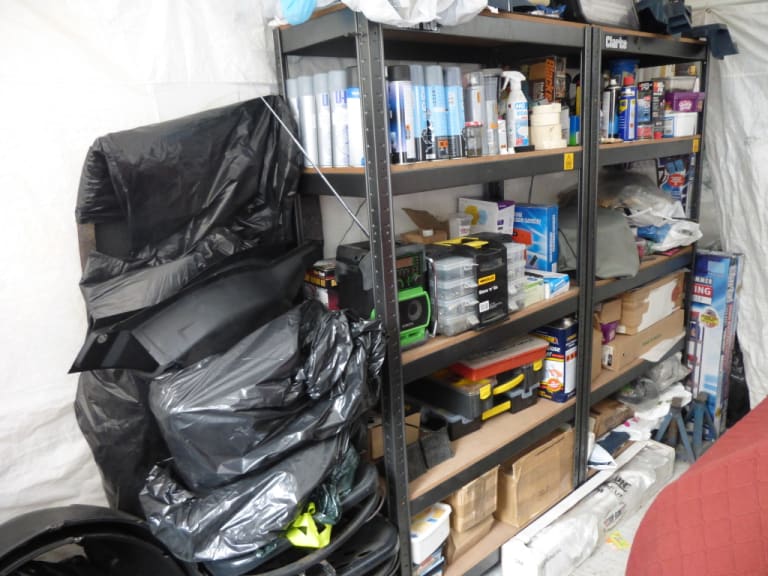
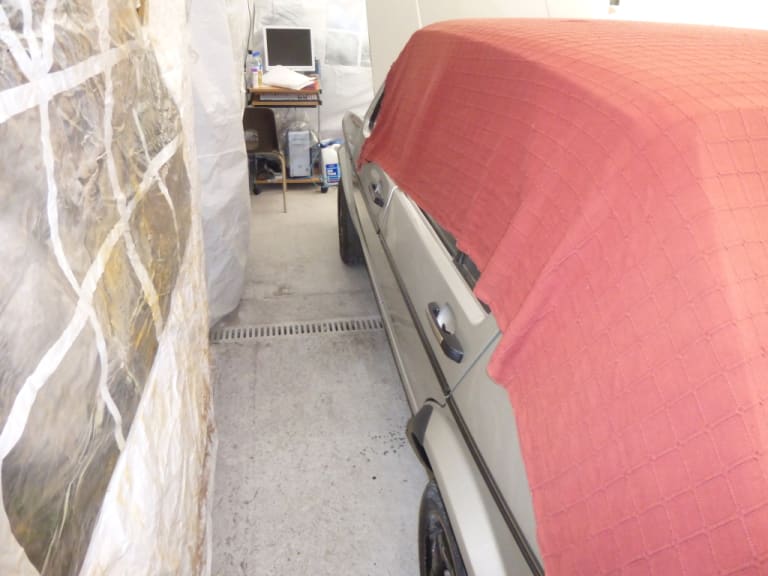
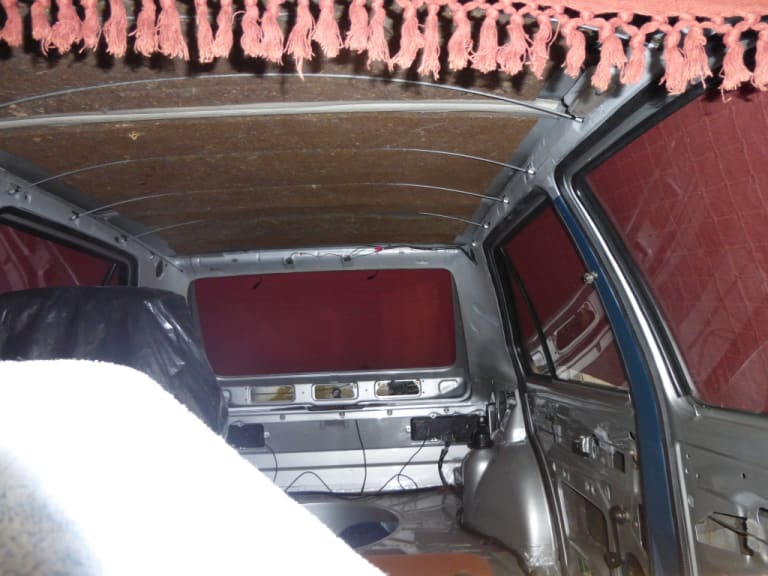
 Last edit: by Malcolm
Posted
Old Timer


Posted
Old Timer


Richard, the boss of the spray shop fitted it using me as a lackey. Well I didn't do to much, though I think I could do one in future.
I learnt many tips, particularly not too much stretch and the use of 3M refix tape (quite expensive) instead of spray glue to fit it. A much cleaner approach, though a little spray glue was used for the rear quarters / c pillars.
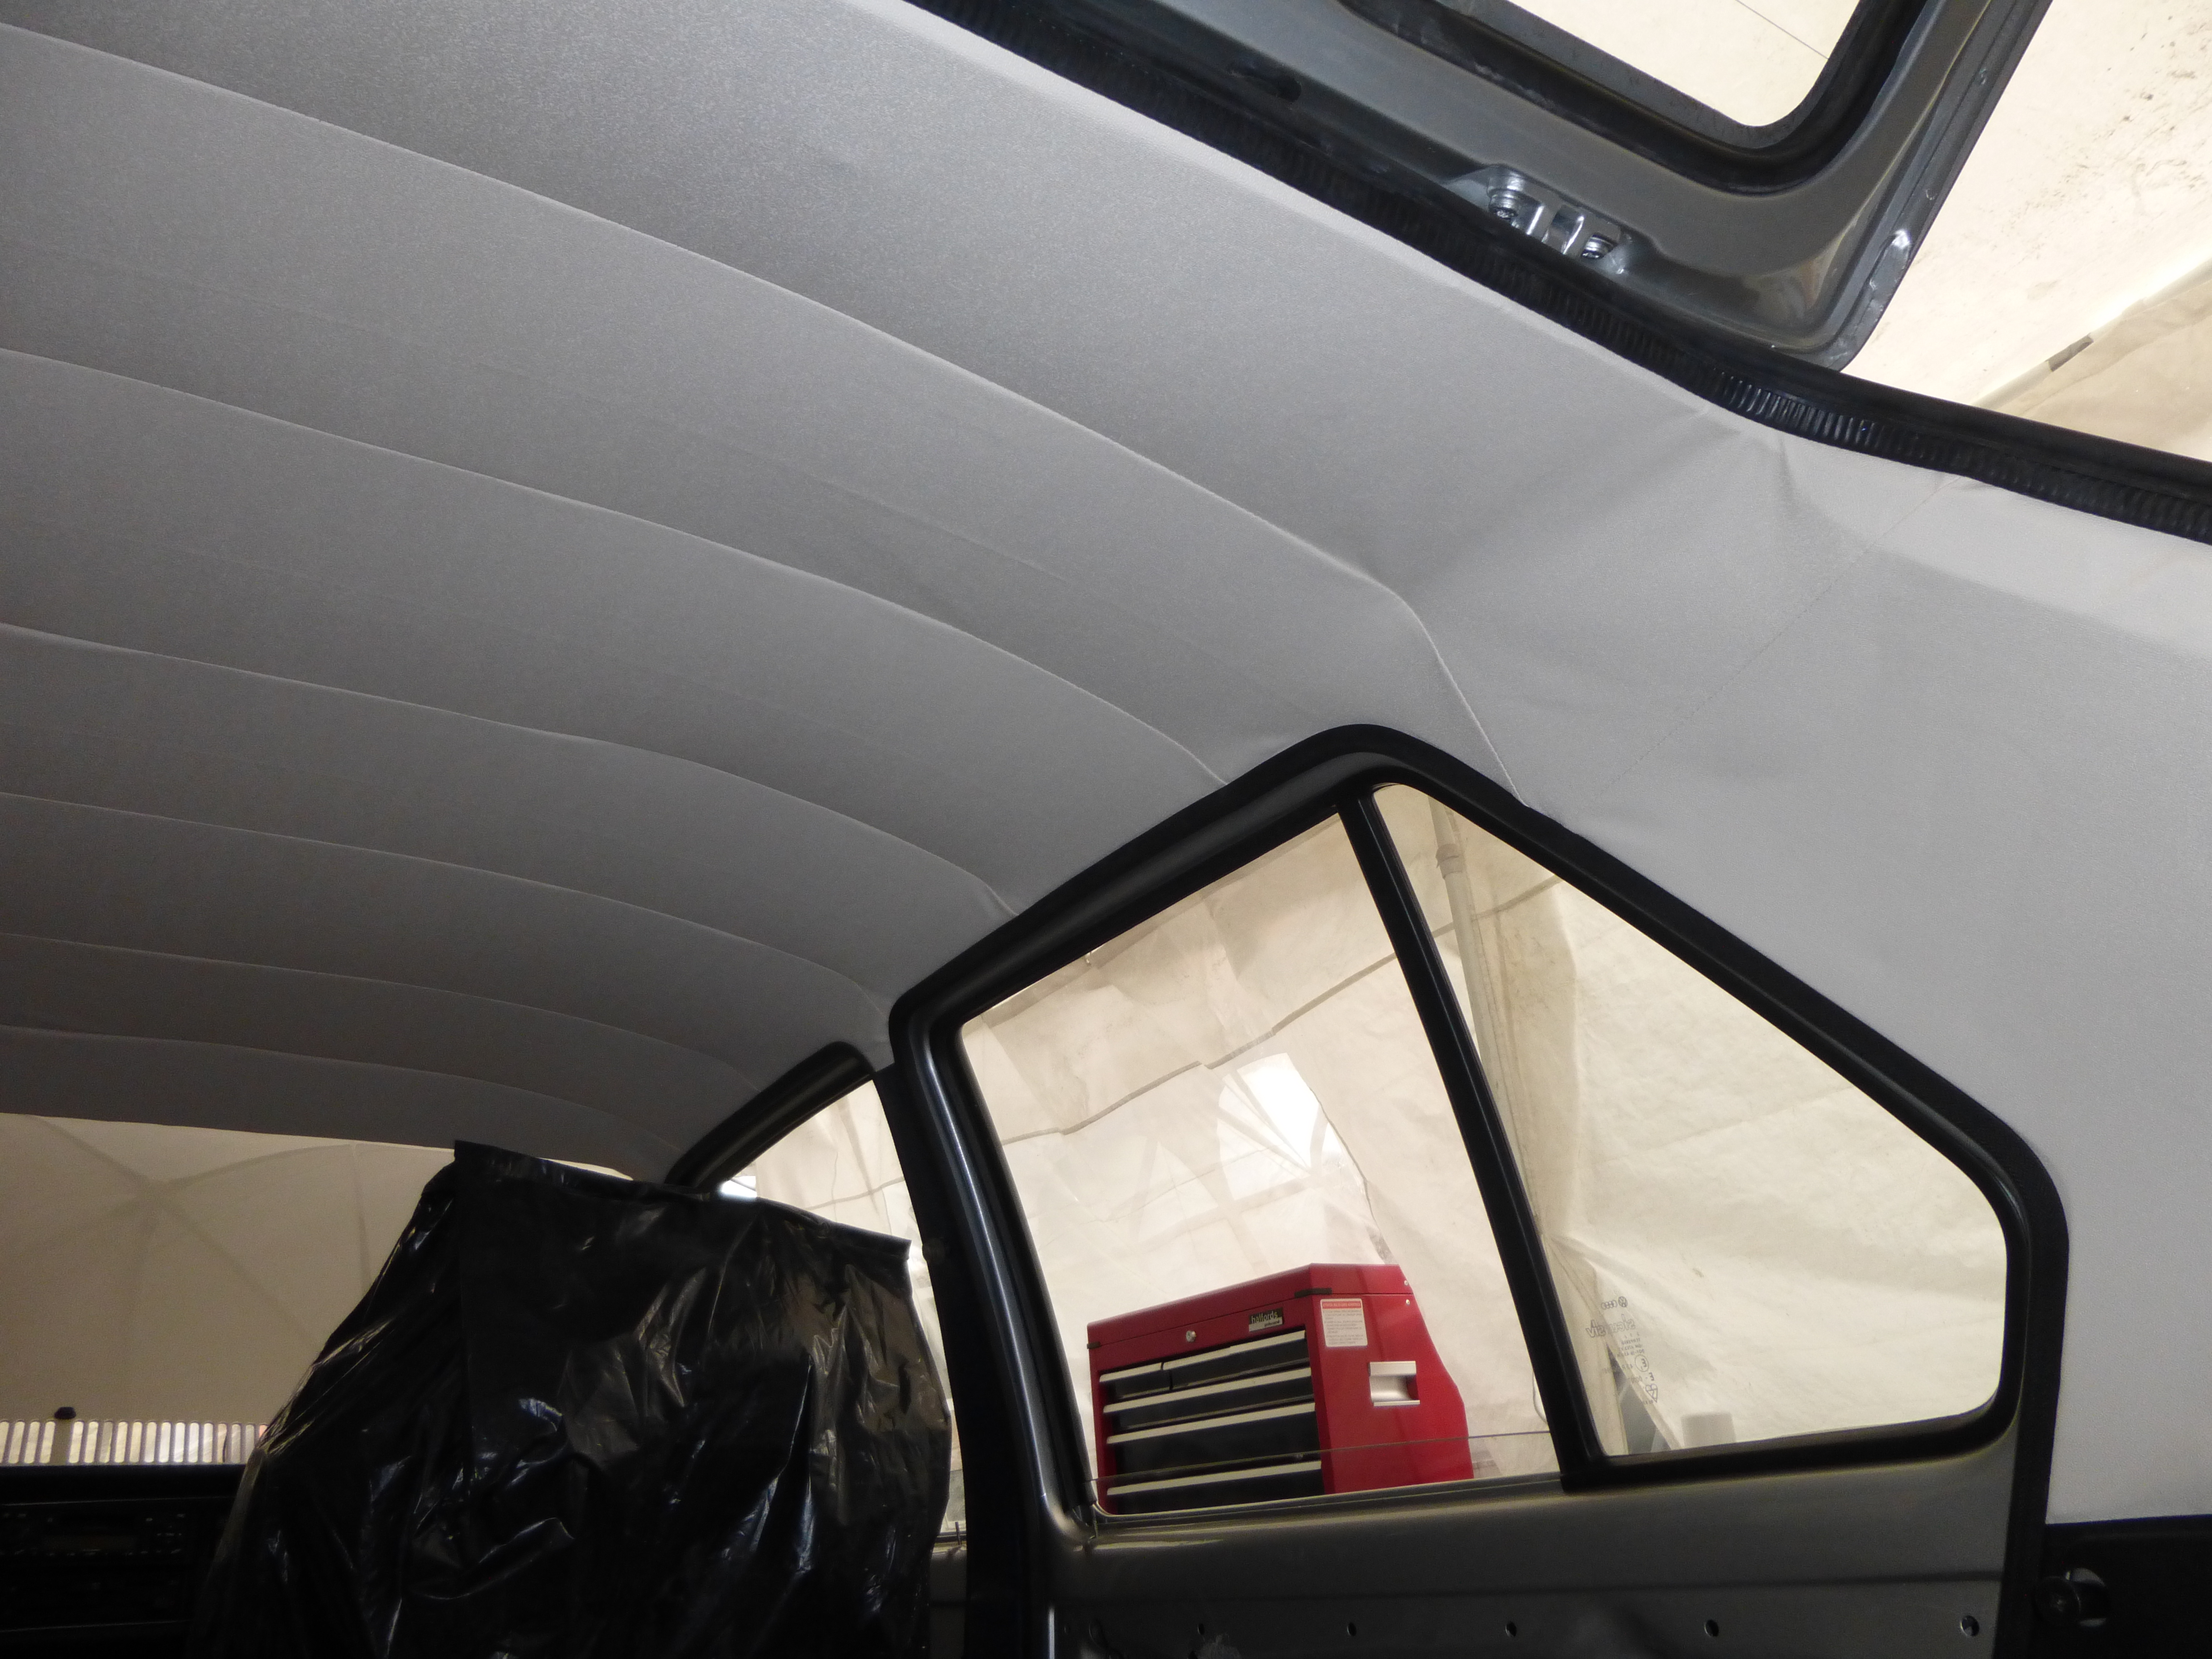
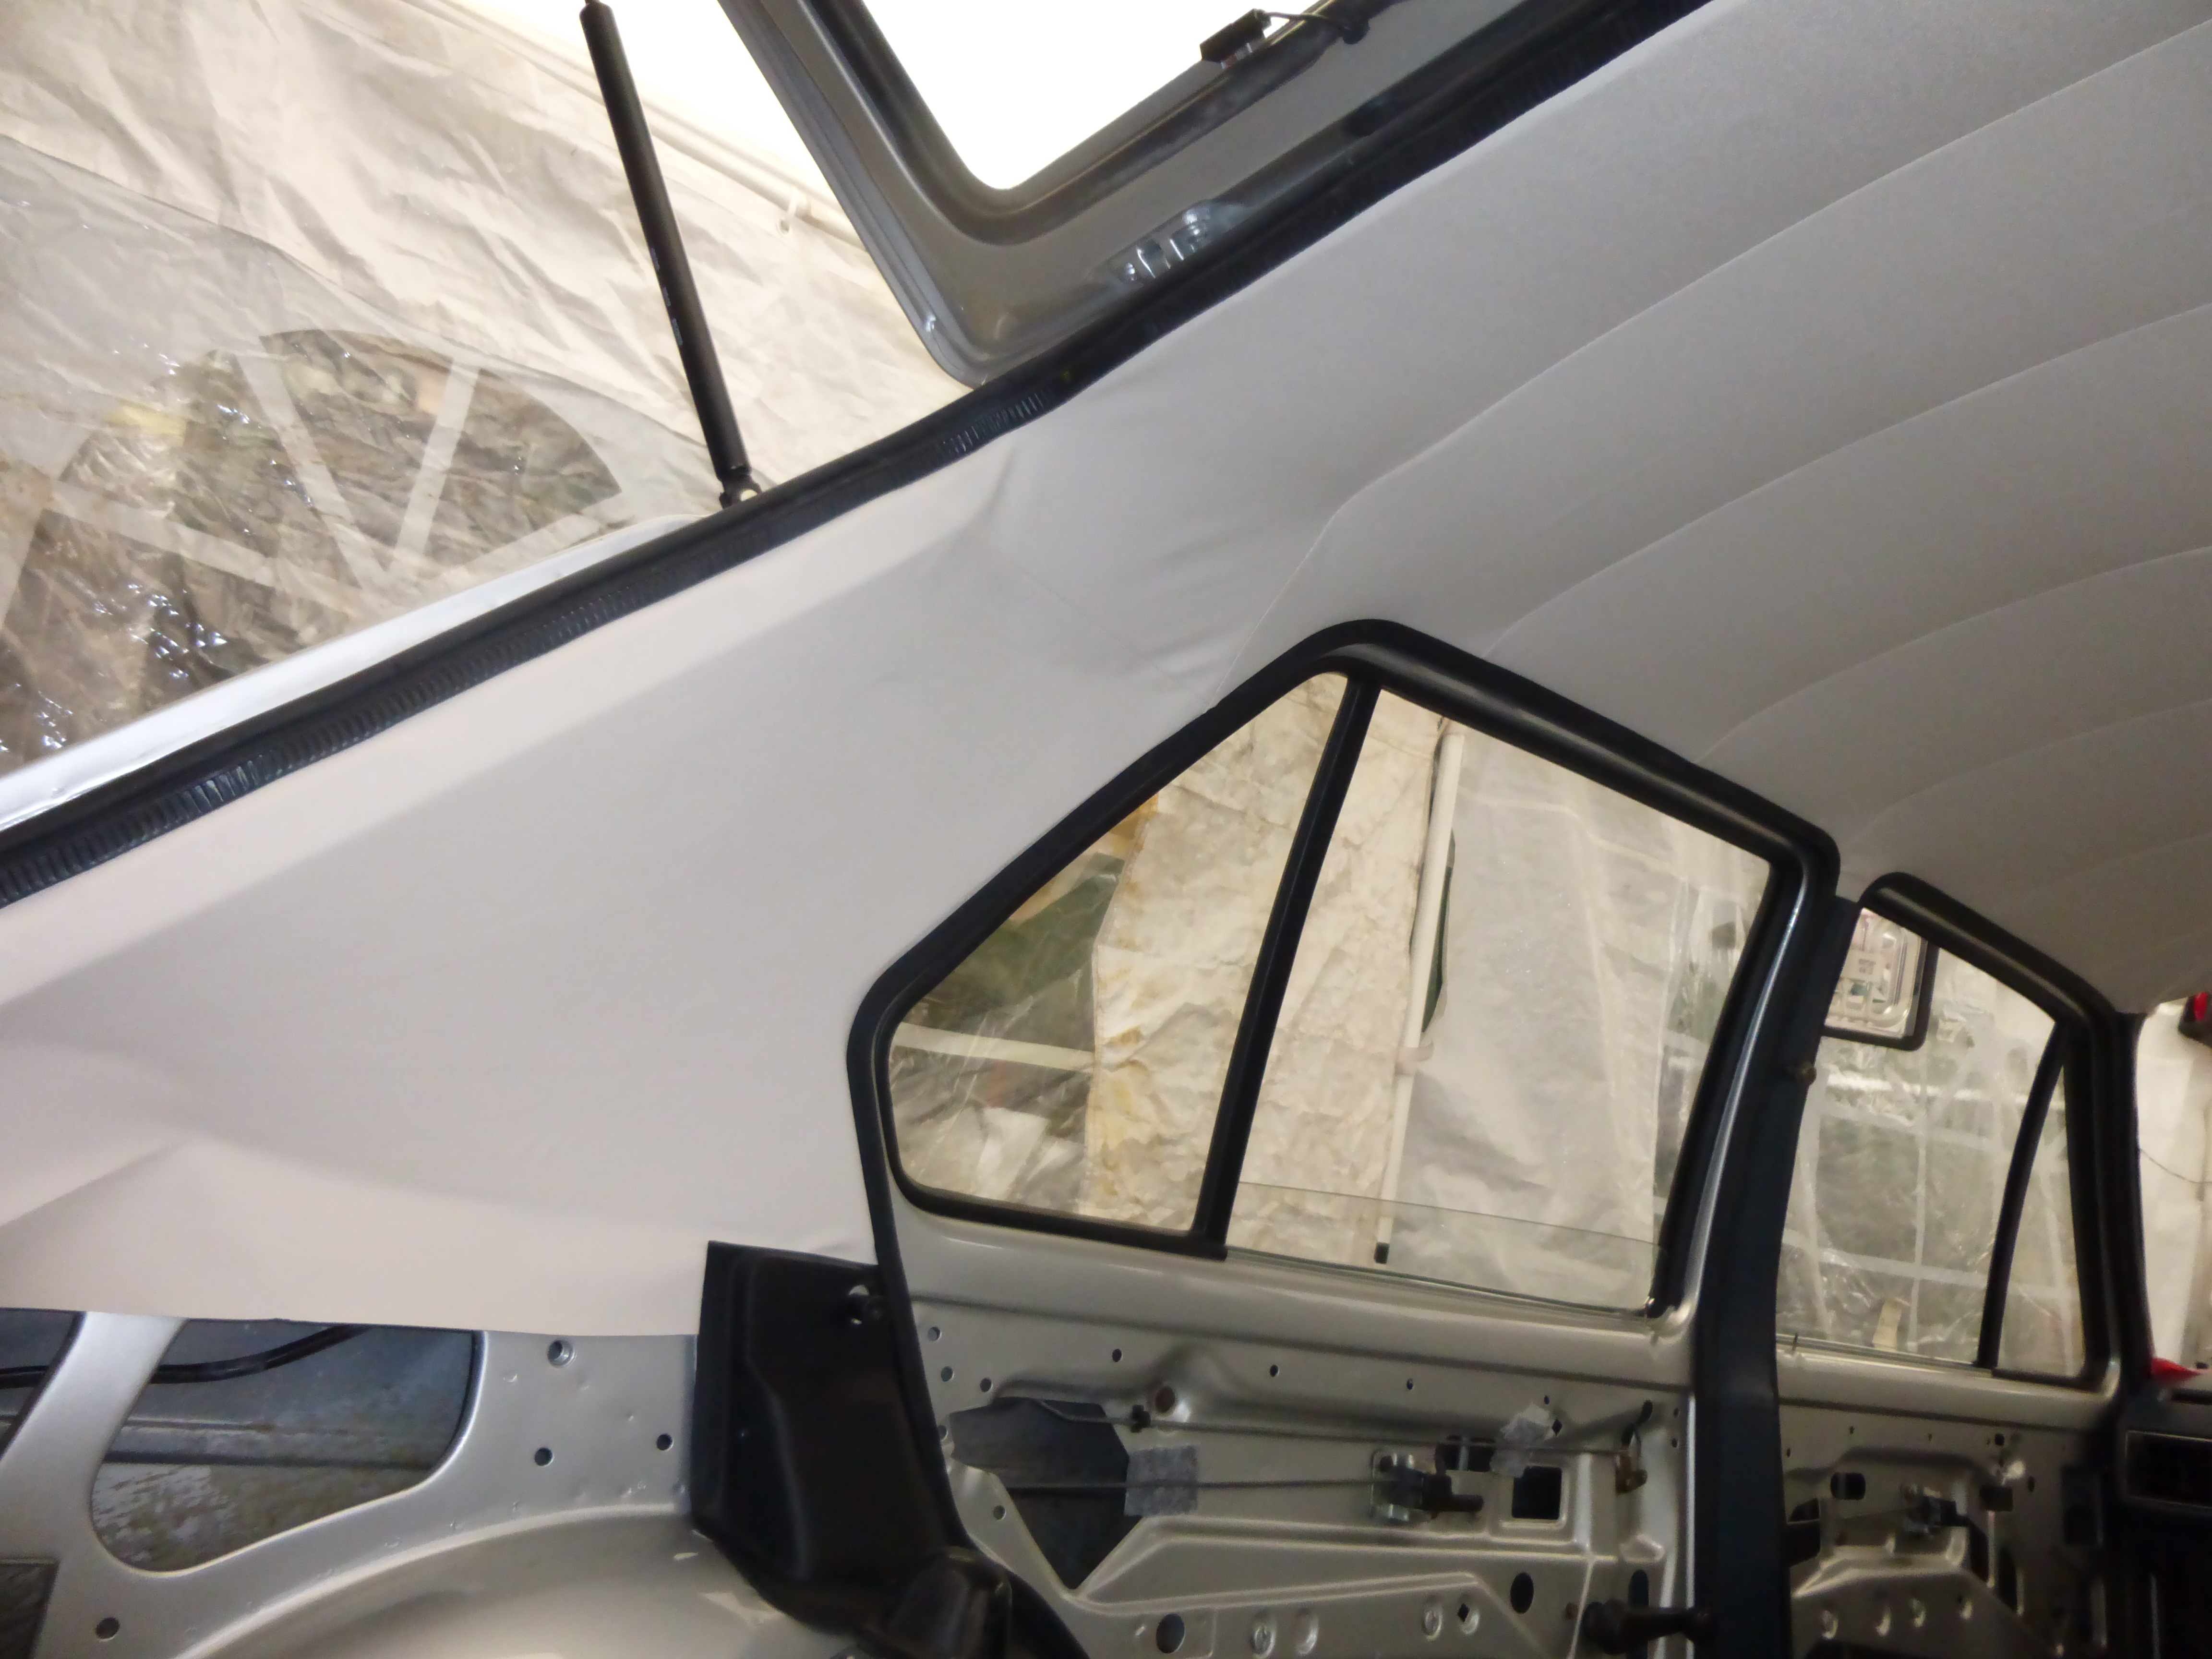
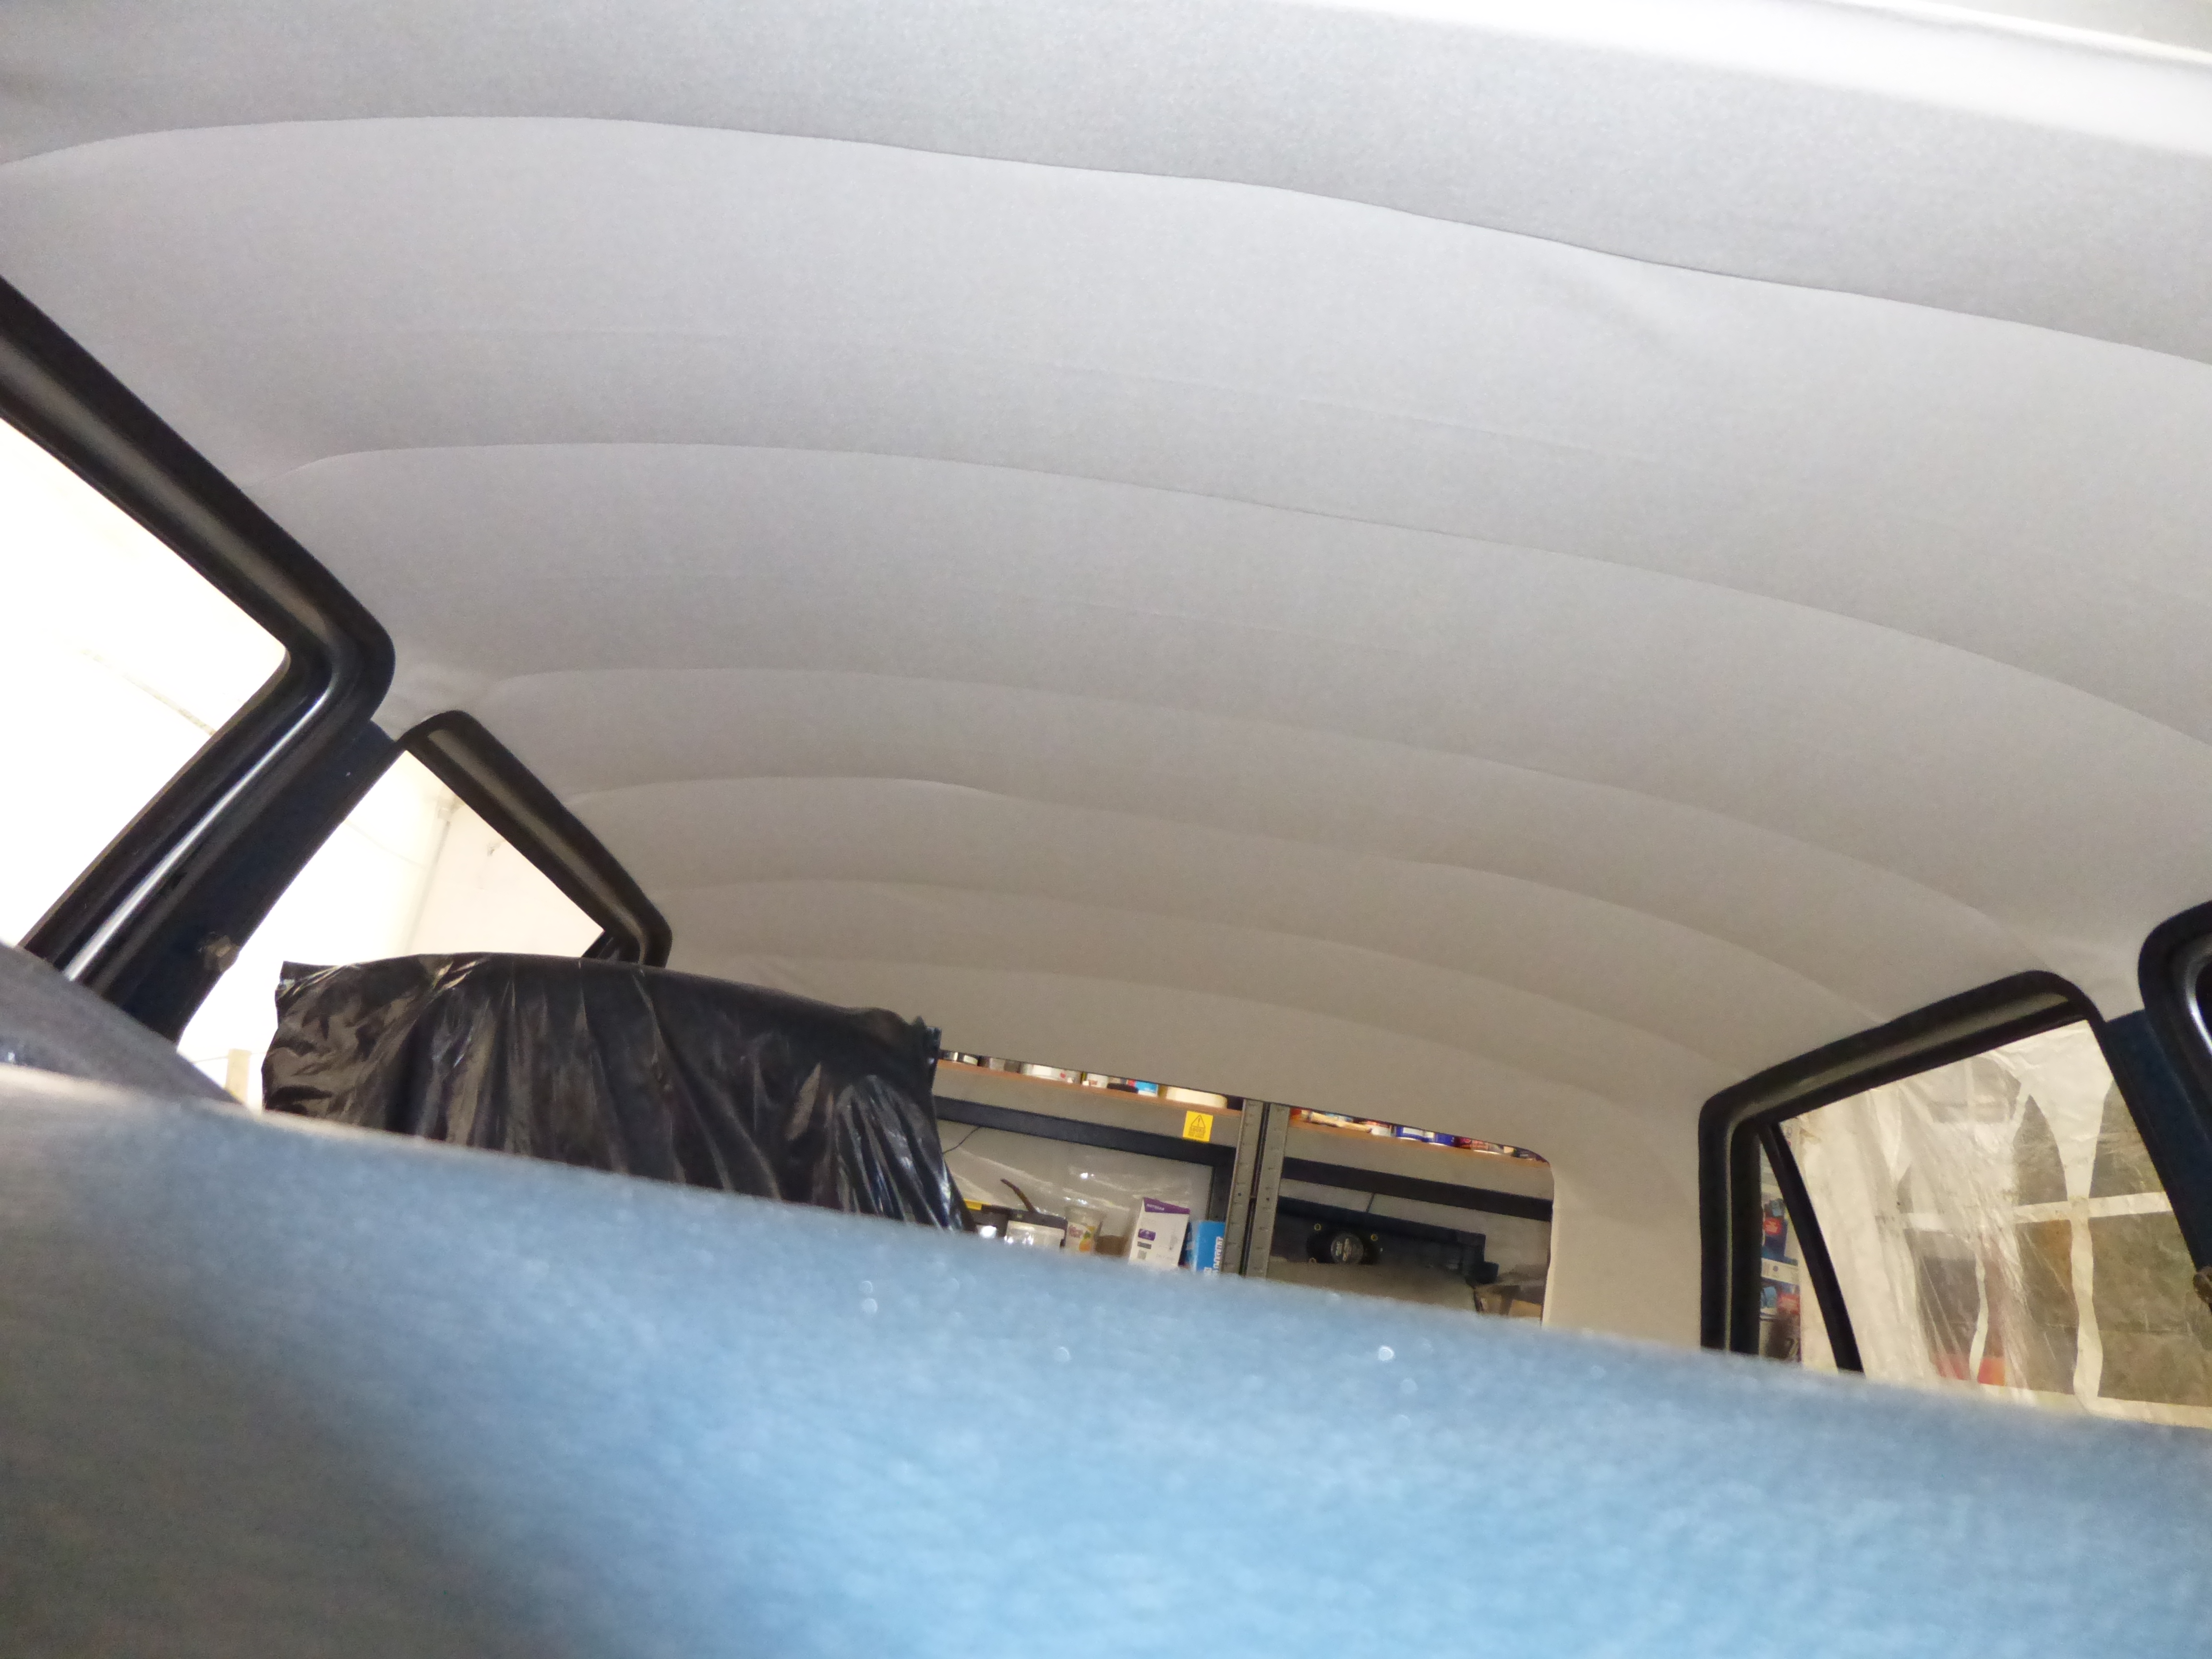

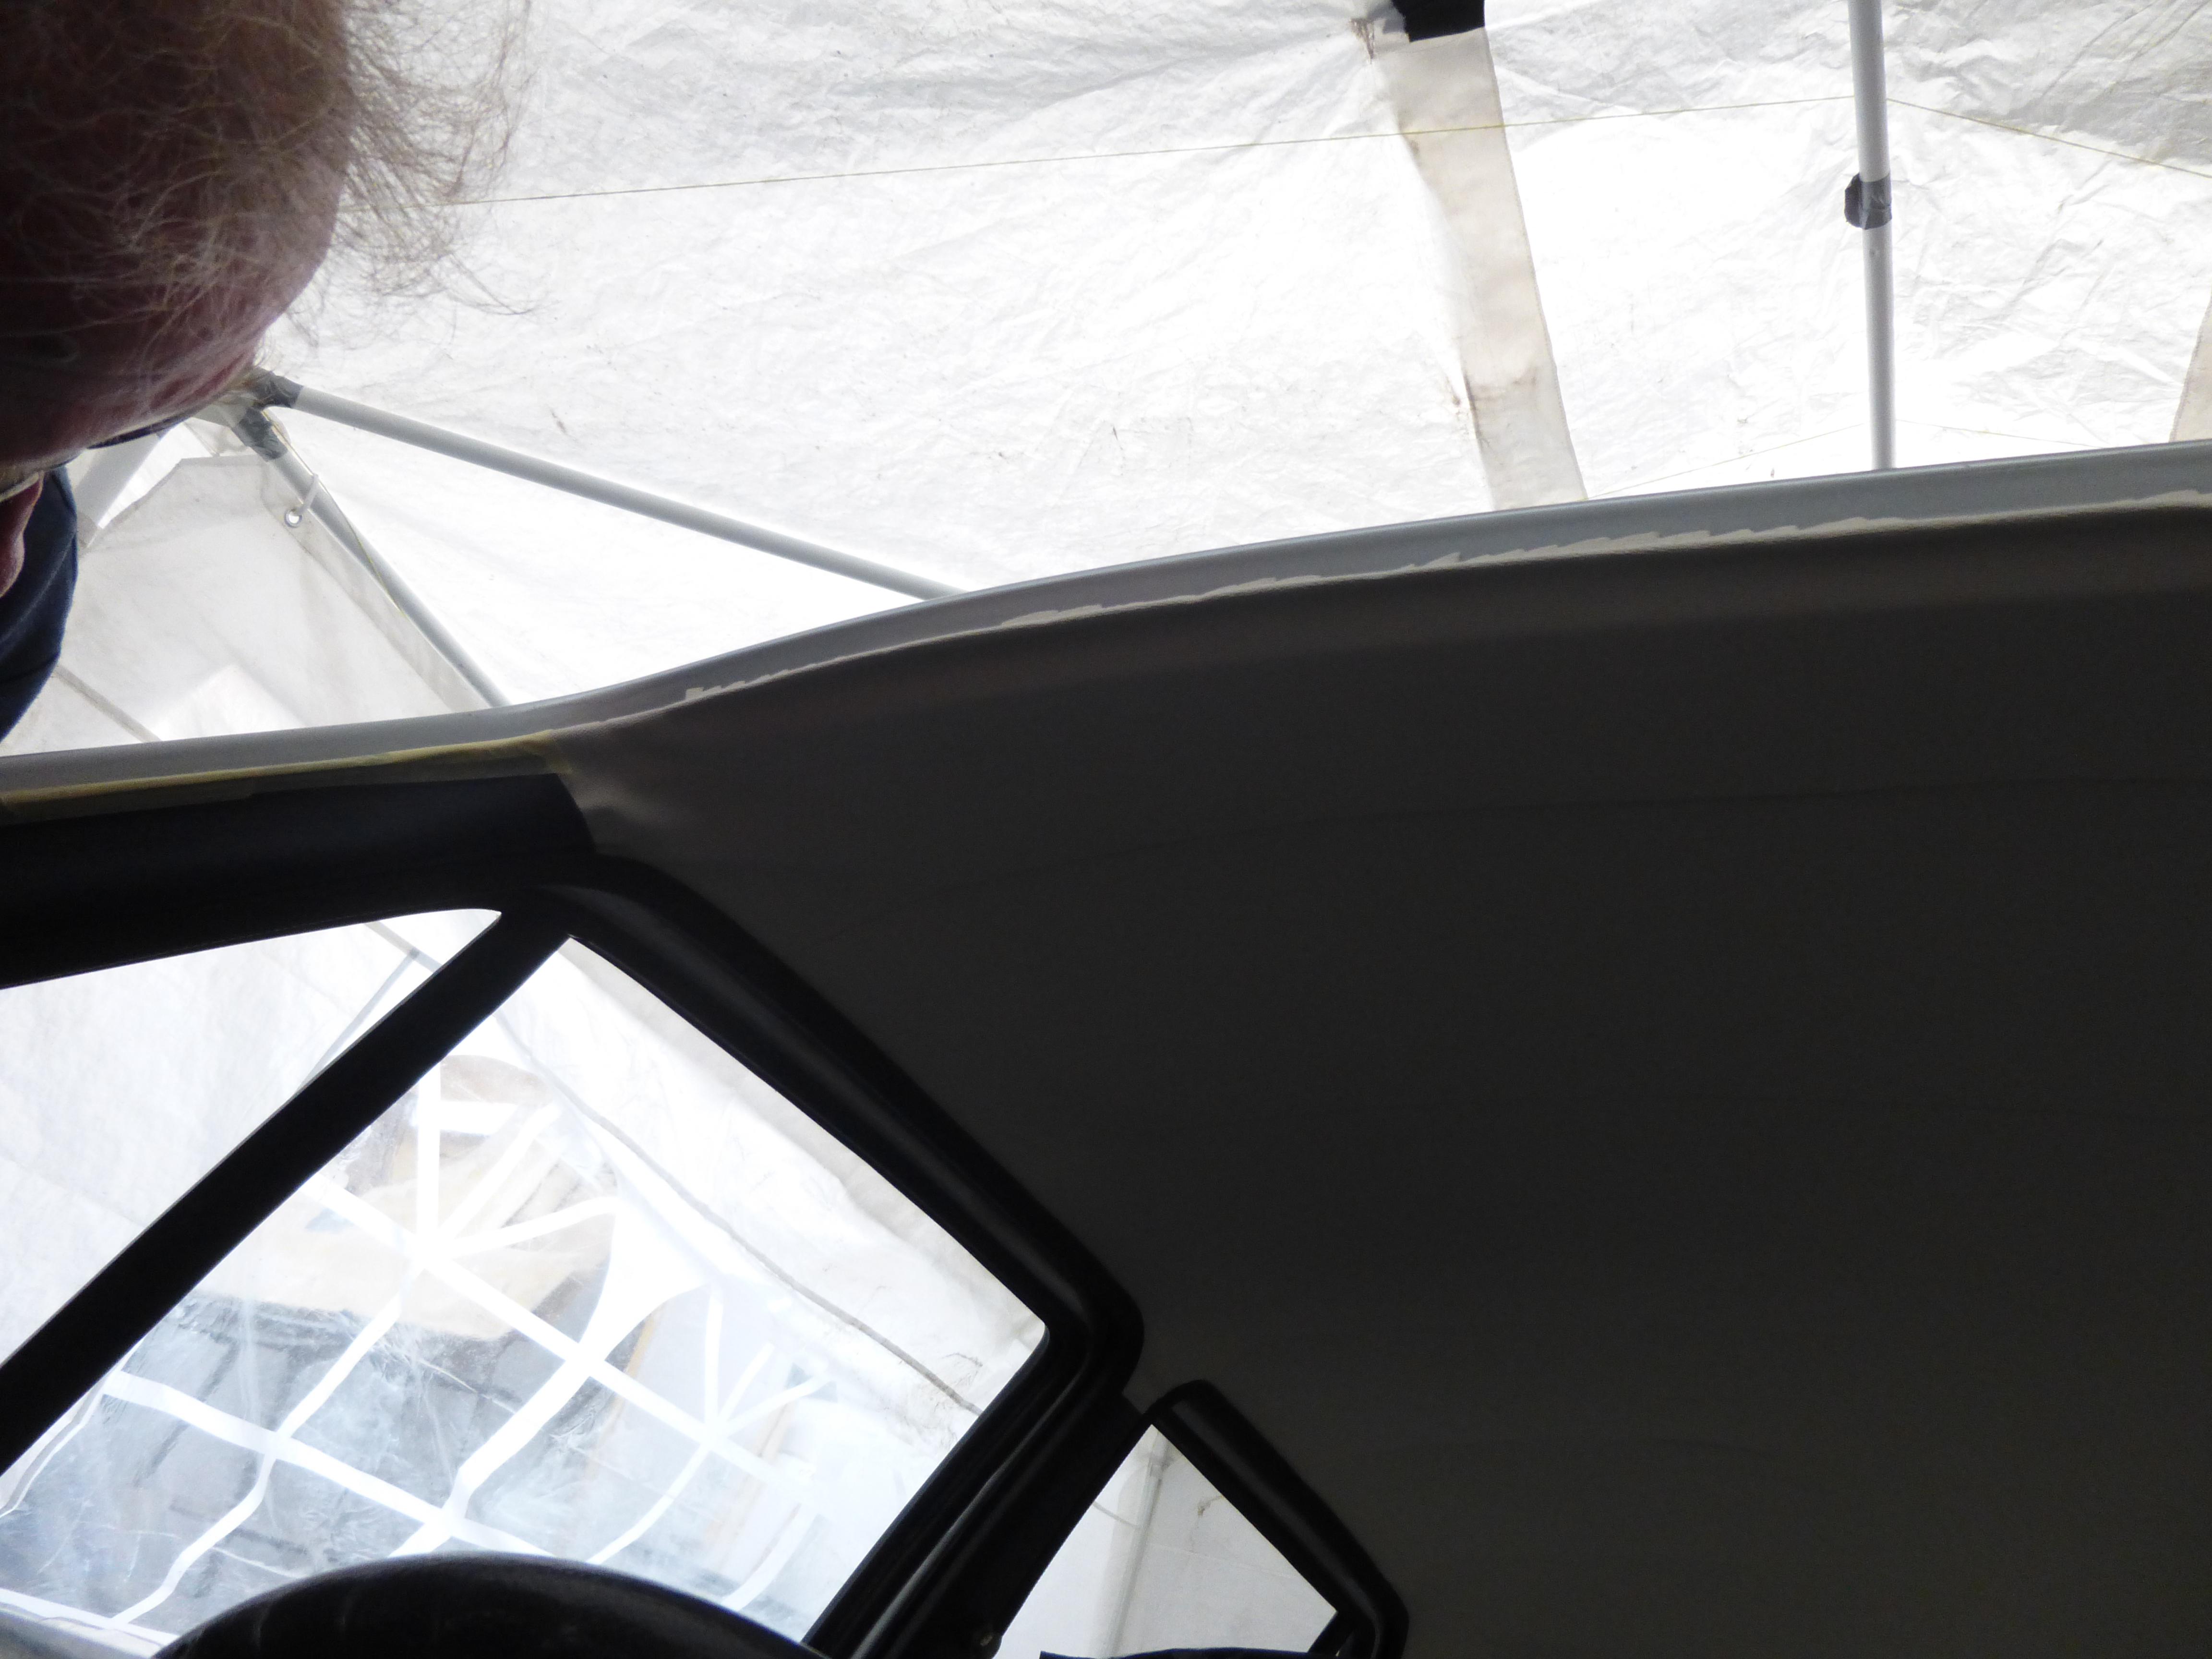
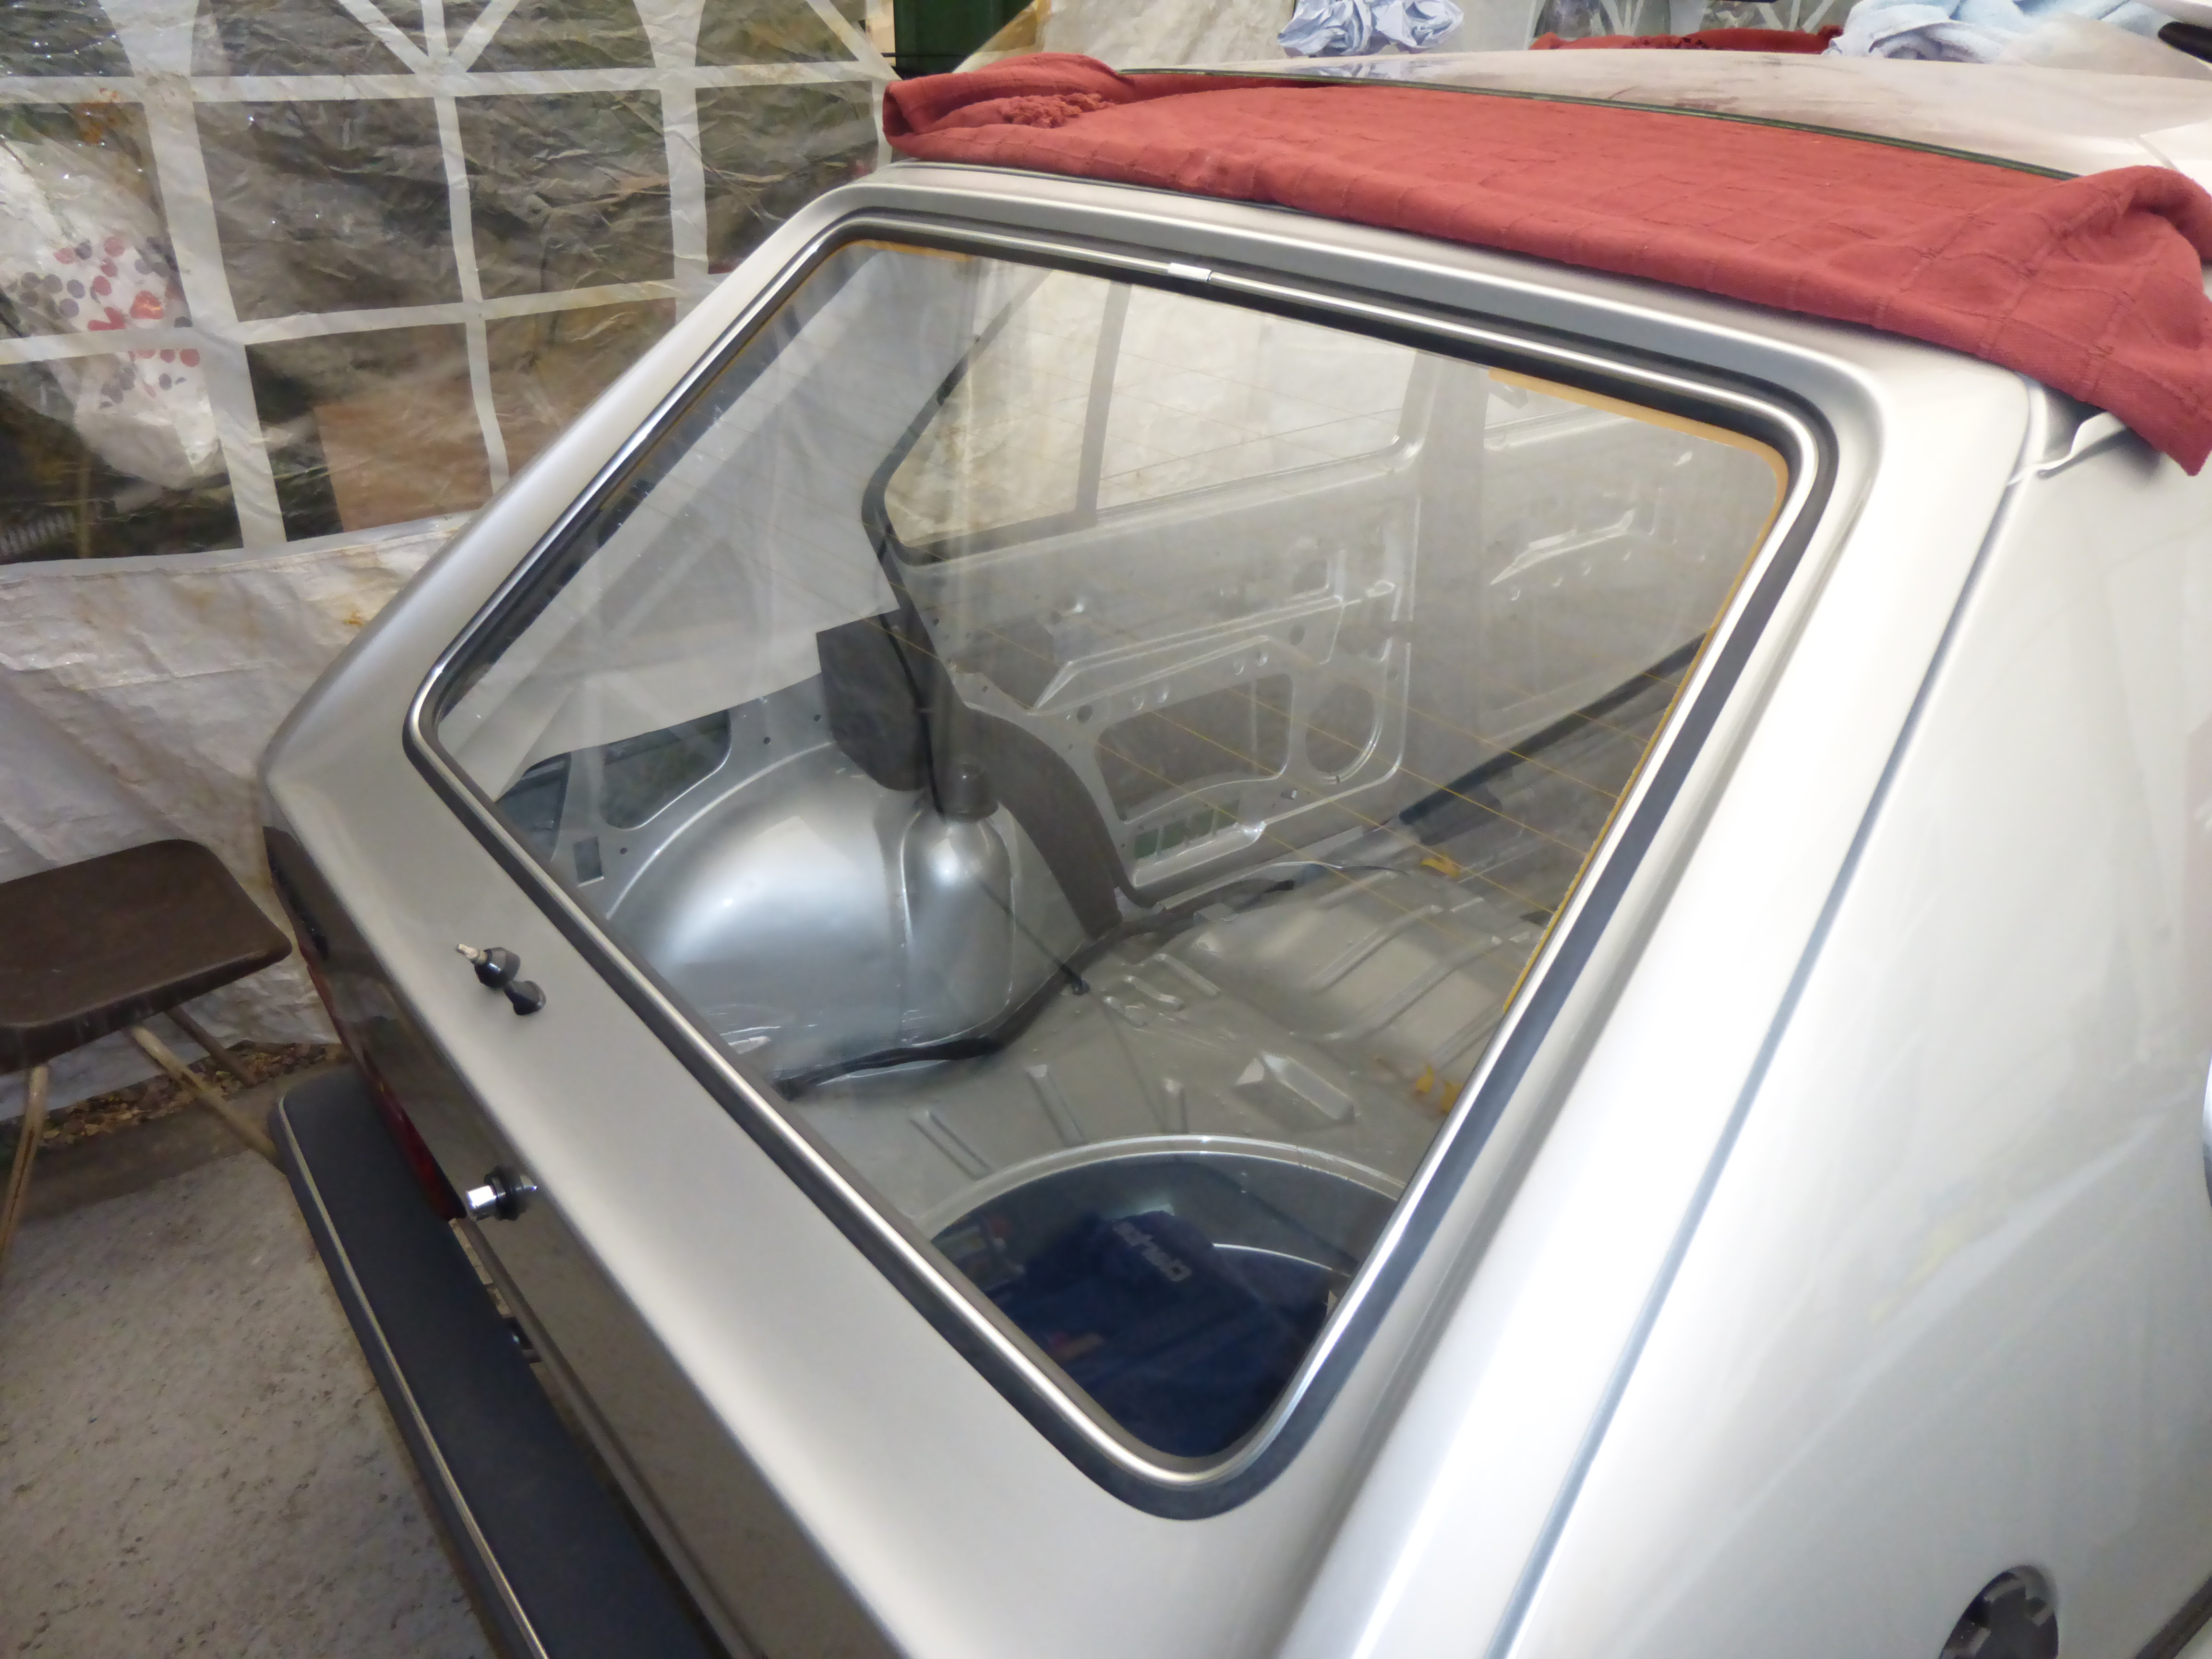
The rear screen was fitted with a new seal and chrome trim,
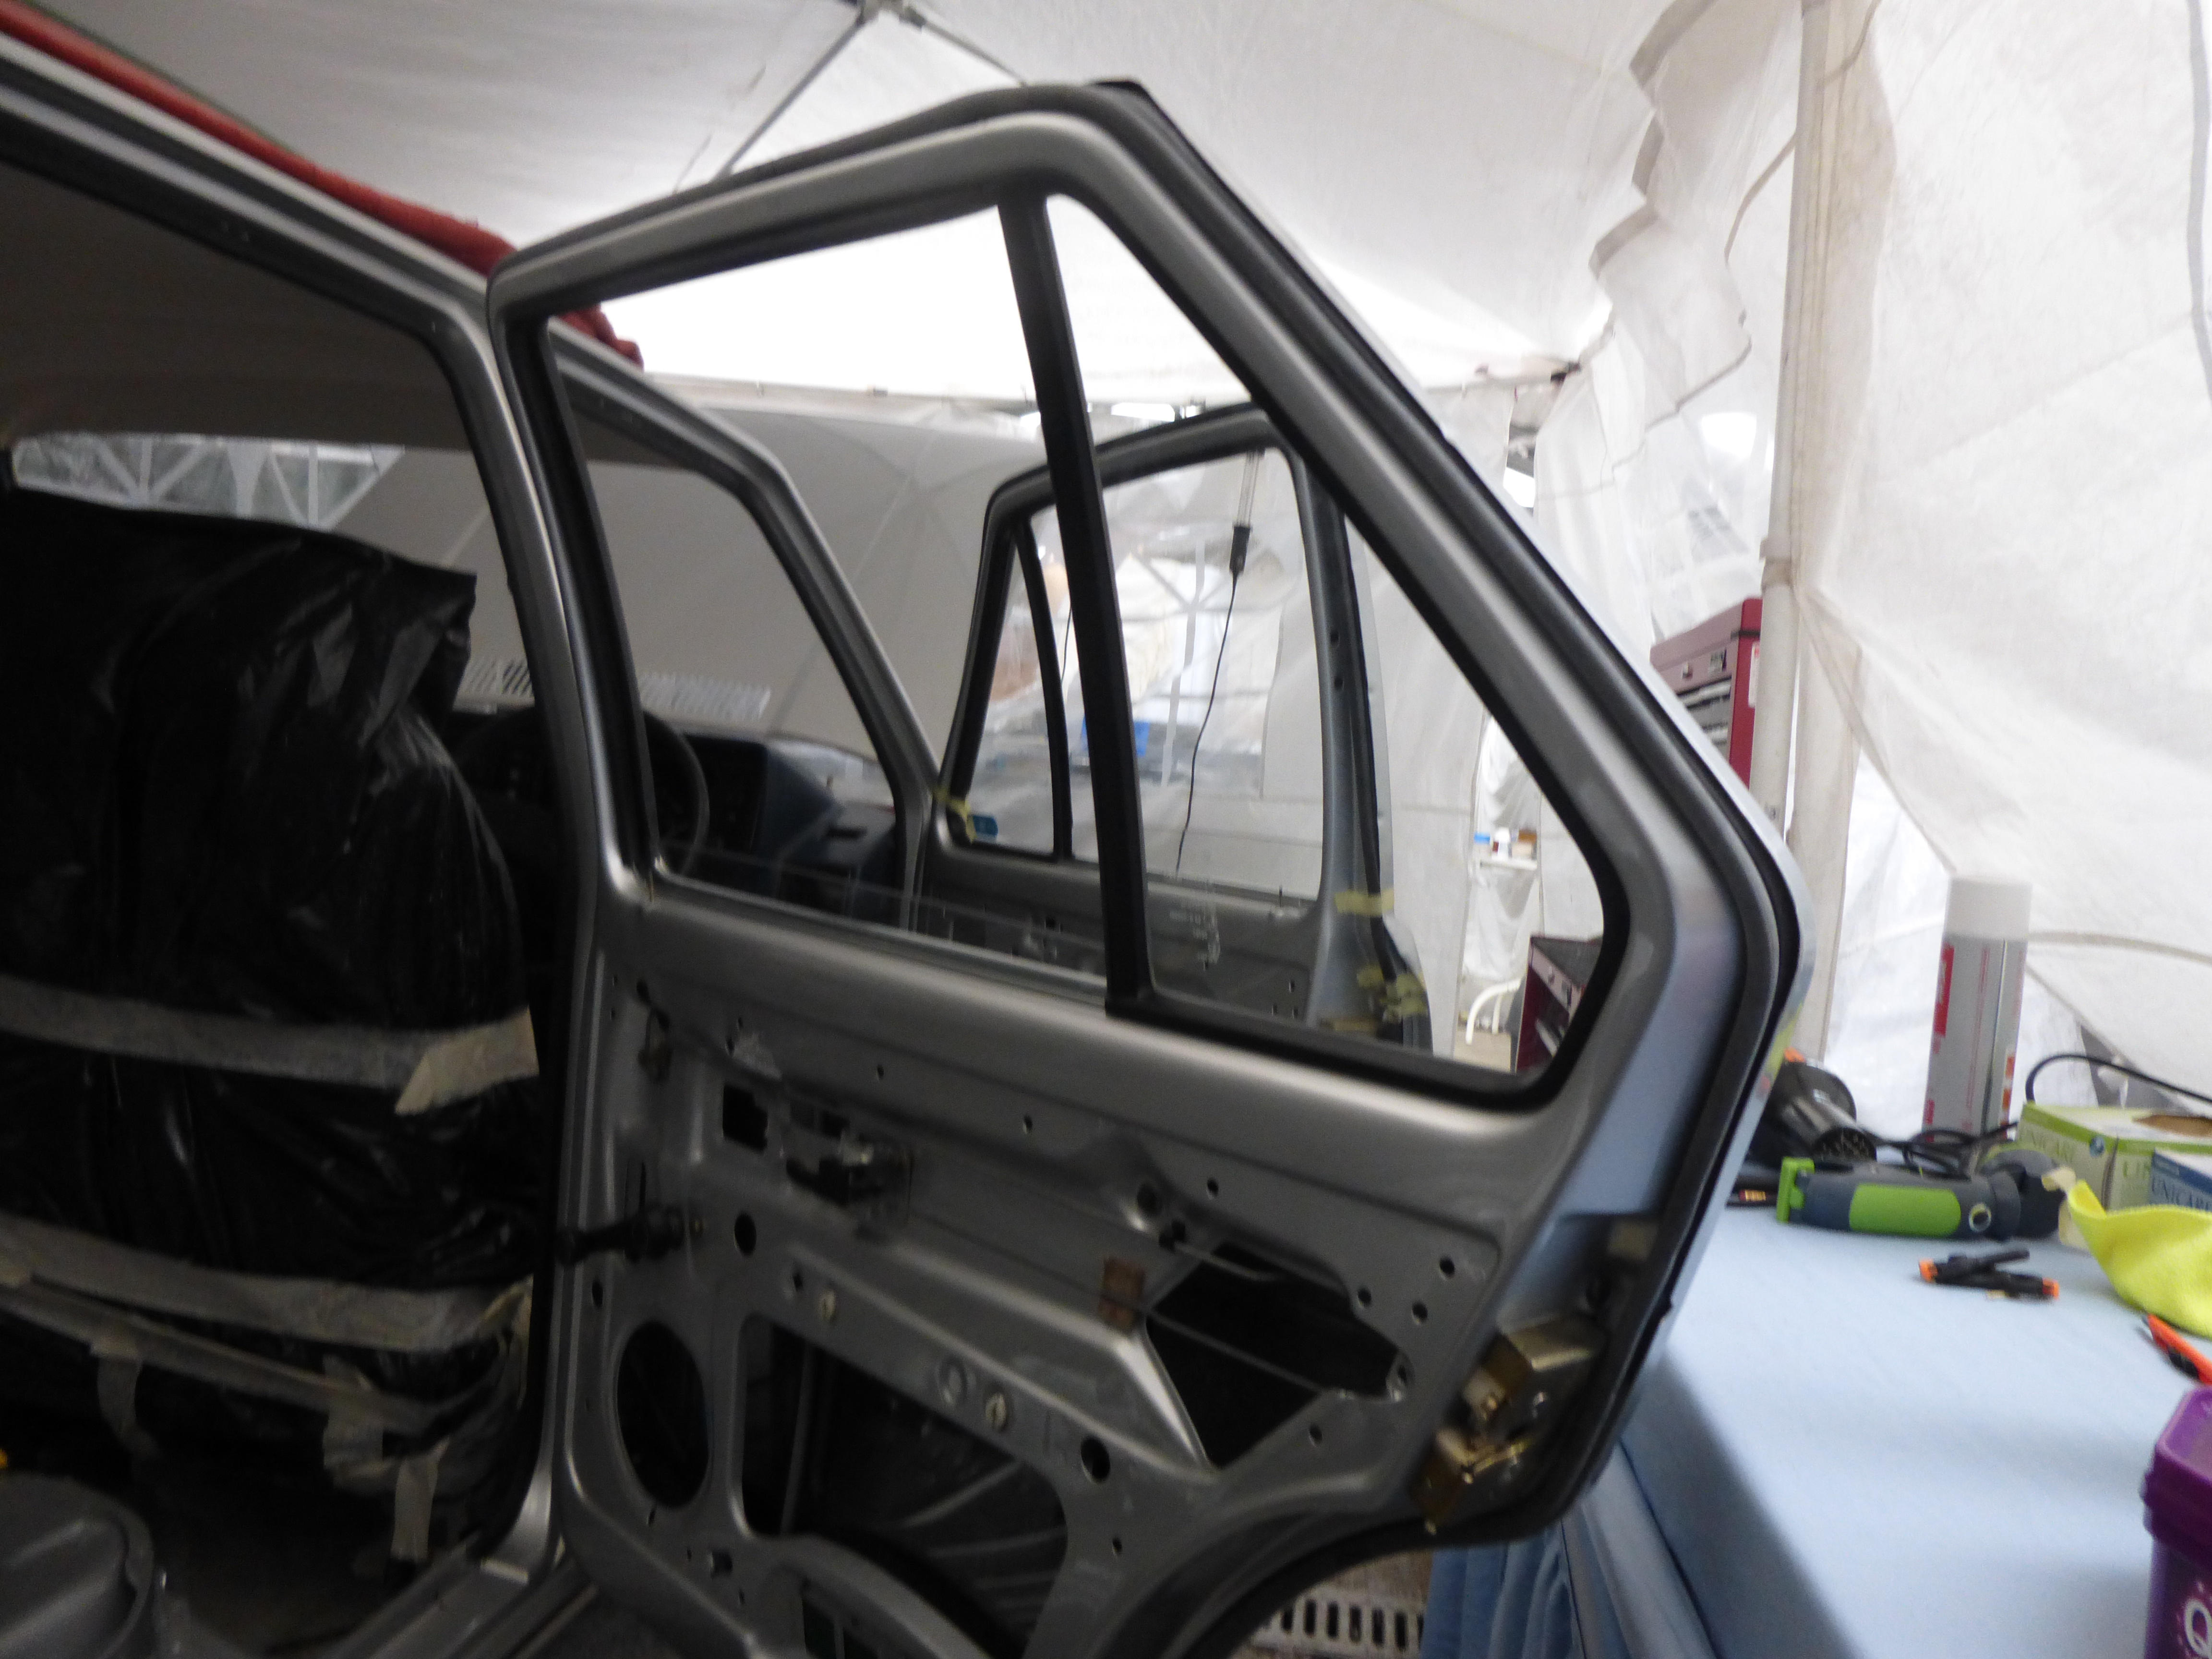
As were the door seals, again new.
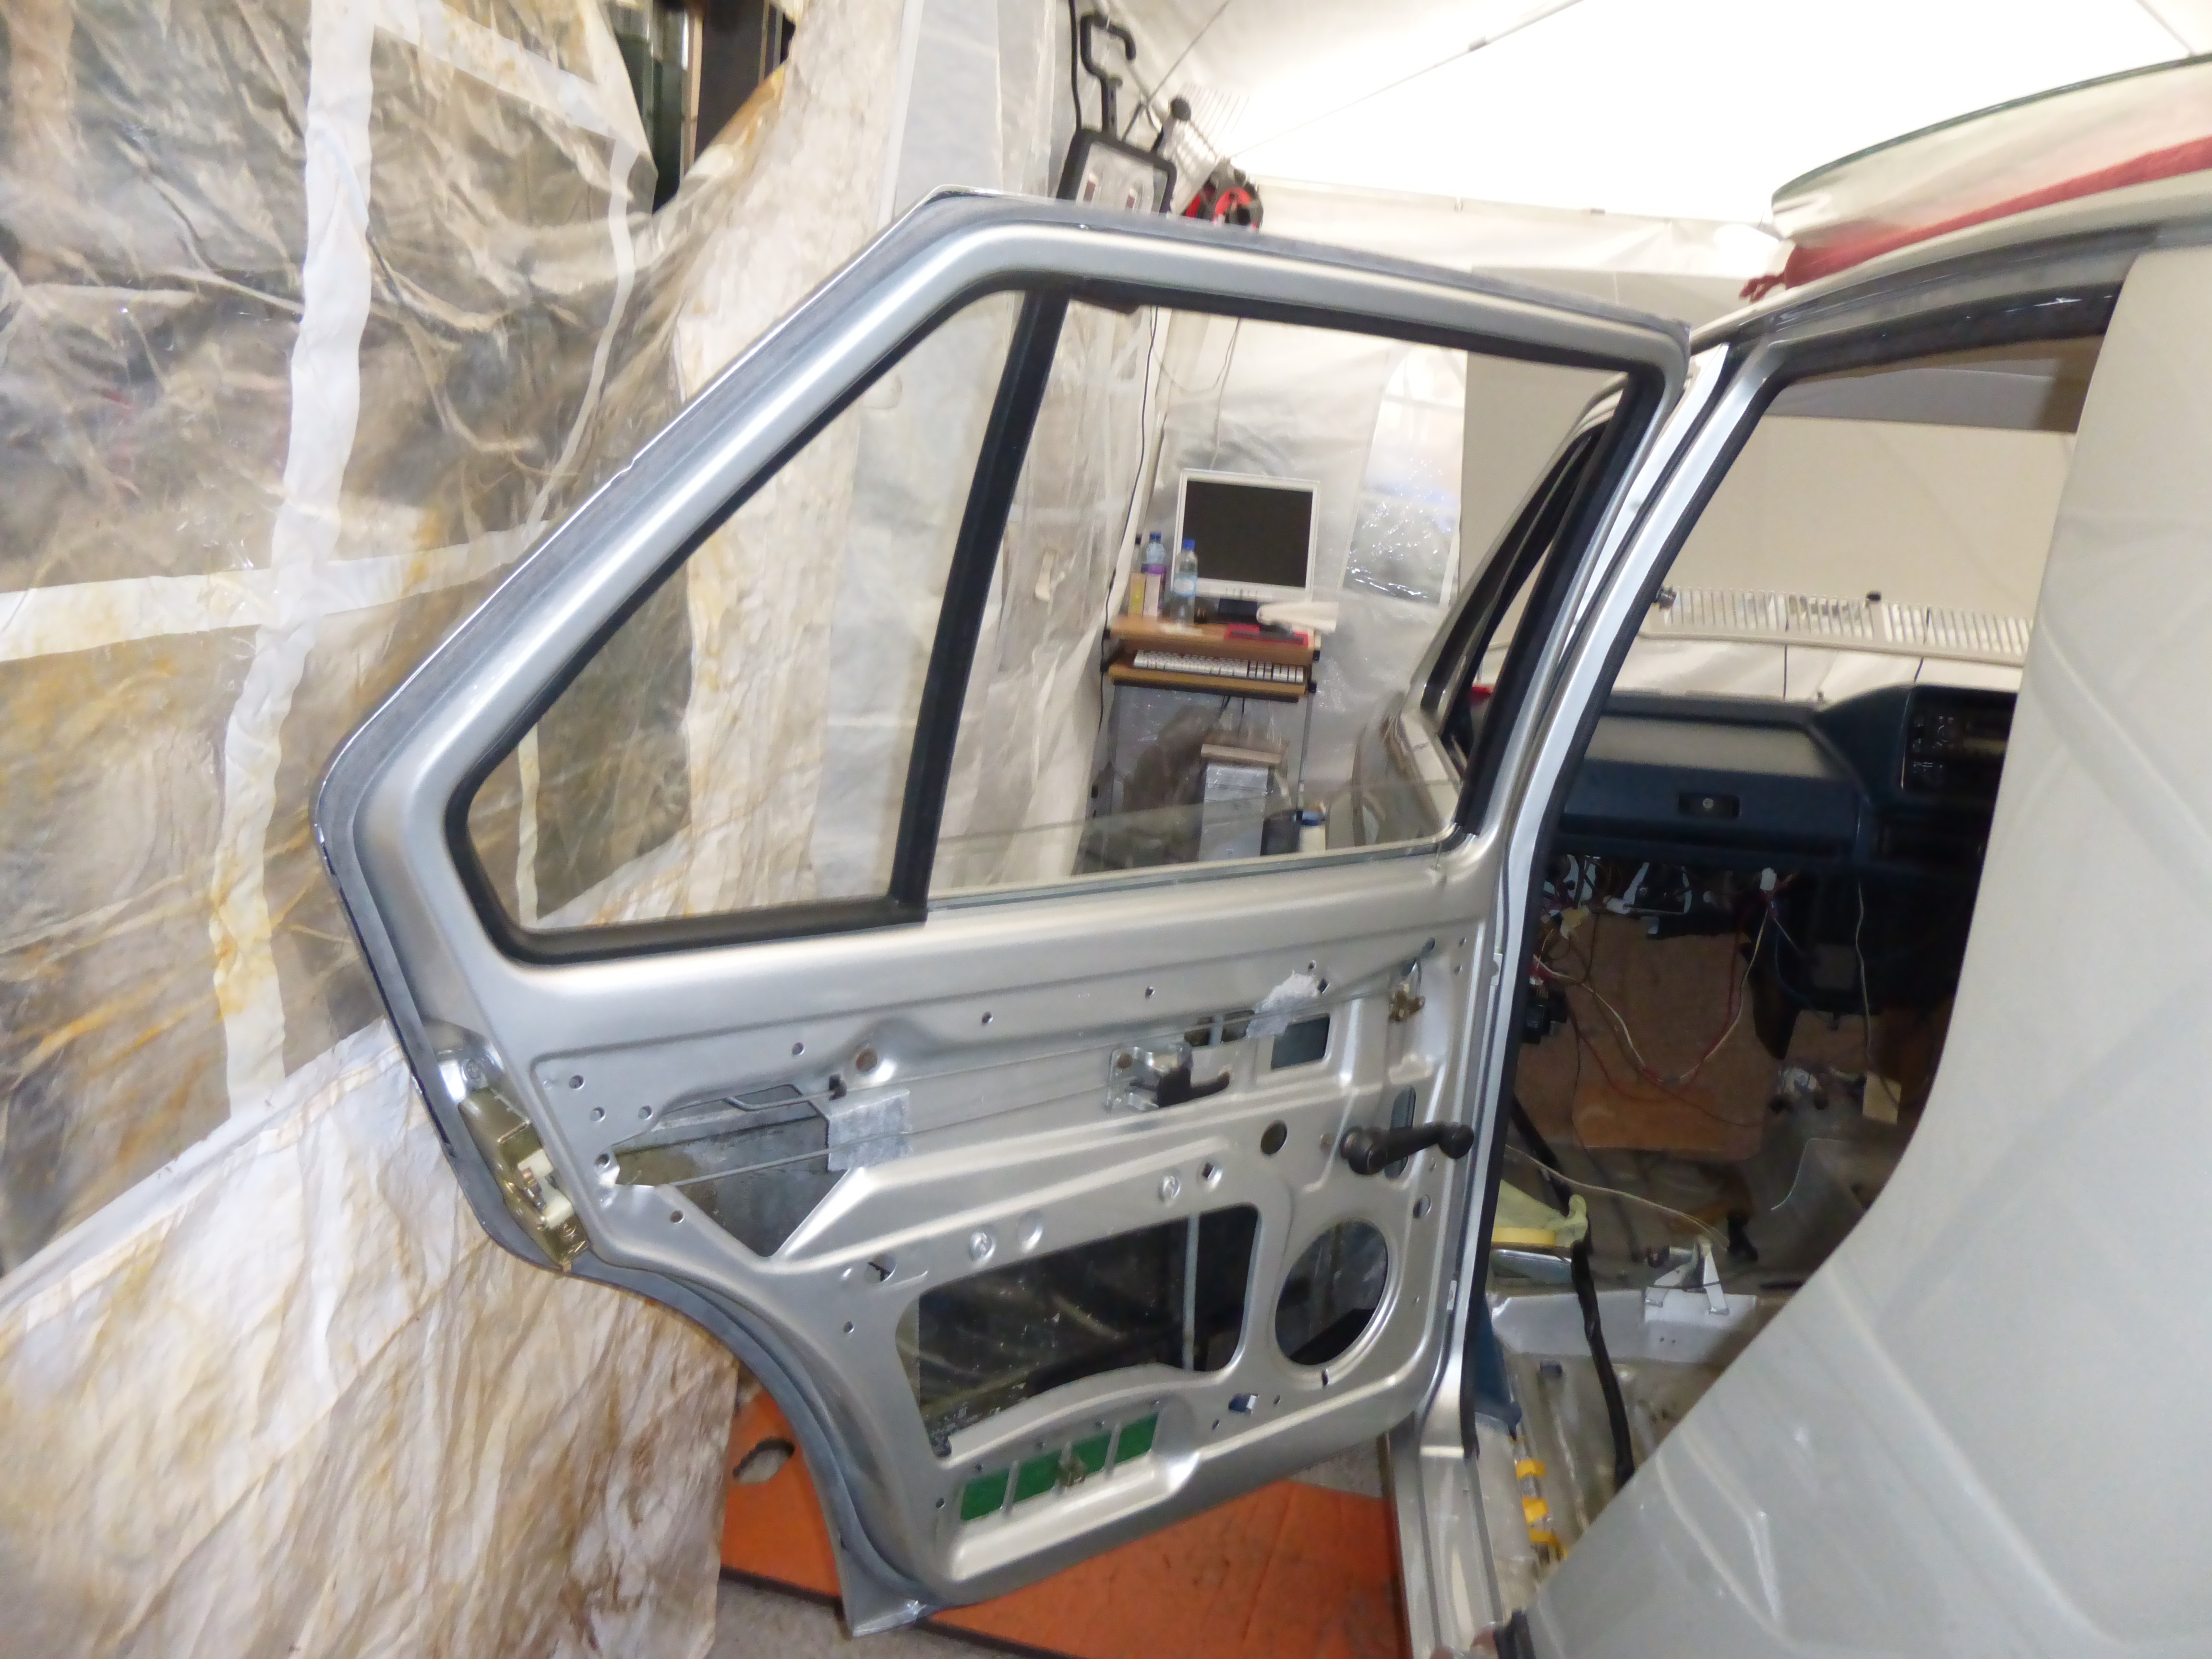
The front windscreen did not get fitted, somehow the seal has been mislaid, however by the time we got to this the day was about over.
In addition I have a chip at the bottom of the windscreen, I have to see if this will be covered by the seal.
Today, Saturday, I am looking forward to spending a few hours fitting the door trims and furniture.
Posted
Old Timer


Happy with the results. hopefully the fronts will be a bit quicker.
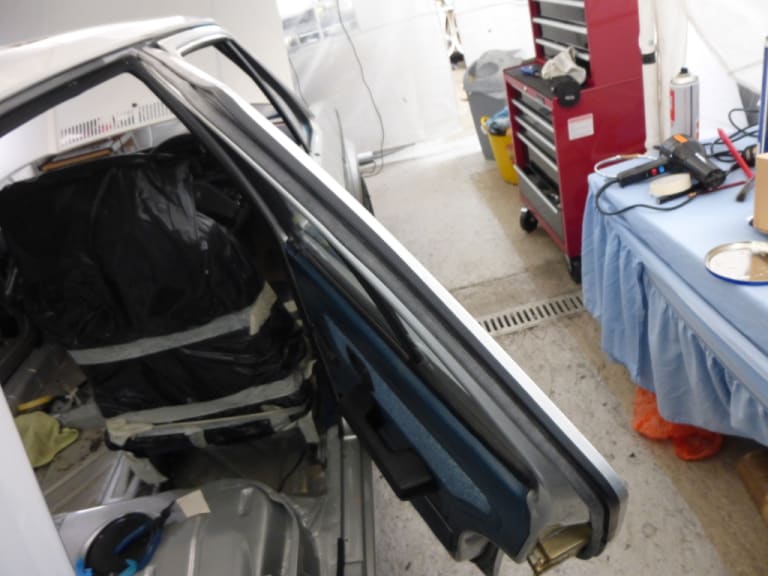
I applied some wax inside on the door seams. Window up and away from the window channels of course.
Right rear upper door trim in place, missing a little piece around the door lock pin. Interior membrane fitted with spray glue.
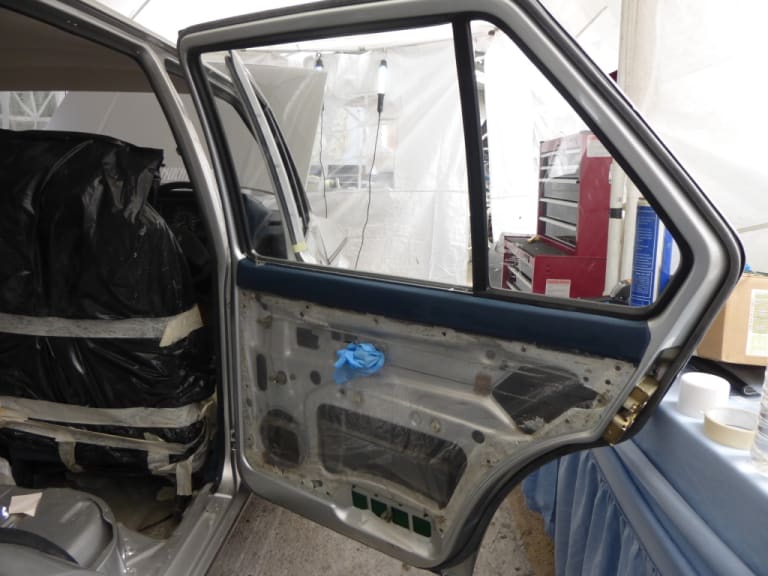
Note the invisible repair with material from cannibalised trim, held in with refix tape and round door pin trim.
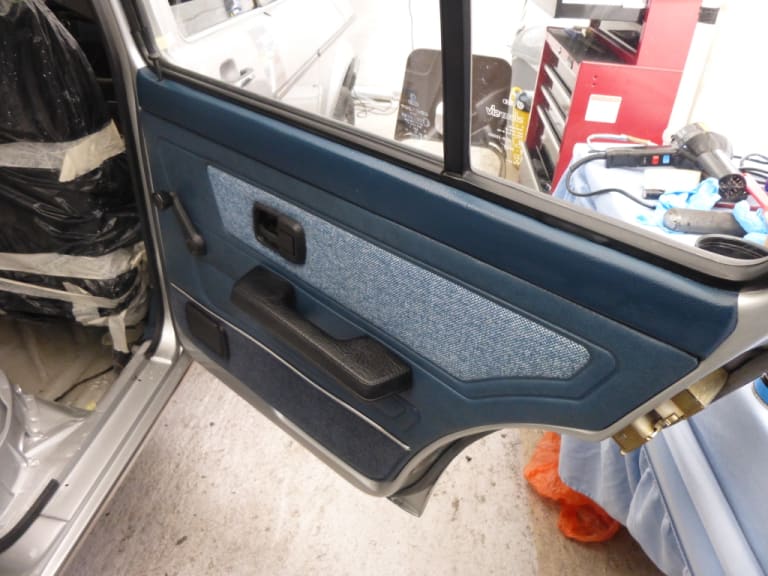
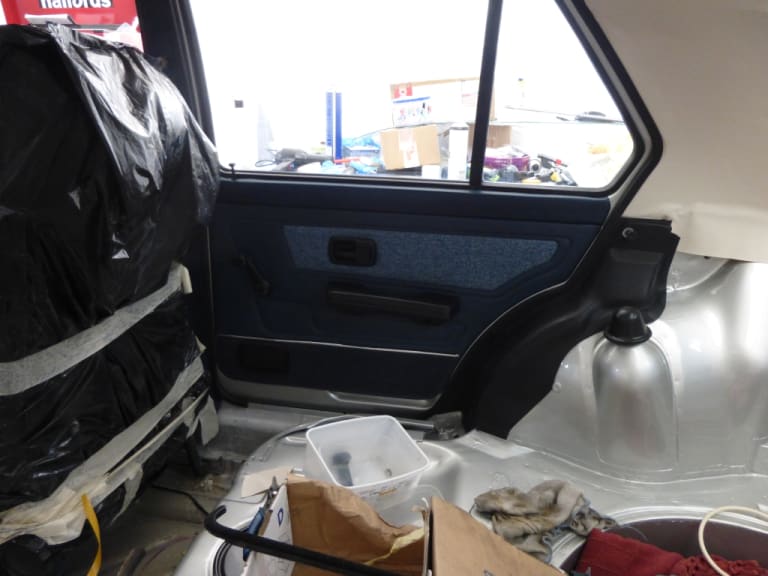
Outside edge trim glued in place with refix tape.
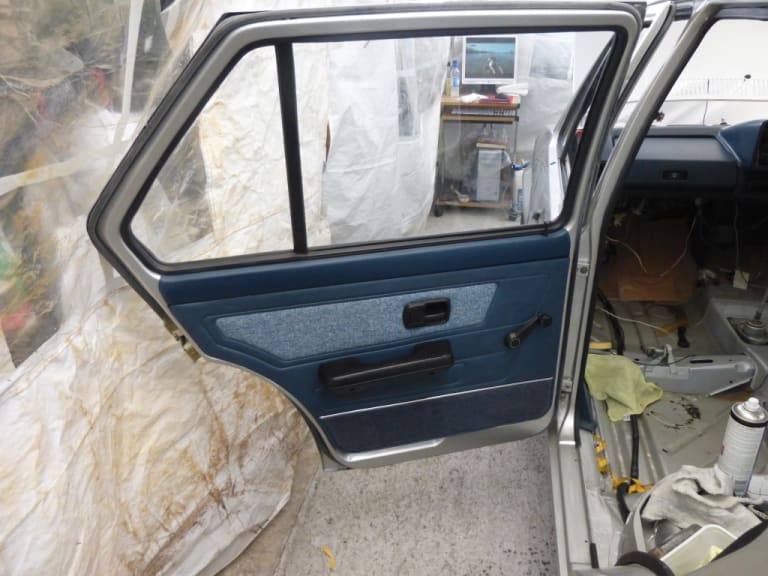
Left rear door handled and completed in same way.
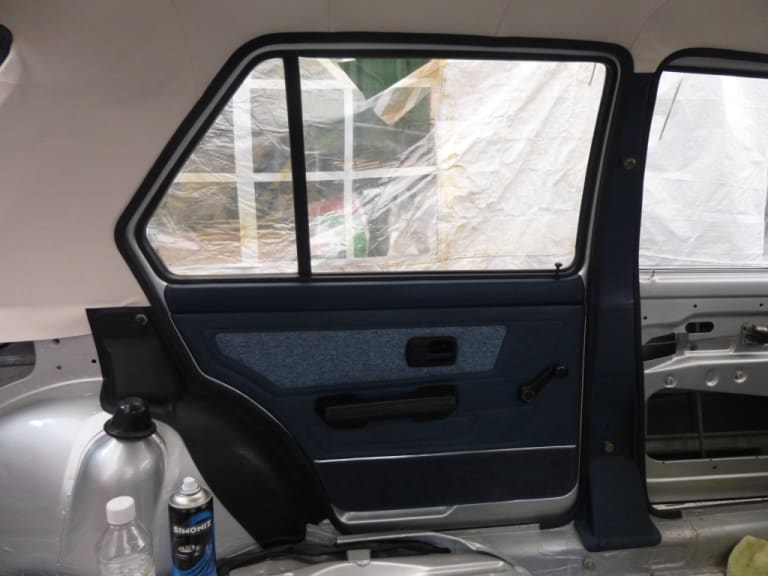
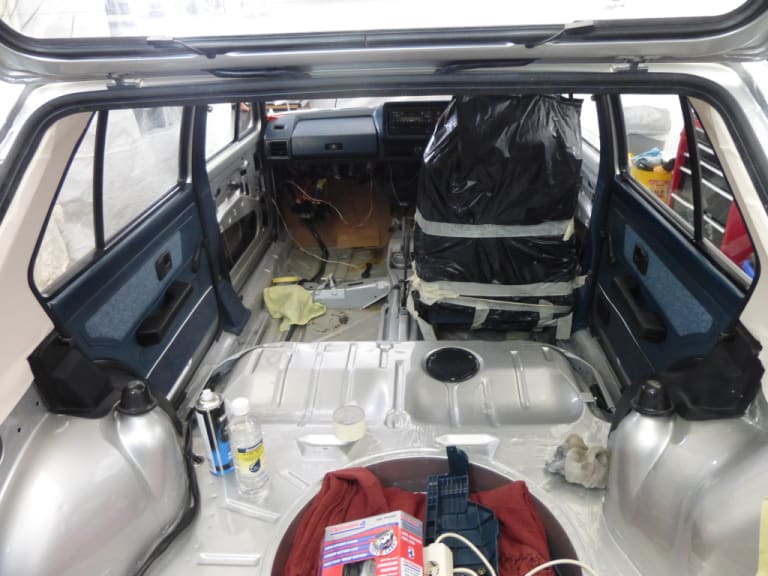
Finished for the day.
 Last edit: by Malcolm
Posted
Old Timer


Posted
Old Timer


However, the front windscreen needs to be out and you need to allocate a day to do it.
Posted
Old Timer


Posted
Old Timer


However, I have also purchased a roll from ebay, you will see that it is quite expensive at approx. £10 per roll.
http://www.ebay.co.uk/itm/181702348151?_trksid=p2057872.m2749.l2649&ssPageName=STRK%3AMEBIDX%3AIT
http://www.spraygunsdirect.co.uk/product.php?tid=156&products_id=5654
You can also buy a pack of 4 for about £36, you will need about 2+ rolls for the headlining.
Hope this helps.
Posted
Old Timer


0 guests and 0 members have just viewed this: None.


