


swallowtail 1975-THE REBUILD - Updated 18/06/2014

Posted
Settled In


swallowtail 1975-THE REBUILD - Little updated 14/12/12
Posted
Old Timer


Posted

Old Timer
JonP said
love the dipping and galvanising process, brings the car right back to factory.
you mean brings the car to the bank, rather then the factory!

Posted
Settled In
Posted
Settled In

Posted
Old Timer
GTInCyprus said
WOW, absolutely WOW!!!
thank you.
Posted
Old Timer
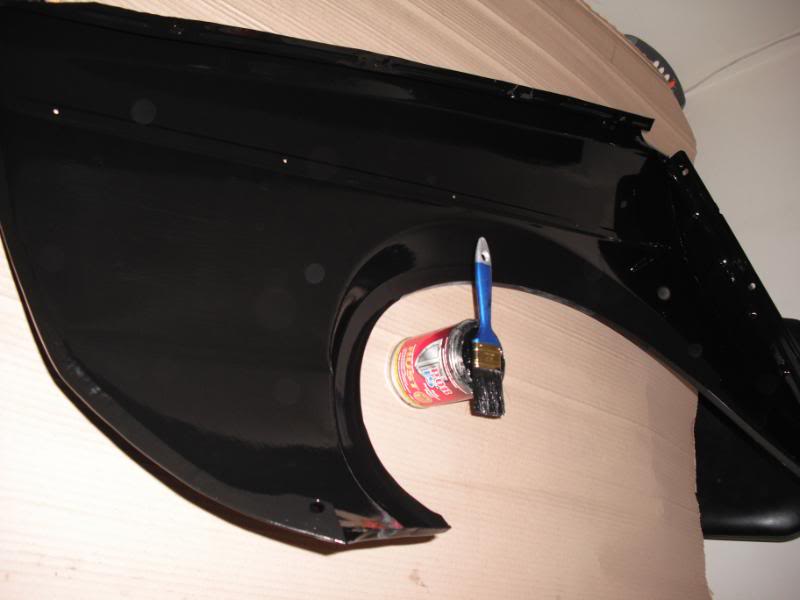
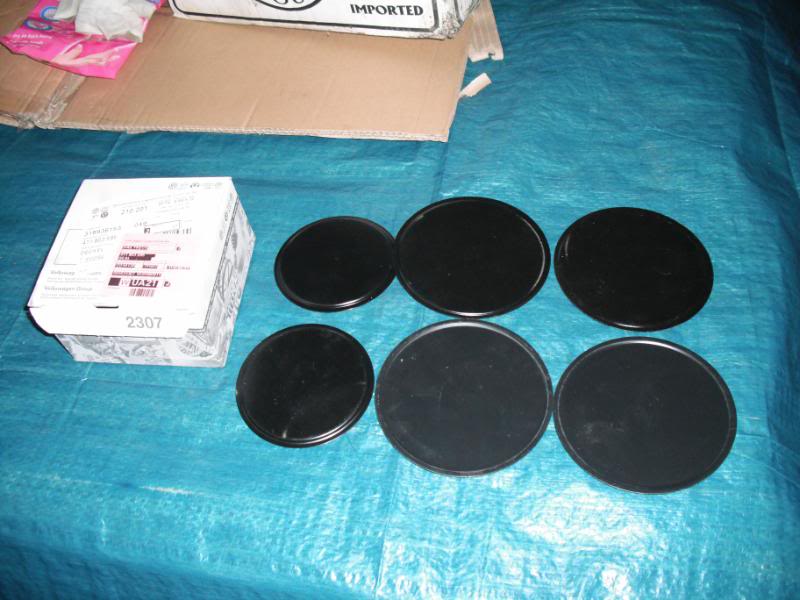
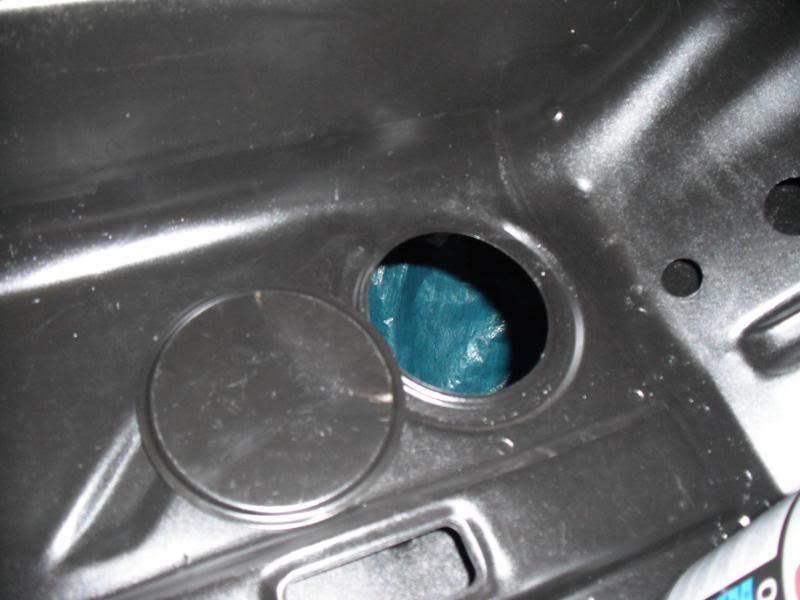
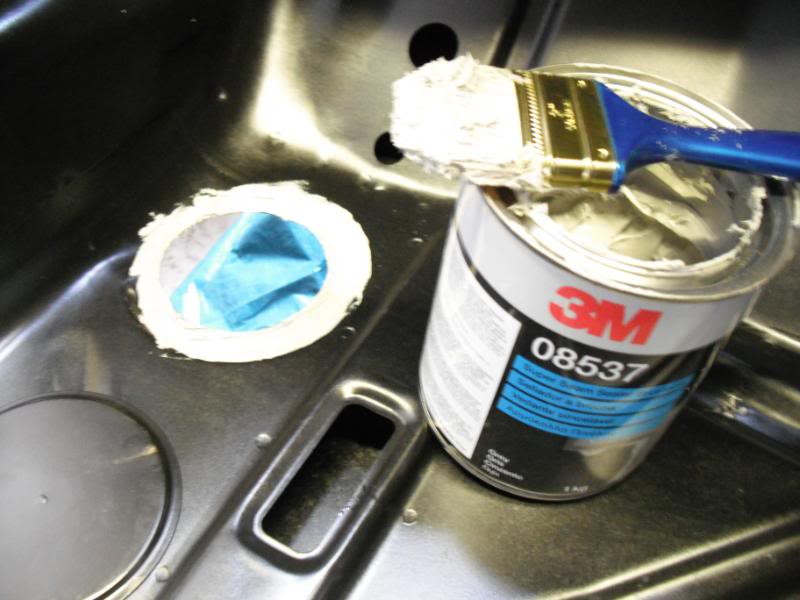
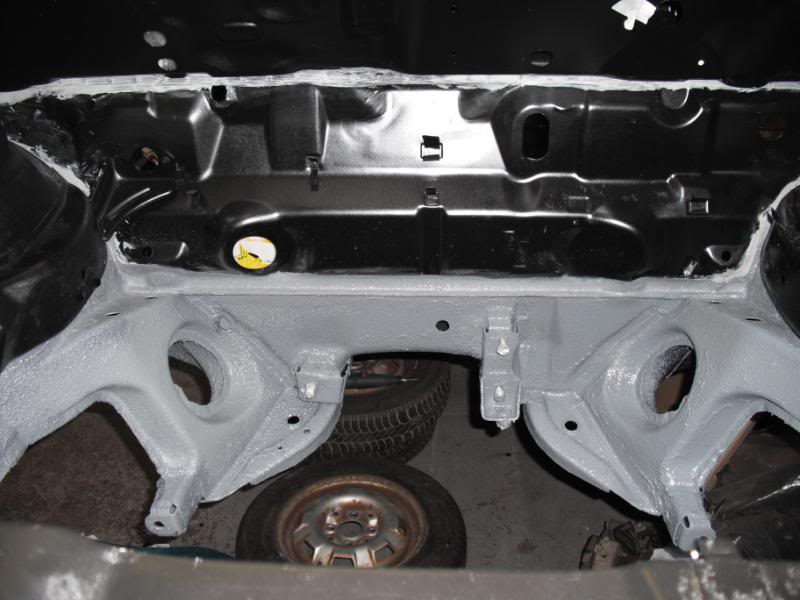
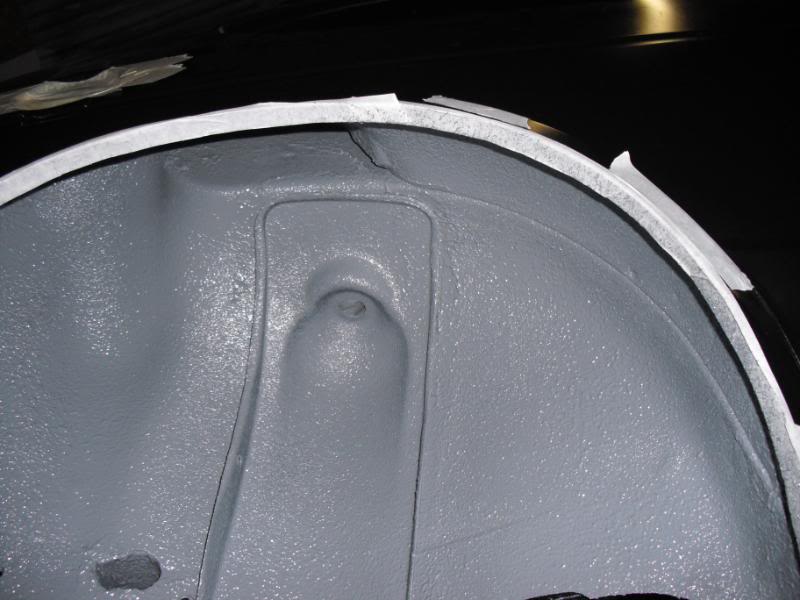
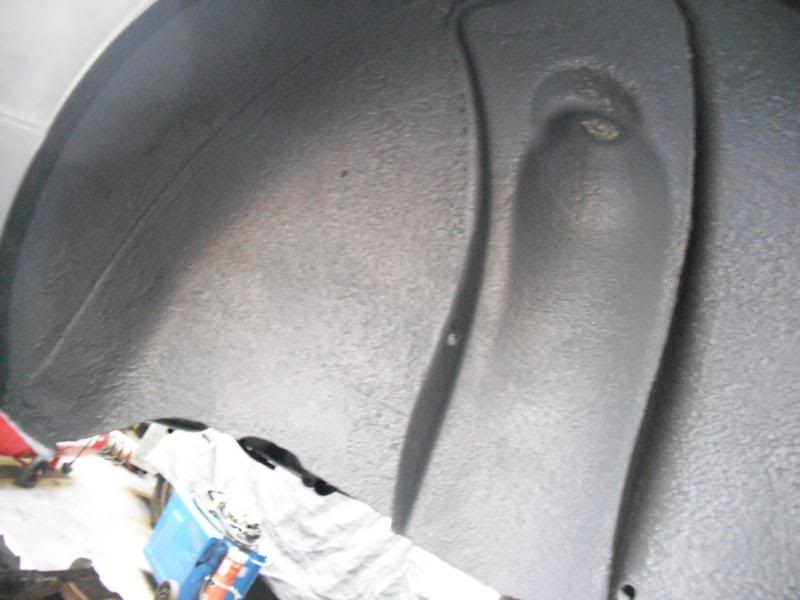
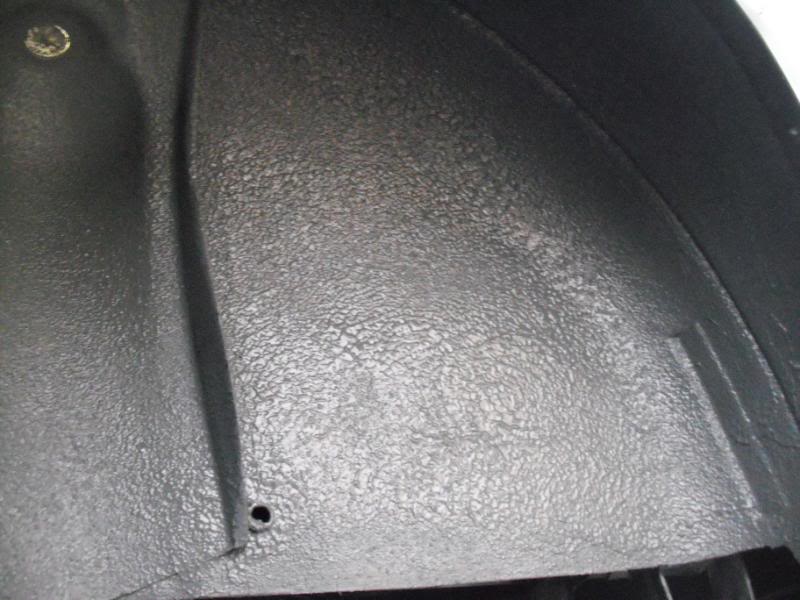
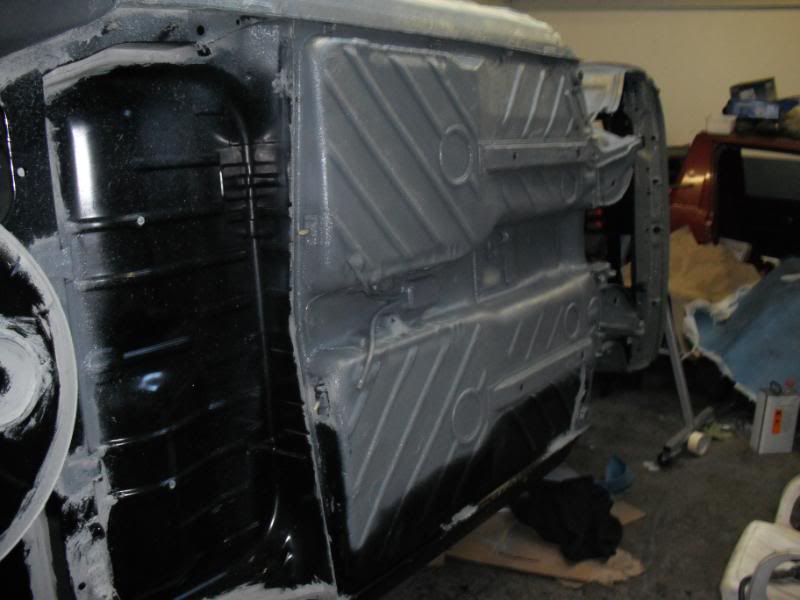
Also had to buy these floor disc washers, as they got lost during the acid process. ( Thought they were "tacked" down…guess not)
 Genuine replacement
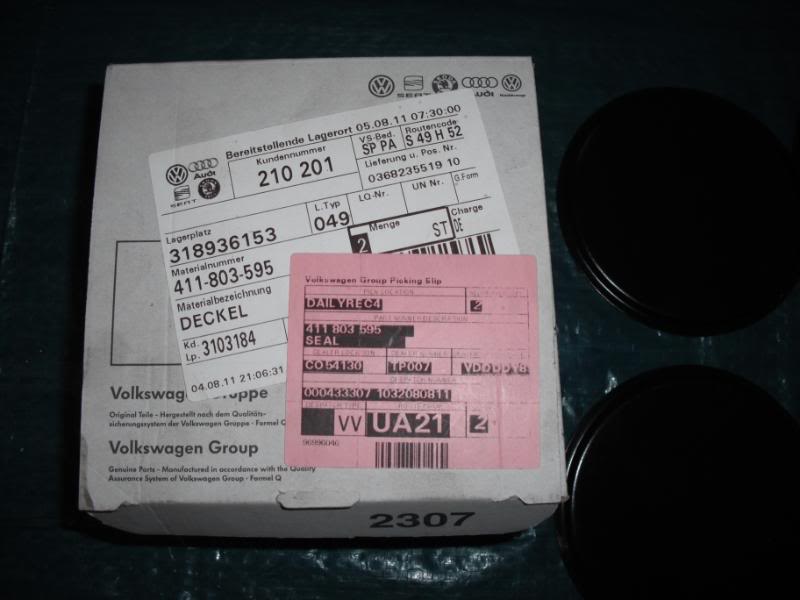
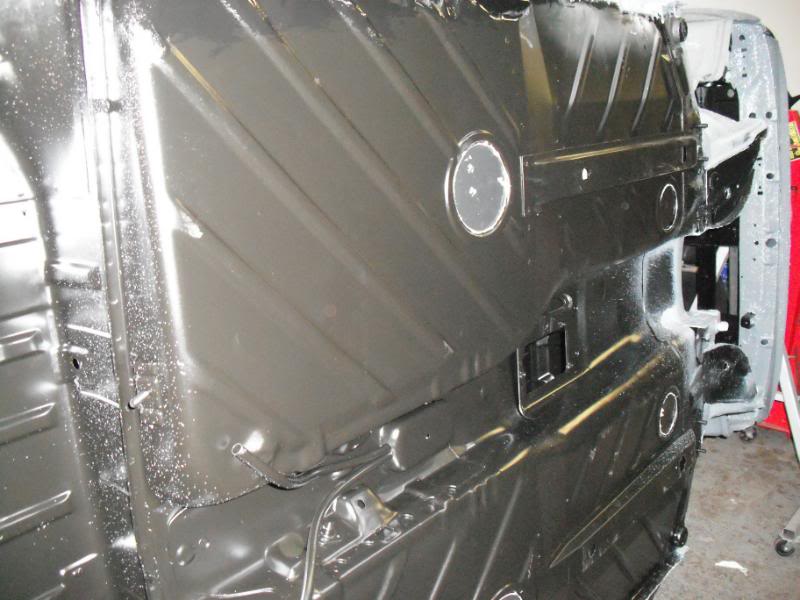
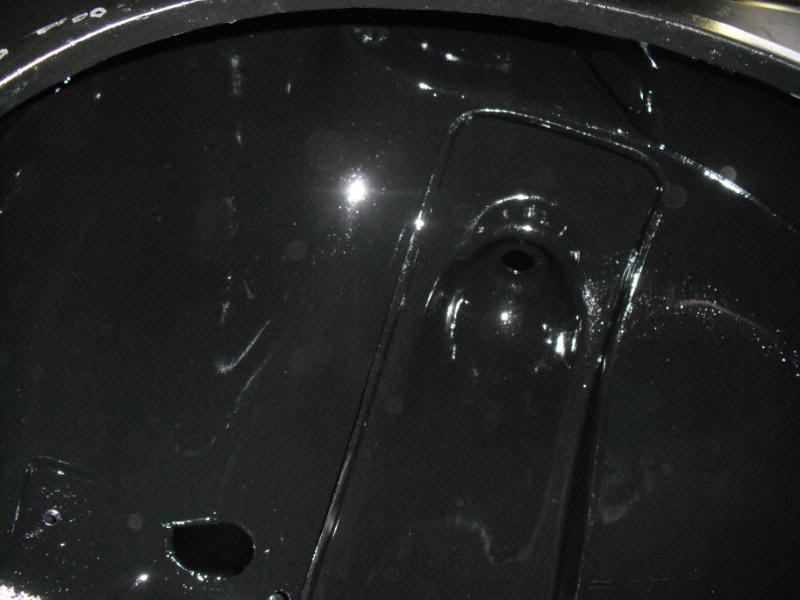
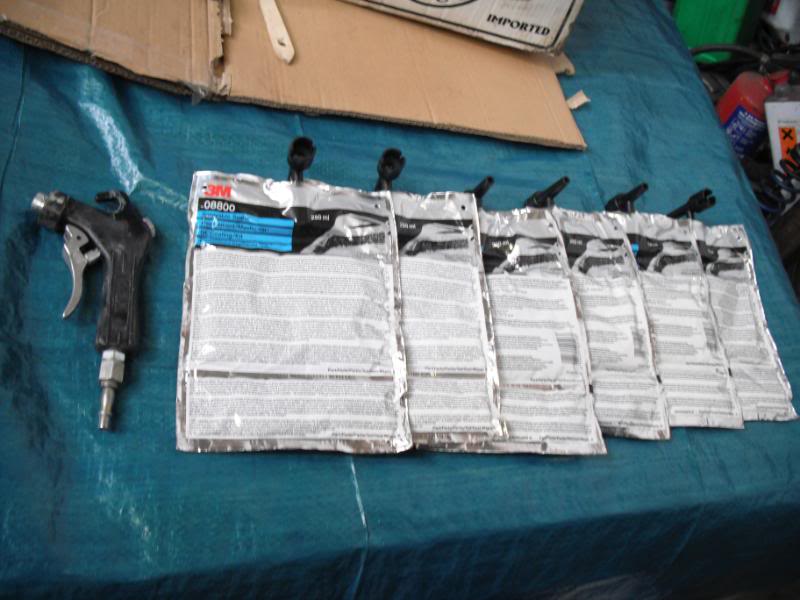
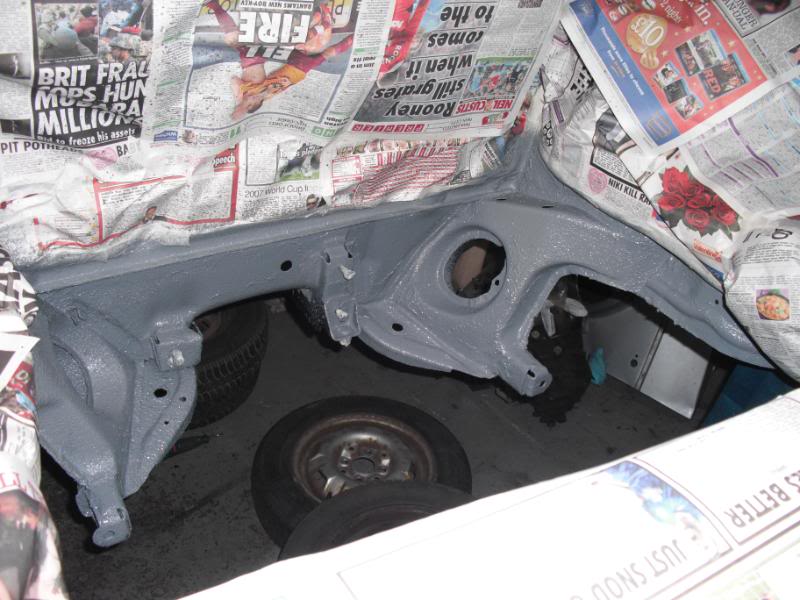
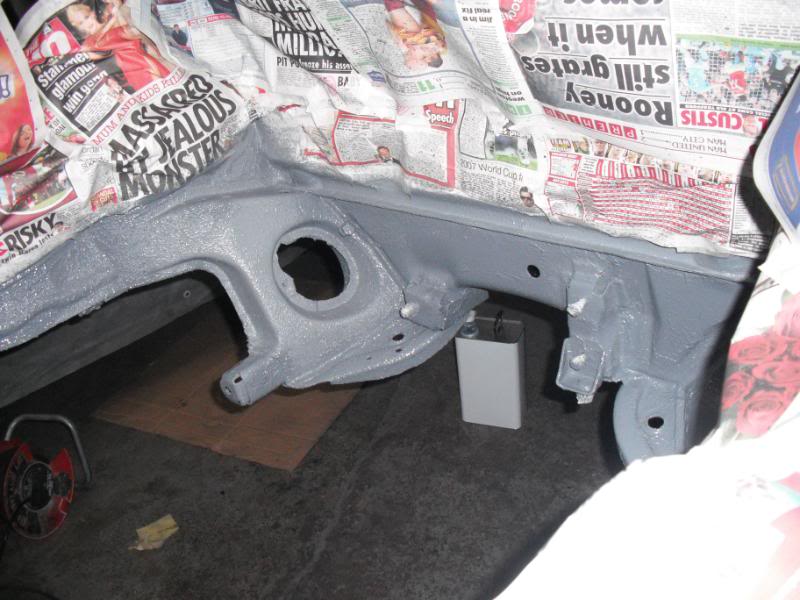
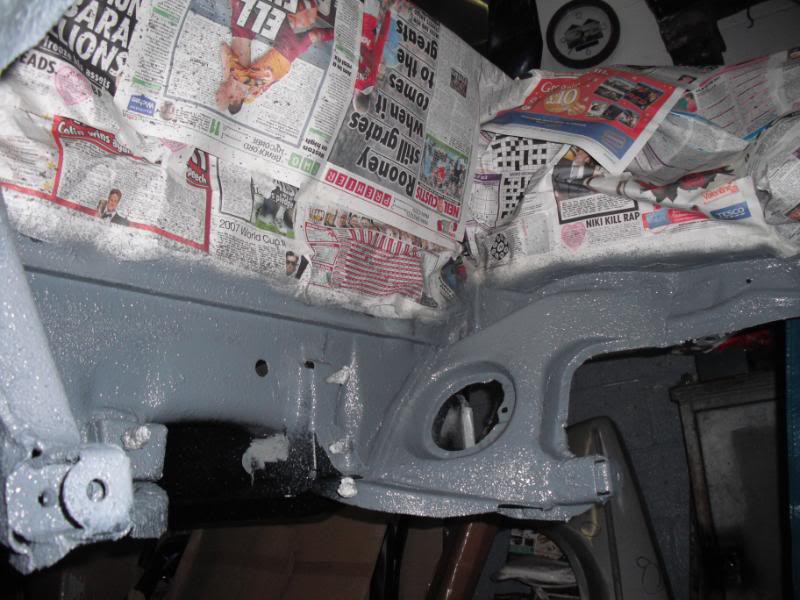
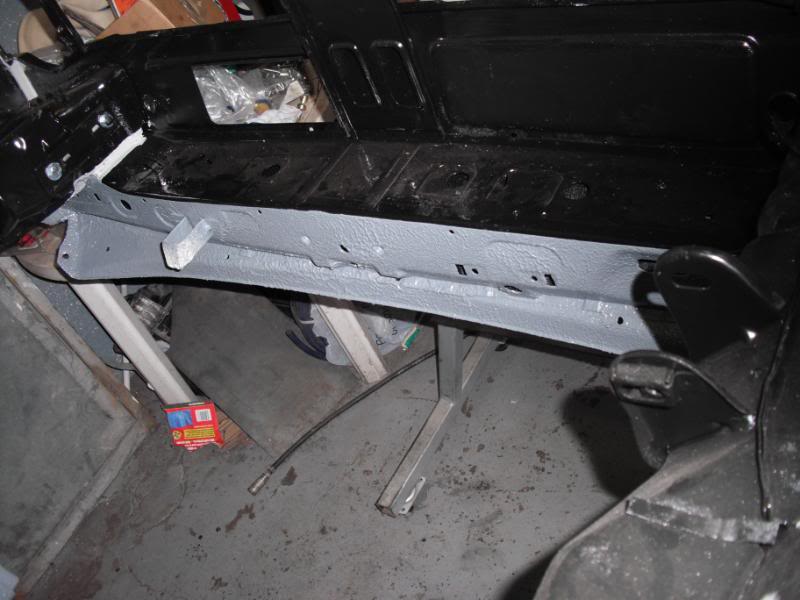
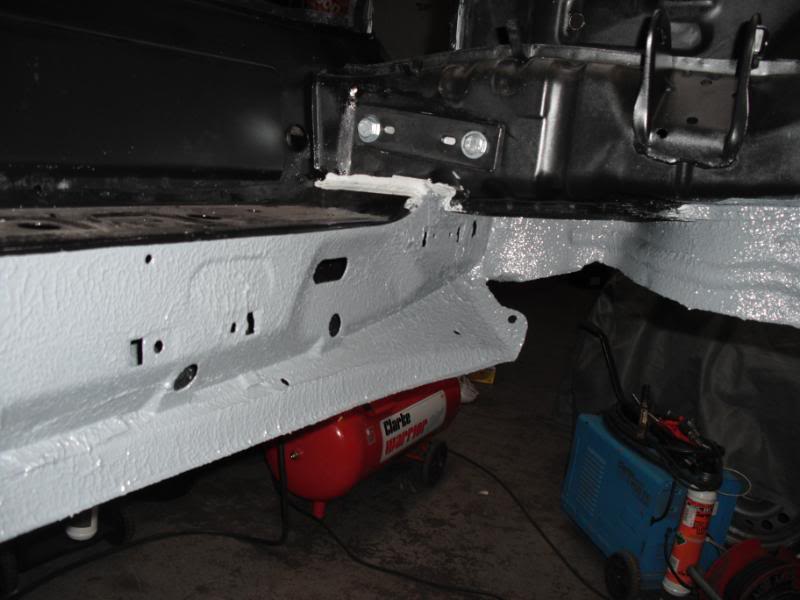
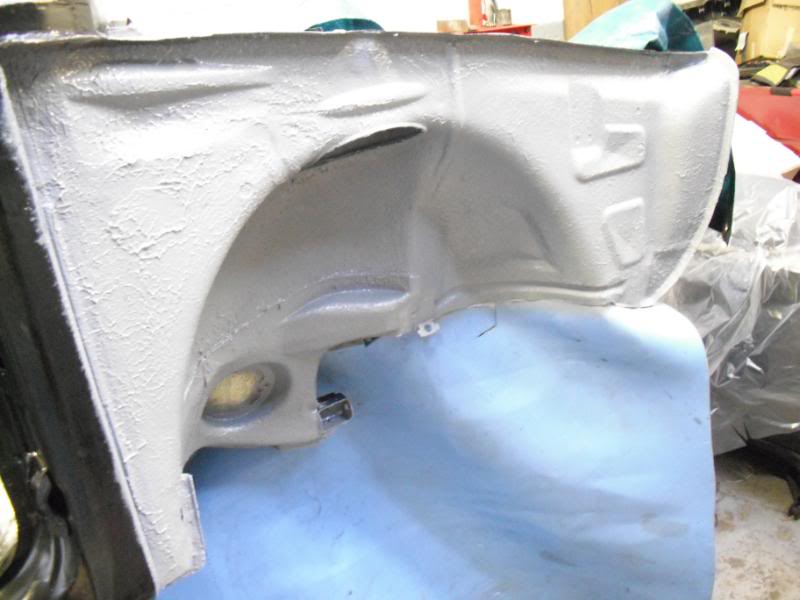
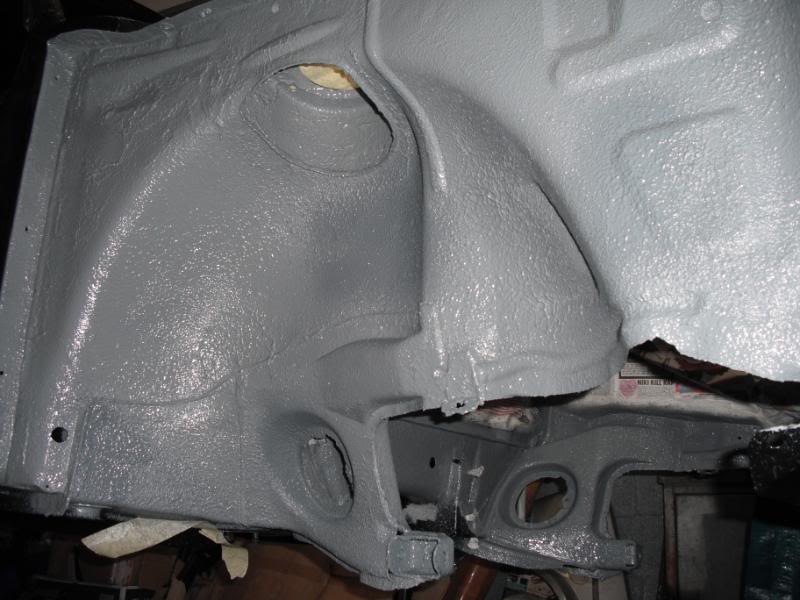
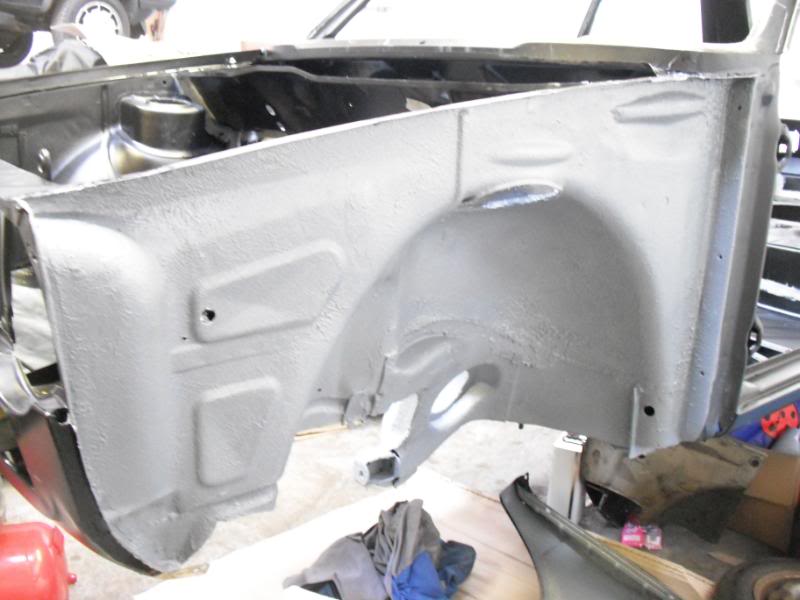
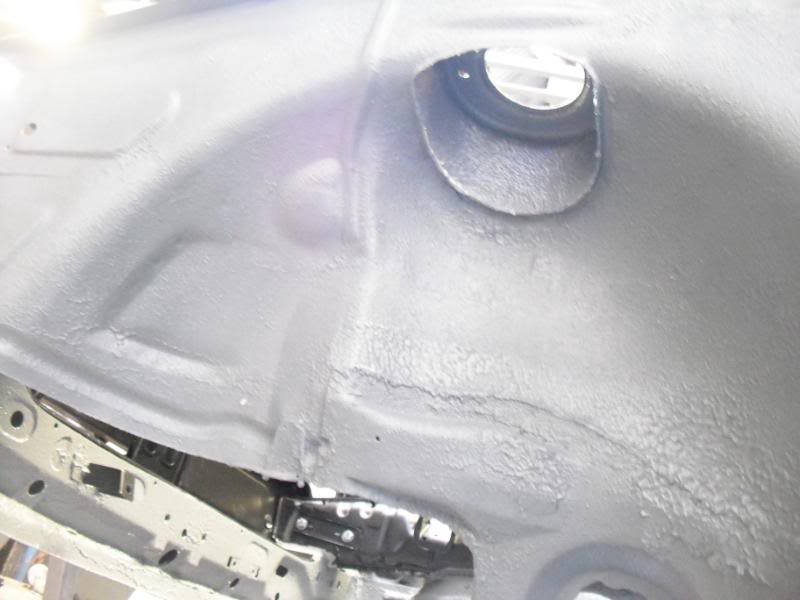
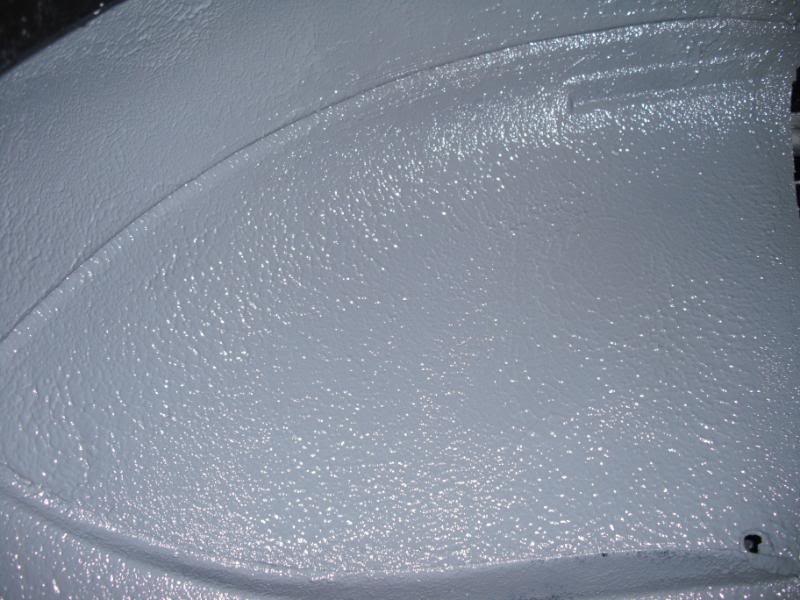
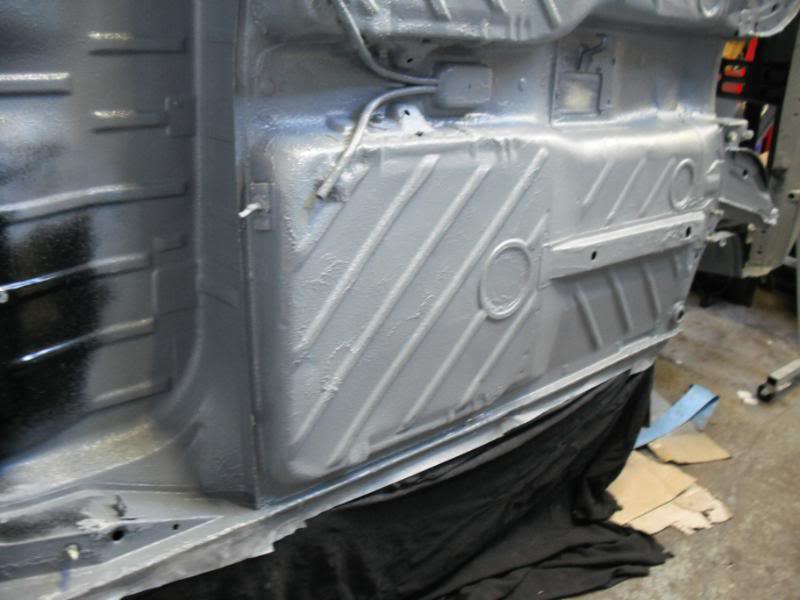
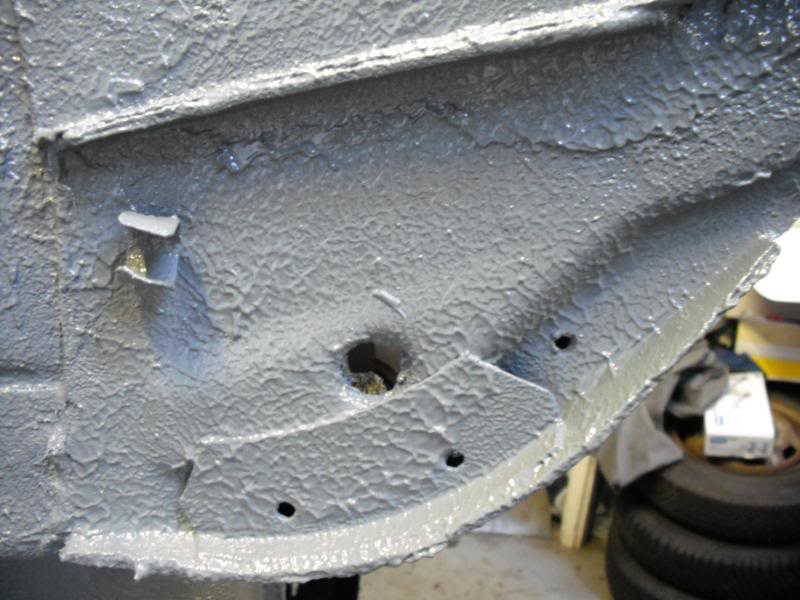
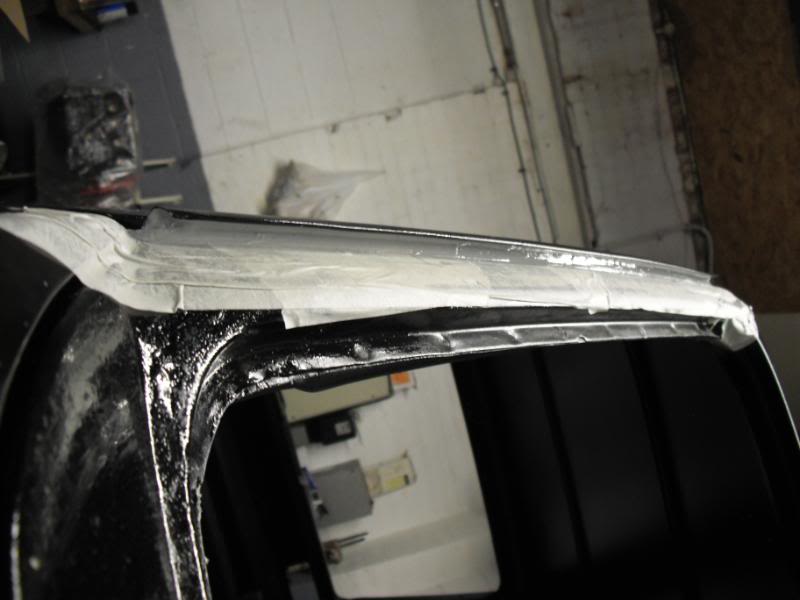
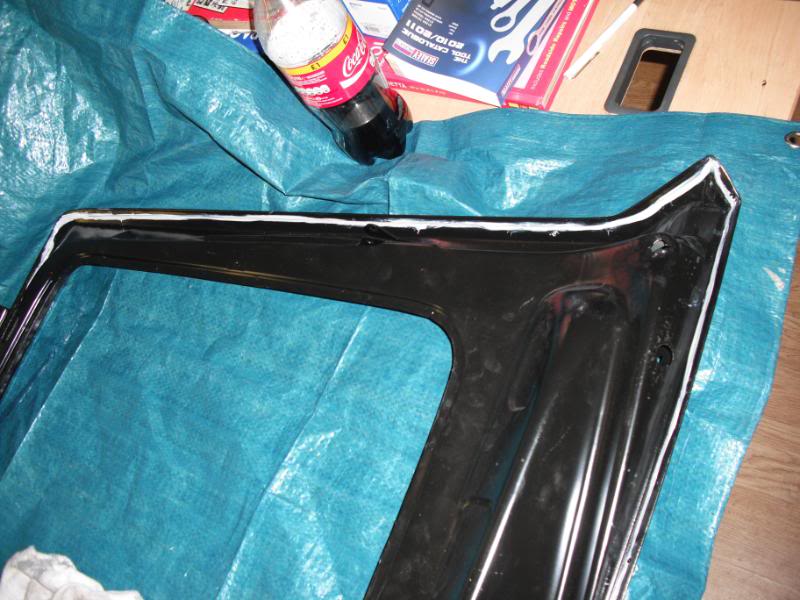
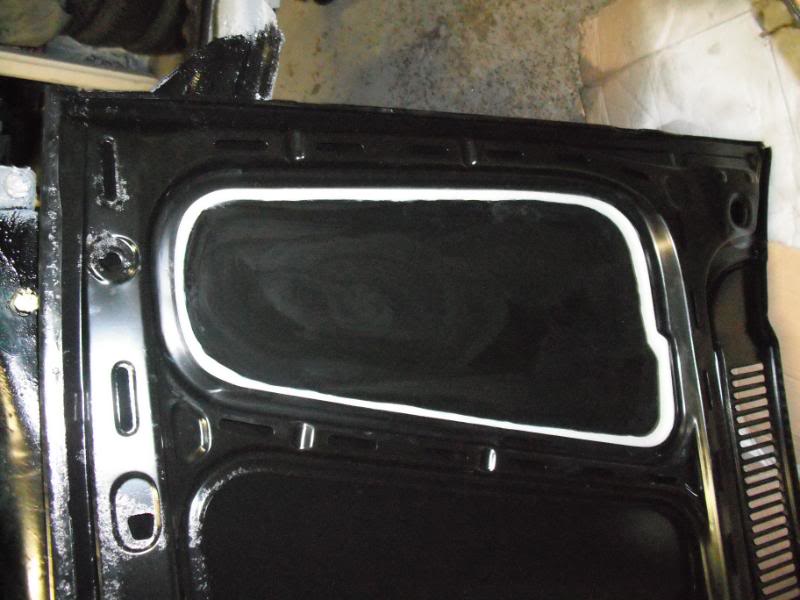
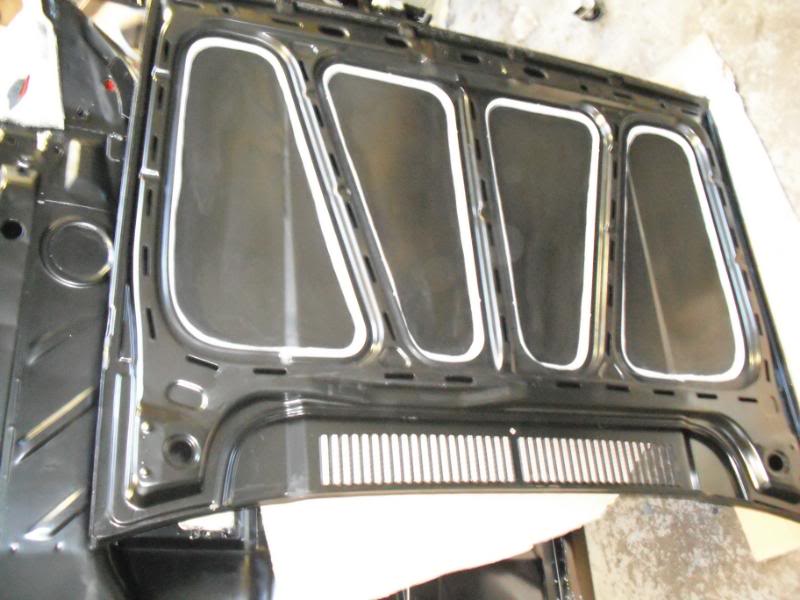
Once it had a good few protective coats, next was to seam seal all joints: I was going to keep this neat and tidy but decided against it and to go for the messy original factory finish…of course using 3M products.
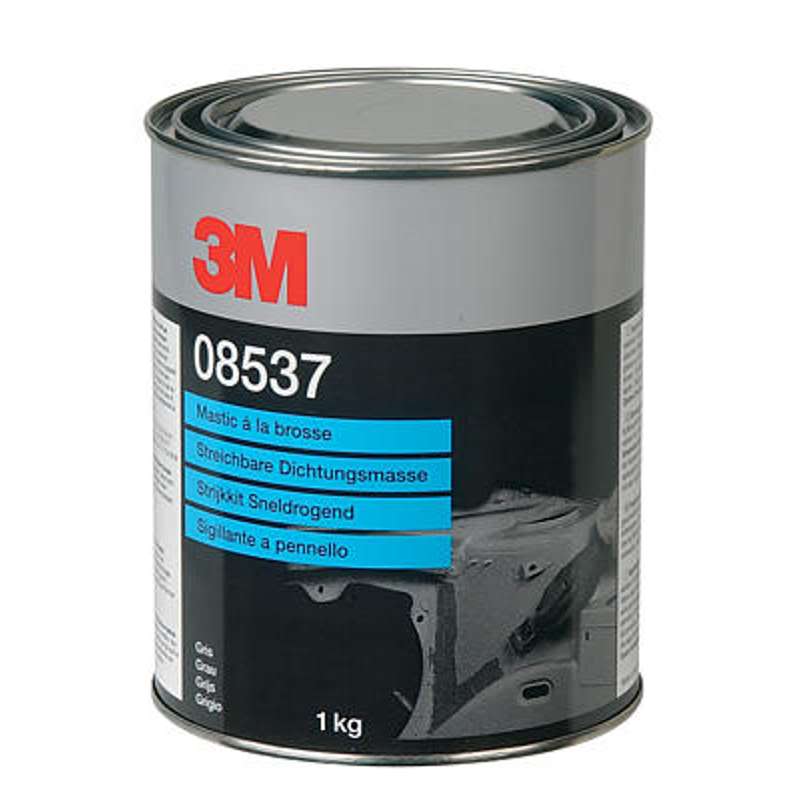

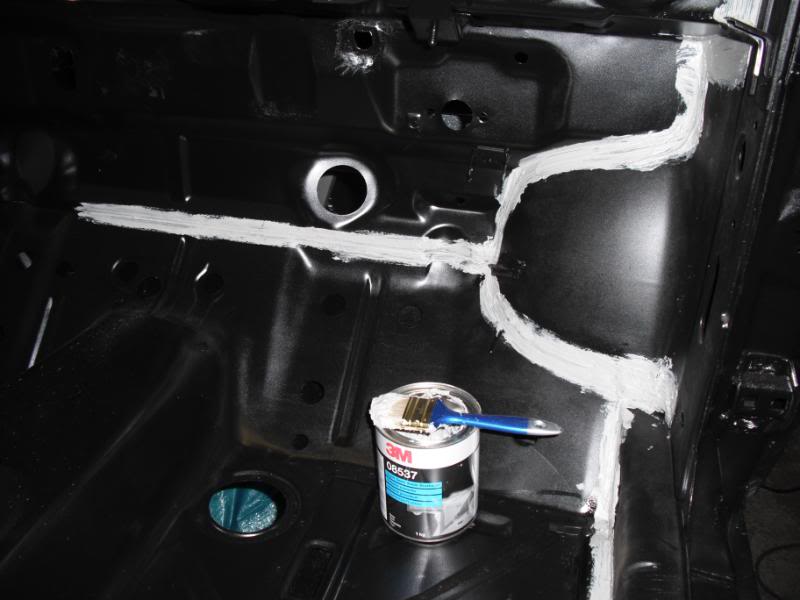
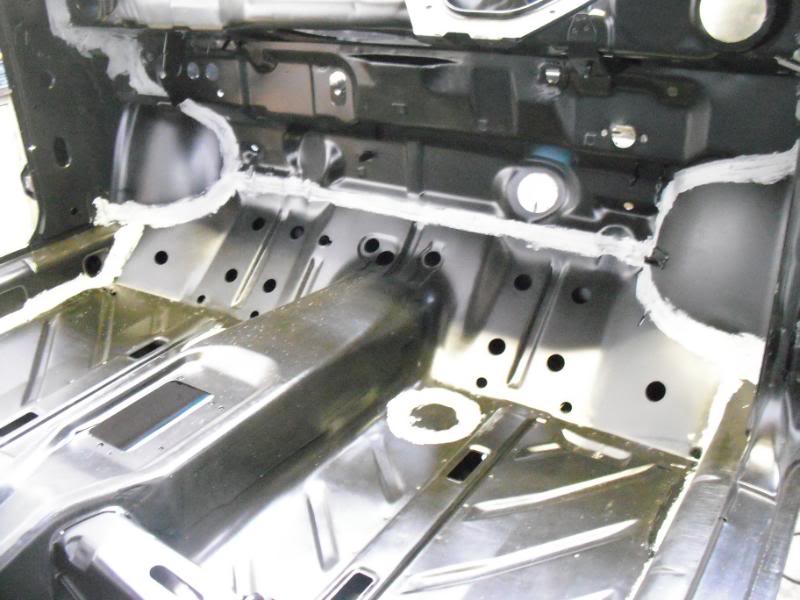

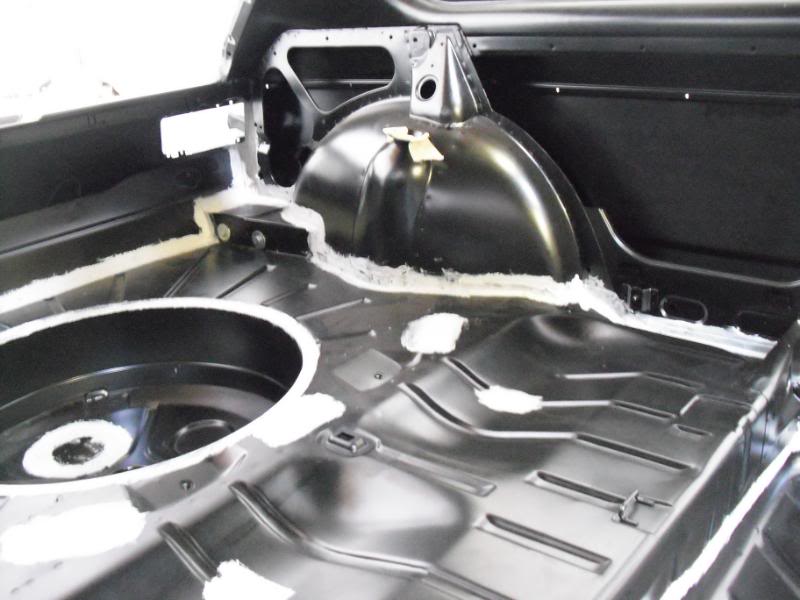
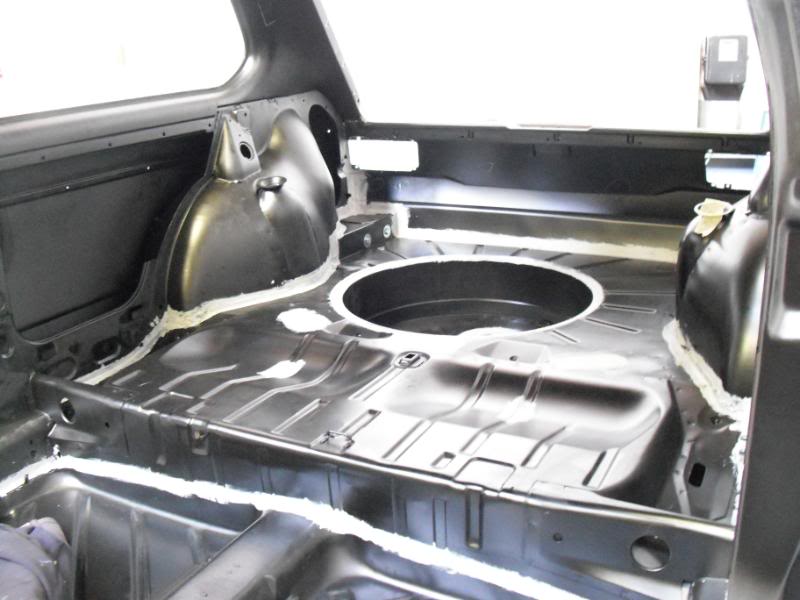
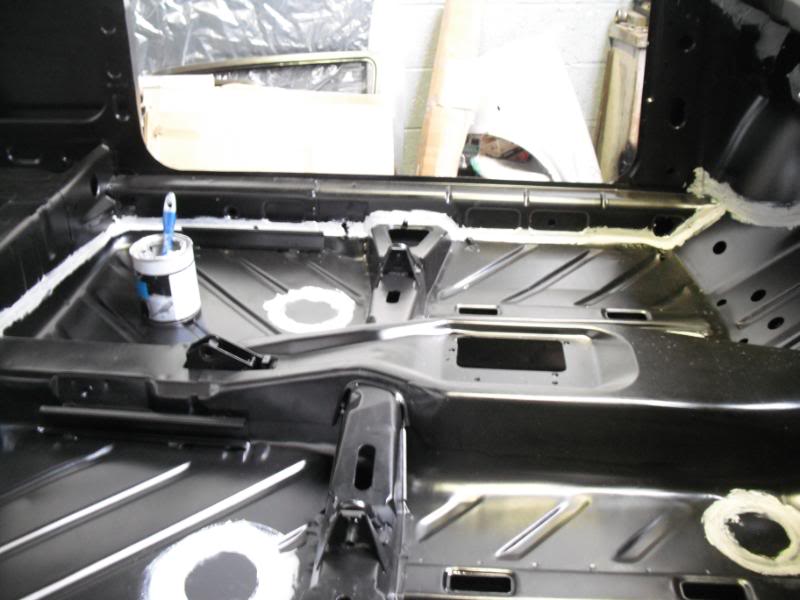
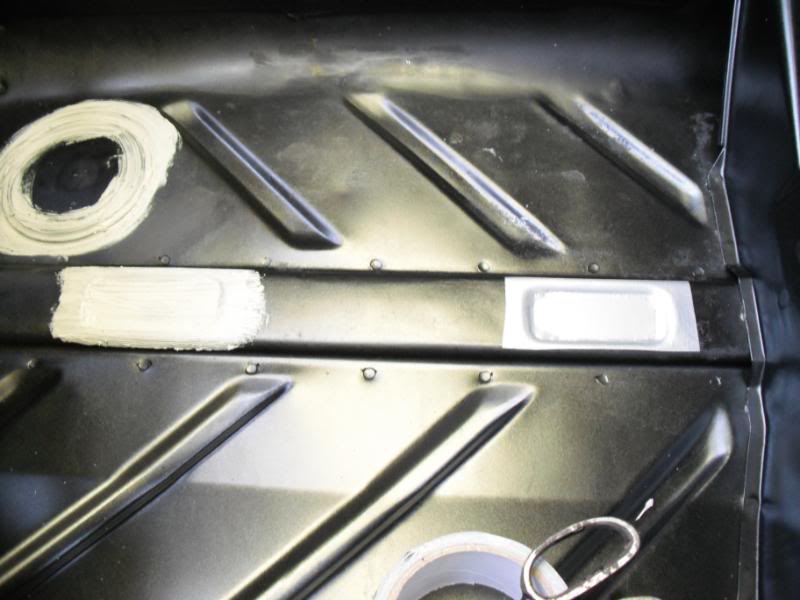
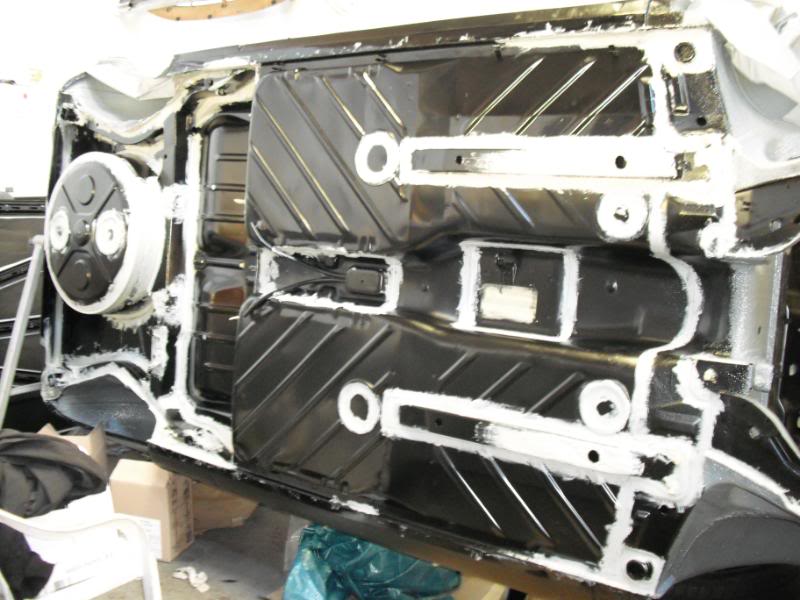
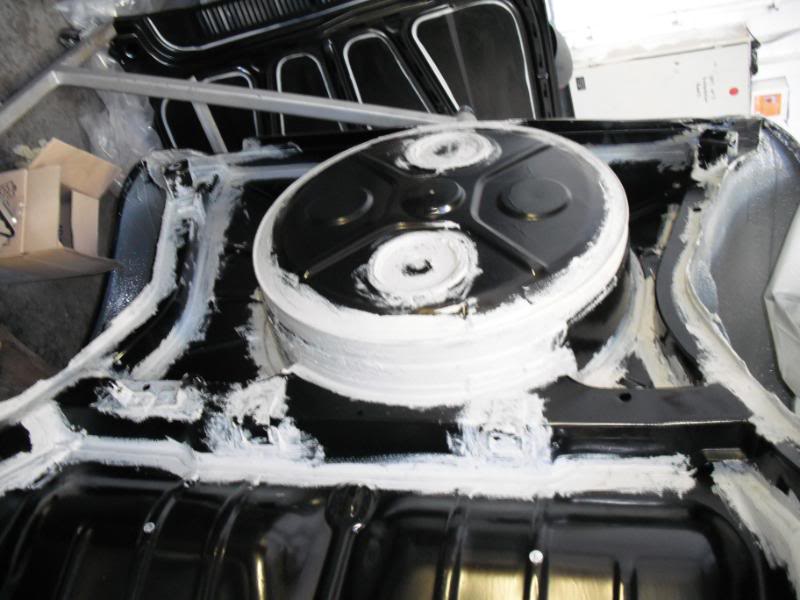
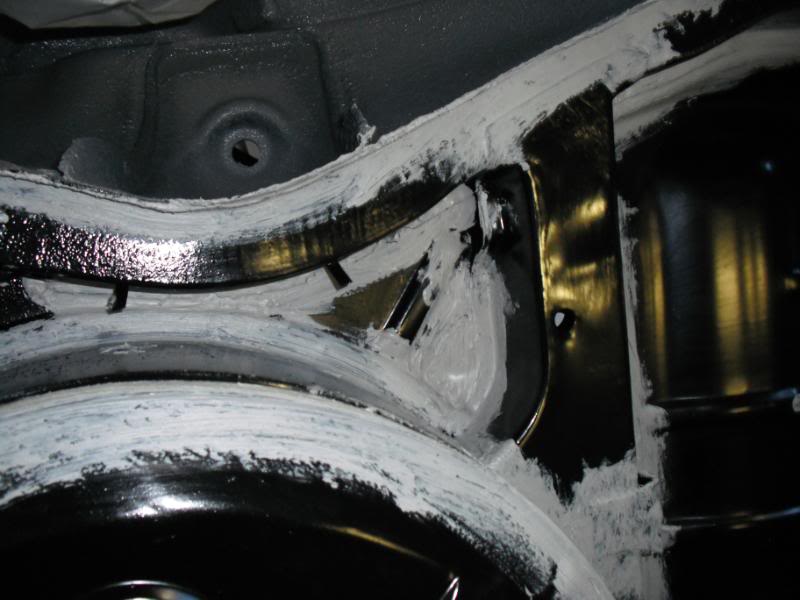
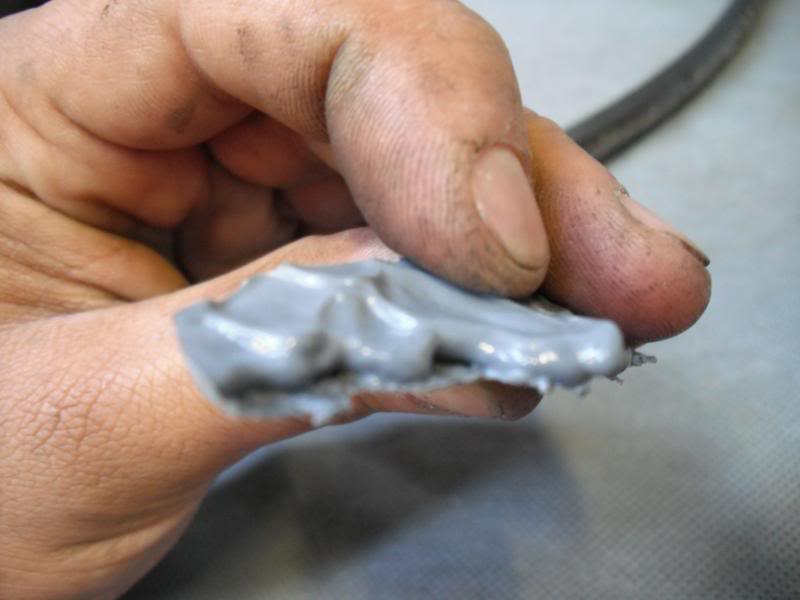
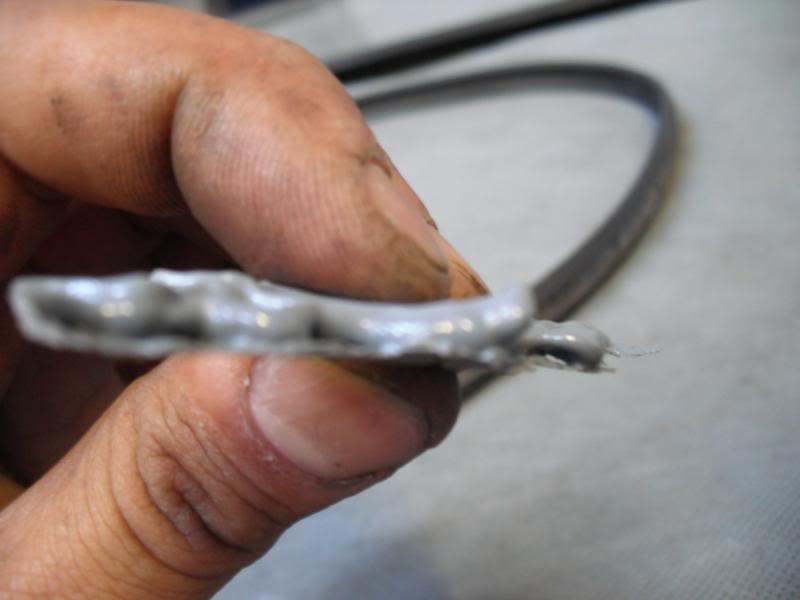
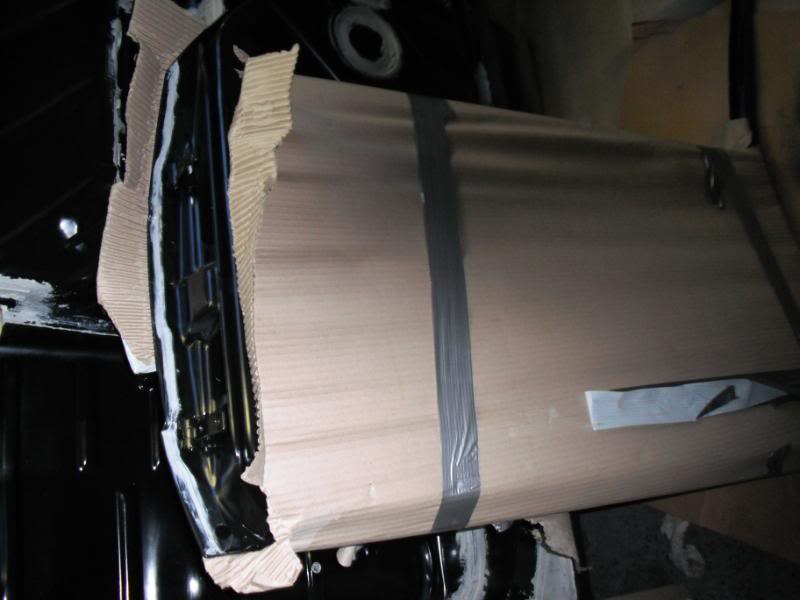
Last bit of sealing the car was the 3M bag sealer ….this stuff is awesome but sprays everywhere….very thick and close you can get to original finish…
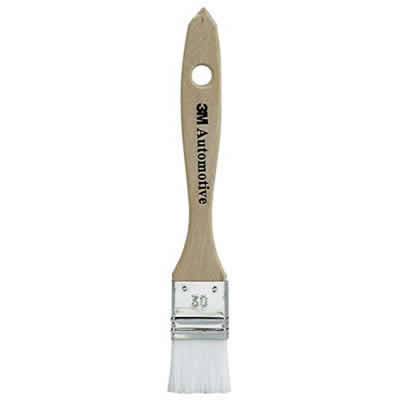
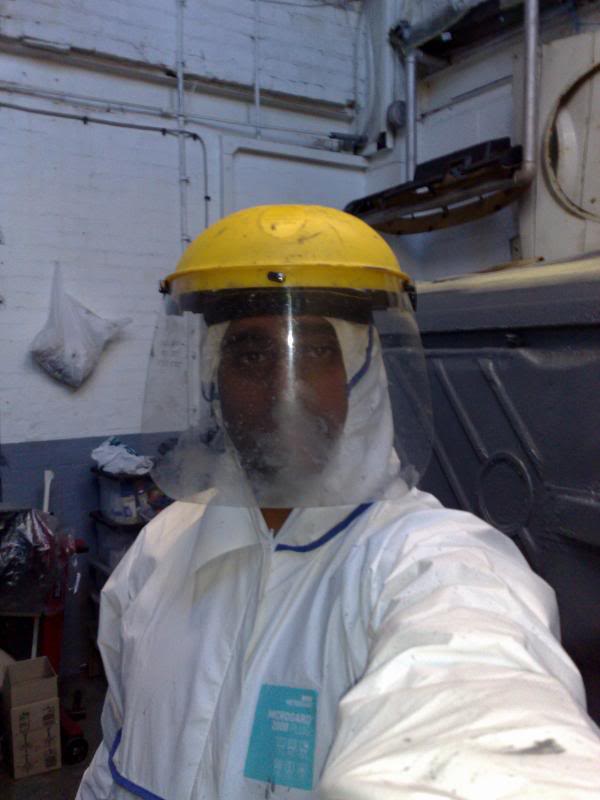
Protective clothing… 8)

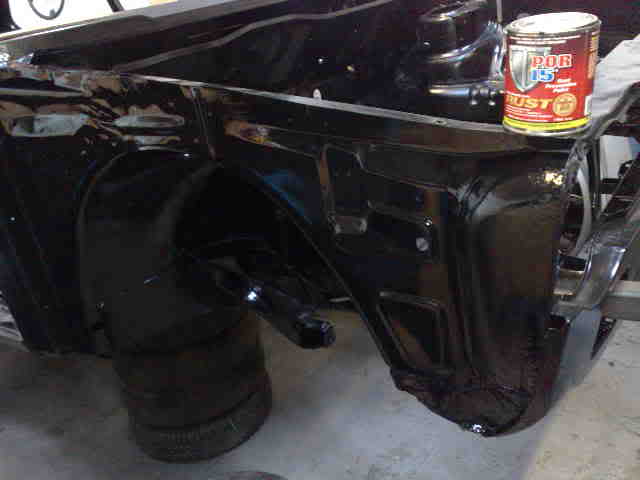
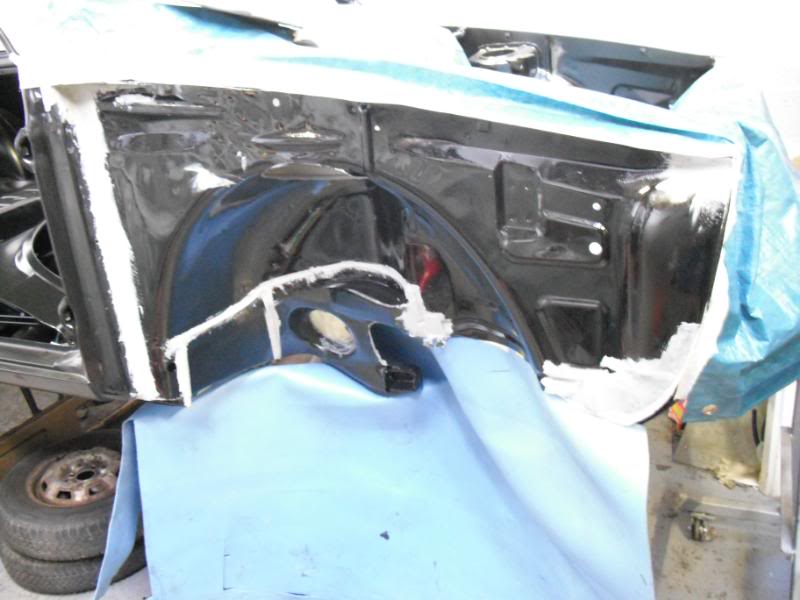
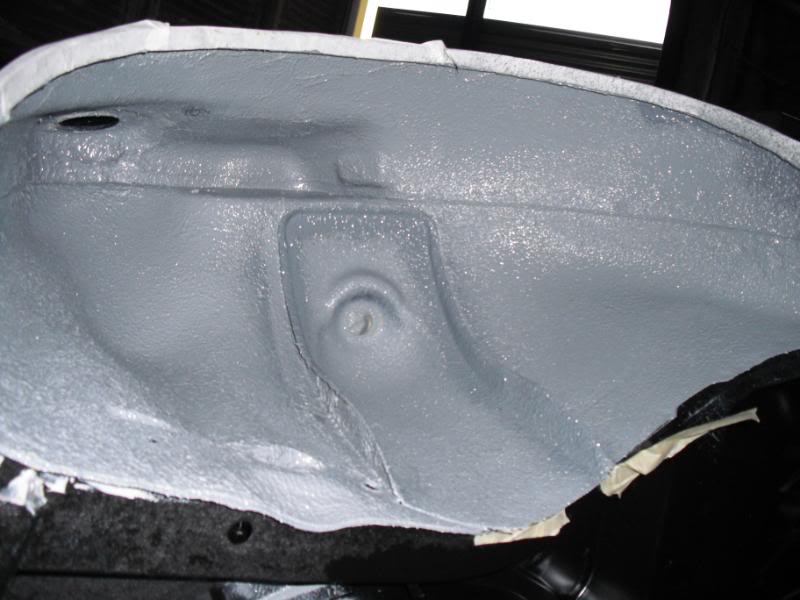
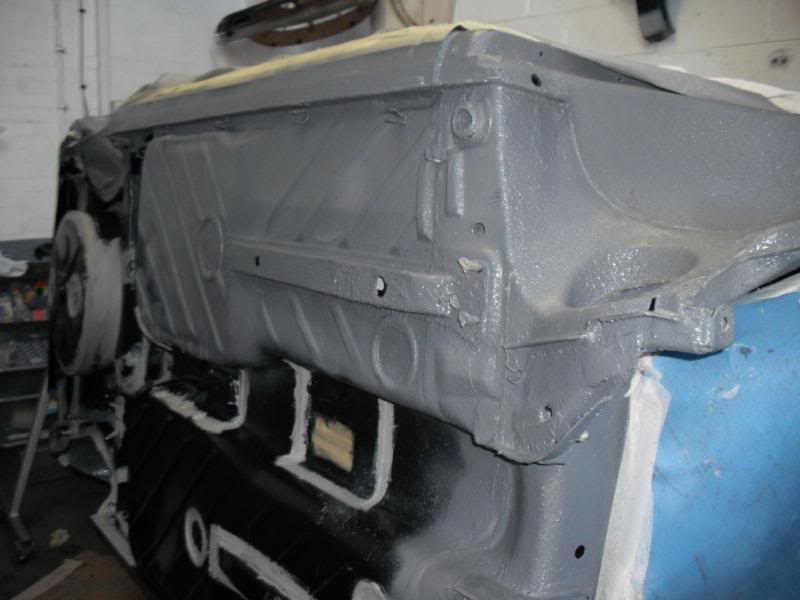
Lower engine bay - yes this is not original - but I am building a car to last as way as be original….

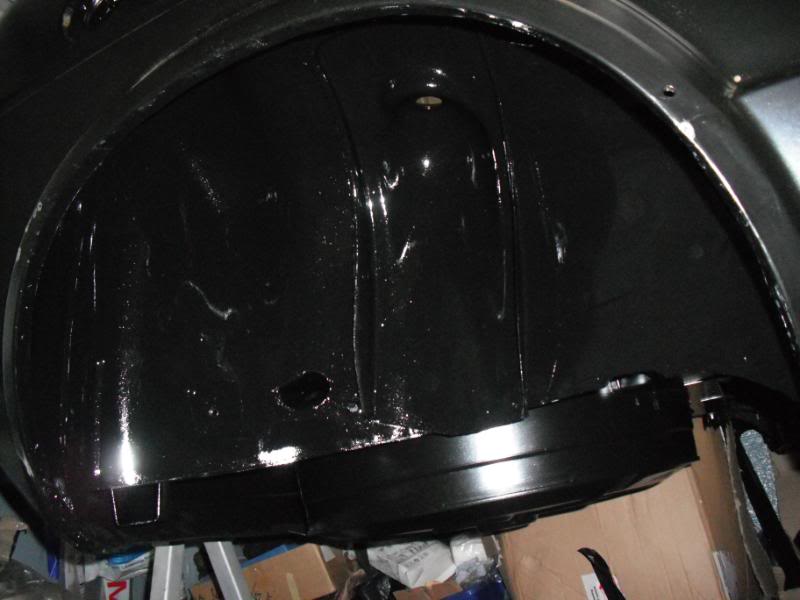
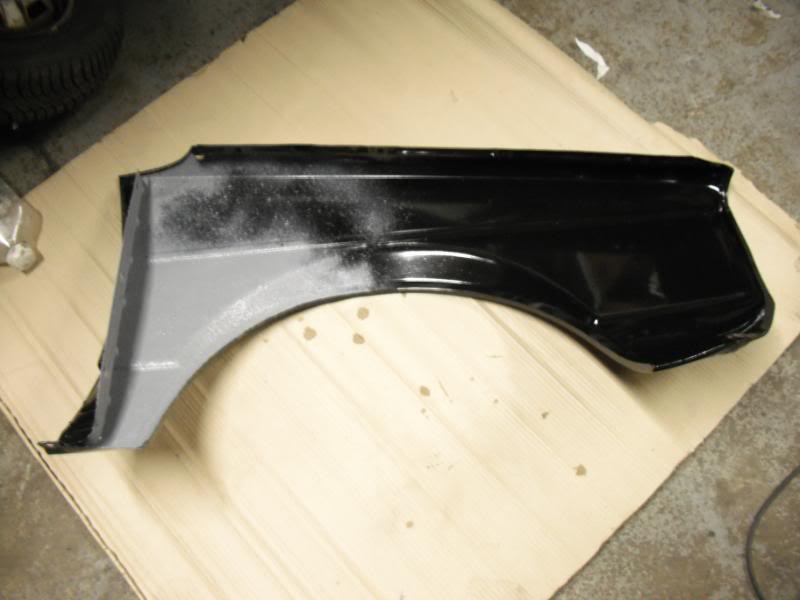
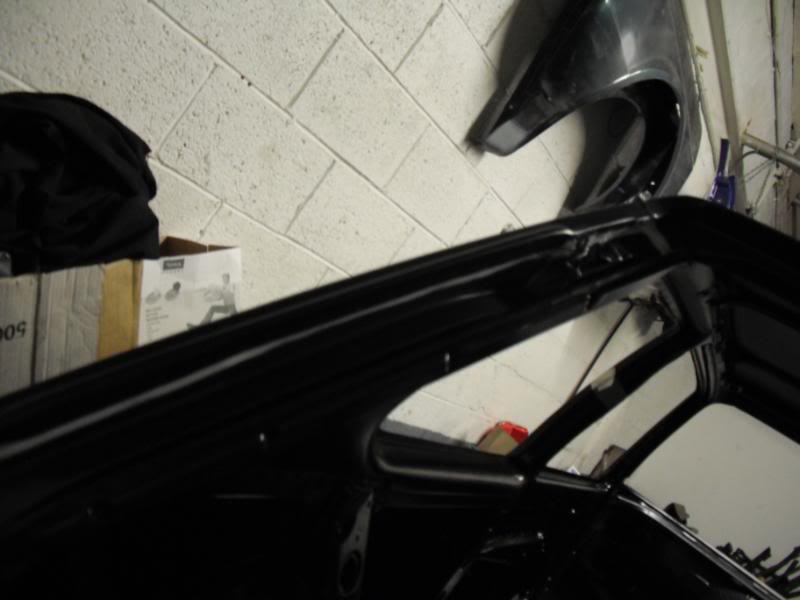
Front Arches:
Rear Arches:
note to myself - next update bag sealer underneath/ dyno matting
Posted
Local Hero

Diesel Possessed
A97JCE
Feeby
A97JCE
Feeby
Posted
Settled In

mk1 golf - resto
mk3 polo breadie - daily banger
mk3 polo breadie - daily banger
Posted
Settling In

Posted
Settling In
Posted
Settling In
Just had to say fair play on the build so far, read thru this last night and wanted to say loving your skills and attention to detail, very nice to see.
I was going to dip my s1 GTI but went media blasting route instead when I started working out costs… haha
Looks like a really solid base to work from, wish I could say the same about mine, think it was dipped in the sea and left to bake in the sun then occasionally sprinkled with salt whenever it rained…
Look forward to following this further.
J
Posted
Old Timer
boyle_sbd said
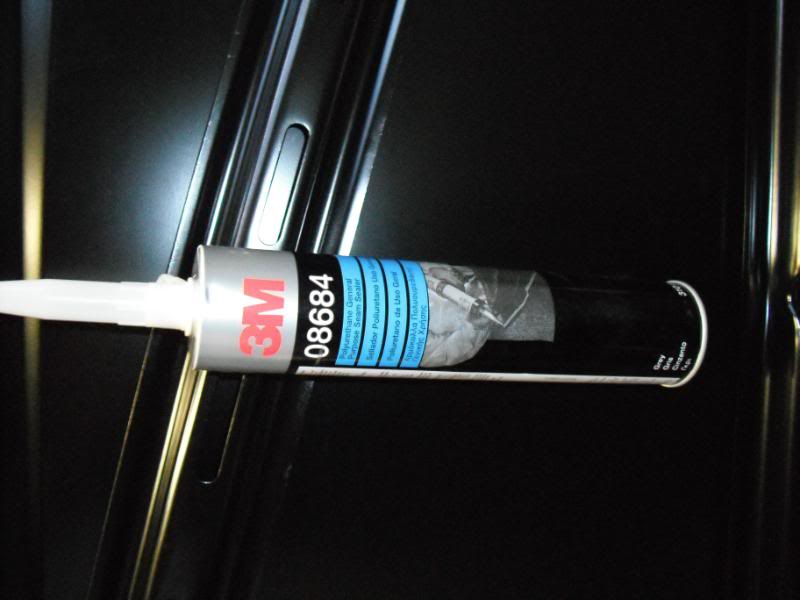
this will not rust for 100 years i rekon. how do those bags work? great work
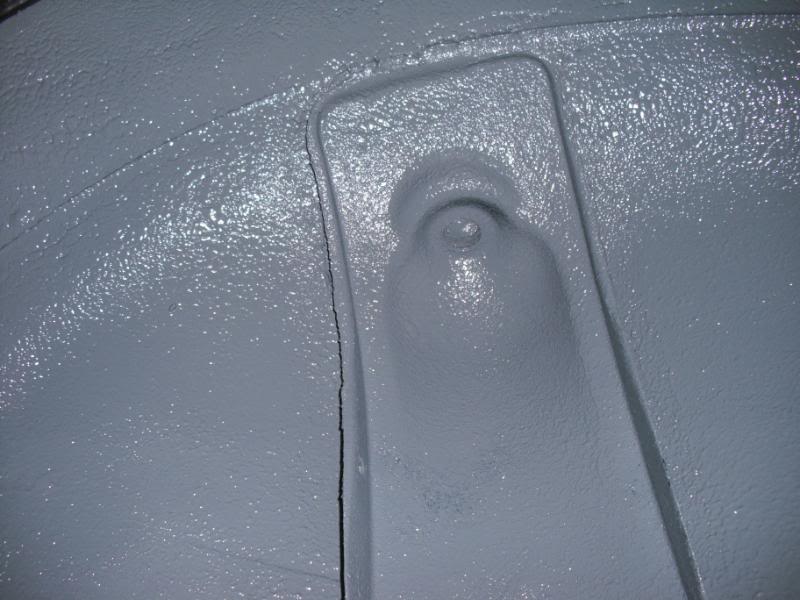
3M Bag sealer = £14.50 per bag (cover 1ft x 1ft)
Its into 3 parts……."A", "B" & "C"
A - Internally tube
B - Sealer
C - Activator
You have to break the seal between C & B be squeezing, mix it up for about 5mins, then break the seal on A, (slowly) and shake gentle until the internal tube extends inside the bag. You will then need a Special 3M Gun, which you attach the bag and air line too, then spray away….as thick as you want. Allow it to dry and its paint-able. Hope this helps.
Posted
Old Timer
Rockfordgun said
Dude very nicely done im sure i say this for everyone MORE PICS !!!! lol u think of a colour yet u gonna spray the car?
original atlas white - its a creamy colour then white.
Posted
Settled In

mk1 golf - resto
mk3 polo breadie - daily banger
mk3 polo breadie - daily banger
Posted
Old Timer
Posted
Old Timer

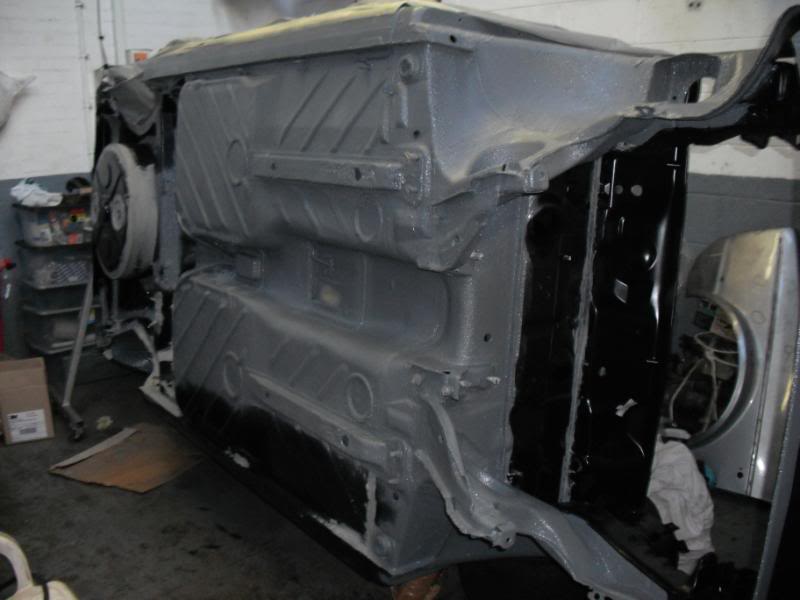
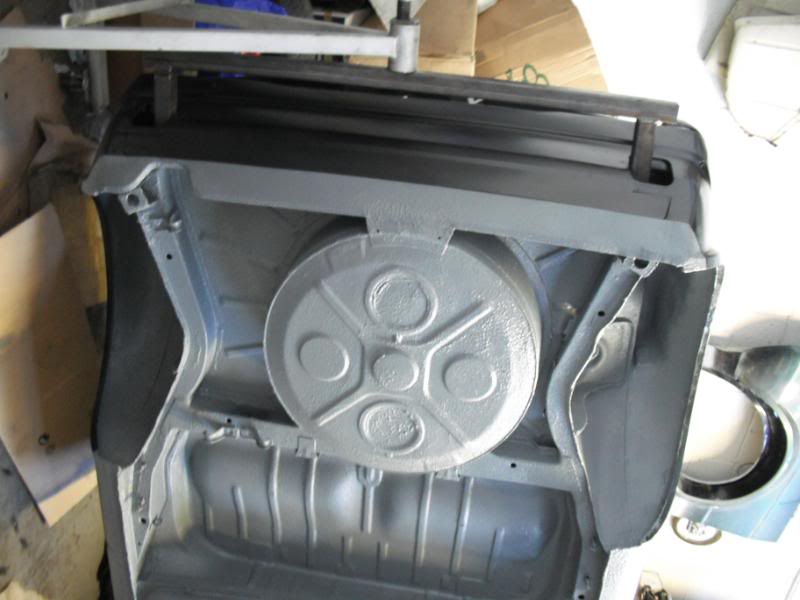
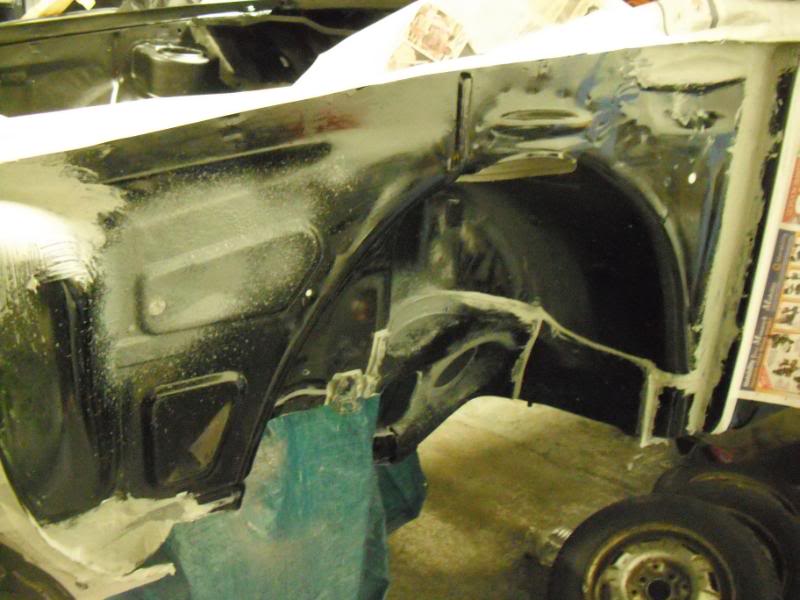
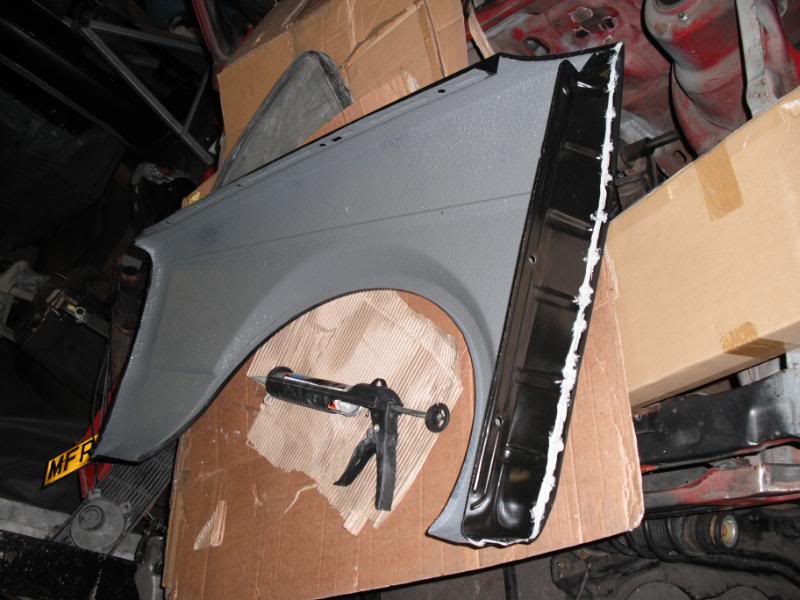
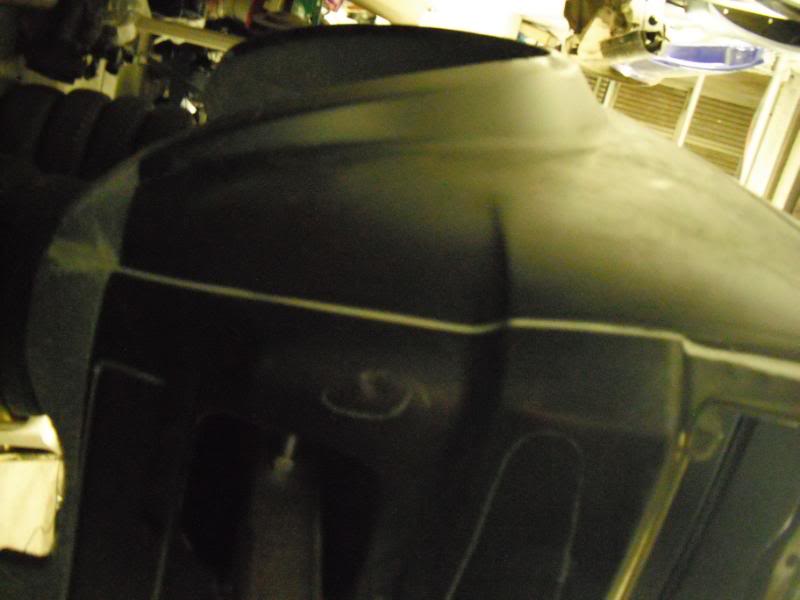
Inside of wings where given a coat too…and side seam sealed


Seam sealing the rear end…
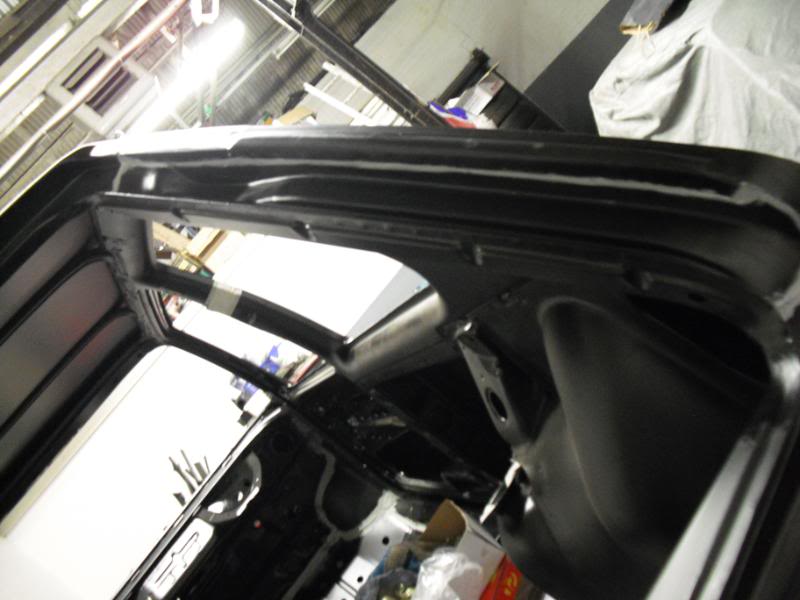
Roof rails seam sealed….
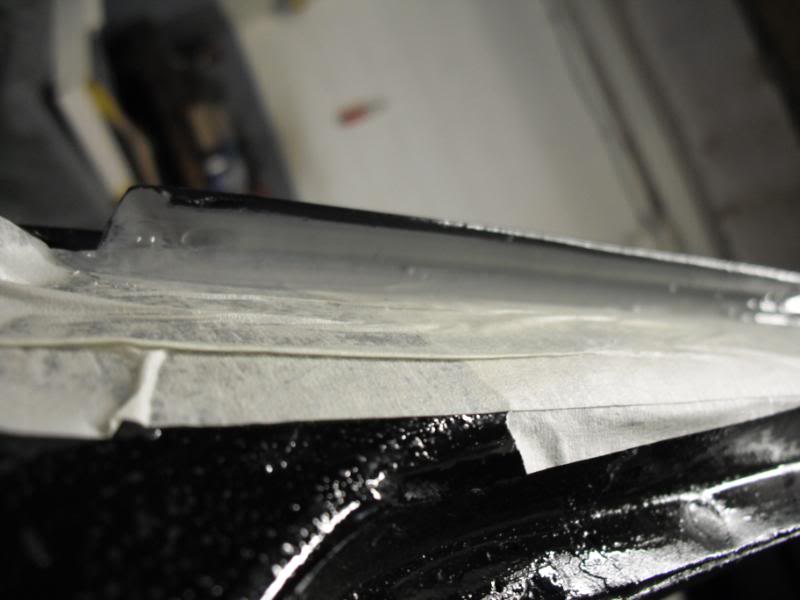
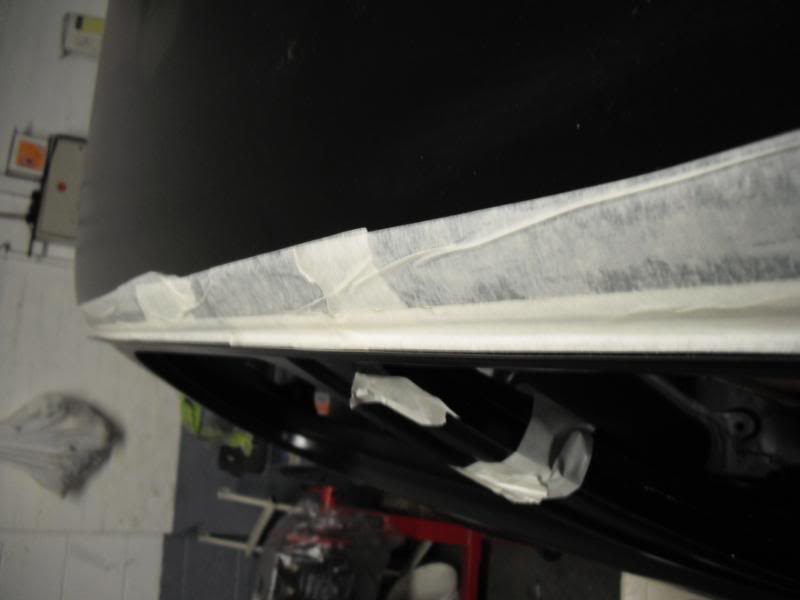
Tailgate seam sealed….


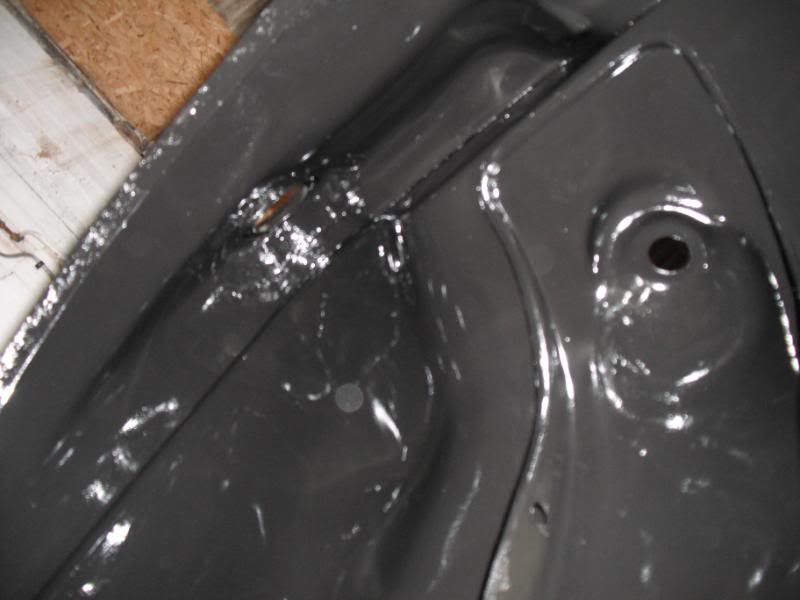
Doors seam sealed…
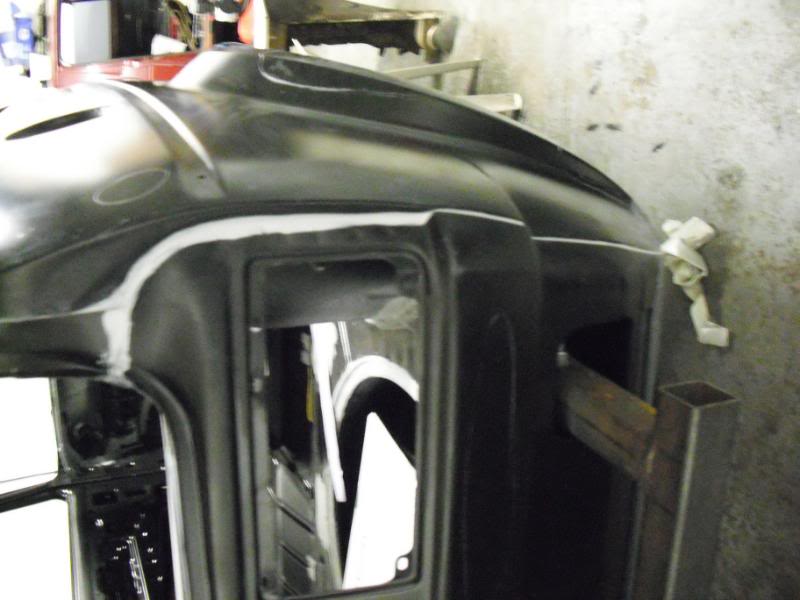
Bonnet was seam sealed all around as I wanted it too look neat & tidy without the flex(yes its not original like this)…
Posted
Old Timer

Posted
Old Timer
bouchay said
This will one day be the oldest Mk1 in existance! it's never going to rot! 8)
thats the plan 8) … Even though I get offers all the time for the car (even at this stage) its not for sale…….unless I get the figure that's in my head ….then everything is for sale. I got asked the other day to build a BMW 2002 tii for someone…. I don't think they realise how much it would cost inc labour.
Posted

Old Timer
bouchay said
This will one day be the oldest Mk1 in existance! it's never going to rot! 8)
nope mine will last longer as i dont drive it :cry:
0 guests and 0 members have just viewed this: None.