My Mars Red Mk1 Golf C > 20v 1.8T
Posted
#1480124
(In Topic #196058)
Settling In

'82 Golf Restoration Thread
Been browsing this forum and the project threads for a long time dreaming of a mk1 project … and finally got one myself!
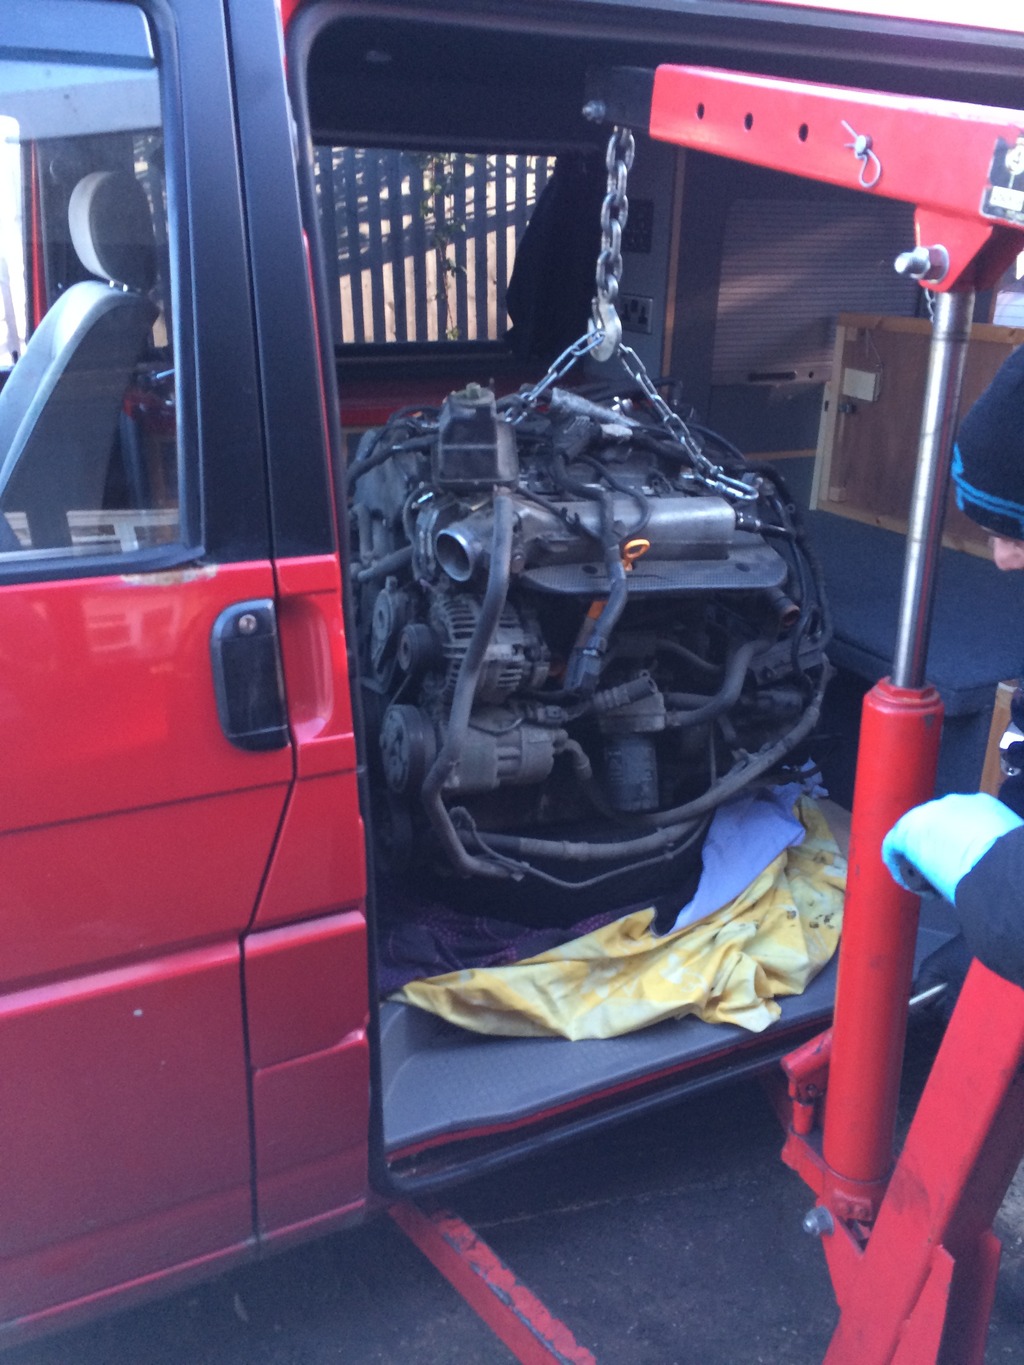
A guy at work pointed to someone he knew selling his mk1 with an AGU engine for a pretty good deal, so snapped it up. It's a 3 door '82 Golf C in mars red complete with a 20v 1.8t AGU engine. Apparently it's been sat in a garage for nearly 10 years, at this point was bought by the previous owner. His plan was to restore it and fit the 20v, but didn't have the time to do it, and had other cars to sort, so has been sitting around in a unit for a year or so waiting to be fixed up.
Thought I'd start this project thread to keep me motivated and to track progress as I go. I'm no mechanic and have only done basic tasks on cars, so if I'm doing anything wrong I'd really appreciate a shout/help! It's going to be a steep learning curve, but am a keen bean.
The plan is to do a complete nut and bolt restoration to a fairly decent standard… but not complete show standard and fit the AGU. Looking to keep it mars red with black details, and perhaps BBS RZ alloys… This will likely change as it progresses.
Only a couple photos at the moment, will upload more as everyone likes pictures!
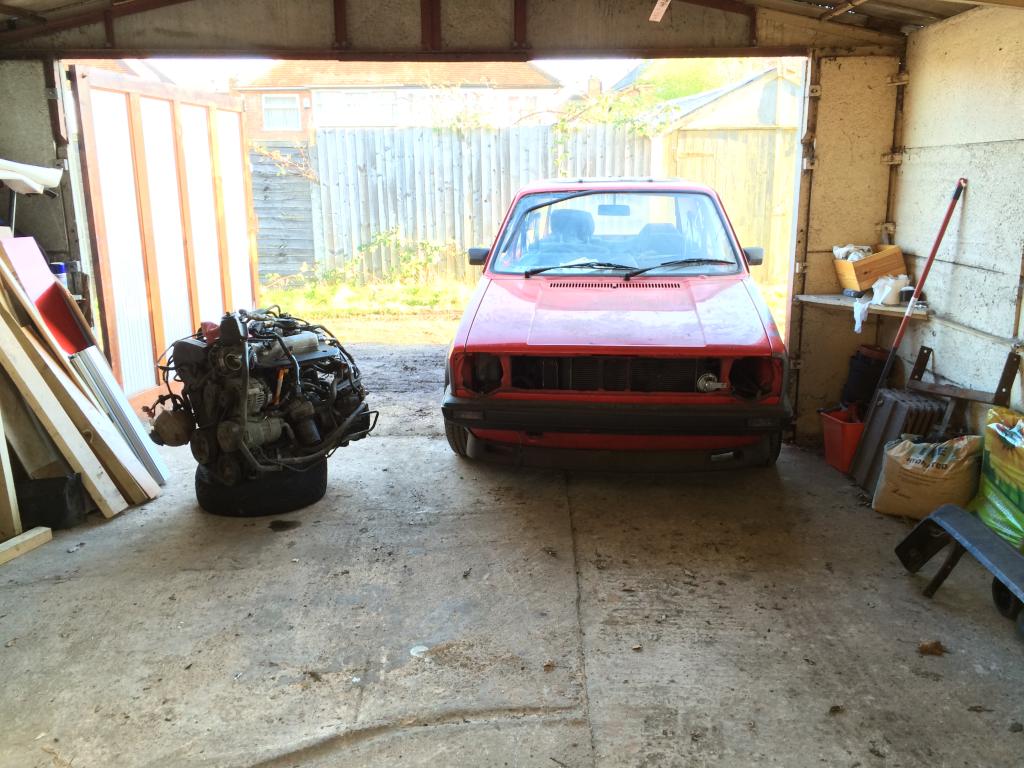
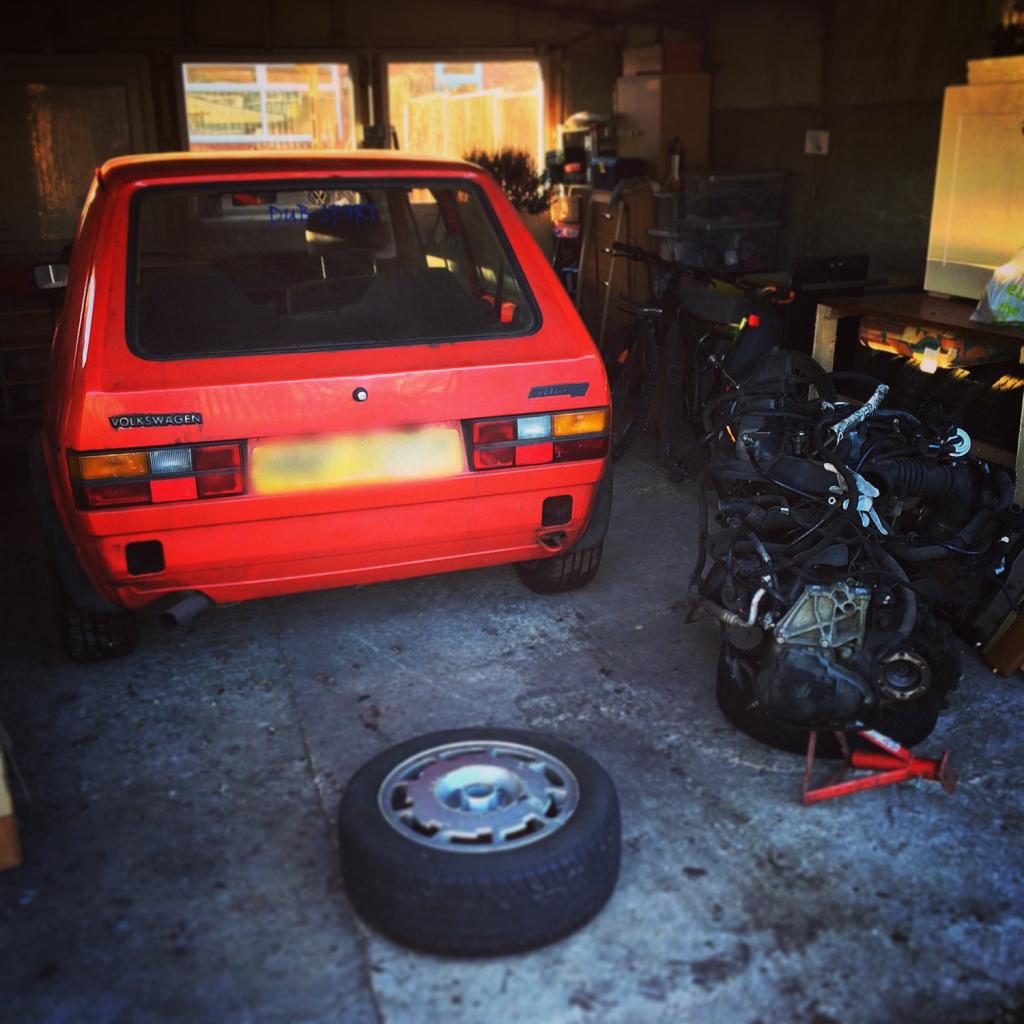
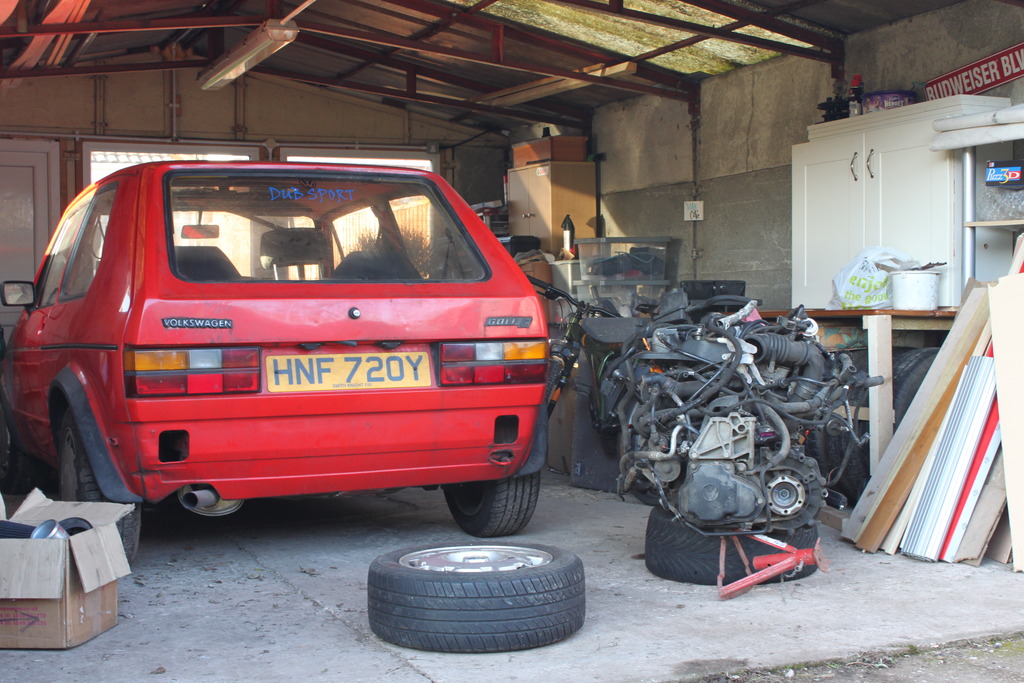
In my garage next to the new 20vt:
Posted
Old Timer

Posted
Settling In

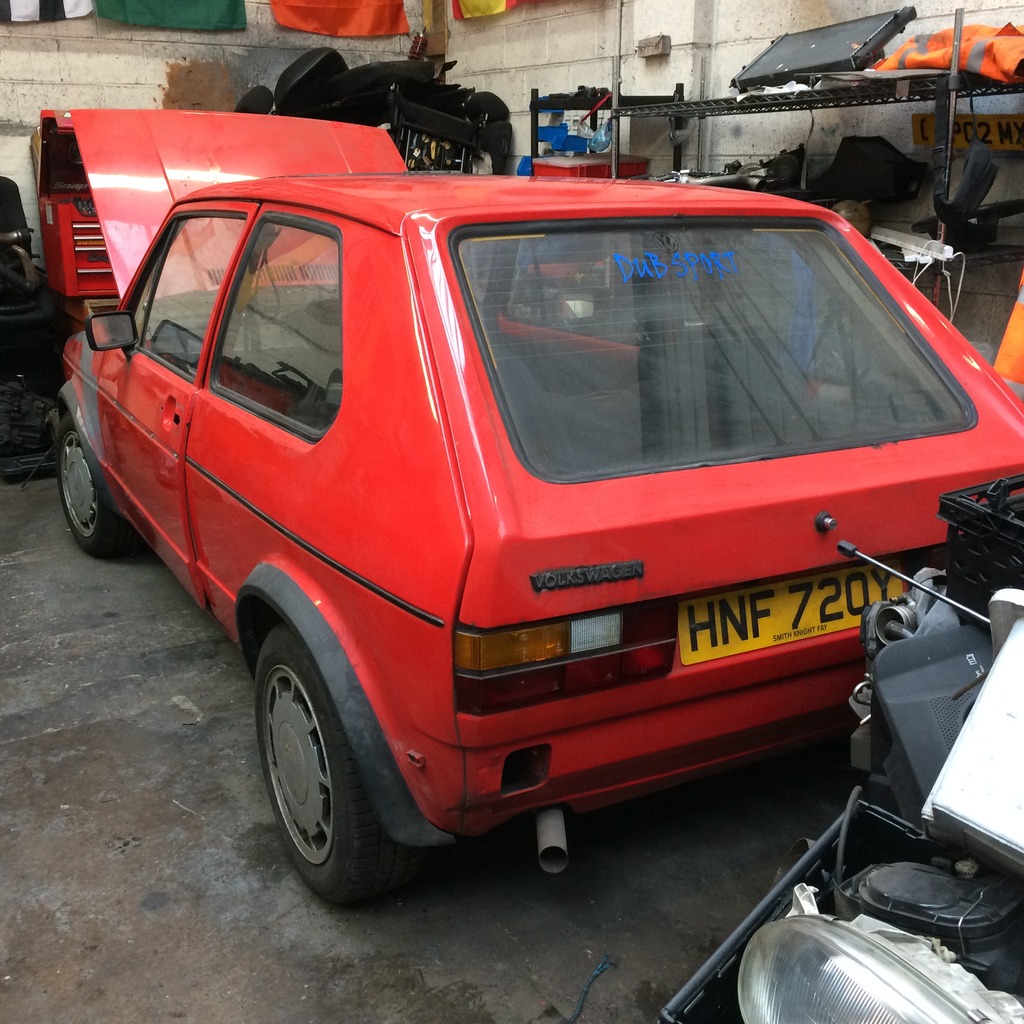
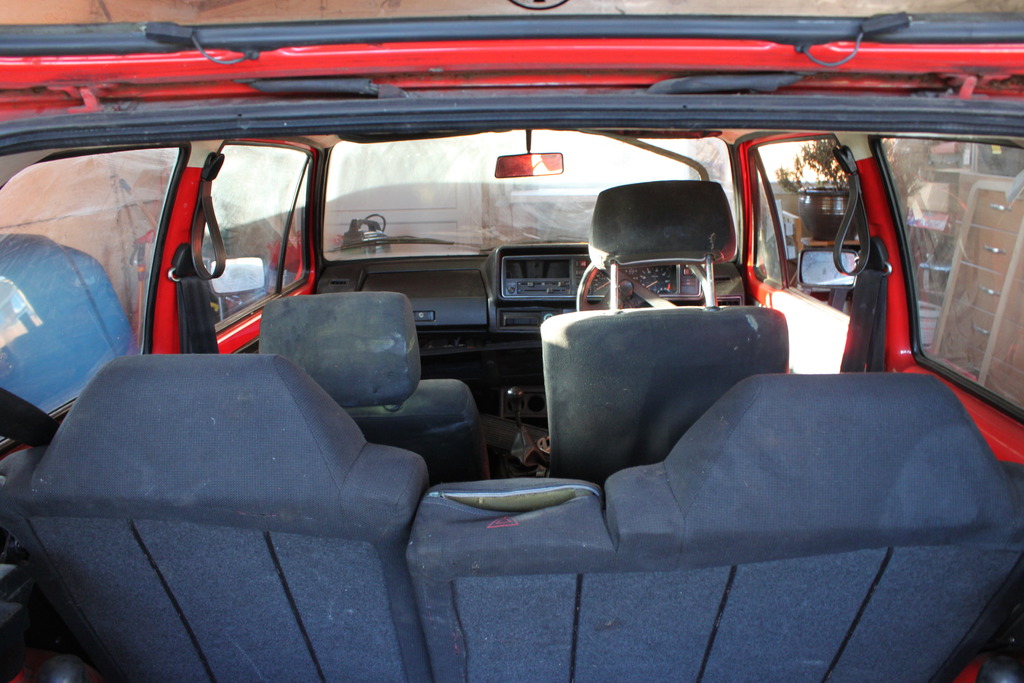
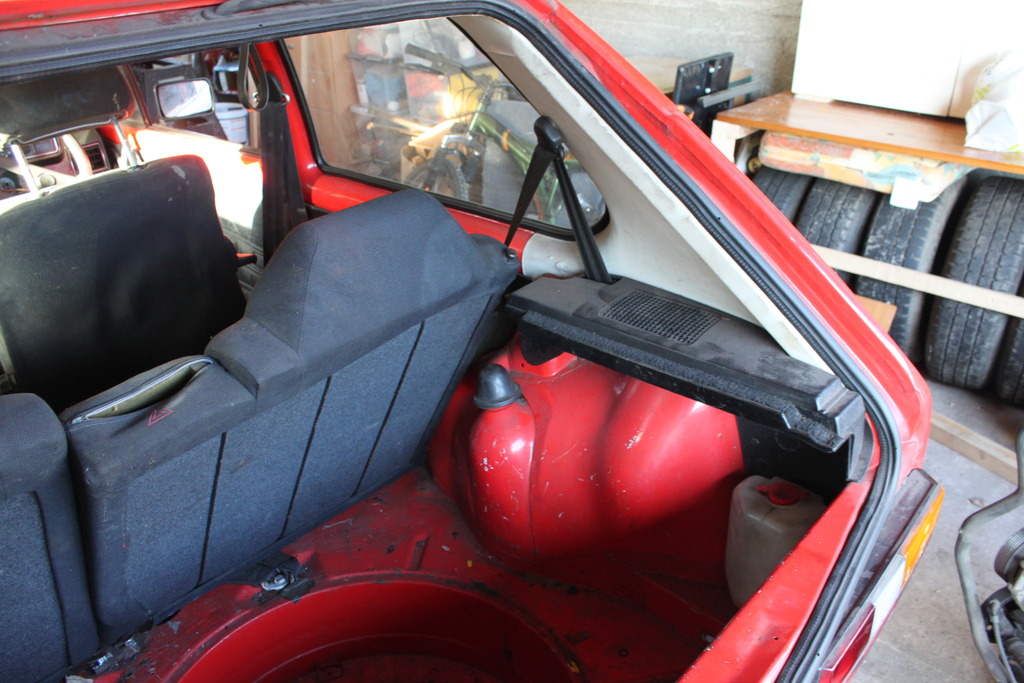
Will upload more once I've sorted through all the pics, want track my progress, so these fist batch are the before condition:
Viewing the golf:
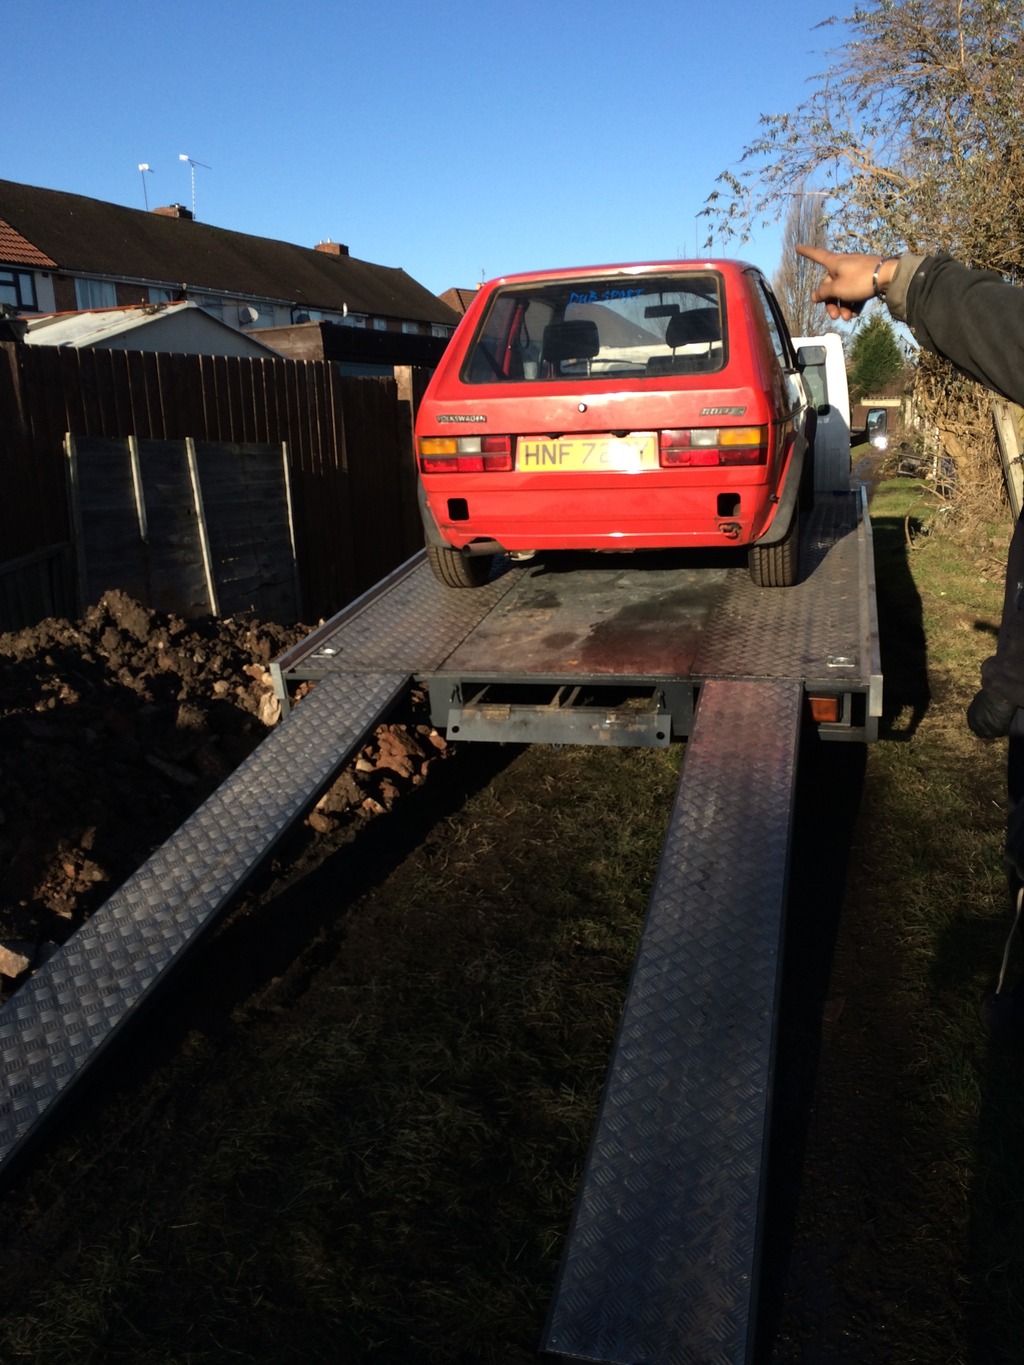
Collection day:
AGU in my van:
Unloaded in my garage:
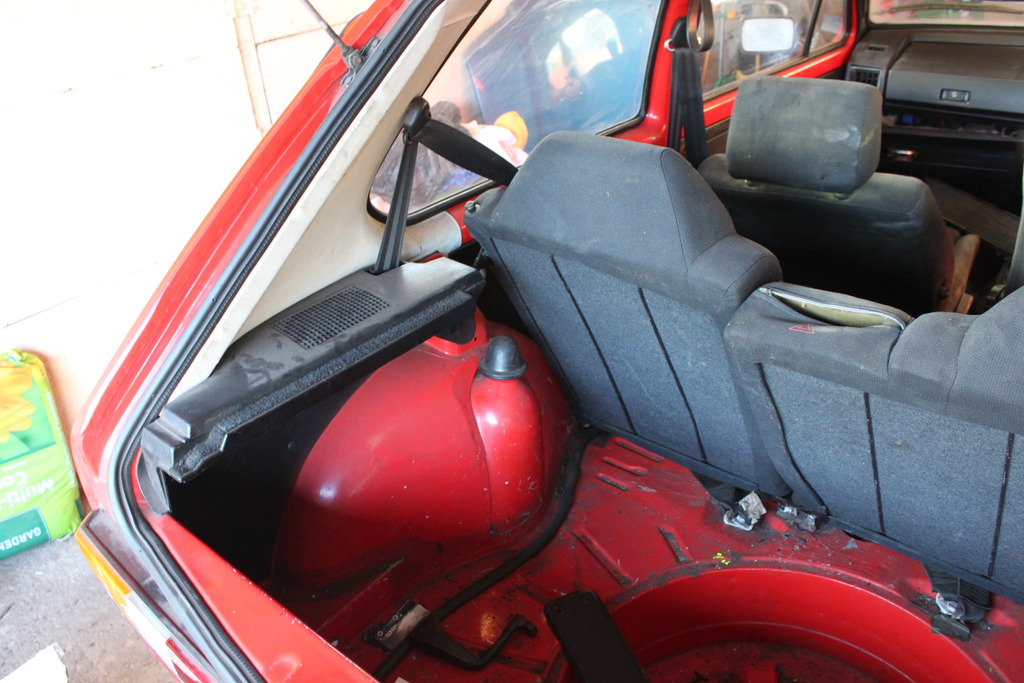
Batch of before photos showing condition:
Rear turrets look ok:
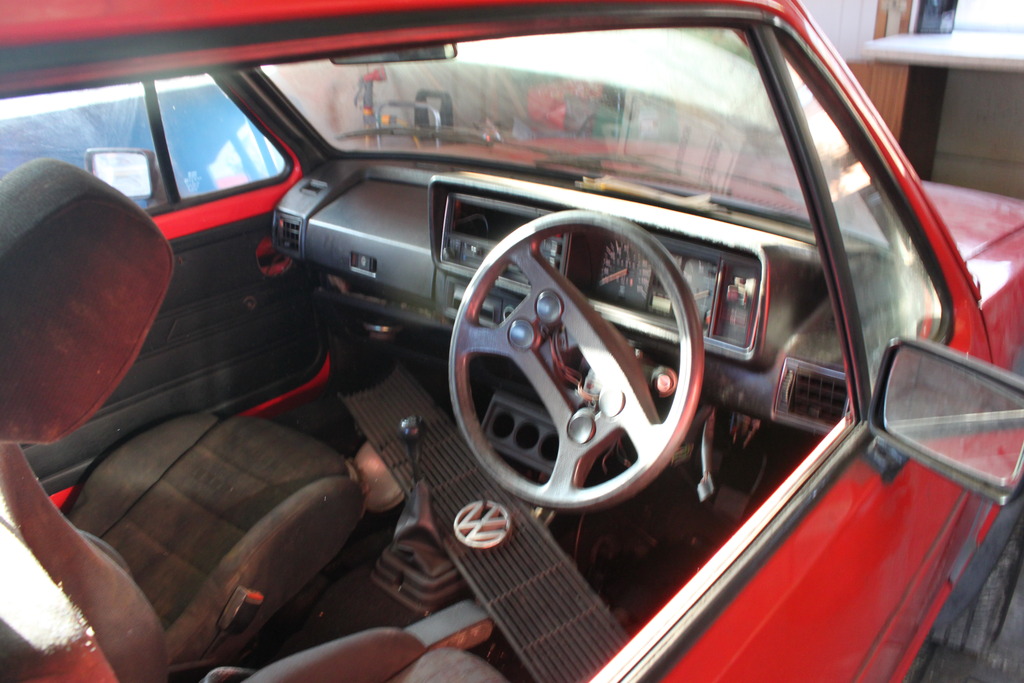
Interior:
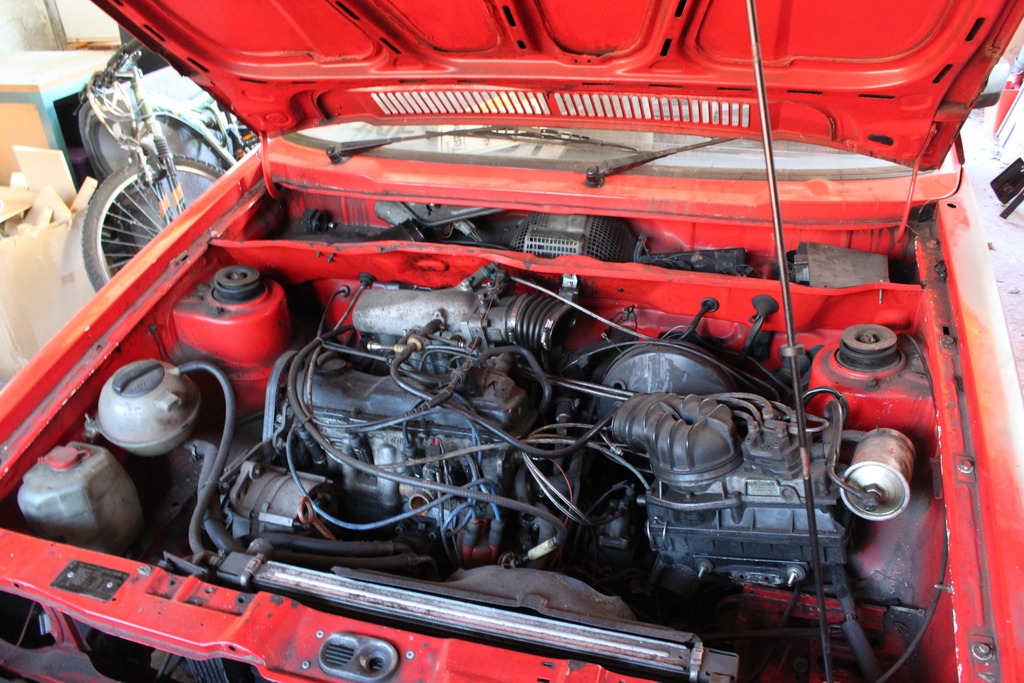
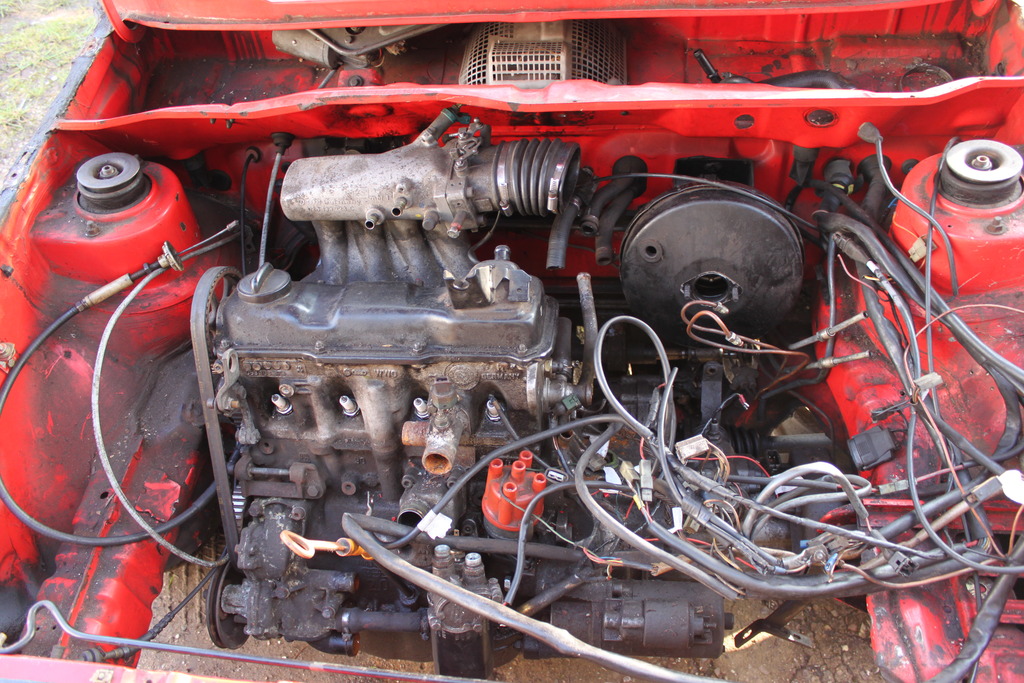
Mess of an engine:
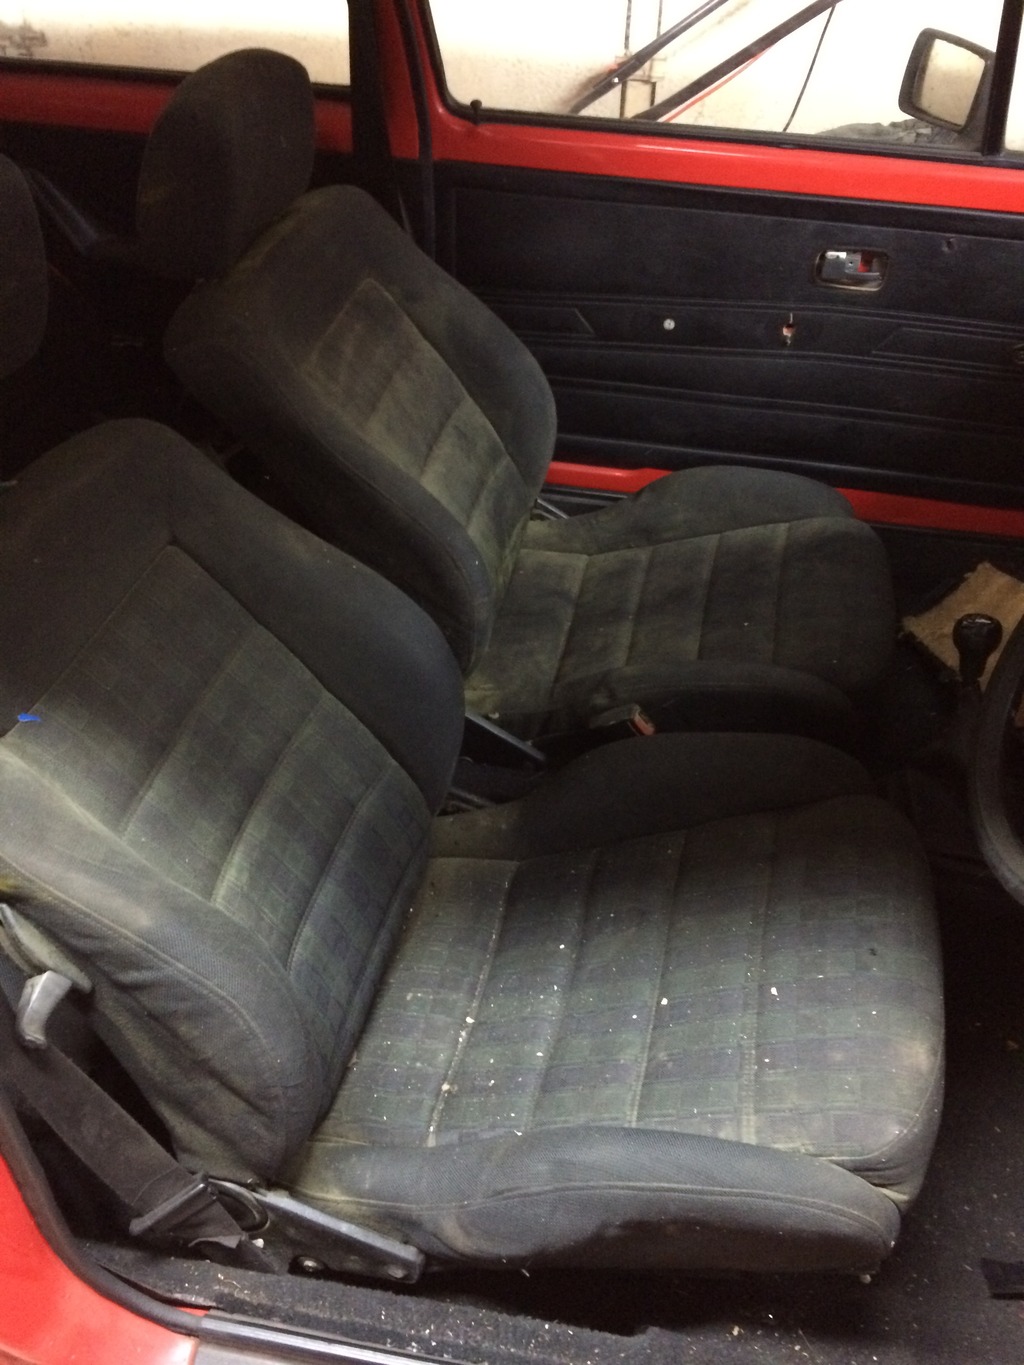
Front seats: (have since found out they're corrado g60 seats)
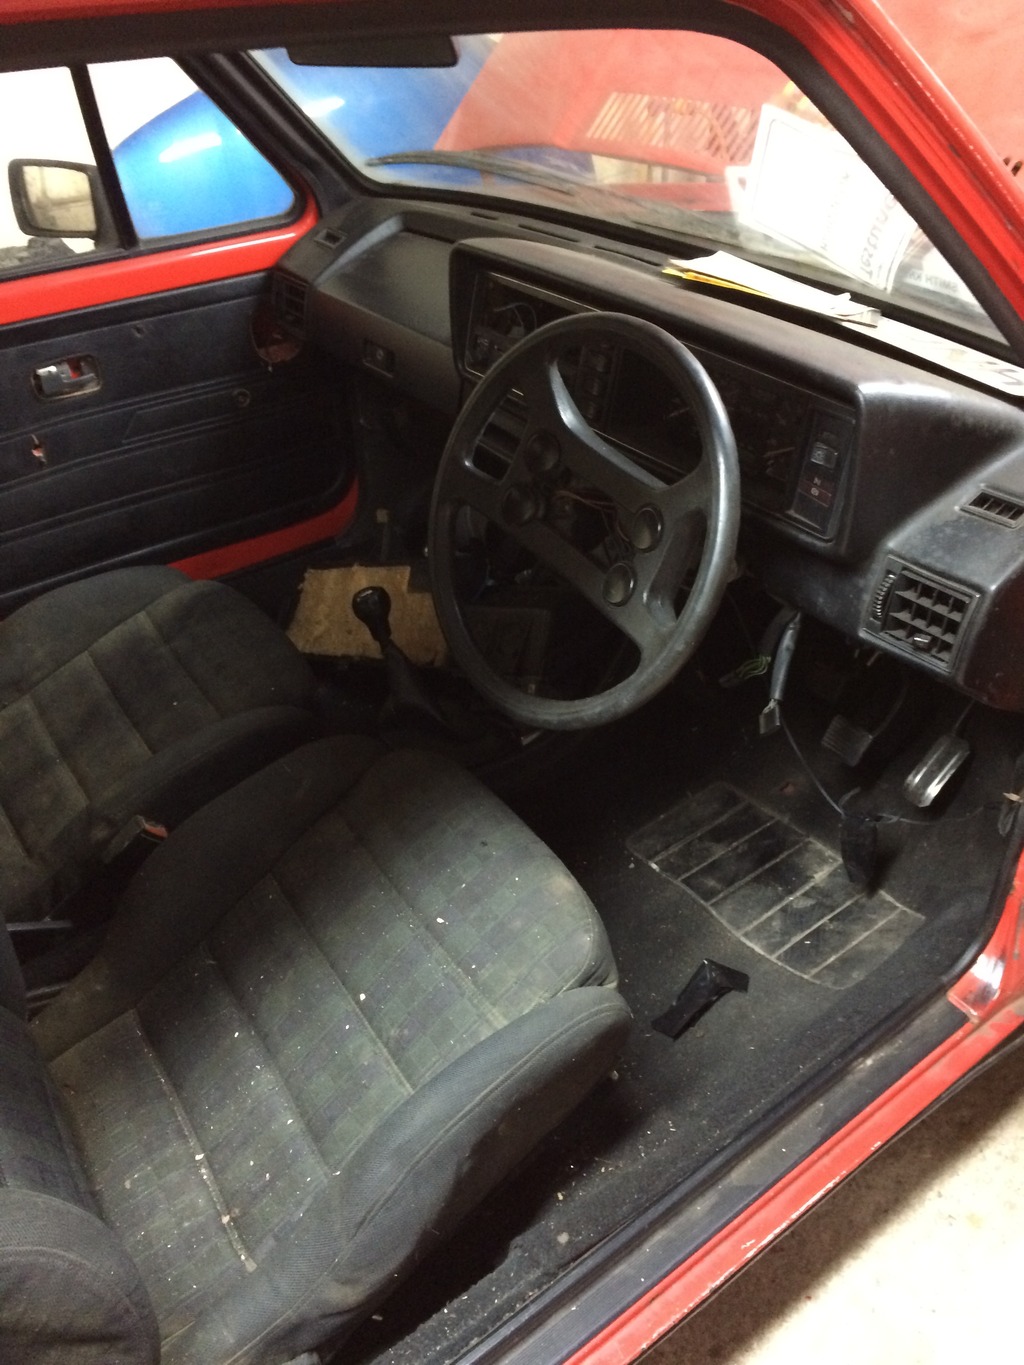
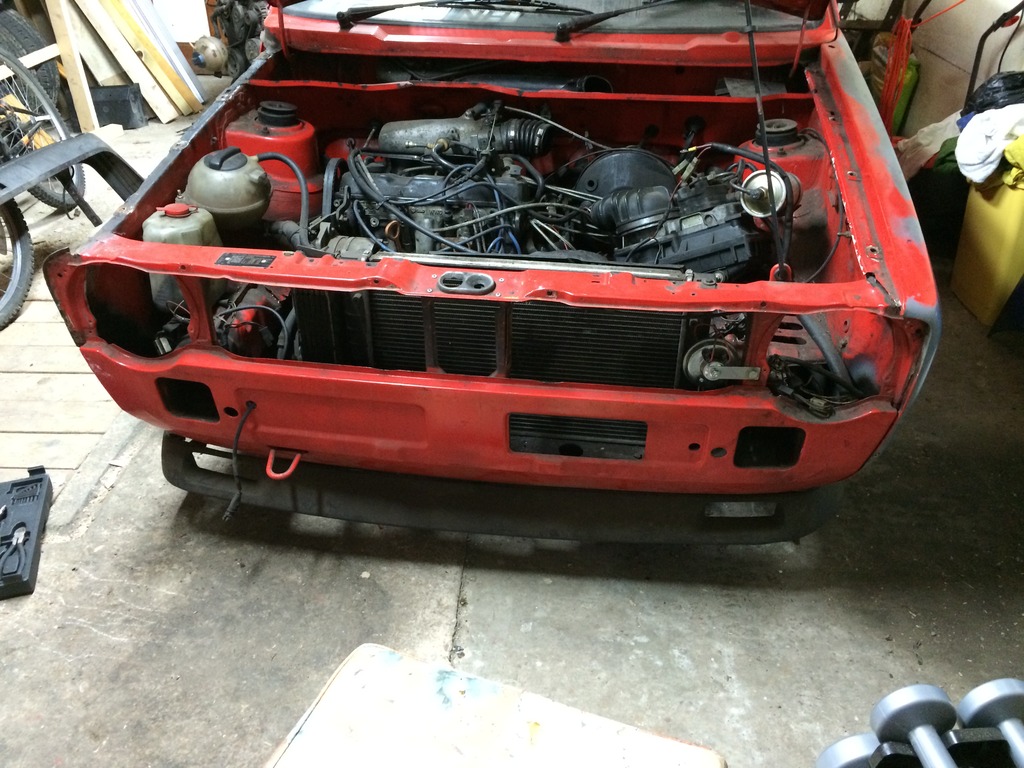
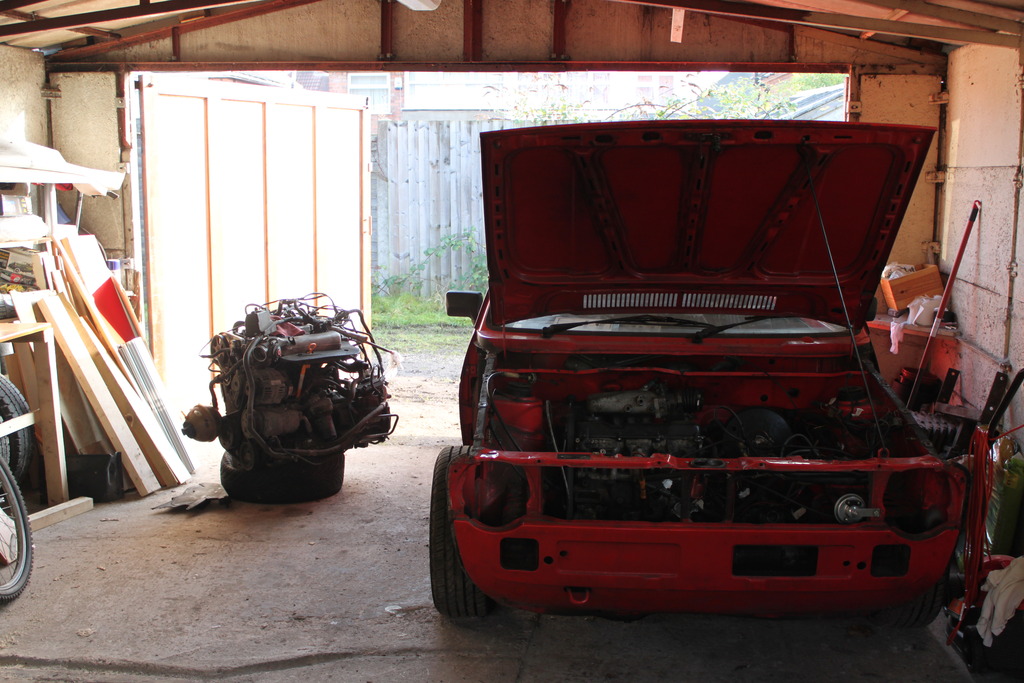
Removed the front wings, pushed it outside to give it a quick wash and photo the crusty bits!
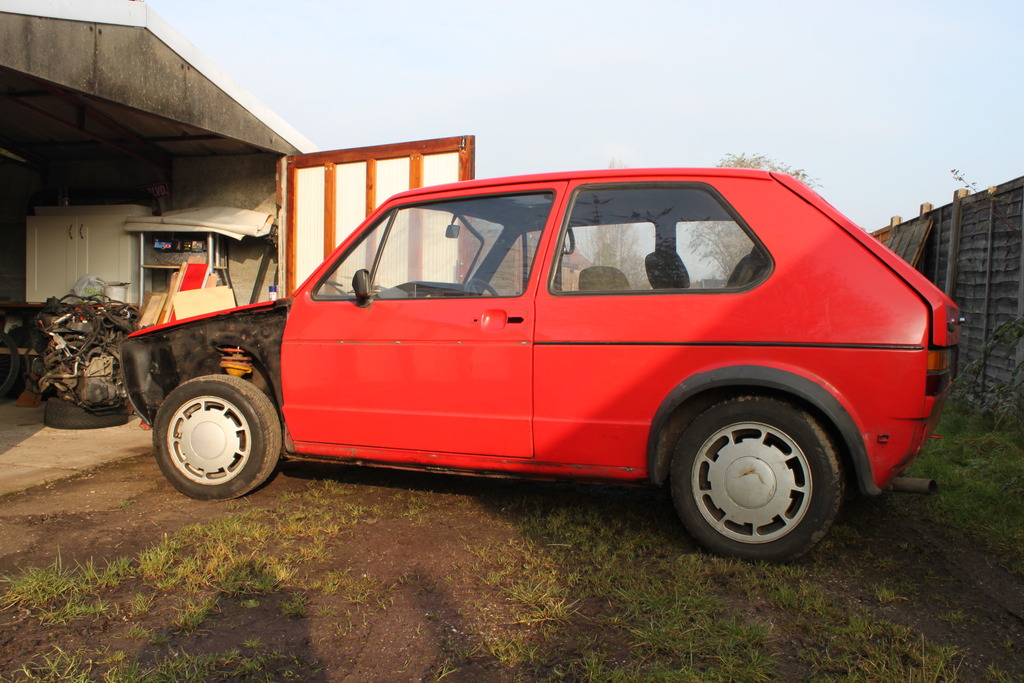
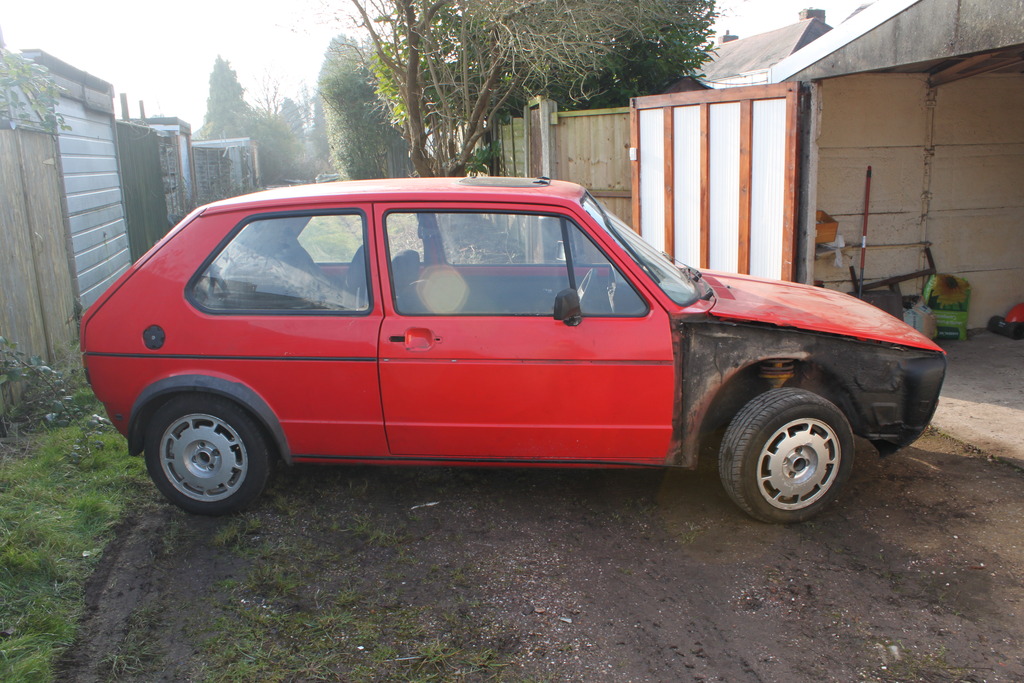
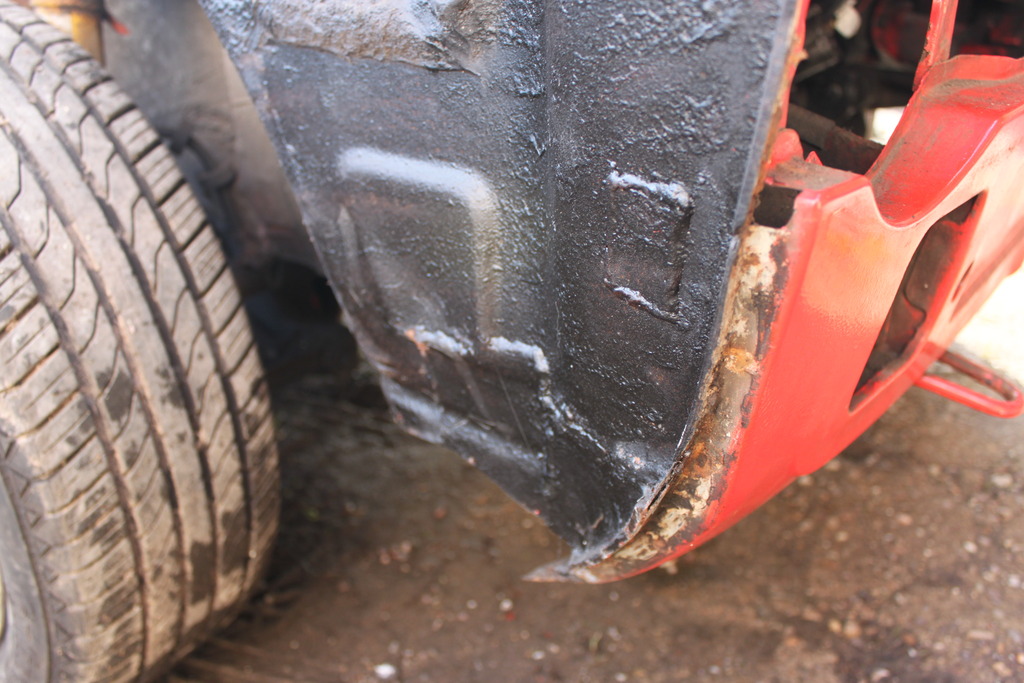
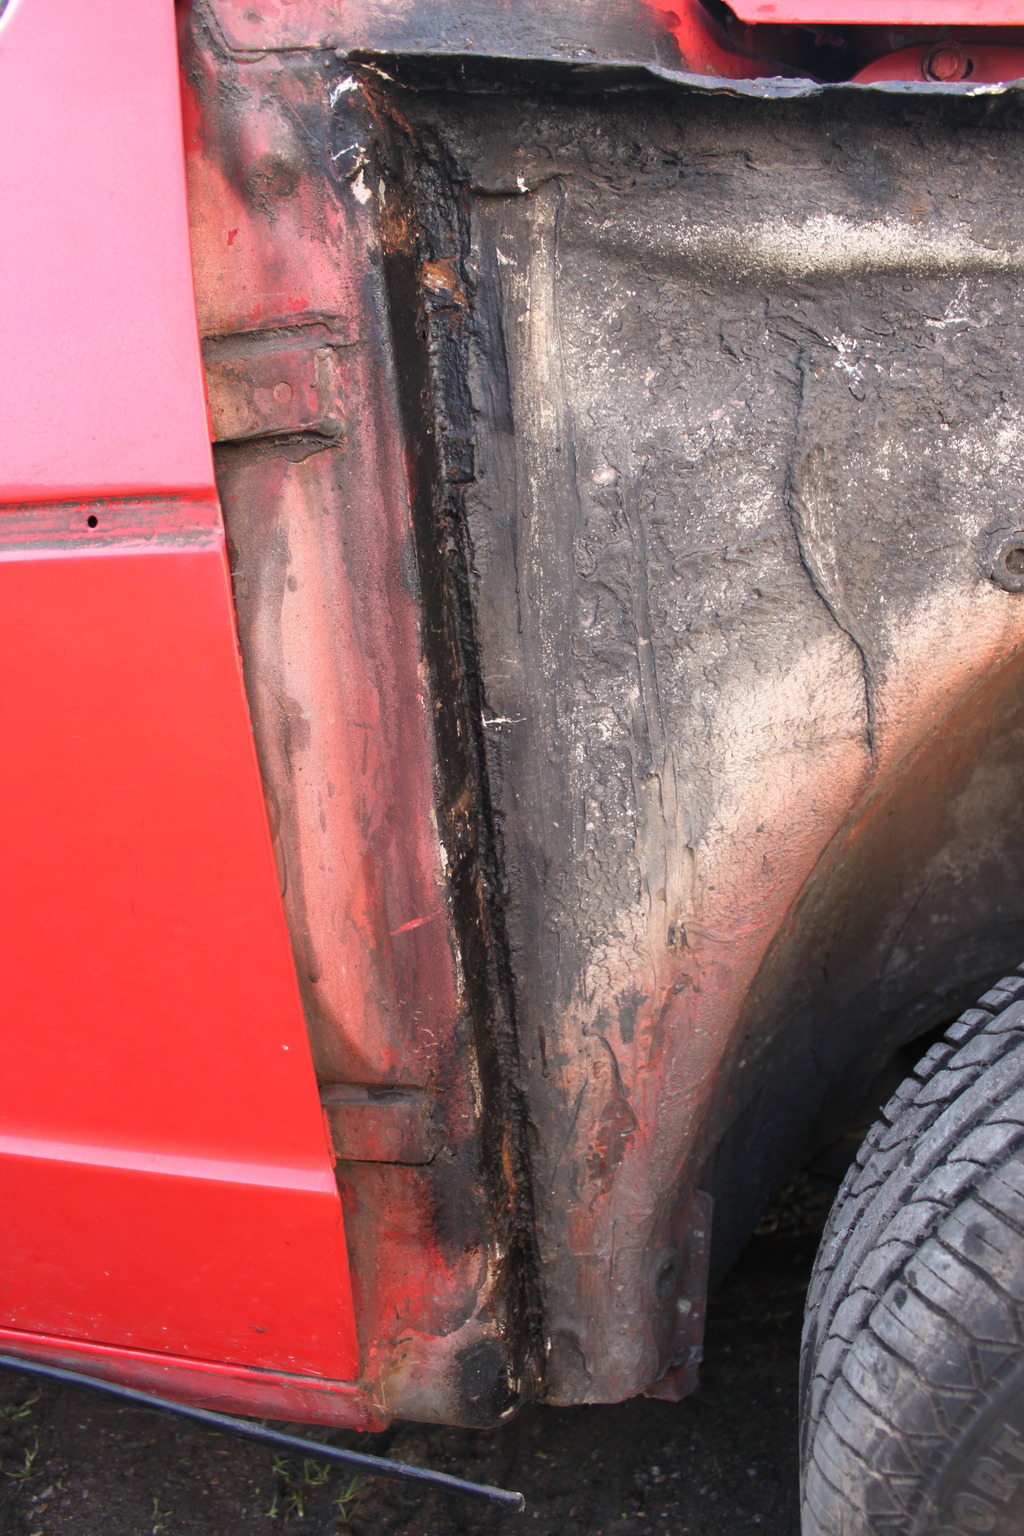
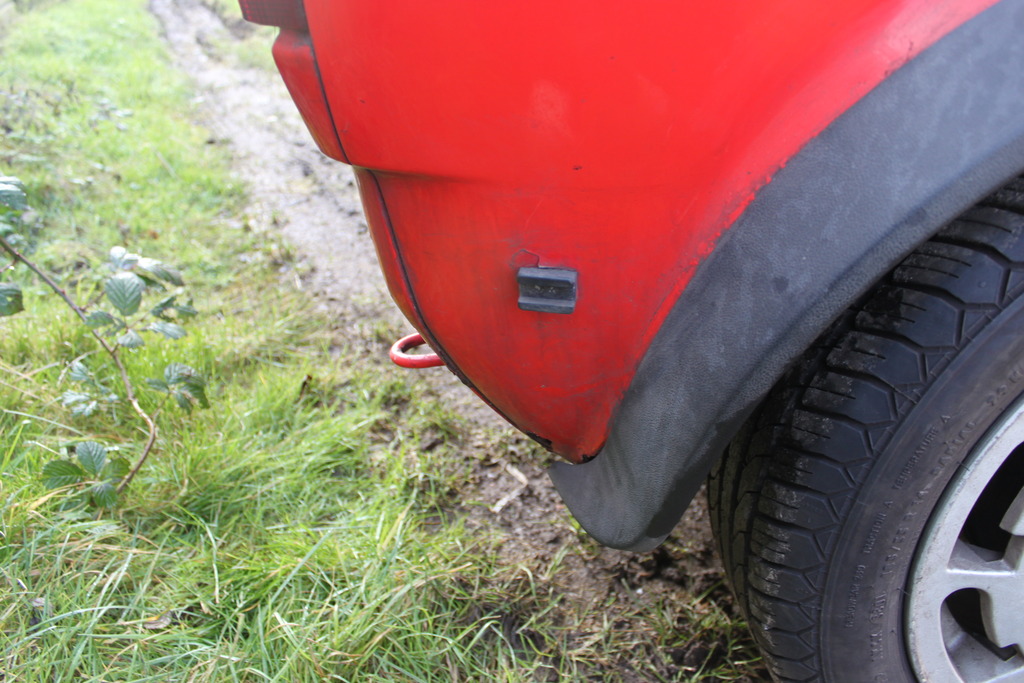
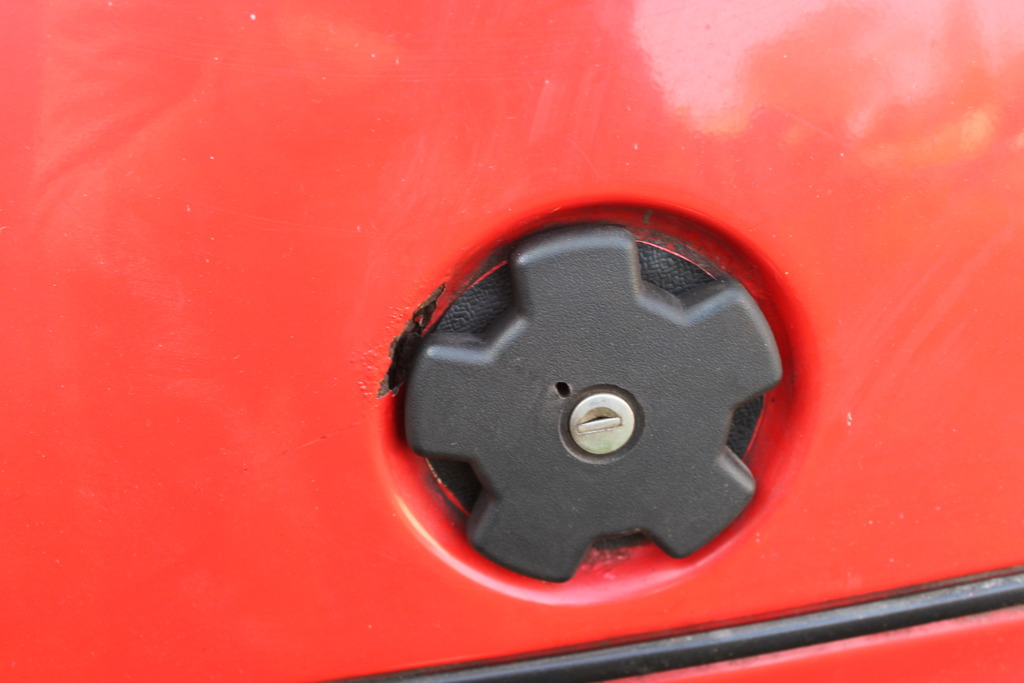
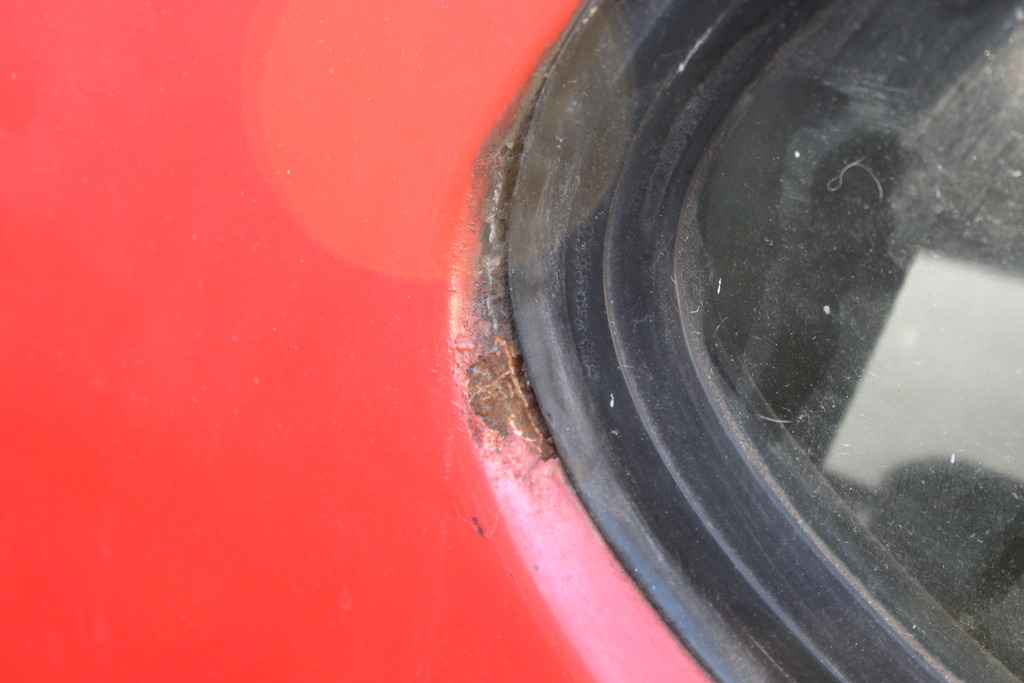
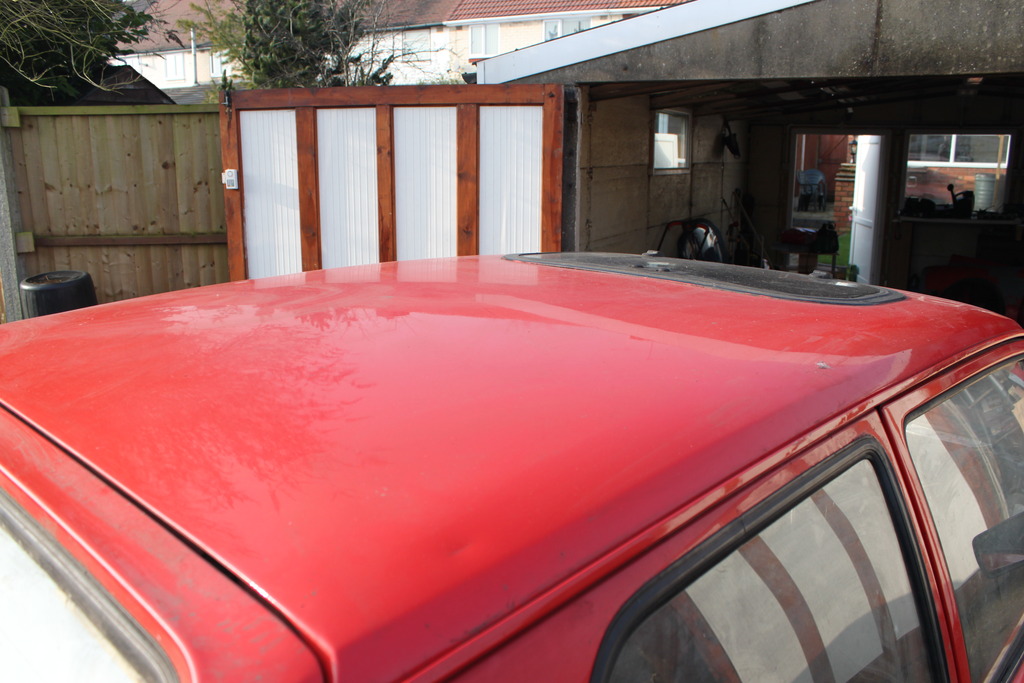
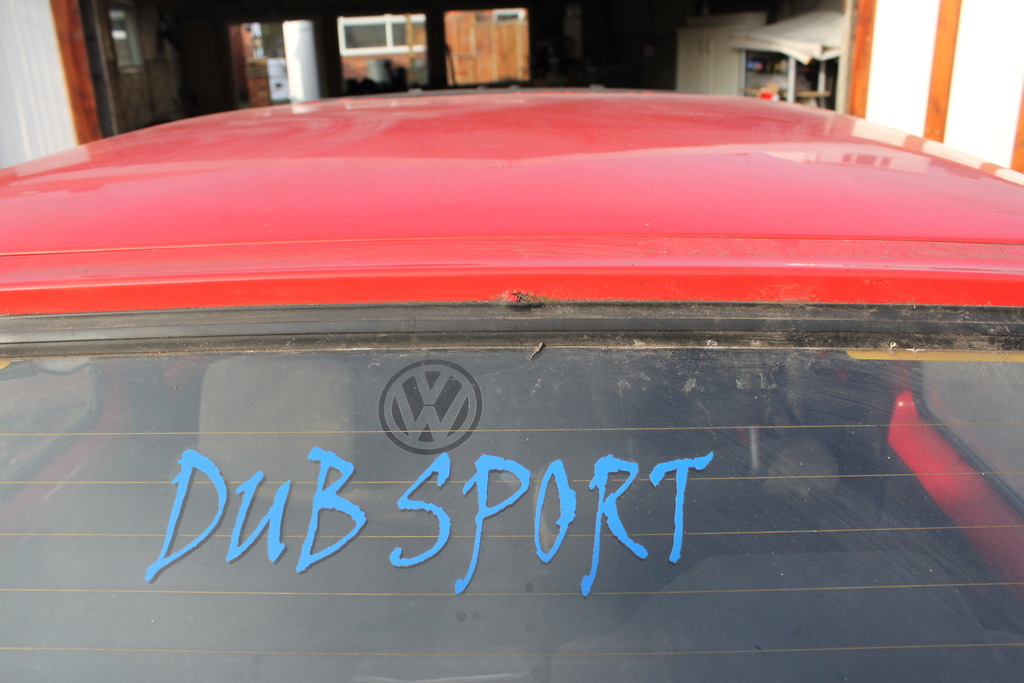
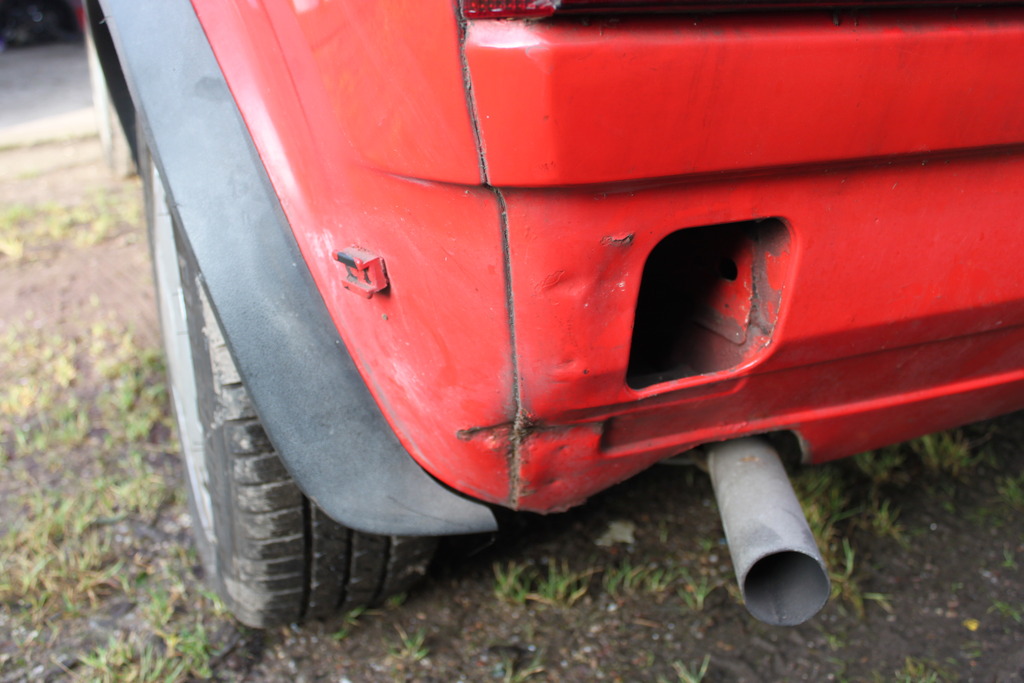
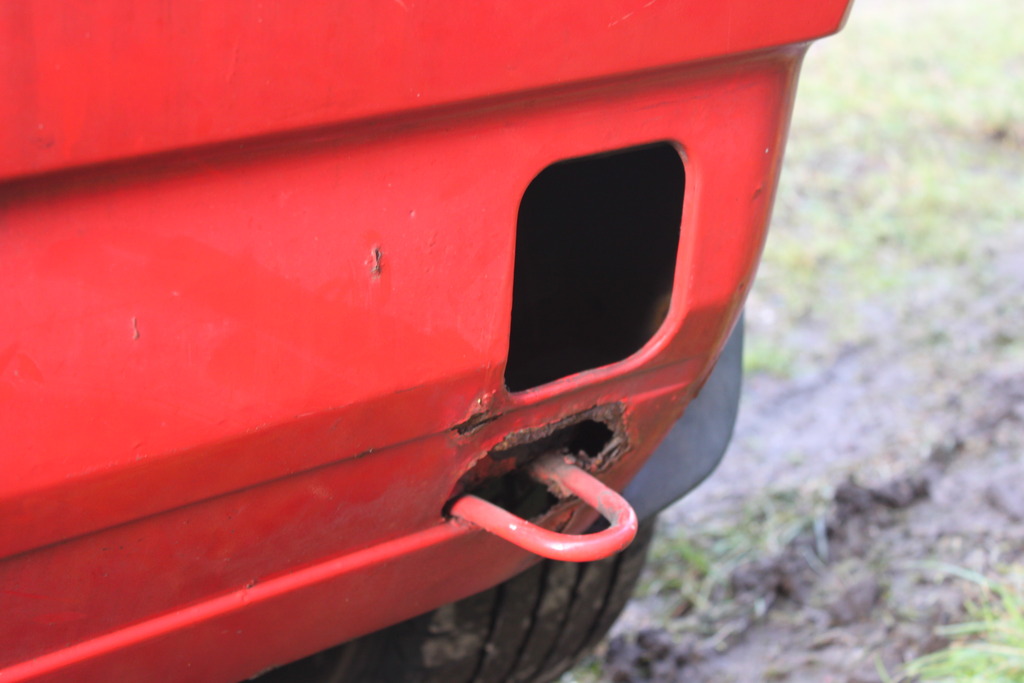
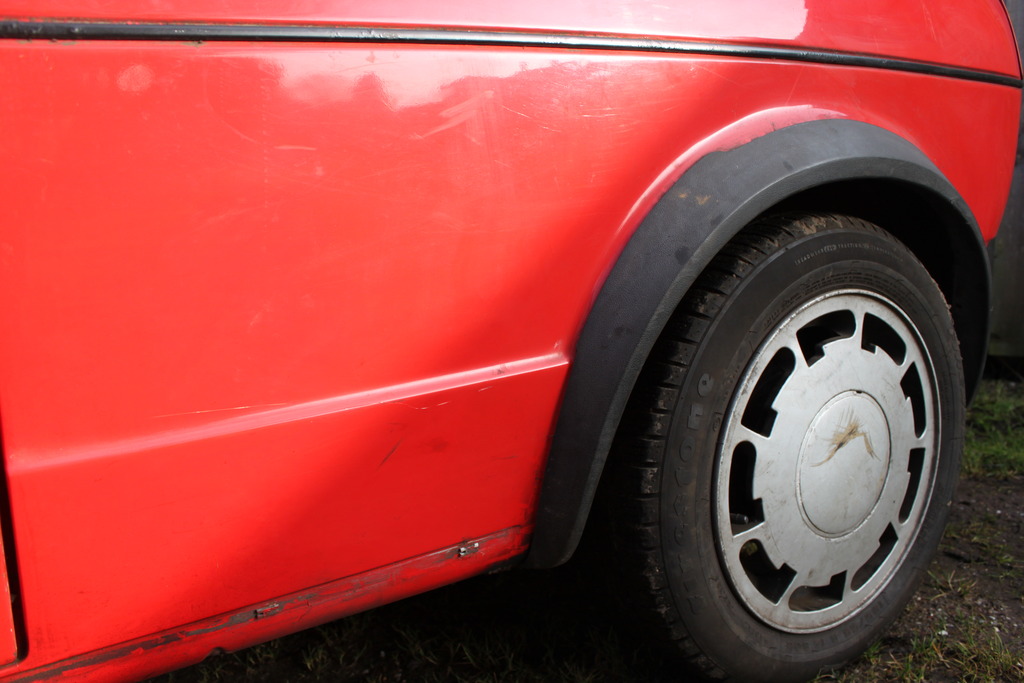
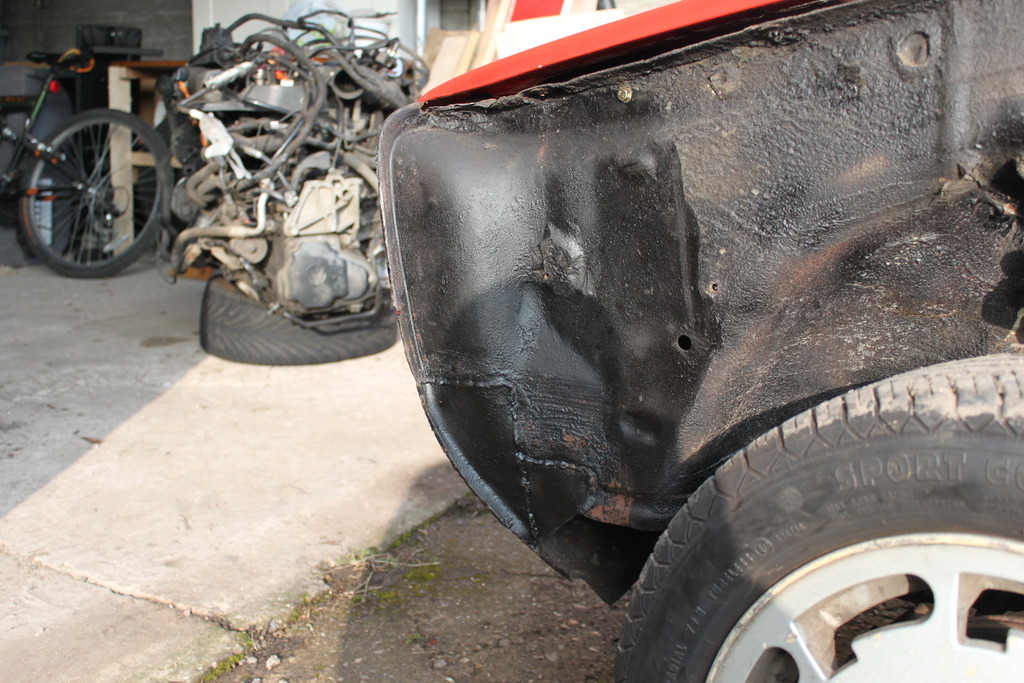
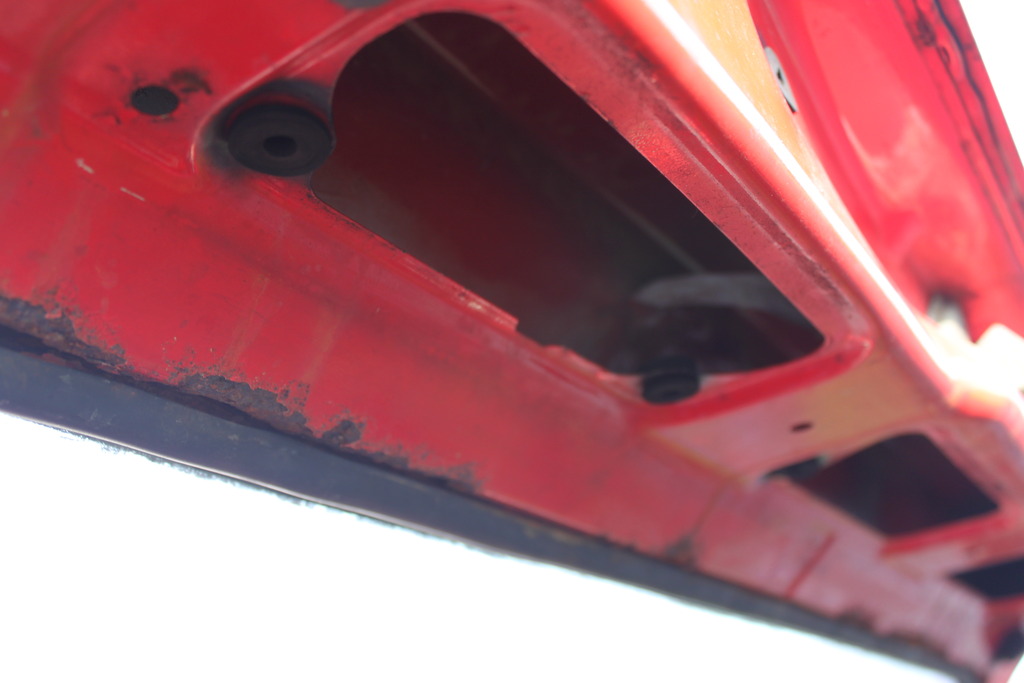
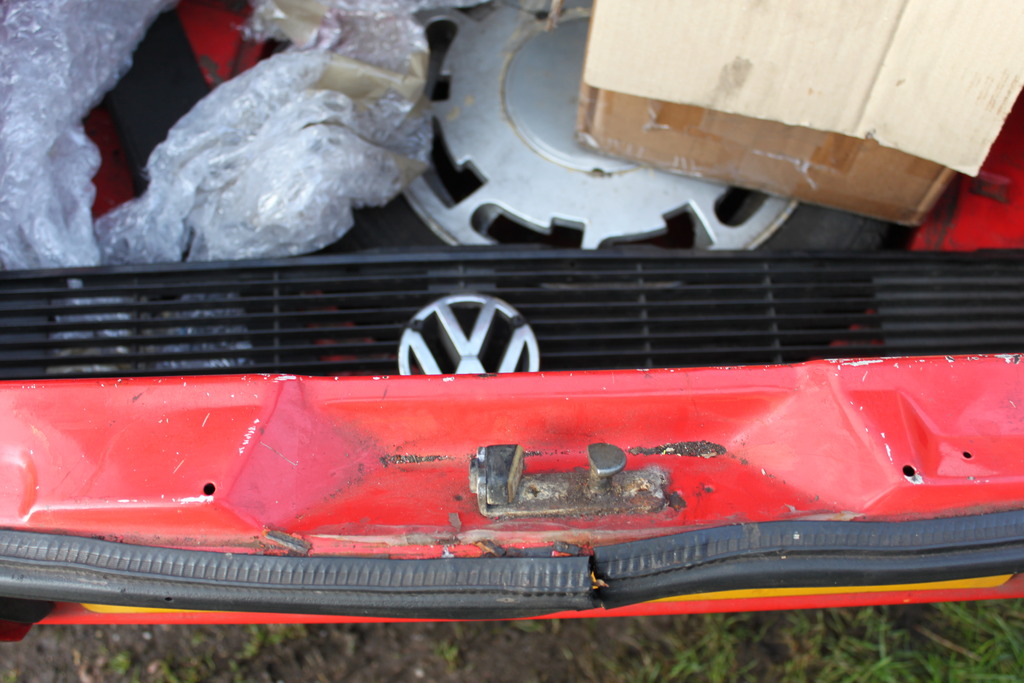
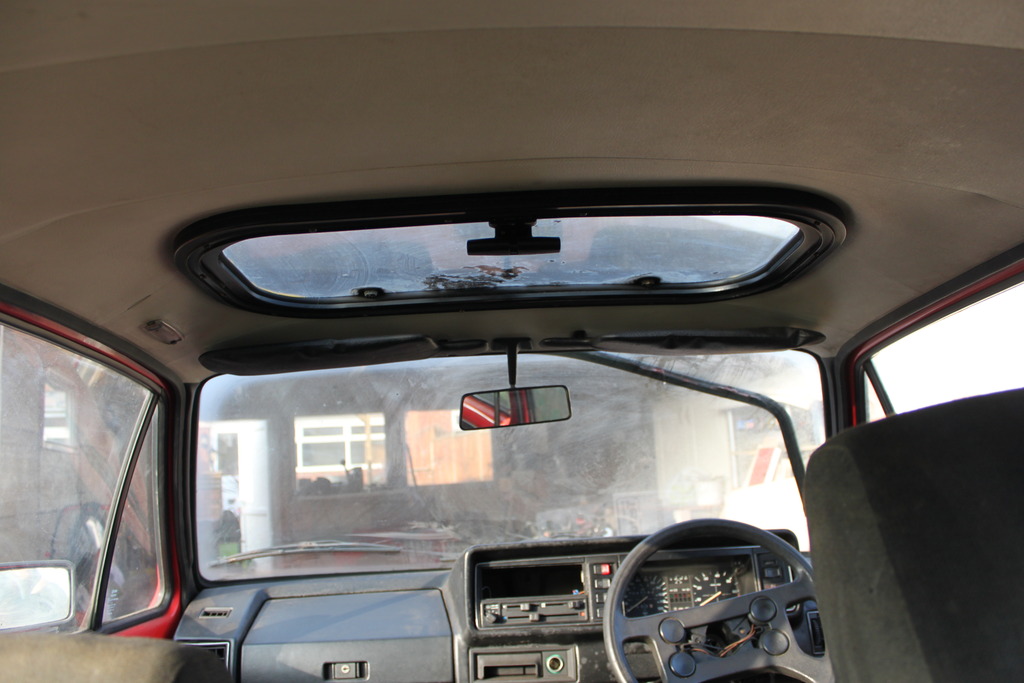
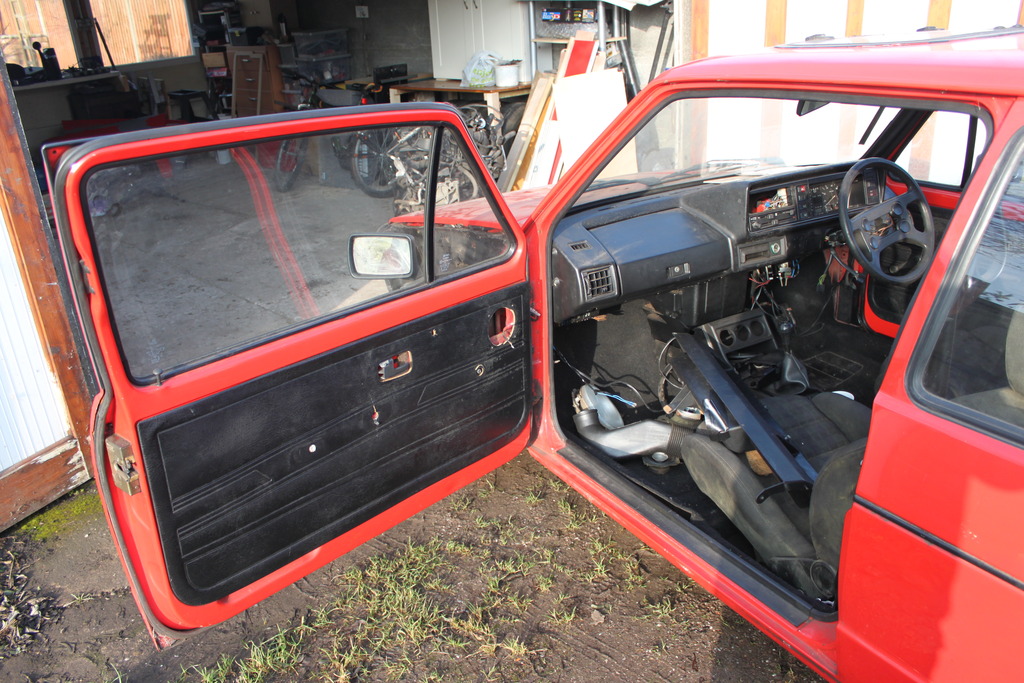
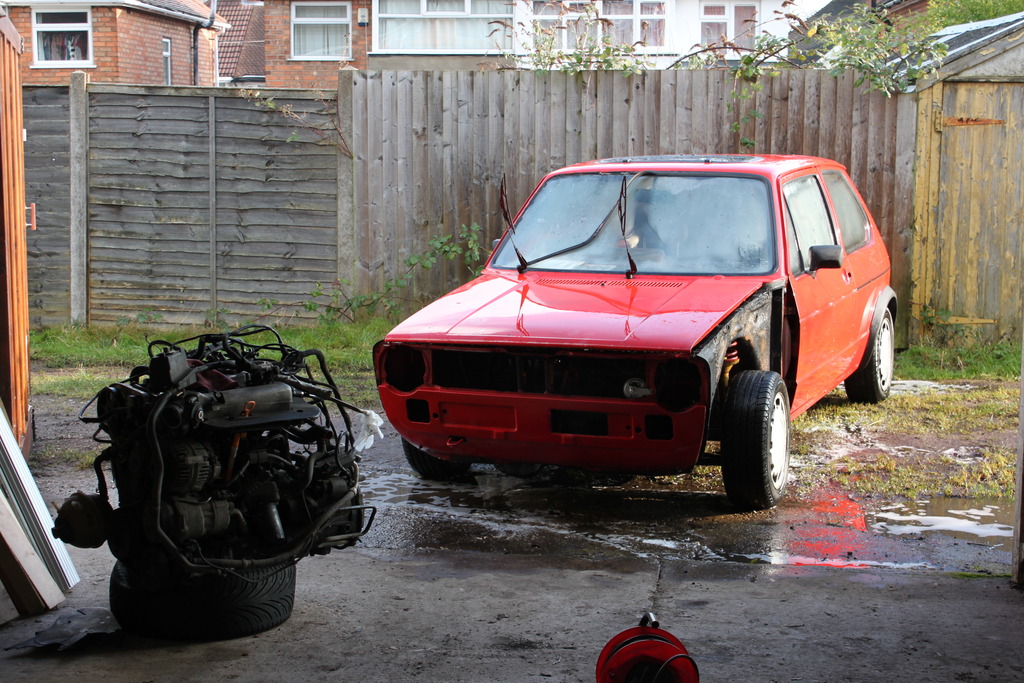
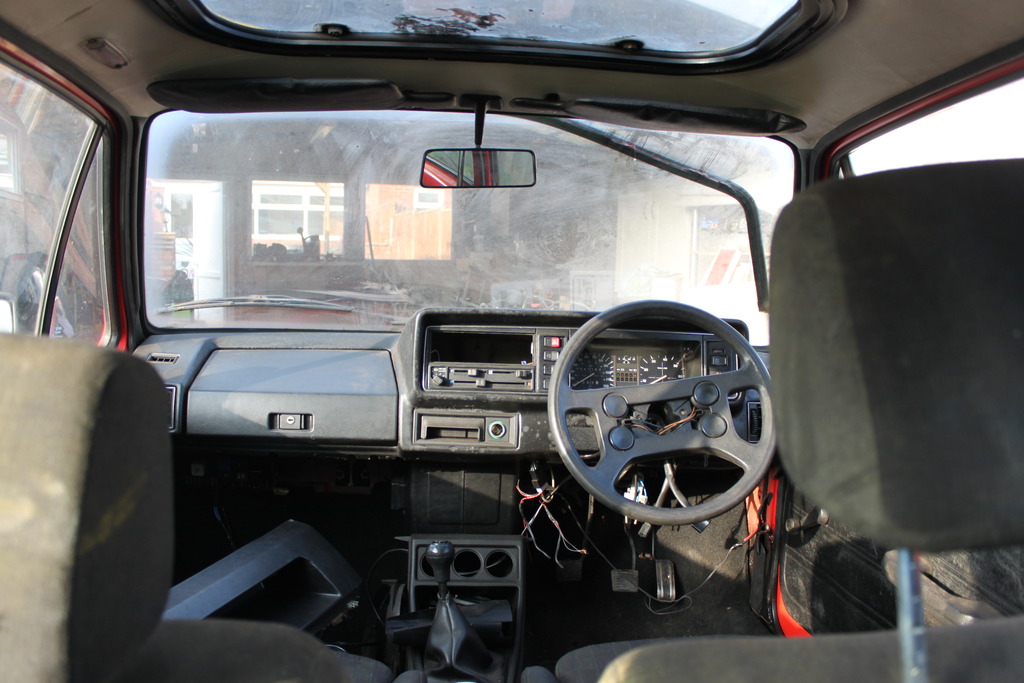
Then I started stripping the auxiliaries off the engine to remove
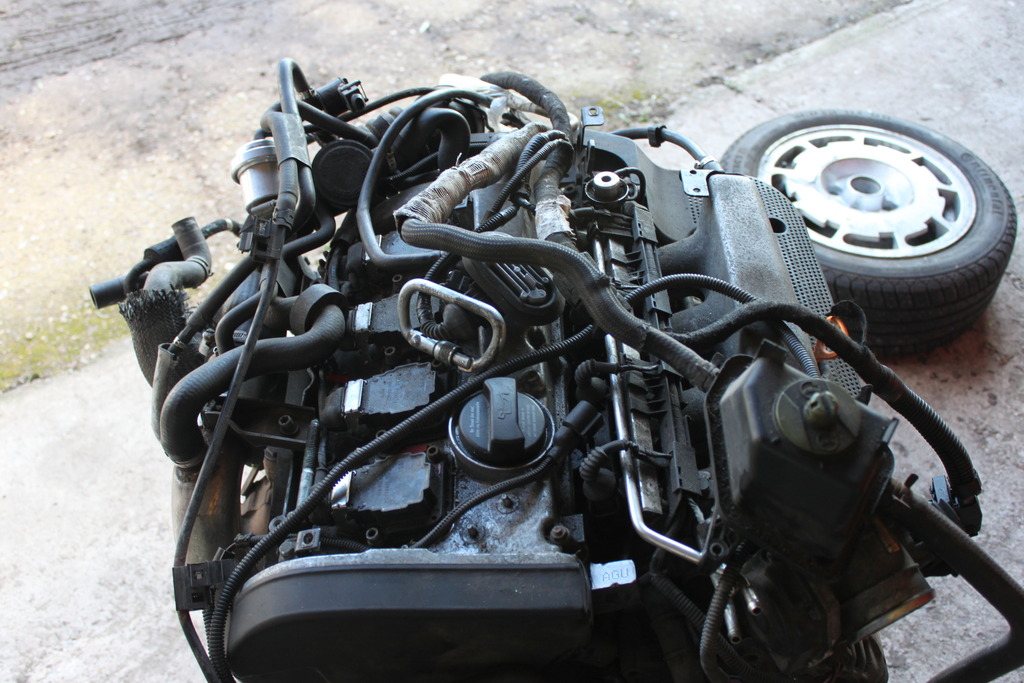
New AGU:
Posted
Settling In

- Sills
- Front floor pans
- Rear arches
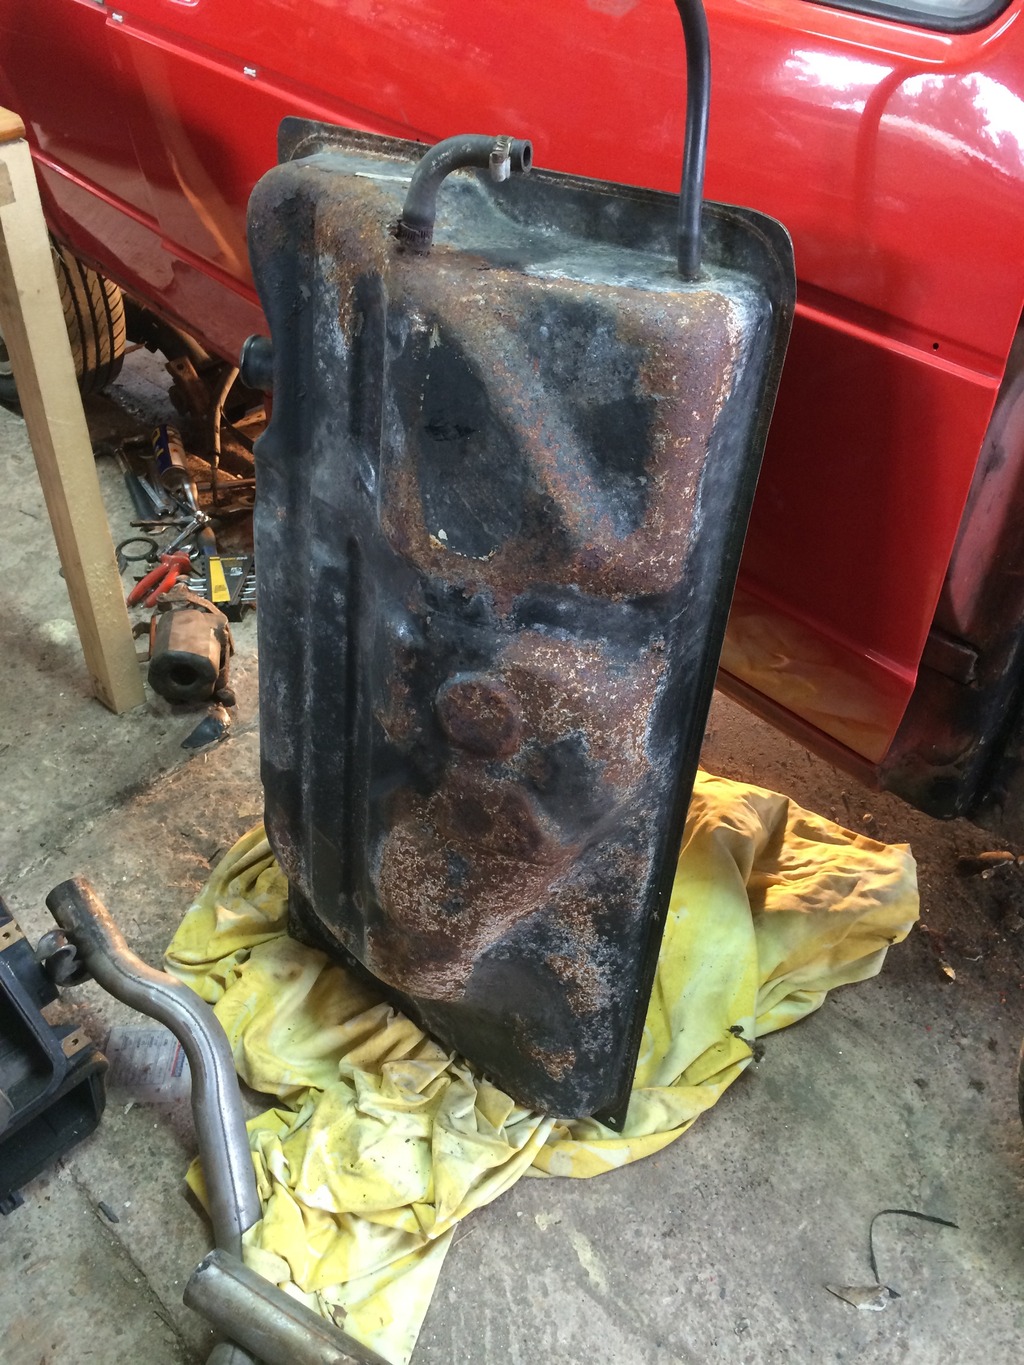
- Fuel filler cap
- Front lower valance
- Rear lower valance
- Section around tailgate latch
- Bonnet
- Tailgate
- Front inner wing bottoms
- Rear window surround patches needed
- Maybe replace roof skin with non-sunroof?
Almost doesn't seem worth repairing the shell with that list of known repairs! ….on one hand it would be quicker and cheaper to get a better condition shell (if they exist) but on the other hand I'd like to save it… and it looks like some of the common areas aren't all that crusty rusty….
At the moment I'm persuading myself I can fix it up, but seems a pretty daunting considering I've never touched a welder… I'm going to say this will be a 3-5 year resto project, and I'll hopefully learn on the fly… when I f*ck up.
 Last edit: by Dangerous44Dave
Posted
Settling In

Made use of the inspection pit:
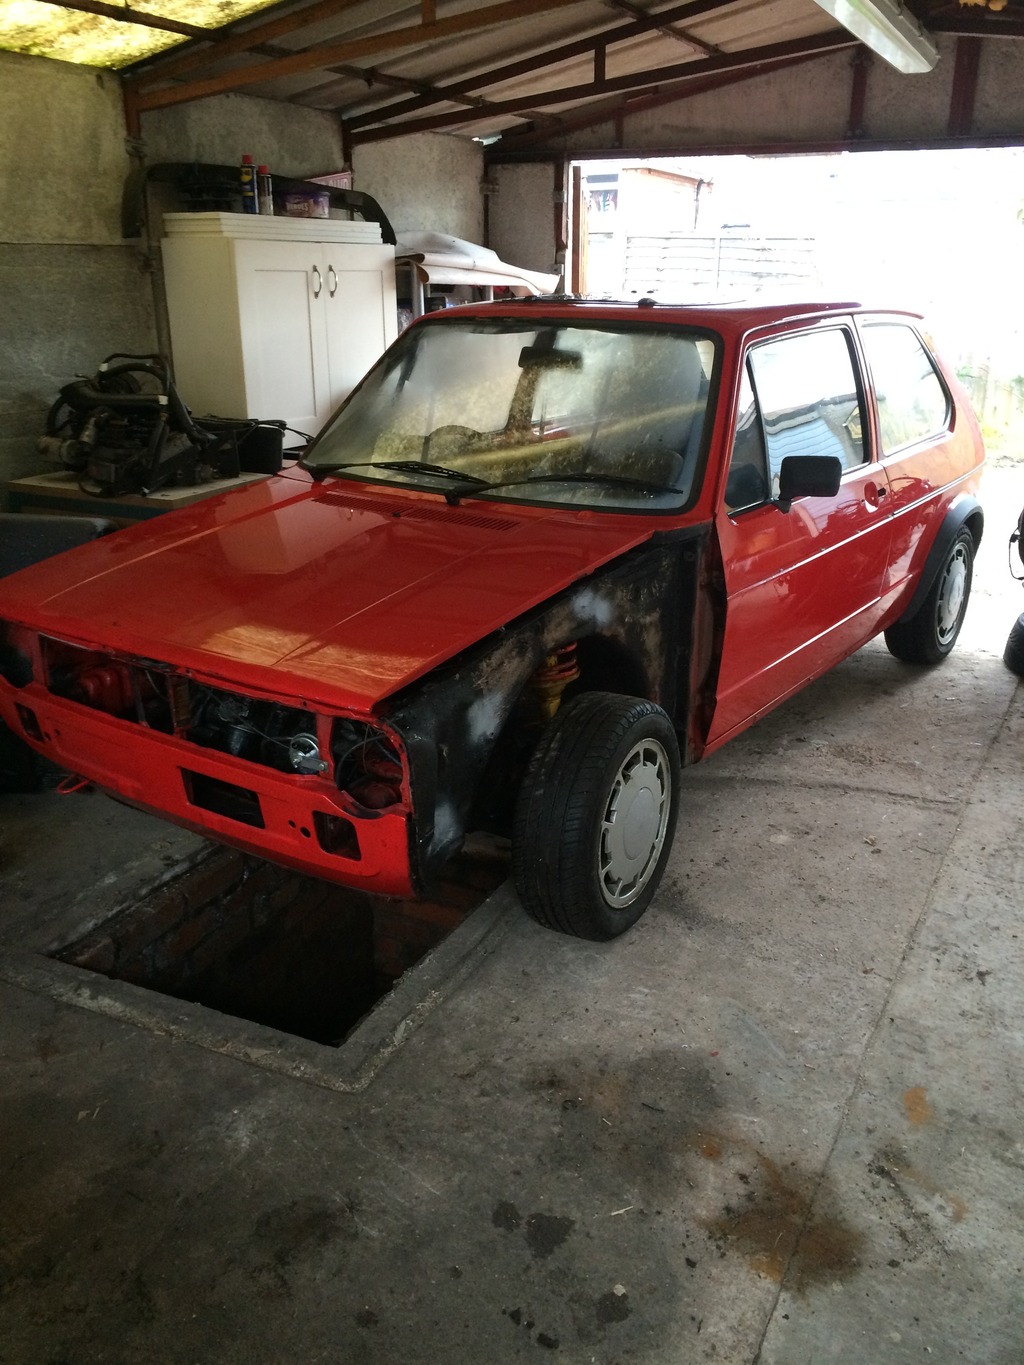
Rear lights removed, nice clumps of silicon:
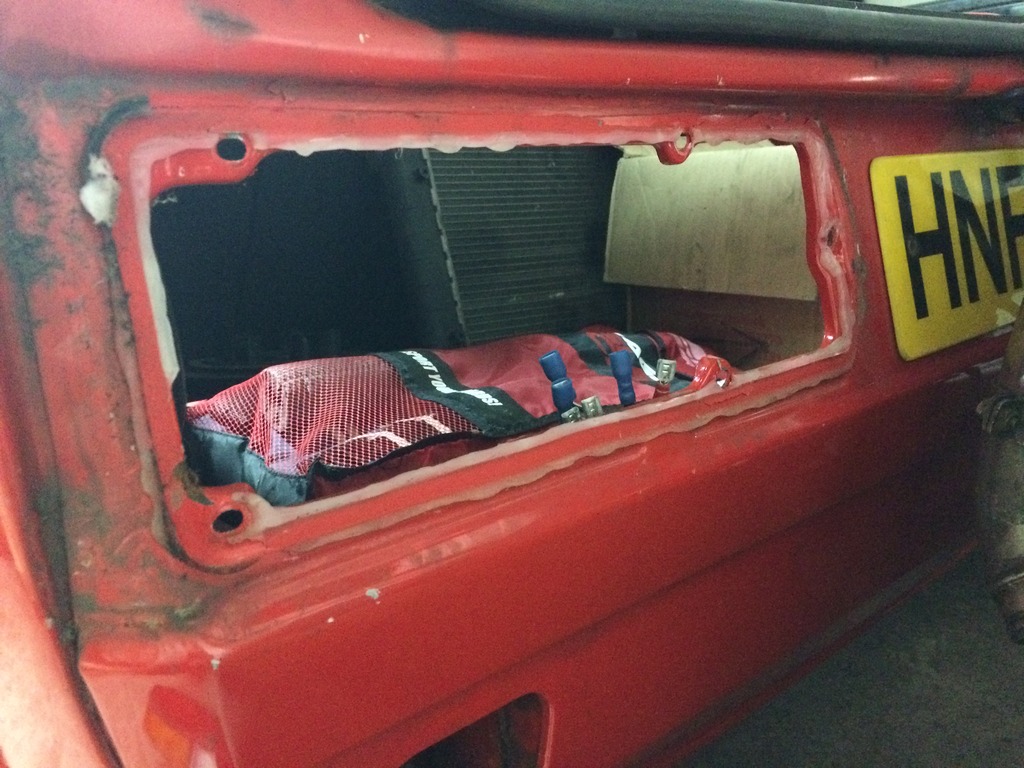
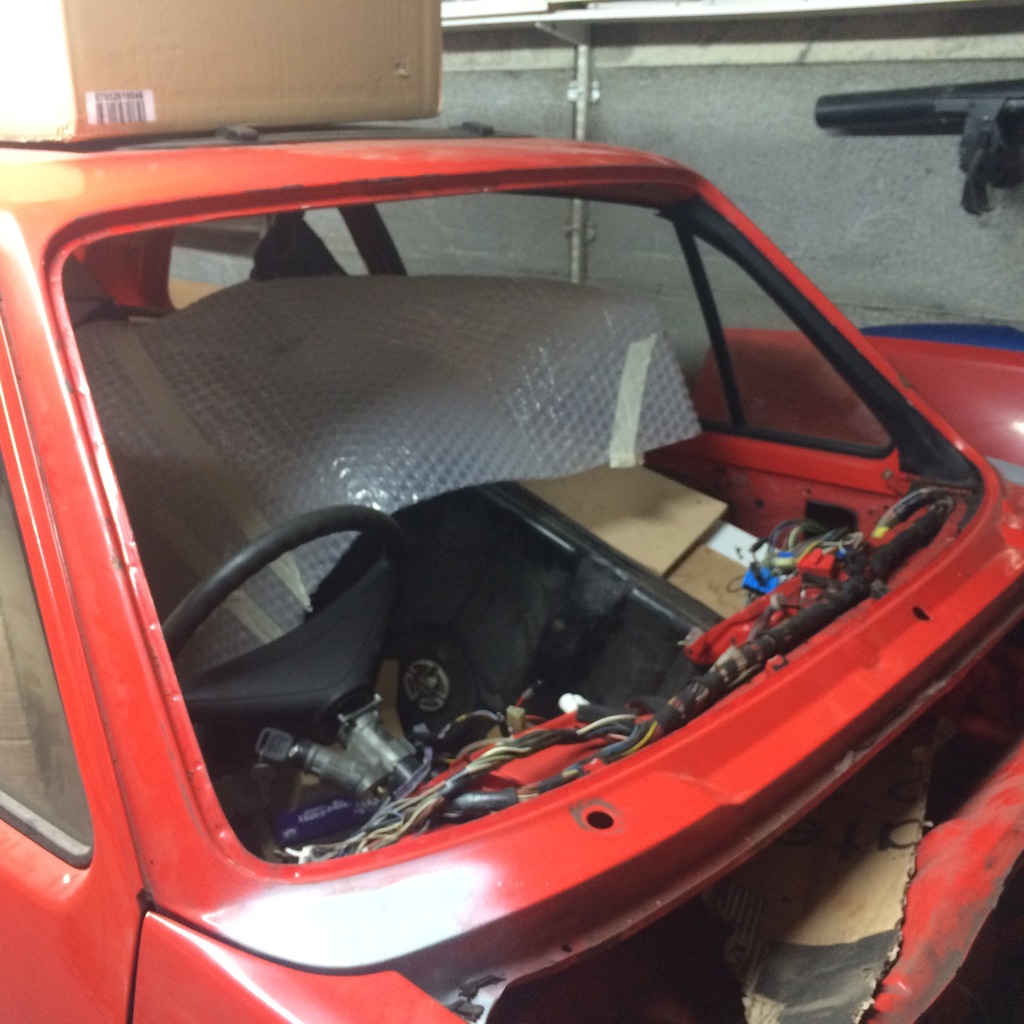
Carpets and interior out bar the rear seats which have been welded in
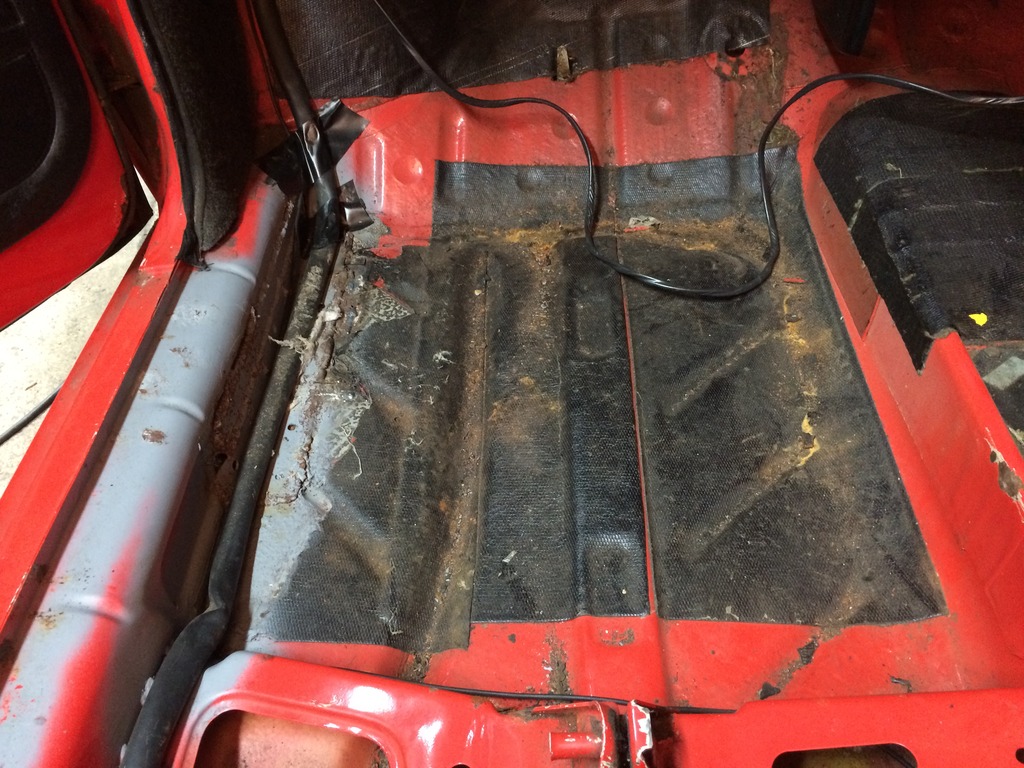
Right floor pan has been jacked up well before and nice and holey:
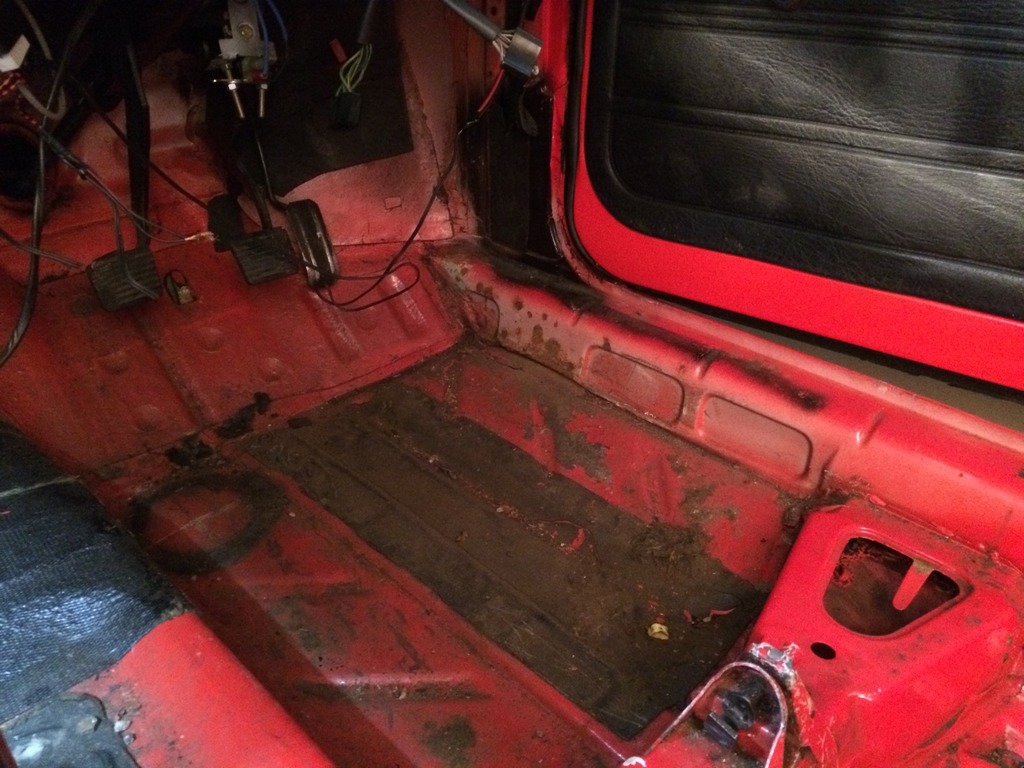
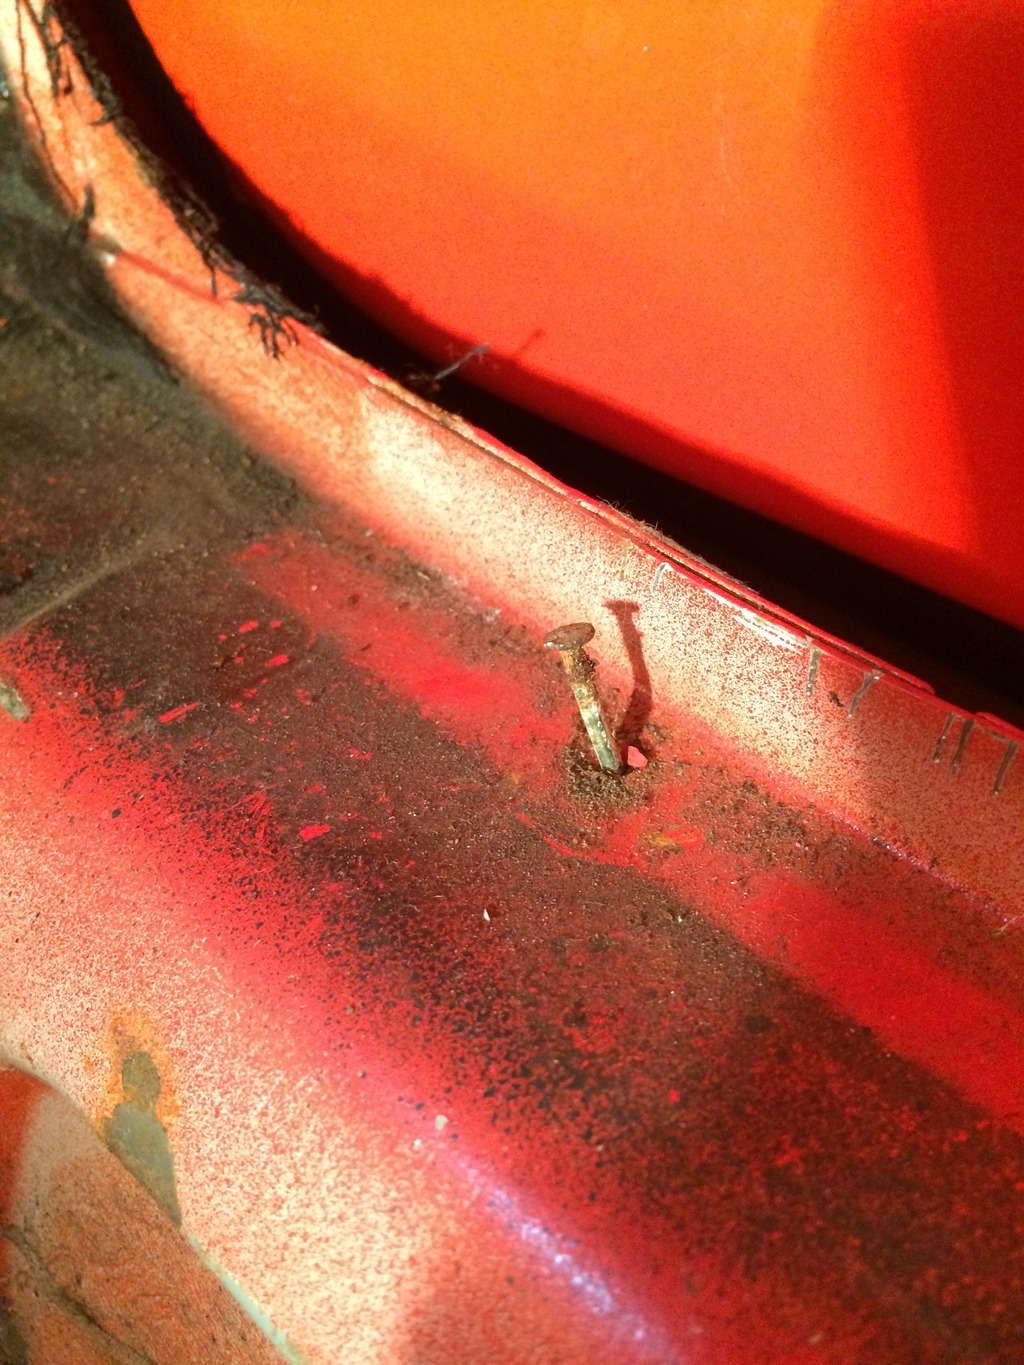
Carpet was held down with nails!
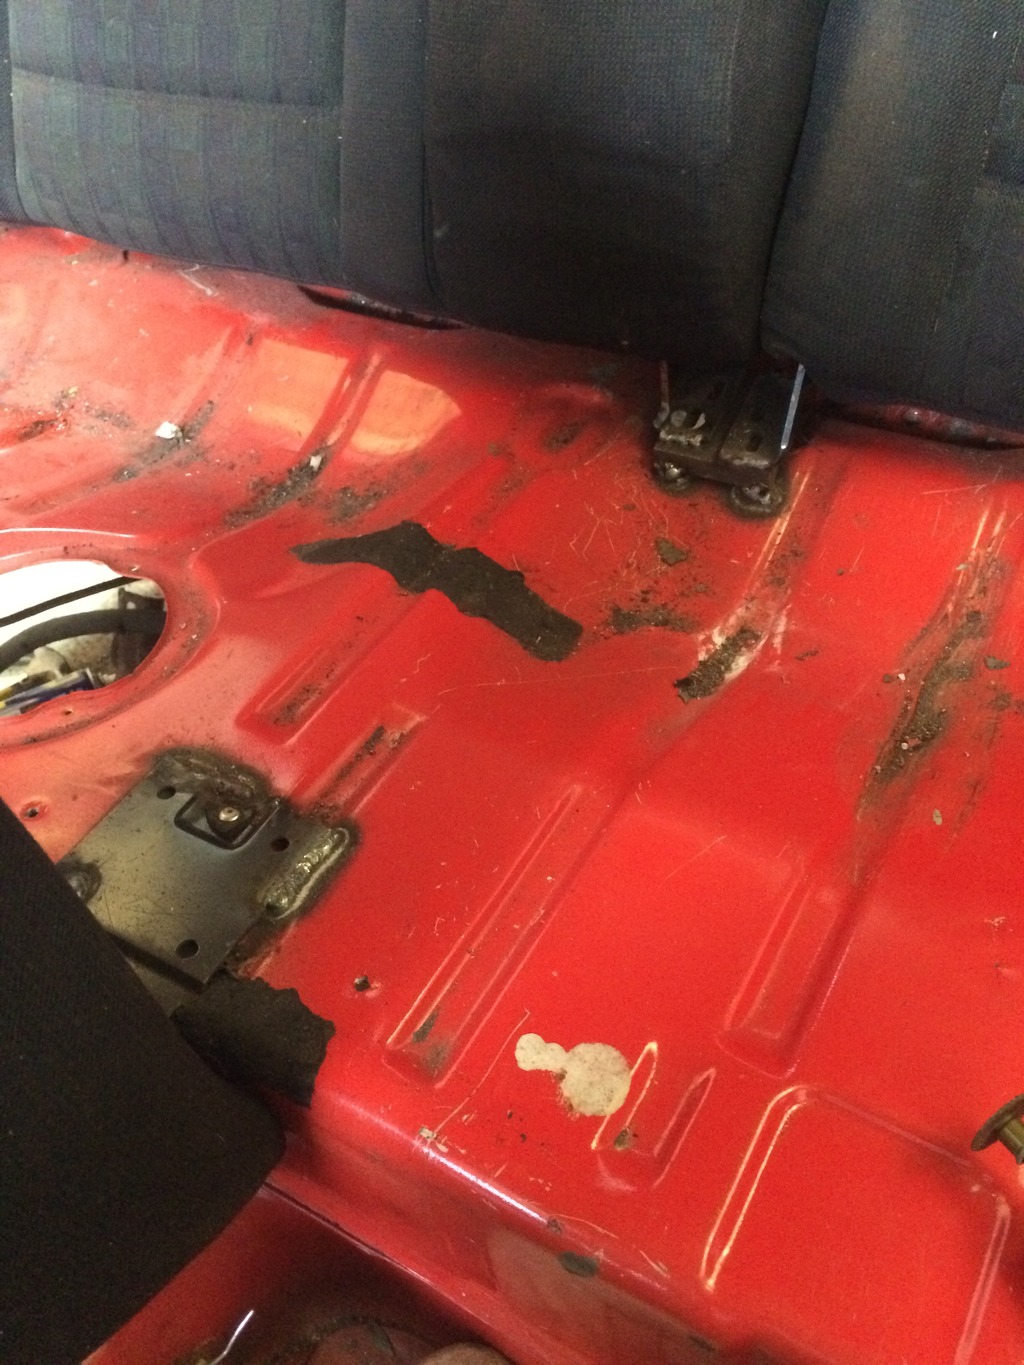
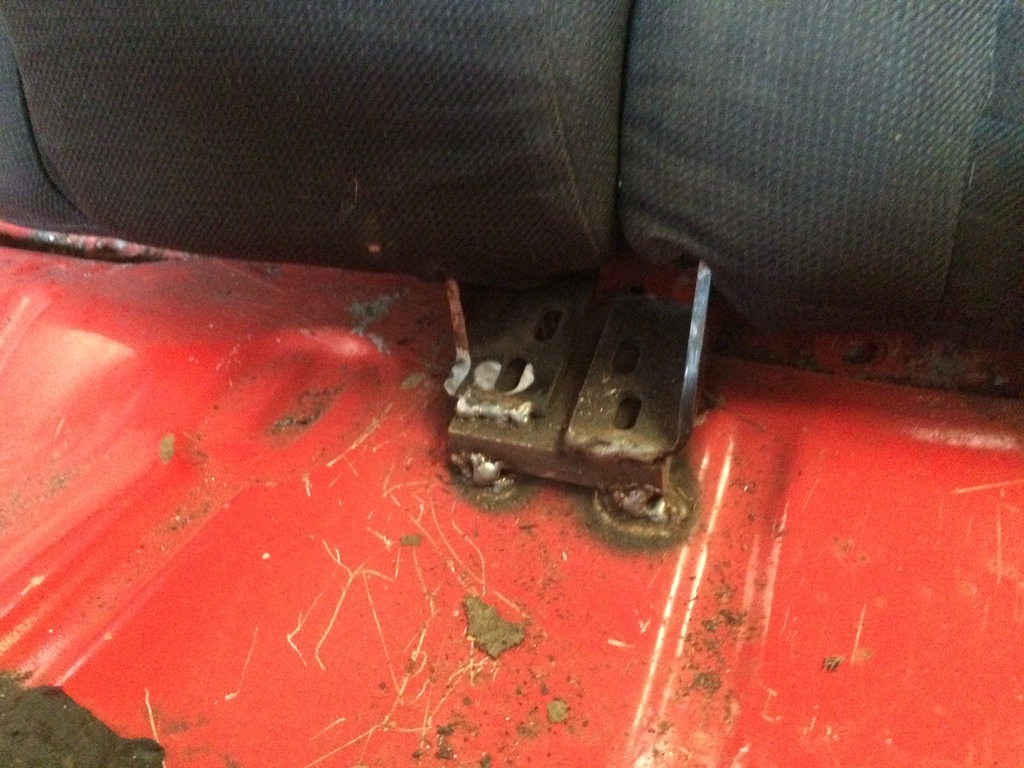
Rear seats from a corrado welded in:
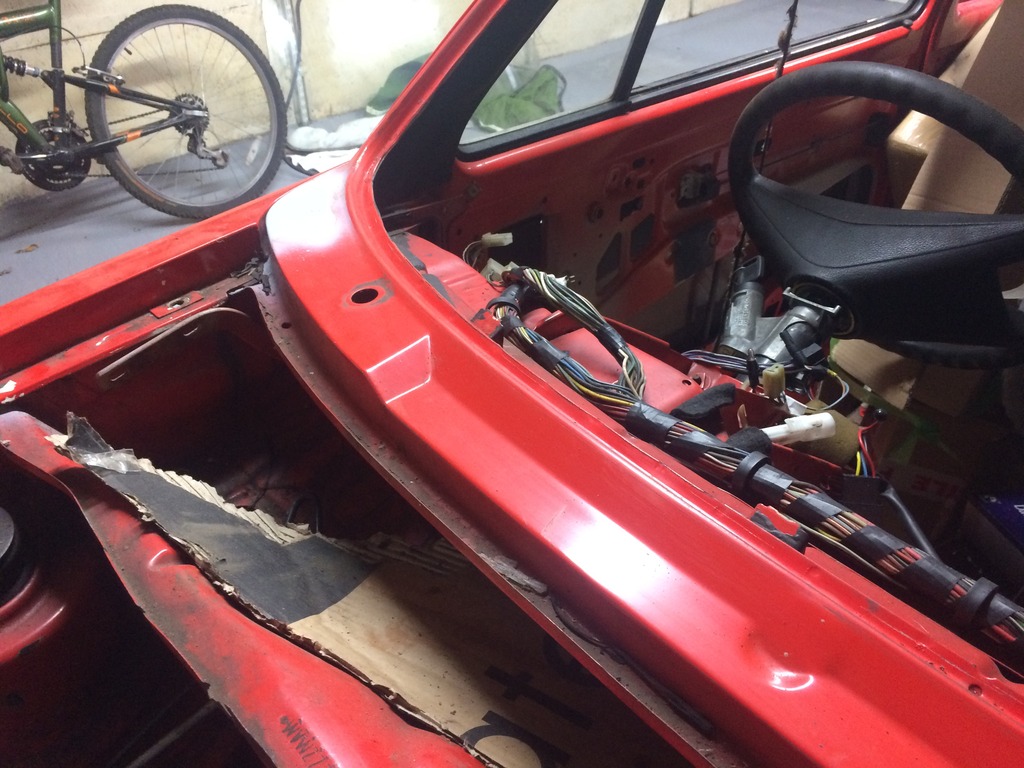
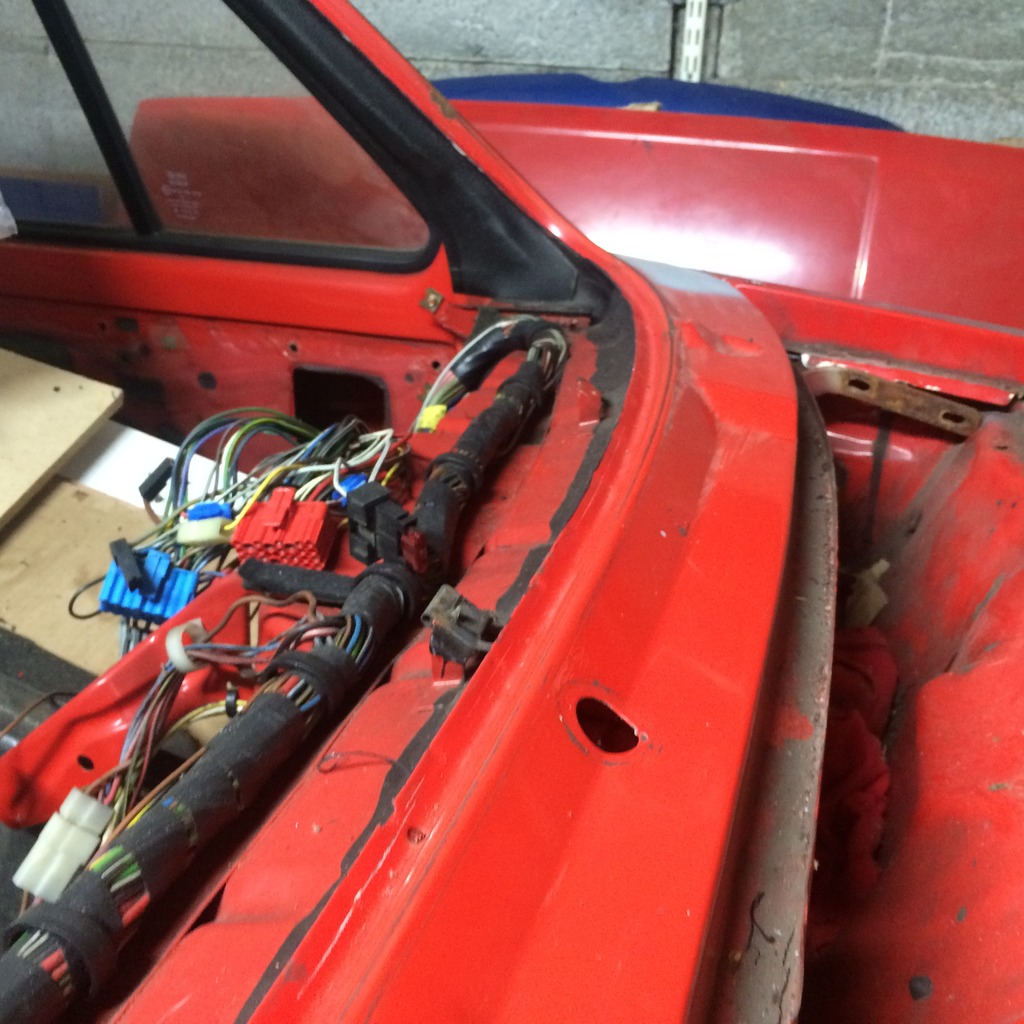
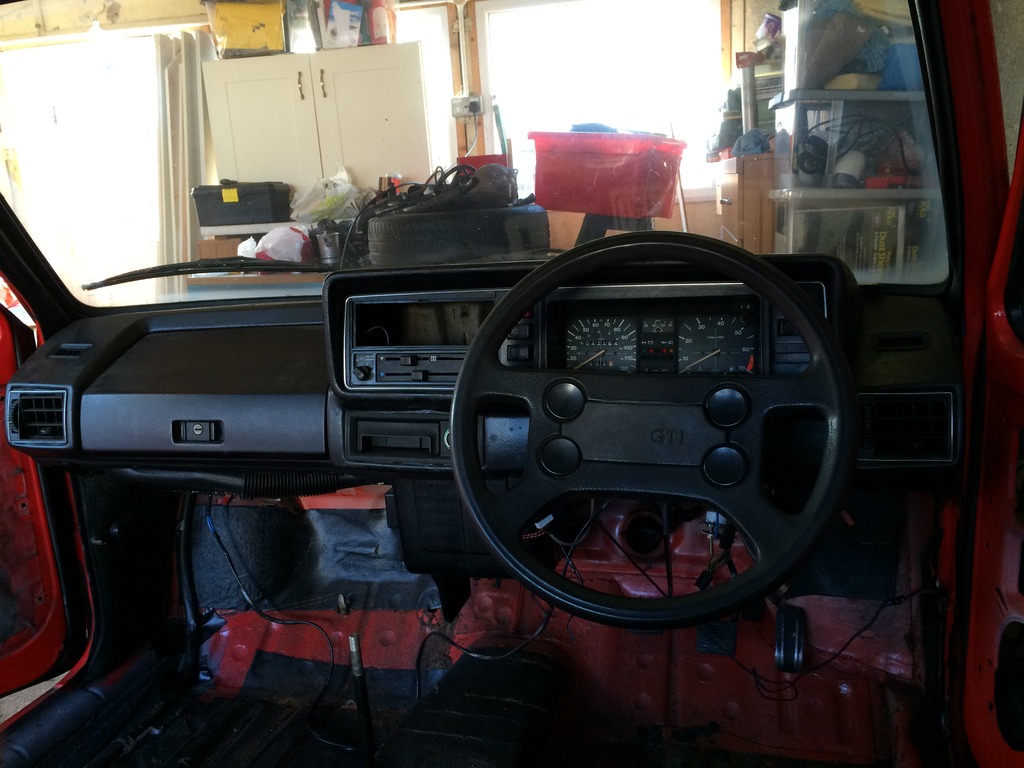
Dash before removal:

This kind of thing makes it feel worth stripping it all back:
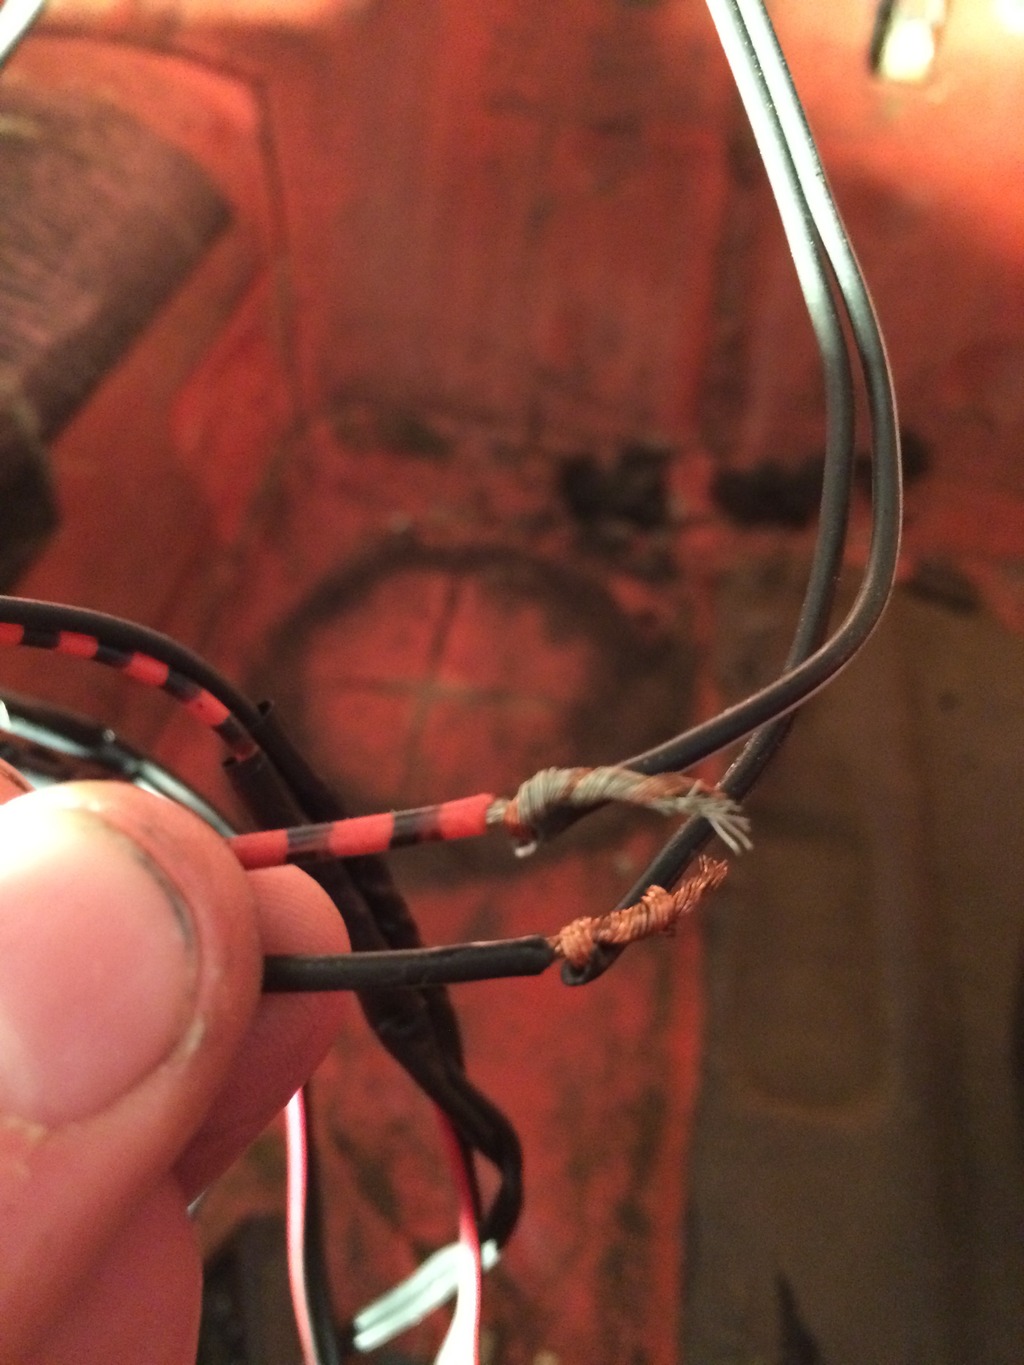
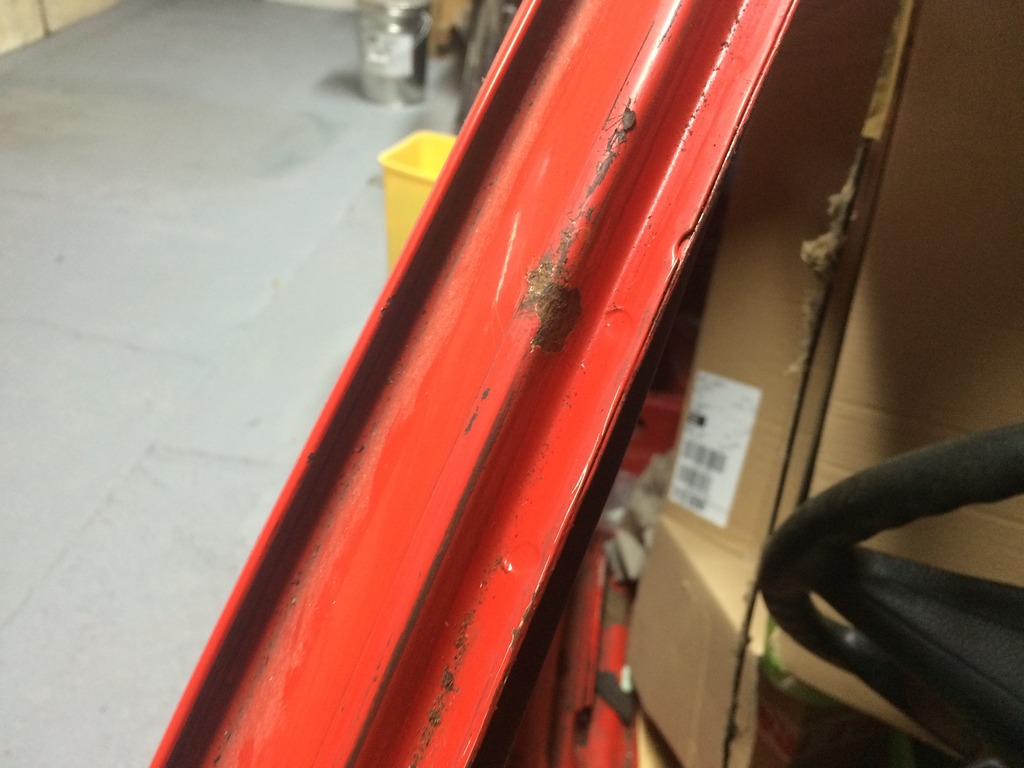
Decided to get the wire brush on a couple of areas to see if any rust was lurking:
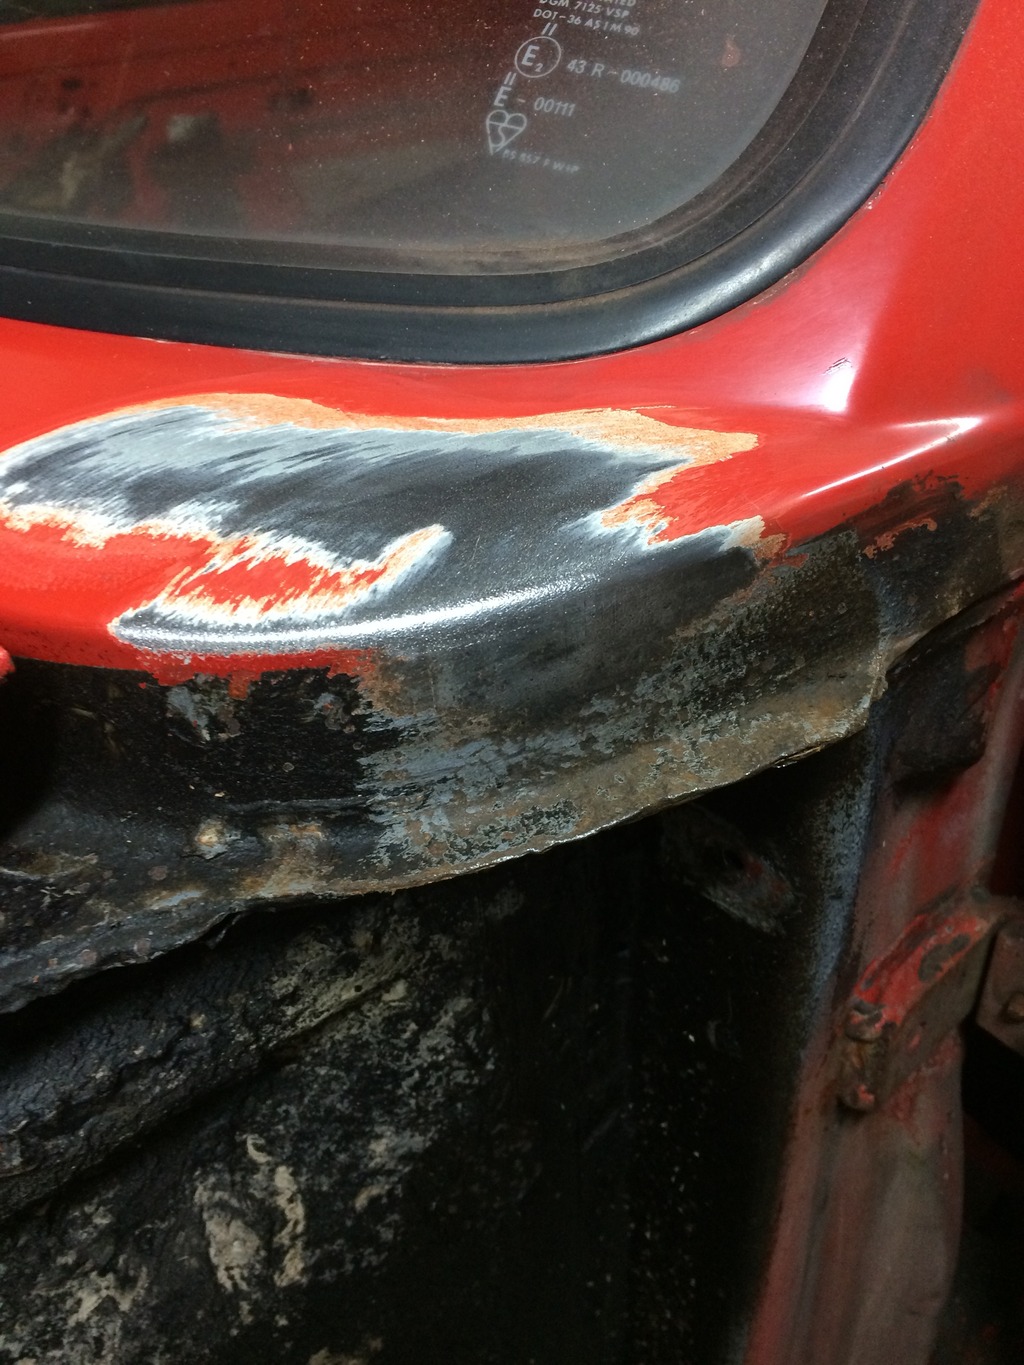
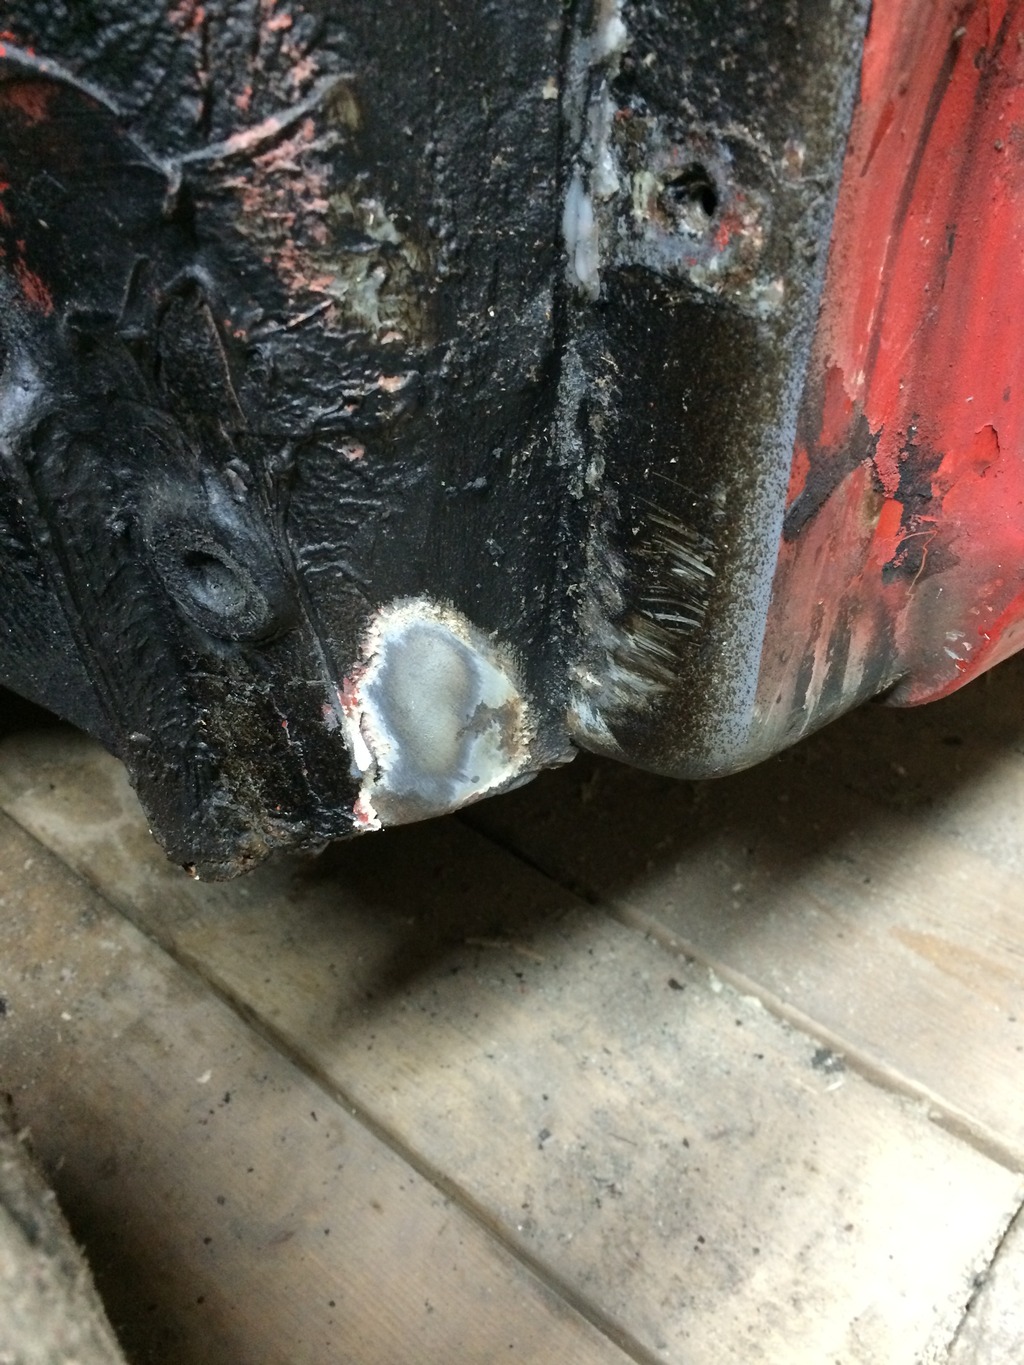
Then found this beaut:
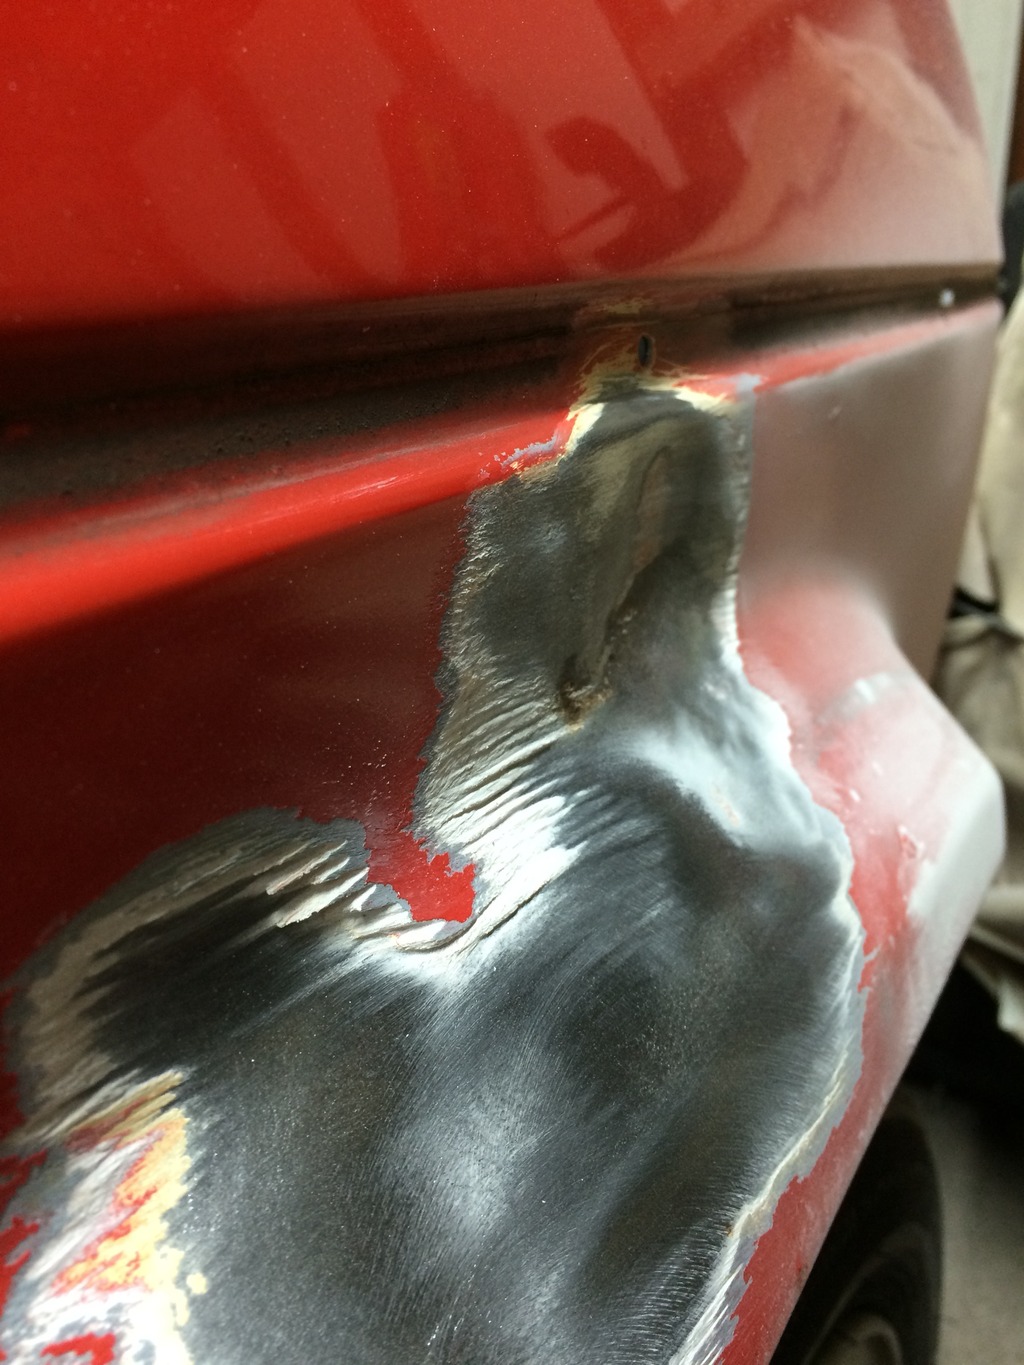
Any good suggestions of how to remove that welcomed, I'm hoping can get a repair panel up to the trim line.
Then me and a mate removed this one night:
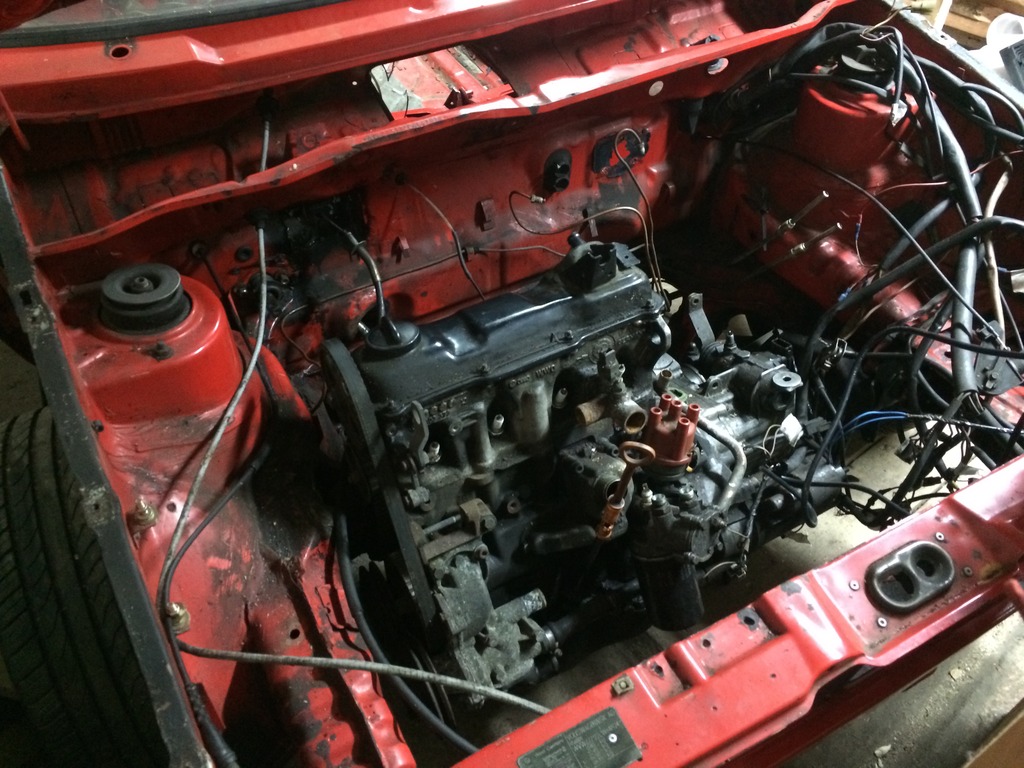
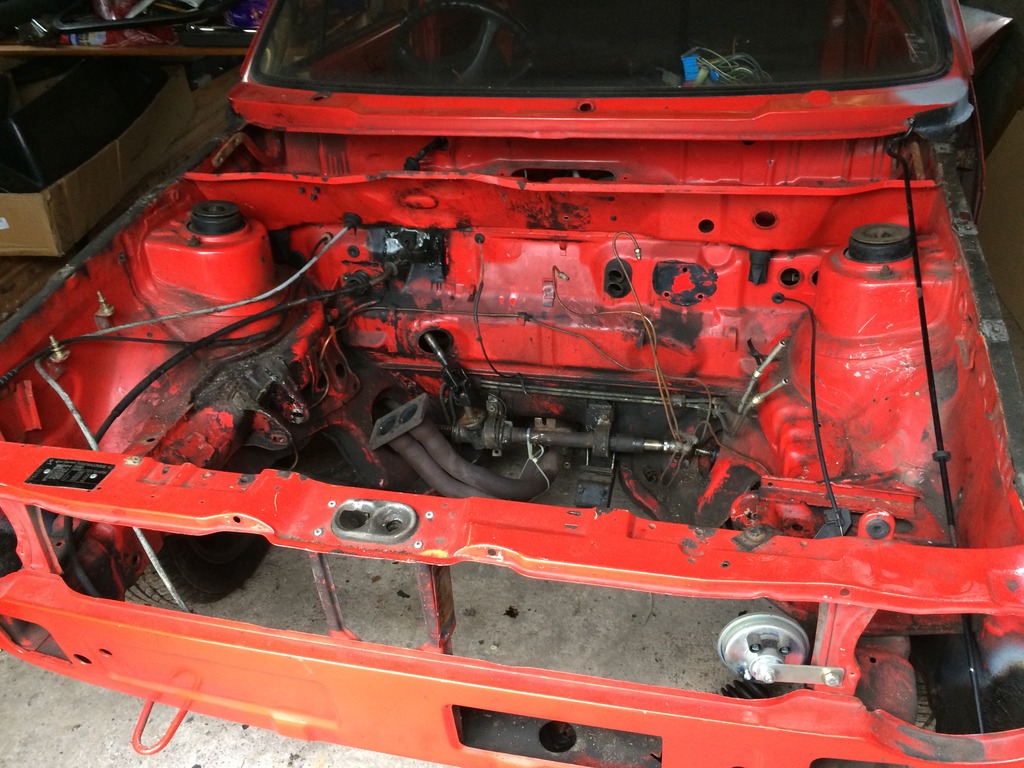
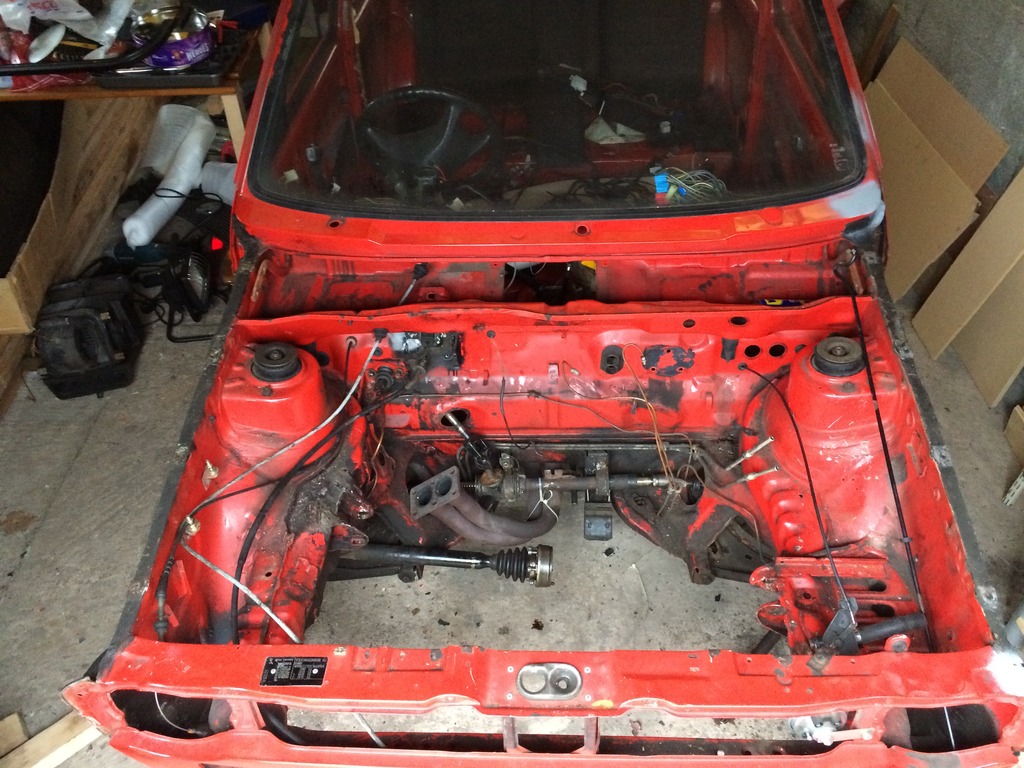
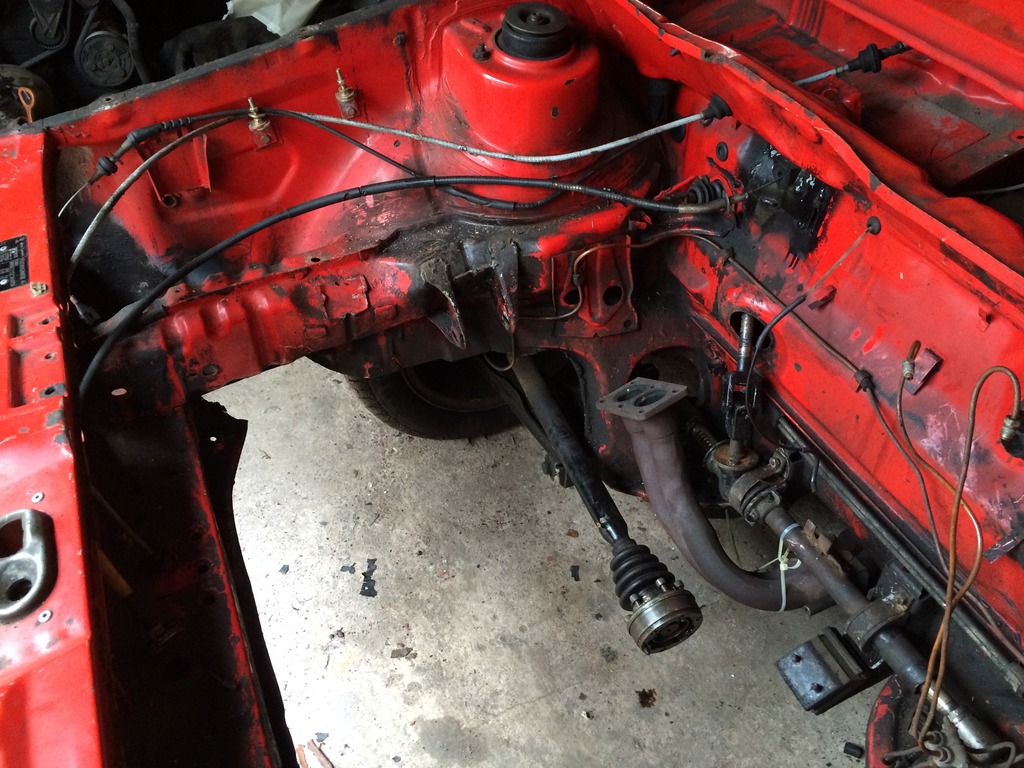
Engine mount has been moved but needs a bit of tidying up:
Posted
Settling In

Posted
Settled In

You'll get a huge sense of satisfaction learning to weld. My only piece of advice (a novice myself) is when you welding two pieces of metal together with a but joint, leave an approx gap of 1mm between the two otherwise the two side will push up or create a valley when you weld them. I learnt that watching project binky after my rear arches had warped.
Oh and the carpet nails are actually original factory
Posted
Settling In

MR_LONG said
Looks like a decent project. The bonus of doing a mk1 is the amount of replacement panels/ parts that are available.
You'll get a huge sense of satisfaction learning to weld. My only piece of advice (a novice myself) is when you welding two pieces of metal together with a but joint, leave an approx gap of 1mm between the two otherwise the two side will push up or create a valley when you weld them. I learnt that watching project binky after my rear arches had warped.
Oh and the carpet nails are actually original factory
Thanks! Good pointer on welding - hadn't thought of that. Looking forward to getting into it, just looking at buying the gear at the moment; a welder and likely to get a roll over jig to make things easier.
Ha! Didn't know about the nails, should have kept them for originality!
Posted
Old Timer

nice spacious garage too. love the p-slot alloys
best of luck
matt
Posted
Settling In

pazwaa said
nice looking project, not too bad condition, for a mk1 golf
nice spacious garage too. love the p-slot alloys
best of luck
matt
Thanks, I'm in two minds to keep the p slots or not, might keep them as a second set.
Posted
Settling In

Posted
Old Timer

Posted
Settling In

PIRELLI P said
Hard to tell from the pictures but you might have a mixture of Mk1 and Mk2 P slots there,see how many A's you have on the end of the part no in the wheel centre
I'll have a look again later, don't think I've actually had a wheel off it yet! Dropped the rear beam with wheels still attached. Would be good if they're the rarer mk1 P slots, they're 15" but they don't have the rare pirelli stamped centres :/
alexHxC said
Looks like a good project mate definitely not the worst condition that's been seen on here! Enjoy the journey 👍
Thanks! A lot of rot, but not that much is how I describe it! haha
Posted
Settling In

Got a rollover jig kit to weld together then can start to tackle the metal work.
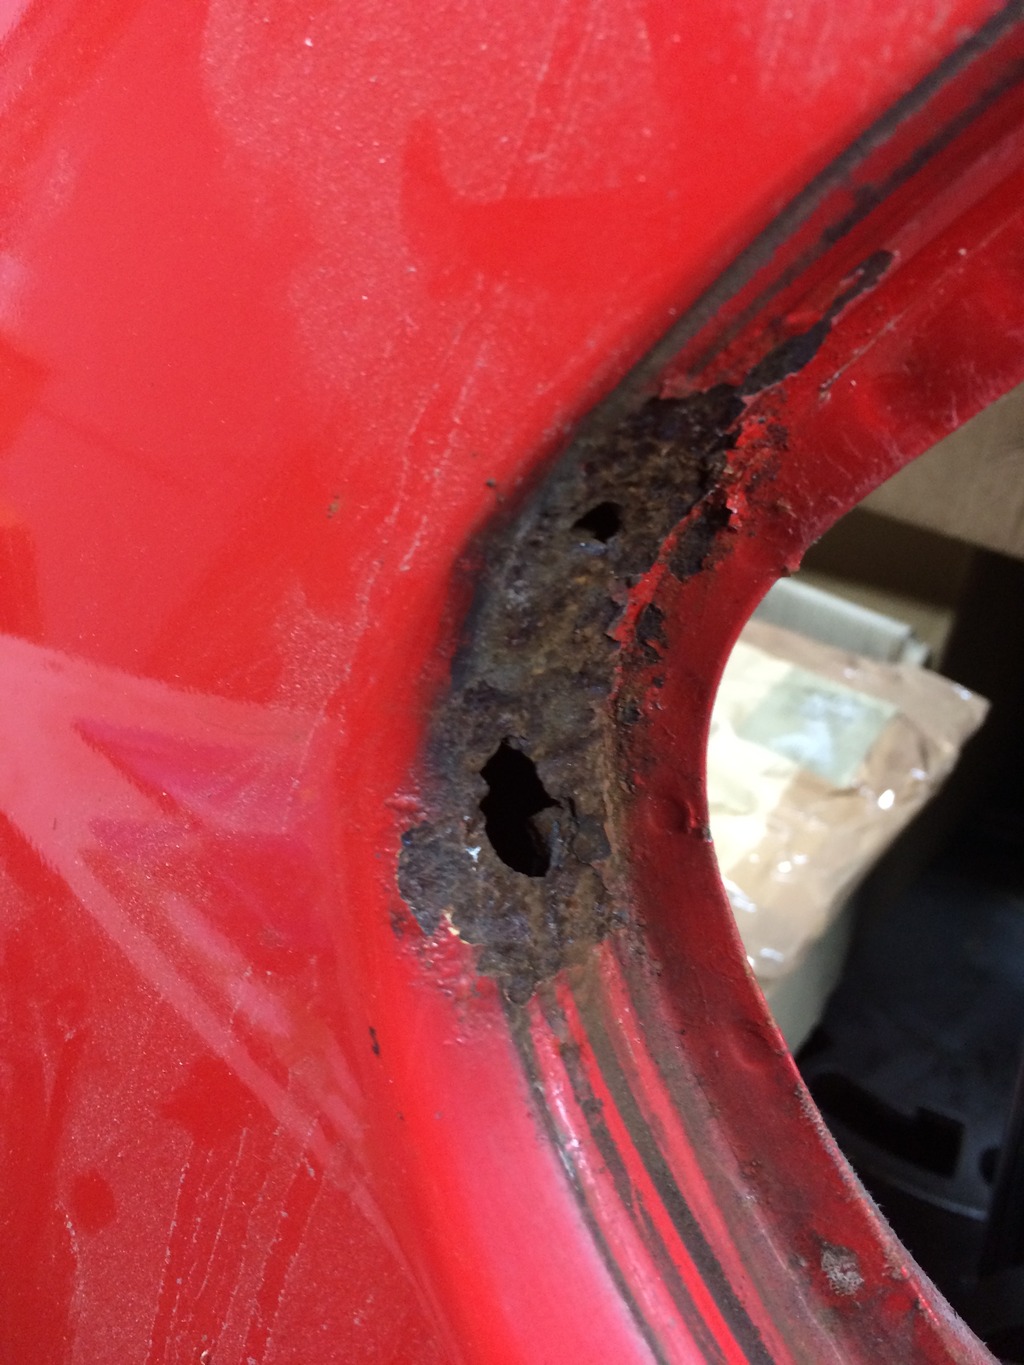
Removing the rear quarter glass revealed this … Think I'll leave that til I'm a bit more competent at welding.
Posted
Settled In


colin
Posted
Settled In


colin
Posted
Settling In

dubm3 said
Fair pay to you looks a good project best of luck starting one soon myself will follow yours and hopefully pick up a few pointers
Cheers, although the rate I'm going ill be picking up pointers from yours!
Posted
Settling In

Posted
Old Timer


Posted
Settling In

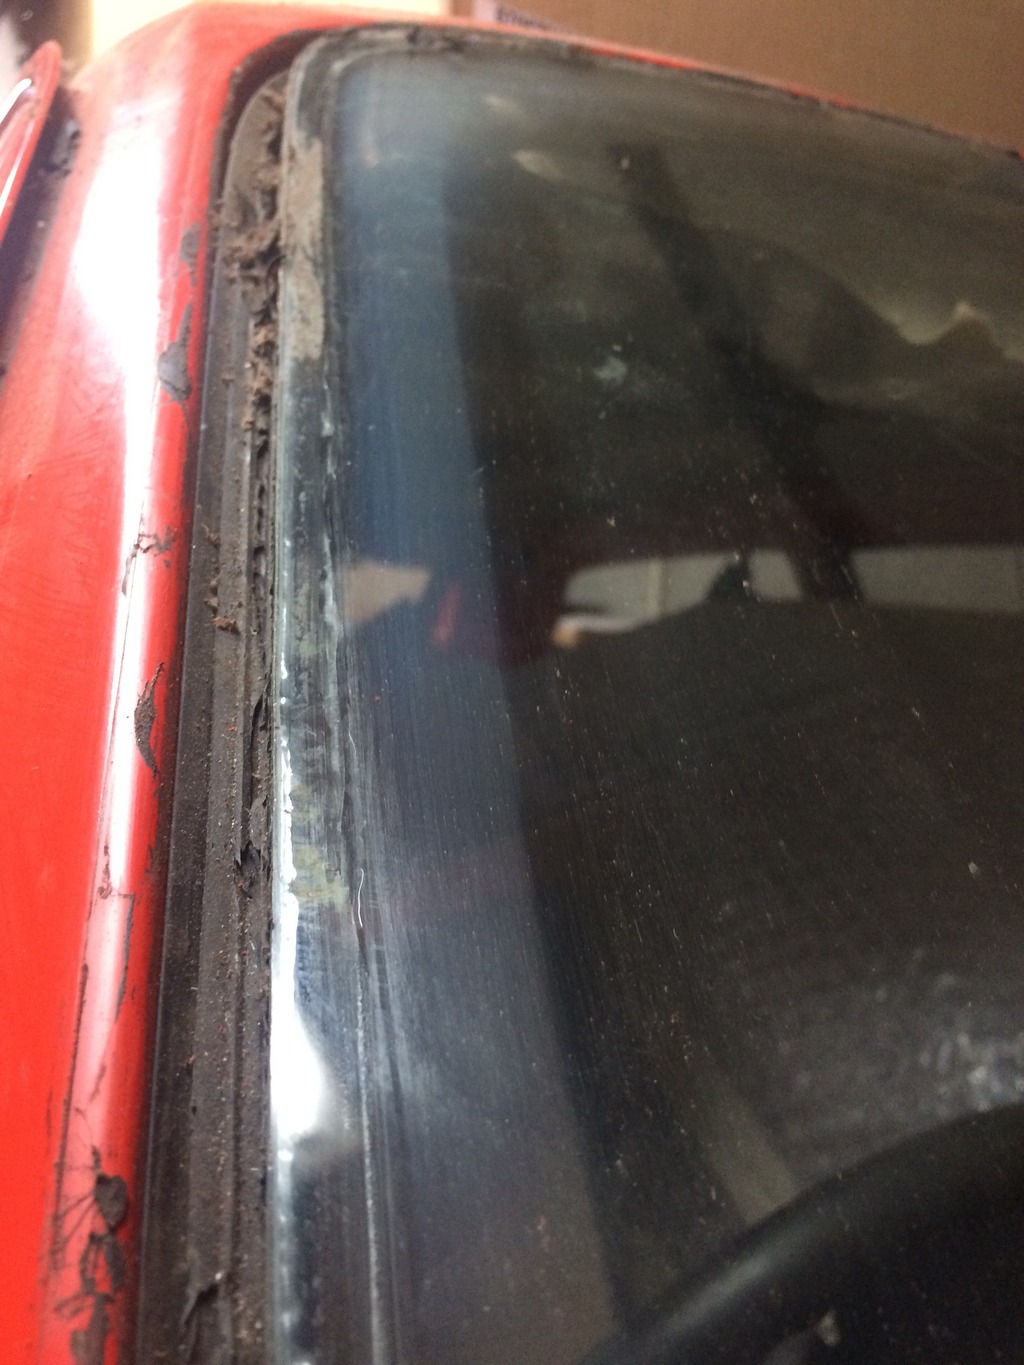
jellybelly said
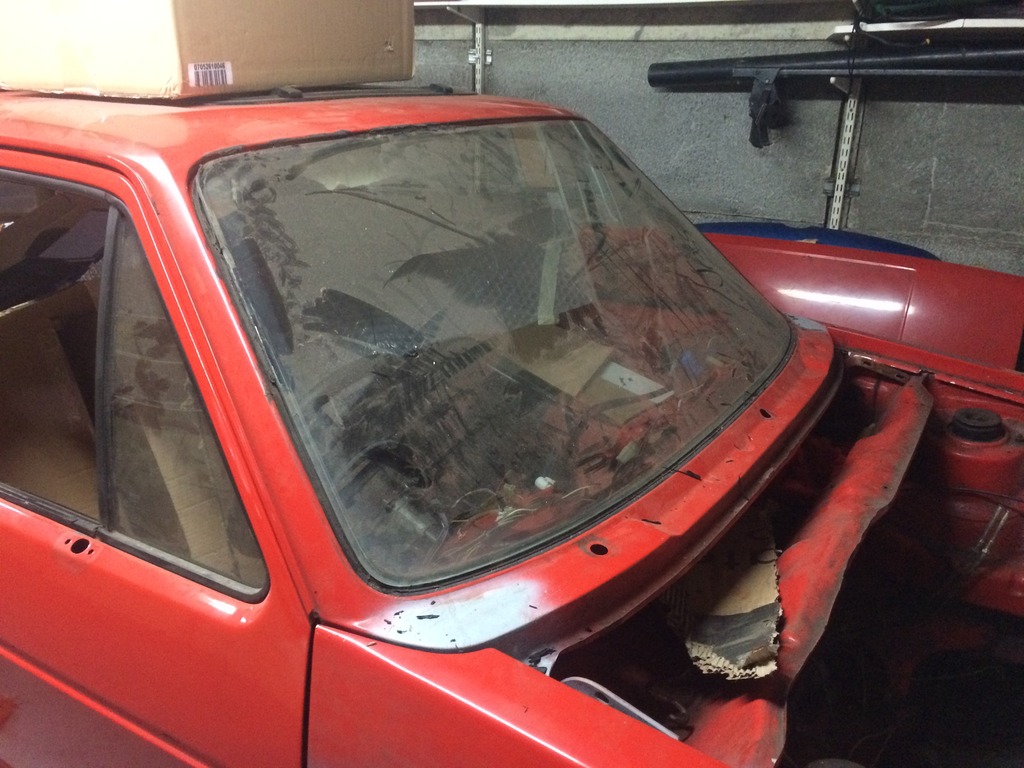
Can't repair the milkyness I'm afraid its a new screen.
Ahh was hoping that wasn't the case, do you know what causes it?
0 guests and 0 members have just viewed this: None.


