


GUIDE : Rebuilding the front end

Posted
Settled In

GUIDE : Rebuilding the front end
Now is the time to replace your wheel bearings if required, simply remove the circlip you can see in the middle of the hub then take to your local friendly mechanic with a press (unless you have one yourself). These bearings tend to last a long time though and can be quite expensive but it's a fair bit of work to get the hub off again so you decide!

Step 45 - Hook the bearing over the ball join on the end of the wishbone (it won't seat properly over it)

Step 46 - Spin the hub through 180 degrees so you have a good view of the ball join and great access to tap it on with a hammer. Don't be shy here, give it a few strong taps where the ball joint seats in the hub (make sure you have removed the pinch bolt if you stored it with the hub!) and put a jack/axle stand under the wishbone to stop it from moving up and down

Step 47 - By the time you finish beating the hub with a large mallet it should seat right down as shown in thie picture

Posted
Settled In

Step 49 - Remove the two bolts from the suspension leg (if you stored them there like I did)

Step 50 - Use some spring compressors to compress the suspension and prevent the damper from returning to its current (too low) position in relation to the hub.
I tend to use a trolley jack to compress the spring/damper and then fit the spring compressors afterwards but you can simply fit them and (painstakingly!) tighten them until the spring compresses.
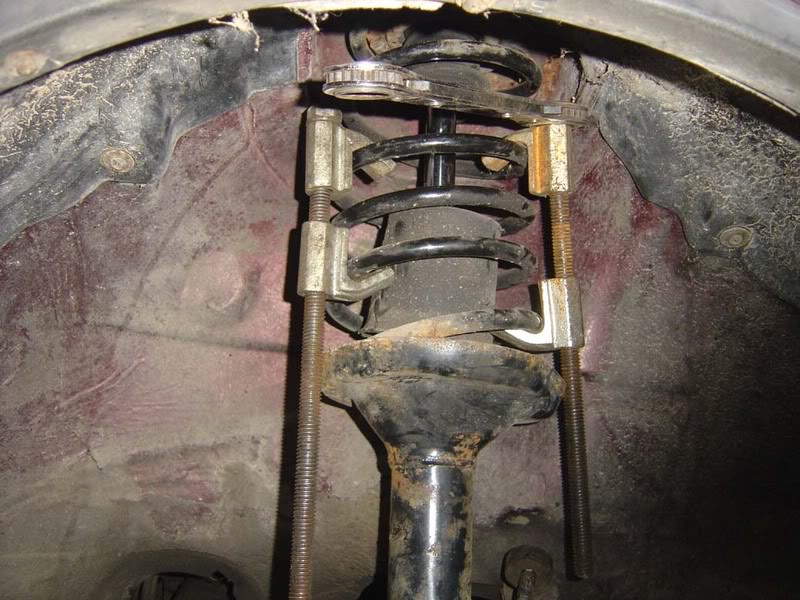
Step 51 - Once you have compressed the spring, jack the bottom of the suspension leg up so it compresses the damper and you will be able to align the hub to the shock assembly as shown
Posted
Settled In

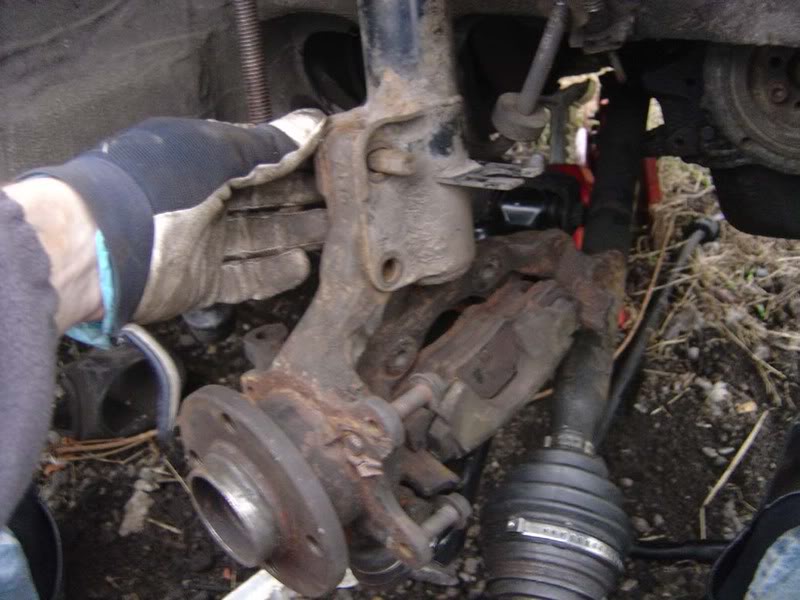
Step 53 - Straighten the driveshaft (picture 1) and then continue fitting the hub (picture 2)

Step 54 - On to the track rod end now, as usual replace if necessary (inspect the boot and make sure it rotates freely), then connect it to e the hub. If you do remove it then mark the position and then fit the new part at the same place to give you some sort of tracking. You will still need to go and get your tracking done after this.
Use the steering to move it to a favourable position (you'll see the steering system in action now, turning left pushes the track rod out to the right etc).
Once aligned, drop the ball joint into the hub and tap it into place.
Note it is a tapered joint, if you try and fit it from below it won't work! Get it the right way round and it should slide together quite easily.


Posted
Settled In

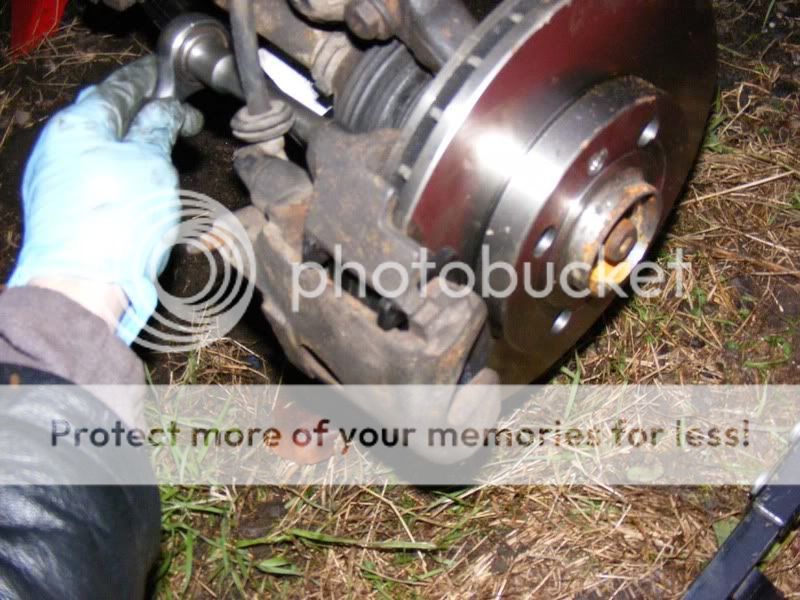
Step 56 - I suggest you get some new pads aand discs while you are down here, they don't cost much (about ?40 for both).
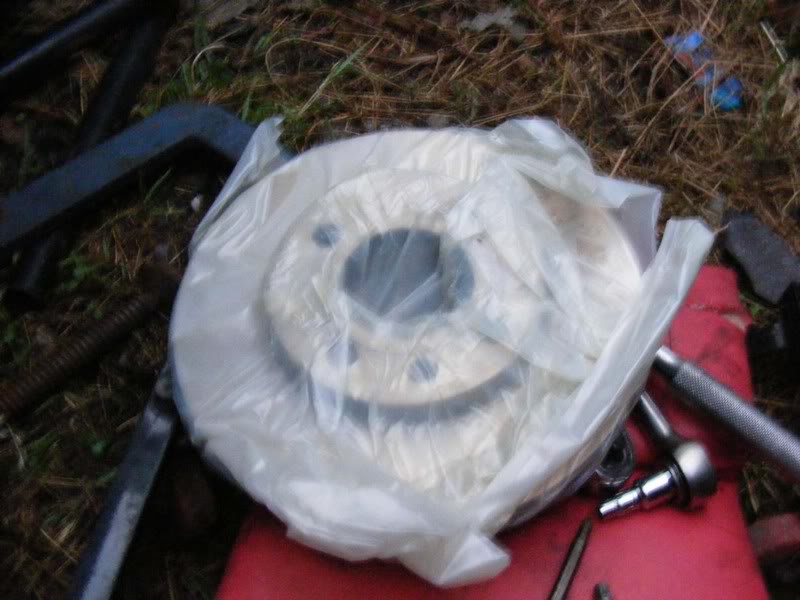
Step 57 - Remove the disc from its packaging and pop it on the hub. Fit the crosshead screw to hold the disc in place (don't tighten this a lot because you'll only regret it next time you do the discs). Clean off the disc which has been coated with special protective fluid (I wiped with petrol)


Step 58 - Remove the two pins holding the two parts of the brake caliper together

Posted
Settled In

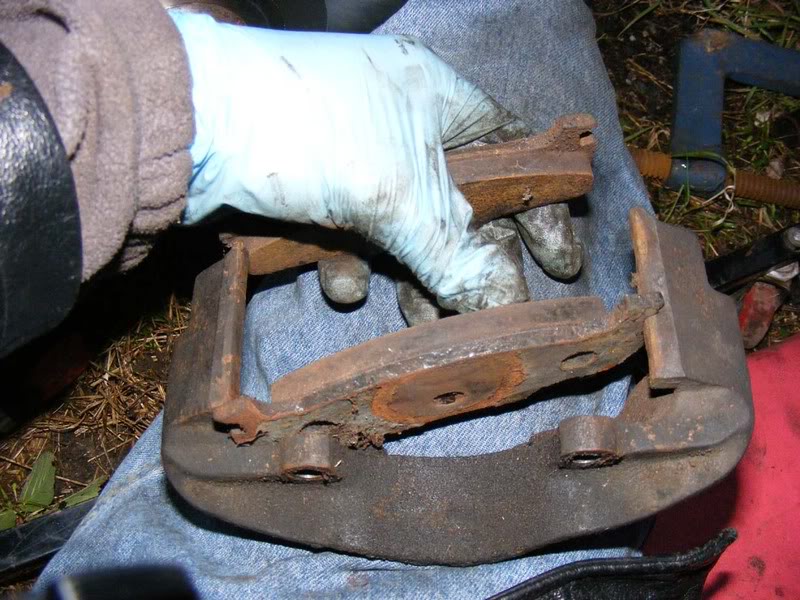
Step 60 - Use a large G clamp to wind the piston back in (you should place an old brake pad in position so the clamp pushes against the pad not the piston but I've not shown this for clarity)

Step 61 - Slide your new pads into place and put the two parts of the caliper back together


Posted
Settled In

Step 63 - With the piston wound back fully, the calipers should slide over the disc reasonably easily. Make sure the pads are correctly aligned in the runner and pushed to either side of the caliper before you slide it over. Tighten up the carrier bolts that hold the caliper onto the hub
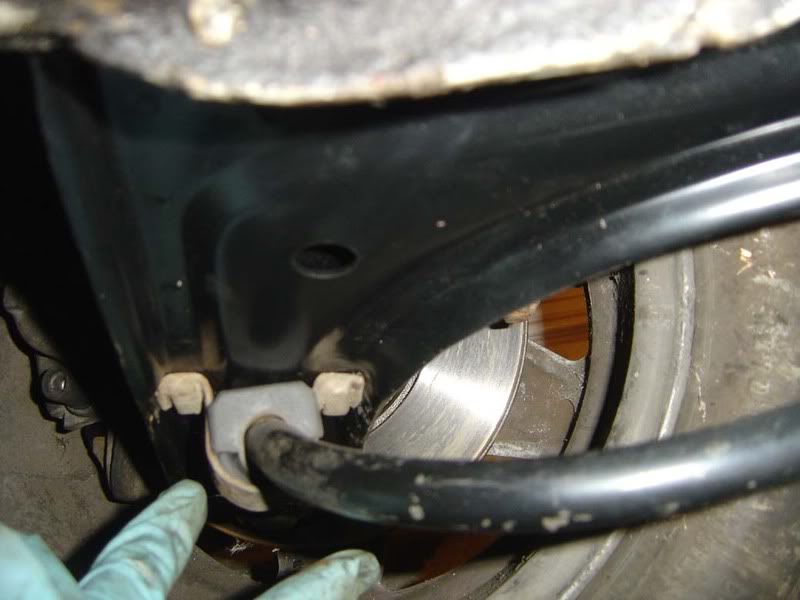
Step 64 - Fit the grommet back in so that the brake pipe flexi hose is properly secured

Step 65 - Admire the finished set up

Posted
Settled In
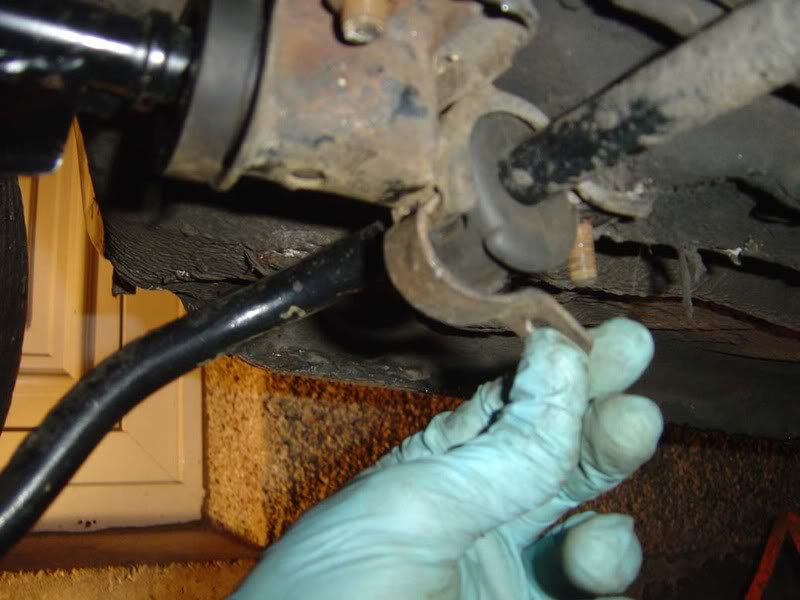

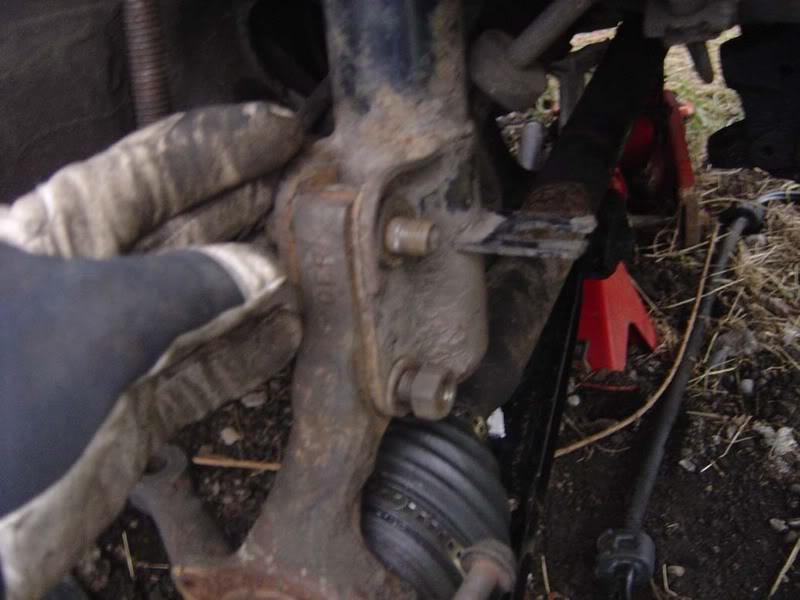
Step 67 - With the nut loosely fitted to the rear bushes, push the front of the roll bar up to the wishbone so the u-shaped brackets protrude through to the top of the wishbone. Loosely fit the 13mm bolts
Step 68 - Now progressively tighten each bolt. This job can be a bit fiddly and but get the car nice and high to make it easy on yourself.
Step 69 - The final job is to refit the driveshaft bolt and then you're done
Posted
Old Timer


G60
Posted
Settled In
Posted
Old Timer
Brilliant!!!!…as before I could do a pdf version and host it….
Have we got a 'Contributor Of The Year' award…????
Owning a Mk1 cabby is a vertical learning curve…
1989 Mk1 Clipper 1.8 automatic - Sadly now up for sale - medical issues dictate)
1999 (Nov) Passat S Saloon 1.9 TDI (AFN) - TUG 1 (Remap by CCC ( - **** …..change pants !!) with cruise control
2000 (Mar) Passat Sport Estate 1.9 TDI (ATJ) 5 speed automatic with Tiptronic - TUG 2�(Remap and cruise control by CCC)
Posted
Settled In
 Again, much appreciated. I put word versions together as well so if they help I can mail them to whoever needs
Posted
Old Timer
in the haynes manual it shows the u shaped clip at the top and on this top write up, when first removed from the car the u shaped clamps are at the top, and when re-fitted are on the bottom.
anyone got a definitive answer as to which was the factory location or does it no matter either way.
thanks
saf
Posted
Newbie

This is just what I was looking for. I'm just doing this exact job on my 1992 clipper.
The only extra thing I need is how to replace the hub in the wheel bearing housing. Anyone got any diagrams on how to do this?
Thanks.
!m!
Posted
Settled In
Posted
Newbie
I've managed to do this now. Took it to a local garage and they pressed it out for me.
!m!
Posted
Settled In
Posted
Local Hero

Nice job bud
Pete :wink:
Posted
Newbie
Forgot to do that. I'll have to check the one I haven't done or just reset the camber.
!m!
Posted

Local Hero
Forgot to do that. I'll have to check the one I haven't done or just reset the camber.
Probably best to reset the camber when fitting new parts rather than rely on marking it up as many new parts can effect set-up.
Cheers
1981 1600 GTI (coming to a road near you soon…)
1983 1100 C
1983 1100 C
Posted
Settled In
0 guests and 0 members have just viewed this: None.