1983 Mars Red Gti
Posted
Settling In


These also arrived today so engine can go to the machine shop.
Posted
Old Timer

Posted
Old Timer


There is a lot more gubbins on that than the one I had, but yes, you should be able to remove it all. You will likely need to swap over the linkages from the current one so that it will hook up properly. You'll also want to blank off that large vacuum pipe, and open up the inlet manifold to match the throttle body.Gaz343 said
Throttle body arrived today, can anybody confirm that i have the correct one, I assume that i can remove the switches.
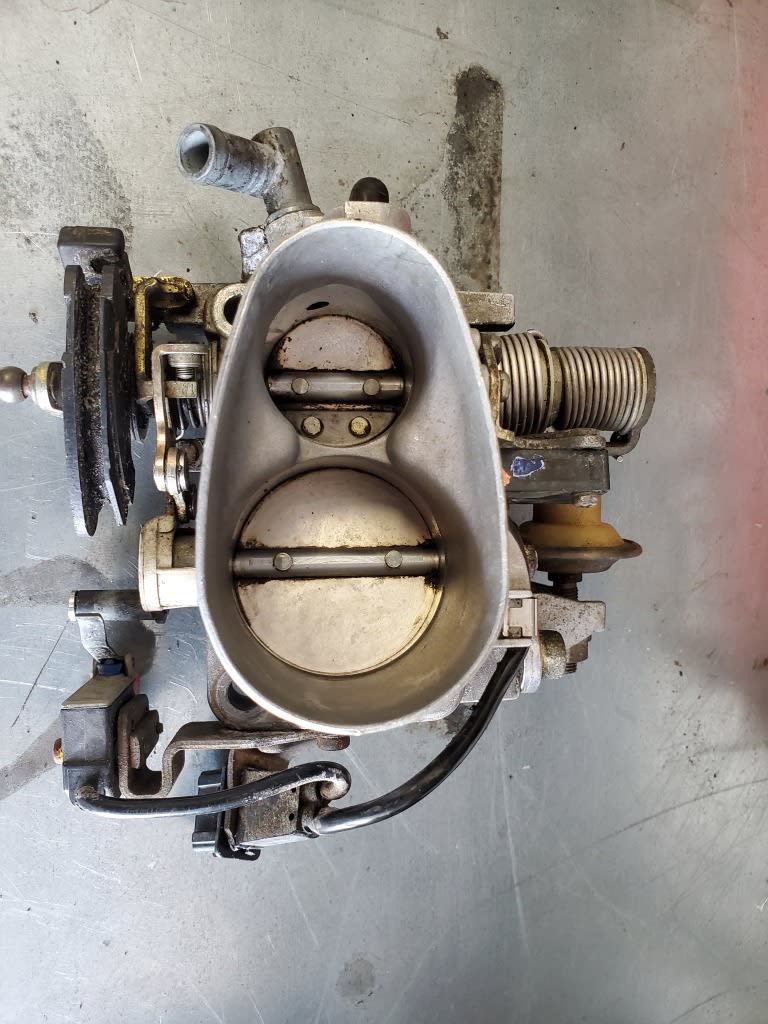
Before:
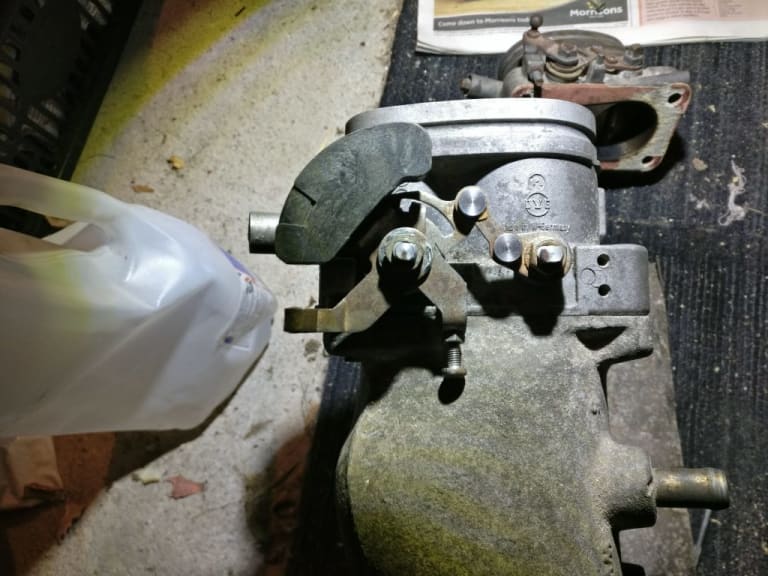
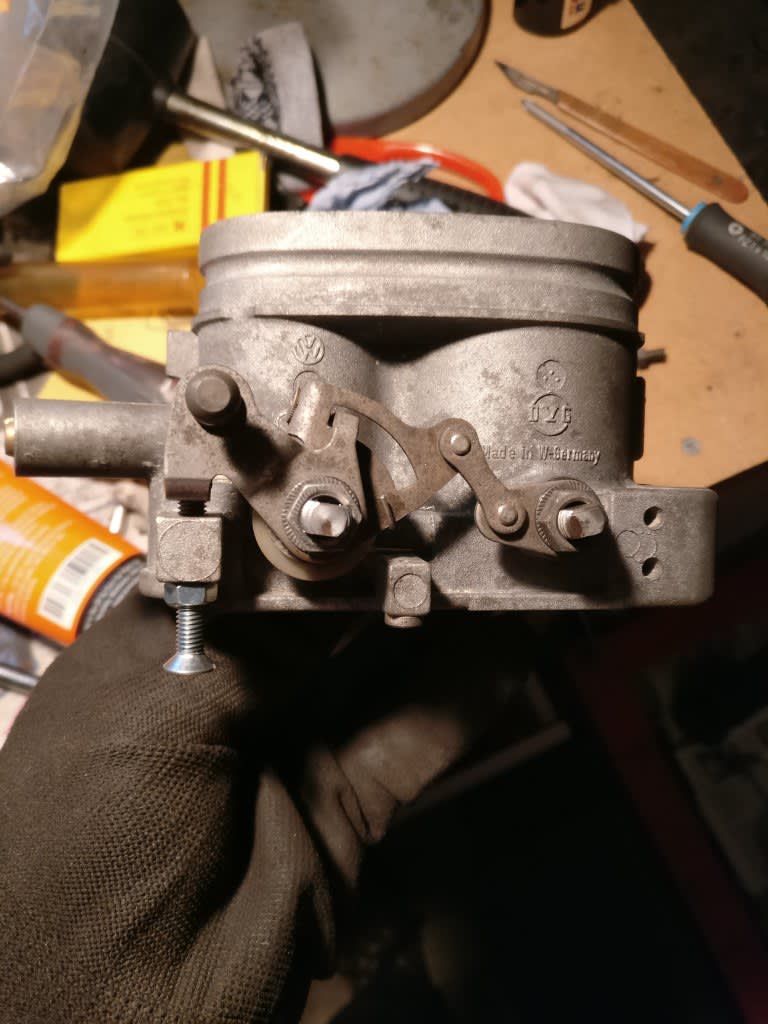
After:
Posted
Settling In


Posted
Old Timer


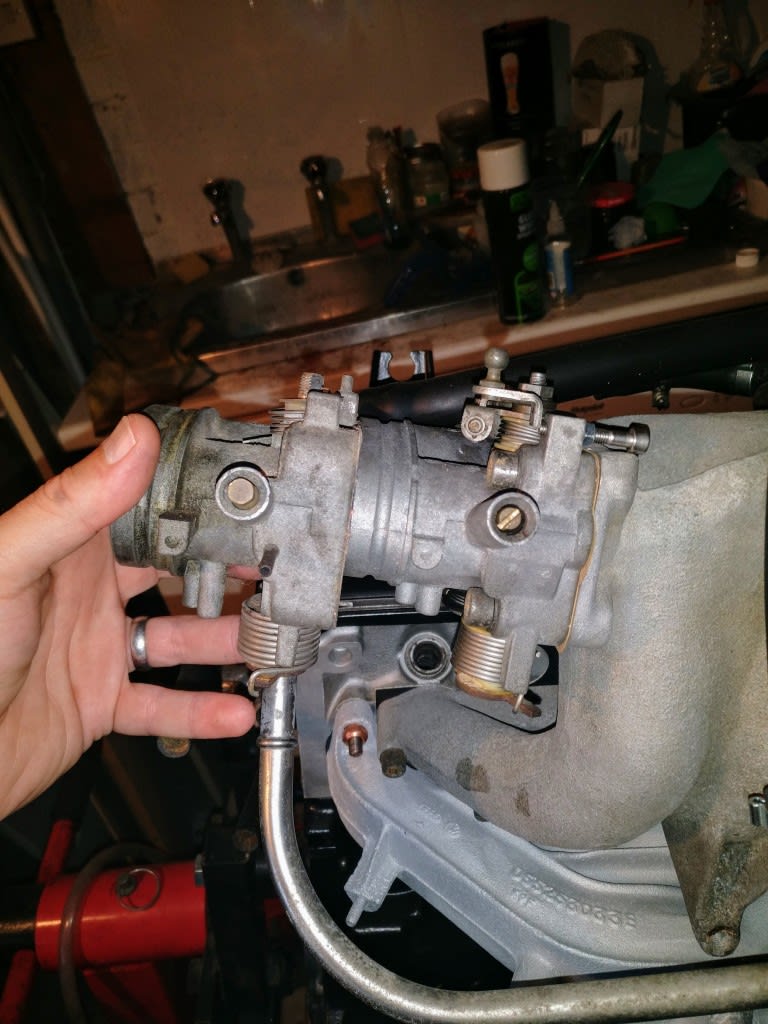
My Audi one is missing the small vac take off, but I'm just going to put a T piece in somewhere to cater for that.
Posted
Settling In


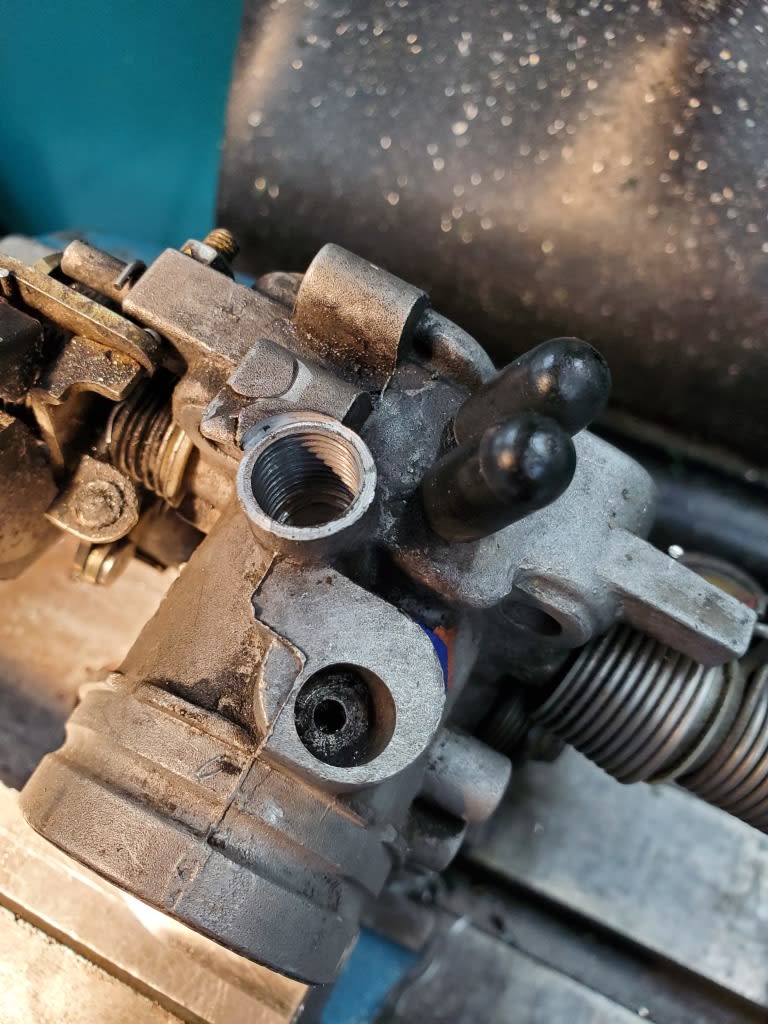
Drilled and tapped the port where the vacuum fits and made a sleeve to screw in the same dimensions ans the original
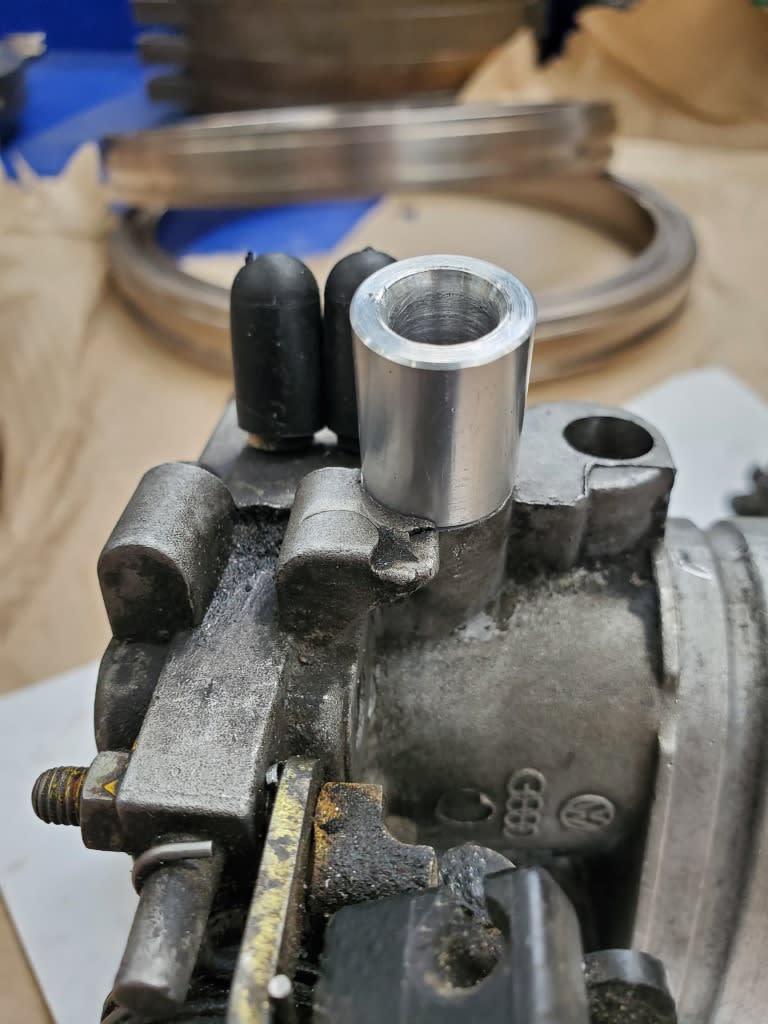
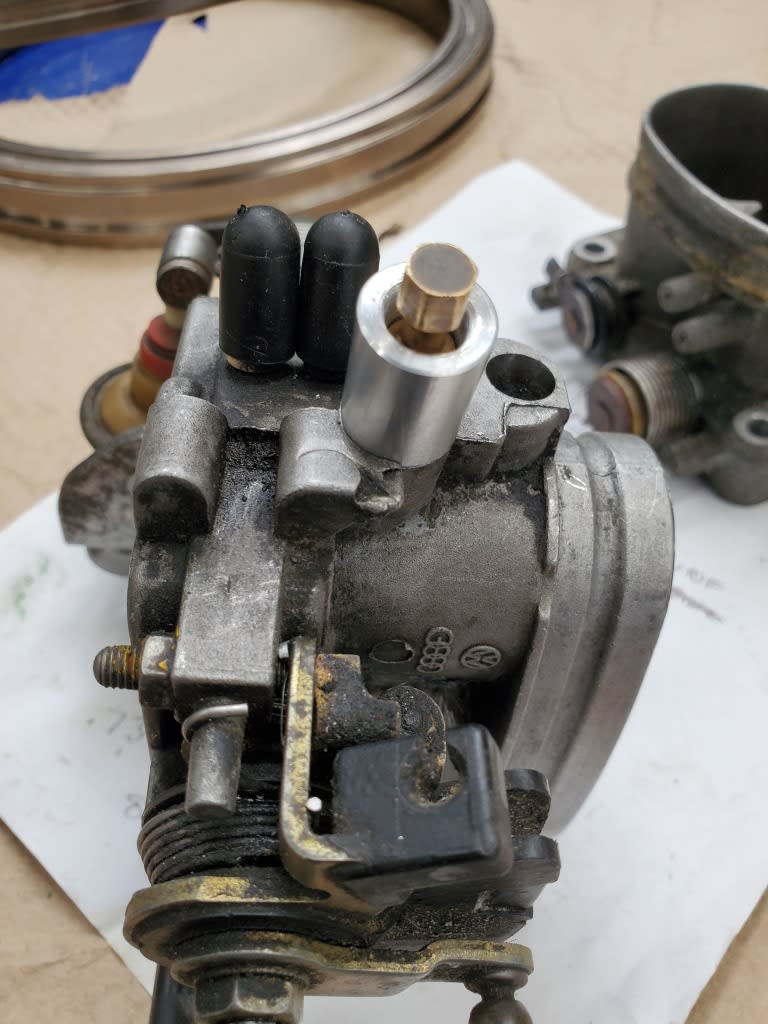
Finished job with the idle screw fitted.
Posted
Settling In


Posted
Settling In


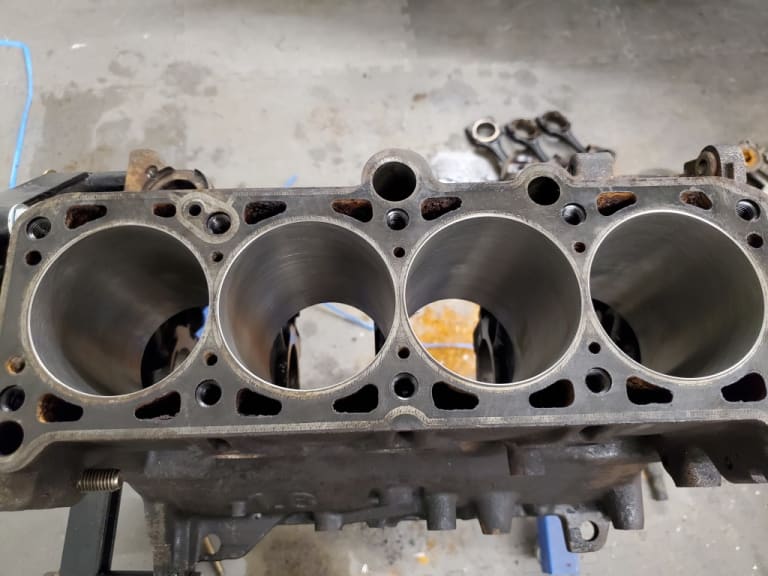
fitted the crankshaft which didnt need grinding, just a polish.
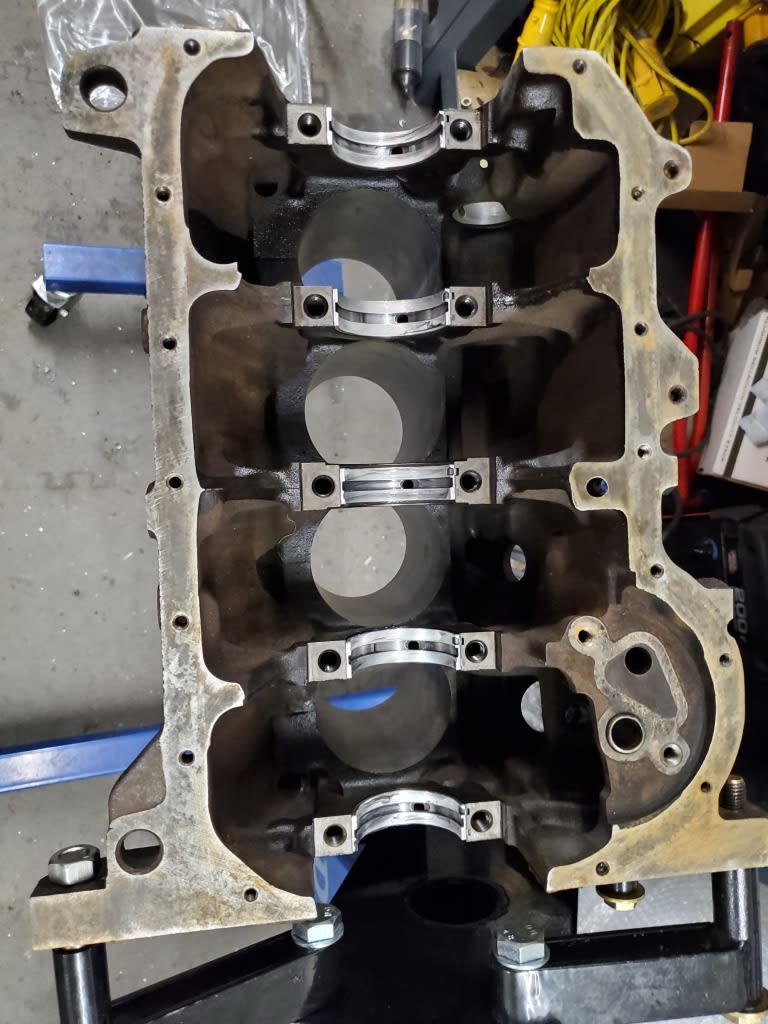
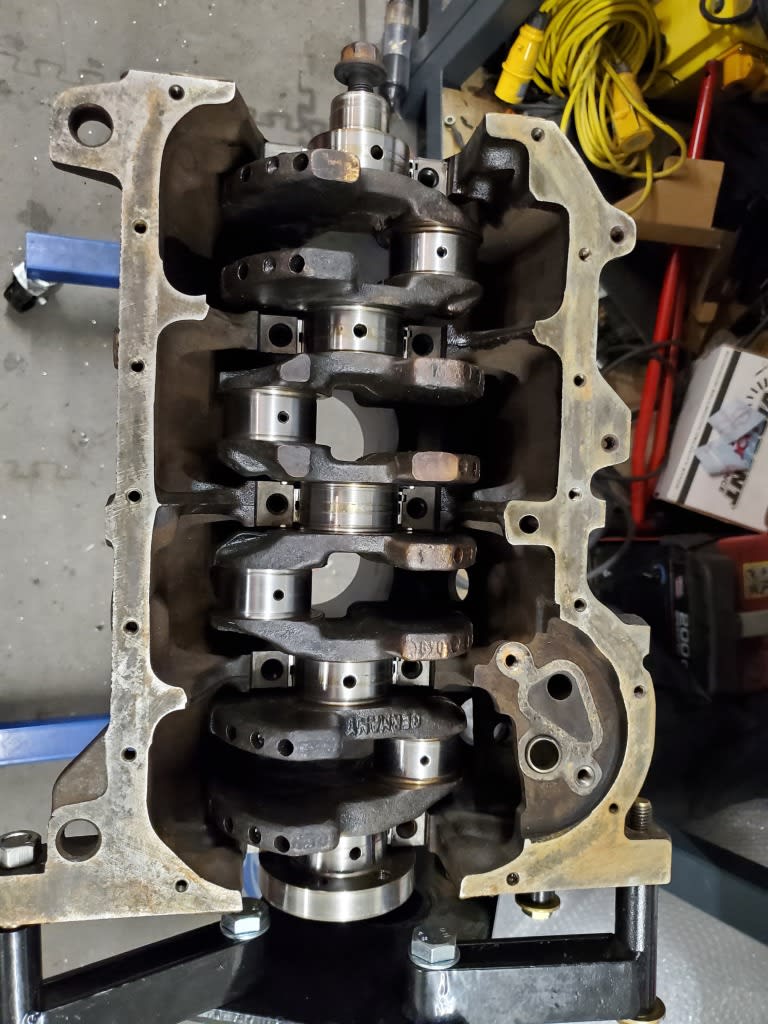
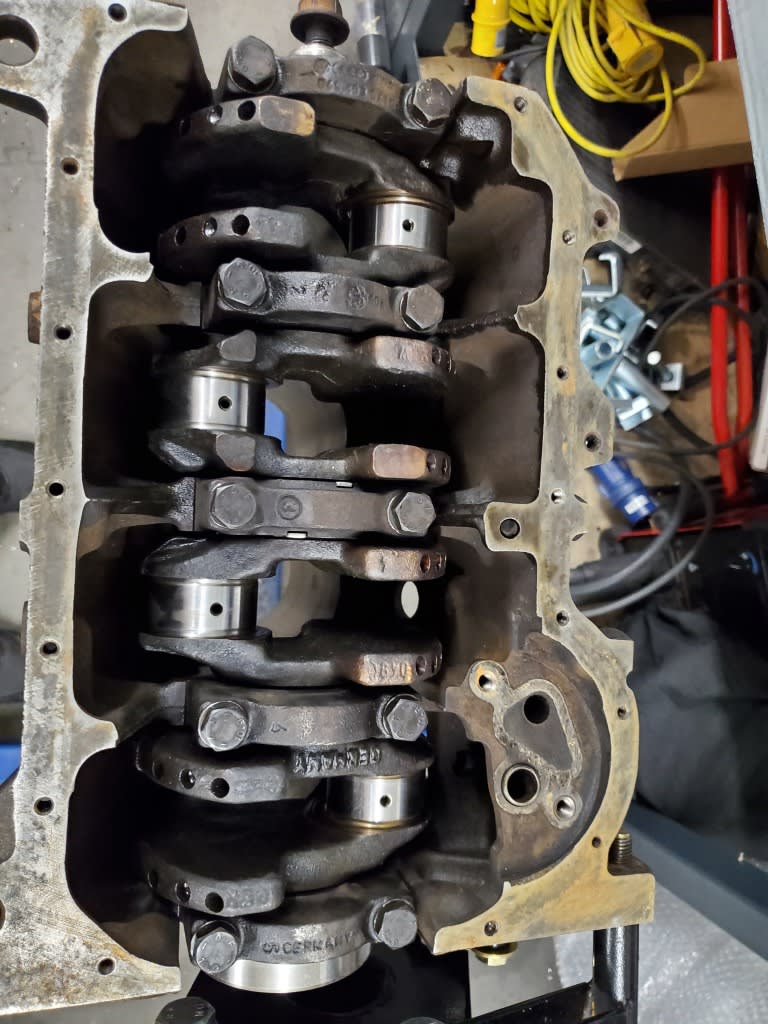
Will build the pistons and con rods tomorrow and install.
Posted
Settling In


In my haste to make progress i managed to break a piston ring, no excuses just out of practice, about 25 years since i last built an engine.
Posted
Settling In

Keep the pics coming
Will be nice to see the sunroof gone!
Have owned :-
Mk1, Mk2, Mk3, Mk4
Bugs, Buses, Type 3
Porsche 911T '71
Mk1, Mk2, Mk3, Mk4
Bugs, Buses, Type 3
Porsche 911T '71
Posted
Old Timer

Posted
Settling In


Not a huge amount of progress this week, got the car on the rotisserie so i can get a good look underneath, i don't think its too bad.
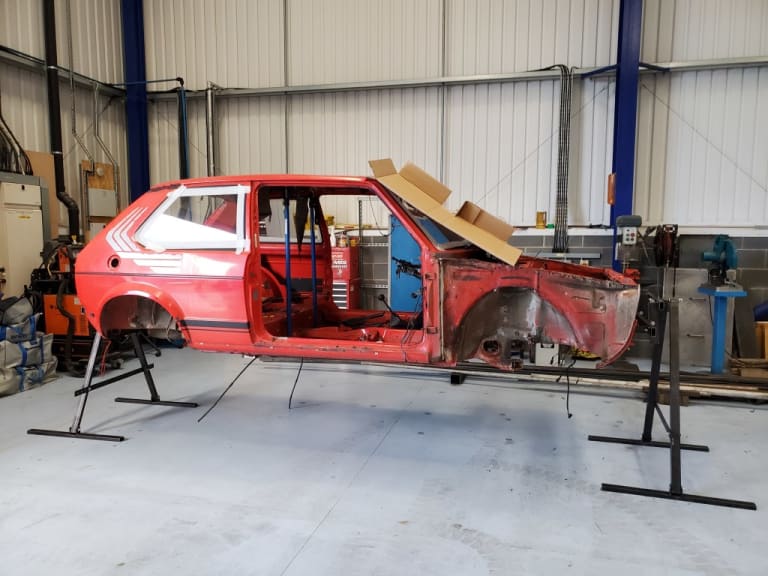
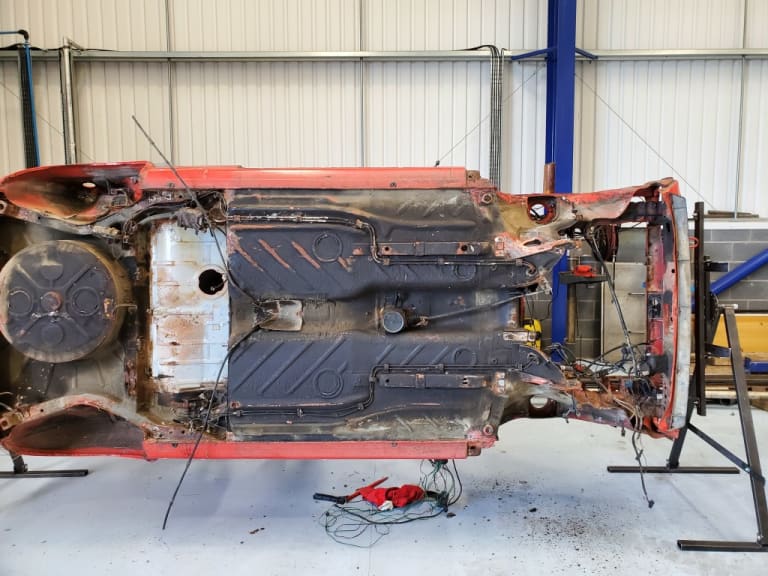

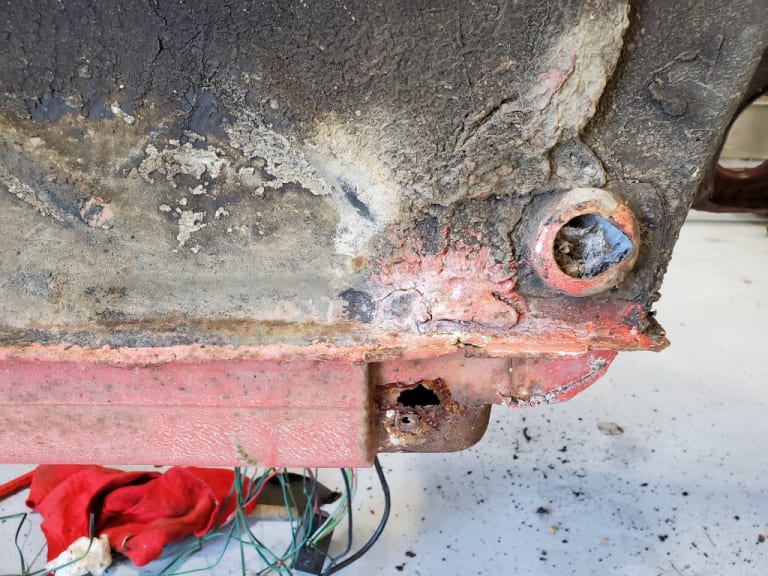
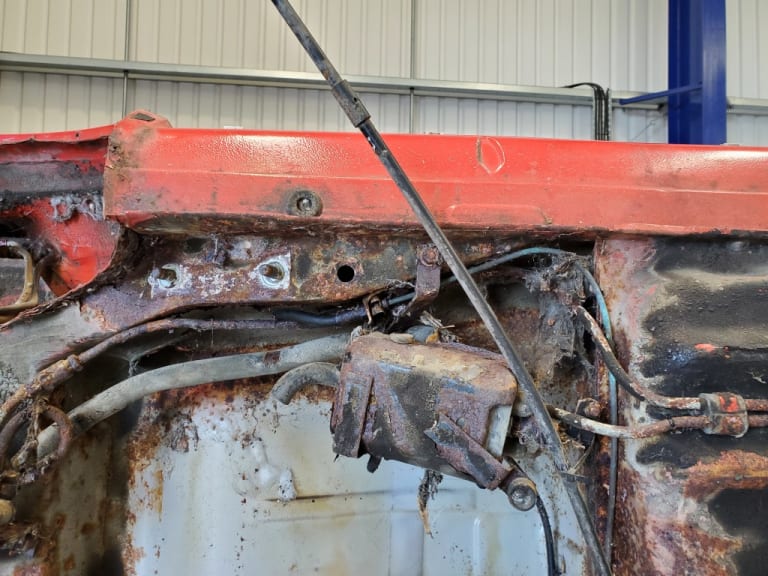

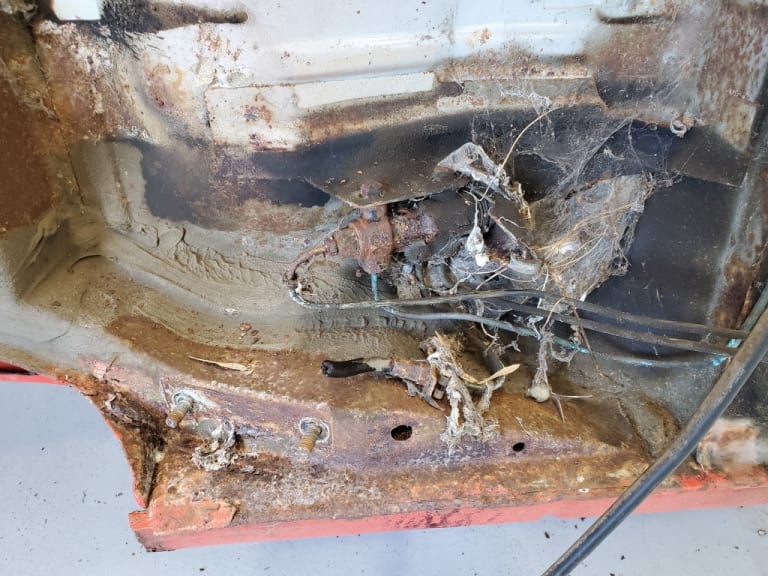
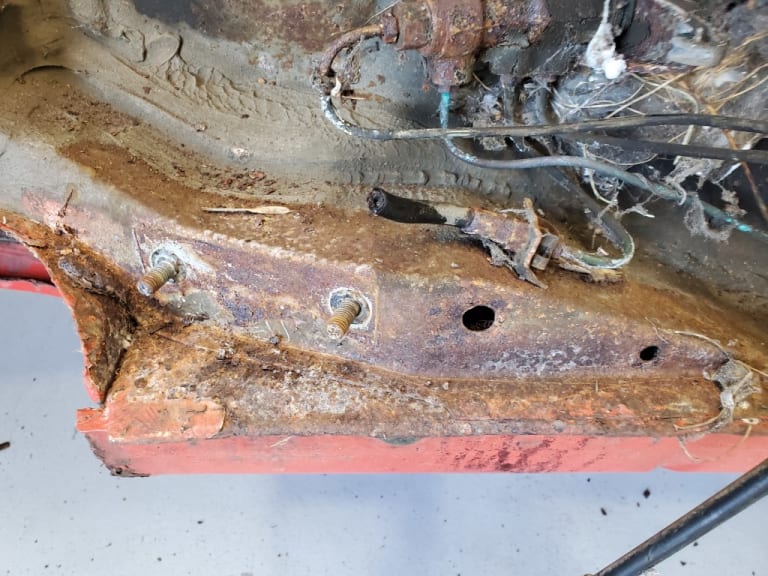
Also got the head back on Friday.
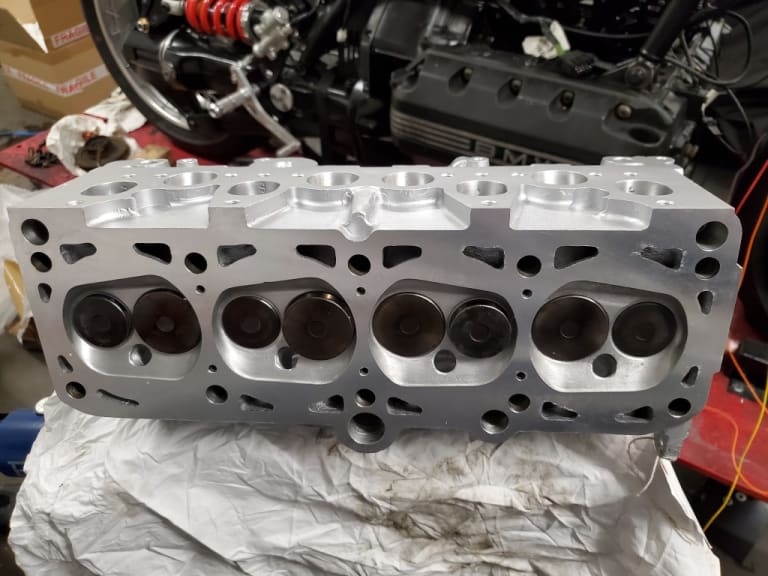
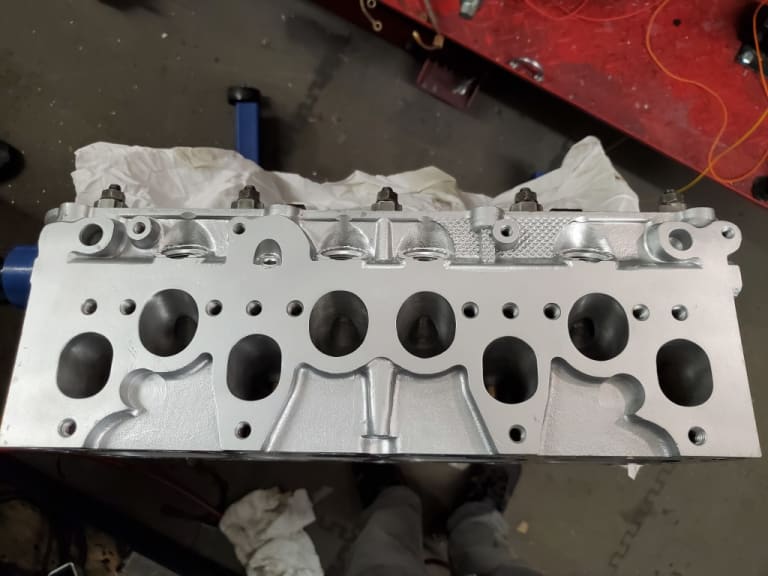
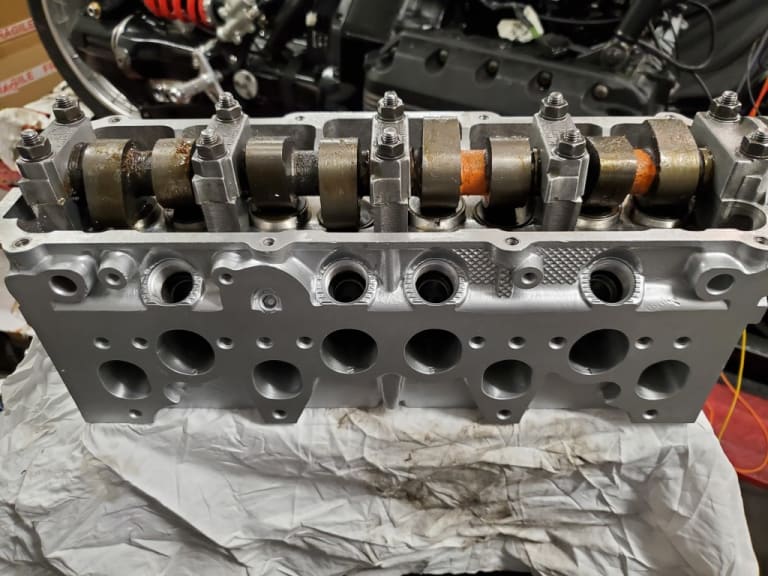
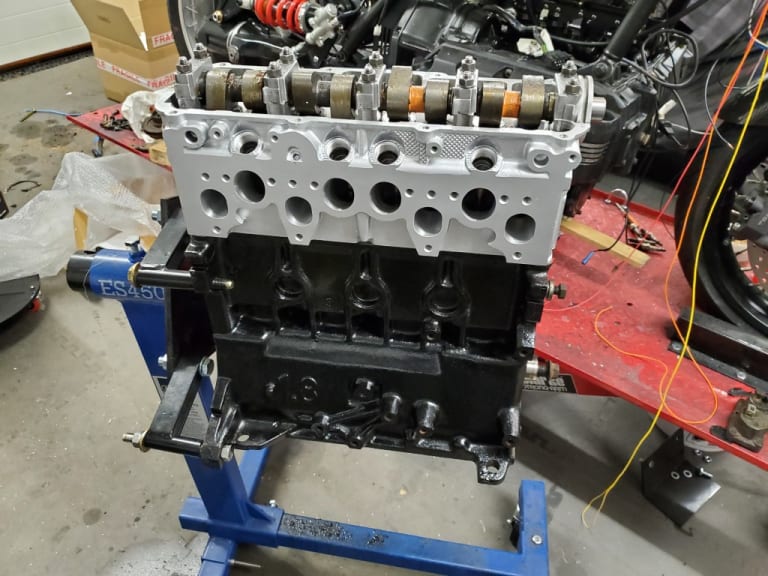
Hopefully start some welding next week.
Posted
Settling In


In the meantime been getting some parts ready to refit to the engine.
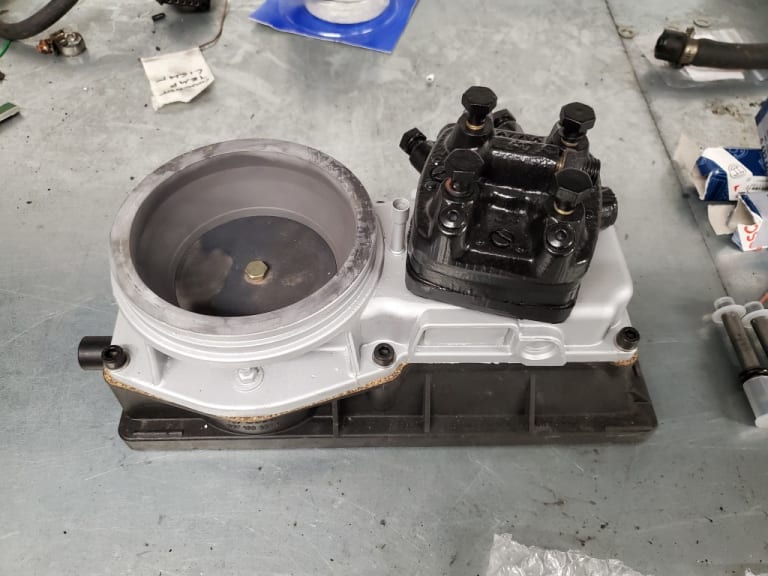
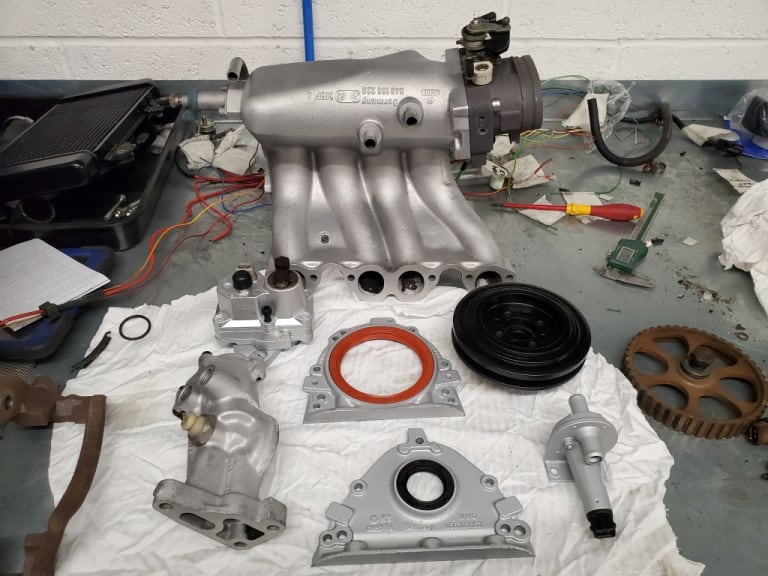
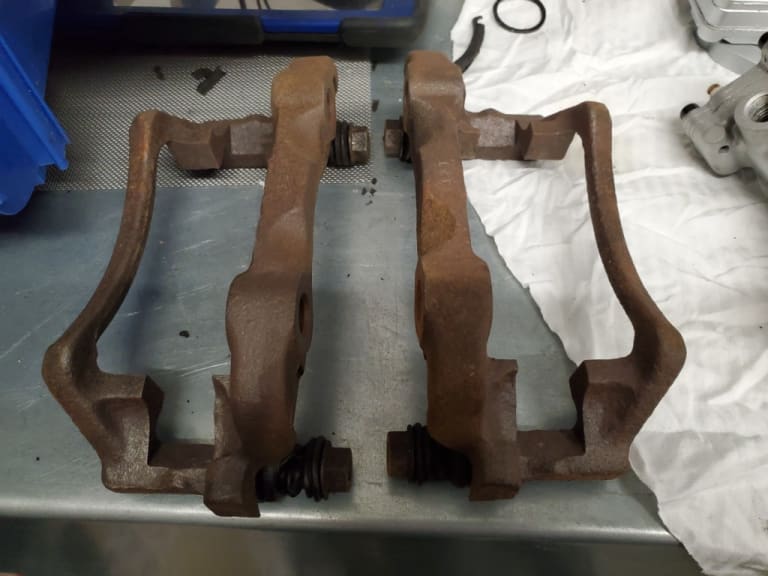
My scirocco 16v caliper carriers also arrived today
Posted
Settling In


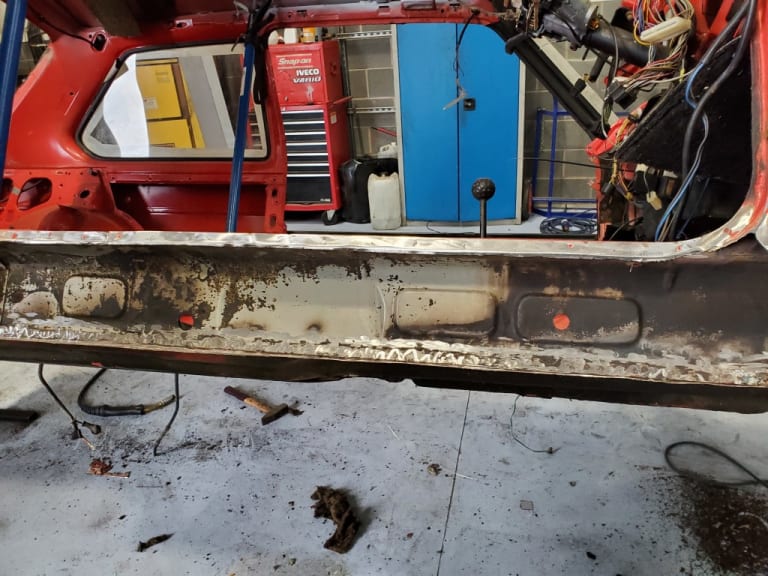
No rust whatsoever on the inner sill, there was no need to cut the panel out, i could have just repaired the holes, passenger side will be staying put.
New sill tacked in place.
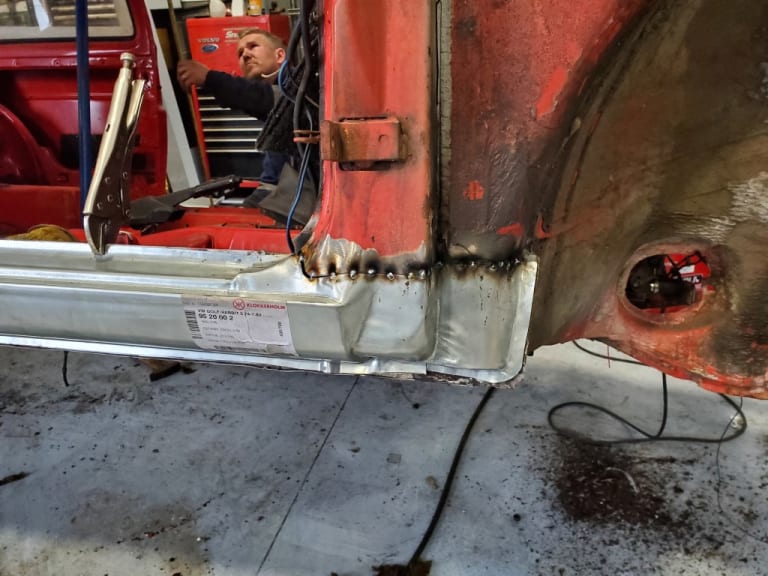
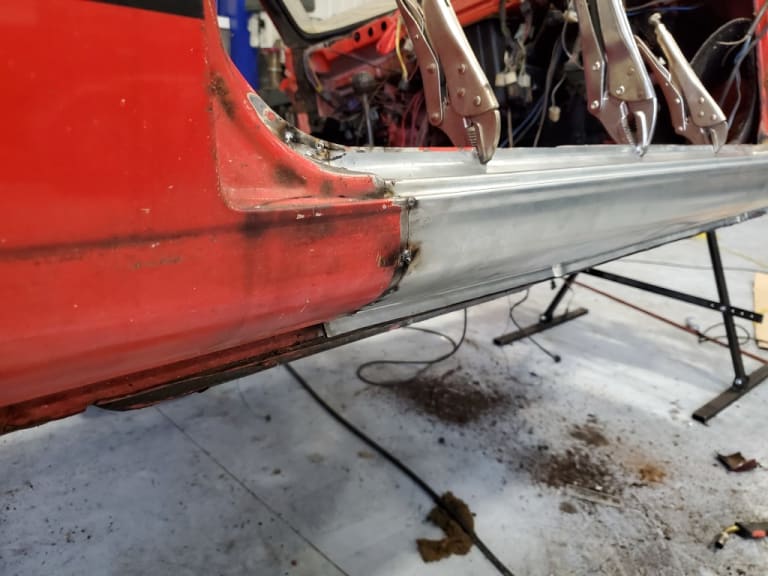
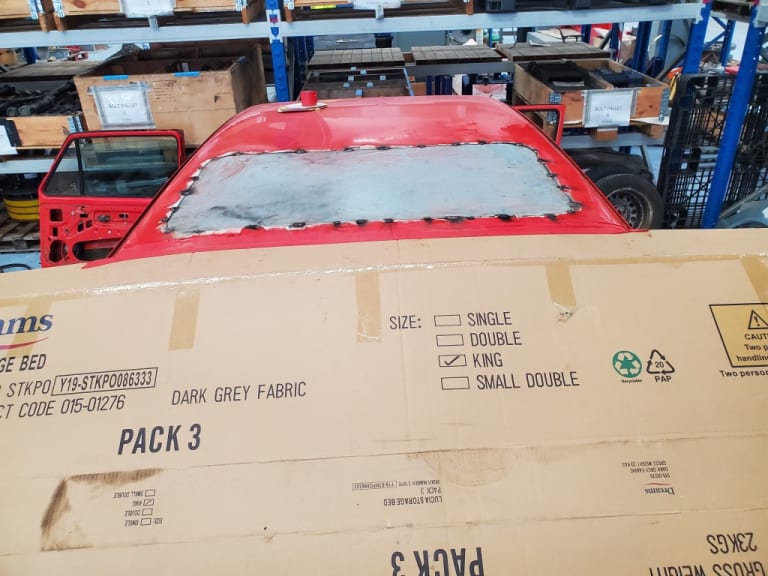
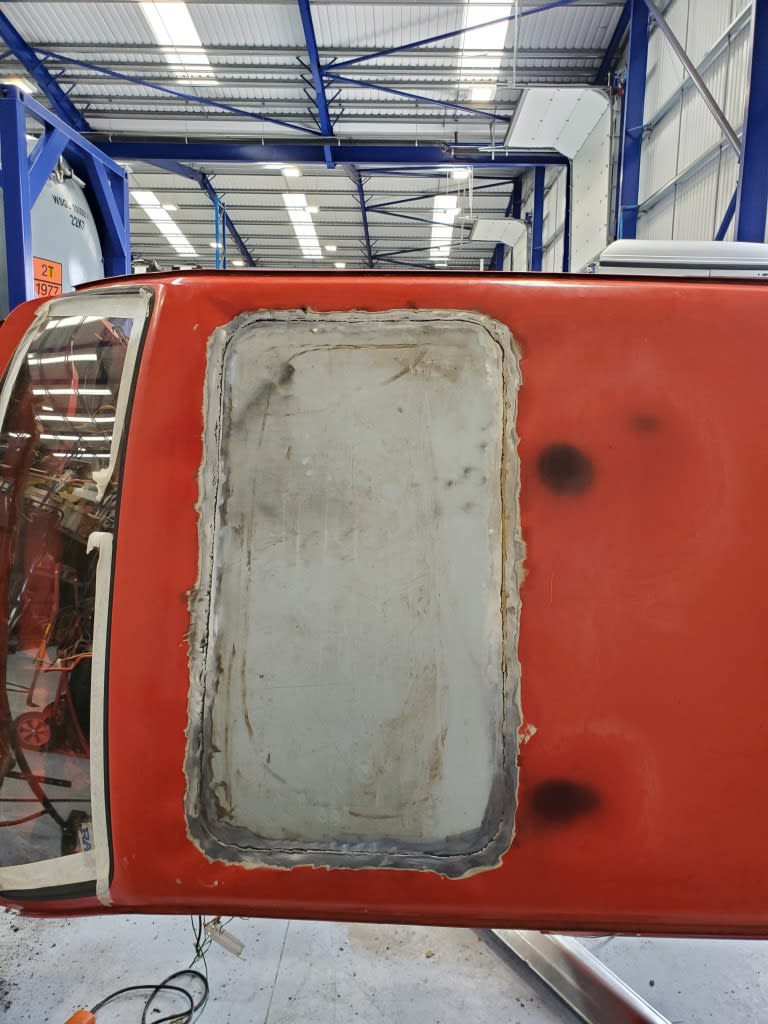
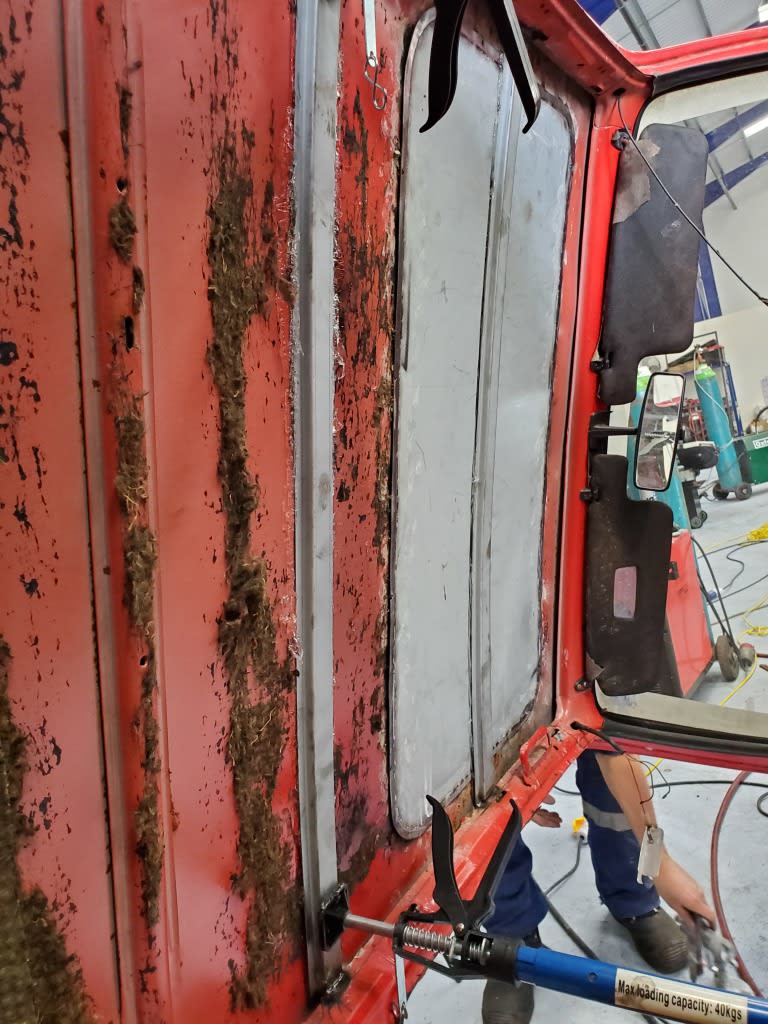
Progress on the sunroof replacement panel, made some additional roof braces to assist with shape and stiffness.
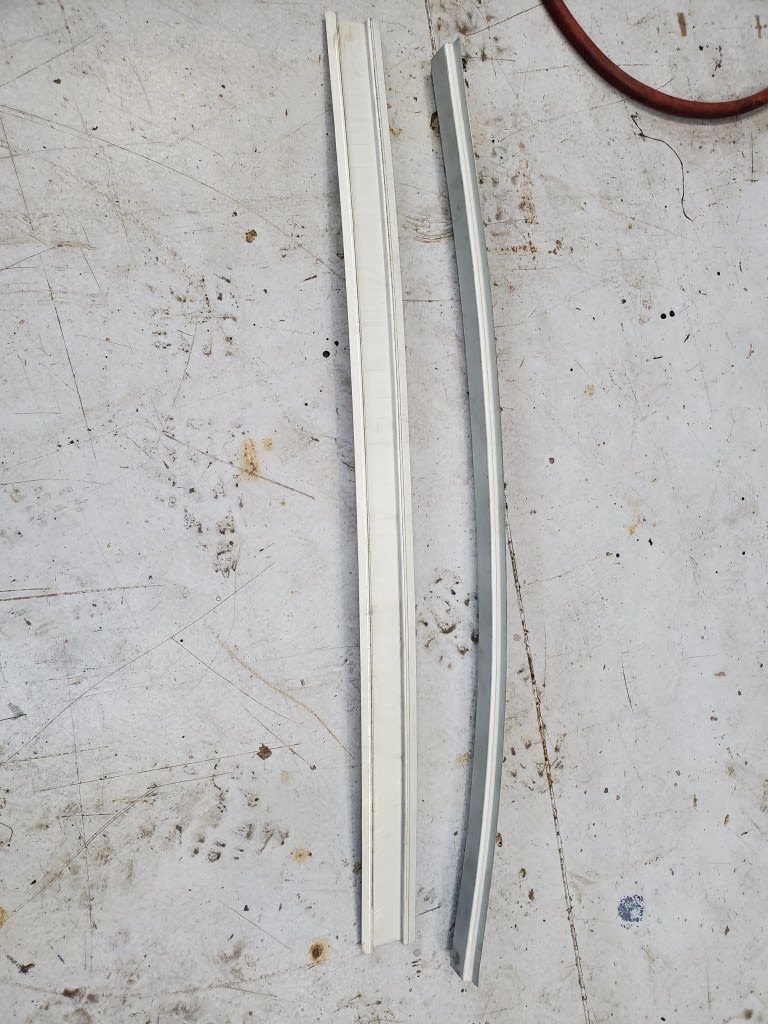
Replacement panel now fitted, some panel beating work still to do.
Posted
Local Hero


1983 Mars Red 1.8 Golf GTI
1987 Alpine White 1.8 Clipper Cabriolet
The trouble with doing nothing is that you never know when you are finished.
1987 Alpine White 1.8 Clipper Cabriolet
The trouble with doing nothing is that you never know when you are finished.
Posted
Settling In


When i first got the car i was shocked with the rust, but the the roof was really the only issue, everything else seems quite easily reapairable.
Posted
Settling In


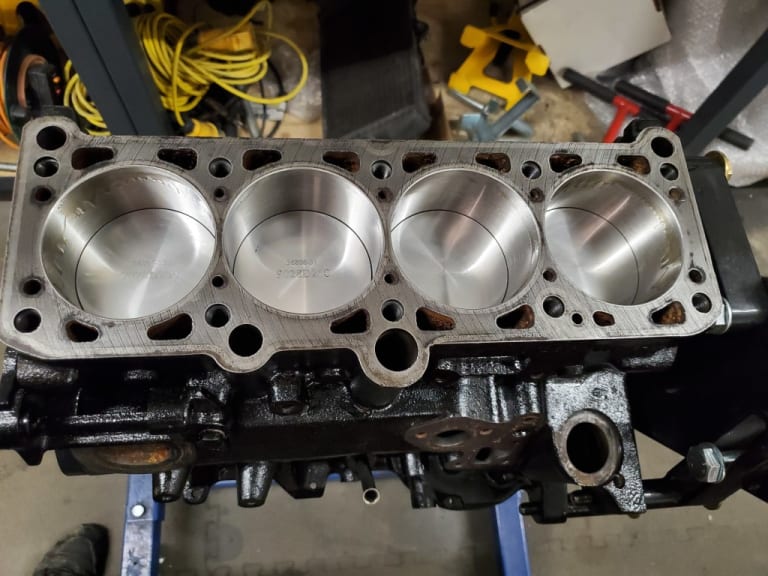
Also got the sill welded, just to clean up with the grinder now.
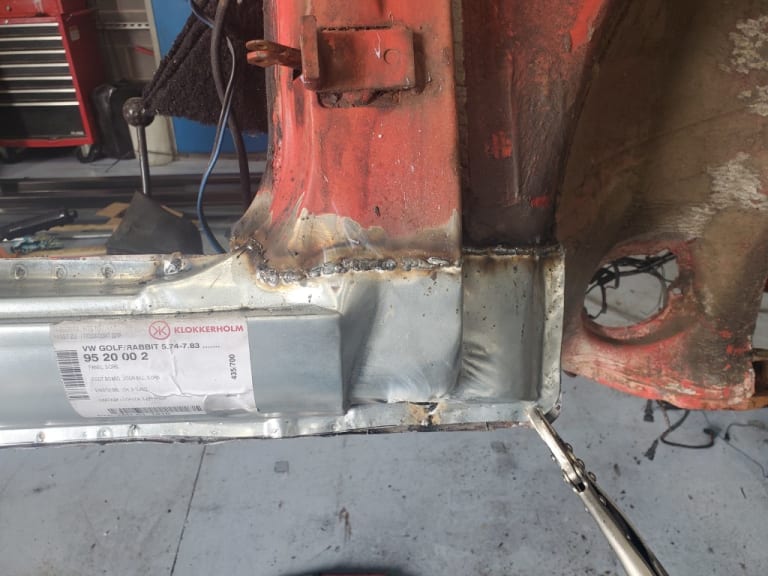

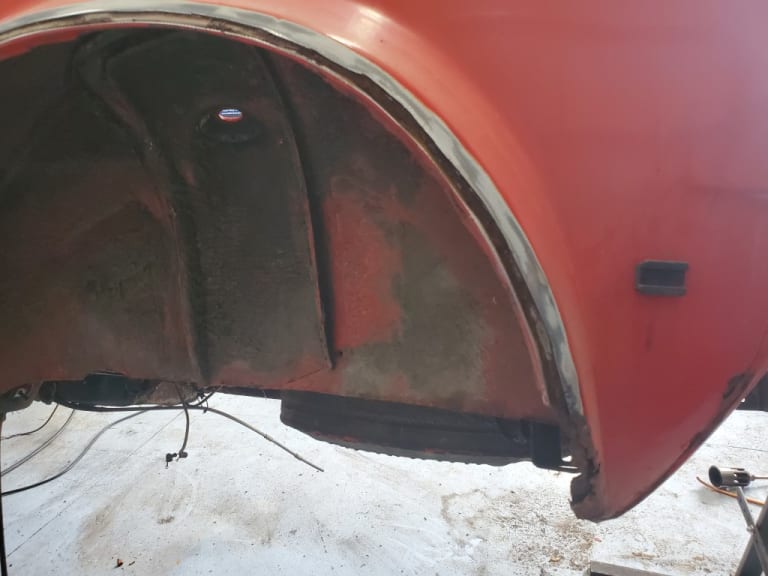
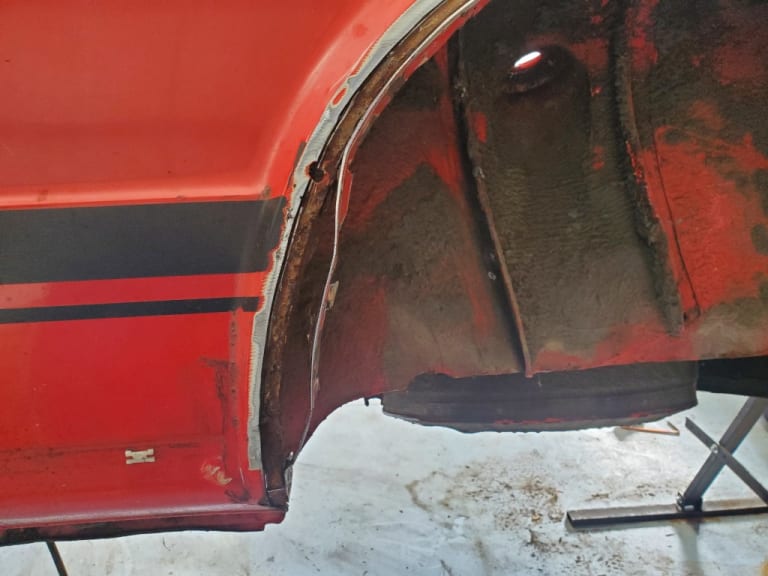
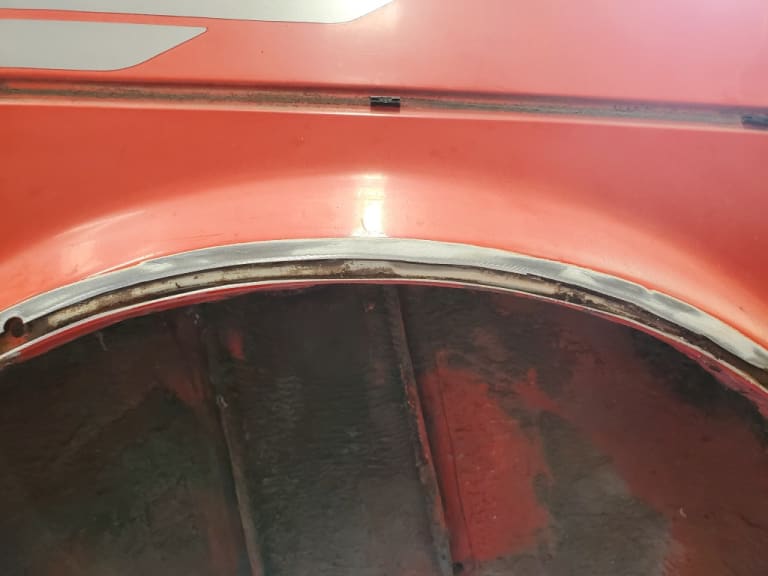
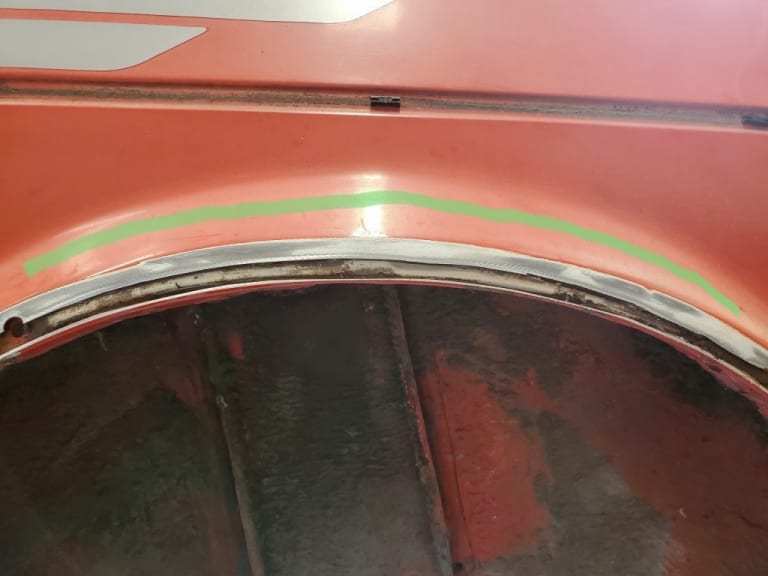
Also cut into the rear wings to see how much needs to be replaced, I have inner and outer repair panels that came with the car, only going to replace the minimum amount of steel but whats the best area to make the join ?
Posted
Old Timer


Posted
Settled In


Posted
Settling In


0 guests and 0 members have just viewed this: None.


