4dr Scrap car going full restore + 3,2 24V engine
Posted
Settled In

Just another never ending money pit.
My wheels Audi A8 winters.. Welded and changed to 4x100 prefitted, I need to make my rear beam wider…

Engine also fitted


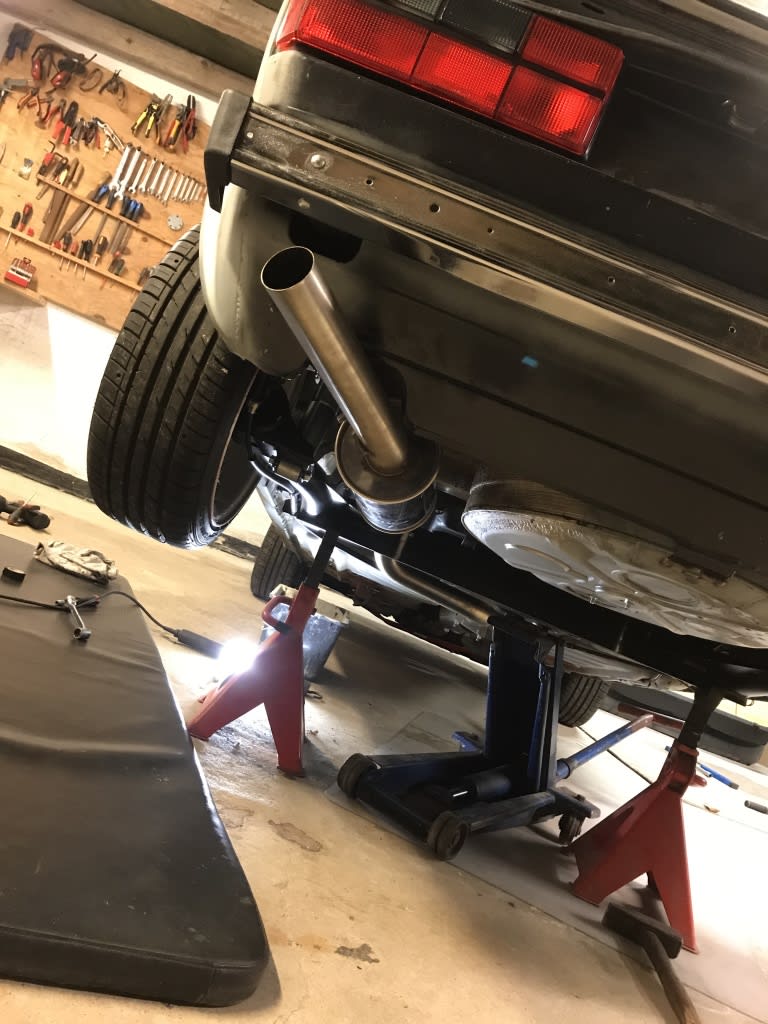
Engine also fitted, I bought the brackets from Eurowise, okay fitment.. Also bought their alu cooler and downpipe..




Posted
Old Timer

4dr Scrap car going full restore + 3,2 24V engine
Sent from my SM-G950F using Tapatalk
Posted
Old Timer


Love the A8 winters.Hummel said
I think that was all the rust repairs I have pictures from.. Huuuuge restore..
My wheels Audi A8 winters.. Welded and changed to 4x100 prefitted, I need to make my rear beam wider…
Engine also fitted, I bought the brackets from Eurowise, okay fitment.. Also bought their alu cooler and downpipe..
I agree with the Eurowise mounts. It was pretty tight to get everything lined up. Especially the front mount
Posted
Old Timer


I think I might try it now
Posted
Settled In

Rich. said
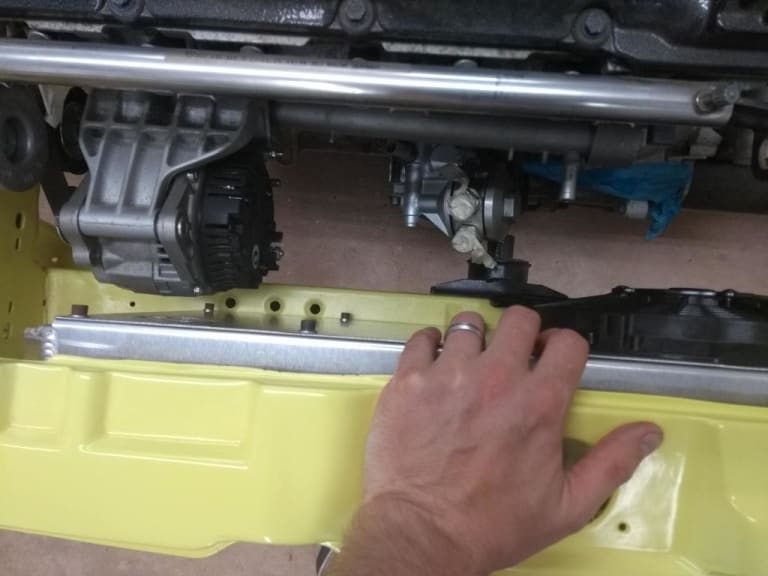
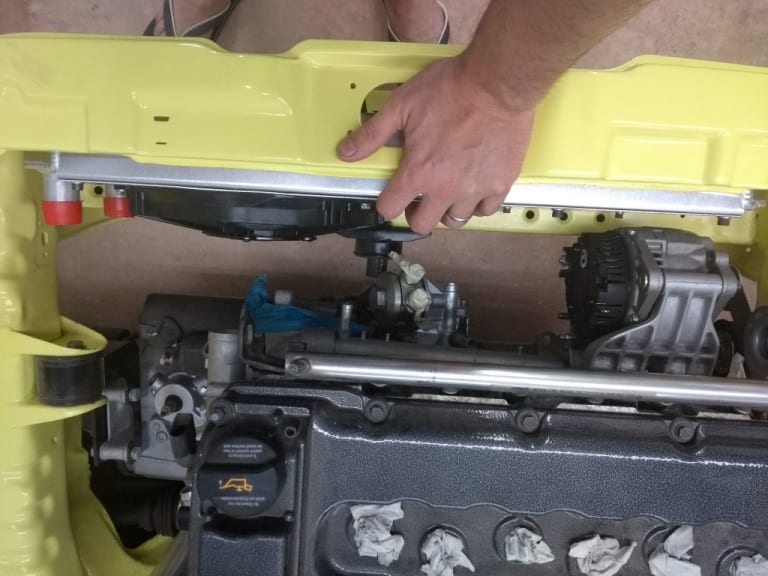
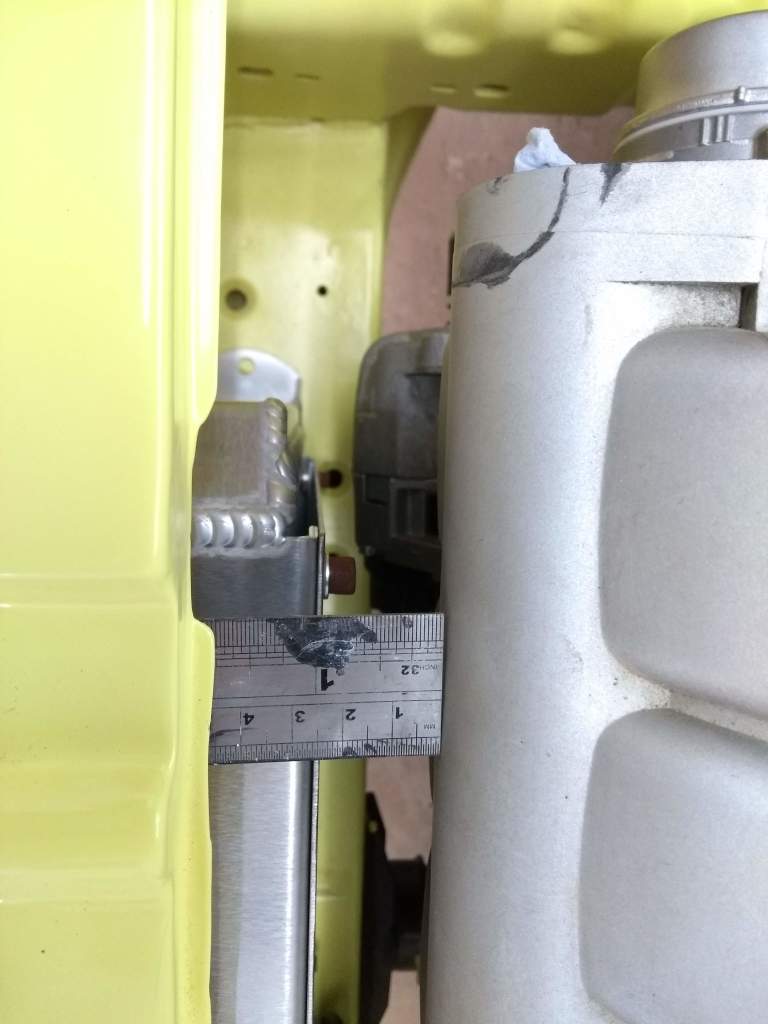
How does the radiator sit on the cross beam. I haven't tested mine yet
I think I might try it now
I like the radiator! It sits very good one the cross beam, but I thought the beam was i little two weak in the metal for it, so I ended up welding a 10mm nut to a 10x10cm 3mm plate and then welded that to the beam, now the radiator is only resting on those plates and I am sure the bolting points is strong enough.
About the engine mounts, I ended up cutting the front reinforcement bracket plate of, and then weld the original "cup" directly two it, otherwise I couldn't fit the bracket
Posted
Old Timer



Posted
Settled In

I decided to do a return hose from the cooler to the expansion tank, to get all the air out easy, and to ease the water in when it is filled in. On a bonus, this will also give me flow through the back of the cylinderhead when my heatmatrix is closed of

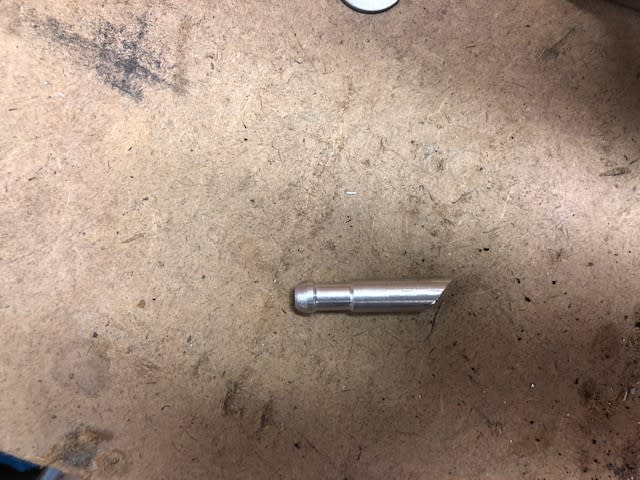
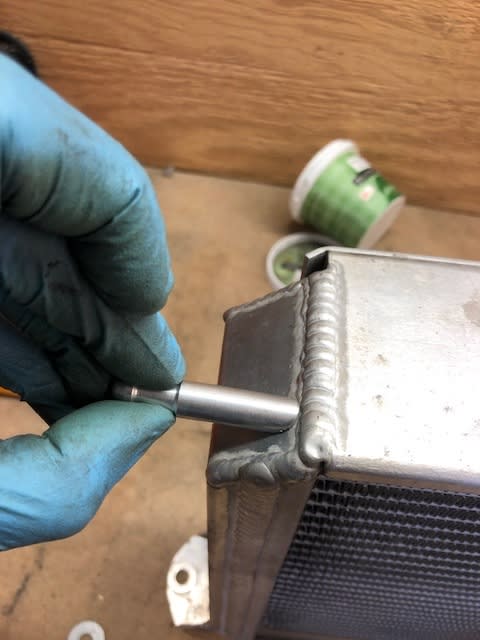
I also had time to do a rebulid of the starter


Posted
Old Timer


Hummel said
I think your engine is i bit more forward than mineYour generator seems closer to the cooler than mine..
That's a bit worrying
Lets hope the intake manifold fits
Looking good on the starter motor. Would like to do that to my radiator but don't have an AC tig welder
Posted
Settled In

That's a bit worrying
Lets hope the intake manifold fits
Looking good on the starter motor. Would like to do that to my radiator but don't have an AC tig welder
On mine, it is almost impossible to fit the manifold while the engine is in the car, between the cooler and the injector wiring, but it is possible… A good advice is to check this, if you want to be able to remove the manifold without pulling the engine out
Rich, do you plan on fitting the reinforcement bracket in front?
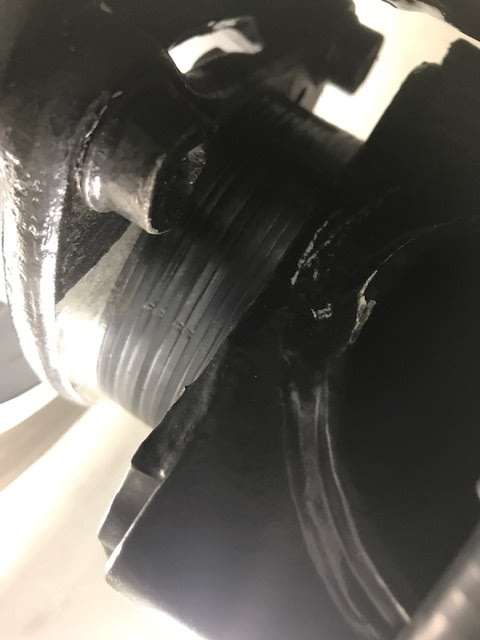
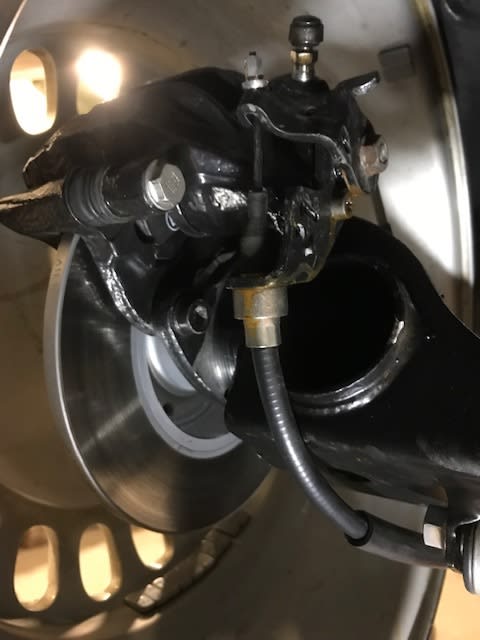
I welded the original bracket onto the Eurowise bracket like this, then bolted it to the front beam and the bumber bolting points..

I also widened the rear beam with spacers, about 24mm in each side, made some 2mm plates to mounts, so I can adjust it if needed
Posted
Old Timer


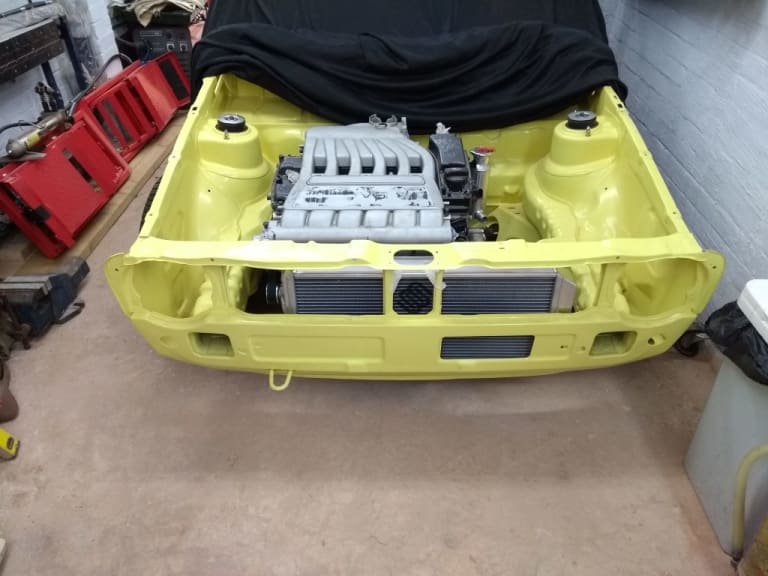



I have a cross member reinforcement bracket like this http://www.retrofication.co.uk/192FrontCrossMemberReinforcement.html but couldn't fit the mounts in between. Once I get it running I will give it ago
Posted
Settled In

Are you able to remove manifold with the radiator in place ?
Posted
Old Timer


Hummel said
Looking good! Also the flip-flops n' socks
Are you able to remove manifold with the radiator in place ?
Yes no problem
Haven't got the injector loom in though.
How did you mount the radiator?
Posted
Settled In

10mm bolts, nuts welded in the crossbeam, I can't help with picture right now, I'm working away from home all week.
Posted
Old Timer


with your radiator did you isolate it with a rubber mount at the base or just rigid mount it to the cross beam?
Also did you create a bracket to support the top?
Cheers
Rich
Posted
Settled In

Any good idea on how to do it ?
Posted
Old Timer


Hummel said
No rubber mount, Thought about it, but decided not to do it. Just bolted it solid onto the beam, and no support on top, but that is on my todo list…
Any good idea on how to do it ?
I was thinking, rivnut the cross beam, I have these rubber bushing that are threaded like a bolt on either side. Screw down the bushing in to the rivnut and nut on top with radiator in place.
For the top I was going to use the cowling bolts to mount a bracket to somewhere on the bonnet latch panel. Going to mock something up tonight
Posted
Settled In

I'm dreaming of a old dashboard in the car, but how much do I need to swap it? Offcurse the dashboard and wiring, and the complete dash. But what about ventilation? Is the ventilator housing the same and all the hoses? What about steering colum ?
I found a donor car i'm visiting tomorrow so I could be nice if I know what I need…
Can anybody answer my question ?
Posted
Old Timer


I'm surprised no one has posted as it has been done. When you do it let me know as I quite fancy the idea
Chap do you have the part numbers of the pre cat lambda sensors. I have an NTK one I think is the pre cat but the part number is too hard to read.
Where did you end up mounting the lambdas on your down pipe? Do you have an pics?
Cheers
Rich
Posted
Settled In

Sure, the two pre cat sensors are: 022 906 262 AE, VW have two different numbers, but the only difference is the length of the wires. I mounted them just after the collectors, but I have no picture right now, and I not at the garage until the end of the week.
Posted
Old Timer


0 guests and 0 members have just viewed this: None.


