new to me 1992 golf Cabriolet
Posted
Settled In

So now i have to wait for the parts i ordered from mk1autohaus. They didnt ship after i ordered a week week ago 😡
Posted
Local Hero

When you have it tight enough that it only twists 1/2 using your fingers between the intermediate shaft gear and the cam you are done.
Remember that the number one plug on the cap is at that position, so you may have to move your wires.
Then you can do the timing with the DVOM
What do Divorces, Great Coffee, and Car Electrics all have in common?
They all start with GOOD Grounds.
Where are my DIY Links?
They all start with GOOD Grounds.
Where are my DIY Links?
Posted
Settled In

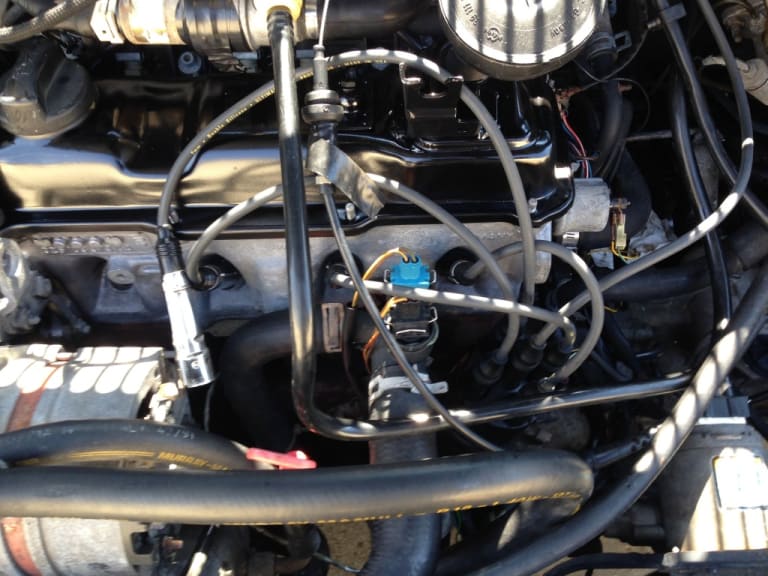
Then I also swapped the ignition leads.
See pics
So the transmission of my car came from a 86 GTI? Might be the reason why reverse light plug doesnt fit.
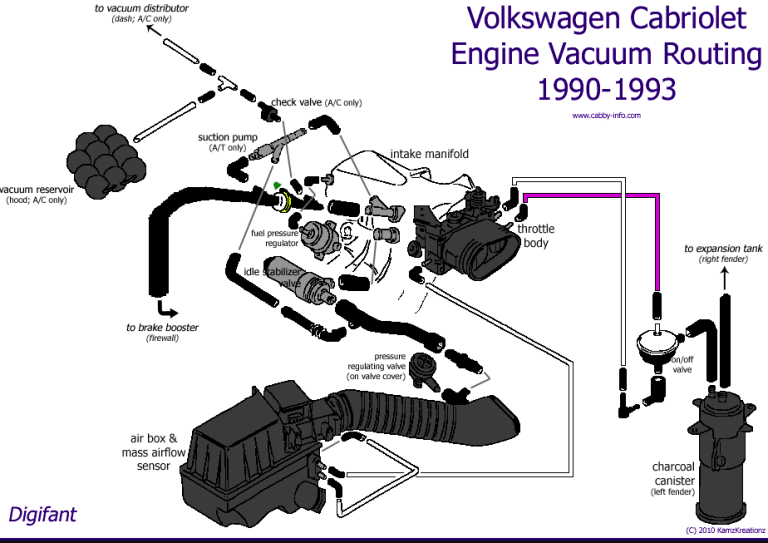
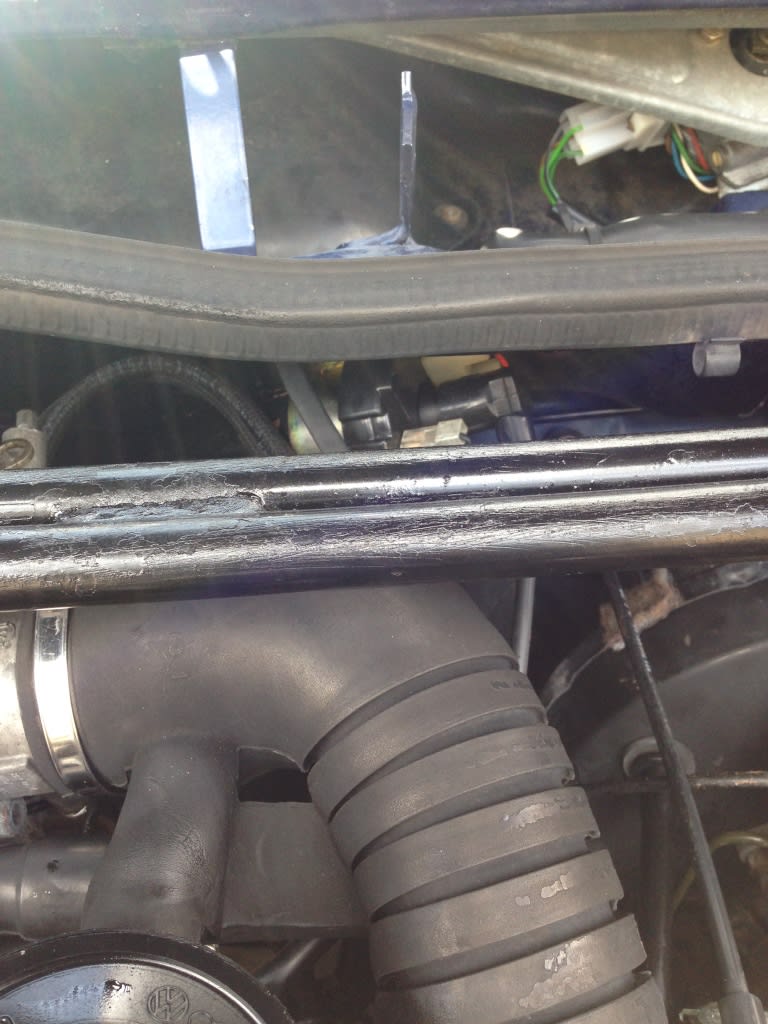
I also noticed a barb , but no vacuum line on the side of the airbox. The side faxing the engine block any idea what that could have been for?
Posted
Settled In

Posted
Local Hero

from Cabby-info.

What do Divorces, Great Coffee, and Car Electrics all have in common?
They all start with GOOD Grounds.
Where are my DIY Links?
They all start with GOOD Grounds.
Where are my DIY Links?
Posted
Settled In

Installed the transmission mount. Engine fired right up and ran nicely.
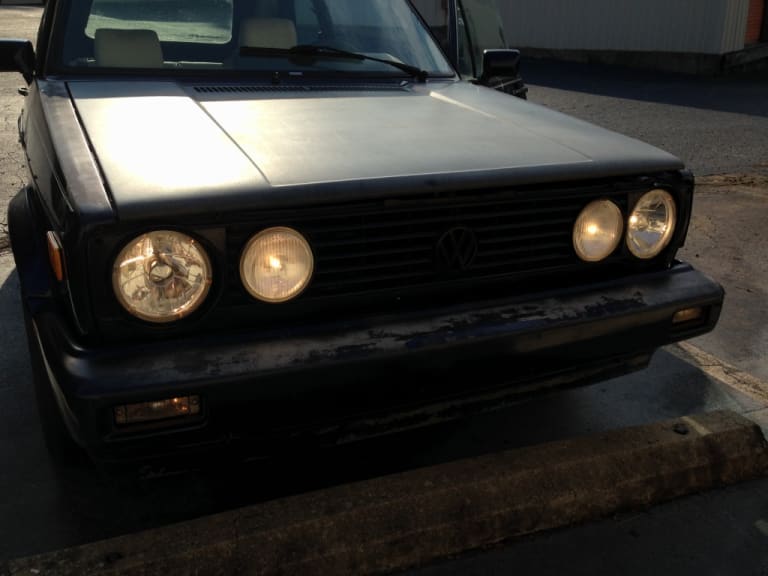
Now i got to sort out why the alternator charge light is on and fix the goofy wiring someone did on the headlights .
Posted
Local Hero

Quick think.
It is Normal if the battery light is on at start, you may have to goose the RPM above 1100 for a blip, then the light will usually go out. This is considered normal.
The Alternator has to have B+ applied to the itty blue wire via the dash light to start it charging. So the issue could be that it is "NORMAL" if it goes out if you goose it a bit.
Issues I have seen is the wire is broken at the connector on the alternator.
Break in the wire from the battery to the Dash.
The battery light in the dash is powered from the pin14 black+12 and pin2 brown ground of the cluster connector. Then there is a Diode and the blue wire which goes to the Alternator. When the Alternator starts charging, it goes from battery 12V to 13.75, since the 13.75V out of the alternator is greater than the 12v in to the light the light turns off. (very simplified)….
Poor connections on the cluster, and yep the Dash or clocks have issues.
Lights depend if the user relayed them then they will look wired wrong… Actually it is one of the cheapest and bestest upgrades that you can do Relay the headlights.
www.cabby-info.com has a how to on that as well as all mine in the Archive section, how-to's look for Brianos 90ish DIY.
Oh, and get good at reading the Bentley Wiring Diagrams… I have been since 1980, and I still get surprised.
What do Divorces, Great Coffee, and Car Electrics all have in common?
They all start with GOOD Grounds.
Where are my DIY Links?
They all start with GOOD Grounds.
Where are my DIY Links?
Posted
Settled In

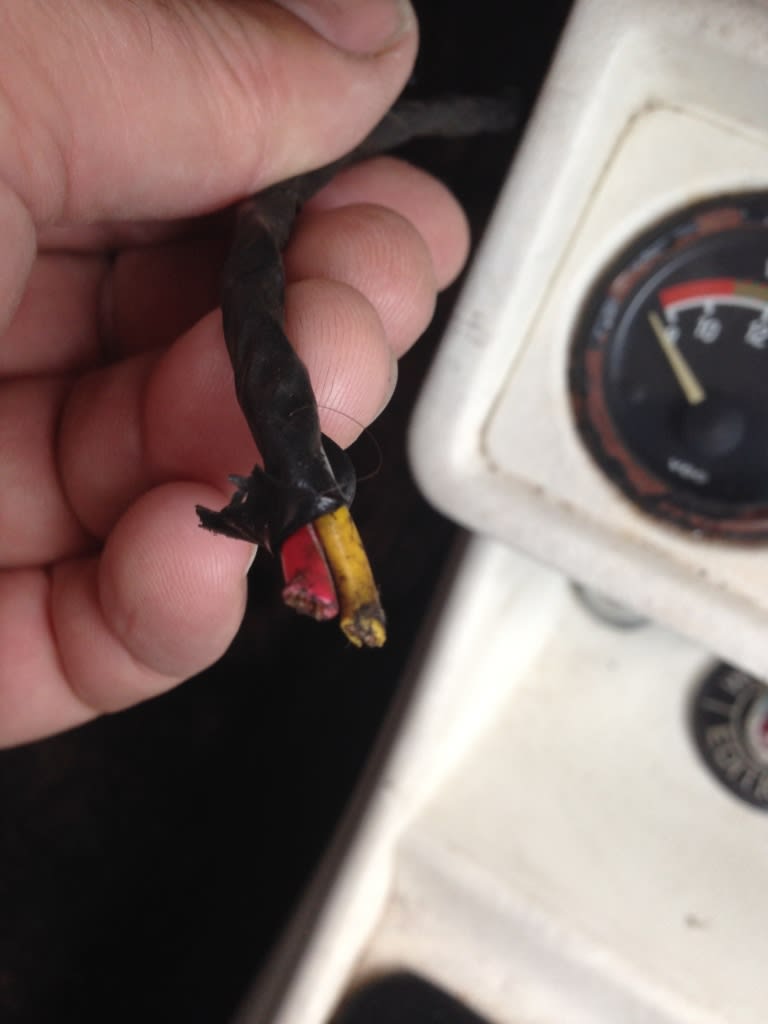
There is also a dangling wire under the dash ( might be related) . I probably should start a new thread with this new stuff?
Posted
Local Hero

14V and 12v says that your alternator is working to me, but funny that your charge light is staying lit is that after you have goosed the Throttle? it is still lit?
Be careful. Which air-Bag light is on the red or the orange or both….. Do not Power on the car with the Dash disconnected as that will fault your Airbag circuits.
There is a connector that is attached below the fuse panel that needs to be disconnected prior to any electrical work other wise you get the air bag lights to stay lit, by disconnecting this connector you isolate teh airbag controller from the main electric and you can't throw a code to it…..usually as long as one or both lights are on you don't have an airbag….
Now I have a thread on my signature links that tell you how to repair flakey grounds to your cluster (ya'll call them Clocks) by using a single piece of tape under hte mylar.
I will link you to a thread that can tell you how to reset your air bag lights to get a functional unit again.
Diagnostic Codes for the airbag lights.
http://cabby-info.com/Files/AirbagCodes.pdf
Here is the VW side of the airbag controller.
http://reflectionsandshadows.com/air-bags/
How to read and reset the airbag controller with out the VAG reader box.
https://forums.vwvortex.com/showthread.php?4982015-Read-and-reset-airbag-fault-codes-and-turn-off-warning-lights-without-VAG-1551.-Here%E2%80%99s-how.
What do Divorces, Great Coffee, and Car Electrics all have in common?
They all start with GOOD Grounds.
Where are my DIY Links?
They all start with GOOD Grounds.
Where are my DIY Links?
Posted
Local Hero

new to me 1992 golf Cabriolet
mark1gls said
You are looking in the wrong place… it's the yellow square in the 2nd picture on the link below….
020 Oil
or info here…
https://vwgolfmk1.org.uk/forum/index.php?page=topicview&id=helllllpppp%2Funtitled_14
By the way… all Mk1 golf cabriolet are Wolfsburg edition as that is where they are made, Karmann built them under license from VW.
Nope all the Cabbies were made by Karmann at their own plant in Osnabruck.
No cab was ever made at Wolfsburg, they were to busy churning out tin tops to interrupt the plant or assembly line.
Sent from my iPhone using Tapatalk
"Making Cabbies More Beautiful One Roof at a Time"
Posted
Local Hero

new to me 1992 golf Cabriolet
AllMacs said
Got the valve cover gasket in painted the valve cover and got new shoulder nuts.
Installed the transmission mount. Engine fired right up and ran nicely.
Now i got to sort out why the alternator charge light is on and fix the goofy wiring someone did on the headlights .
Did you reconnect the Earth braid from the upper right stud mount to the coil minting bracket bolt?
This is the Earth for the dash/clocks.
You can face issues with them if not.
Sent from my iPhone using Tapatalk
"Making Cabbies More Beautiful One Roof at a Time"
Posted
Settled In

As i said i bought th car from someone who messed with it and i dont know where what goes.
Is that connected to the side of the valve cover?
Posted
Local Hero

I had moved my o2 sensor to the Down pipe, so I had to extend it. but this should be the same as yours but there is a connector in the slot.
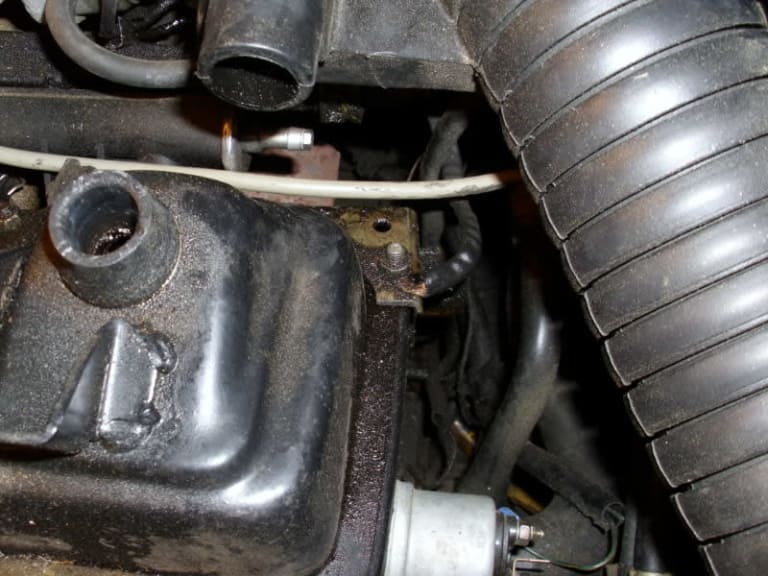

Where the rest of your grounds are on a DIgi are here and there are pictures included….
https://forums.vwvortex.com/showthread.php?5284503-Ground-effects-and-the-repair-of-your-car&highlight=ground+effects
What do Divorces, Great Coffee, and Car Electrics all have in common?
They all start with GOOD Grounds.
Where are my DIY Links?
They all start with GOOD Grounds.
Where are my DIY Links?
Posted
Settled In


Posted
Settled In

Posted
Local Hero

https://forums.vwvortex.com/showthread.php?2026650
Tolusina's response…. about the 3rd or 4th.
okay I was wrong orange and red… Both indicate that the airbag can't deploy… The above link will disable the controller and turn those lights off.
What do Divorces, Great Coffee, and Car Electrics all have in common?
They all start with GOOD Grounds.
Where are my DIY Links?
They all start with GOOD Grounds.
Where are my DIY Links?
Posted
Settled In

Next thing i noticed is that the idle buttwrfly seems to stick. When i rev the engine it will have a higher idle i would have to push the lever toward the firewall to get it low. Does spraying and cleaning the butterfly from the inside with some solvent sound like it could work out this issue? Or does it sound like something more elaborate?
I also noticed that the oil pressure sensor seems to put on a LED now when the idle is low. I probably need a new sensor.
Posted
Old Timer


1982 3 Door - 'BRO' - gone to pastures new
1990 Clipper Cabriolet - Jet green metallic
1990 Clipper Cabriolet - Jet green metallic
Posted
Settled In

Posted
Local Hero

Sticking whilst open is either the cleaning and lubing of the Throttle body spring and linkage or a worn and possibly breaking Throttle cable. As you stated that pushing the throttle return to the rear means to me that it is either Dirt, bent linkages or throttle cable….as in bad or maladjusted.
If your butterfly sticks closed then that is because the throttle body stop is improperly adjusted, and the butterfly is actually fully closing instead of being partially cracked…
Lubing the Pivots also is key, well cleaning and then lubing.
The haynes/bentley show this adjustment
 Last edit: by Briano1234
What do Divorces, Great Coffee, and Car Electrics all have in common?
They all start with GOOD Grounds.
Where are my DIY Links?
They all start with GOOD Grounds.
Where are my DIY Links?
There are too many online users to list.


