Borednows Garage Build
Posted
Moderator


Complete new build! Could get interesting!
Yep it does have a gas flow knob so it can be turned down.
I'm hoping with the size of my garage vs how often I need to actually use it, condensation shouldn't be a problem, especially as everything is insulated.
Ian
Posted
Old Timer

I might consider one, my new garage is not as big as yours, 40'x12' but it's double block with insulated cavity, insulated floor and flat roof, the roller door is insulated plastic, I have 30' of steel racking down one side.
I get about 3 litres a week in my dehumidifier that runs on intelligent? (FFS it's a machine! ) constant.
I get about 3 litres a week in my dehumidifier that runs on intelligent? (FFS it's a machine!
Posted
Moderator


Gordon Bennet John! Must be warm as toast in there!
That's more insulated than mine. Yet you still pull that much water out of the air. Wow!
I think I need a picture of this garage of yours. How does the racking work out for you? I'd like doors on mine to stop dust, grindings, overspray etc getting over everything. If possible and money allowing of course!
Ian
Posted
Old Timer

Not the best picture, there is a small freezer to the right just inside the door, then a side access door. A 4' long side window with low racking, then 6'6" tall racking to the back, a wooden work bench is against the back wall. There is a big 6' tall steel bin/drawer unit sticking out from the back wall adjacent to the bench, and to the side of that to the left side wall is a mountain of Escort spares. My roll cabinets are in the space in front of the sheeted down Escort Mk1.
The fake hanging baskets on the left are forced upon my for winter storage by SWMBO
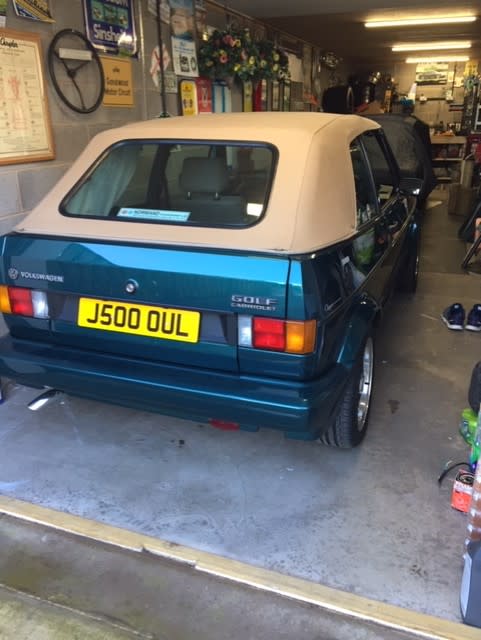
The fake hanging baskets on the left are forced upon my for winter storage by SWMBO

Posted
Moderator


So is anyone still interested in the longest build ever? 
After many months of painting and who knows how many gallons of paint, the painting of the walls is finally complete!
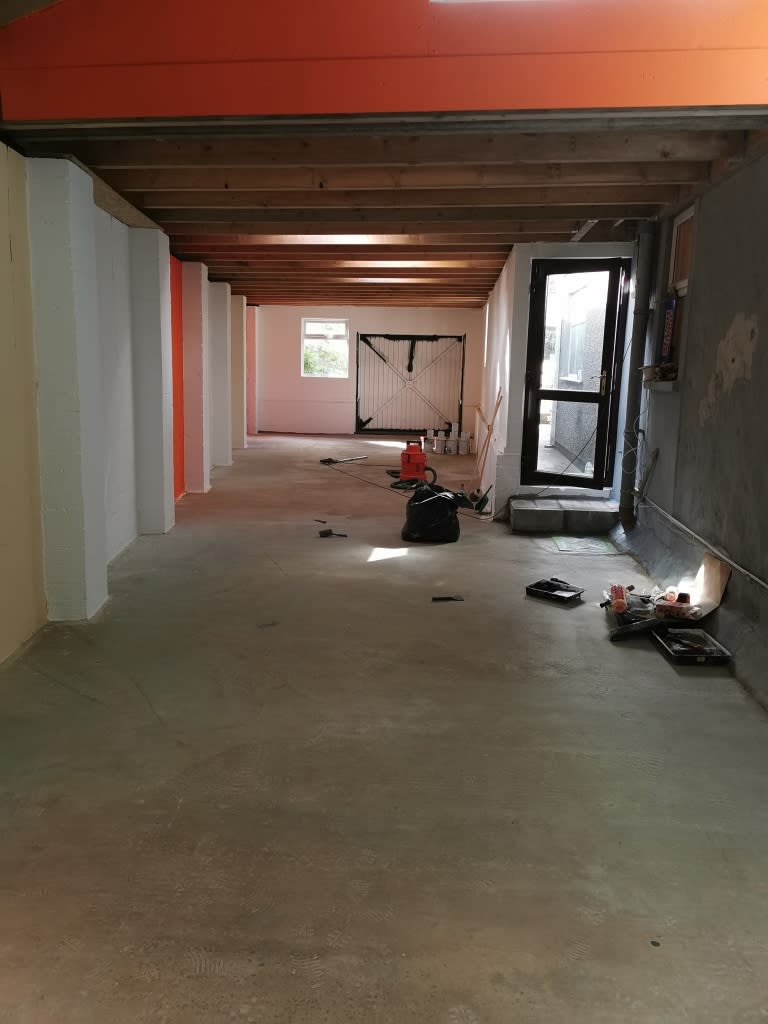
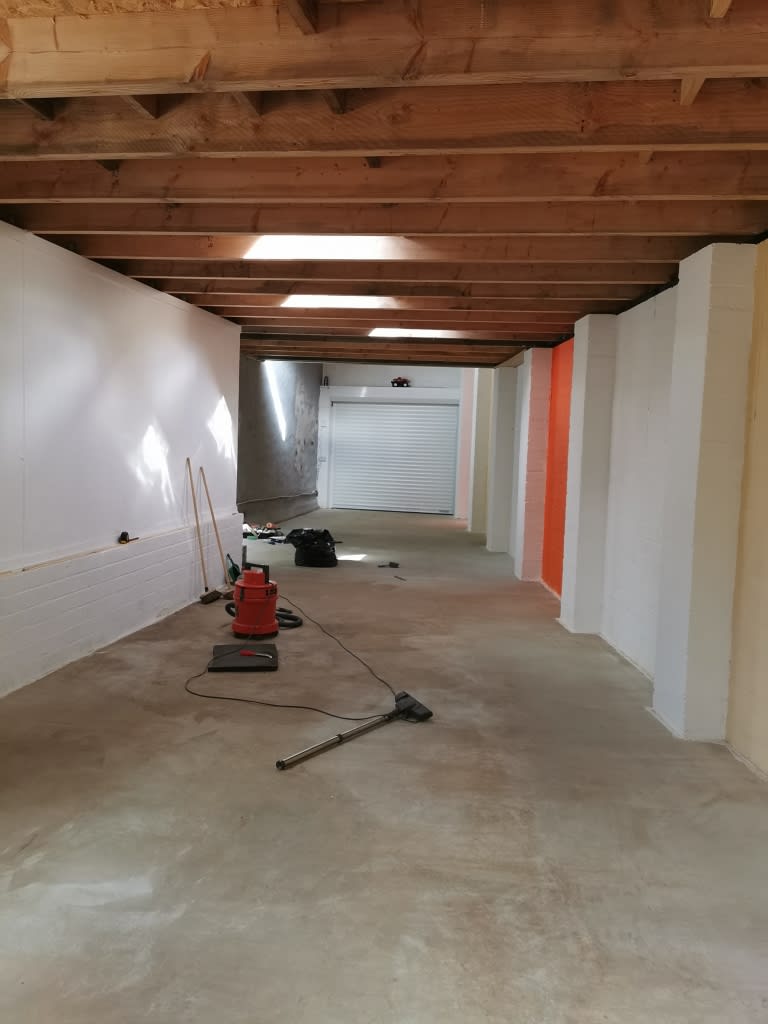
I also finally got around to building a step into the garage as well. Turns out I'm not a block layer, so I can add that to the ever growing list of things I'm not good at
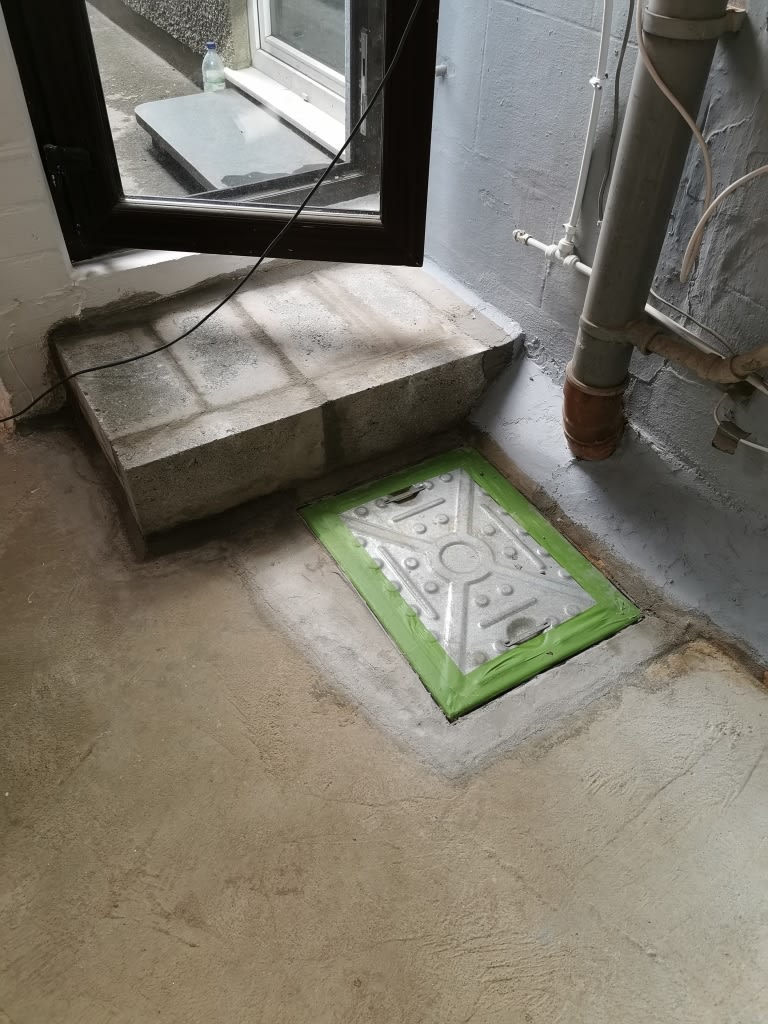
As you can see the garage is now empty and prepped for floor epoxing. Numerous sweepings, hoovings, moppings, wet vaxing and finally on my knees for two days with a wire brush to get the ground in dirt out of the concrete. I'm aching to say the least!
After a lot of research I finally went with Antell heavy duty floor epoxy. At £600 it was half the price of the recommended stuff. Lets hope it works ok
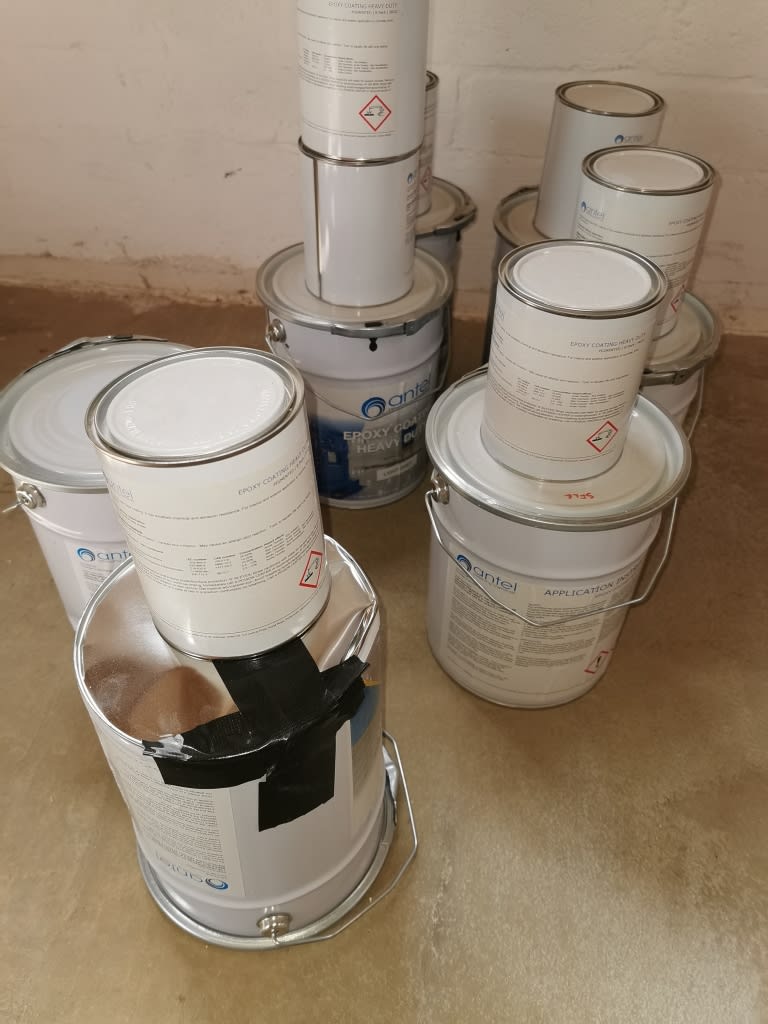
Of course one tin got damaged in transit but luckily without the catalyst added it doesn't go off, so hopefully it'll be alright.
Wish me luck! Hopefully updates will get a bit quicker once the floor is dried.
Ian
After many months of painting and who knows how many gallons of paint, the painting of the walls is finally complete!


I also finally got around to building a step into the garage as well. Turns out I'm not a block layer, so I can add that to the ever growing list of things I'm not good at

As you can see the garage is now empty and prepped for floor epoxing. Numerous sweepings, hoovings, moppings, wet vaxing and finally on my knees for two days with a wire brush to get the ground in dirt out of the concrete. I'm aching to say the least!
After a lot of research I finally went with Antell heavy duty floor epoxy. At £600 it was half the price of the recommended stuff. Lets hope it works ok

Of course one tin got damaged in transit but luckily without the catalyst added it doesn't go off, so hopefully it'll be alright.
Wish me luck! Hopefully updates will get a bit quicker once the floor is dried.
Ian
Posted
Old Timer


It looks amazing chap 
So much space! Boy wasn't expecting the epoxy to cost so much! Better get saving!
Think it will be a summer job for me as I need to get my Golf mobile before I can contemplate clearing the garage to do it.
So much space! Boy wasn't expecting the epoxy to cost so much! Better get saving!
Think it will be a summer job for me as I need to get my Golf mobile before I can contemplate clearing the garage to do it.
Posted
Moderator


Cheers mate,
I think the cost is so high as it's about 100sqm of floor.
Everything is expensive due to the size!
https://antel.co.uk/flooring/124-epoxy-floor-paint-heavy-duty.html#/39-colour-bath_stone/61-size-5kg
This is stuff I used.
I phoned and had a chat with them about it. They suggested I went with 7 of the big cans. 4 for the first coat (which just did it!) and 3 for the second coat.
No primer, sealer or etch was needed as it was new concrete and not stained.
The first coat is down and I need to let it dry for 24hrs before the second coat, but as I finished at 6 o'cock last night I'll leave it 36hrs. There's a 48hr window to re-coat according to instructions. So next update in a few days.
Lets hope it sticks ok!
Ian
Posted
Moderator


So as promised update following the installation of the flooring……..
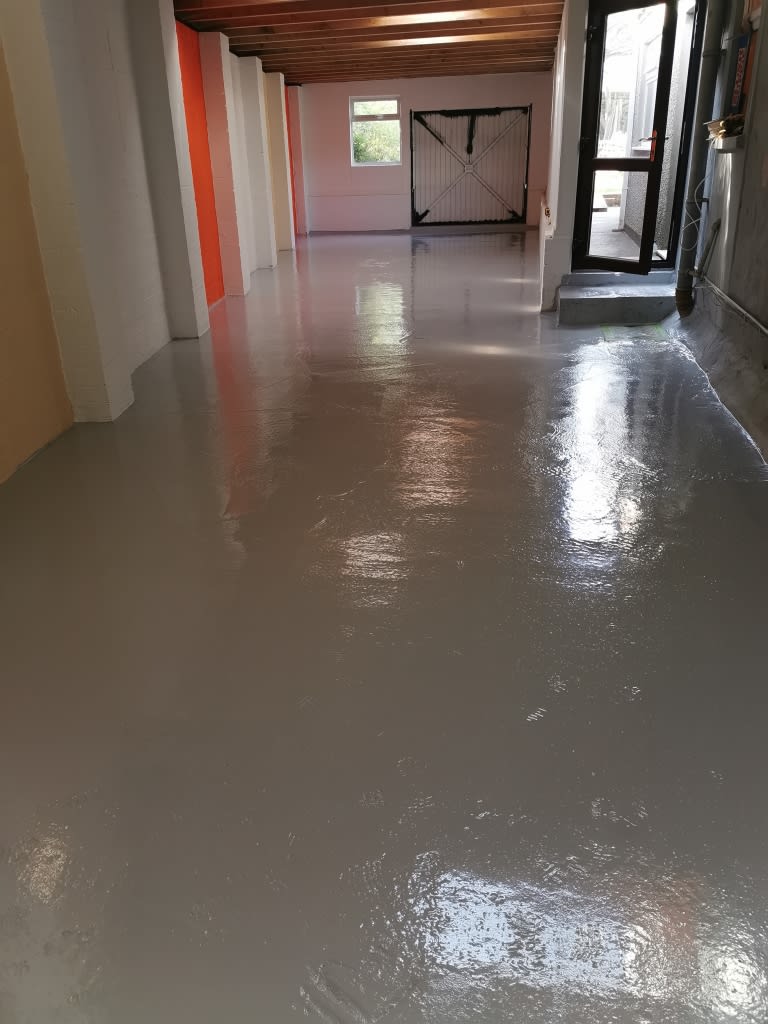
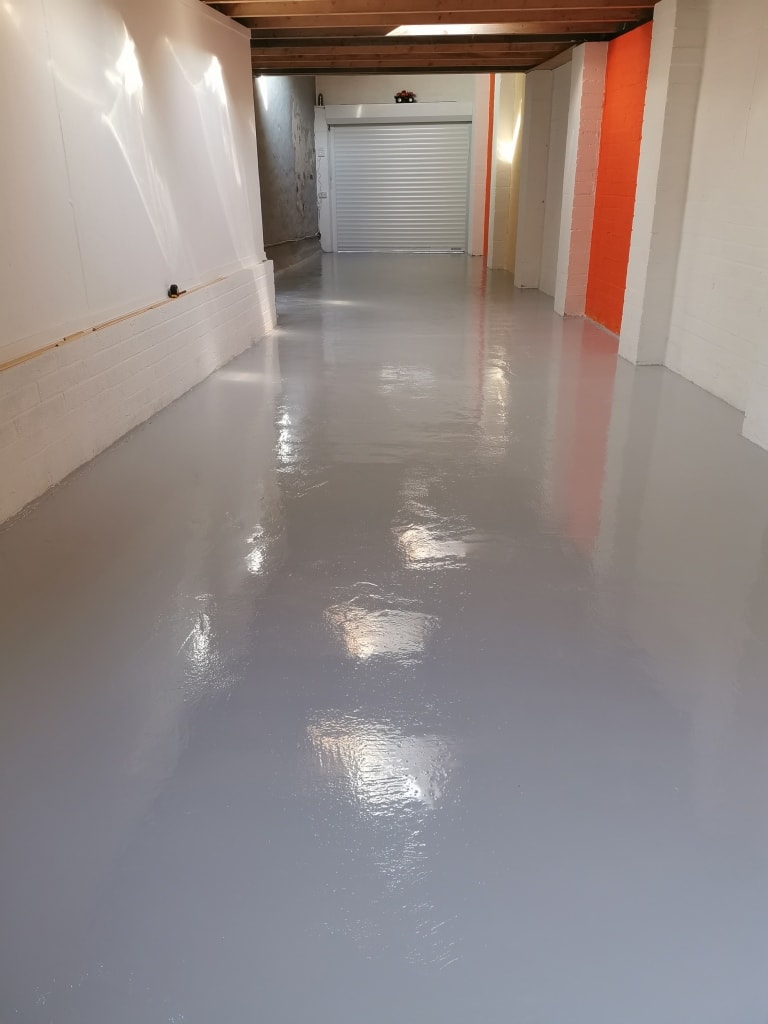
First coat was a little thin come the end, could have done with another 1/2 can (I used the 5kg packs) and then with the second coat had about 1/2 can left over!
So if you ever decide to do anything like this I'd suggest getting a couple of small packs rather than all big ones.
I also added a palm full of sand to each of the final coat packs. Where the film thickness was thick it seemed that with a bit water on the surface it would be very slippery.
The sand seems to have added just a bit of grit to the surface, hopefully it should stop me slipping over if the floor gets wet.
I'm happy
So just the ceiling, electrics and everything else to do now
Ian
Posted
Old Timer

Borednows Garage Build
Flipping heck mate,, thats a garage and half that. Excellent work .anyone would be happy with that to tinker in .
Regards Dean
Sent from my SM-G950F using Tapatalk
Regards Dean
Sent from my SM-G950F using Tapatalk
Posted
Old Timer


How long does it take to dry? The weather at the moment is helping loads I bet. You can get a good through draft by opening both sides of the warehouse 
Posted
Moderator


Thanks
 Deano777
problem is I'm a bit of hoarder so need some space. Could have done with being bigger really……
 Rich.
24 hrs to walk on and 48 before heavy traffic! Really quick drying times as it's a 2 pack.
The pics show it dry. That shine is from the product.
Made a start emptying the Plastic Shed yesterdya to get at my bench. It got moved from the old garage into Plastic Shed and then used, infrequently, over the last 2 years or so. Plastic shed also housed all my tools as well. Emptied it all out into the garden and was amazed how much stuff i have. How in the heck did I ever move n the old garage!
Piccies tomorrow as I'd like to get the bench and some shelves up today.
Wish me luck
Ian
Posted
Posted
Settled In

That's glorious, you won't want any old cars in that, dripping oil and other fluids all over the place and messing it up ! 
Posted
Moderator


Well I promised pics of the progress so here we are
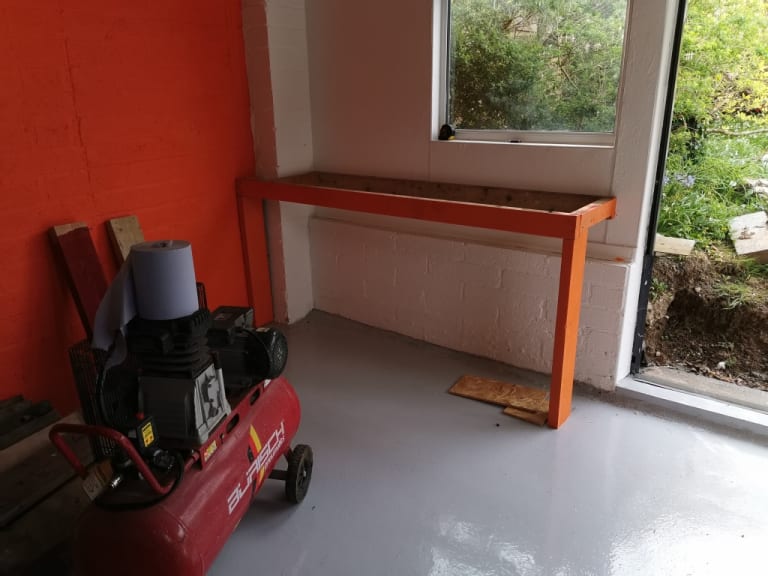
Impressive eh?
I'm also trying to figure out the best place to put things so I don't end up either reducing the width even more or with stuff not being accessible once the cars are in it.
I moved some stuff down from the Plastic Shed
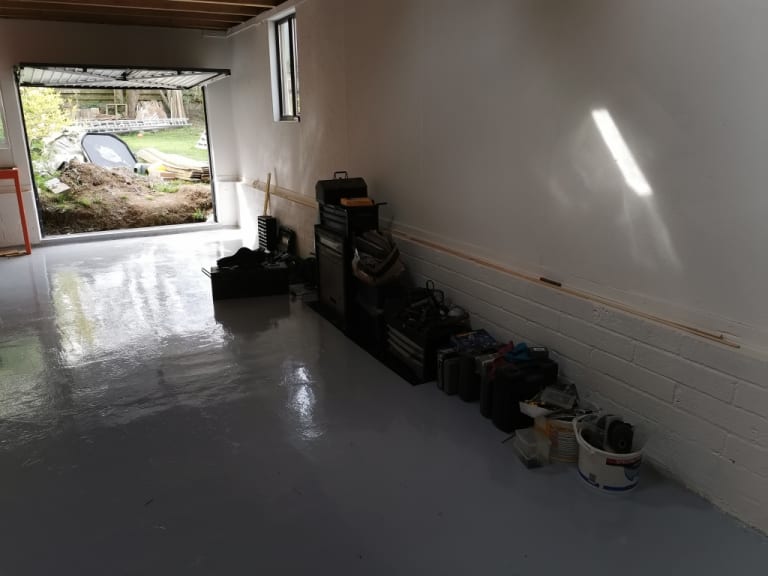
But much more to get moved yet!
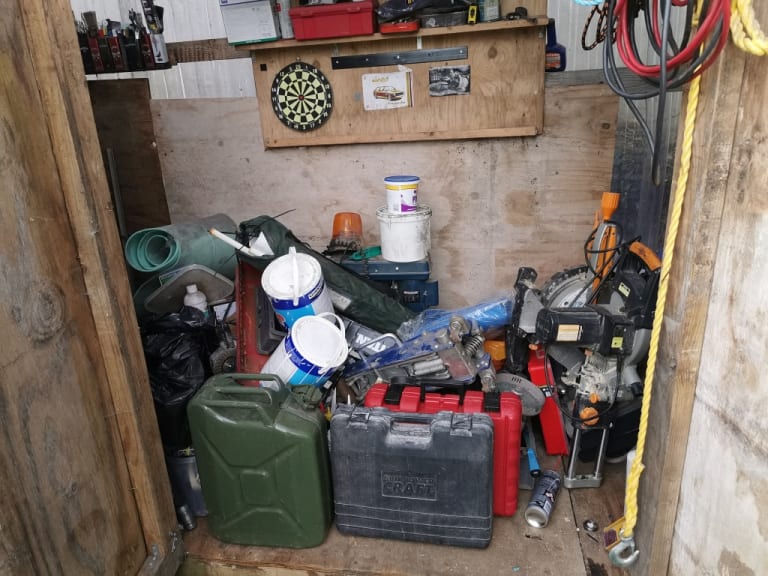
I thought this would be the easy bit, but with trying to think it all out and it being so quiet at the moment I'm trying to be a good neighbour and not have power tools running. Even cutting timber is taking 3 times as long.
As well as tool storage I'd like to be able to have the drill press, bench grinders and polisher all out somewhere in an easy to use position but without losing floor space.
The stereo set up also needs to be housed along with a TV and computer set up so I can stream music and look up helpful hints on the internet.
Good job we have plenty of time at the minute innit?
Ian
Posted
Old Timer


Don't forget a space for that dartboard!
Quick Q - assuming you aren't a builder, how did you get all the info about foundation walls, concreate slab etc, etc. Or do you have a firendly builder to advise?
Really want to build a garage at the side of my house, so I can convert the current one eventually, but builders round here are a) very busy, and b) very expensive so the moe I could do myself the better.
Won't be as big as yours mind you!
Posted
Moderator


I can certainly offer some advice I'll drop you a PM.
So a bit more done. I'm having to scour the garden for materials and then, as most of the materials left have already been used in Civil Engineering projects, remove the concrete or assess for stress damage.
It also takes a while as I have no 90 degree corners on this building either.
For example
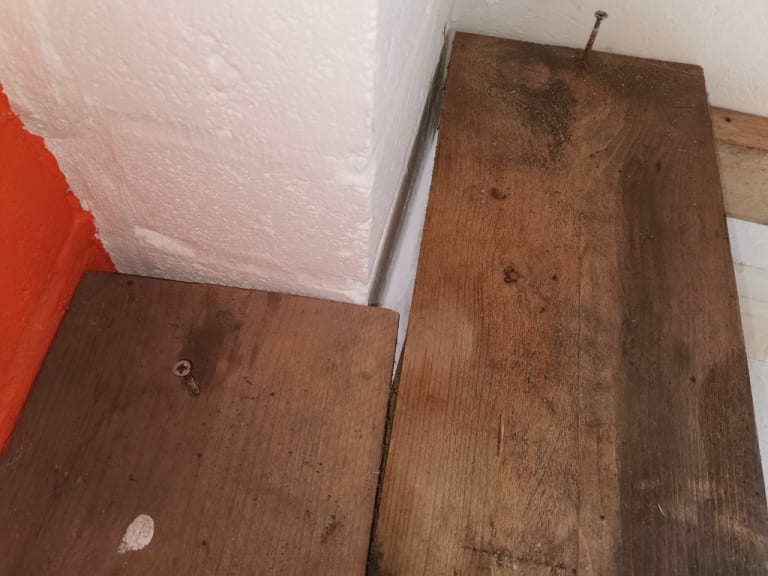
So instead of just being able to bang straight stuff together nice and easy, a bit of bespoke joinery is required!
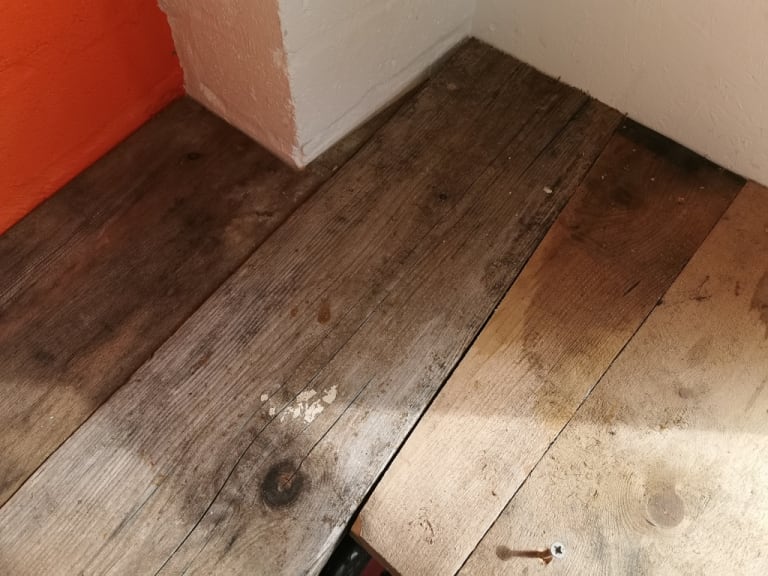
Planks will hopfully hide the compressor and end up as the home for bench mounted tools, grinder etc.
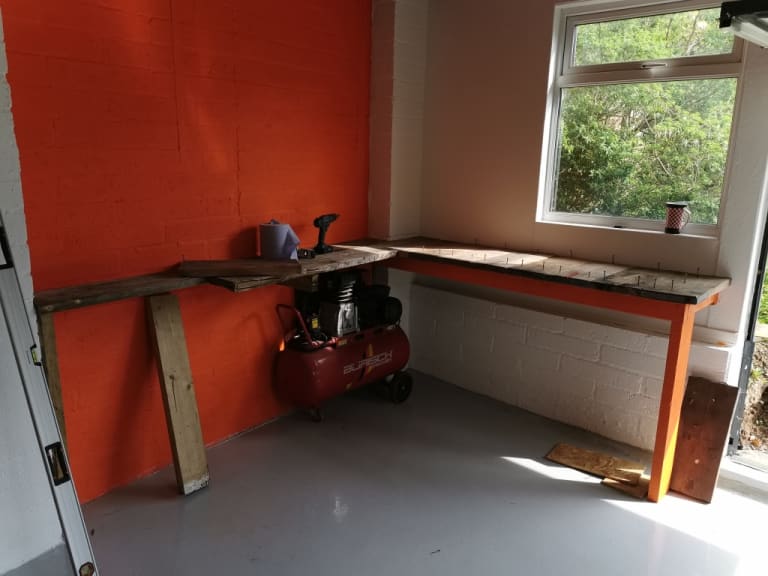
And finally with the freshly varnished planks laid loose on the top. These will have a mat of some sort over the top when done. Doors will also be added when I can find some hinges!
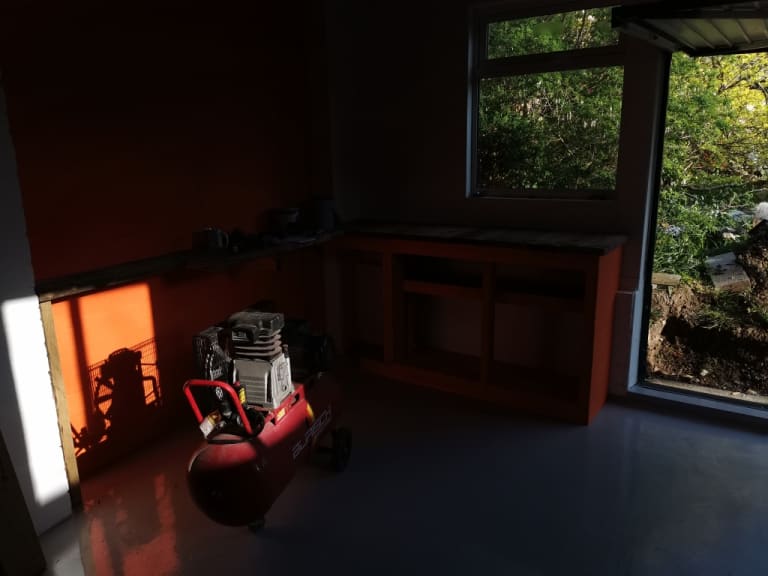
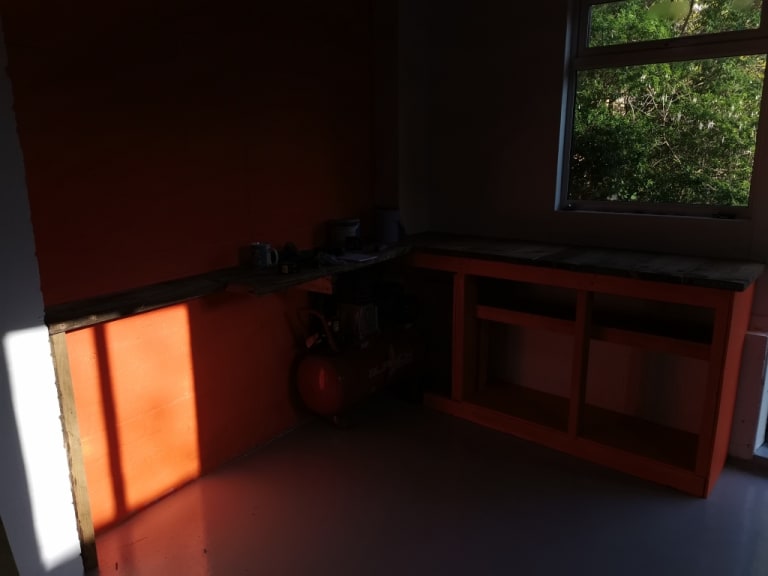
A bit of something else today I think.
Ian
Posted
Moderator


Didn't realise those pics were quite so dark!
Been busy with shelves and sanding and a bit of varnish too!
The plan is for doors on the cupboard under the window opening in the usual way.
For the other bit, the intention is to build a metal frame on hinges that will hinge along the top. This will effectively then be used a welding table. Unfortunately my steel supplier is on lock down as well so no chance for a minute.
It'll also be clad with ply with some quick release fixings to allow it to be used as an upholstery bench as well……………..
At the moment it's at this point.
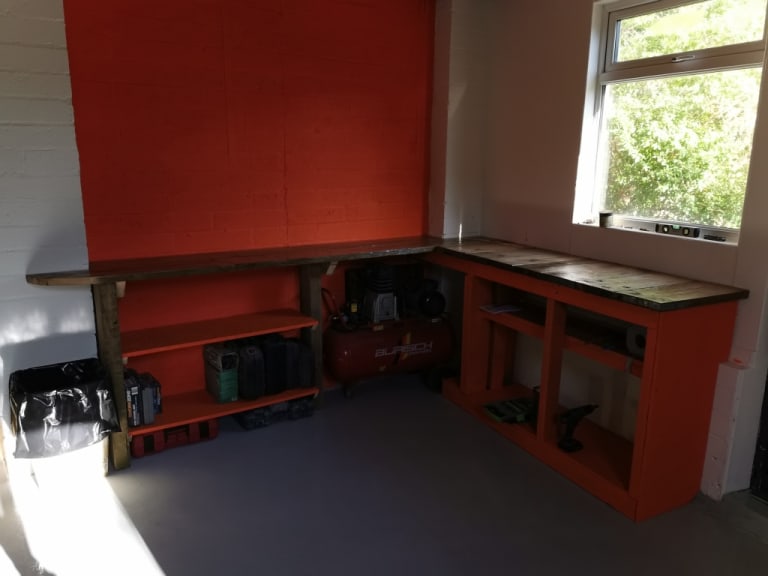
For some reason my camera hates the light in the evening at this end of the garage!
Ian
Been busy with shelves and sanding and a bit of varnish too!
The plan is for doors on the cupboard under the window opening in the usual way.
For the other bit, the intention is to build a metal frame on hinges that will hinge along the top. This will effectively then be used a welding table. Unfortunately my steel supplier is on lock down as well so no chance for a minute.
It'll also be clad with ply with some quick release fixings to allow it to be used as an upholstery bench as well……………..
At the moment it's at this point.

For some reason my camera hates the light in the evening at this end of the garage!
Ian
Posted
Moderator


The organising, emptying of sheds and building continues. 
I obtained some lockers from a site I ran about 7 years ago with the intention of using them in the new garage. They've been in my office in storage and have ended up being used 'holdalls' for anything that should have been in the garage but never quite made it.
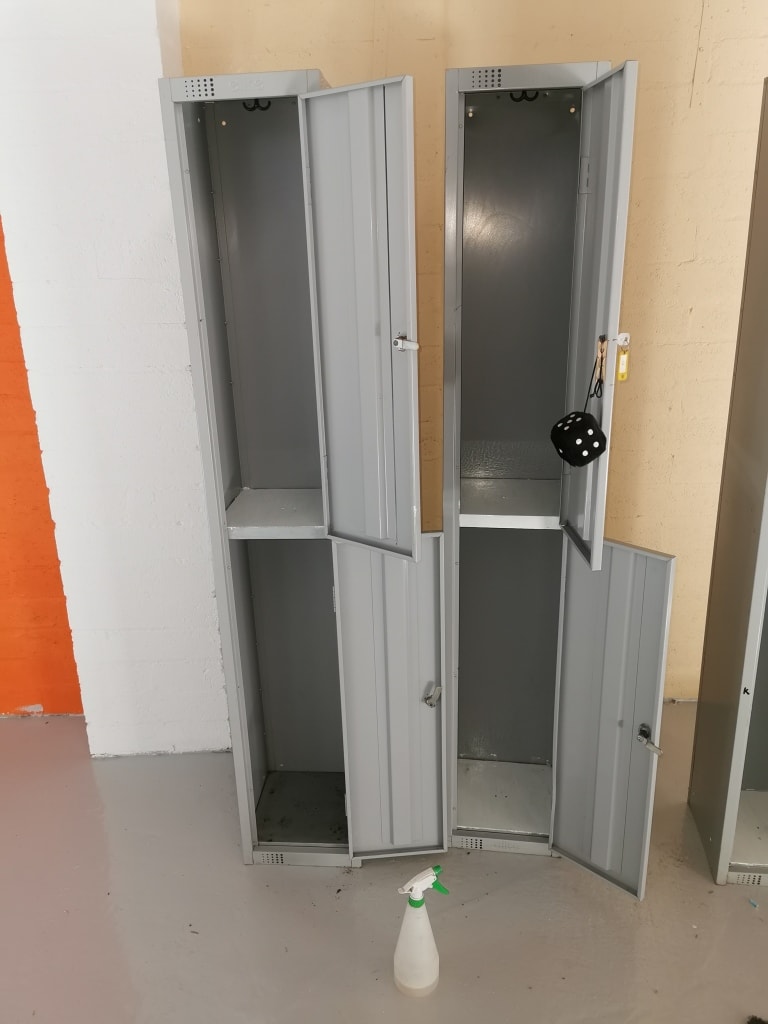
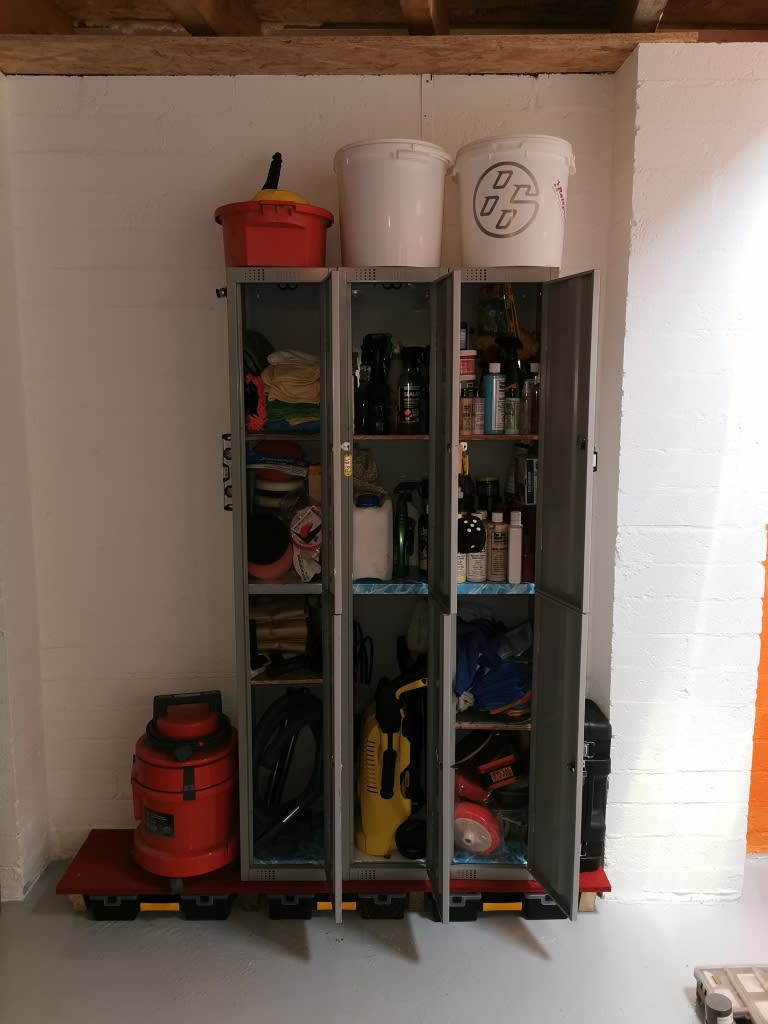
In my head they were always going to be for the detailing stuff. So I emptied the shed of the boxes and bags of stuff and started orgainising. Of course, due to the floor not being completely level, especially around the walls where the tanking slurry was used to stop moisture coming in under the block, they didn't sit square, straight or level so something had to be done.
After a lot of thinking I finally came up with a shelf for them to site on. Finally decided to make it just big enough to slide some organiser cases under it.
I'm sure they'll end up being emptied again and more shelves installed as time goes by, but I'm nearly happy for the moment. At least I can finally wash the cars again!
I suppose next job is shelves for spray cans, bodywork stuff and things.
Still trying to decide on a tool box too……
Ian
I obtained some lockers from a site I ran about 7 years ago with the intention of using them in the new garage. They've been in my office in storage and have ended up being used 'holdalls' for anything that should have been in the garage but never quite made it.

In my head they were always going to be for the detailing stuff. So I emptied the shed of the boxes and bags of stuff and started orgainising. Of course, due to the floor not being completely level, especially around the walls where the tanking slurry was used to stop moisture coming in under the block, they didn't sit square, straight or level so something had to be done.
After a lot of thinking I finally came up with a shelf for them to site on. Finally decided to make it just big enough to slide some organiser cases under it.
I'm sure they'll end up being emptied again and more shelves installed as time goes by, but I'm nearly happy for the moment. At least I can finally wash the cars again!

I suppose next job is shelves for spray cans, bodywork stuff and things.
Still trying to decide on a tool box too……
Ian
Posted
Moderator


SO as this weird time of lock down continues I've been wondering around in circles trying to do some bits whilst being quiet so as not to annoy the neighbours.
Cutting everything with a handsaw takes ages
Still cupboard/shelfy thing finished. I'm amazed how log it takes to try and design something, build it, take it apart, paint it (2 coats at least on every side) and then put it back together again. About a weeks work on this alone!
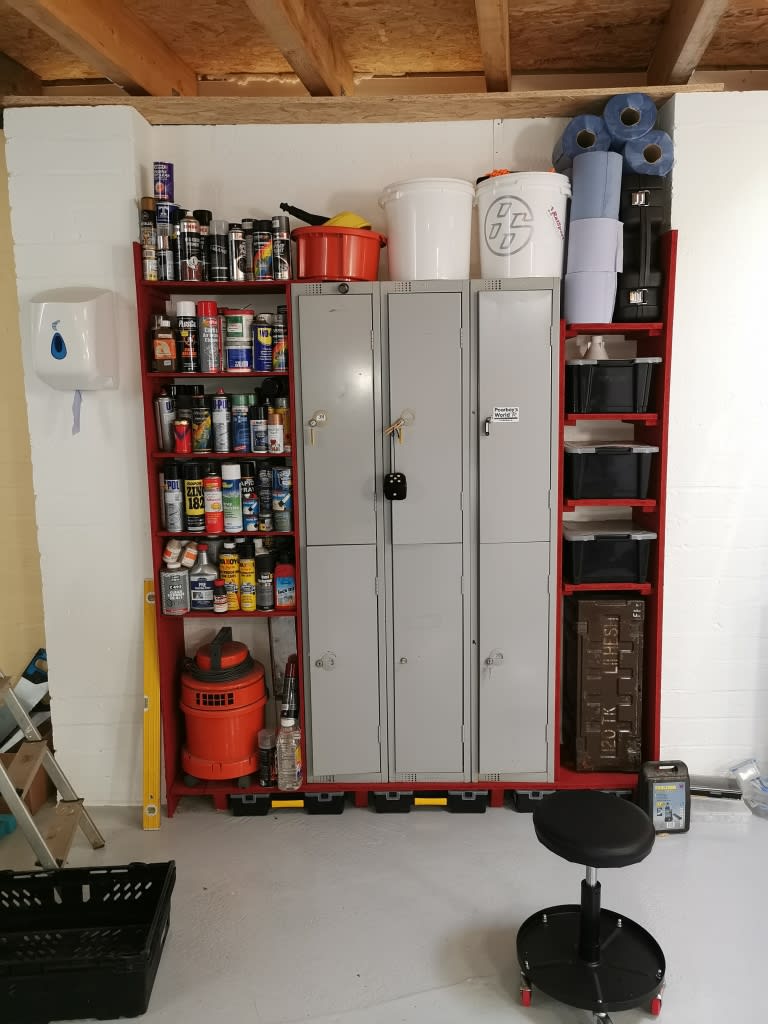
The blue towel dispenser was also 'borrowed' from a site I was on years ago. It's been in it's box in the shed for about 5 years. Just generally getting in the way and being moved around lots, so it's been nice to finally get it out of the way! Amazing how much space stored it,es tale up when not in use innit?
I've found it seems a long way to walk each time you need something that's stored down the other end so I bought another one for the bench end. Dispenser and 6 rolls for £25! Bargain.
A bit more stuff has made it to the bench as well.
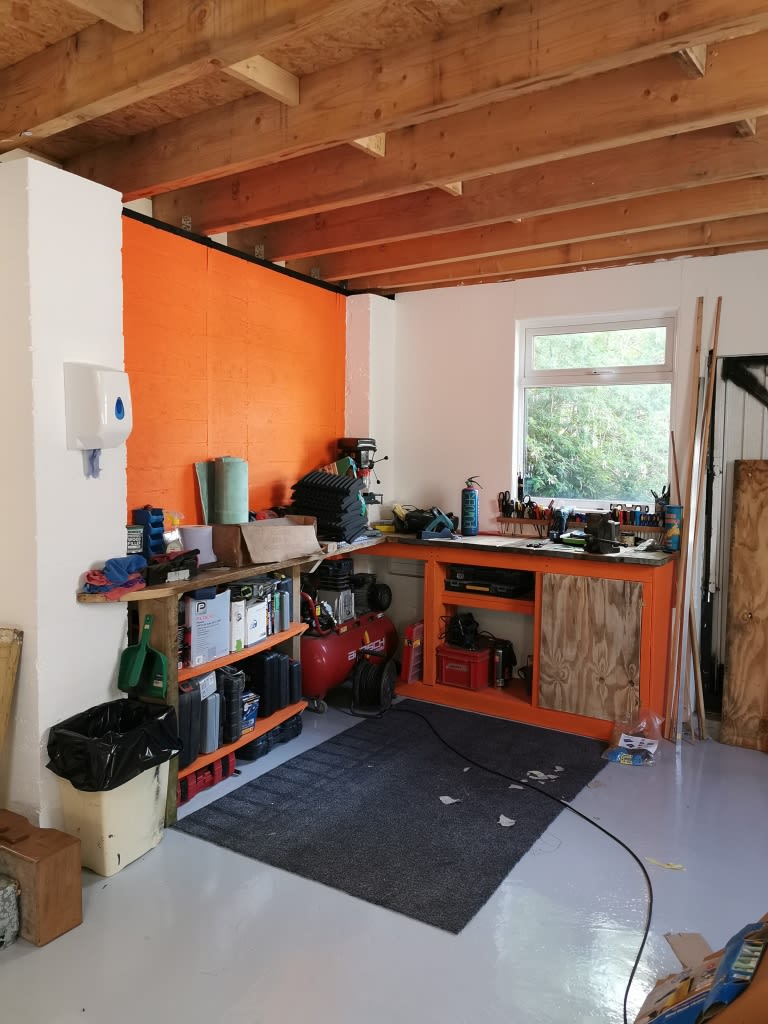
The dog likes the carpet area as she finds the flooring in the garage a bit slippery. She ends up doing power slides

 First a bit of understeer followed by a bit of oversteer then a full drift usually followed by a sliding crash into something. Very funny to watch
  It's even worse when her paws are wet
She likes chewing paint brushes and rolls of tape. Weird dog
Stay safe
Ian
Cutting everything with a handsaw takes ages
Still cupboard/shelfy thing finished. I'm amazed how log it takes to try and design something, build it, take it apart, paint it (2 coats at least on every side) and then put it back together again. About a weeks work on this alone!

The blue towel dispenser was also 'borrowed' from a site I was on years ago. It's been in it's box in the shed for about 5 years. Just generally getting in the way and being moved around lots, so it's been nice to finally get it out of the way! Amazing how much space stored it,es tale up when not in use innit?
I've found it seems a long way to walk each time you need something that's stored down the other end so I bought another one for the bench end. Dispenser and 6 rolls for £25! Bargain.
A bit more stuff has made it to the bench as well.

The dog likes the carpet area as she finds the flooring in the garage a bit slippery. She ends up doing power slides
She likes chewing paint brushes and rolls of tape. Weird dog
Stay safe
Ian
Posted
Old Timer


Very smart chap. I like the towel dispenser idea as often buy 12 rolls at a time and never know where to place them. Actually on my last roll going to order something up now.
My dog is in to toilet rolls, perhaps that is a labrador thing Sod the neighbours. If it's between 9-5 work hours get the circular out
  I'm also generally respectful of my neighbours but think they got a shock when my car started up for the first time
My dog is in to toilet rolls, perhaps that is a labrador thing
 Last edit: by Rich.
0 guests and 0 members have just viewed this: None.


