ChrisL's Mk1 GTI Project
Posted
#1550559
(In Topic #207746)
Settled In

I've always wanted to have a go at bodywork preparation and painting and intend to do it all myself including the final top-coat.
So this is when I got it home:
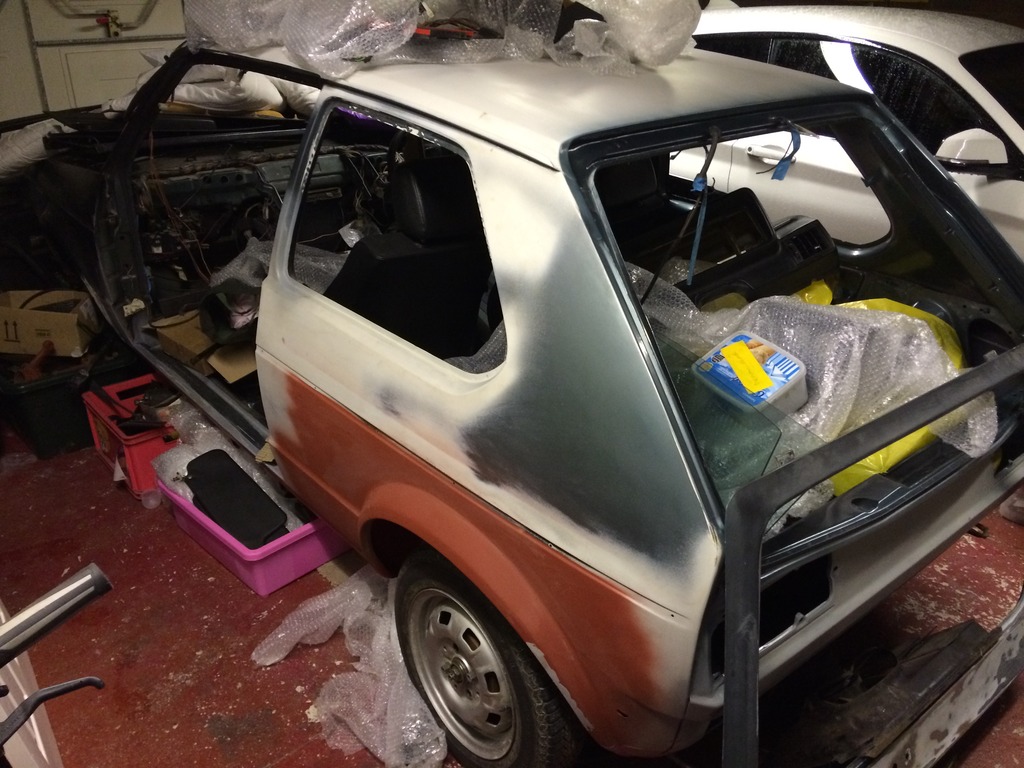
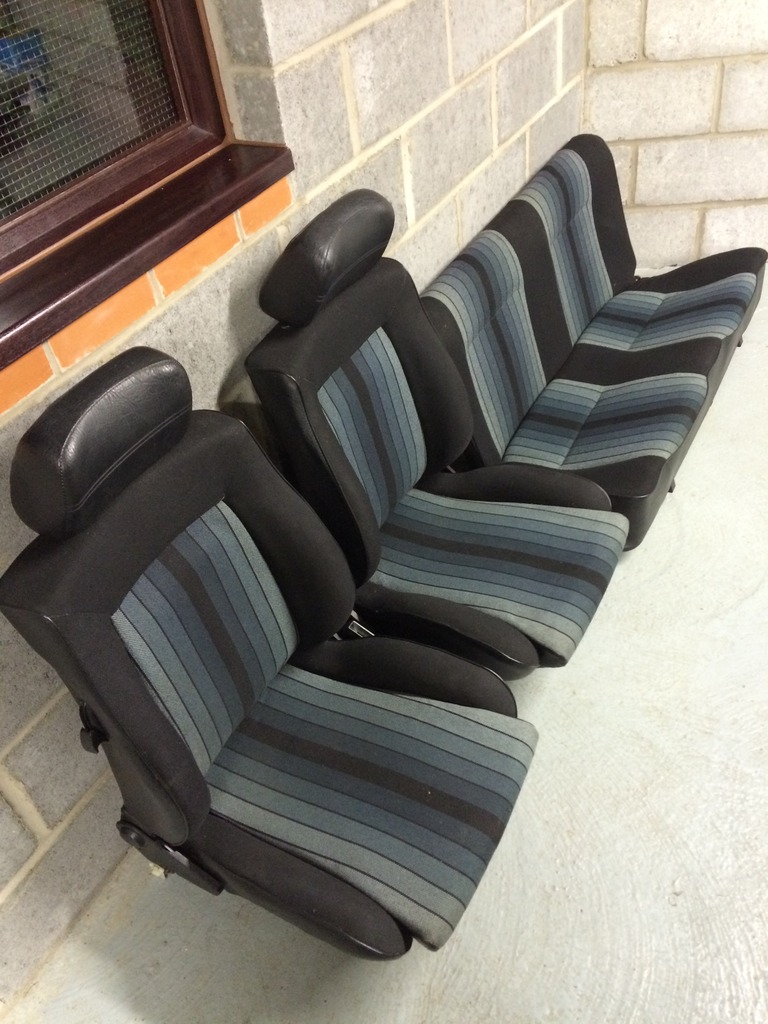
This is the interior, not bad for 170K miles. Totally mint except for a small fag burn, this wont matter as I intend to have the centres re-trimmed with the black and grey stripe:
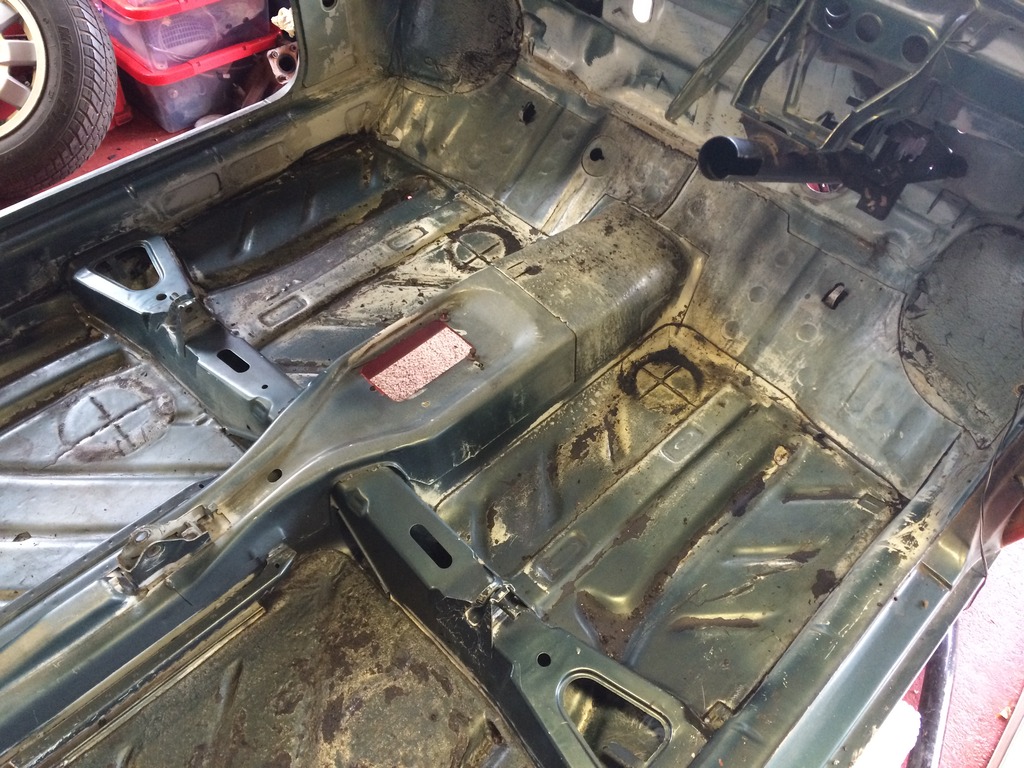
First job after sorting all the parts out of the shell was a quick clean of the interior, floors look perfect:
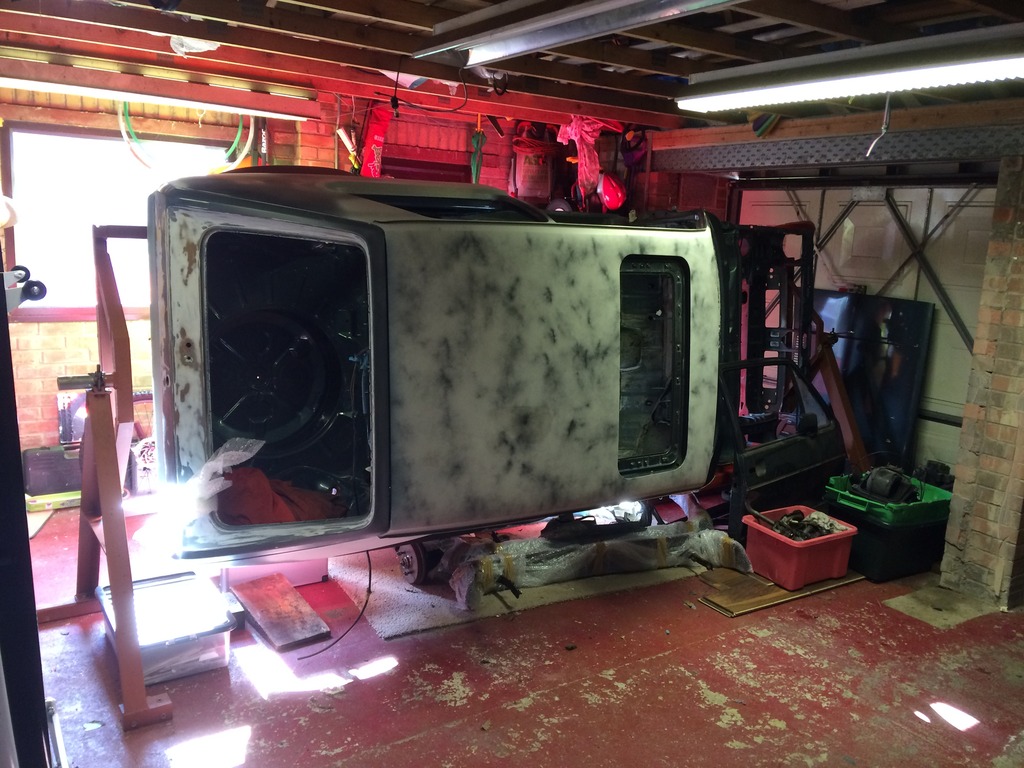
Then I got a jig made at work to make the days of sanding a little easier:
Notice d one of the sills had been dented up, probably from someone jacking the car incorrectly:
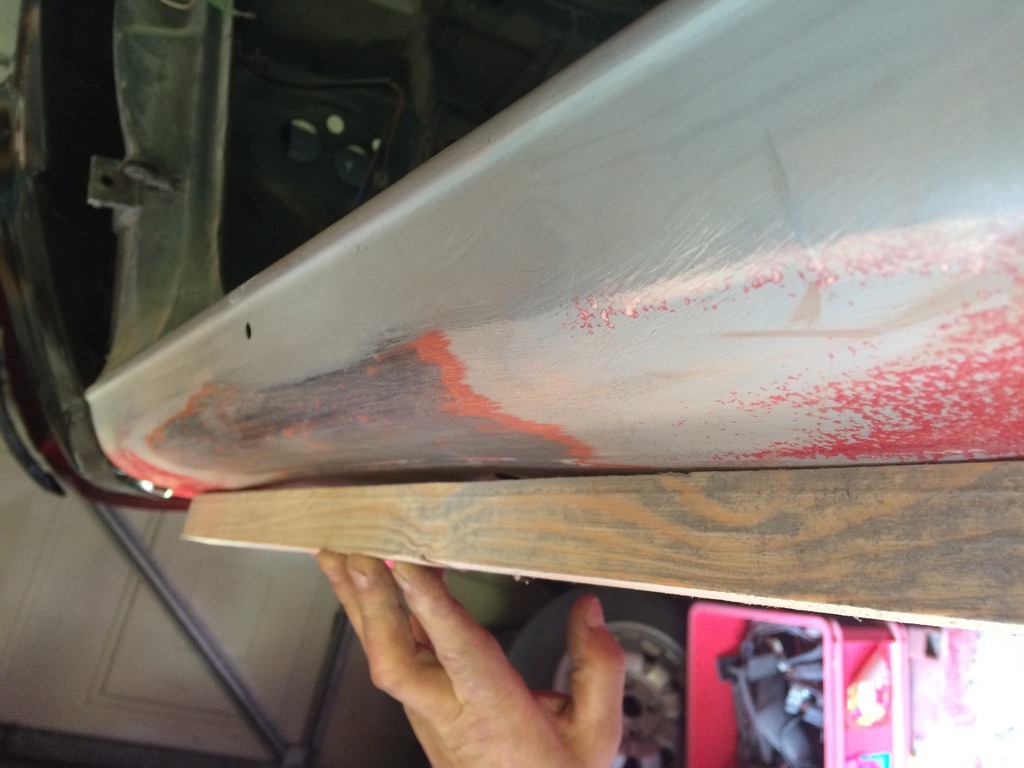
was going to live with it as its not intended to be a show car but decided it would drive me mad if I didnt sort it, so got some plates welded on to try and pull it straight
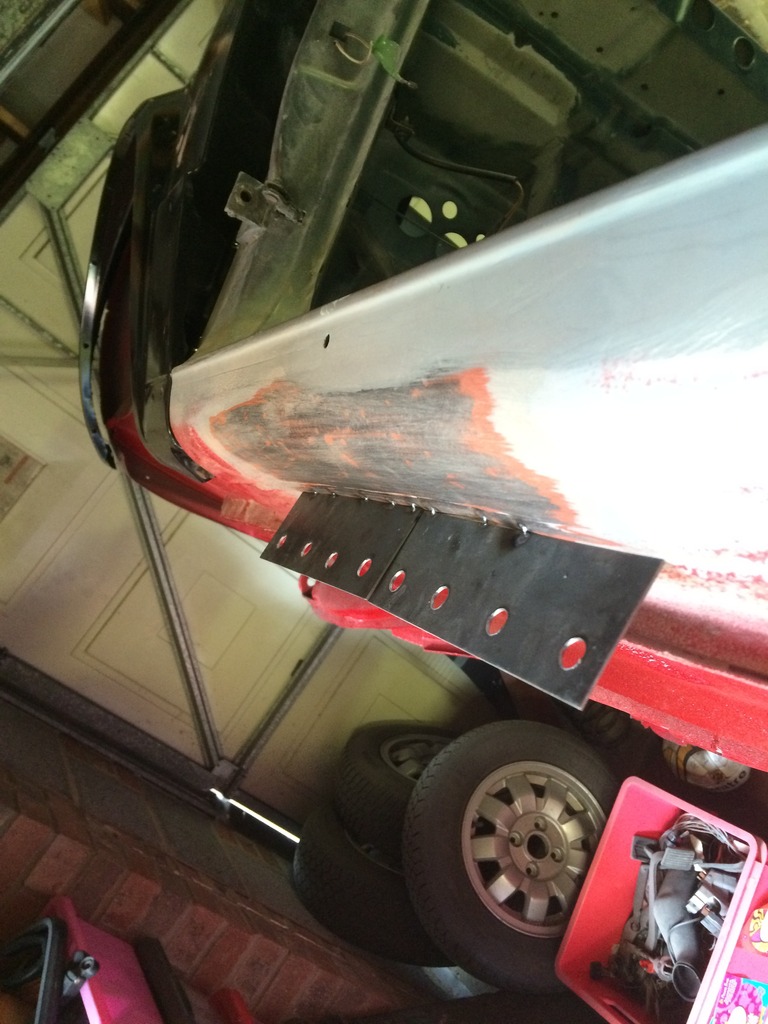
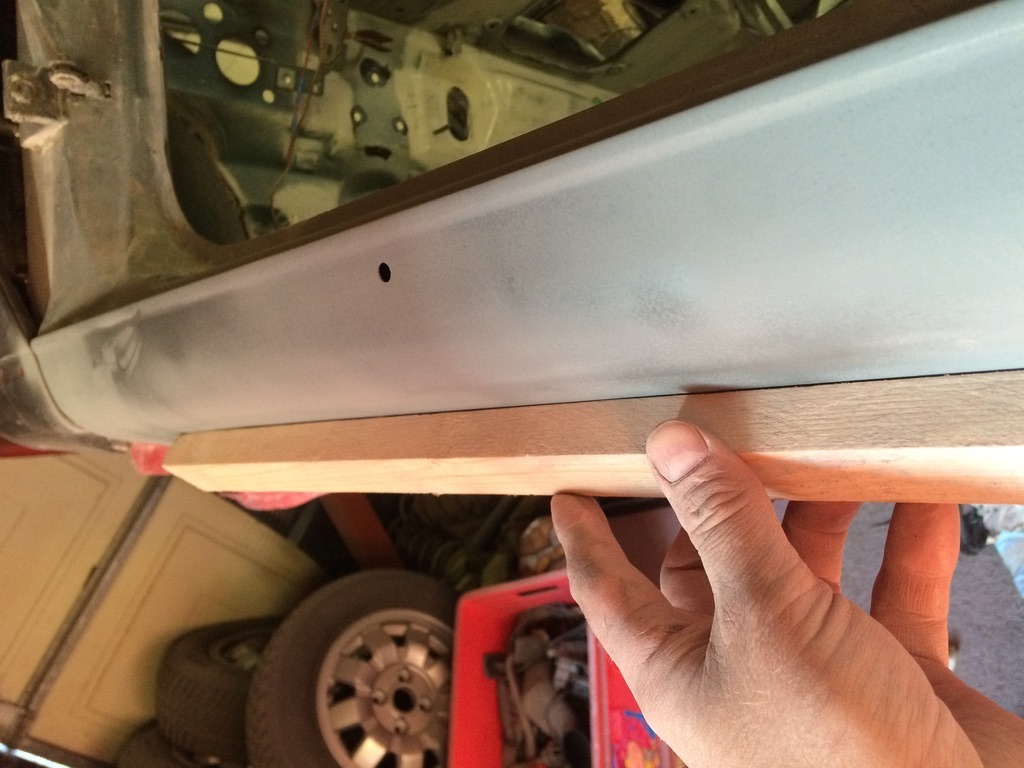
Came out pretty well really
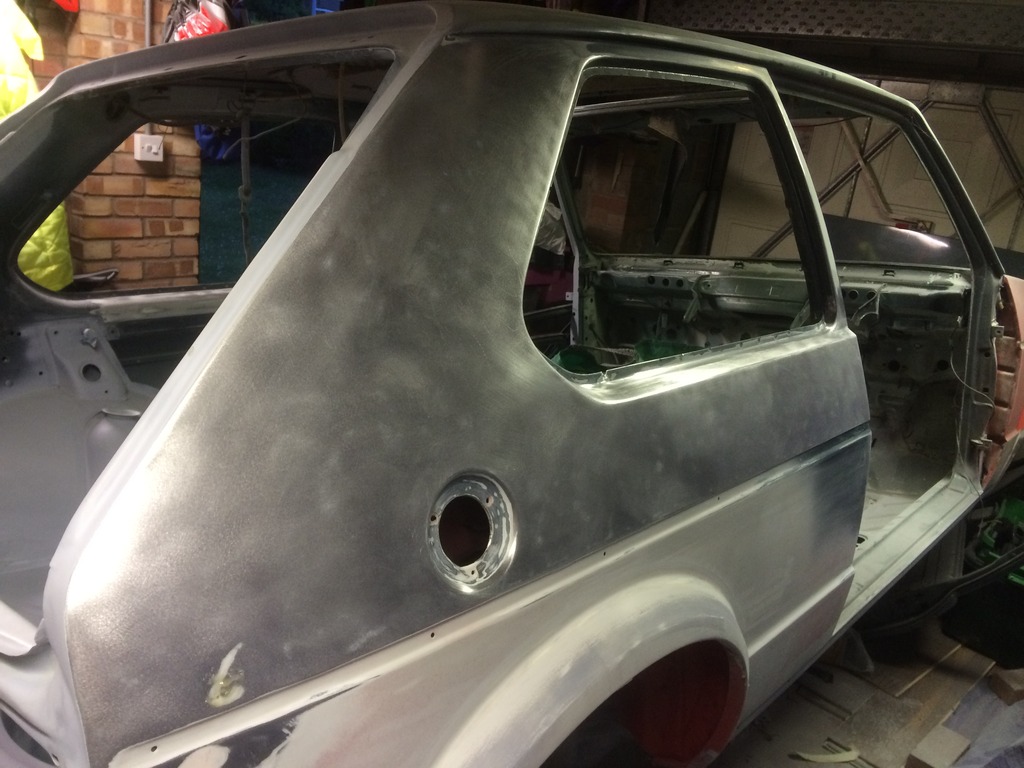
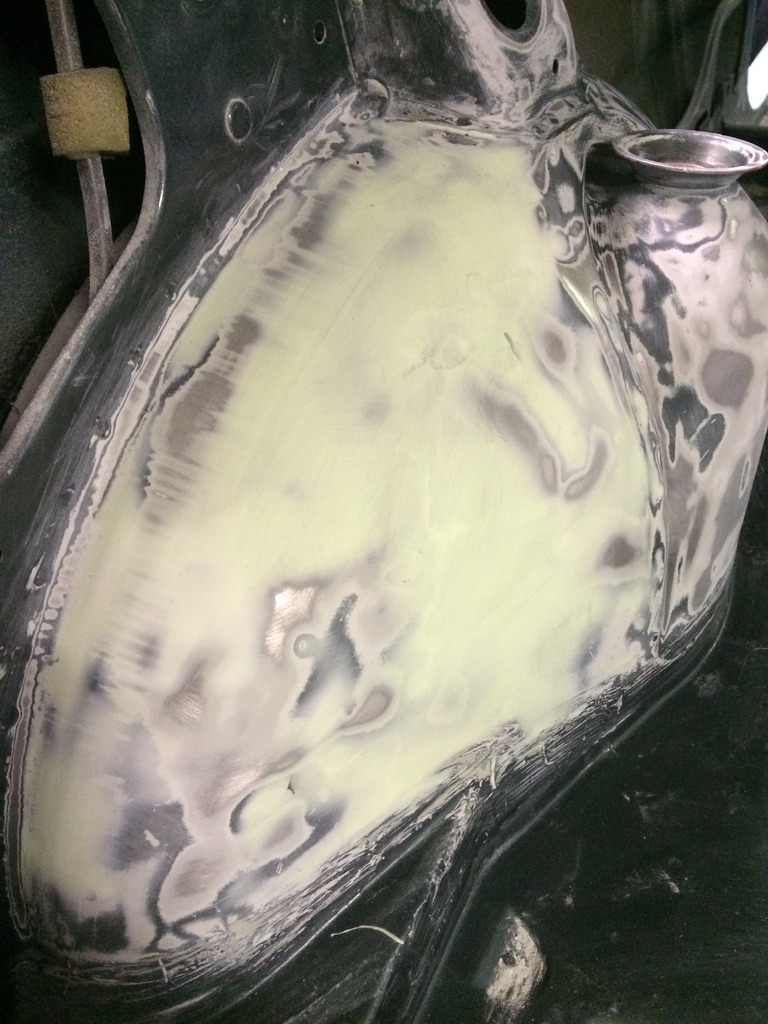
Next onto the boot floor and wheel arch tubs as there where a few dents that I would never be happy with leaving. Sanded back and a coat of skim filler:
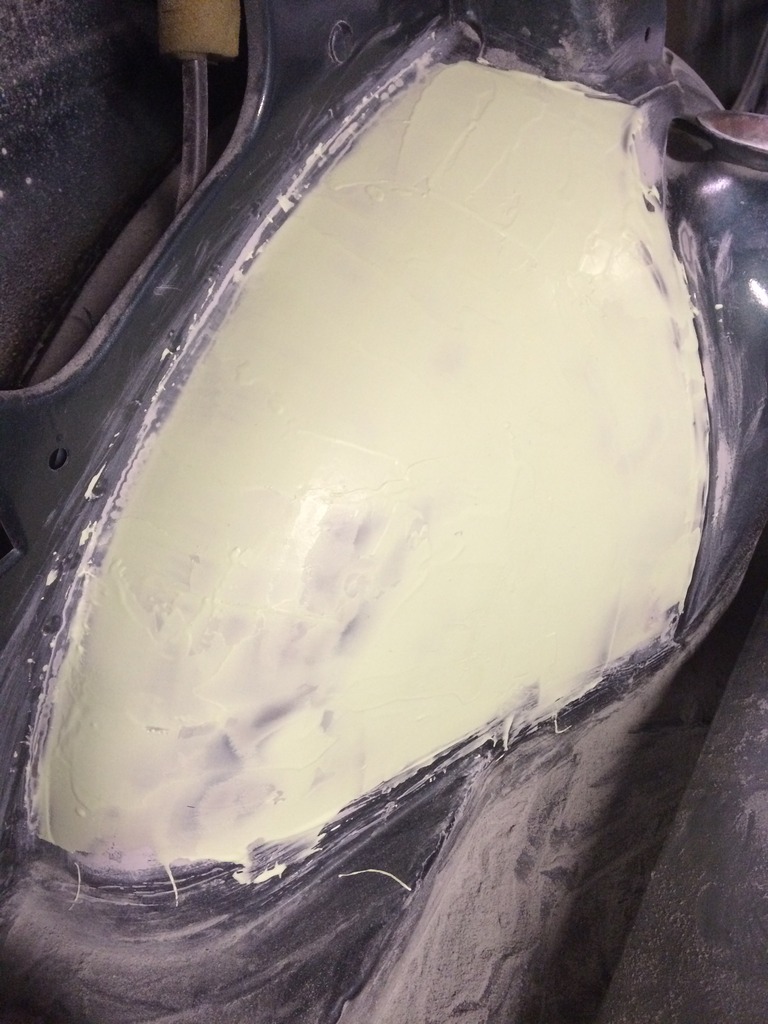
After sanding:
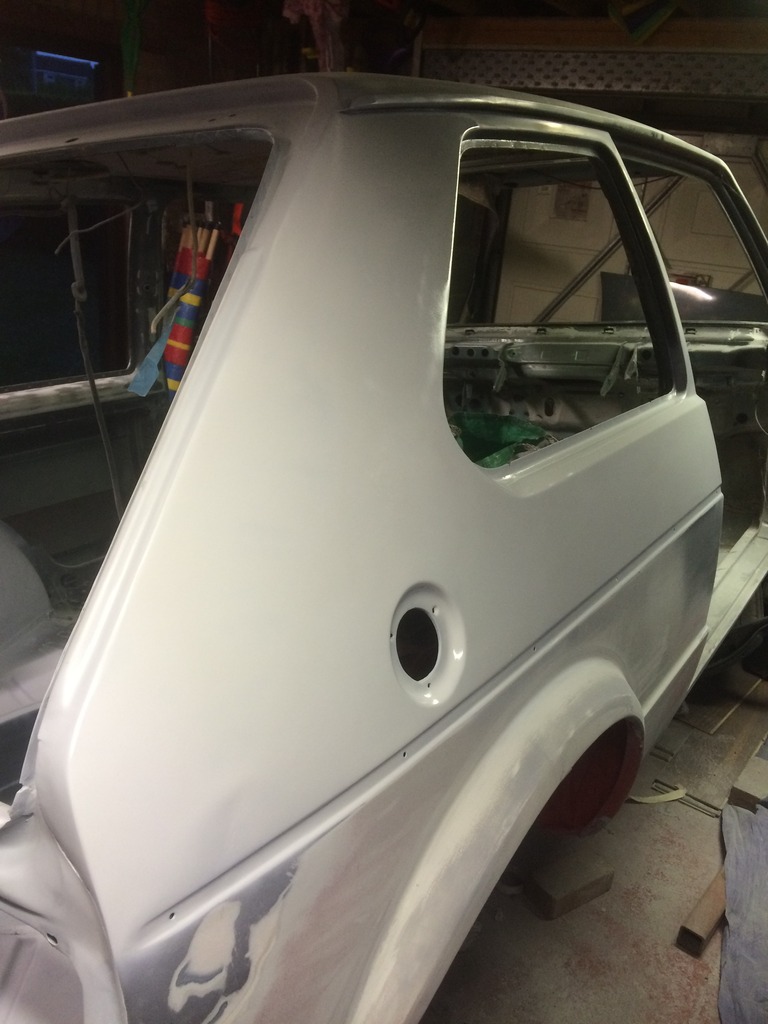
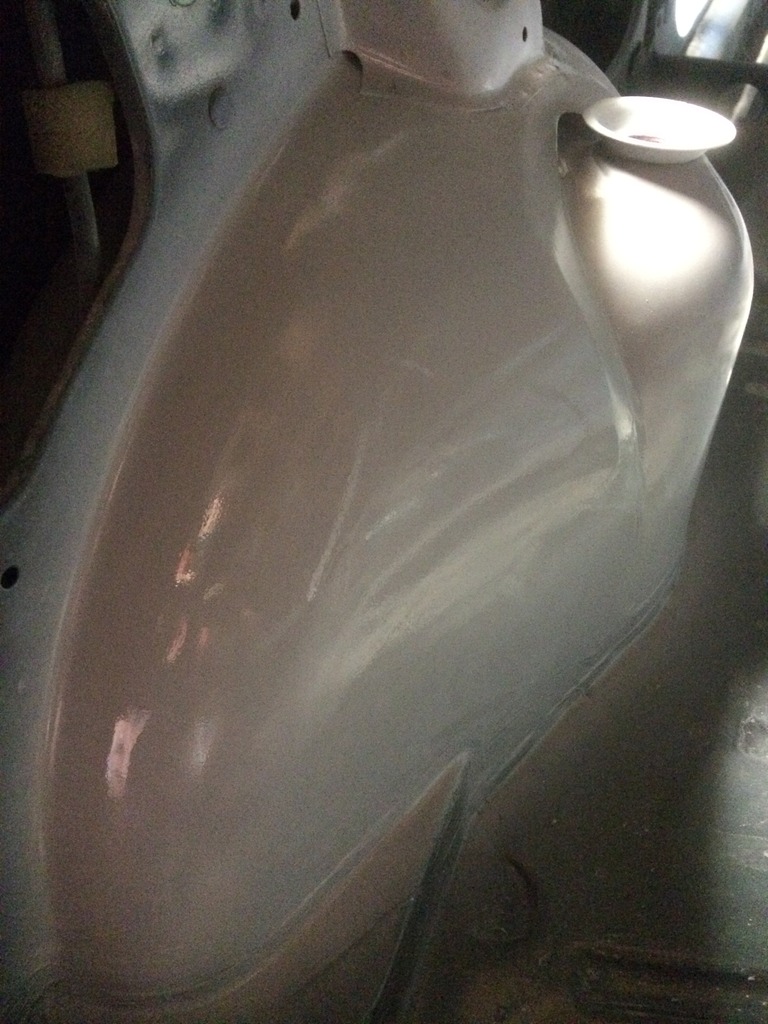
Then caught a picture whilst the primer was still wet, looks nice and flat:
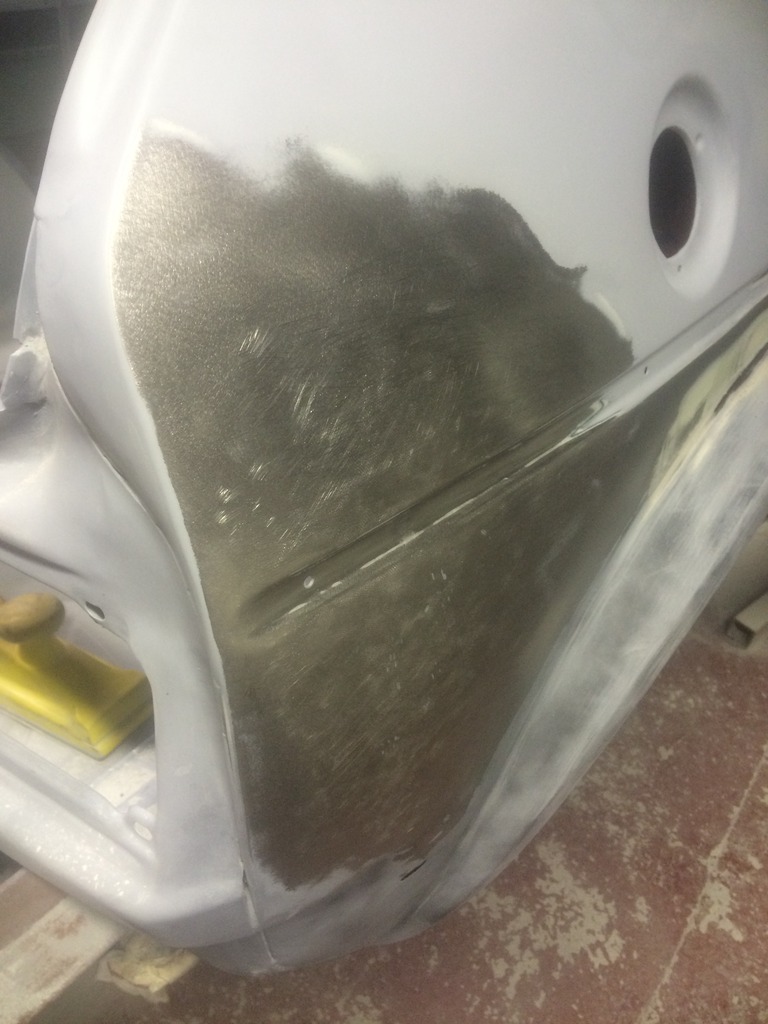
Then the boot floor, quick rub down:
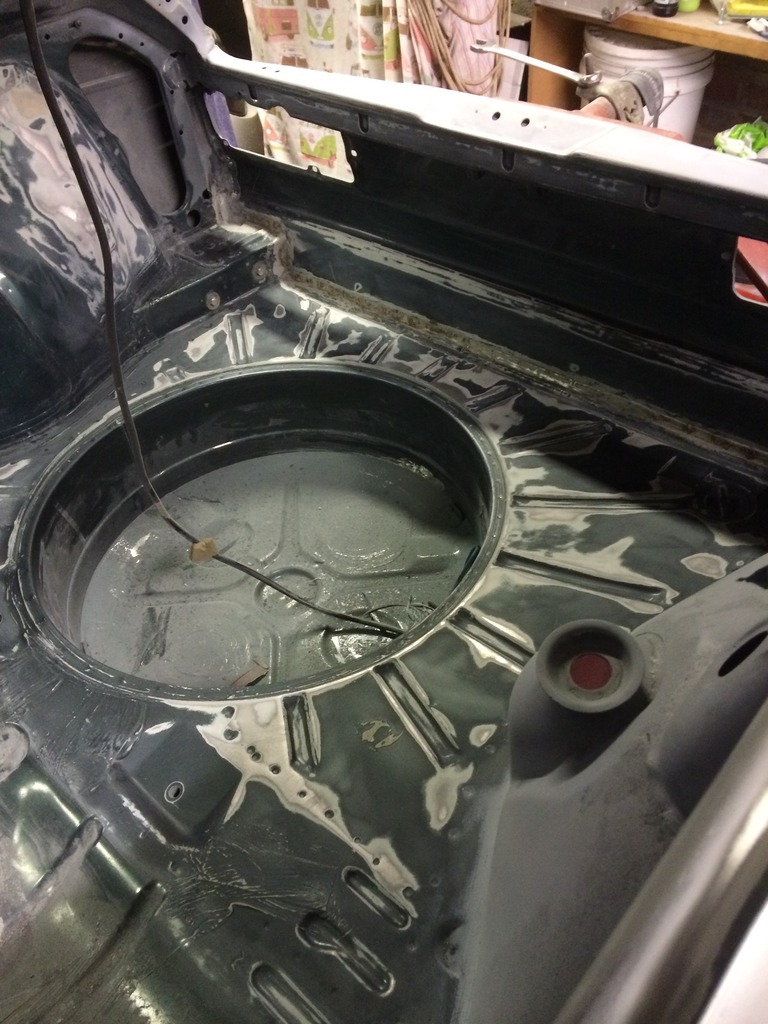
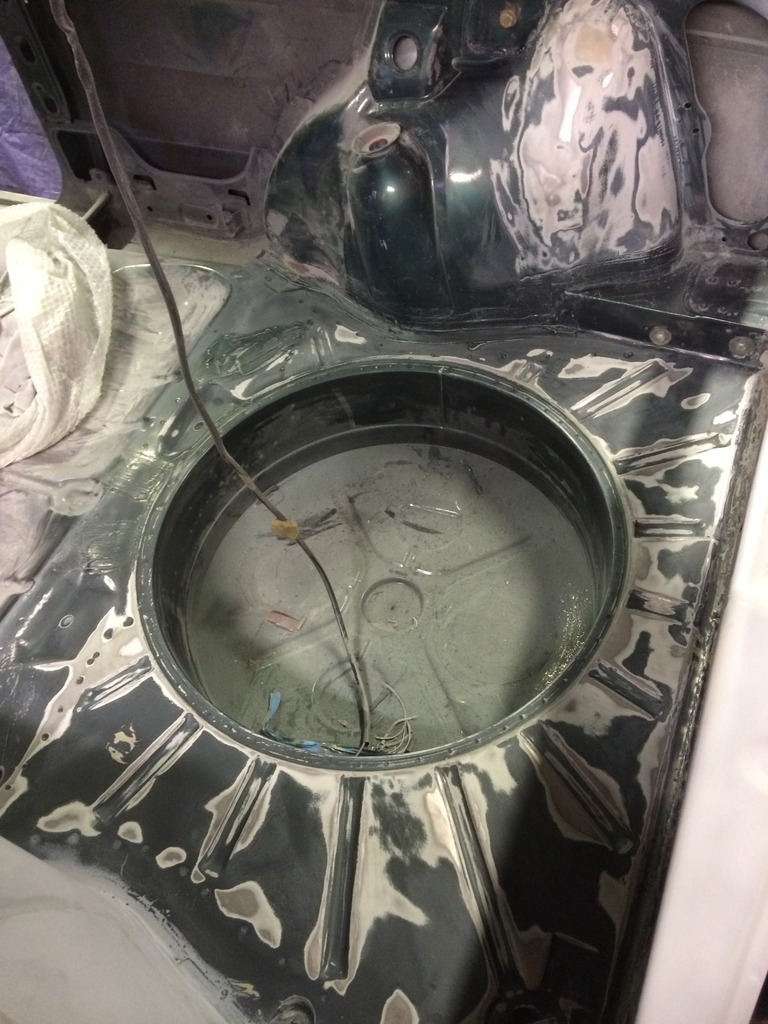
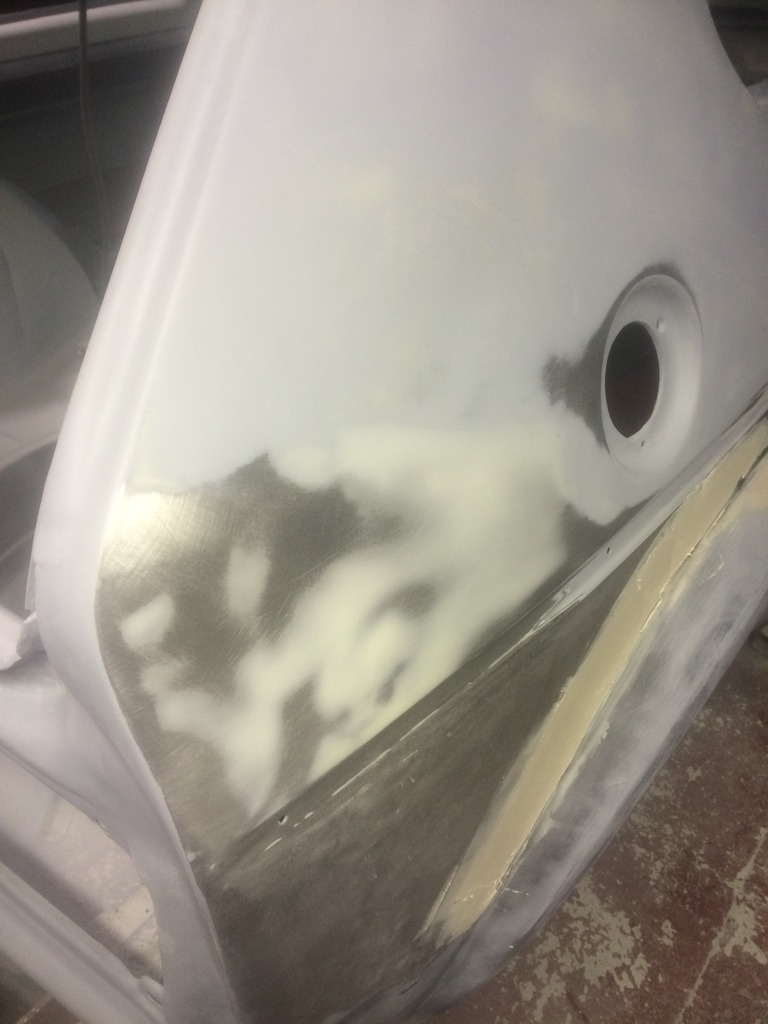
Skim of filler:
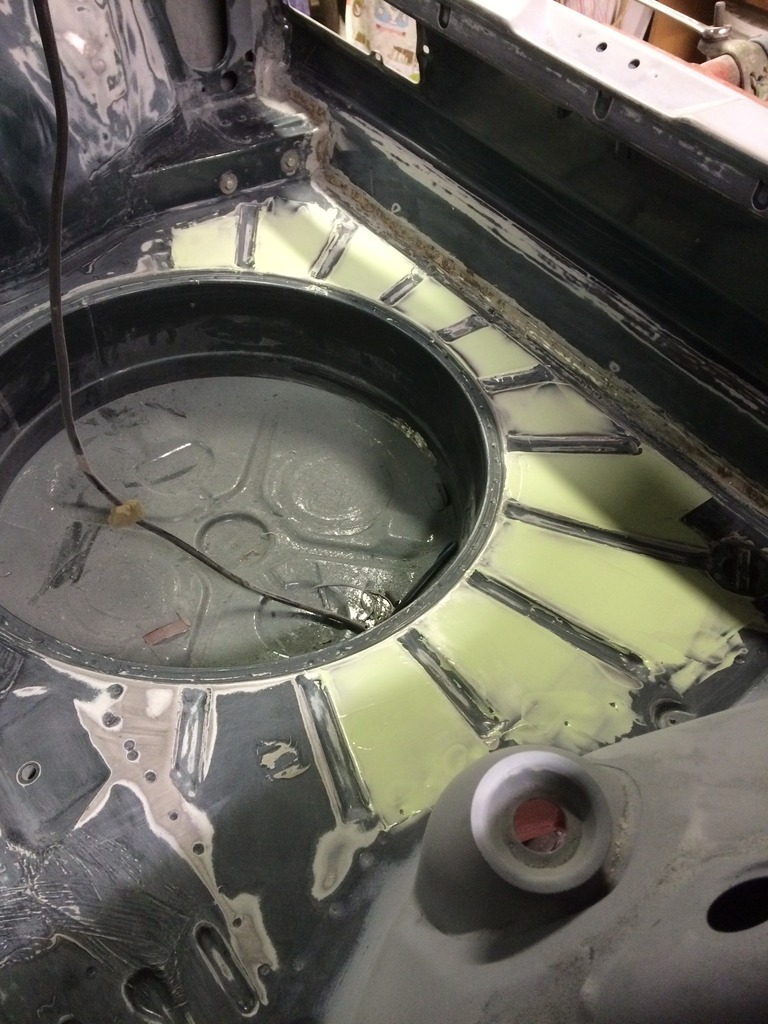
Then flatted back:
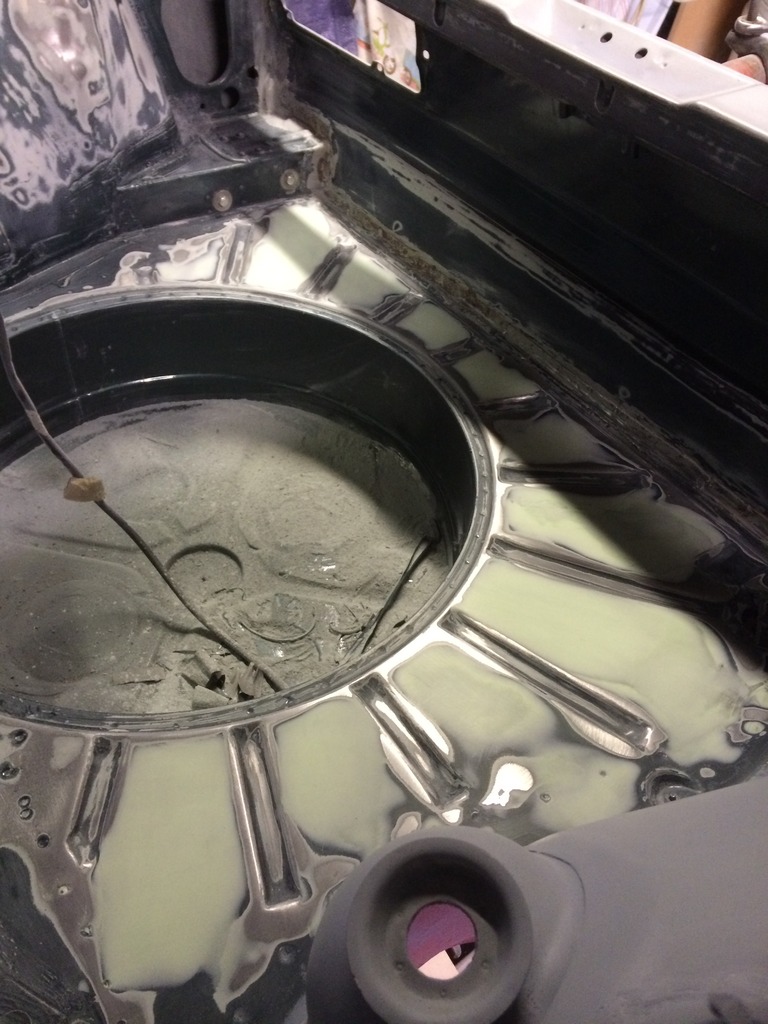
More to follow….
 Last edit: by chrisL
Posted
Old Timer


I don't envy you for the task ahead but I look forward to seeing the finished product, which I'm sure is going to be good!
Good luck with it and keep the pictures coming!
Mars red 1.8 GTI tintop now MOT'd and on the road!
http://vwgolfmk1.org.uk/forum/index.php?page=topicview&id=projects%2Fyour-mk1-golfs_2%2Fwent-to-look-at-a-golf&kfs79=150
http://vwgolfmk1.org.uk/forum/index.php?page=topicview&id=projects%2Fyour-mk1-golfs_2%2Fwent-to-look-at-a-golf&kfs79=150
Posted
Local Hero

My Build Thread
All My Build Photos - https://www.flickr.com/photos/pix-al/albums/72157622794406840
My other hobby - www.pix-al.co.uk
All My Build Photos - https://www.flickr.com/photos/pix-al/albums/72157622794406840
My other hobby - www.pix-al.co.uk
Posted
Settled In

This is the previous build thread from who I got it from (if the link works)
http://vwgolfmk1.org.uk/forum/index.php?page=topicview&id=your-mk1-golfs_2%2Fandys-1983-lhasa-green&kfs79=180
Posted
Settled In

Posted
Moderator


Great work, keep it up and the updates coming! 😀👌
Sent by a smartphone and not a smartperson!
Play Guess the Asking Price 'SEASON 4' as of Sunday the 29th of October 2017.
https://vwgolfmk1.org.uk/forum/index.php?page=topicview&id=chat%2Fmk1-golf-chat_2%2Fguess-the-asking-price_2
OLD.
https://vwgolfmk1.org.uk/forum/index.php?page=topicview&id=chat%2Fmk1-golf-chat_2%2Fold-guess-the-asking
Ever wondered who's behind the scenes of this forum?
https://vwgolfmk1.org.uk/index.php?page=committee
Mike
There's me building mine 28 years ago, almost finished!

Be proud of your VW Golf Mk1, it's very special!
Play Guess the Asking Price 'SEASON 4' as of Sunday the 29th of October 2017.
https://vwgolfmk1.org.uk/forum/index.php?page=topicview&id=chat%2Fmk1-golf-chat_2%2Fguess-the-asking-price_2
OLD.
https://vwgolfmk1.org.uk/forum/index.php?page=topicview&id=chat%2Fmk1-golf-chat_2%2Fold-guess-the-asking
Ever wondered who's behind the scenes of this forum?
https://vwgolfmk1.org.uk/index.php?page=committee
Mike
There's me building mine 28 years ago, almost finished!

Be proud of your VW Golf Mk1, it's very special!
Posted
Old Timer


Keep up the good work and keep the updates coming!
Mars red 1.8 GTI tintop now MOT'd and on the road!
http://vwgolfmk1.org.uk/forum/index.php?page=topicview&id=projects%2Fyour-mk1-golfs_2%2Fwent-to-look-at-a-golf&kfs79=150
http://vwgolfmk1.org.uk/forum/index.php?page=topicview&id=projects%2Fyour-mk1-golfs_2%2Fwent-to-look-at-a-golf&kfs79=150
Posted
Settled In

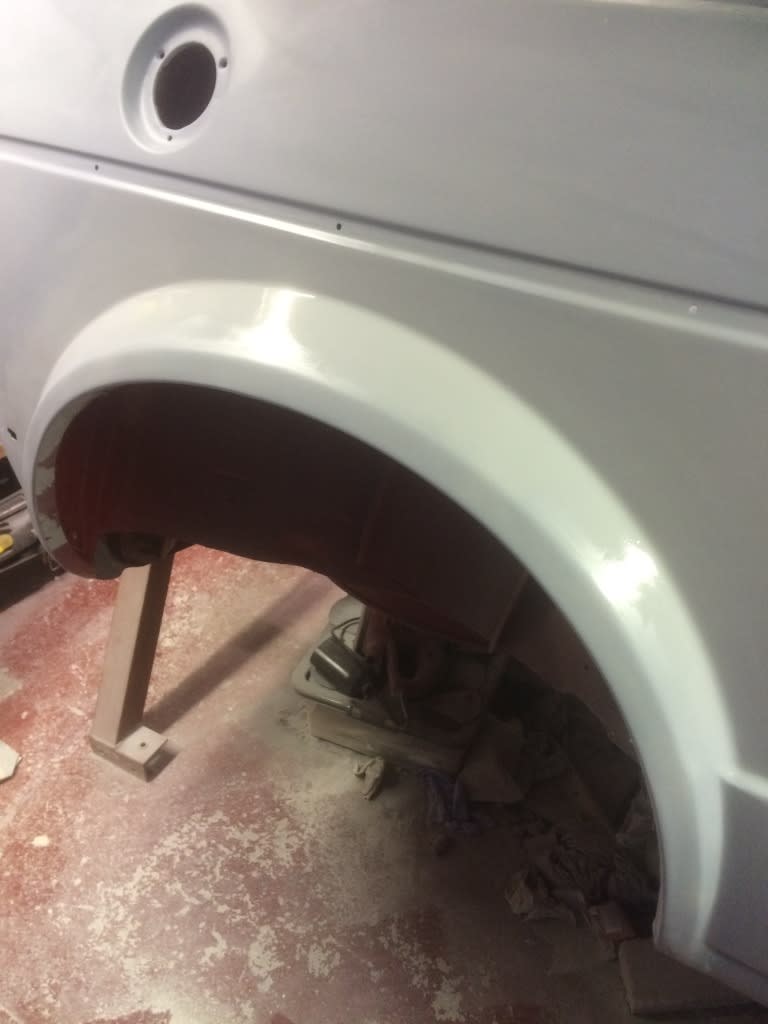
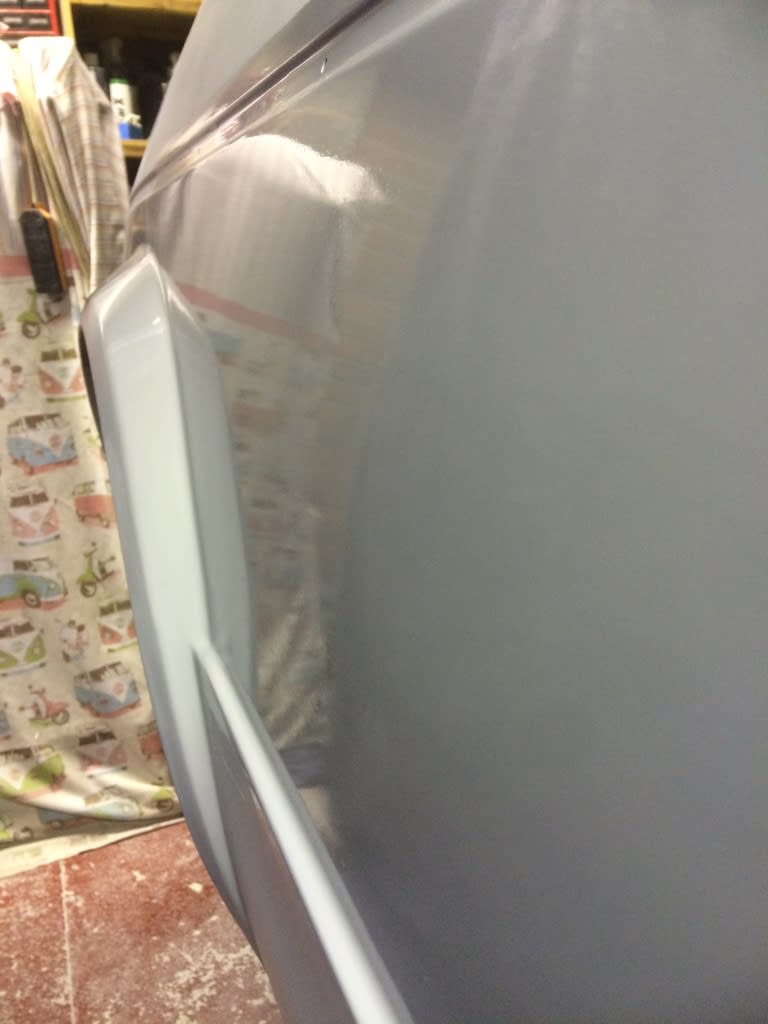
Moved onto the doors, had to spend a fair bit of time on the hinges as they were shot on the drivers door, got the pins from heritage but didn't fancy using their hinge blocks as they use a bigger thread and didn't want to drill the car bigger. I'd rather stay original.
Drivers door had a pretty decent dent so sanded it to bare metal then had a PDR guy come and get rid leaving just a skim of filler
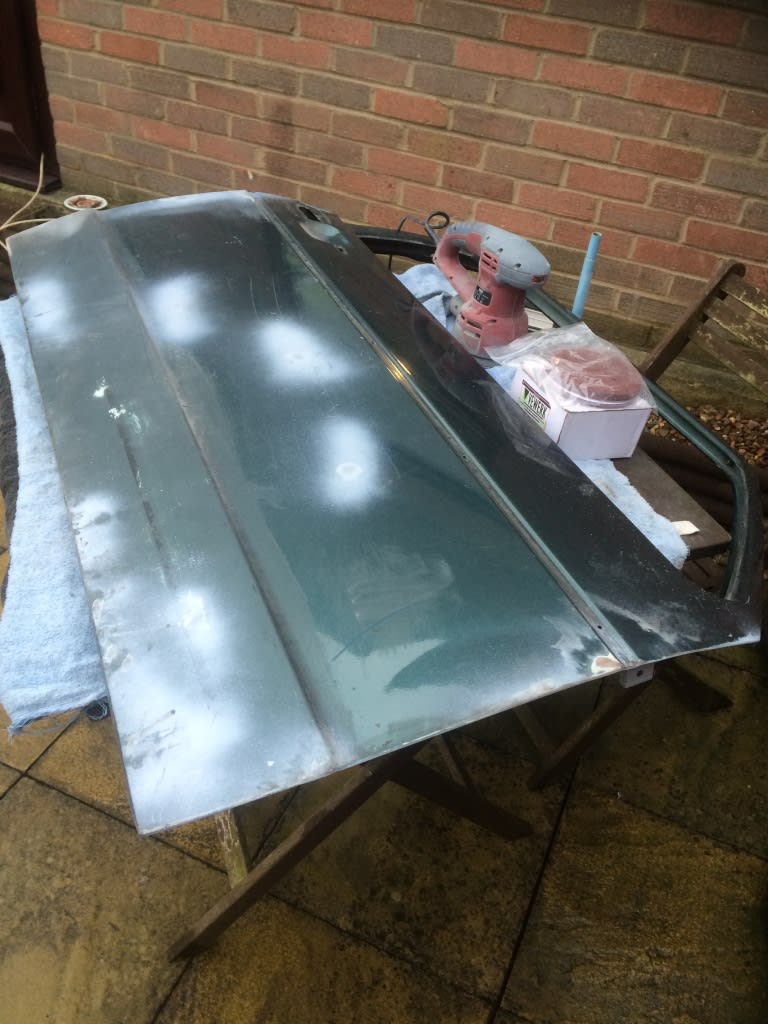

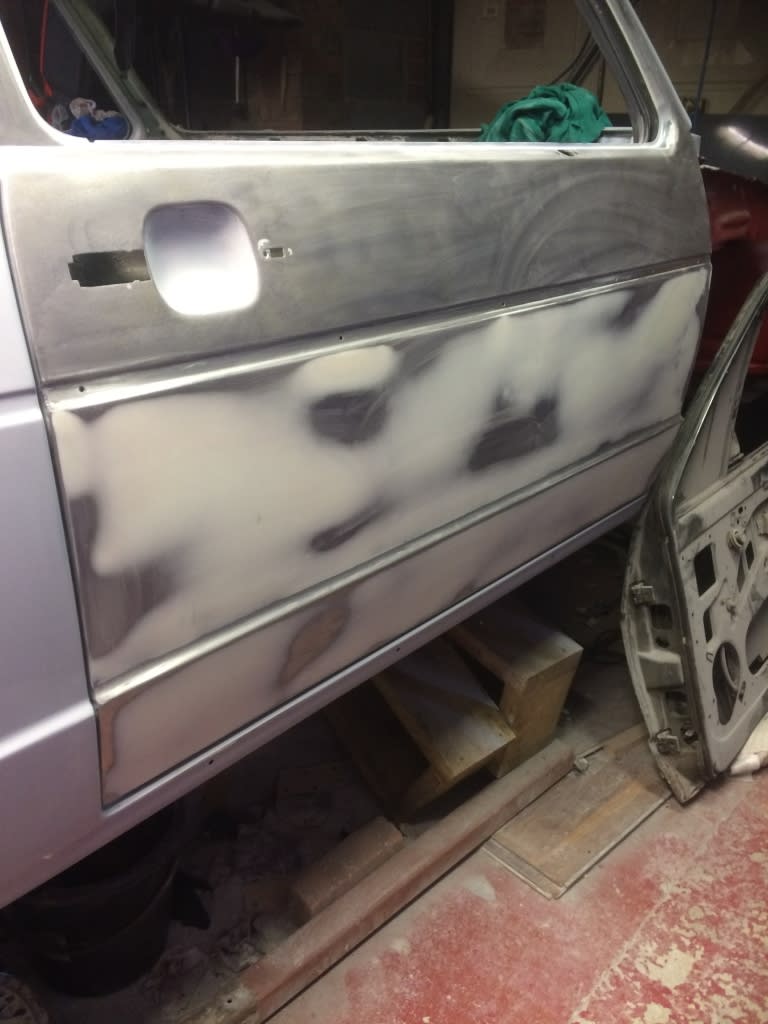
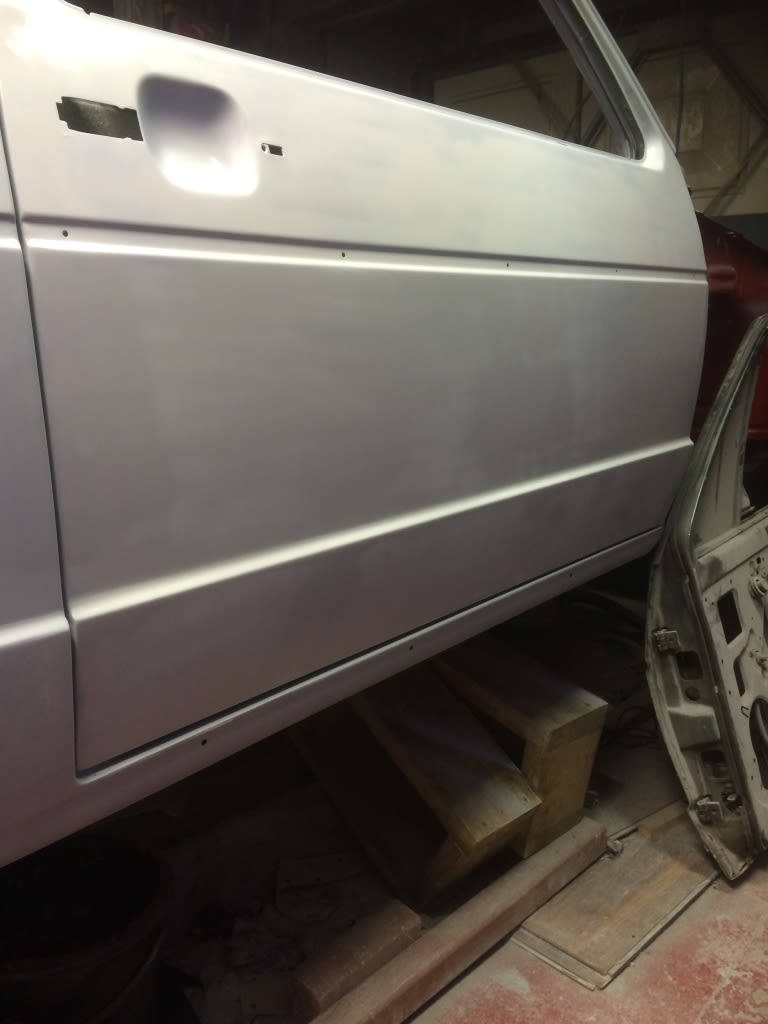
Made a start on the bonnet

Posted
Local Hero


Andy
LINCOLNSHIRE REGION - https://www.facebook.com/groups/467122313360002/
1983 MK1 Golf GTI Campaign Model - Under (looooong) resto!
1962 Rover P4 80
2002 BMW 745i
2008 BMW Z4 2.5Si
LINCOLNSHIRE REGION - https://www.facebook.com/groups/467122313360002/
1983 MK1 Golf GTI Campaign Model - Under (looooong) resto!
1962 Rover P4 80
2002 BMW 745i
2008 BMW Z4 2.5Si
Posted
Settled In

Got a quick photo of it out of the garage next to its big brother!
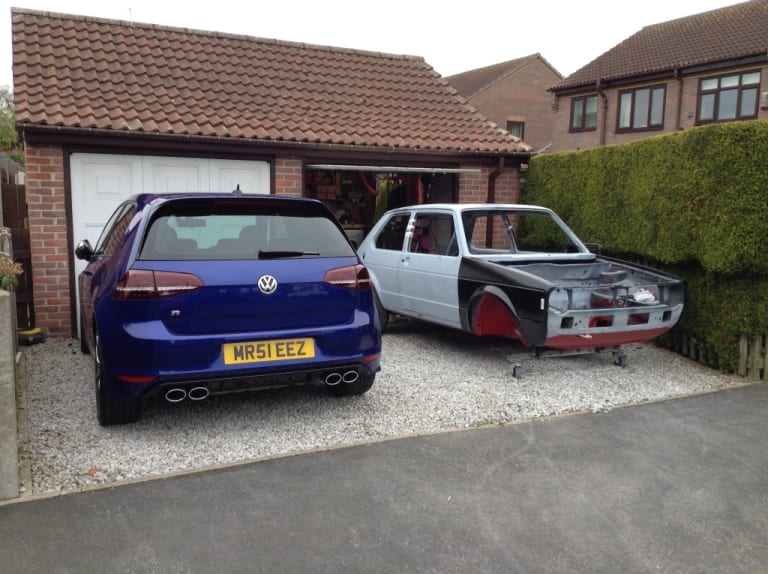
Job for the week is to clean out the shell to get red of dust, quick rub down so it's good to prime.
Weekend will be gapping all the panels and making a temporary spray booth in the garage.
Posted
Old Timer


Keep up the good work, I look forward to seeing that car when it's finished.
Mars red 1.8 GTI tintop now MOT'd and on the road!
http://vwgolfmk1.org.uk/forum/index.php?page=topicview&id=projects%2Fyour-mk1-golfs_2%2Fwent-to-look-at-a-golf&kfs79=150
http://vwgolfmk1.org.uk/forum/index.php?page=topicview&id=projects%2Fyour-mk1-golfs_2%2Fwent-to-look-at-a-golf&kfs79=150
Posted
Settled In

It's going to be the carbon steel grey metallic as this:

Posted
Settled In


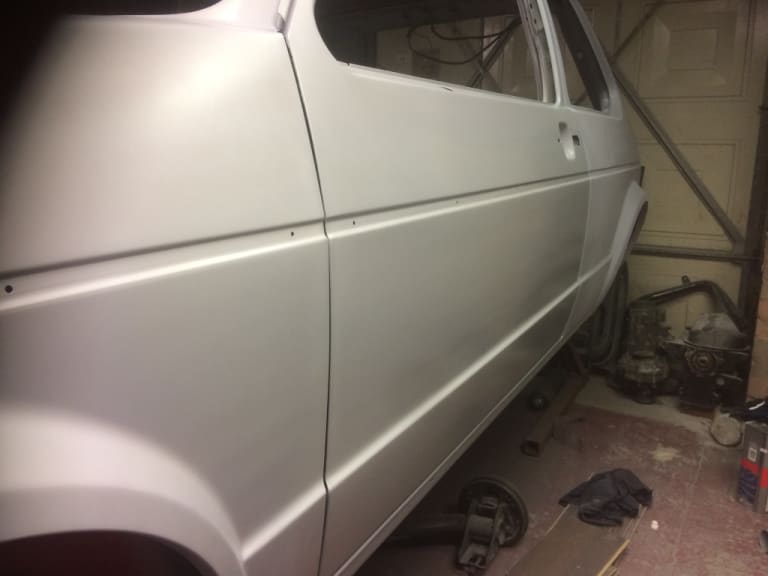

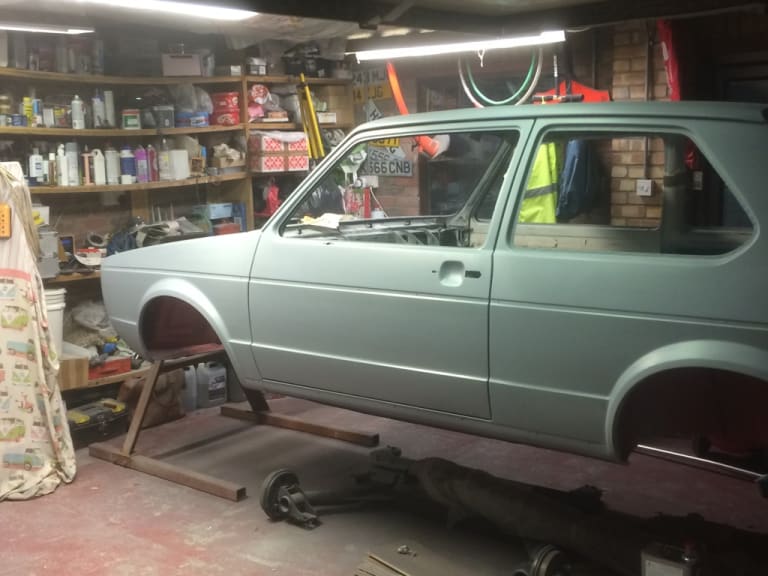
The shell will now sit like this while I prep the bay and strip and re-coat the underneath. Should give time for any shrinkage in the primer.
Needed to do a bit of chassis work so I can run the car low, wanted to be a bit more subtle then drilling and tubing
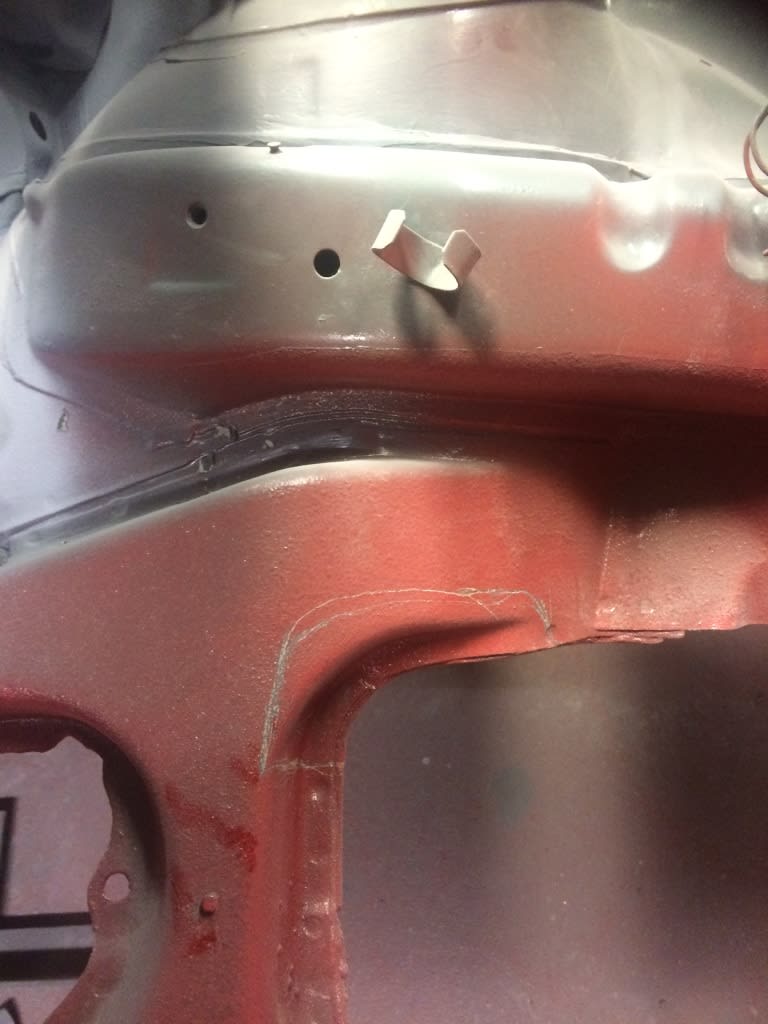
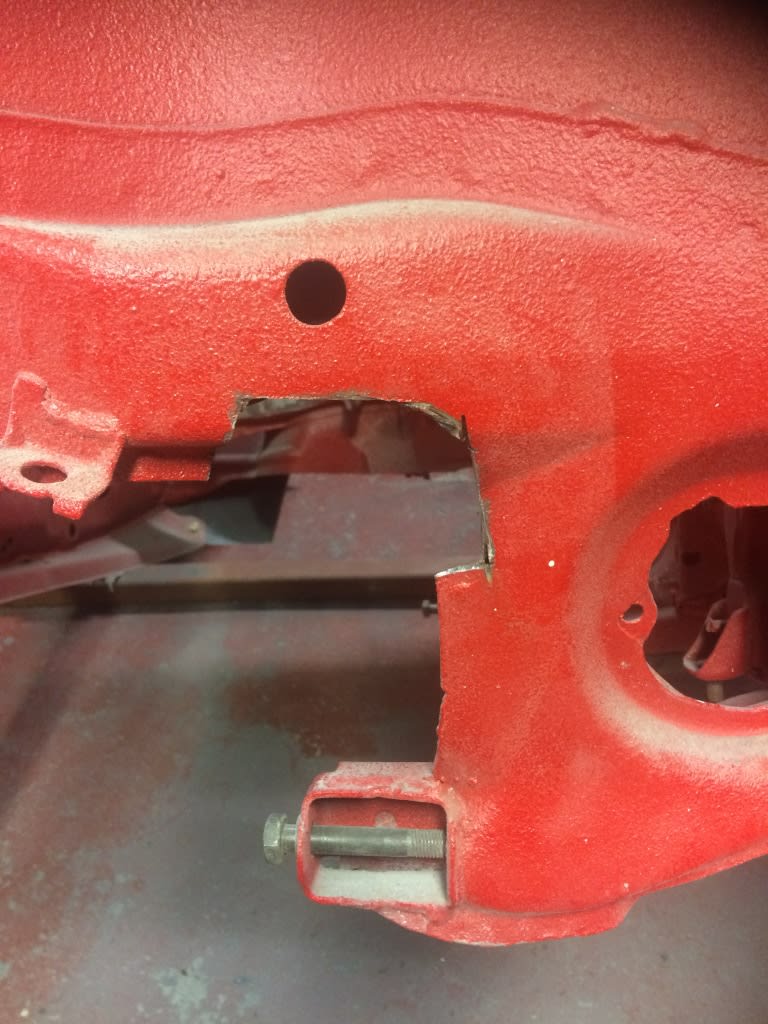
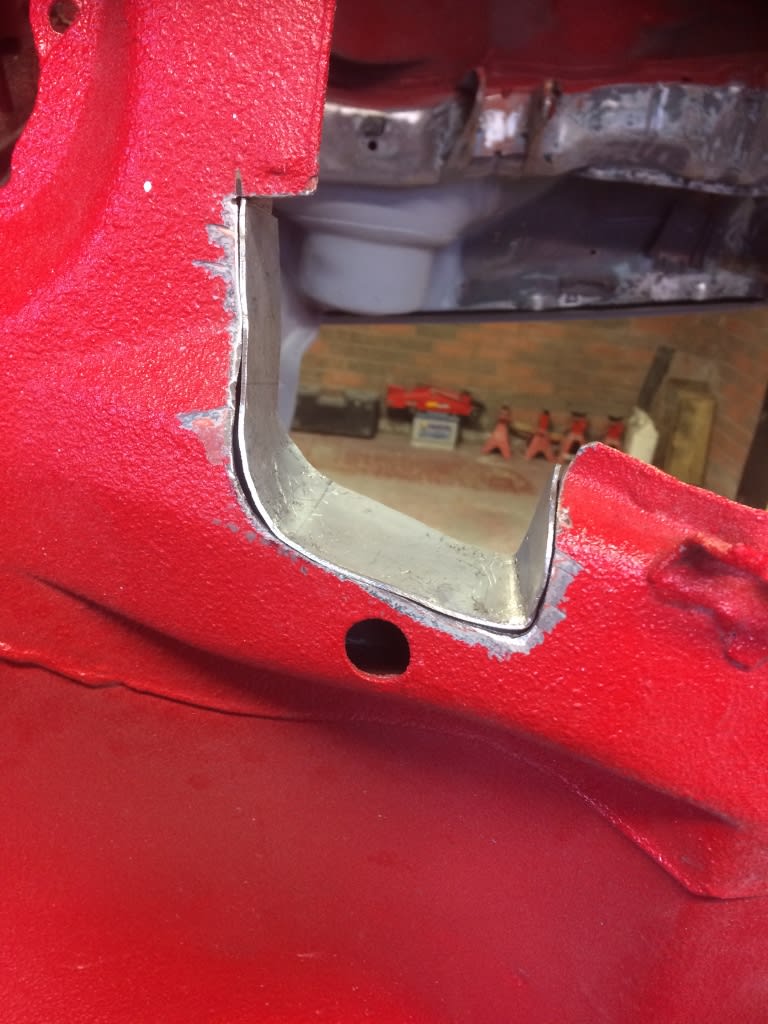
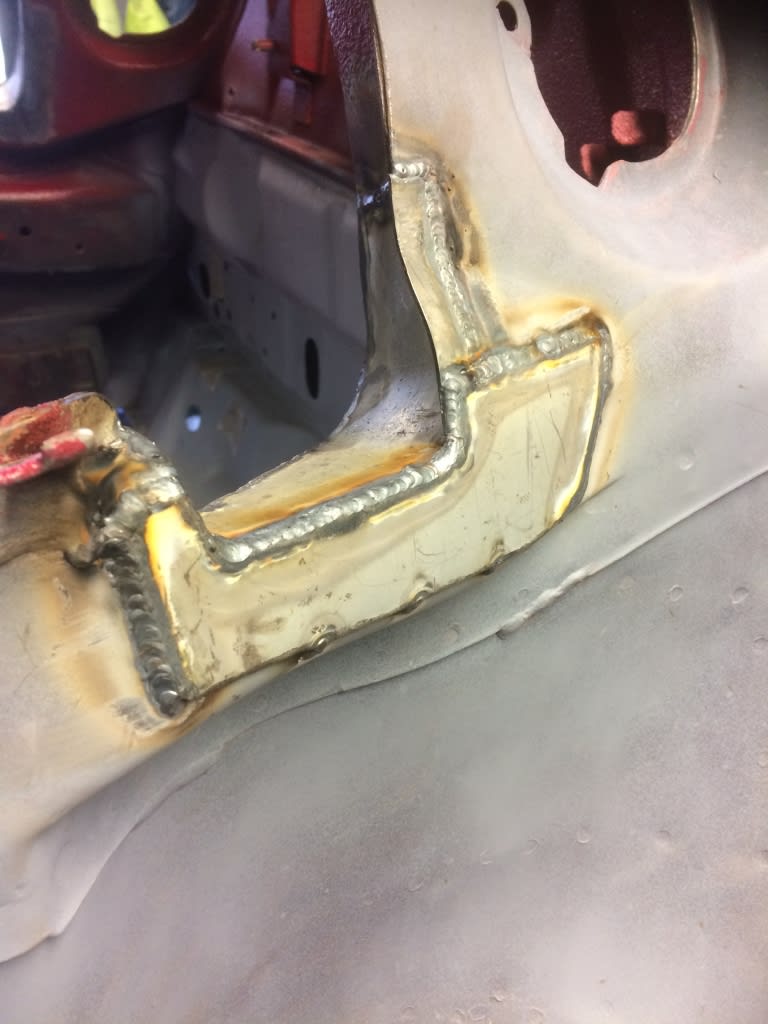
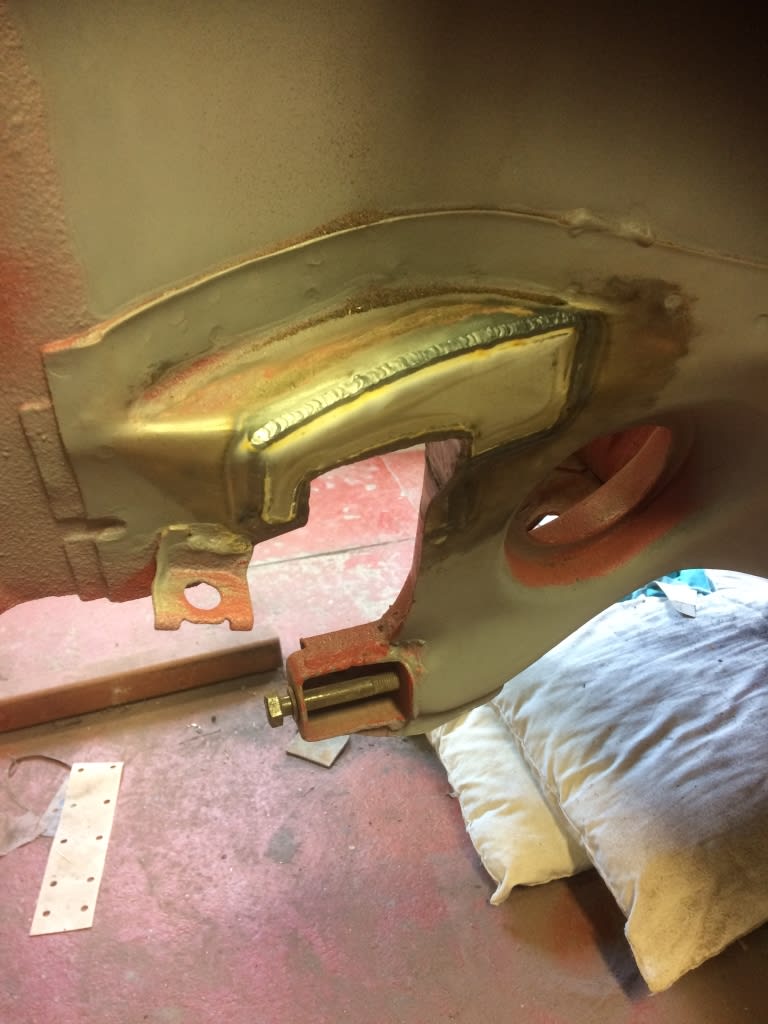
I've also decided to tuck the wiring so got some holes welded
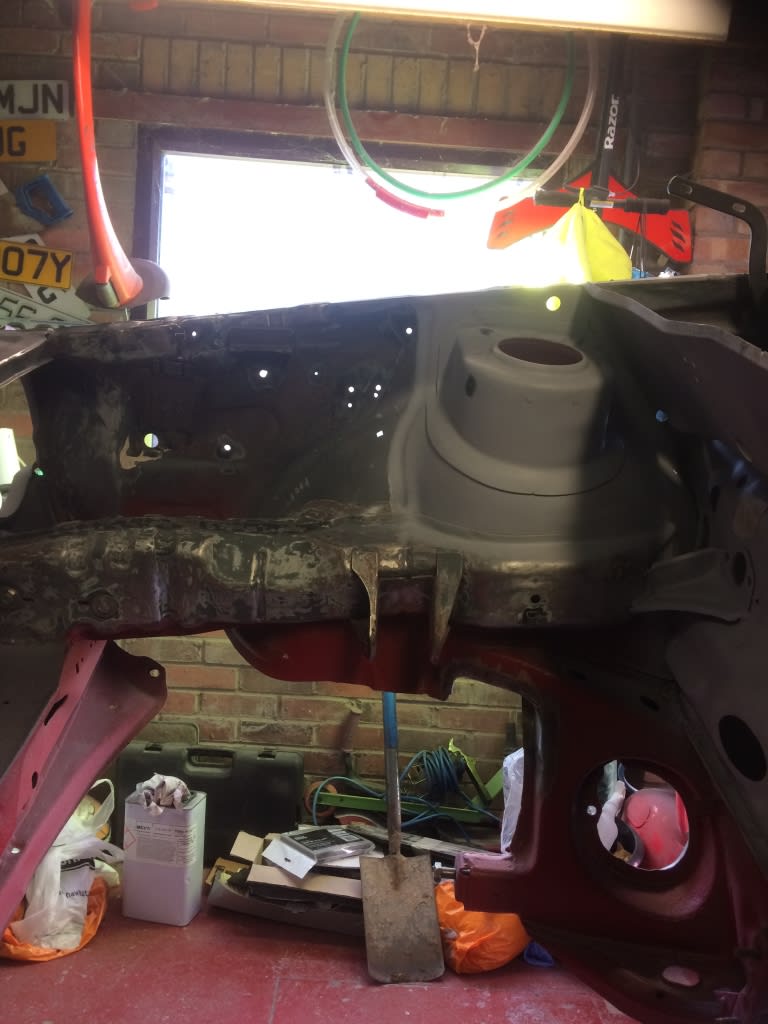
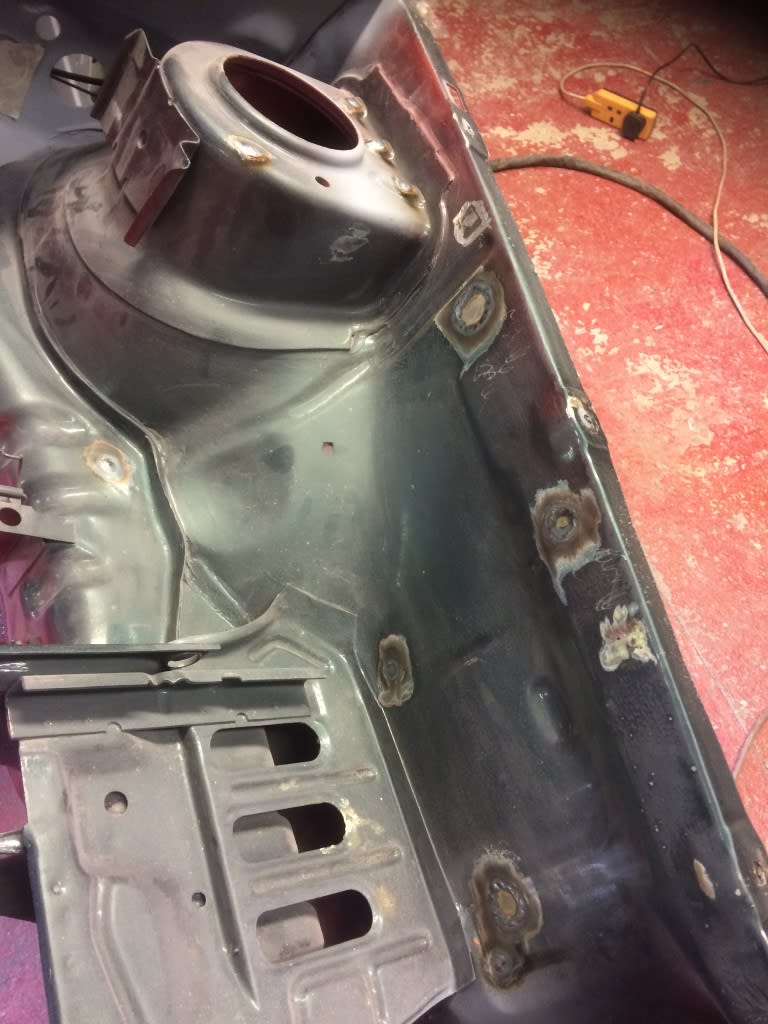
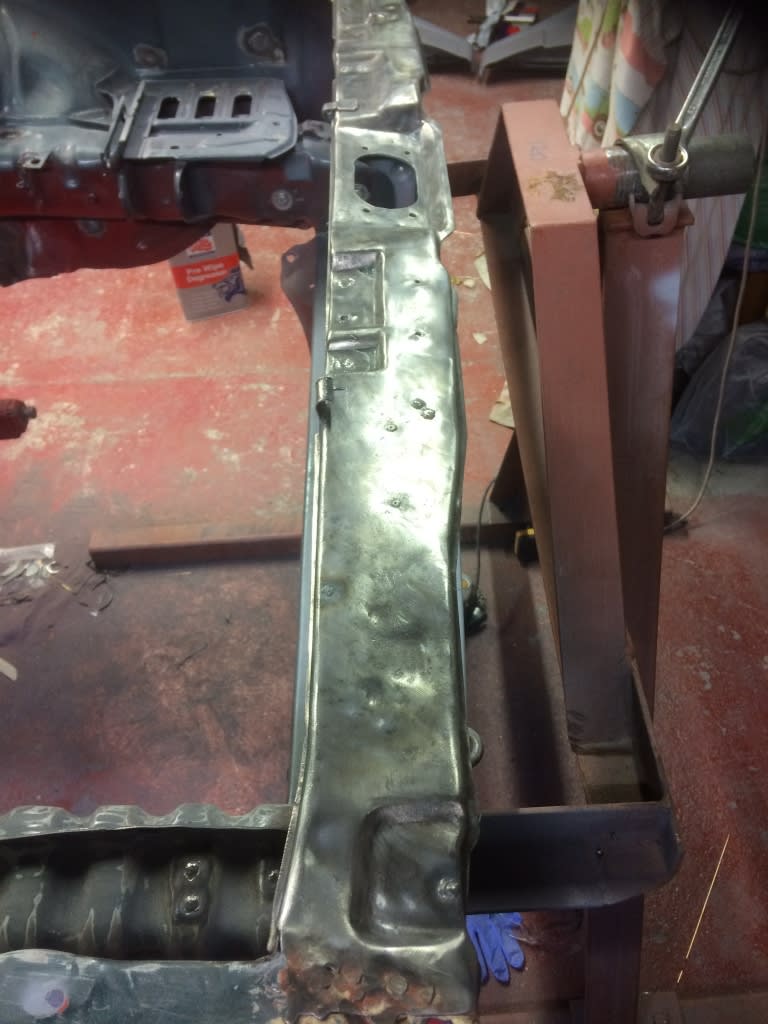
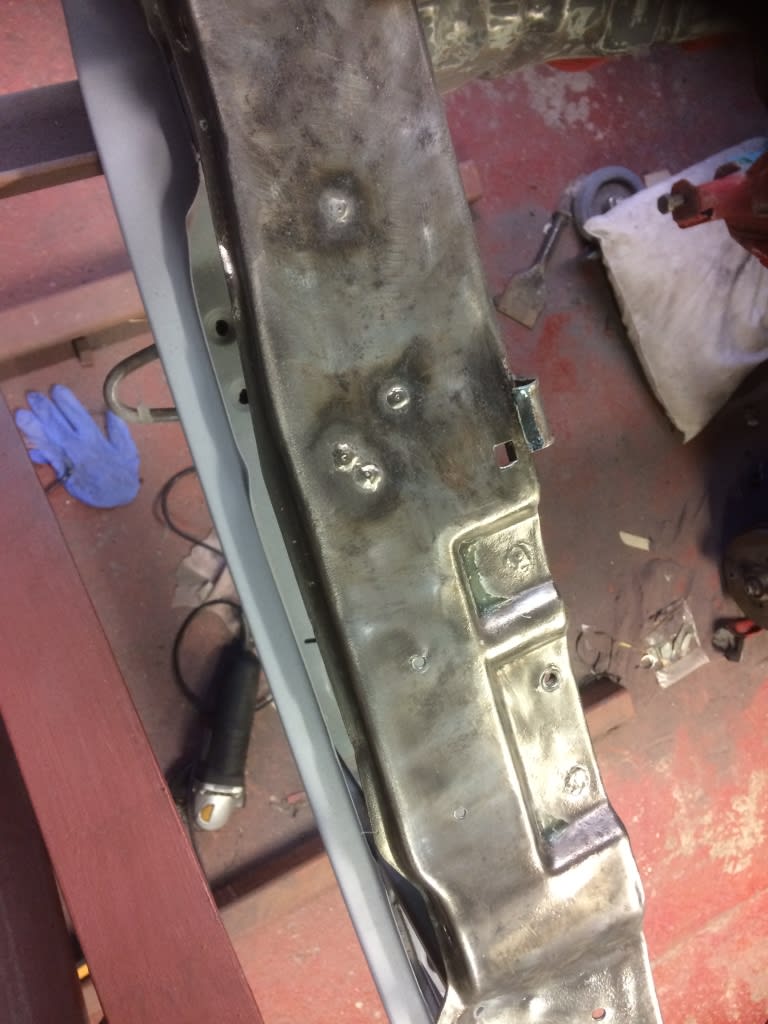

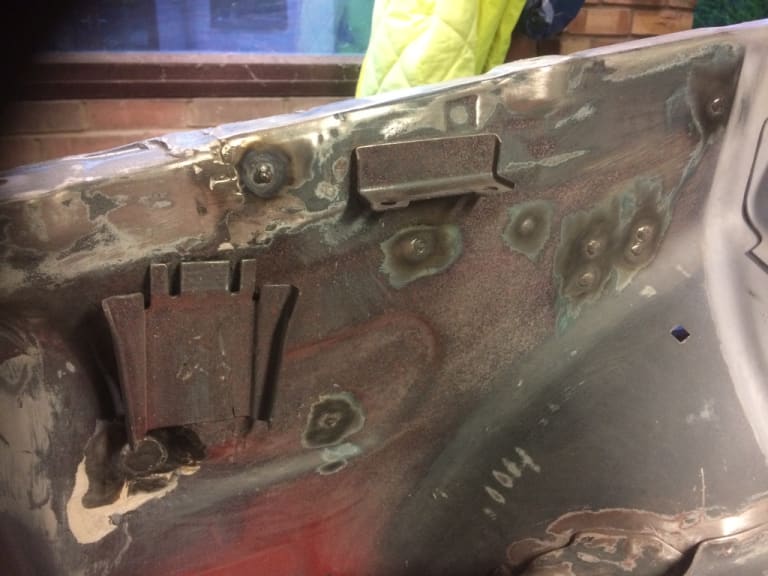
Still some holes to fill in the bulkhead but got plenty to go at until my mate can come and finish the welding.
Posted
Old Timer


Mars red 1.8 GTI tintop now MOT'd and on the road!
http://vwgolfmk1.org.uk/forum/index.php?page=topicview&id=projects%2Fyour-mk1-golfs_2%2Fwent-to-look-at-a-golf&kfs79=150
http://vwgolfmk1.org.uk/forum/index.php?page=topicview&id=projects%2Fyour-mk1-golfs_2%2Fwent-to-look-at-a-golf&kfs79=150
Posted
Local Hero


Andy
LINCOLNSHIRE REGION - https://www.facebook.com/groups/467122313360002/
1983 MK1 Golf GTI Campaign Model - Under (looooong) resto!
1962 Rover P4 80
2002 BMW 745i
2008 BMW Z4 2.5Si
LINCOLNSHIRE REGION - https://www.facebook.com/groups/467122313360002/
1983 MK1 Golf GTI Campaign Model - Under (looooong) resto!
1962 Rover P4 80
2002 BMW 745i
2008 BMW Z4 2.5Si
Posted
Old Timer


Very nice welding and body work going on there
Posted
Settled In

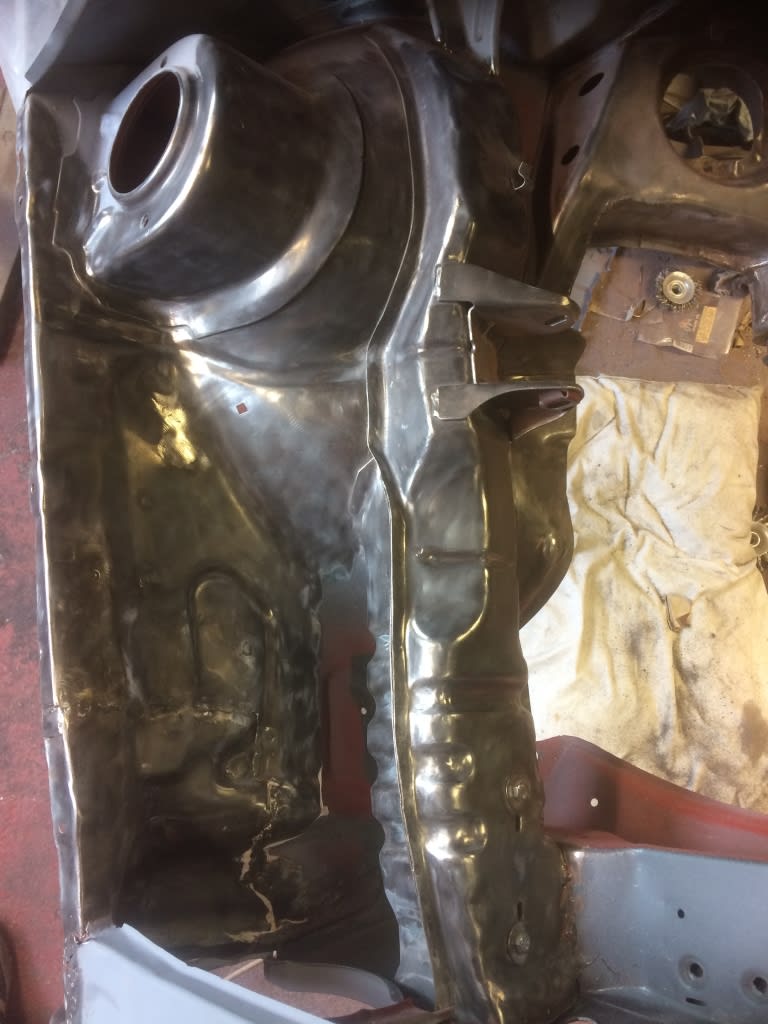
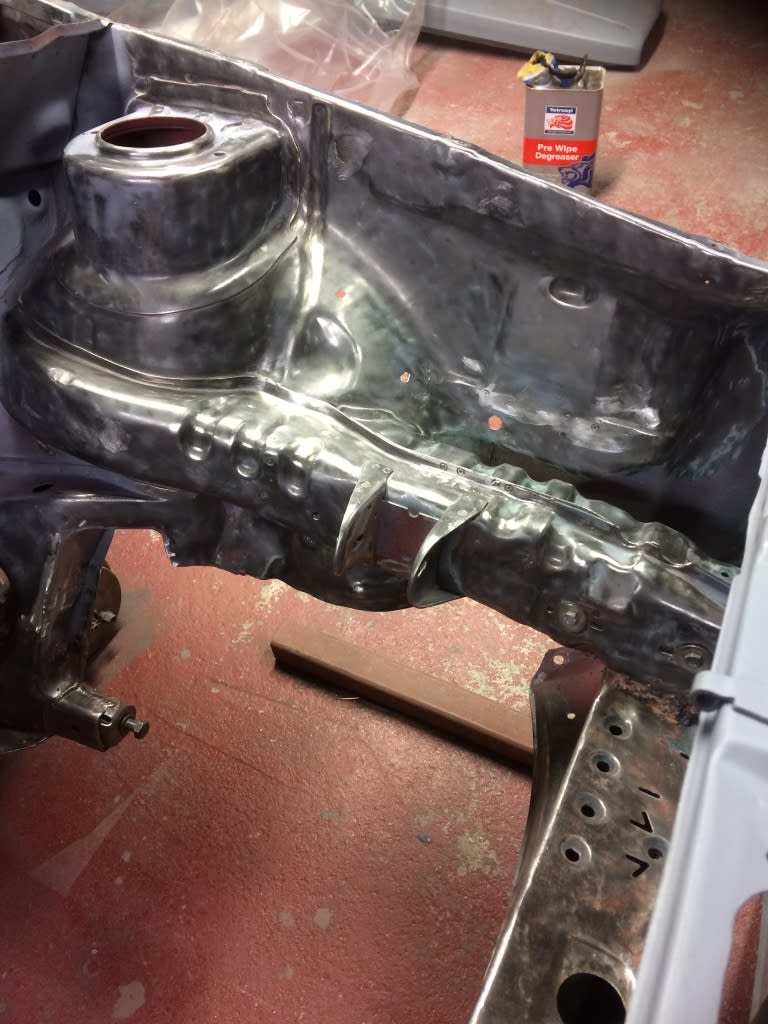


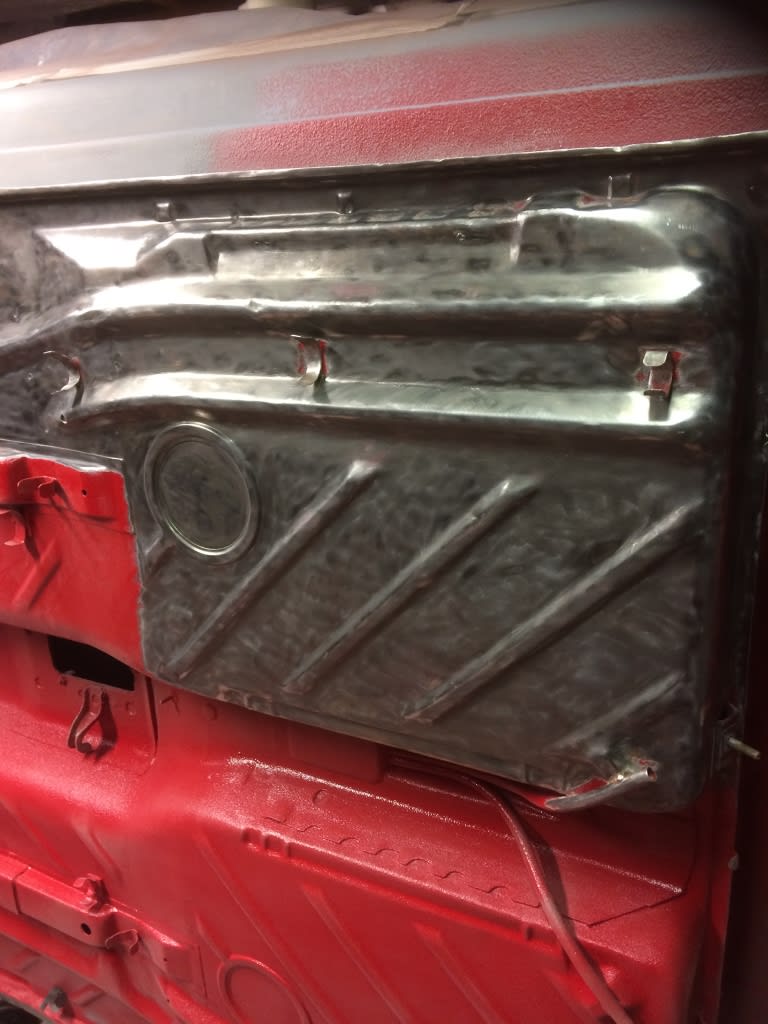
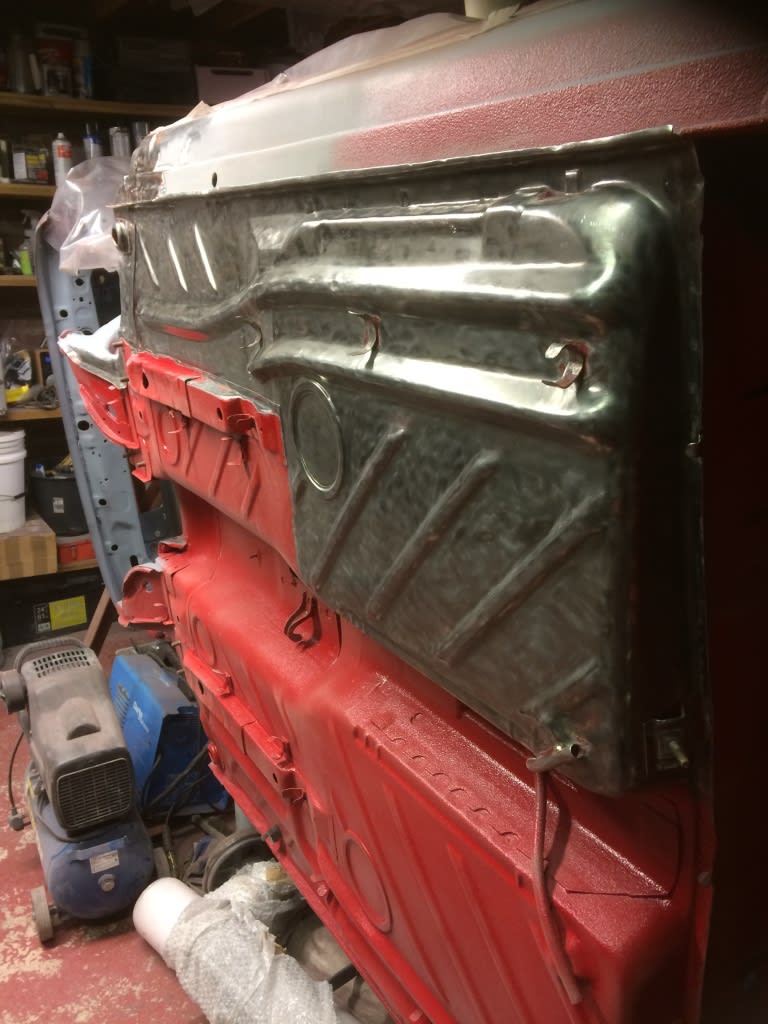
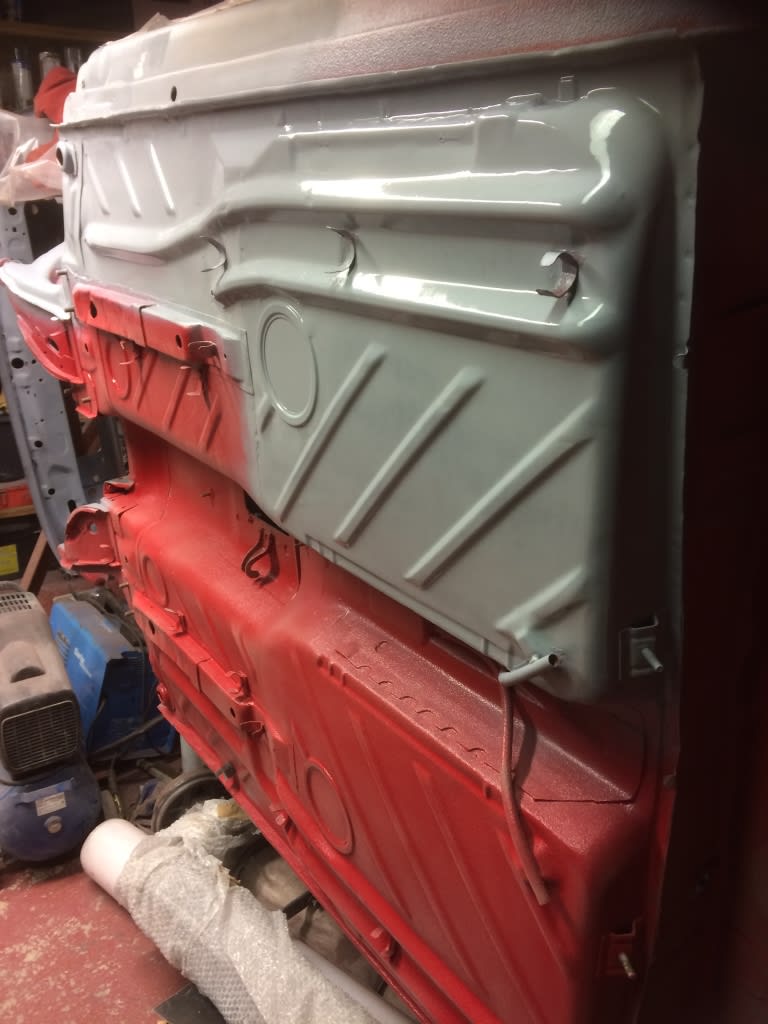
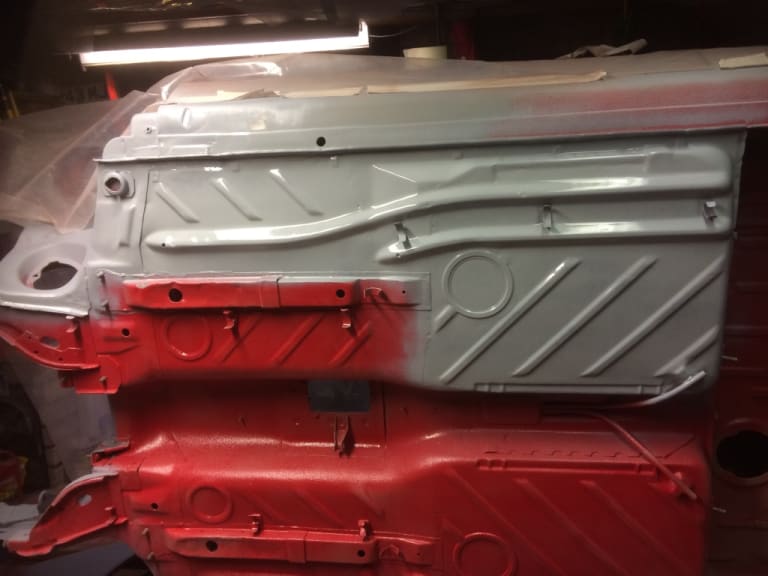
Then started to remove the stone chip from the floors to make sure it's all sound under there
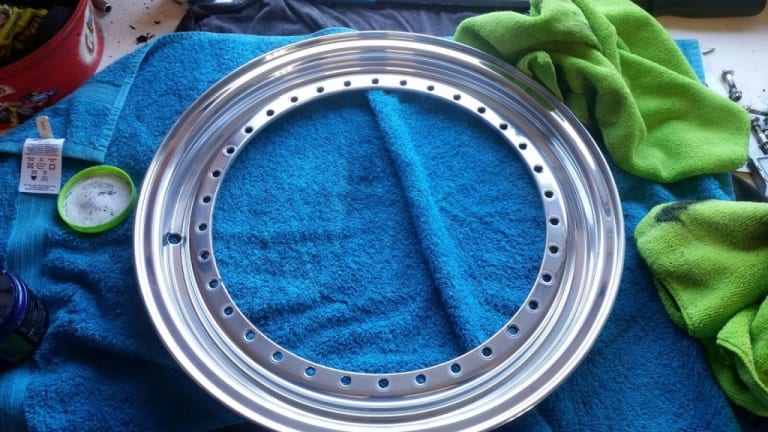
Got another pair of 1/2" lips for my rs's so full set now
Posted
Settling In

Posted
Old Timer


Mars red 1.8 GTI tintop now MOT'd and on the road!
http://vwgolfmk1.org.uk/forum/index.php?page=topicview&id=projects%2Fyour-mk1-golfs_2%2Fwent-to-look-at-a-golf&kfs79=150
http://vwgolfmk1.org.uk/forum/index.php?page=topicview&id=projects%2Fyour-mk1-golfs_2%2Fwent-to-look-at-a-golf&kfs79=150
Posted
Settled In

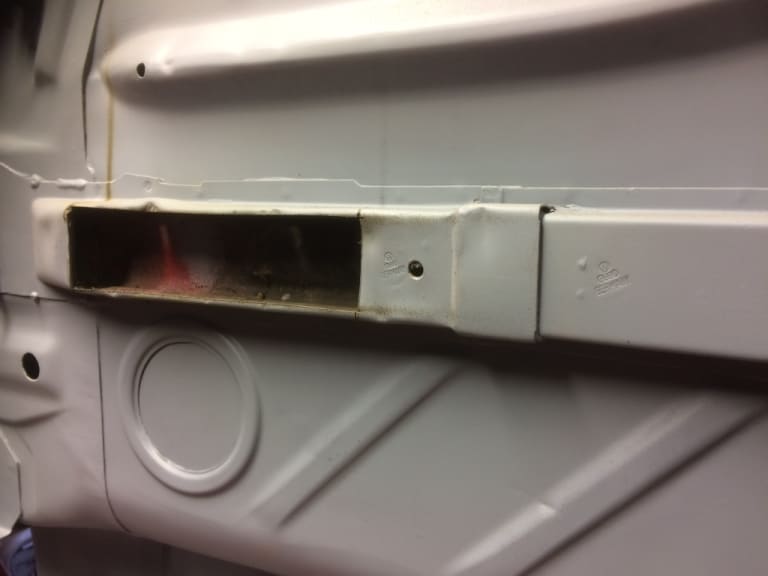

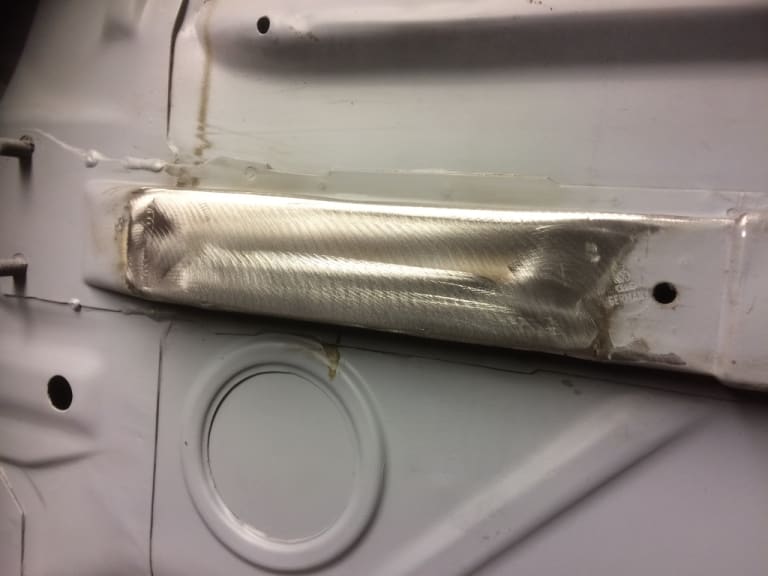
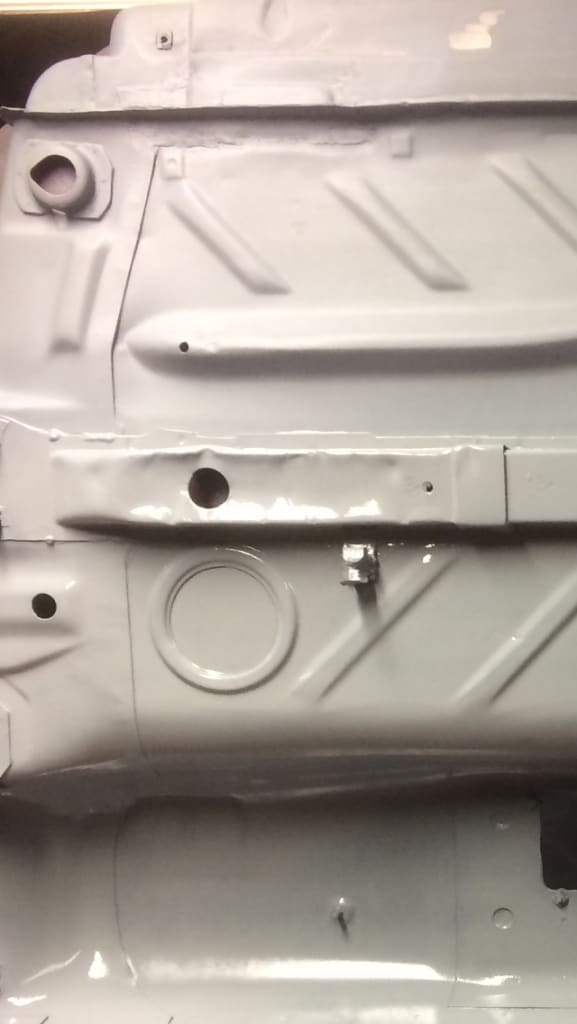
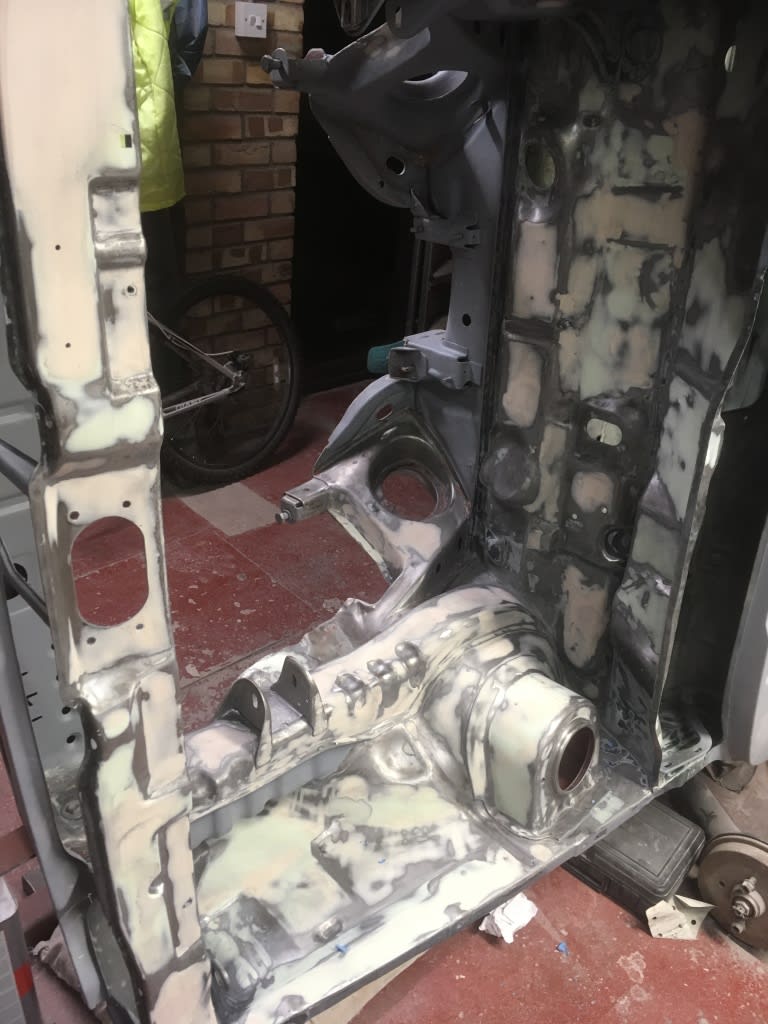
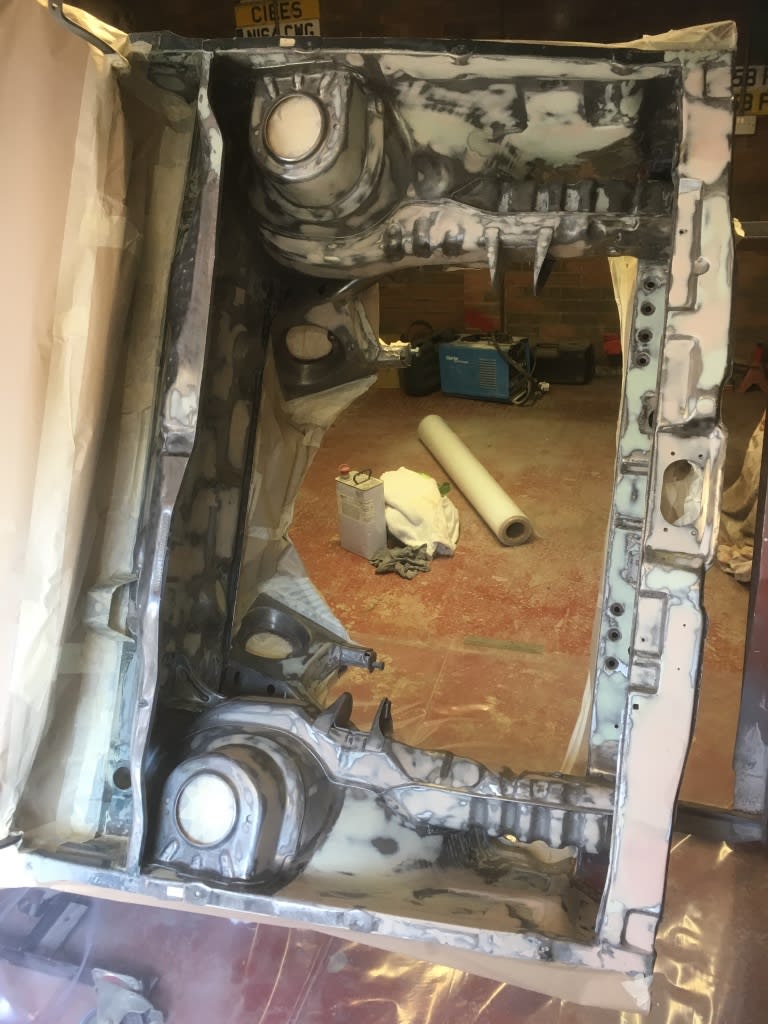
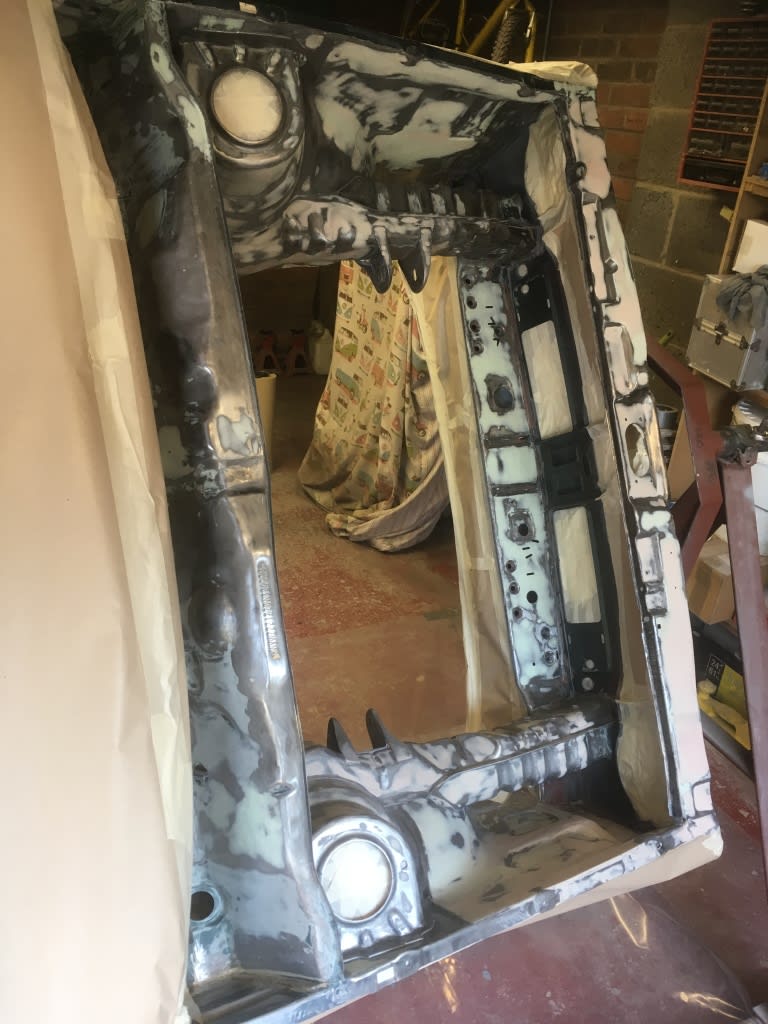
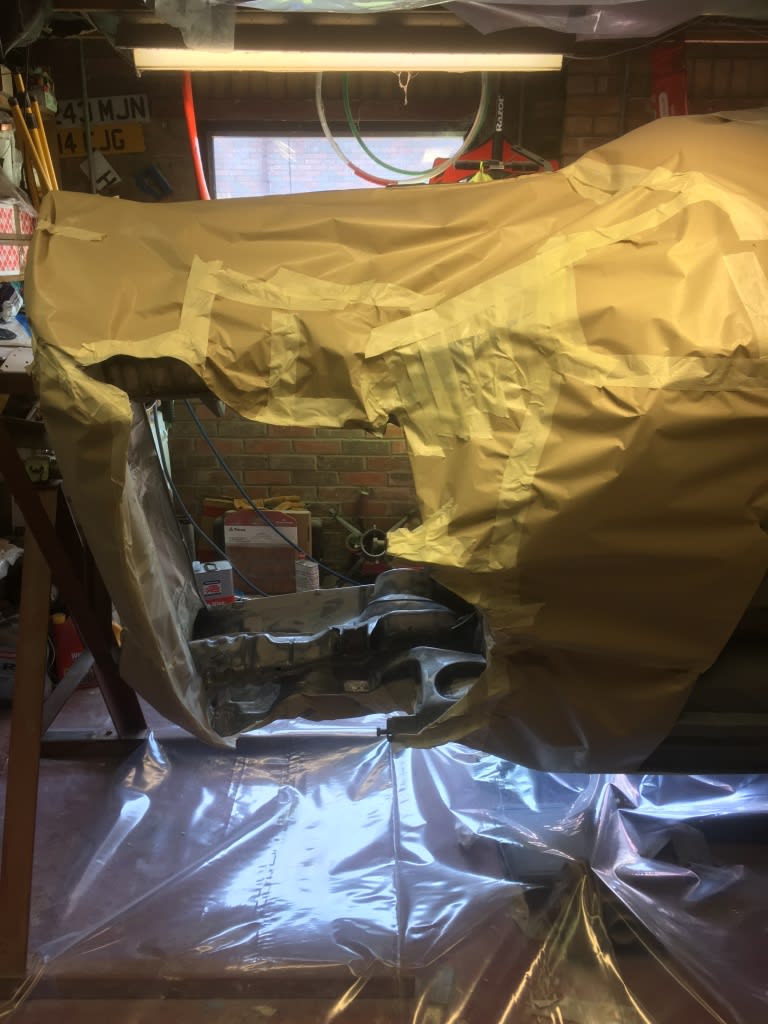
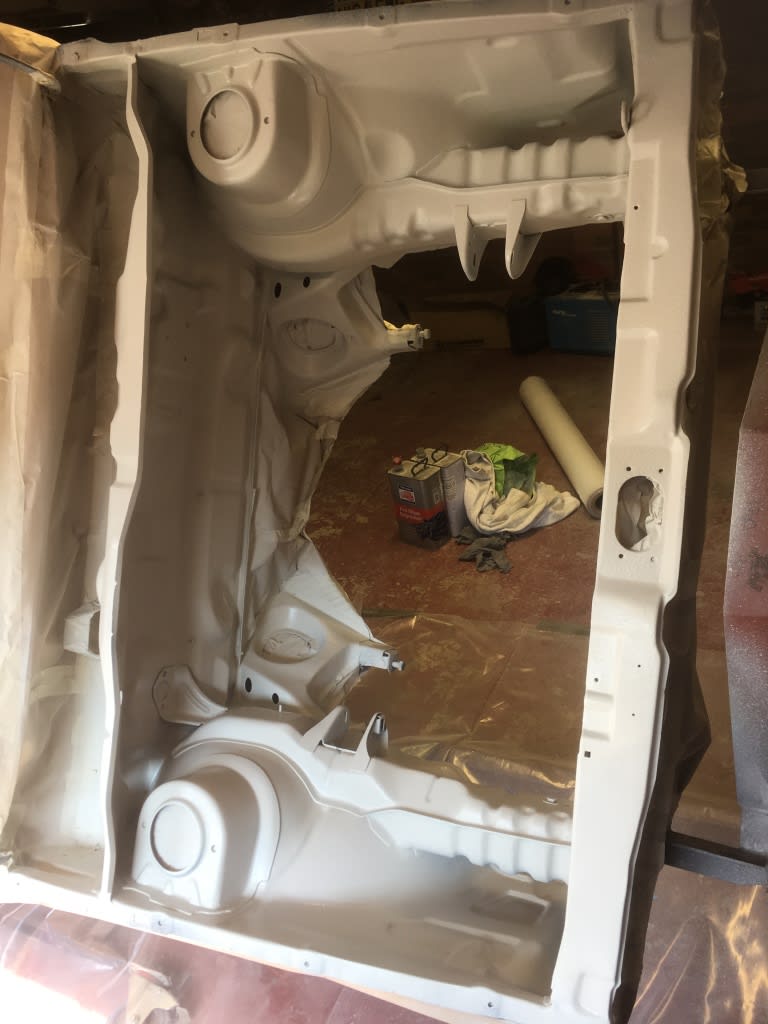
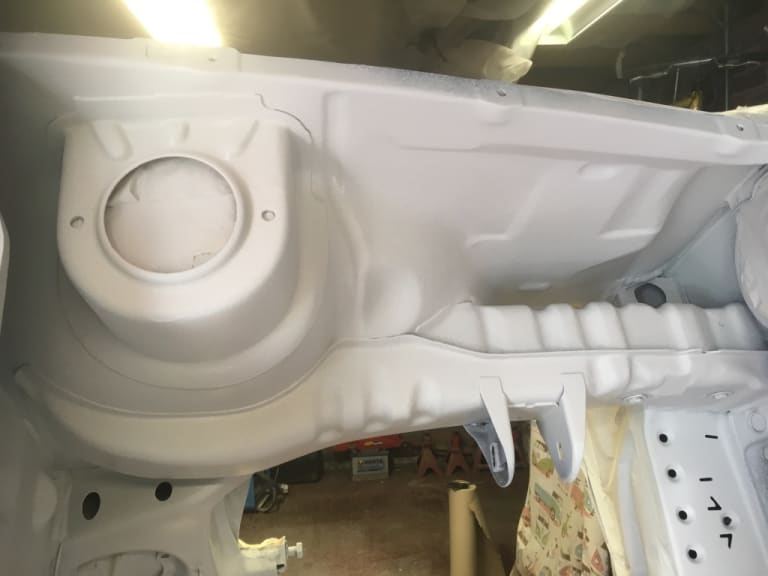
Then onto smoothing the engine bay
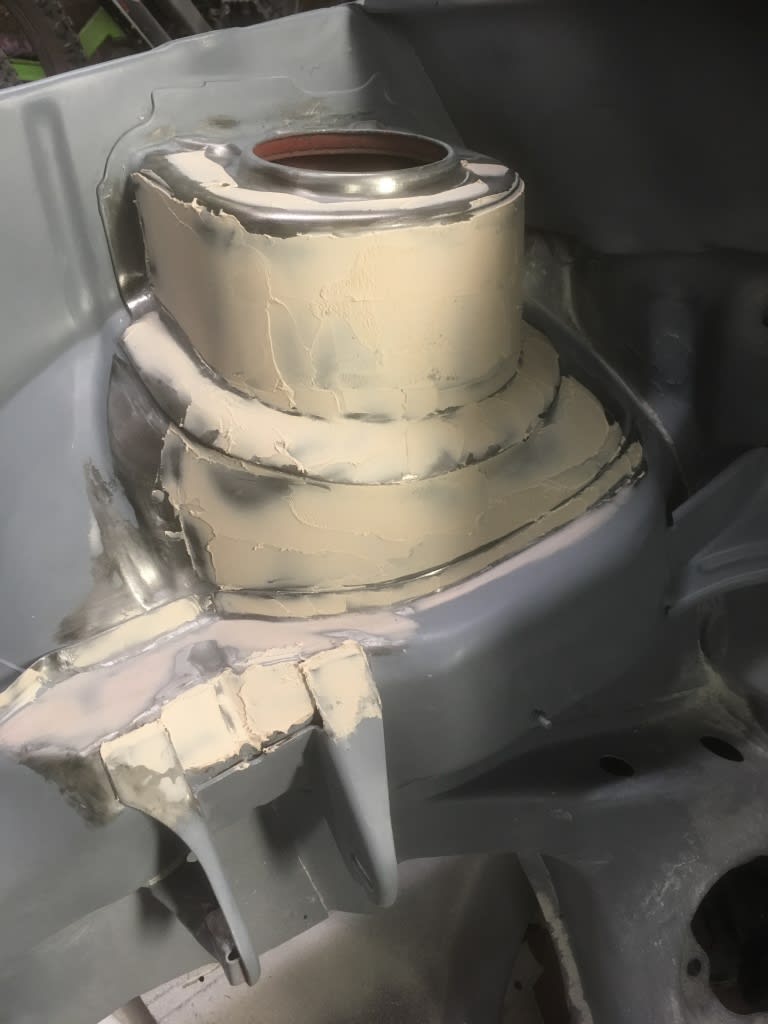
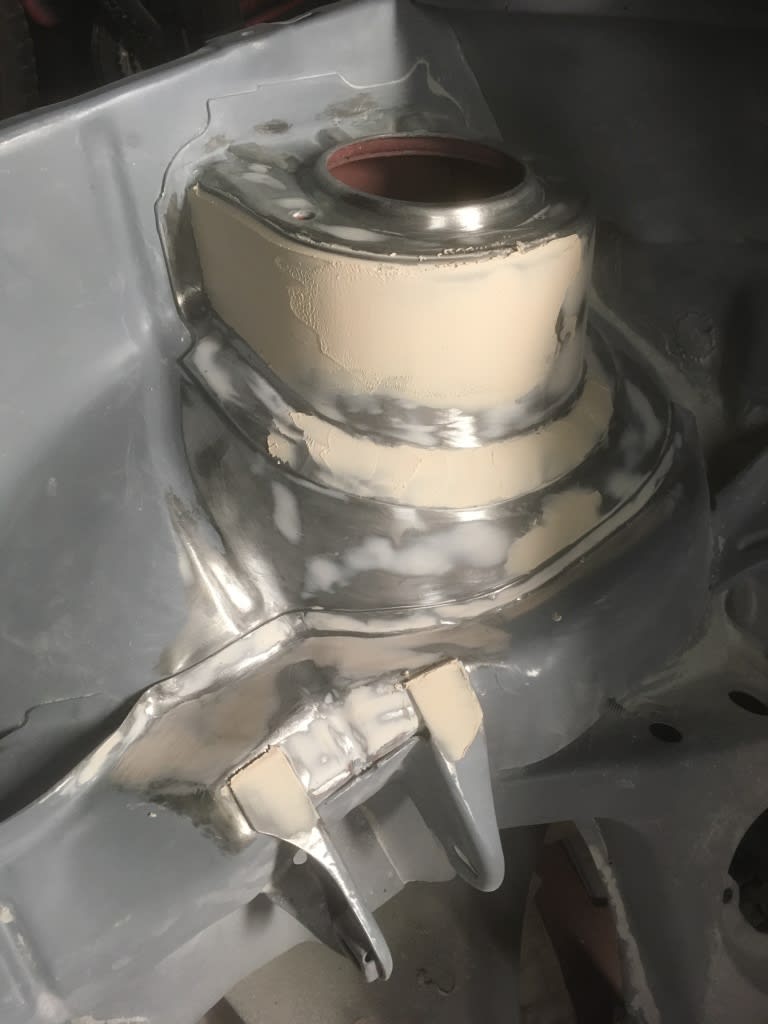
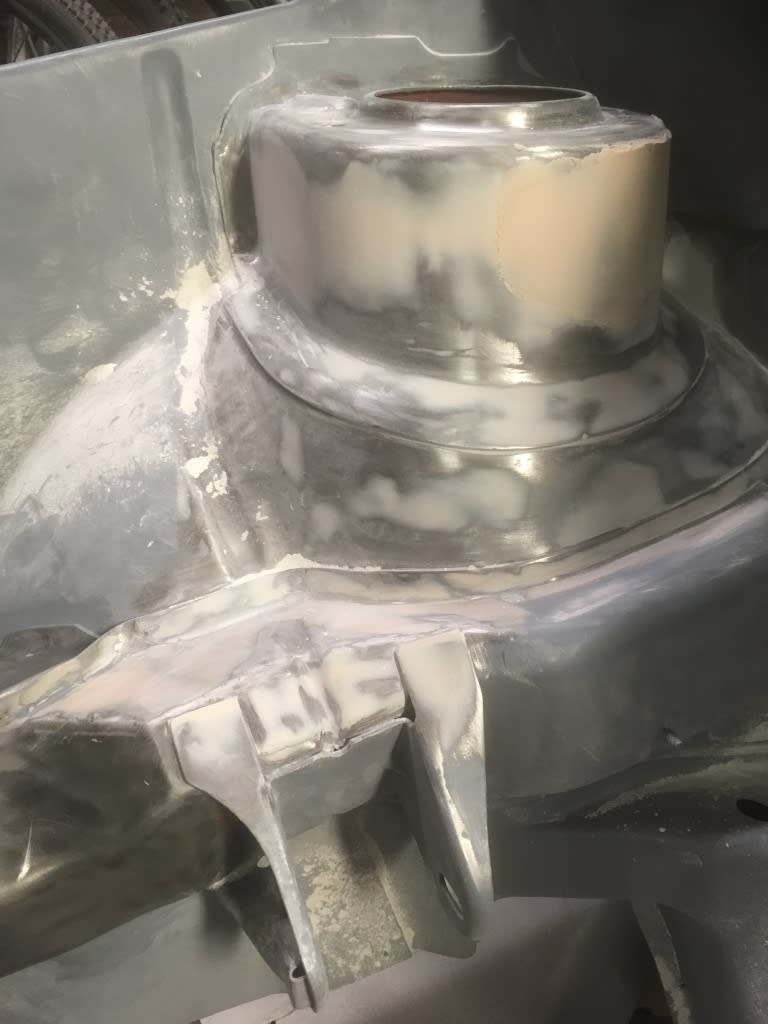
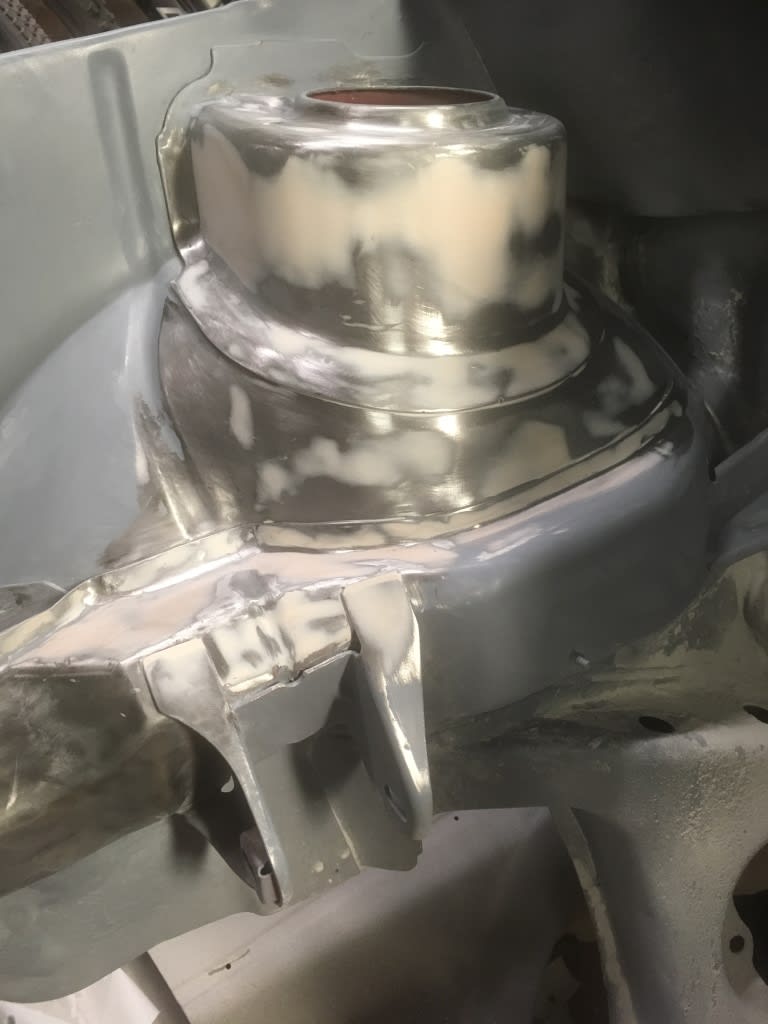

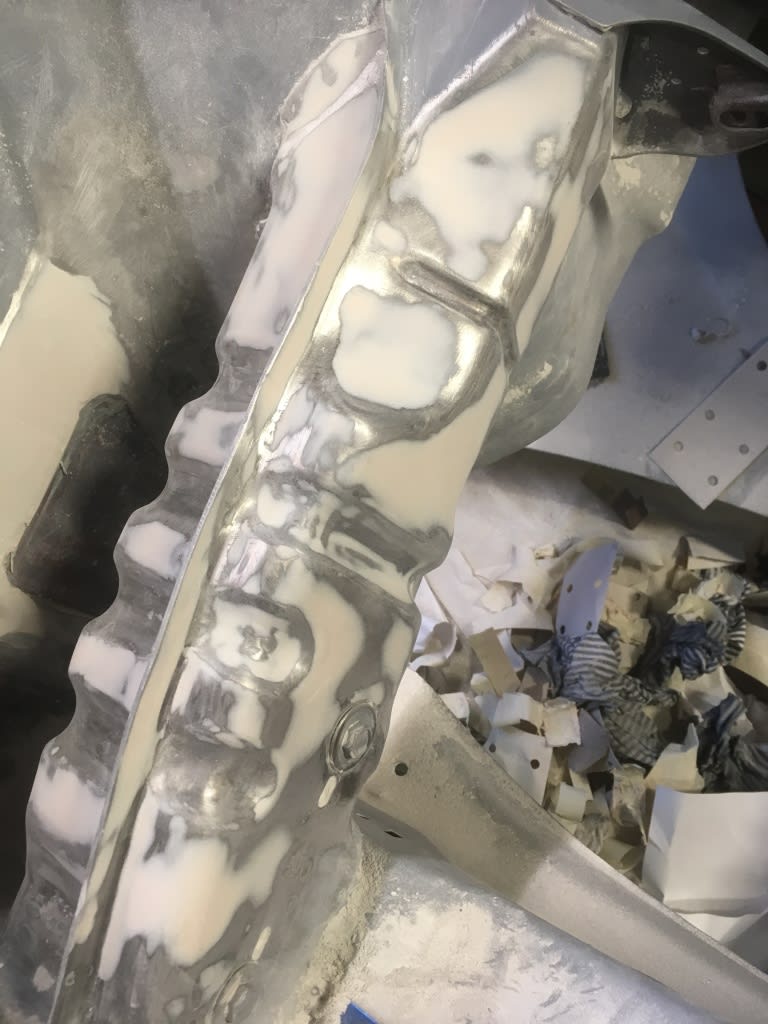
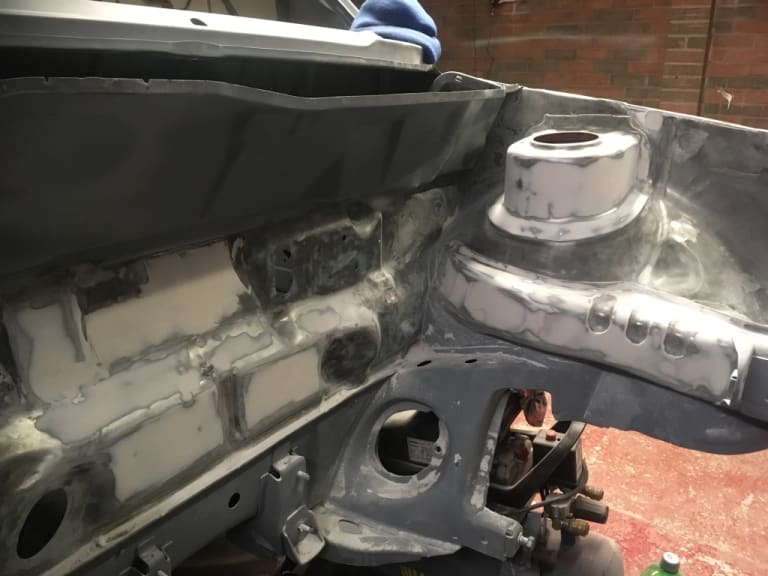
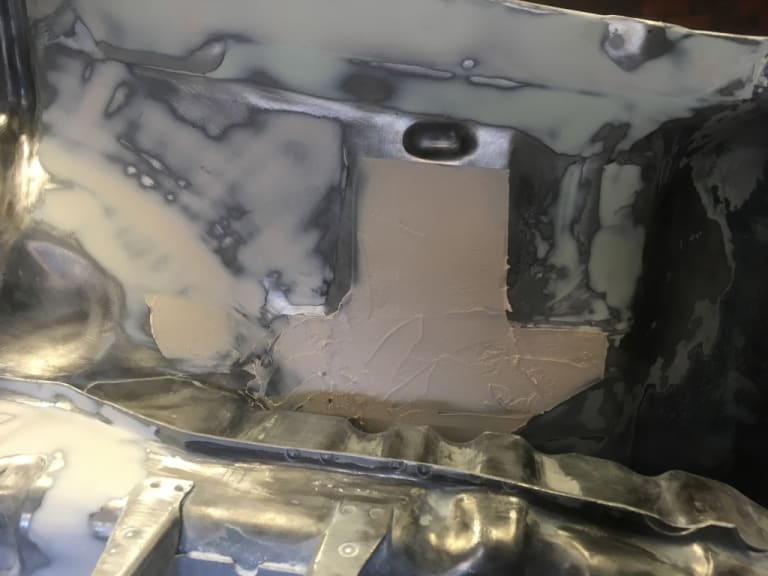
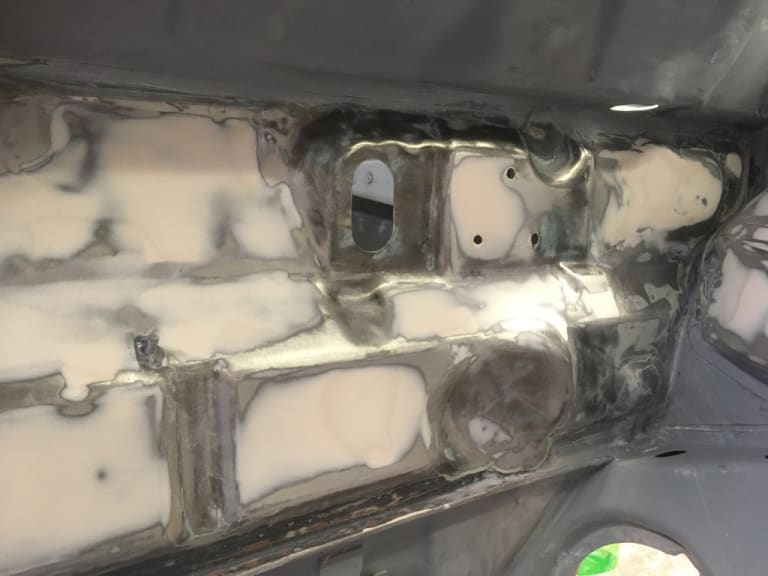
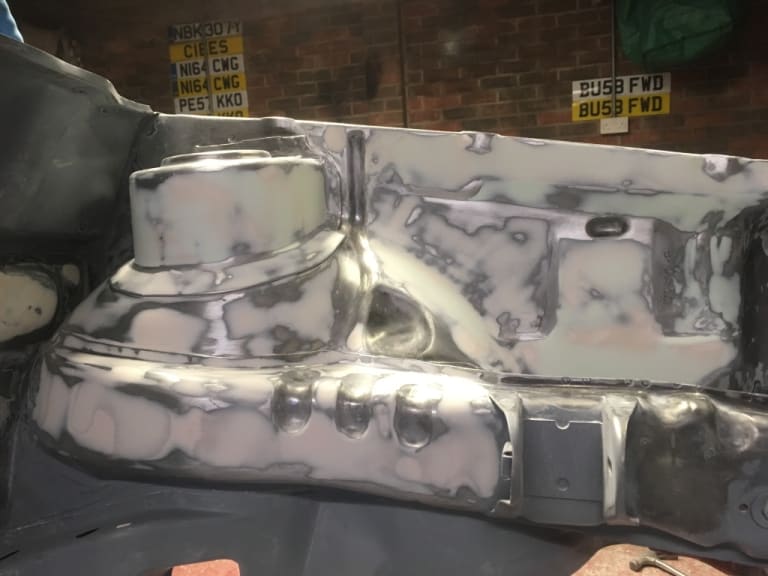
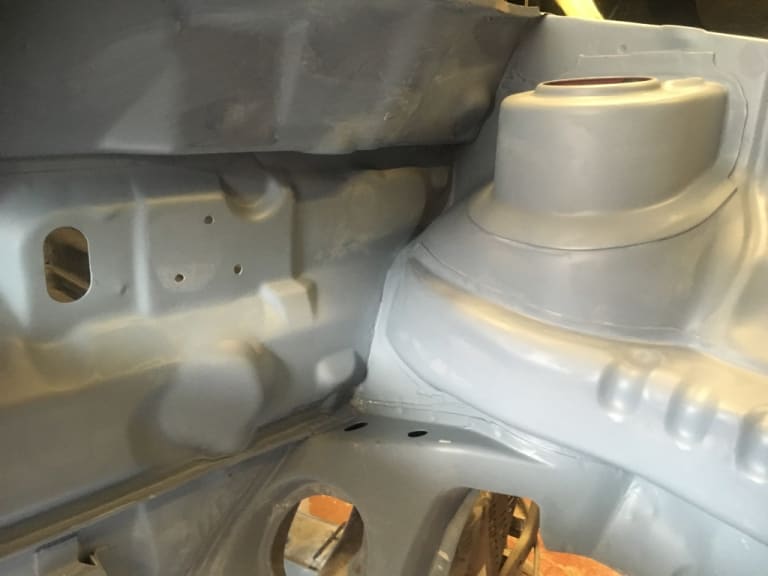
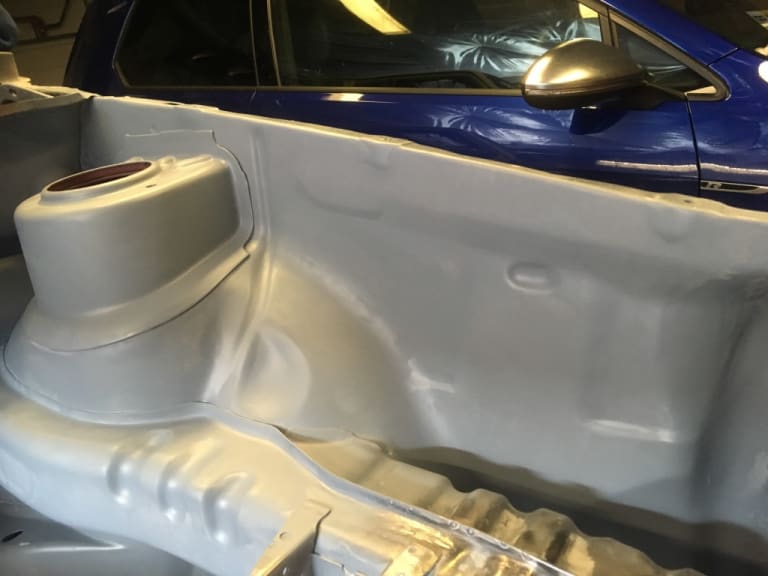
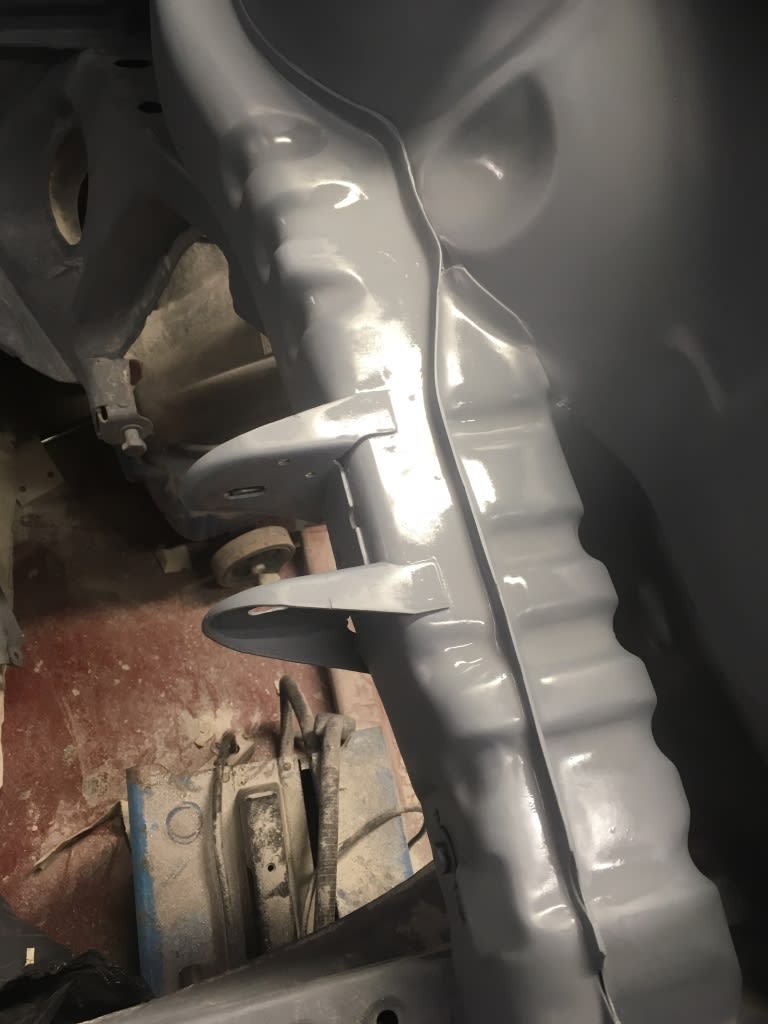
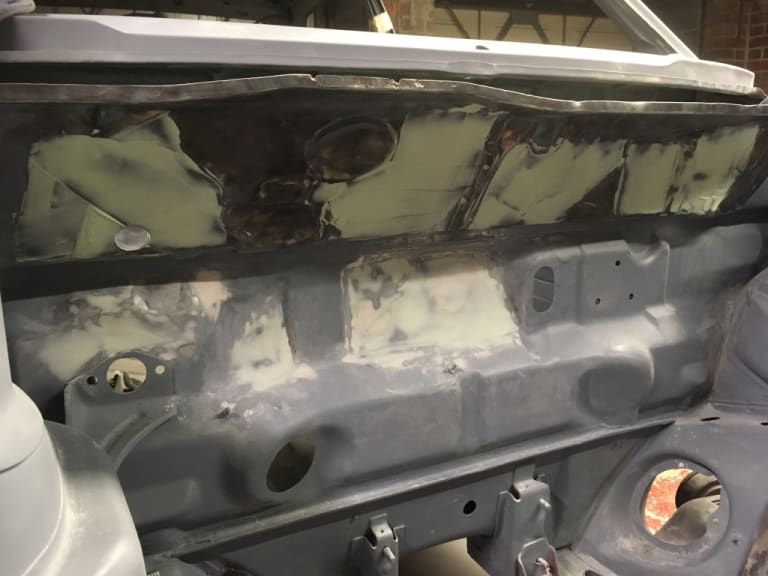

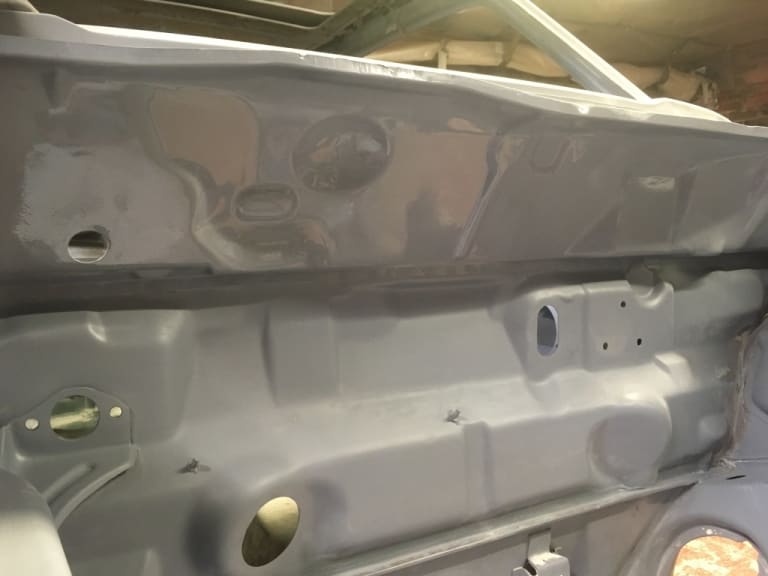
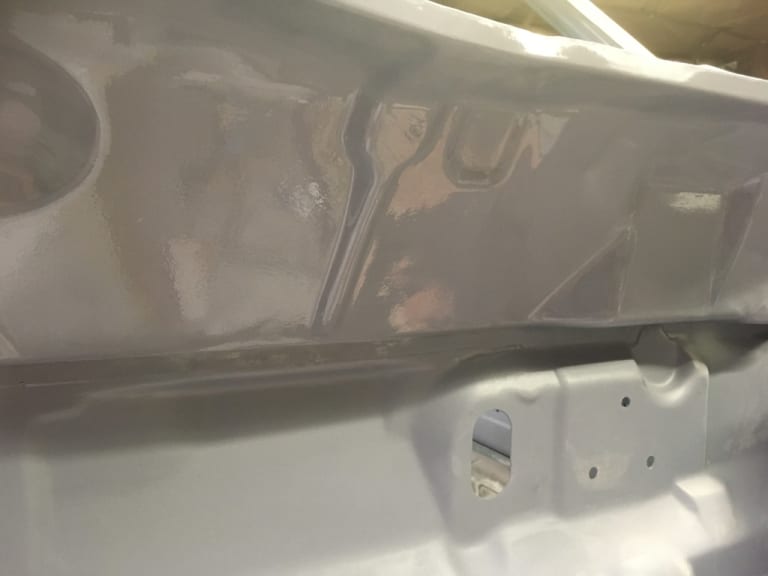
Once sorted it was onto priming with some polyester high build


0 guests and 0 members have just viewed this: None.


