


BMW 2002 Touring '74 Full restoration project


Old Timer

Time for a new project, something a bit different than a Golf mk1
 Together with my brother, I�fully restored a Volkswagen Golf mk1 1.1 from 1980 to factory condition.
If you're interested, you can find our full restoration blog here:�http://goo.gl/2PAuUm

Golf mk1
Enough about the Golf, let's get back to the 2002!
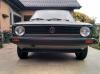
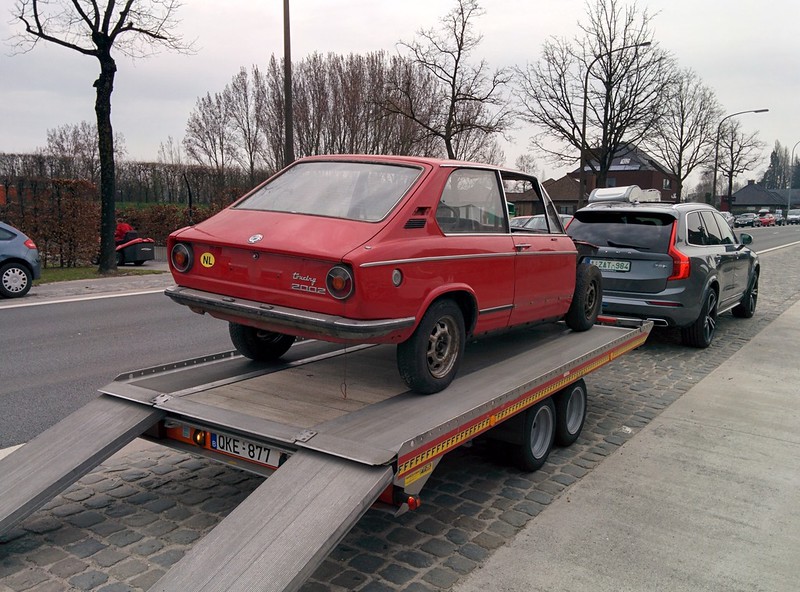
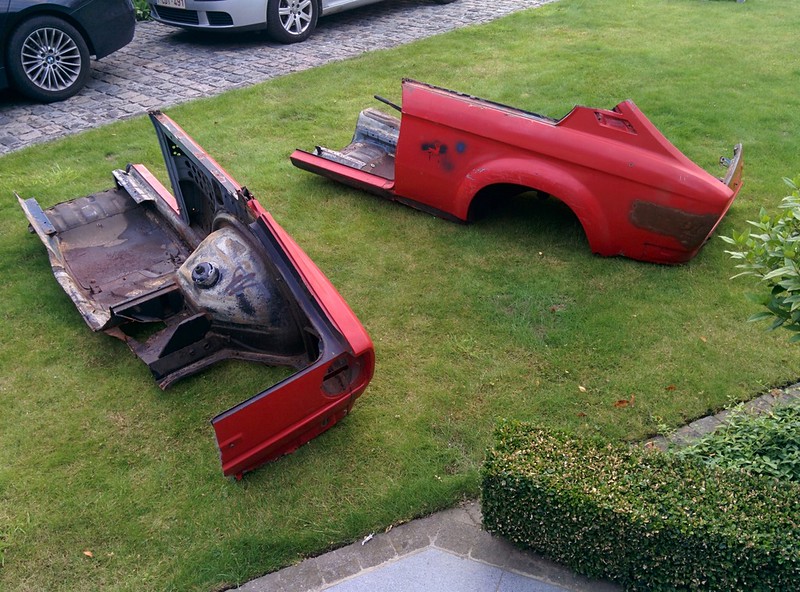
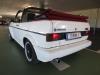
We picked up a used BMW 2002 Touring from 1974 here in Brussels, Belgium. Car is originally from The Netherlands, has 94000ish kms on the counter.
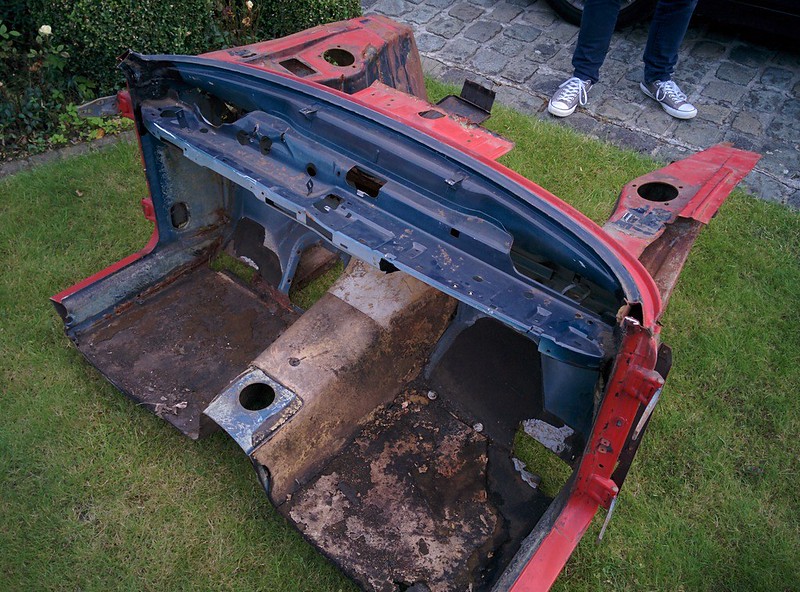
It has matching chassis and motor numbers.�Front-end is missing from the car but we got a replacement panel with the car. We also got many other parts with the car, too much to list!
Our plan for this car is to get it back to it's original condition, we'll powder coat the whole suspension, cad plate all the nuts and bolts..
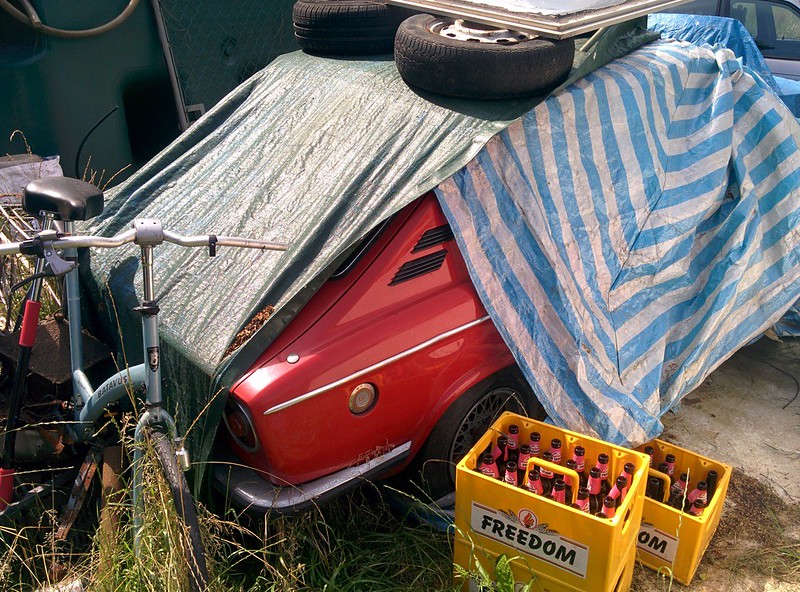
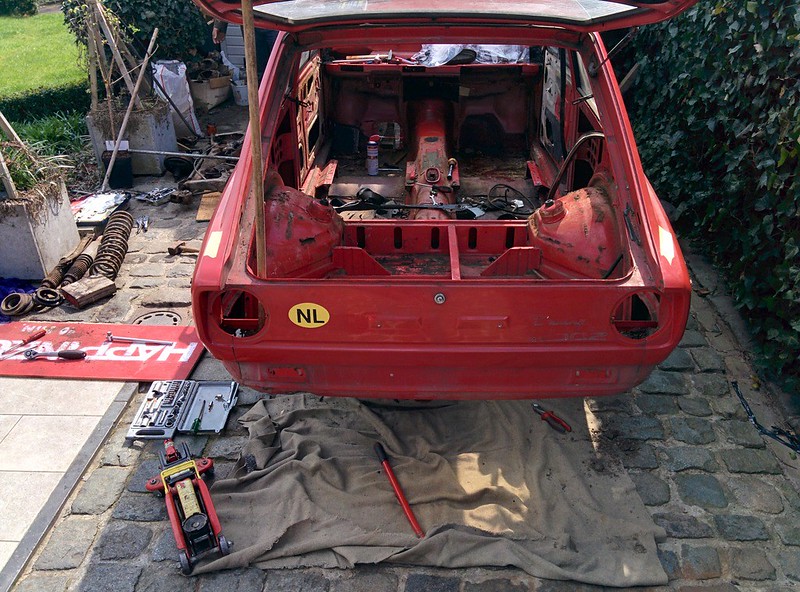
Car was sitting like this:
Car has been repaired before at the left front floor panel and left sill. We'll be redoing these repairs as they were done poorly.
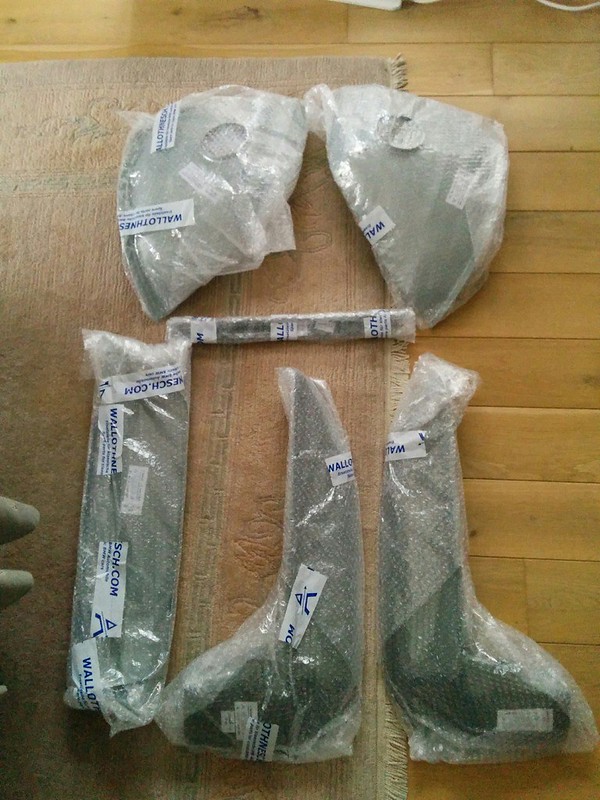
We already got a few repair panels from WallothNesch, the rear shock towers, front A-pillar posts, rear sedan lower quarter panels (these will have to be modified�a bit to fit a touring).
We went and got the car in December and stored the car in our grandma's garage.
On the 2nd of April we moved the car to�our house so we could begin with futher stripping it down.
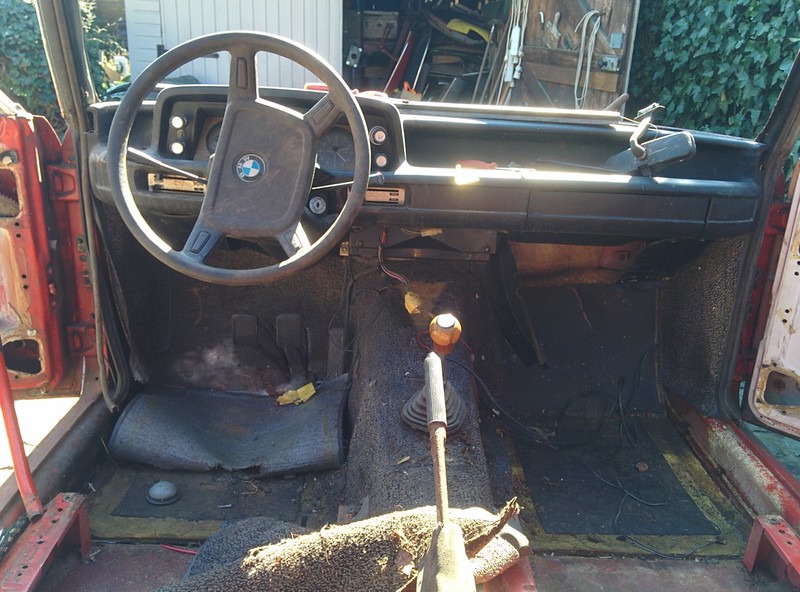
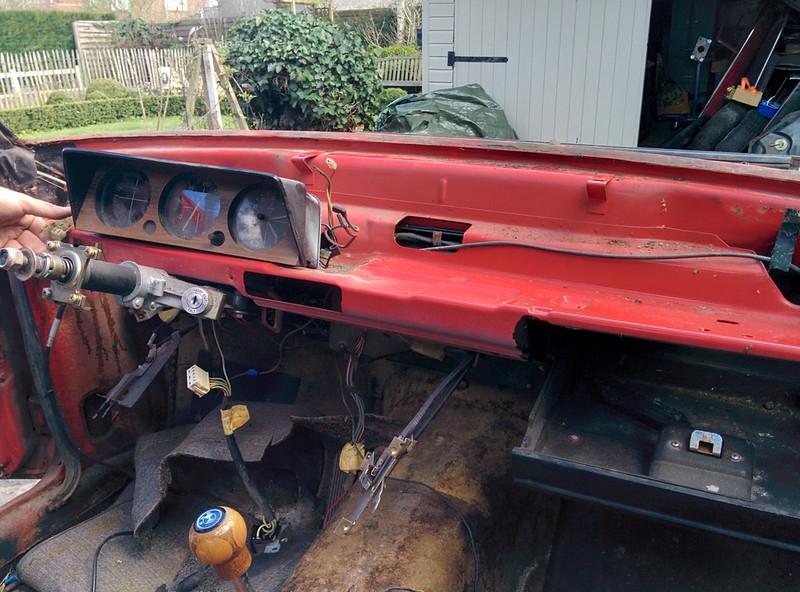
The next day we removed all of the interior, dash and�wiring loom.
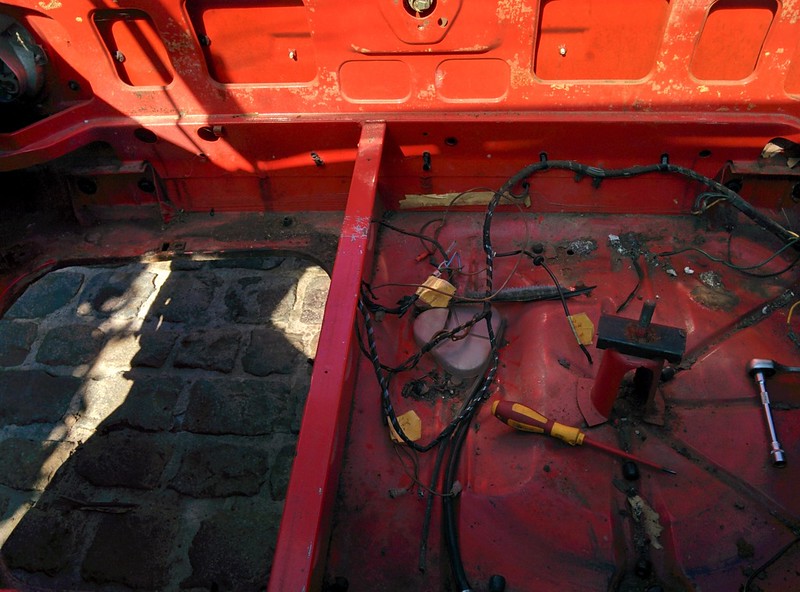
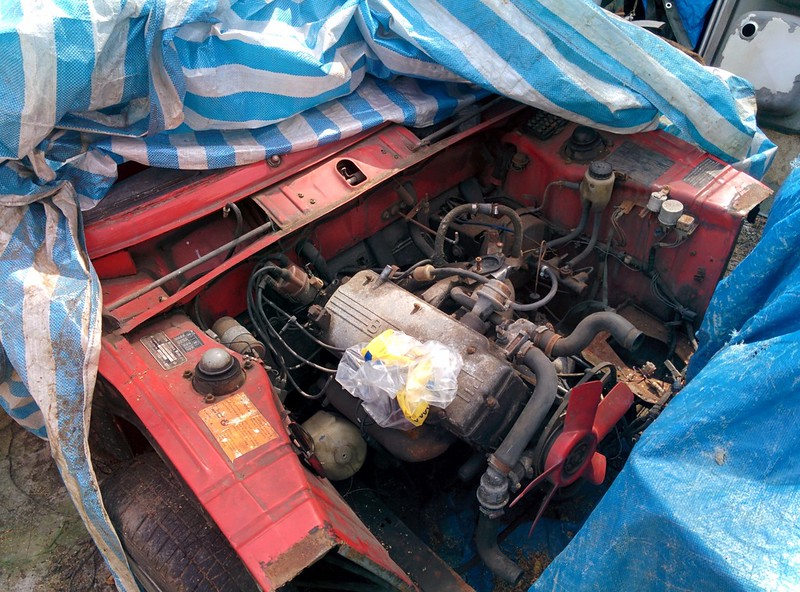
In the evening after work we removed whole front subframe with the motor and transmission.

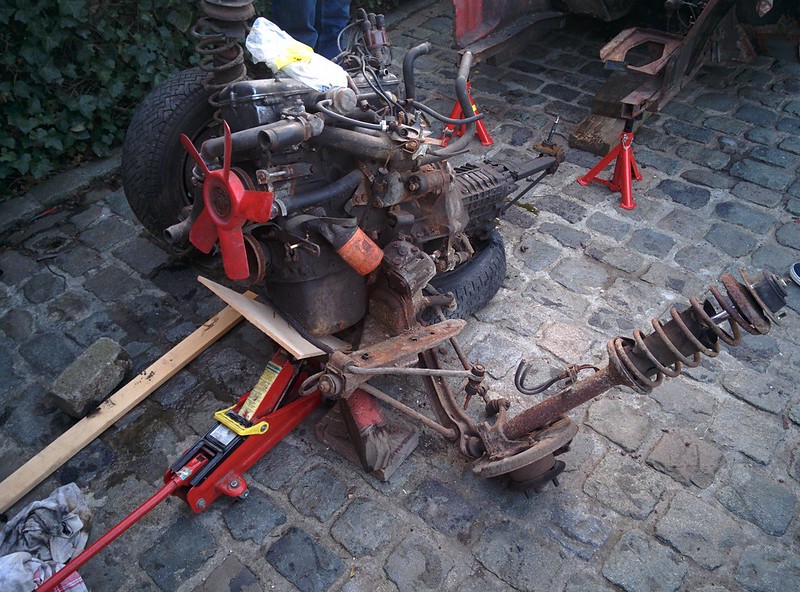
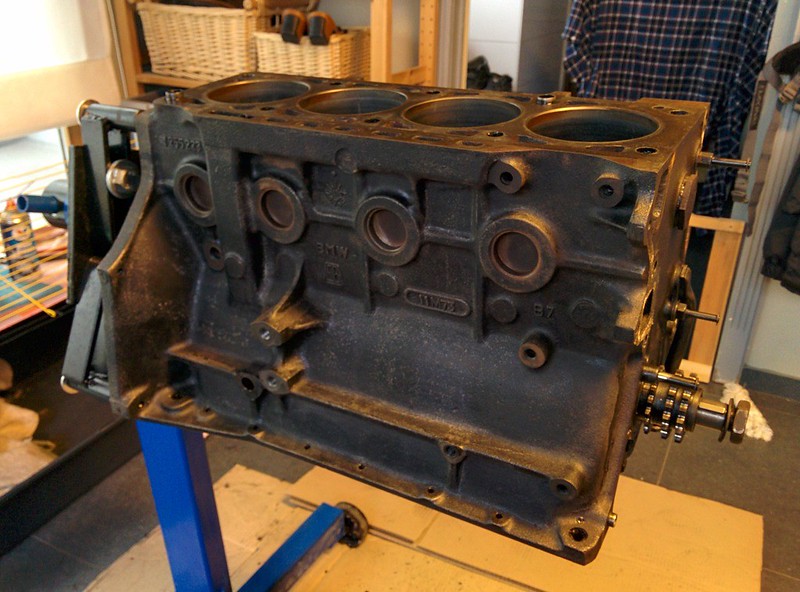
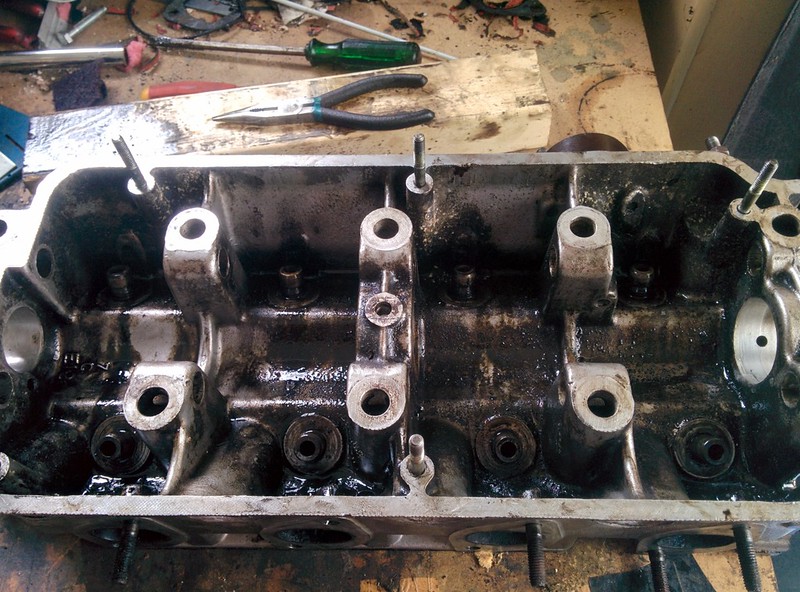
I also got started with stripping the engine as I couldn't wait�

Some kind of weird gel in the coolant circuit..
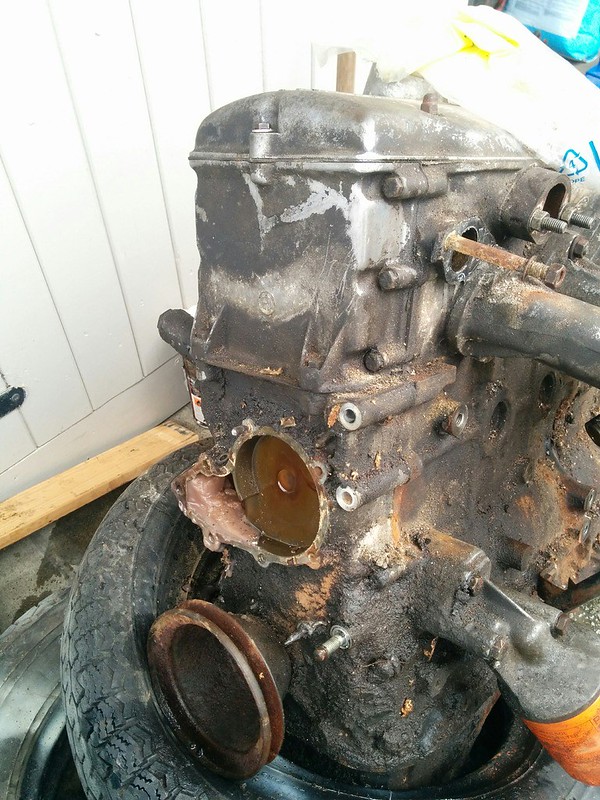
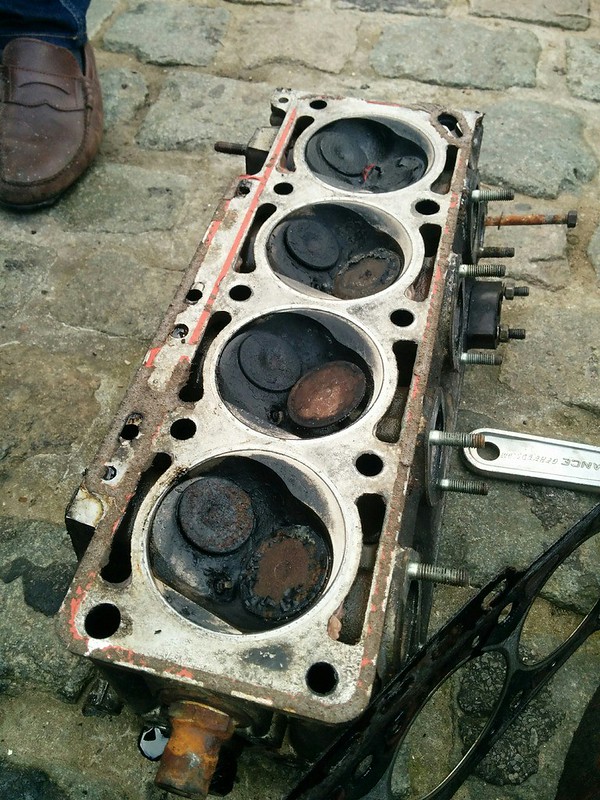
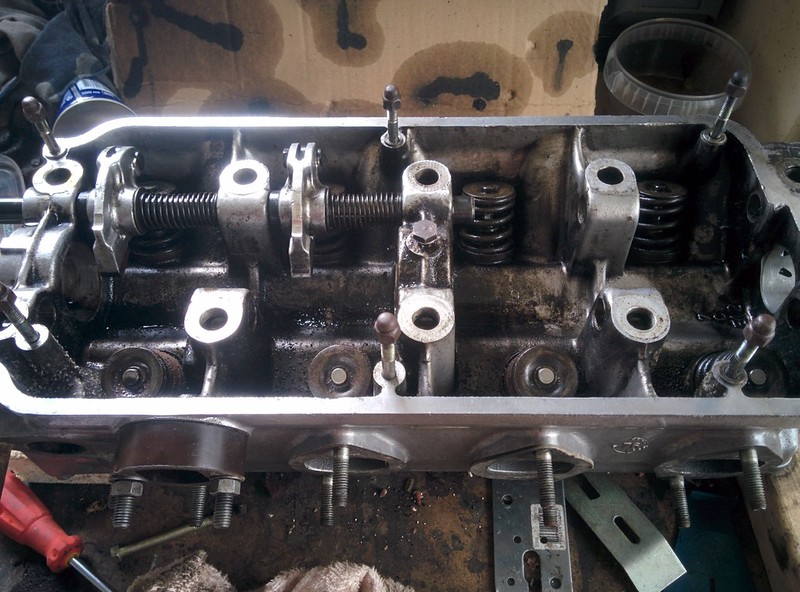
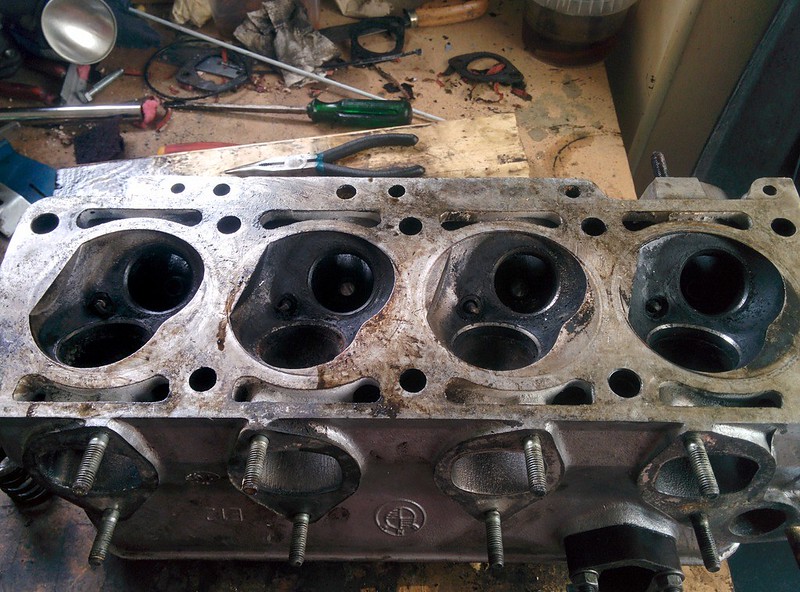
Removed the cylinder head, pistons look decent.
Asdo the valves
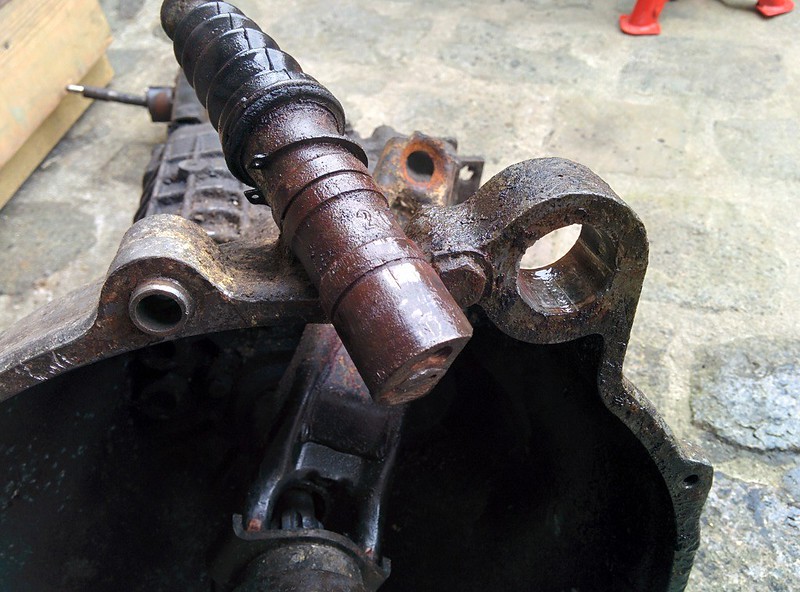
Also got the slave cylinder out of the transmission housing with the help of some heat and light tapping of a hammer
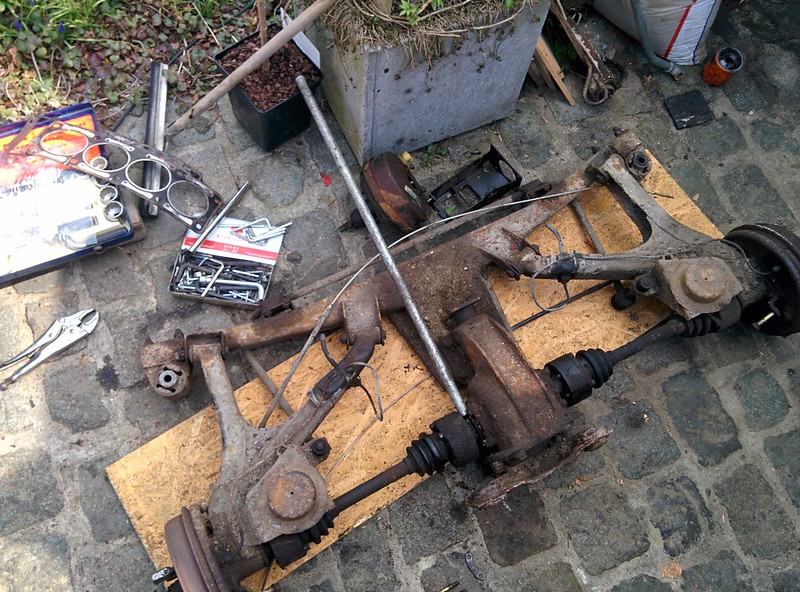
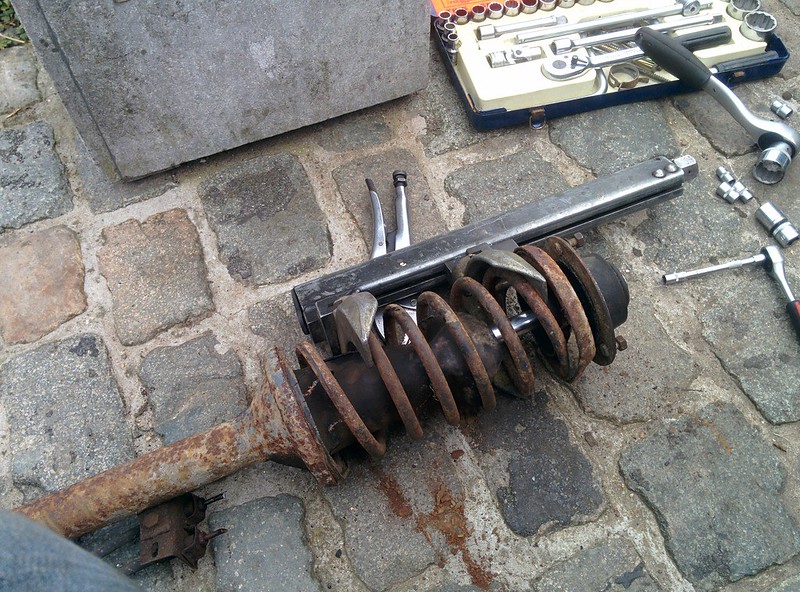
With the help of a friend we got the whole rear suspension removed.
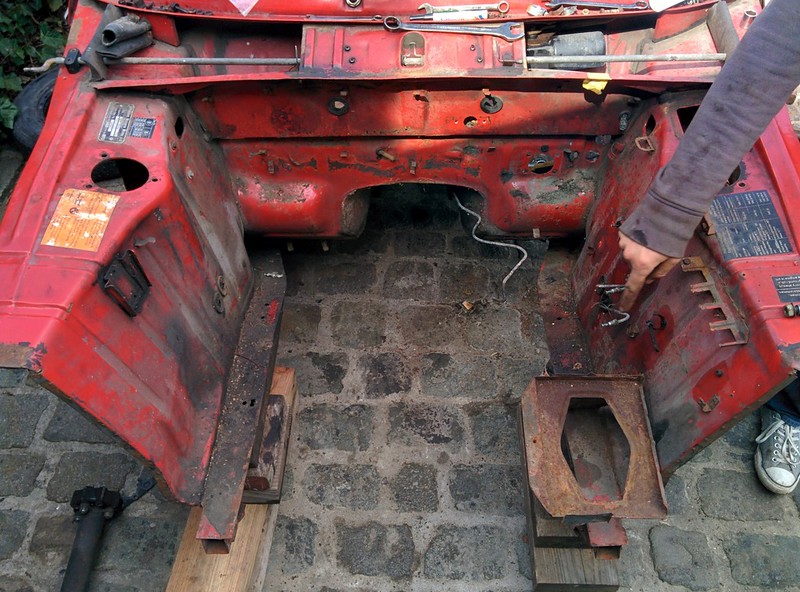
Further stripping down the engine bay, also removed the pedals and the pedal box
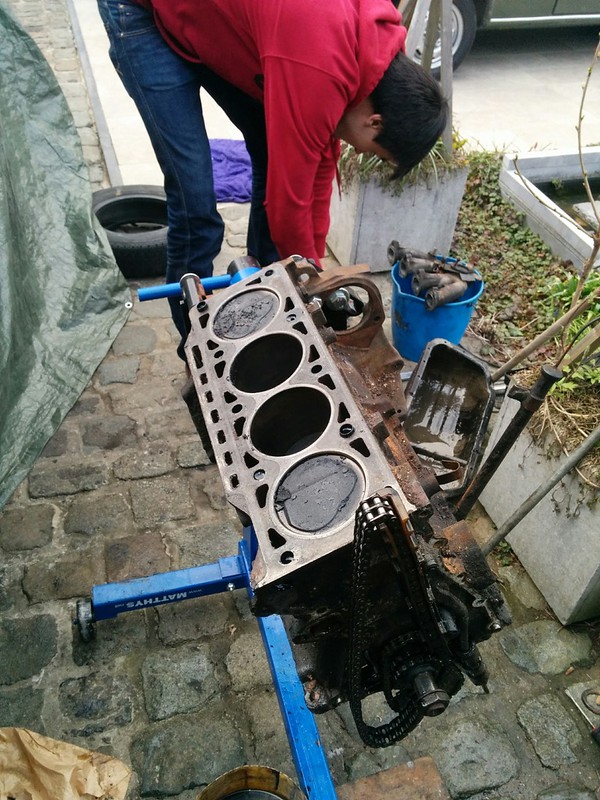
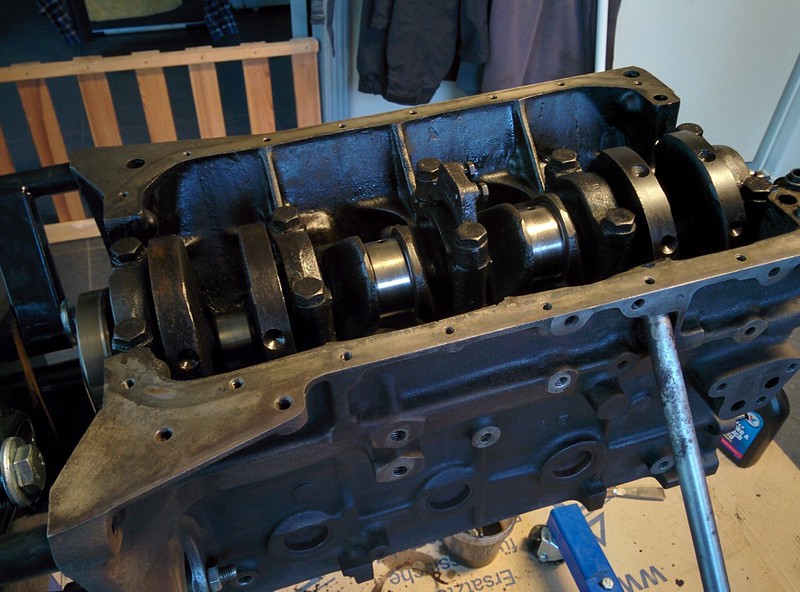
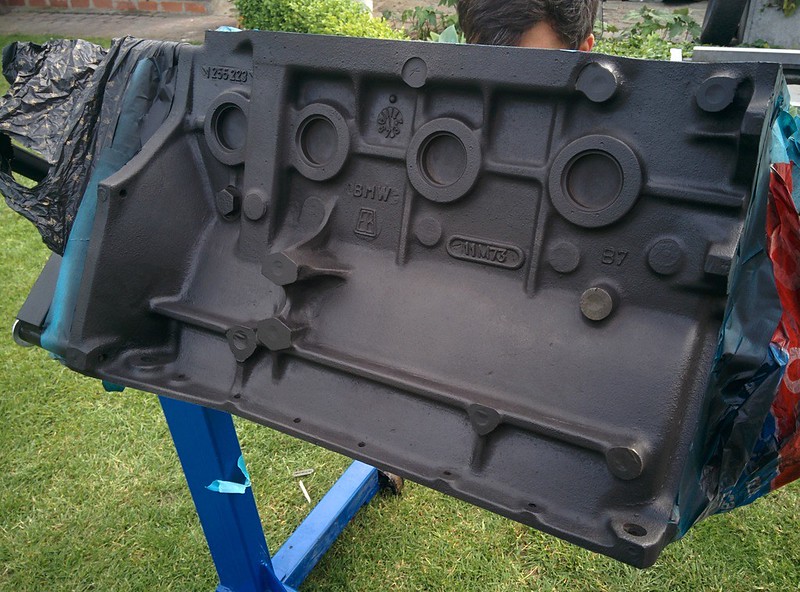
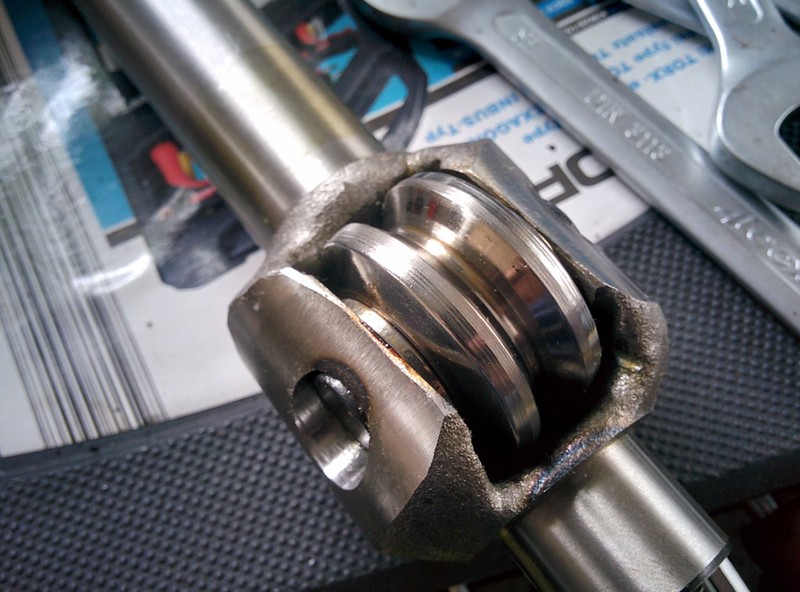
Finally we removed the pistons from the crankshaft and degreased the engine block
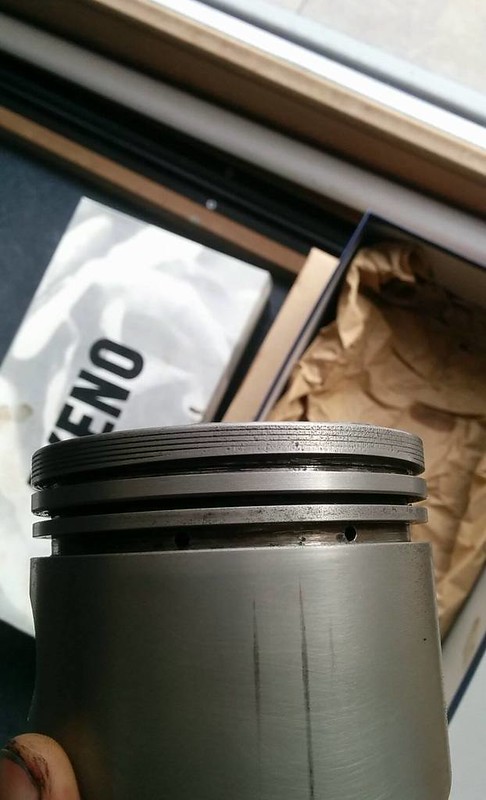
The 2nd piston was a little messed up, the upper slot for the piston ring is wider at one part of the piston.
Looks like the piston was starting getting blocked. This means we'll have to replace this one for sure
We might look to replace all of them, not sure yet.
That's it for now, I'll update this thread as we go along our restoration.
Thanks for watching!
 Last edit: by D_Martijn
Posted
Old Timer
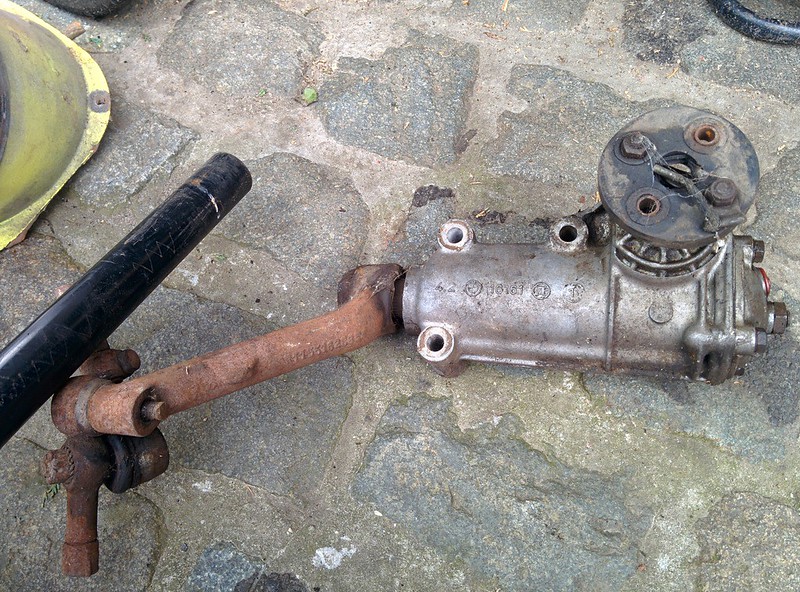
Everything unbolted pretty easily. we did have a hard time removing the 3 bolts that hold the steering arm tight to the strut.
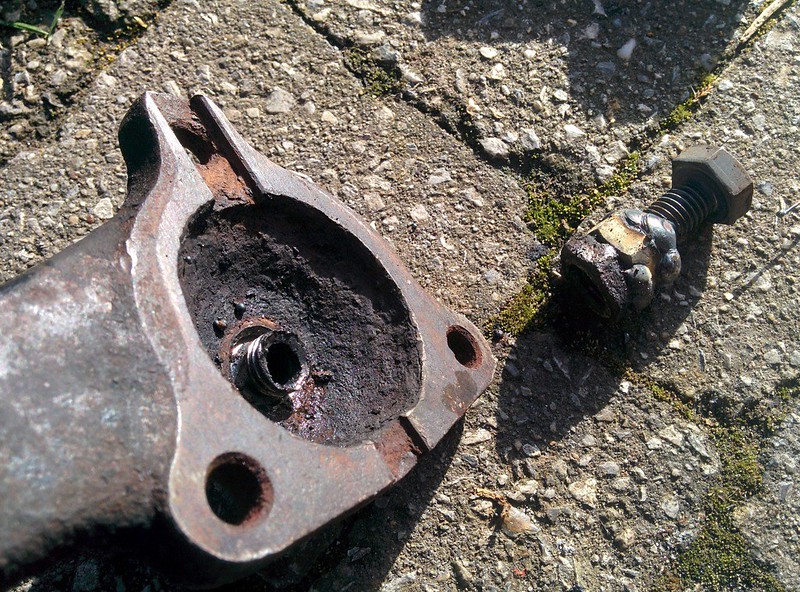
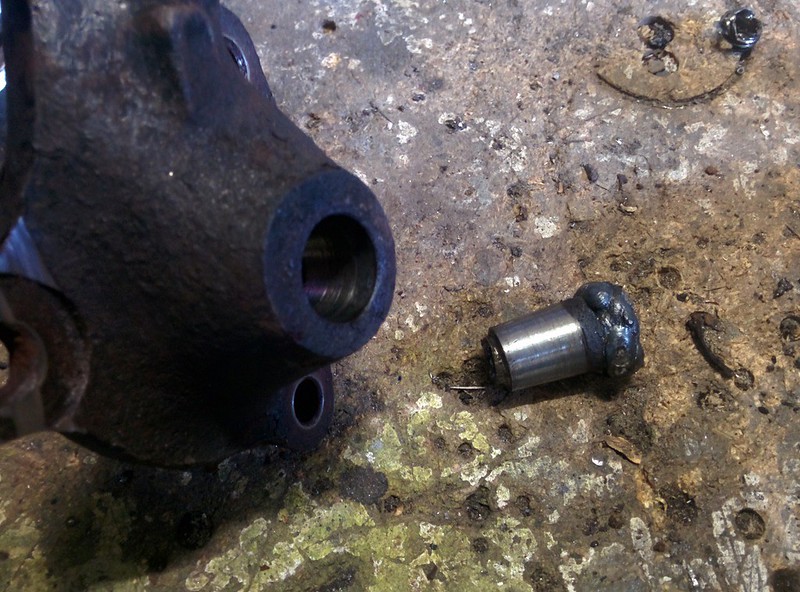
After these were all out, we noticed the bolt that holds the steering arm to the ball joint of the suspension arm was rusted heavily.

We started with cutting off the ball joint and�drilled a hole through the conical axle.
This let�us �remove the upper part of the threads with a chisel. We then welded a new nut on the rusted nut and threaded a bolt through it which we also welded.
We were now able to turn the nut loose and tap the conical axle out of the arm.
Since this took us quite a bit of time we only had time to remove the ball joints from the suspension arm by drilling the 3 rivets out.
Last edit: by D_Martijn
Posted
Old Timer
We also removed all the valves from the cylinderhead. Went pretty smoothly with the correct tools.
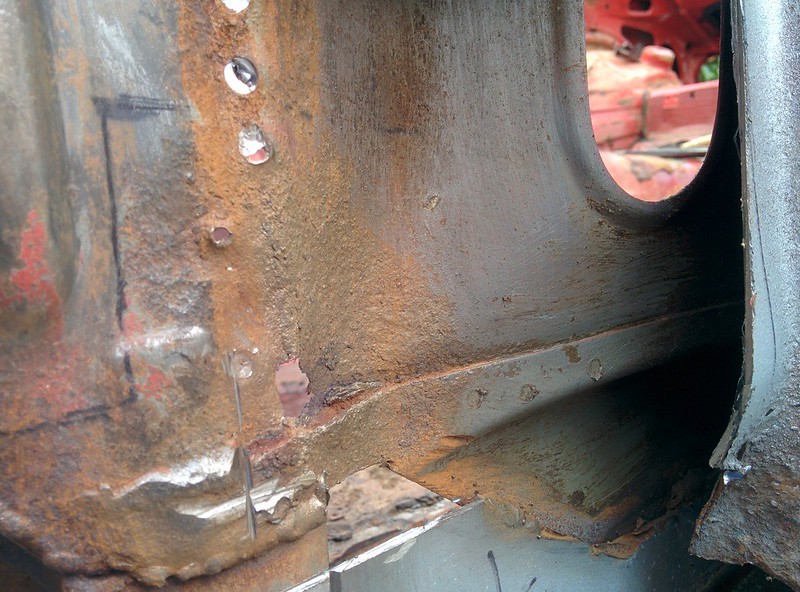
In the evening we got a look at the rusty parts of the car, we started with the rear.Removed the big chunks of rust and further cleaned the rear side corners.
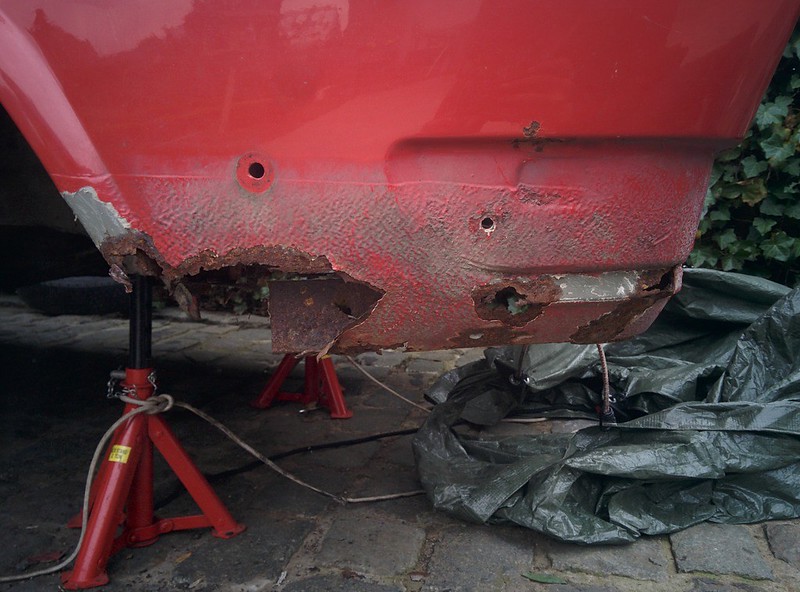
Cleaned up a little
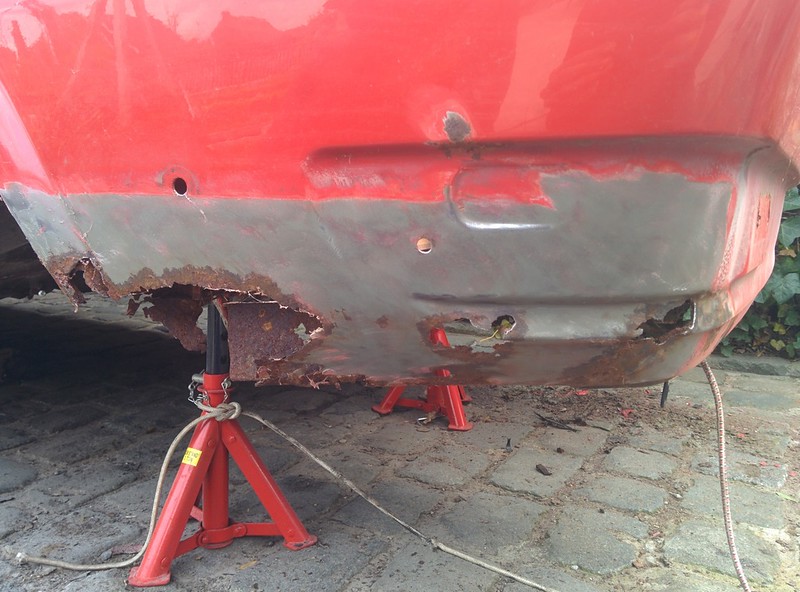
Other side:
Next time we'll further clean the rust by sand blasting it. We can then begin welding new panels in

Last edit: by D_Martijn
Posted
Old Timer
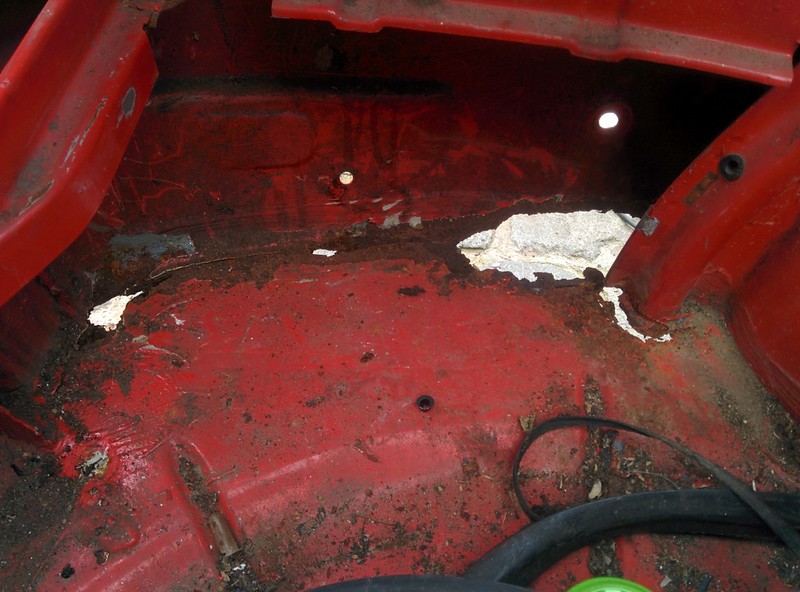
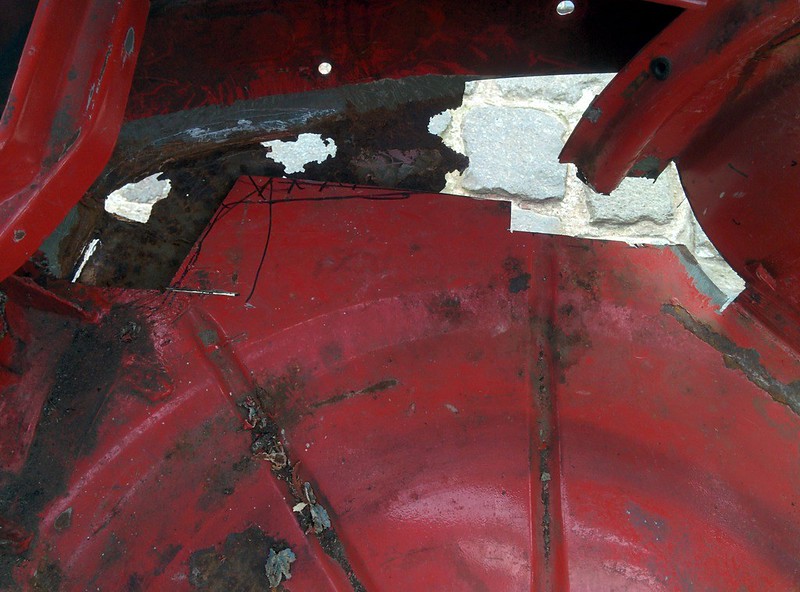
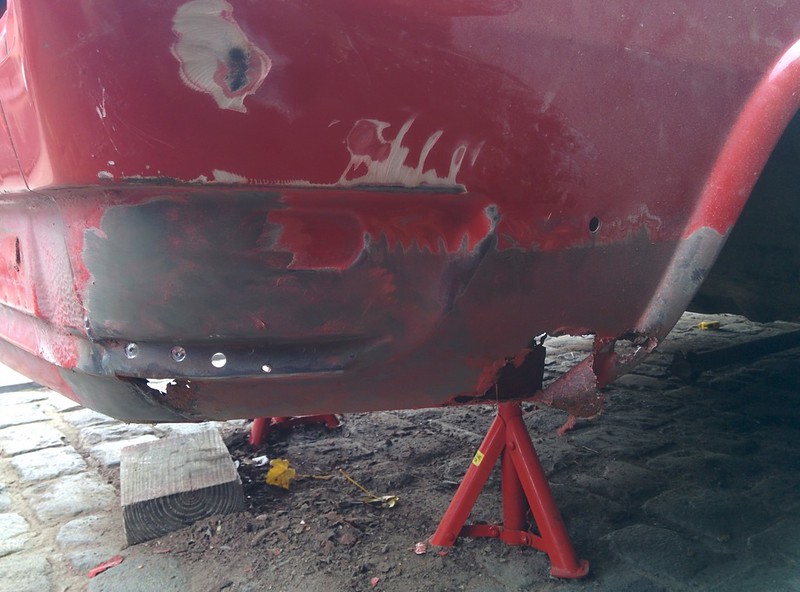
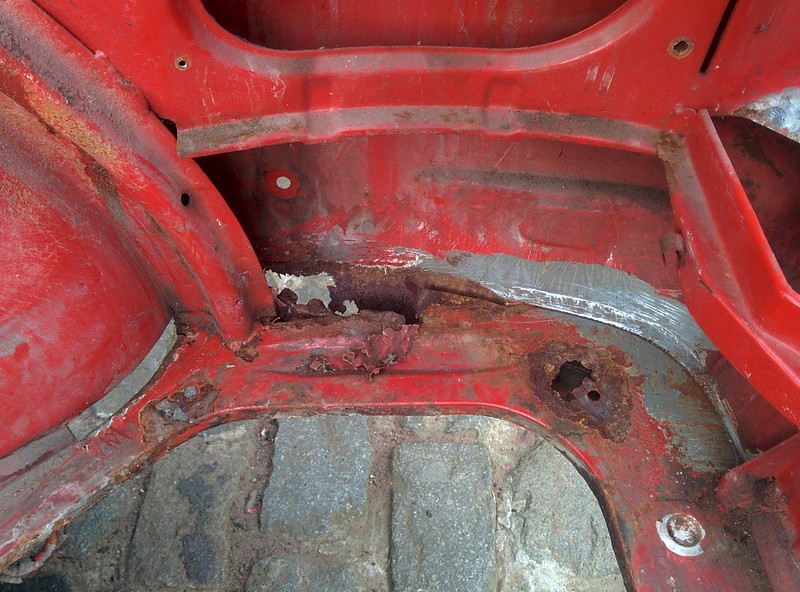
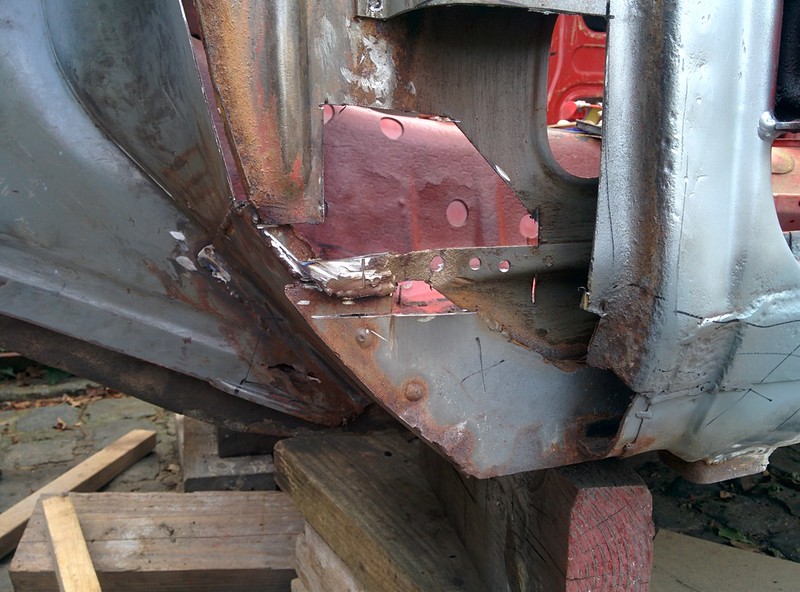
Pretty rusty under there.. We removed the big chunks with an angle grinder and then sandblasted the whole part.After that we applied a few layers of rust stop and zinc spray.
As I don't have a before shot,�this is the other side. Upper metal sheet�rusted through.
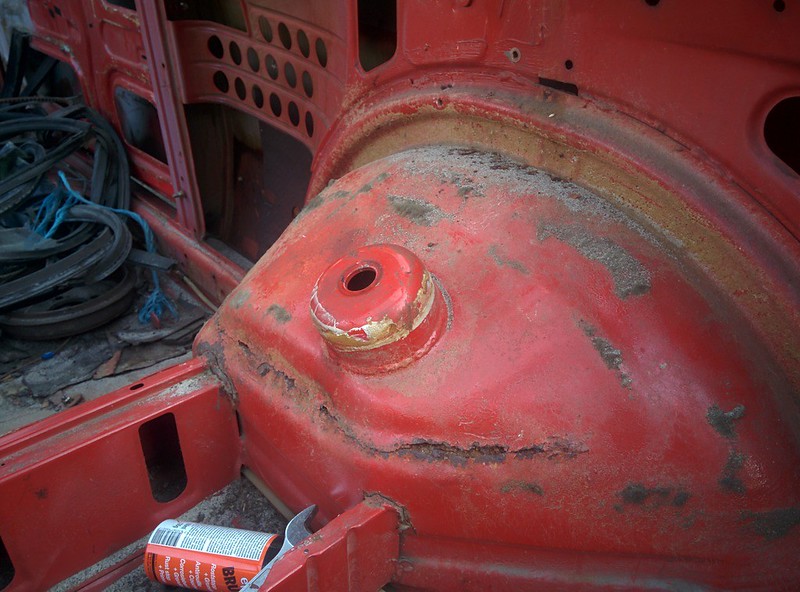
Overall, pretty happy with the result. Still need to tidy it up a little.
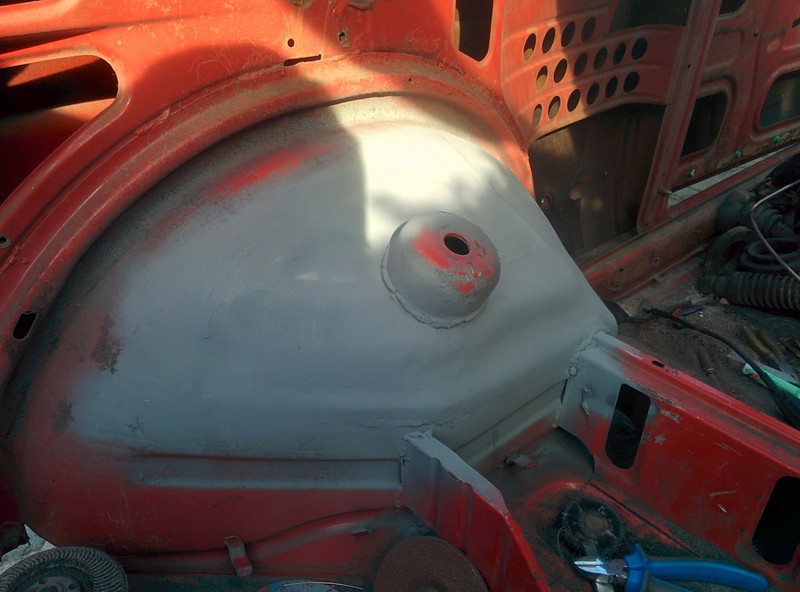
Next job will be the other side!
Last edit: by D_Martijn
Posted
Old Timer
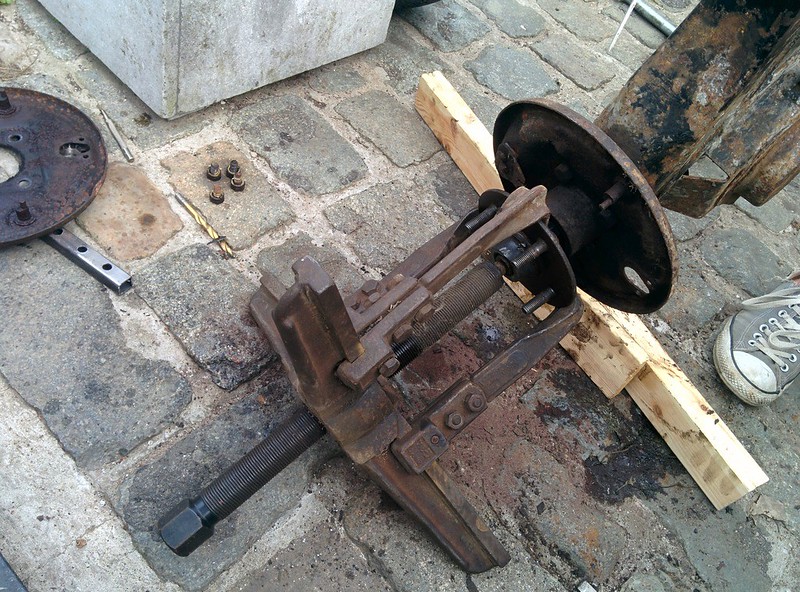
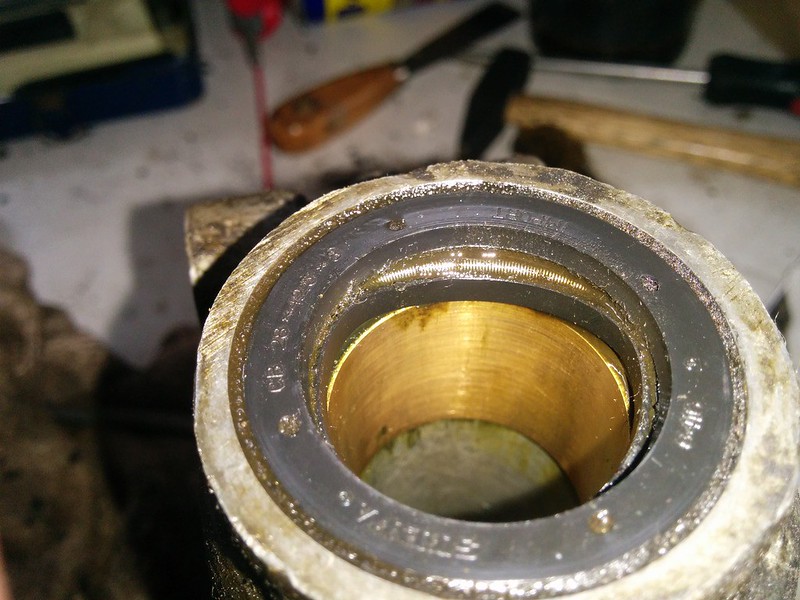
To remove the rear wheel flange we lend a big�pulley puller of a relative.
As of now, we left the bearings inside of the hub as we don't want to damage the smooth surface when sand blasting.
Also got started with cleaning of the old paint from�the engine block and giving it a fresh layer of paint.
Last edit: by D_Martijn
Posted
Old Timer
After emptying the oil, I started degreasing everything.
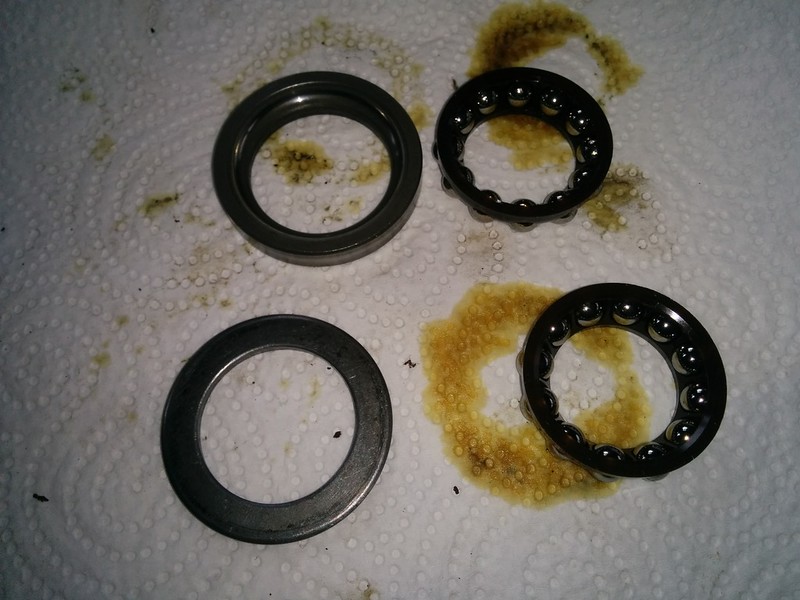
Definitely�in need of some new seals�
Bearings and bearing races are in excellent condition, we'll use these again
No pitting on the gears.
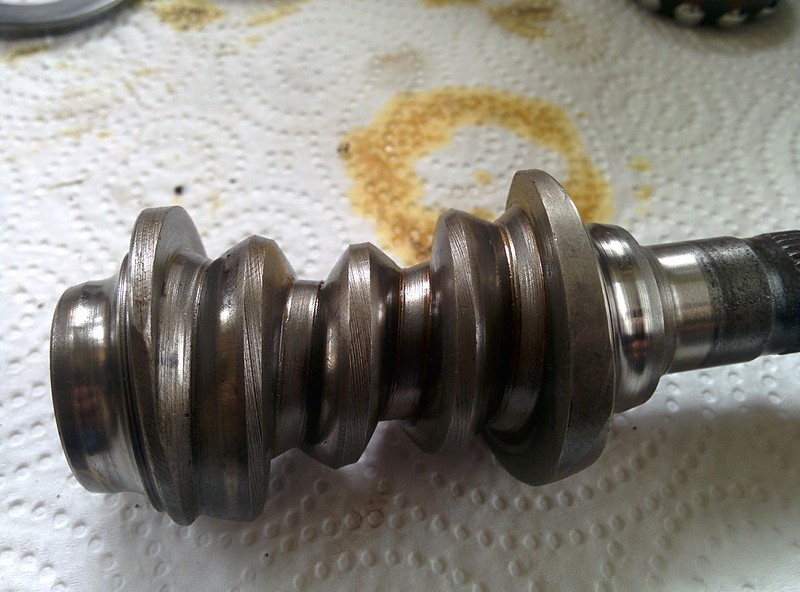
Next, we'll bead blast the aluminum housing and order some new seals from WallothNesch
We also got started with figuring out how we"ll make some sort of rotisserie/dolly so we can put the car onto it's side.
Also make a full list of all the nuts and bolts that need to be ordered so we can get them all zinc plated�
Last edit: by D_Martijn
Posted
Old Timer
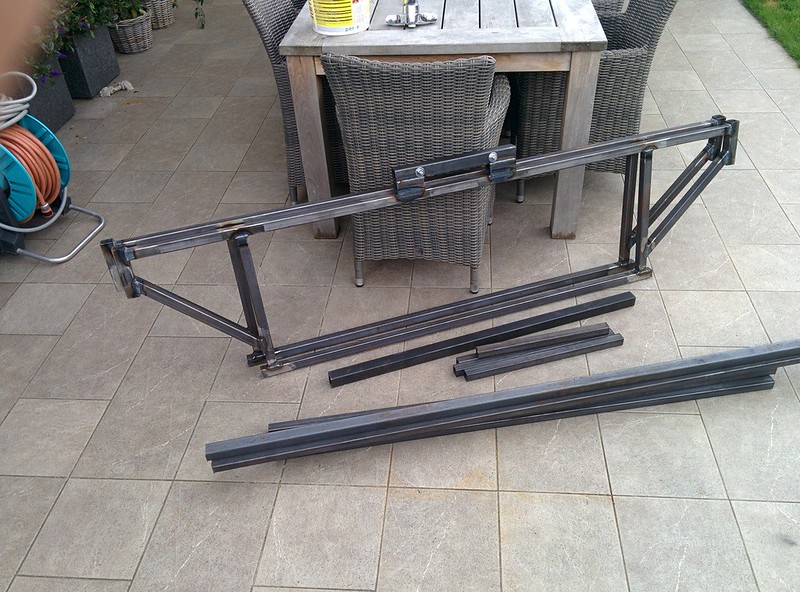
After cutting everything to size, I welded 2 frames. These will sit straight under the car.
The rear will be mounted at the differential mounts, the front will get bolted where the subframe mounts on to.
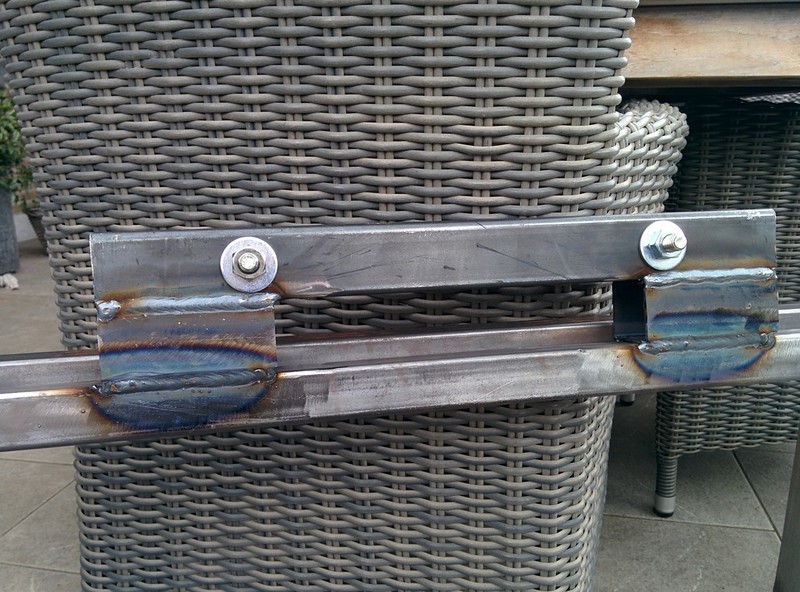
The pieces on the side will allow us to fit smaller tubing trough them so we can pull and put the car on it's side.
This will get mounted between the diff mounts
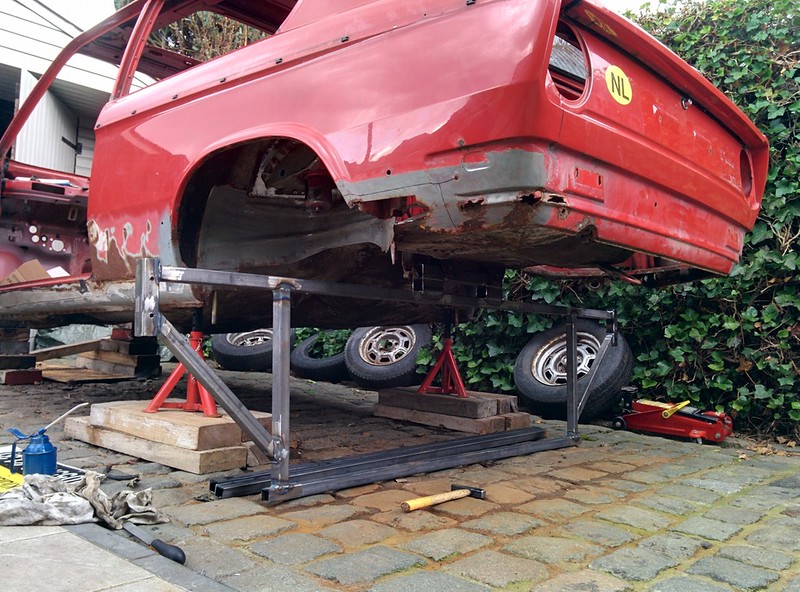
Fitted, still need to get some decent sized wheels so we can move the car around on the cobble stones.
Since it started to rain, we cleaned out our garden shed. This is where we store all of our parts.
On the right are some of the parts that will get sandblasted and powder coated, on the left are a few other parts we got as spares with the car. Still need to go trough those boxes
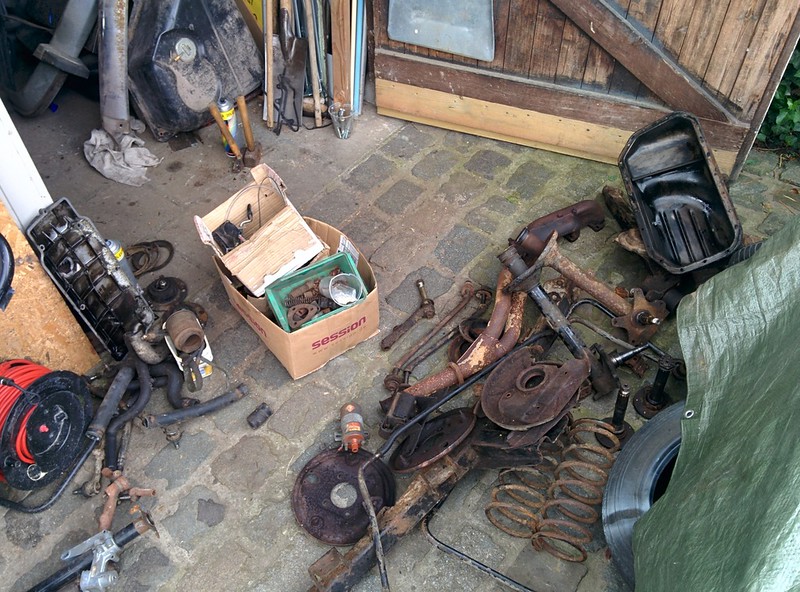
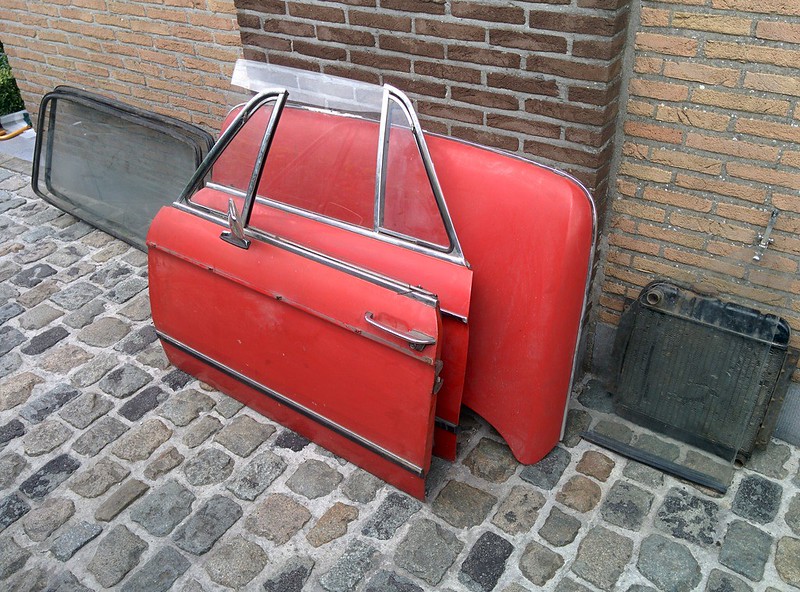
We also got 2 doors, a sedan trunk, windows, carb, heaterbox… of a relative of ours.
Last edit: by D_Martijn
Posted
Old Timer
After that I got started with removing some rust from the A-pillar with a wire wheel on the angle grinder.
Got pretty lucky, the angle grinder made a kick,�somehow got stuck in my T-shirt and it got all jammed up. Thank god I could turn it off immediately.
Luckily only some big holes in my T-shirt, no flesh wounds�

Anyway, after that I removed the pitted sheet metal.
Brushed the surface rust in the rain shuttle off with a small wire brush and applied some POR-15 & alu-zinc spray.
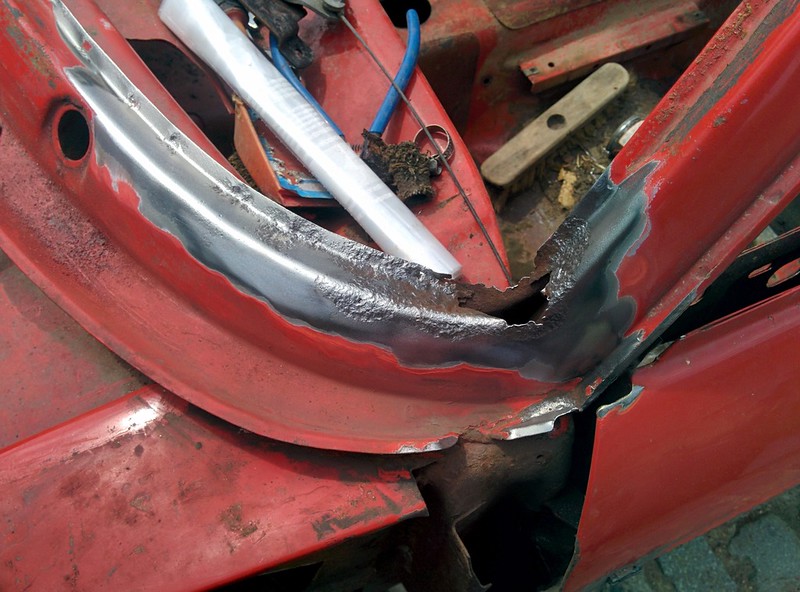
I then made a small patch for the lower sheet metal part.
Clamped it in place with a vice grip and tacked it on and afterwards fully welded it and grinded the spot welds.
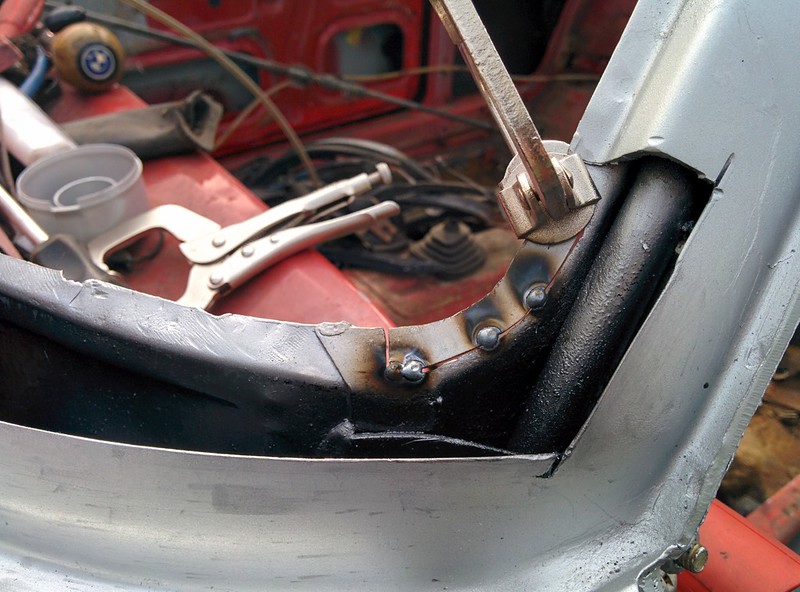

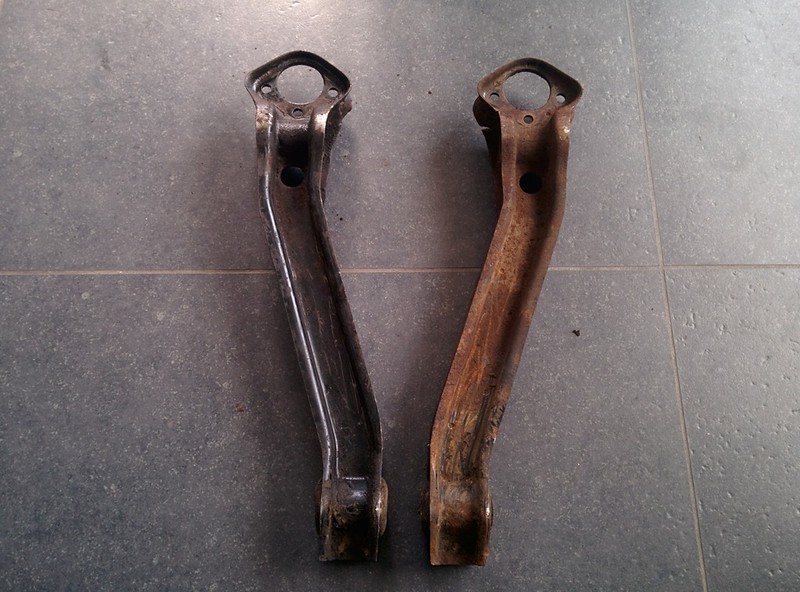
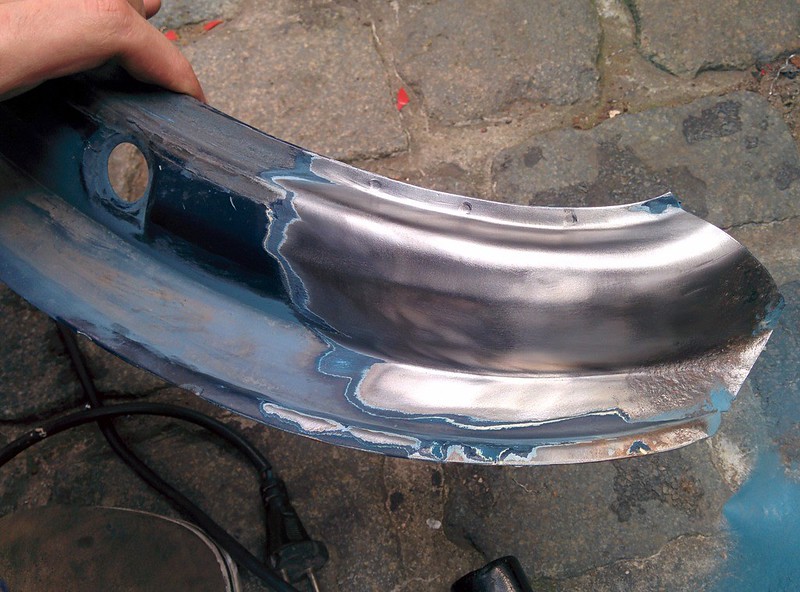
After cleaning the paint of off the donor part we bought.
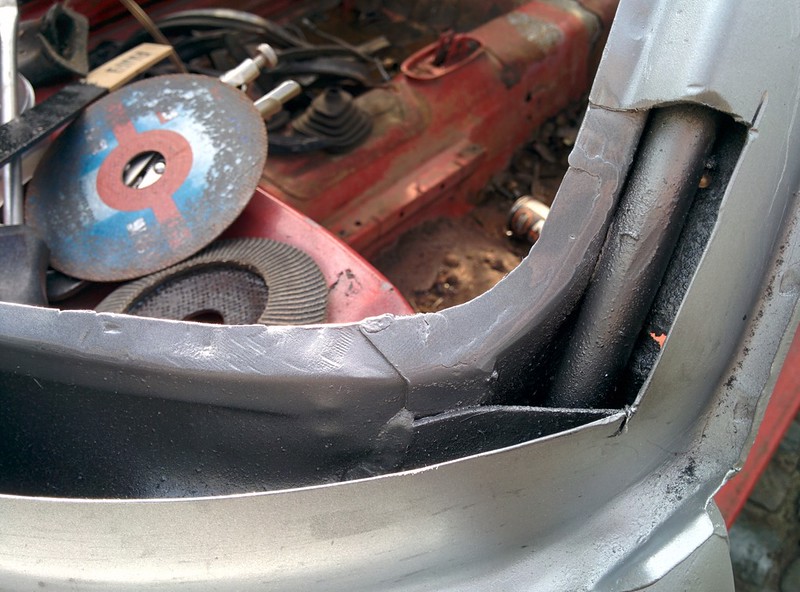
It turns out the radius of the upper corner is too big and it won't fit properly..
I'm pretty sure the guy who sold it said is was also from a Touring.�

Last edit: by D_Martijn
Posted
Old Timer
I first measured where it�was located, so when we're going to weld a new bracket in, we know where it needs to go.
I measured from the hinges, upper:
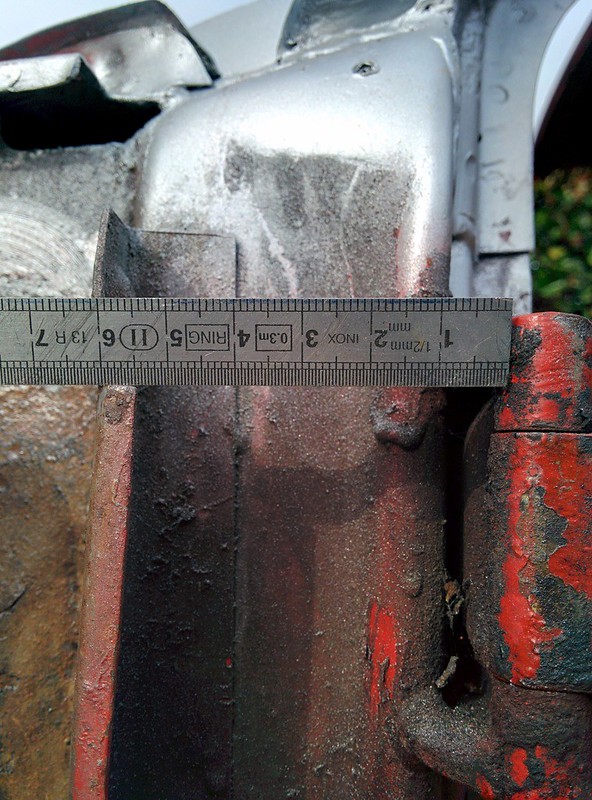
Lower hinge:
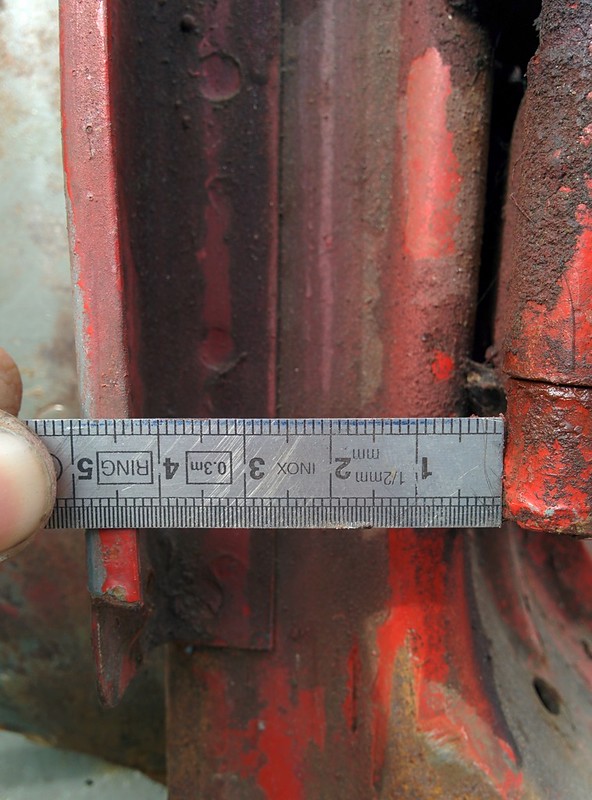
And finally the height of the bracket
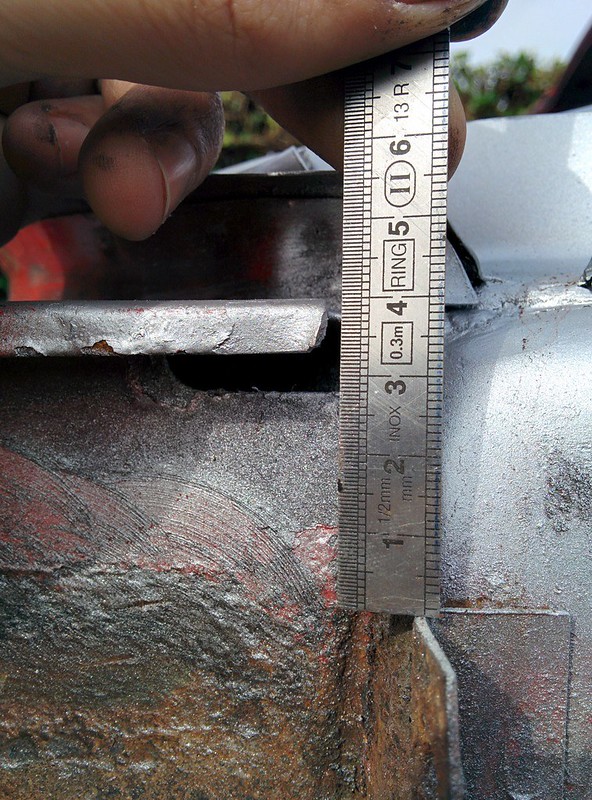
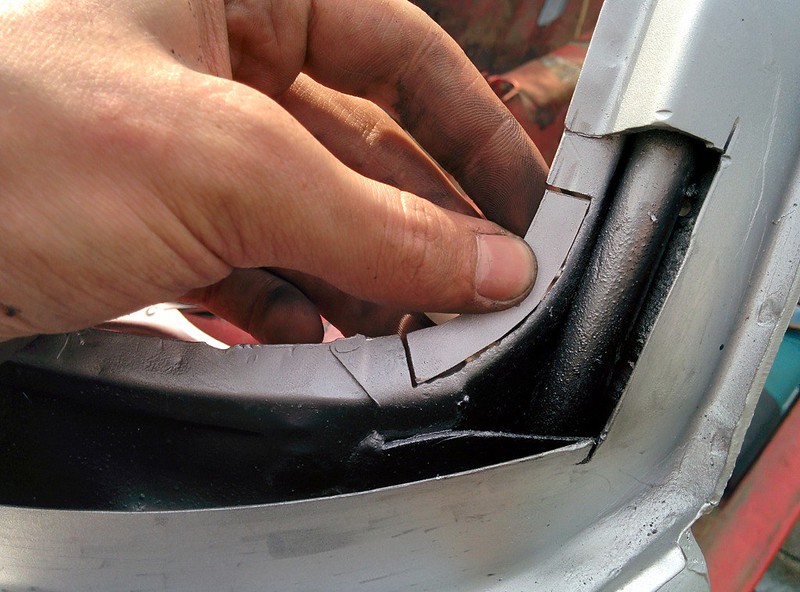
I started with cleaning up the inner brace, as you can see it definitely needs to be replaced. We first were going to replace the right portion but afterwards decided�it would be best to replace the whole brace.
I did also measure how far from the pillar it needs to be just in case.
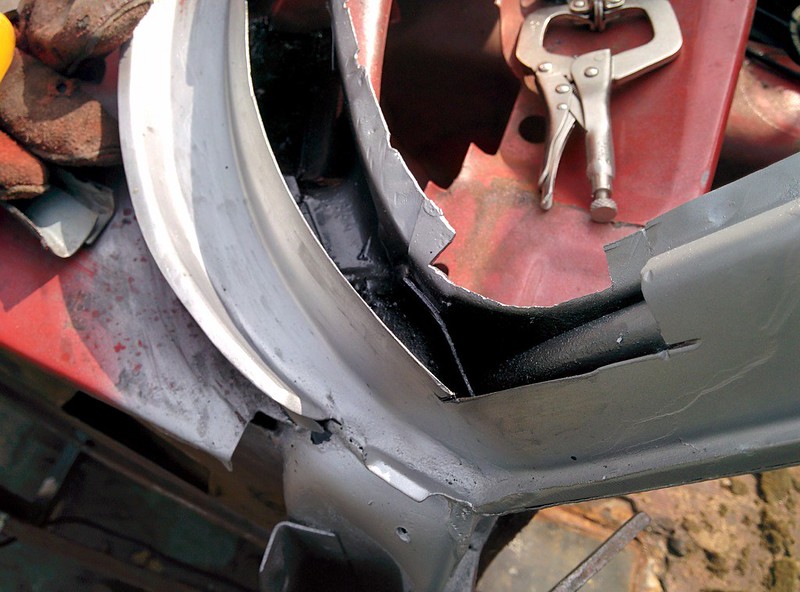
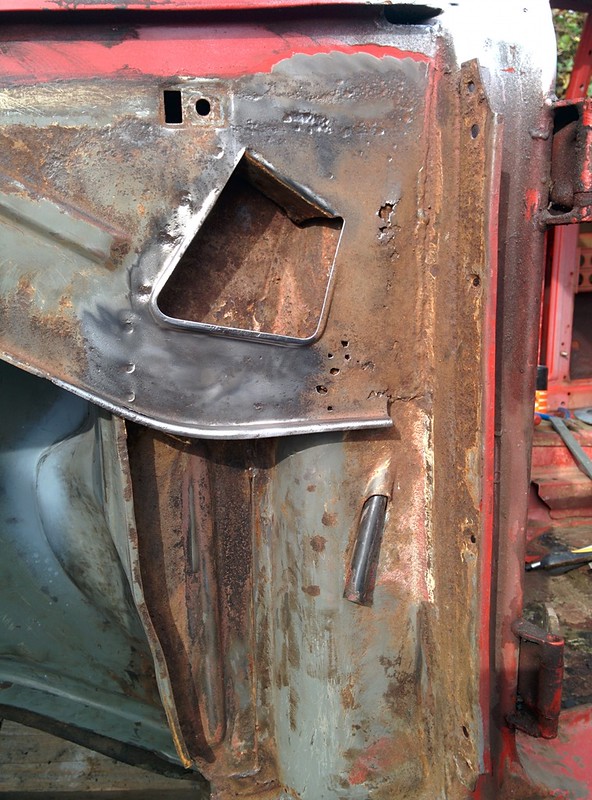
Little section cut out

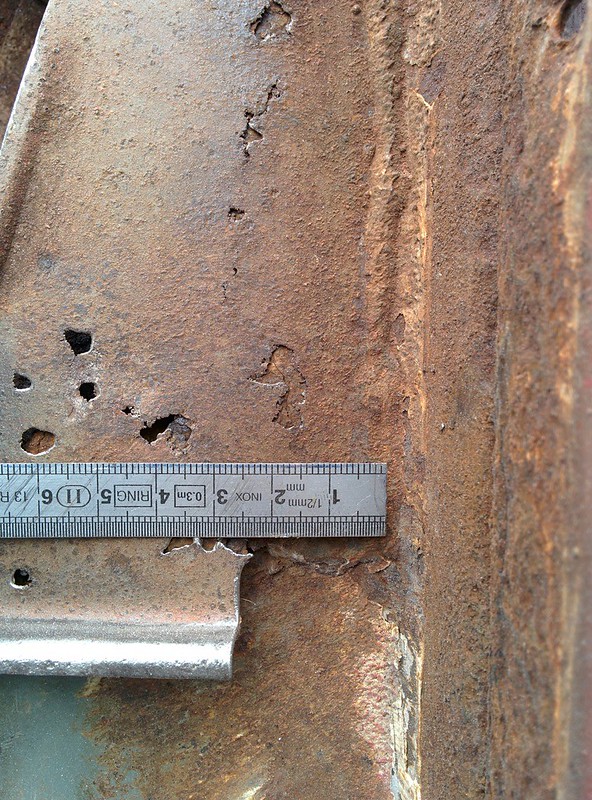
As you can see the previous owner tried to repair this section (inner rocker)

After a bit of cleaning off
First section of rot cut out
This is currently how far I got, we first want to sand blast sections like these before we start welding new panels in. This is why we are currently looking to buy a bigger air compressor so we can use our sandblaster.
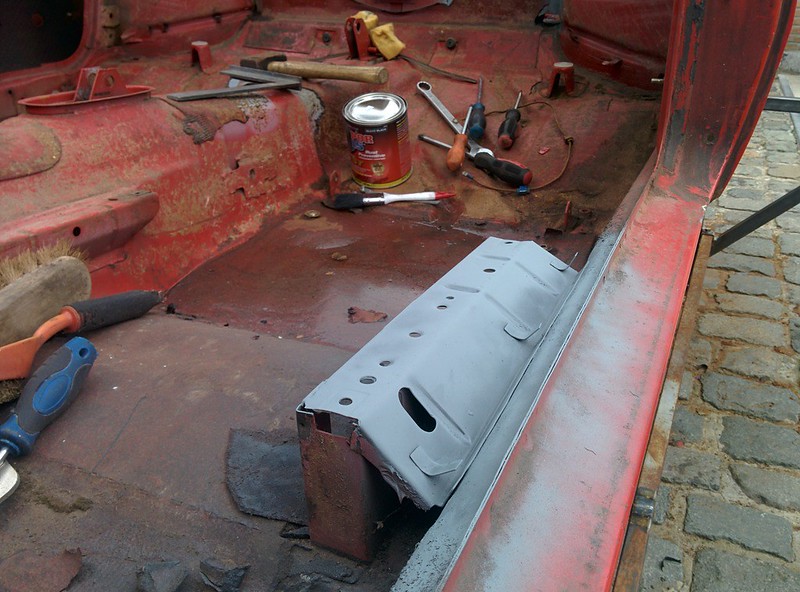
So I then got started with replacing the 3 little clips on the drivers seat support�
As the weather wasn't great last week, I decided to go through some of the cardboard boxes we got with the car.
Found some pretty decent dash pieces. Also the metal piece for an older 02.
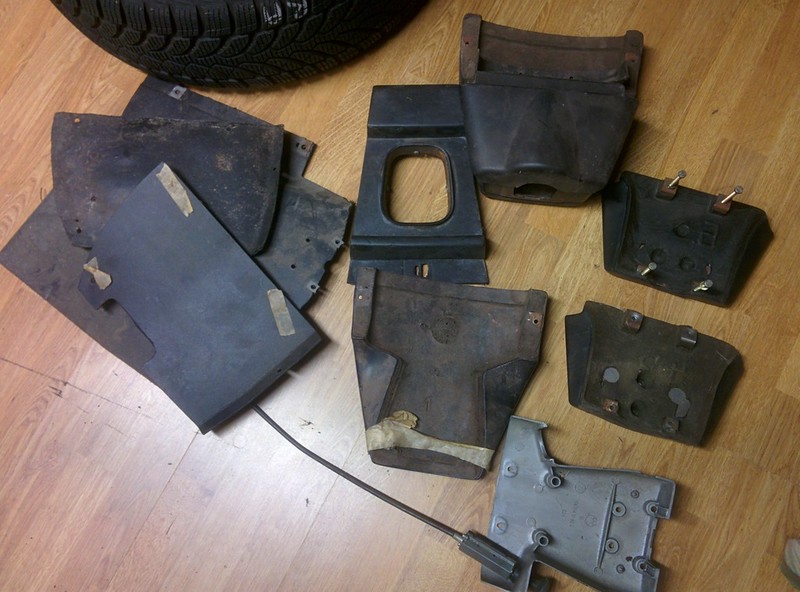
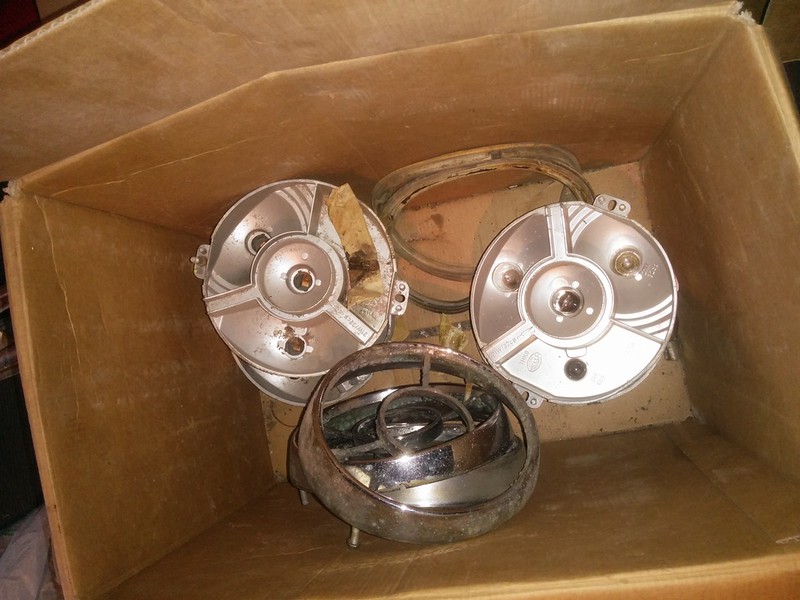
A few rear light chrome rings and the lamp holders
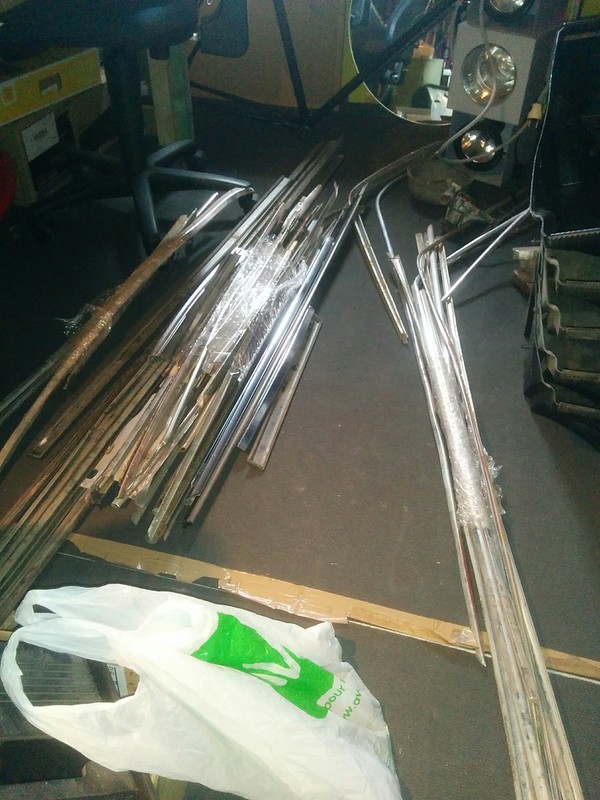
A bit of trim, I'm sure we'll find some nice pieces in this pile�
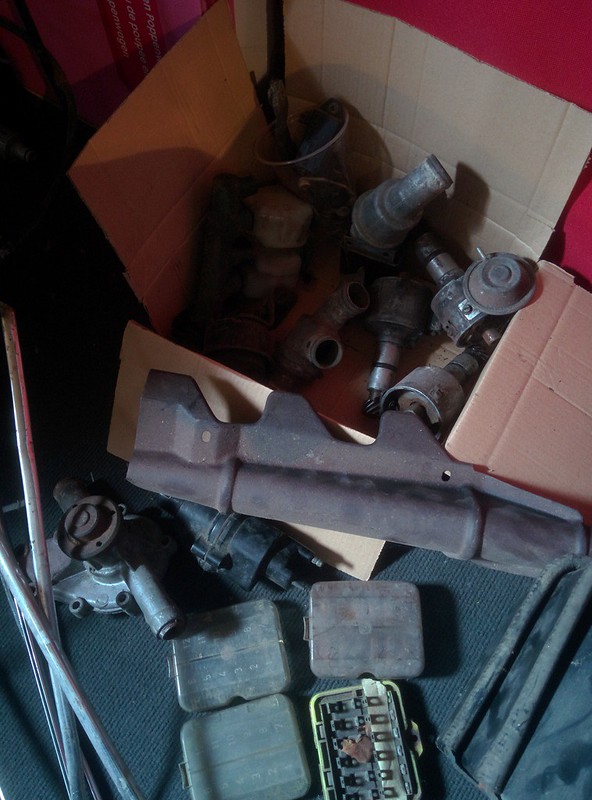
A few fuse boxes, heat shield for the outlet manifold, thermostats, distributor housings..
And a few other parts
Still have a few boxes left, I'm sure we will find some more good stuff
___
Today I got started with removing the tar layer in the interior.
I first went and got 10kg of dry ice like most people suggest doing.
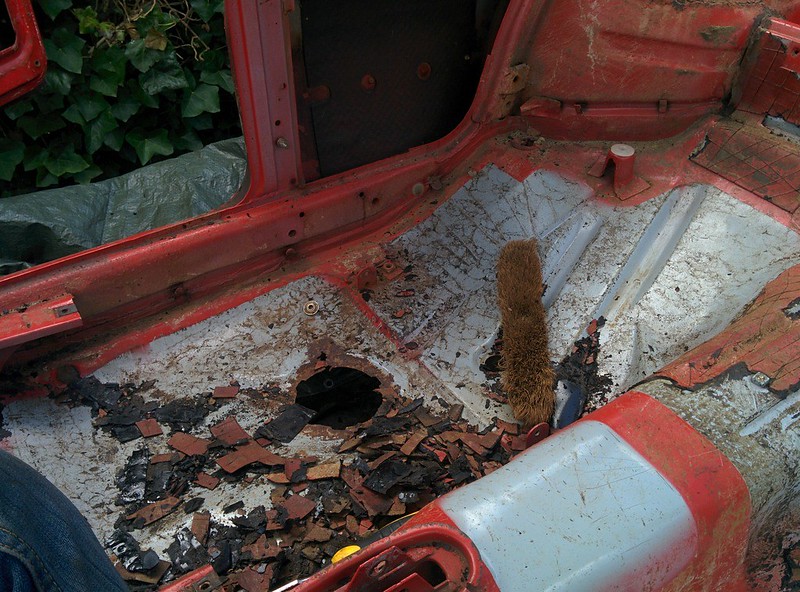
Started with the drivers side, under the drivers seat as this was the thickest layer. I then started with removing the tar at the rear of the car and went to the passenger side.
The tar on the rear brace between the two shock towers was pretty hard to remove. I switched to a chisel and hammer.
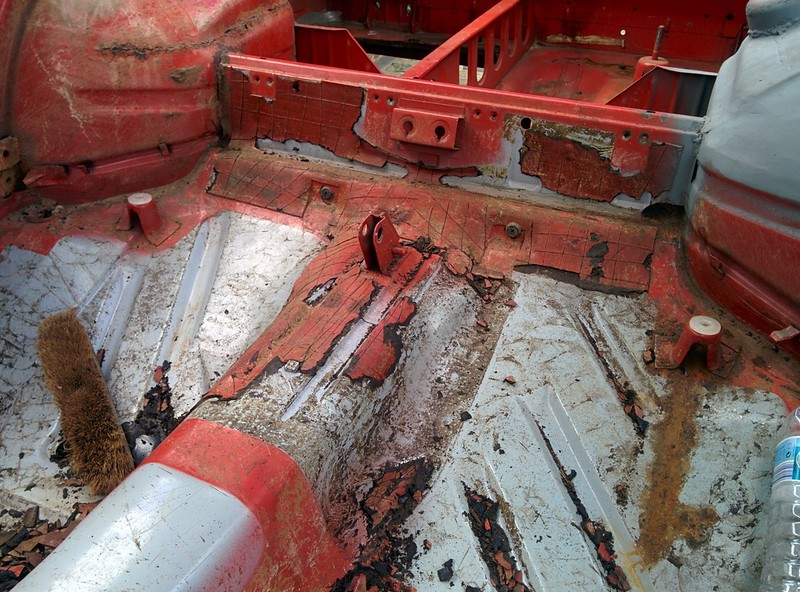
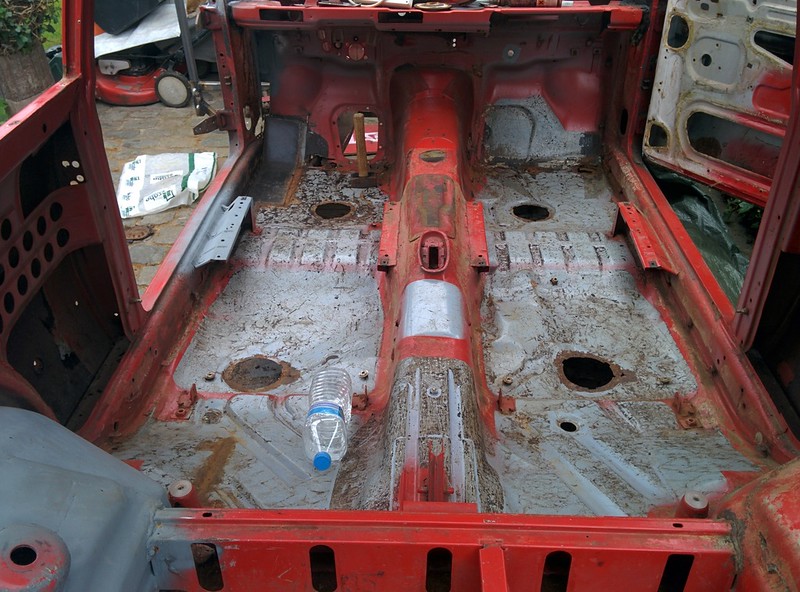
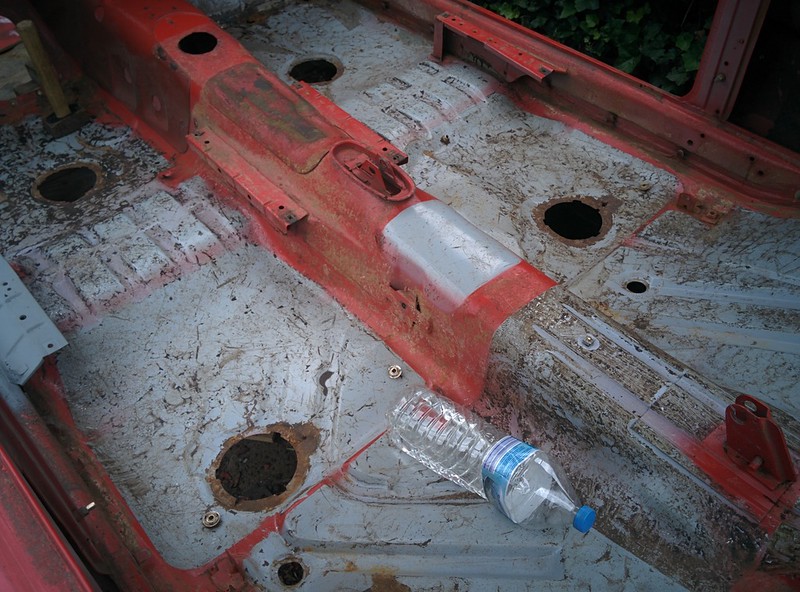
All done, took me almost 7 hours to fully remove all of the tar.
I'll probably clean it up a bit further with an angle grinder and wire wheel.
When I was in the proces of removing the tar, I heard the front doorbell.
Turns out is was the GLS delivery man�with some fresh sheet metal from WallothNesch
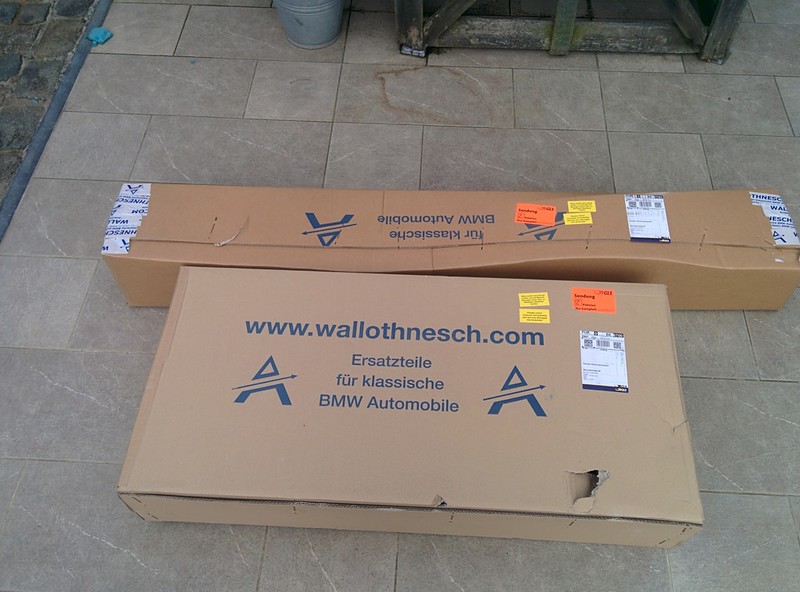
Both rockers, front wing braces, rear Touring fenders and rear passenger side floor pan since the previous owner decided it was a good idea to lift the car there..
That's it for now, tomorrow I'll clean the wheel wells with a heat gun and scraper. We're also going to get a cut up Touring shell where we'll cut a few parts out of.
Last edit: by D_Martijn
Posted
Old Timer
We'll be able to use the lower corners of the A pillar (since the other panel I got doesn't seem to be correct, seller probably sold me one for a sedan..)
Also the Hofmeister kink is in great condition so I'll cut that out, aswel as the left lower corner of the firewall where it meets the floor.
Other things I should cut out and keep? Since the rest of the shell will end up in the scrapyard.
Last edit: by D_Martijn
Posted
Old Timer
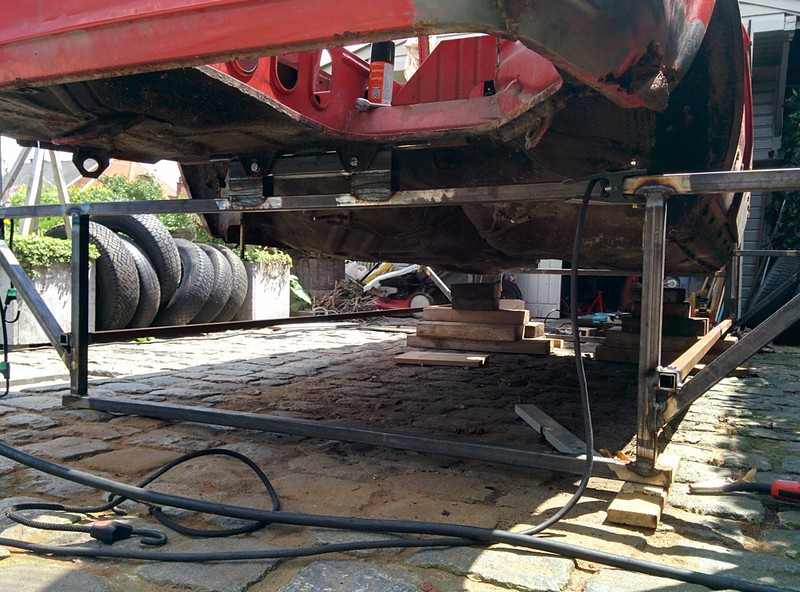
With the help of my brother, we pulled the car sideways so it rests on the triangular pieces.
Then we carefully pull it further and make sure it doesn't fall on to the ground. Once the shell is sideways it's pretty sturdy.
We might still pay some old tires so the shell can rest on them just to be 100% save.

There still is something weird about seeing a car on it's side
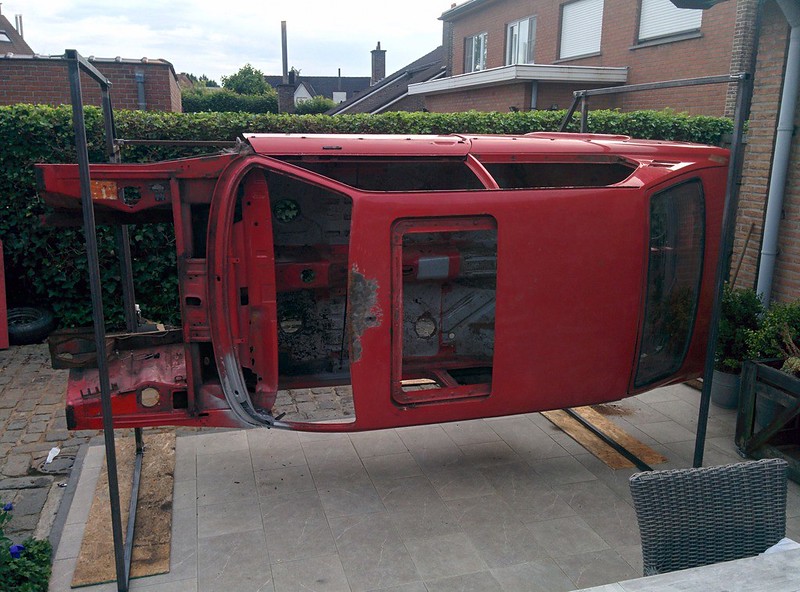
Underside, this will make removing the old brake lines so much easier!
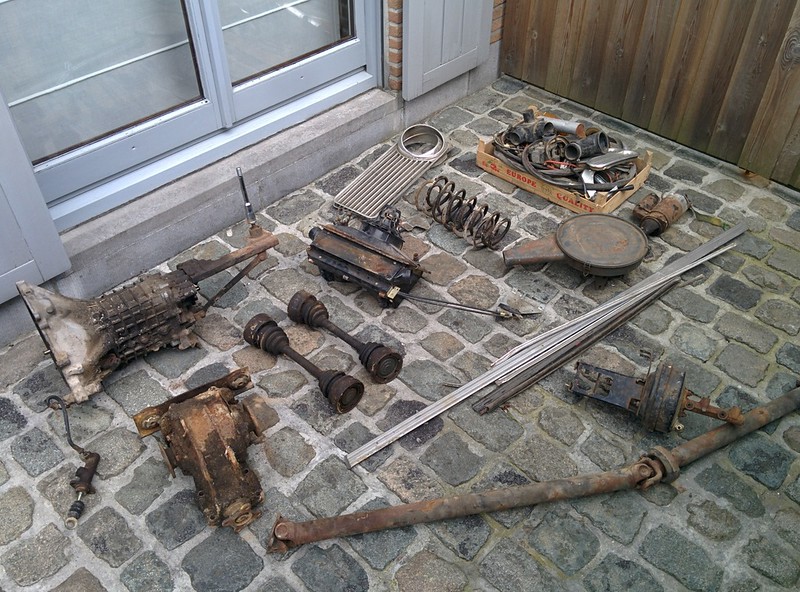
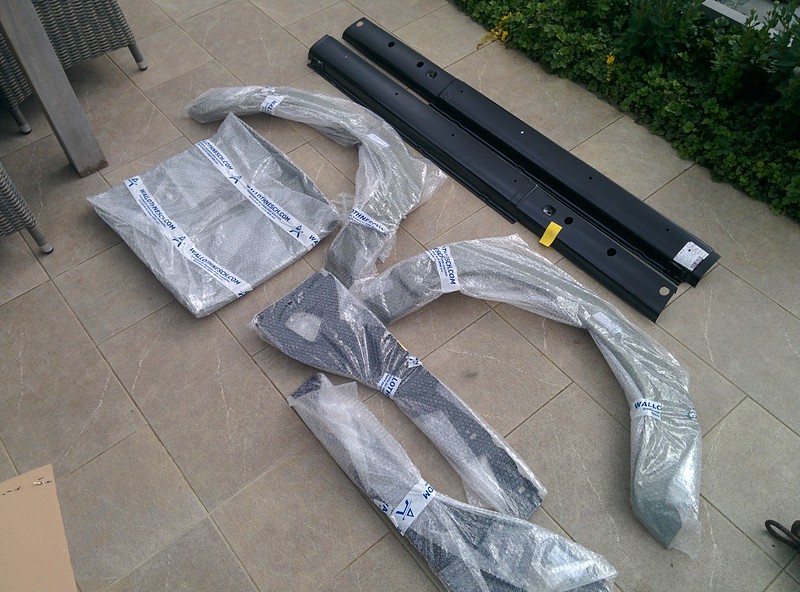
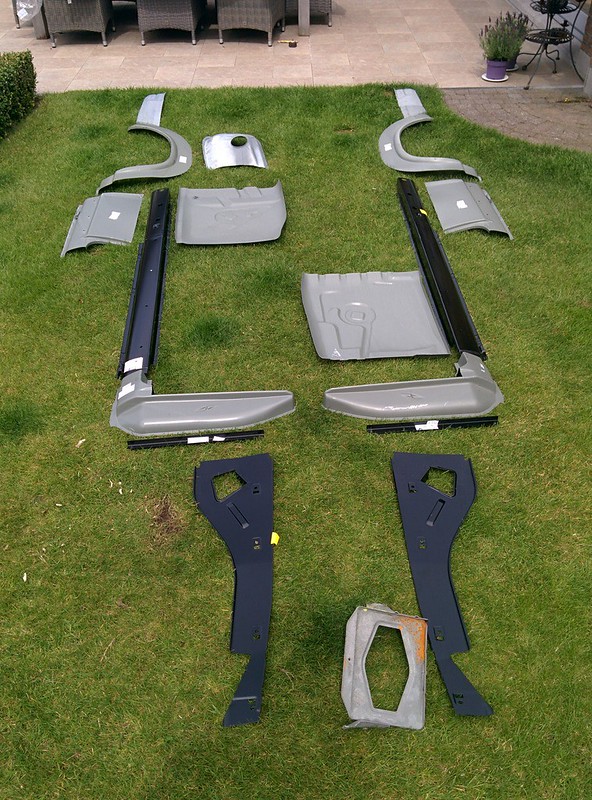
I also made a picture showing our replacement panels, lot's of welding to do!
(Picture didn't even included the front nose panel, front fenders and some small bit's like the a pillar corners)
Last edit: by D_Martijn
Old Timer
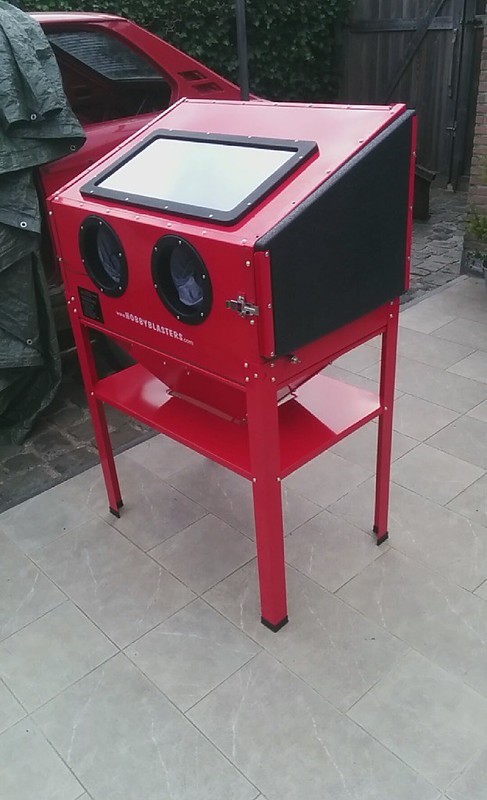
Glad we got ourselves a nice sandblasting cabinet, not that expensive and just great for cleaning parts!
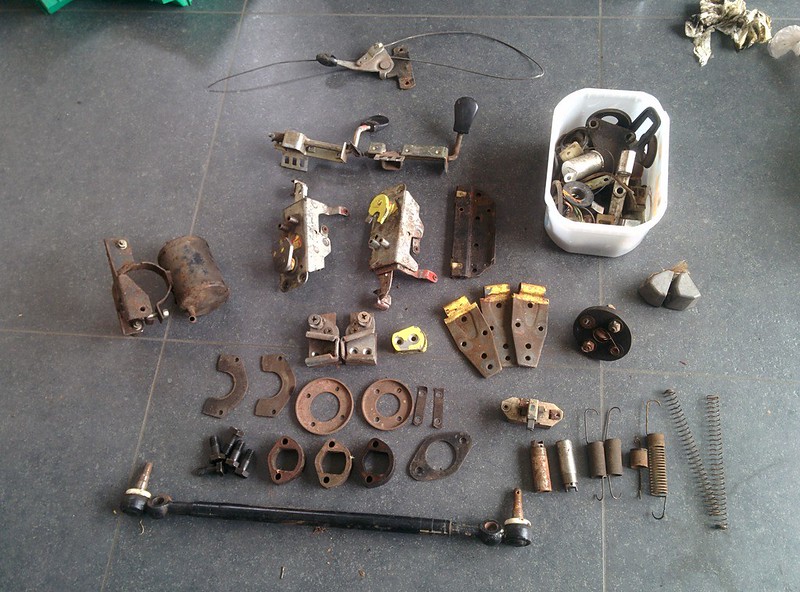
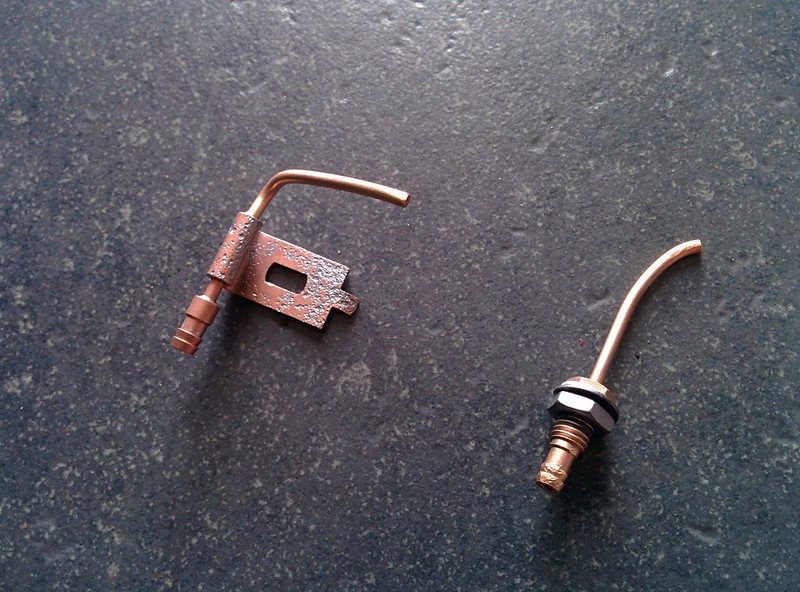
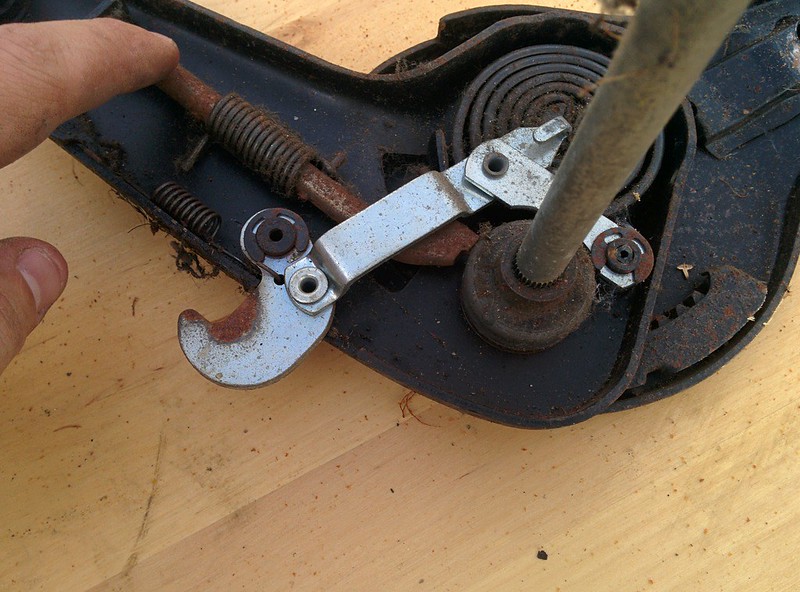
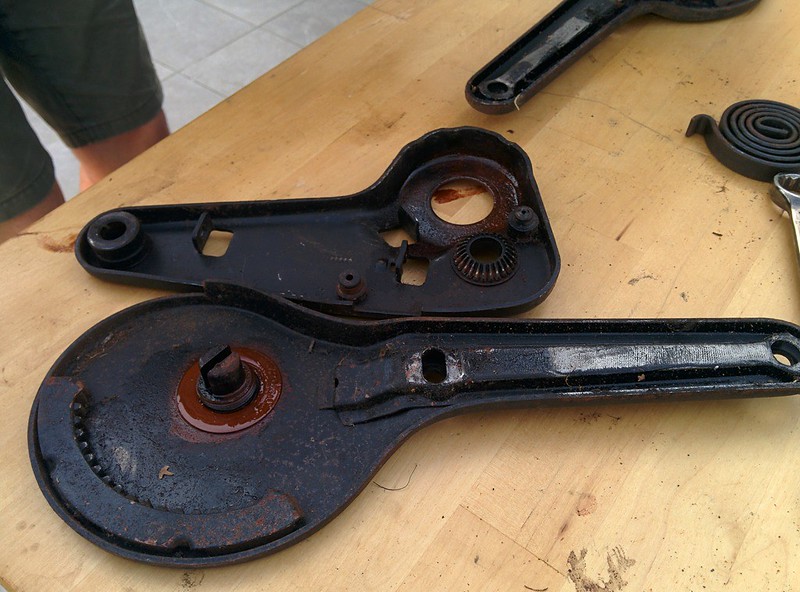
Disassembled hoodlatch & wiper assembly
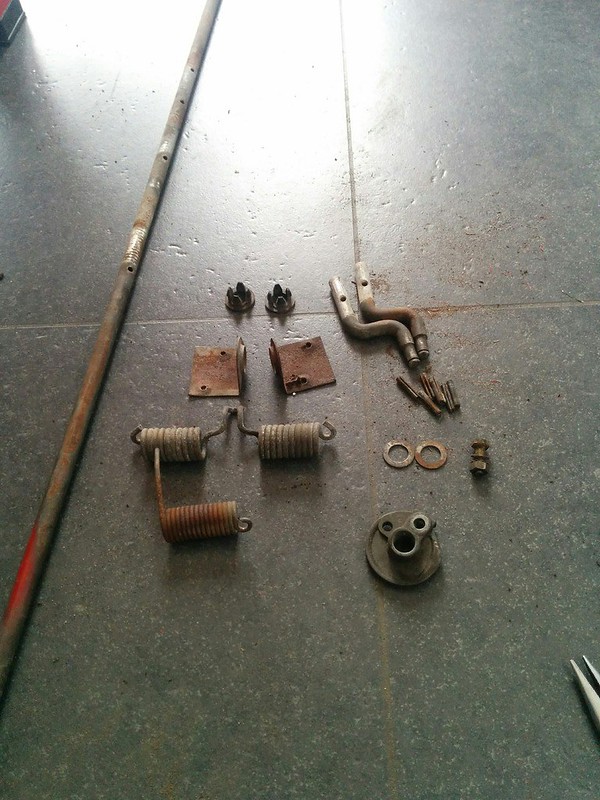
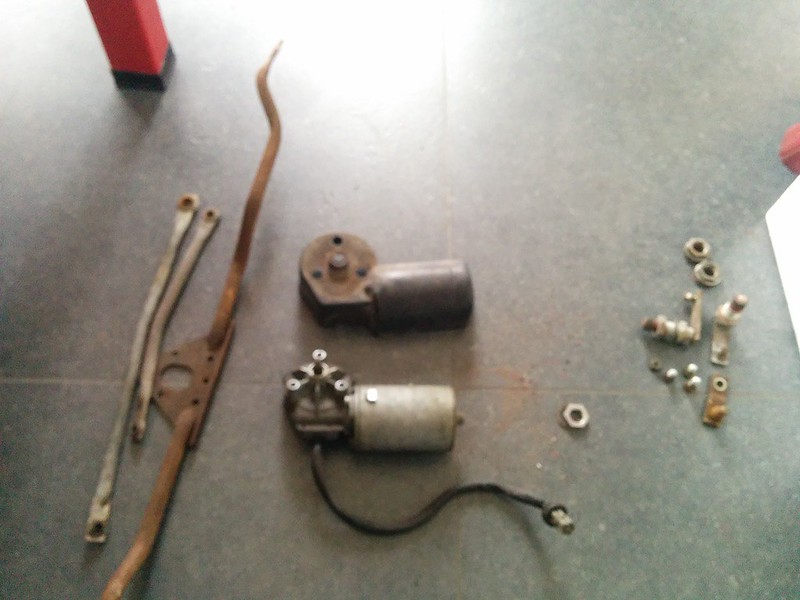
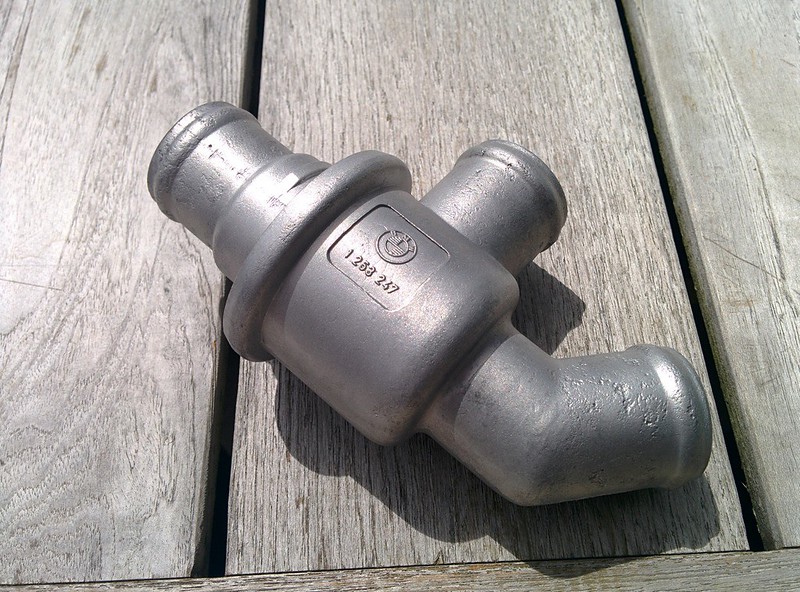
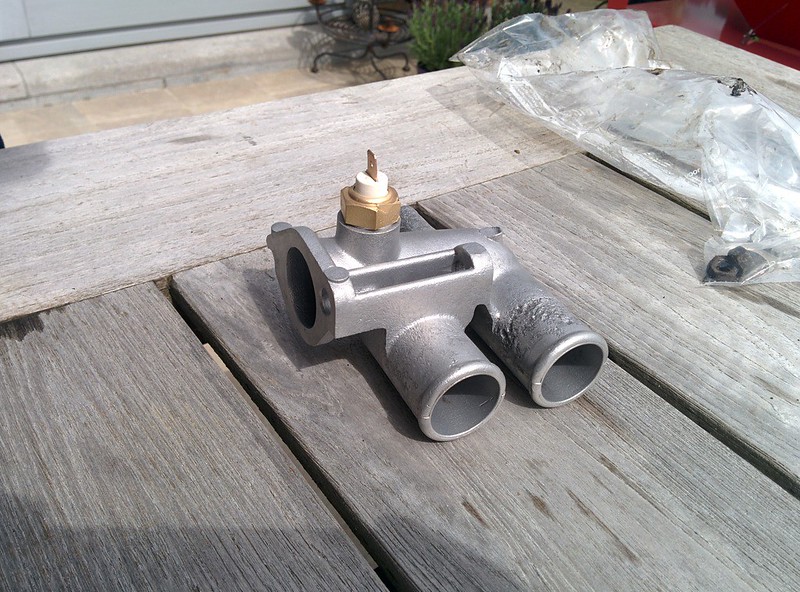
First of, the thermostat.
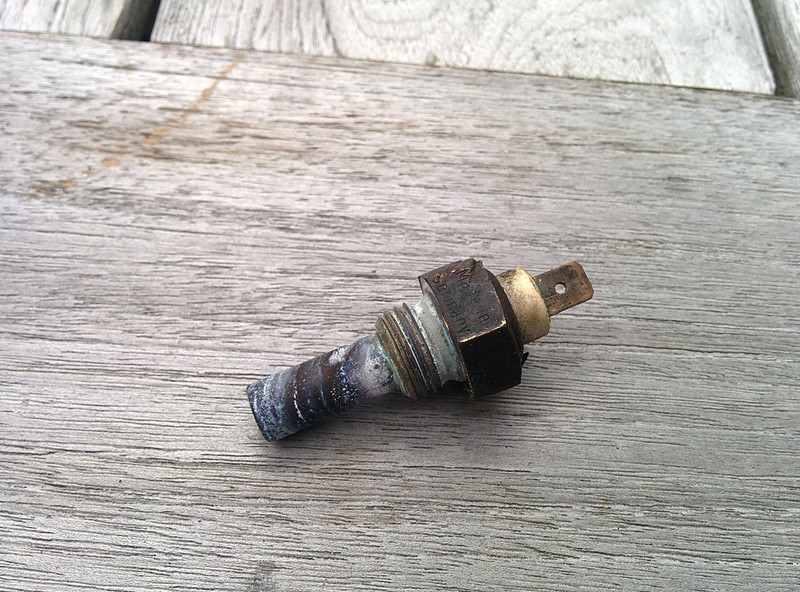
After the thermostat I blasted the temperature gauge and it's housing.
before:
after:
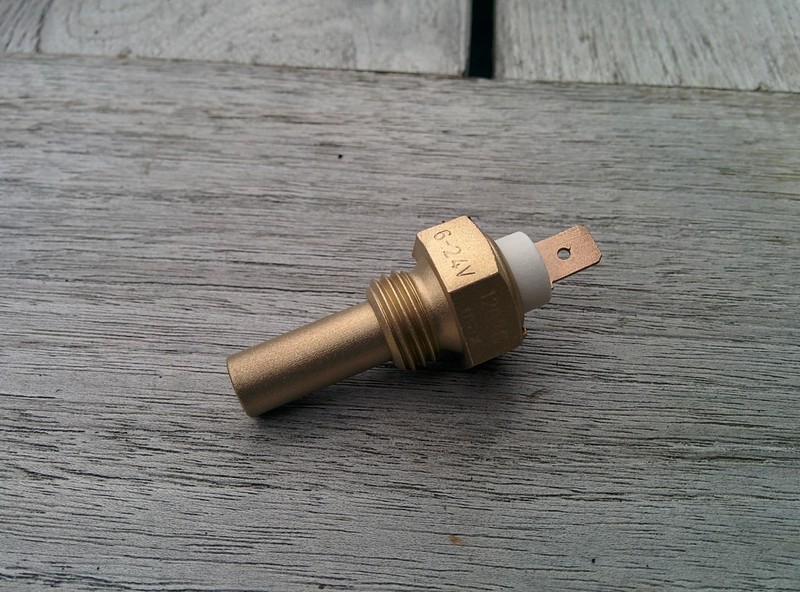
Assembled:
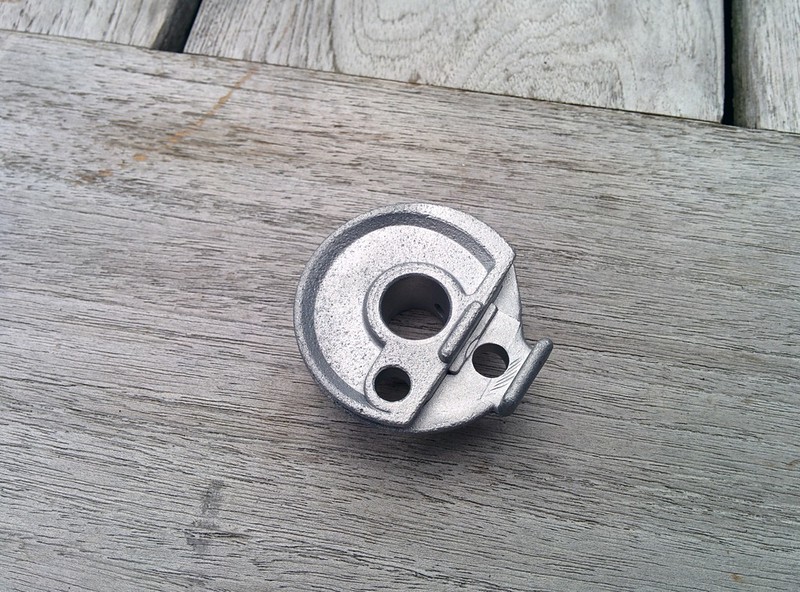
Hood latch pulley
before:

after:
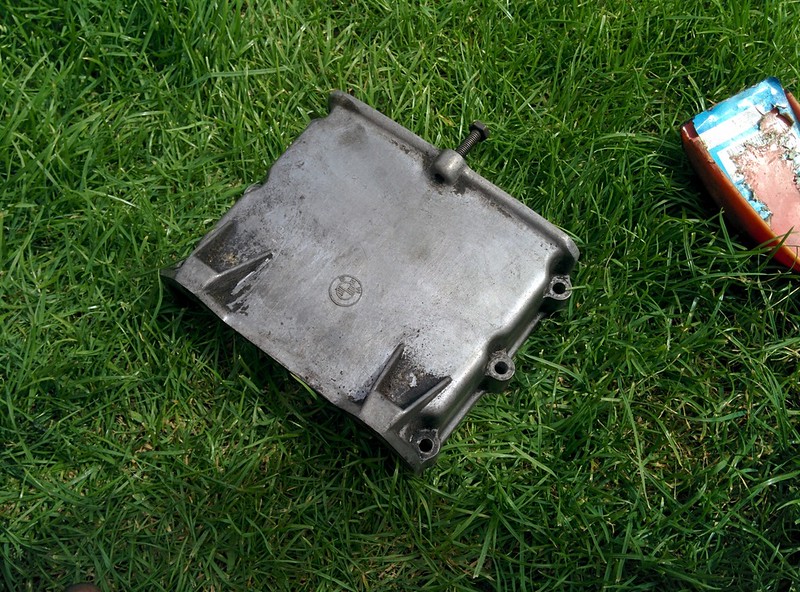
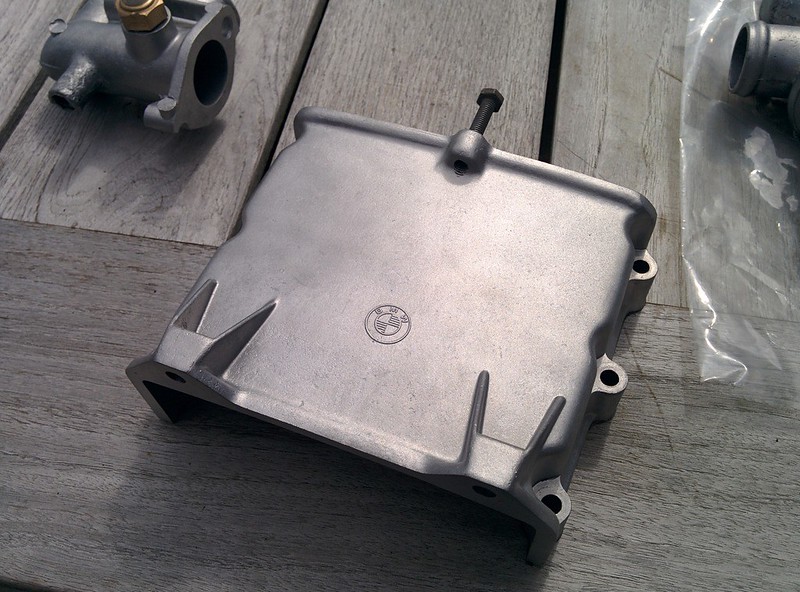
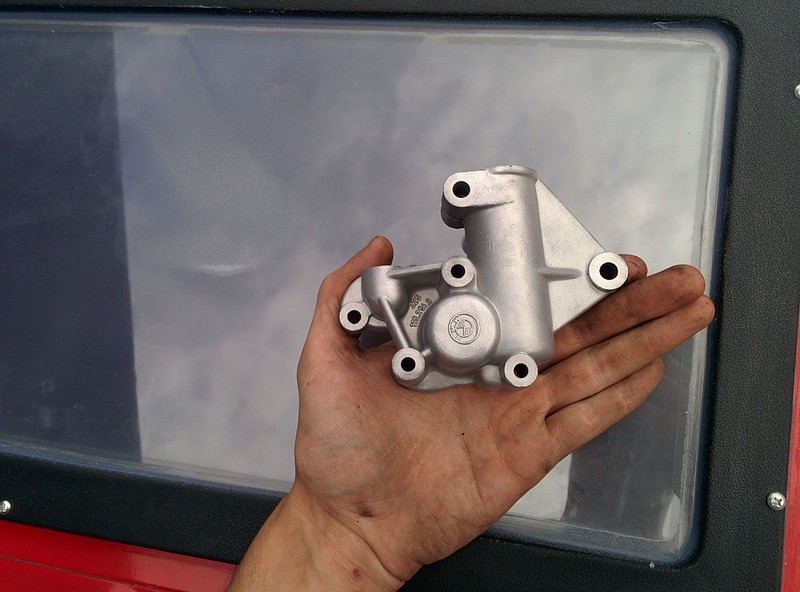
Engine timing chain cover
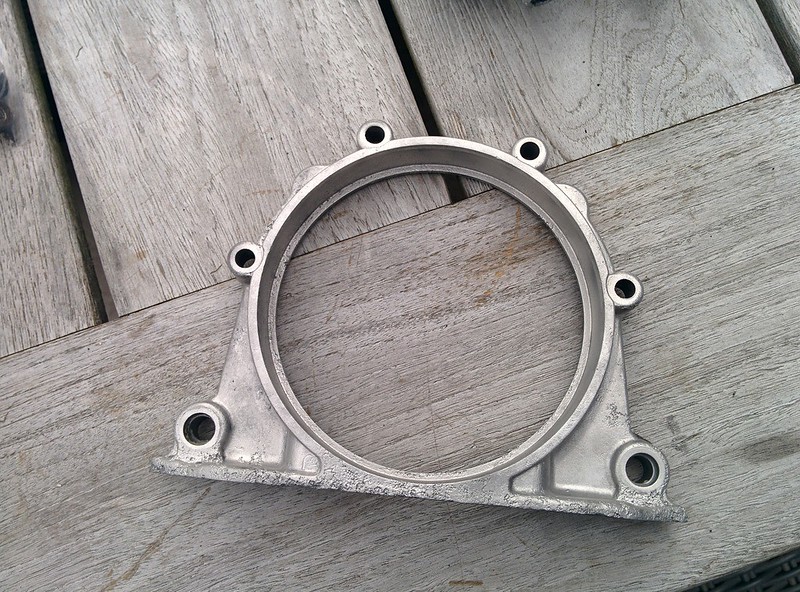
Crankshaft seal housing
Distributor housing
Last edit: by D_Martijn
Posted
Old Timer
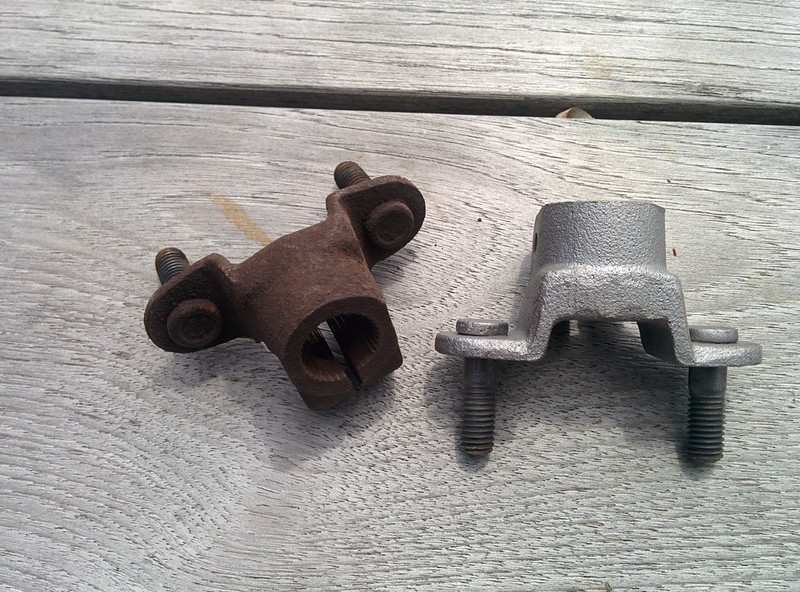
Little difference shot of the steering knuckles.
A few of the zip lock bags containing the blasted parts.
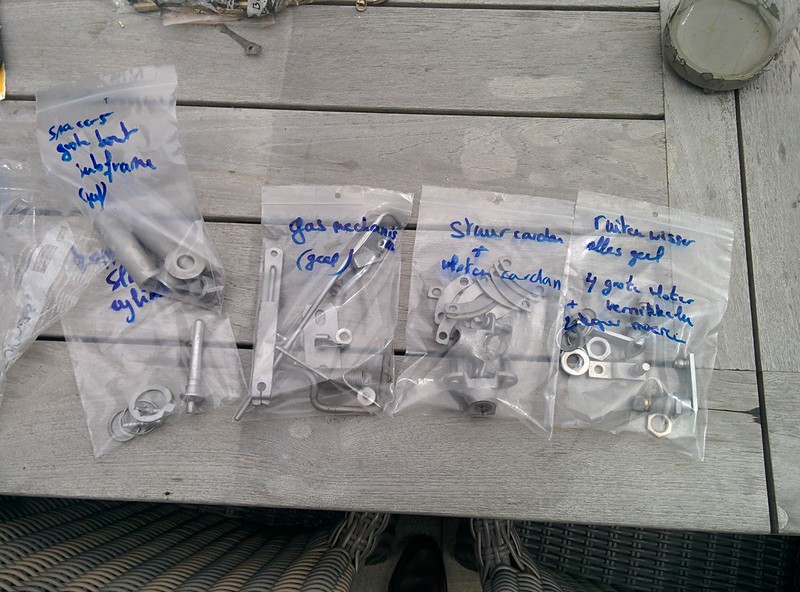
I also made a list of all the nuts, bolts and washers of our Touring by going through all the exploded views of BMW on the RealOEM site.
I then went to our local hardware store and got almost everything we need, still a few more screws to go since they didn't have everything I needed.
These will also get re-plated with the rest of our parts.


Also got started with disassembling the seat mechanisms so these can also get blasted, repainted or re-plated.
Last edit: by D_Martijn
Moderator


What a magnificent project and post.
The work although slightly insane to me is by far the most impressive I've ever seen and is a great credit to you.
You should be very proud of yourself.

Oh and it's by far the longest I've ever read!

Keep the posts coming as this is one I personally will follow with great interest.
Sent by a smartphone and not a smartperson!
Play Guess the Asking Price 'SEASON 4' as of Sunday the 29th of October 2017.
https://vwgolfmk1.org.uk/forum/index.php?page=topicview&id=chat%2Fmk1-golf-chat_2%2Fguess-the-asking-price_2
OLD.
https://vwgolfmk1.org.uk/forum/index.php?page=topicview&id=chat%2Fmk1-golf-chat_2%2Fold-guess-the-asking
Ever wondered who's behind the scenes of this forum?
https://vwgolfmk1.org.uk/index.php?page=committee
Mike
There's me building mine 28 years ago, almost finished!

Be proud of your VW Golf Mk1, it's very special!
Play Guess the Asking Price 'SEASON 4' as of Sunday the 29th of October 2017.
https://vwgolfmk1.org.uk/forum/index.php?page=topicview&id=chat%2Fmk1-golf-chat_2%2Fguess-the-asking-price_2
OLD.
https://vwgolfmk1.org.uk/forum/index.php?page=topicview&id=chat%2Fmk1-golf-chat_2%2Fold-guess-the-asking
Ever wondered who's behind the scenes of this forum?
https://vwgolfmk1.org.uk/index.php?page=committee
Mike
There's me building mine 28 years ago, almost finished!
Be proud of your VW Golf Mk1, it's very special!
Old Timer
Golf Cabrio said
My word for one of the very first times in my life I am actually lost for words.
What a magnificent project and post.
The work although slightly insane to me is by far the most impressive I've ever seen and is a great credit to you.
You should be very proud of yourself.
Oh and it's by far the longest I've ever read!
Keep the posts coming as this is one I personally will follow with great interest.
Hey Mike,
Thank you for your kind post!
There is quite a bit of work still left to do. There might be a bit more welding work than first anticipated if I am being honest with you

I'll keep em coming! We are planning to get the shell sandblasted and epoxy primed before we go futher with welding.
Cheers,
Martijn
Posted

Local Hero
Golf GTI Campaign 1983 Mars Red, Ford S-Max 2015, Audi TT 180 quattro 2003, Fiat 500C 2013, Golf GTE MK7.5

�
�
Posted
Old Timer
RichardHall said
Enjoying reading this as much as your project post on the Golf and bet it will turn out every bit as good.
Hi Richard,
Thanks for the comment! I hope so
Posted

Local Hero


Looking forward to updates
Andy
LINCOLNSHIRE REGION -�https://www.facebook.com/groups/467122313360002/
1983 MK1 Golf GTI Campaign Model - Under (looooong) resto!
1962 Rover P4 80
2002 BMW 745i
2008 BMW Z4 2.5Si
LINCOLNSHIRE REGION -�https://www.facebook.com/groups/467122313360002/
1983 MK1 Golf GTI Campaign Model - Under (looooong) resto!
1962 Rover P4 80
2002 BMW 745i
2008 BMW Z4 2.5Si
Old Timer
Hairyarse said
Wow, great project!!! It's a rare old beast and if you put as much love in to this as you did the MK1, it will be a stunner!!
Looking forward to updates
Thank you, Andy.
Yea you don't see them that often, heck I have never seen one driving around here in my town, even the 02 sedan.
Yes, that's the plan
Posted

Moderator
Amazing attention to detail

0 guests and 0 members have just viewed this: None.