Old project new thread - '83 gti
Posted
#1495354
(In Topic #198700)
Settled In

Back at it after 2 years
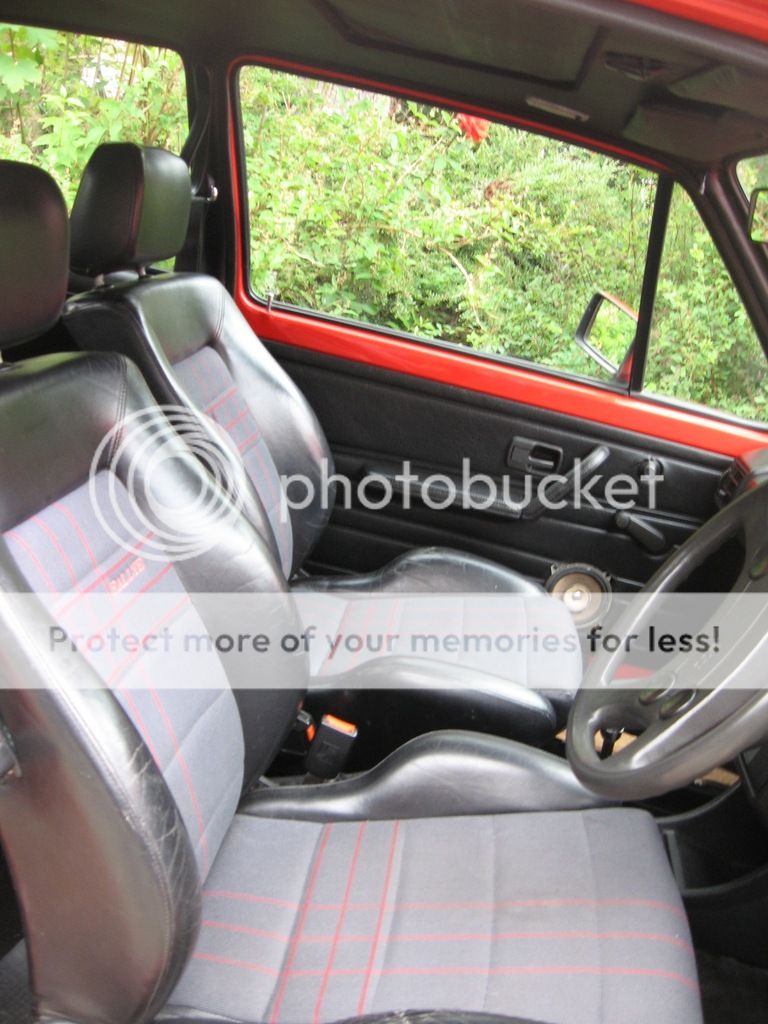
It came with the original seats (which I got rid of), much preferred the half leather Recaro's that were in there.
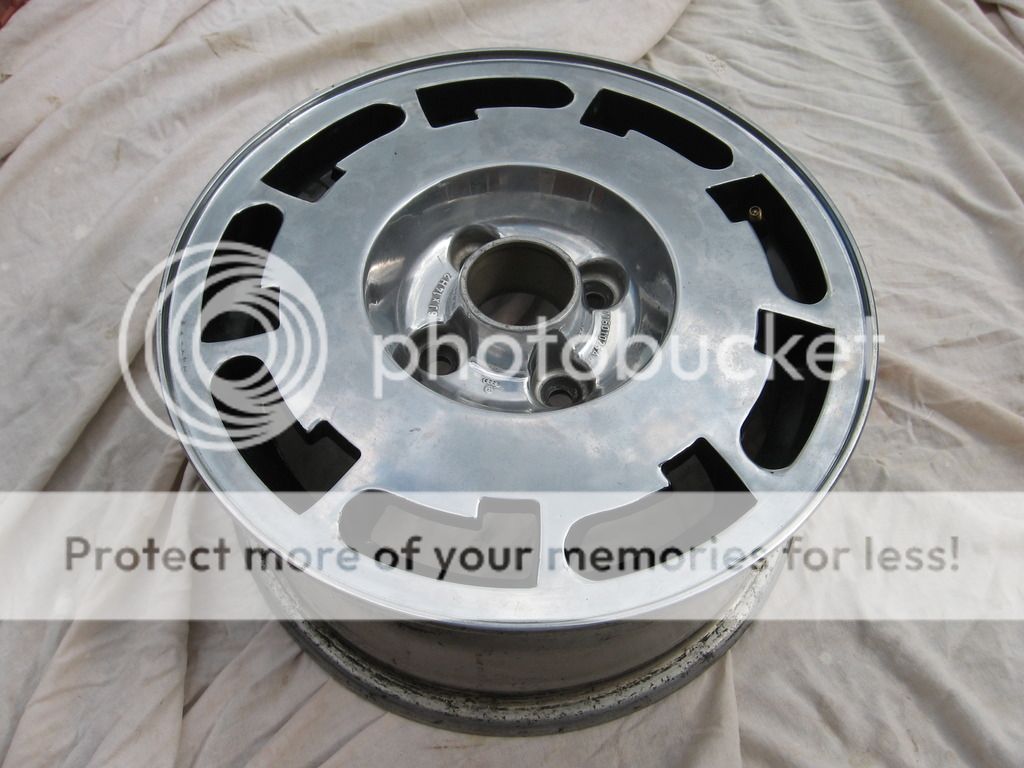
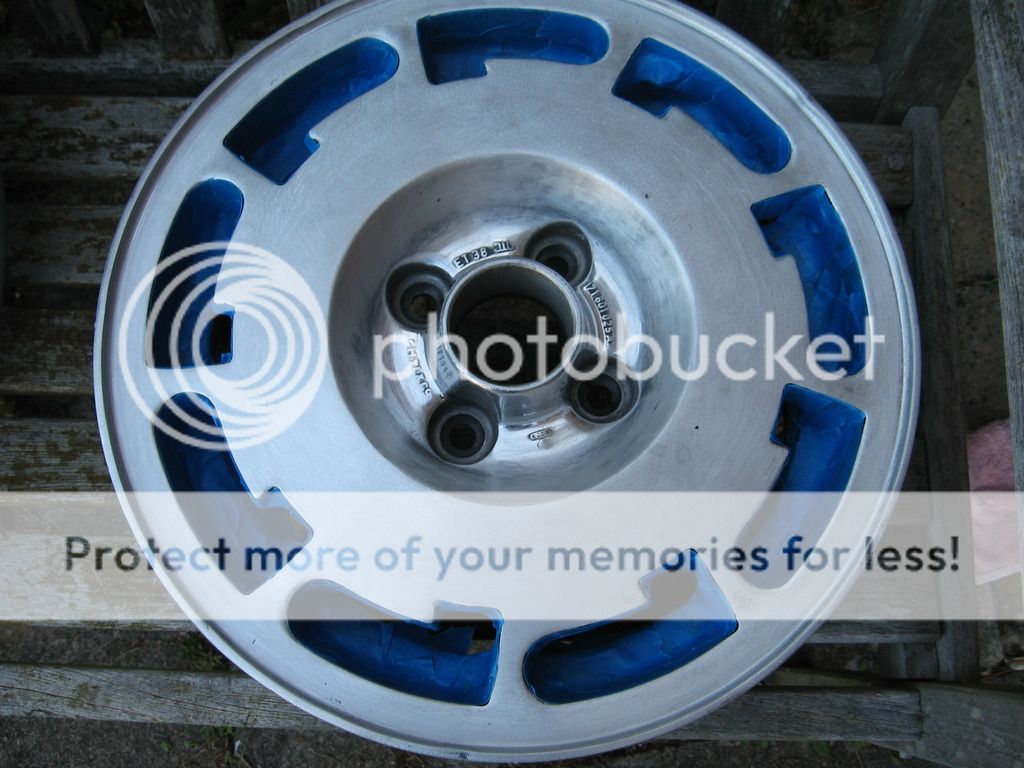
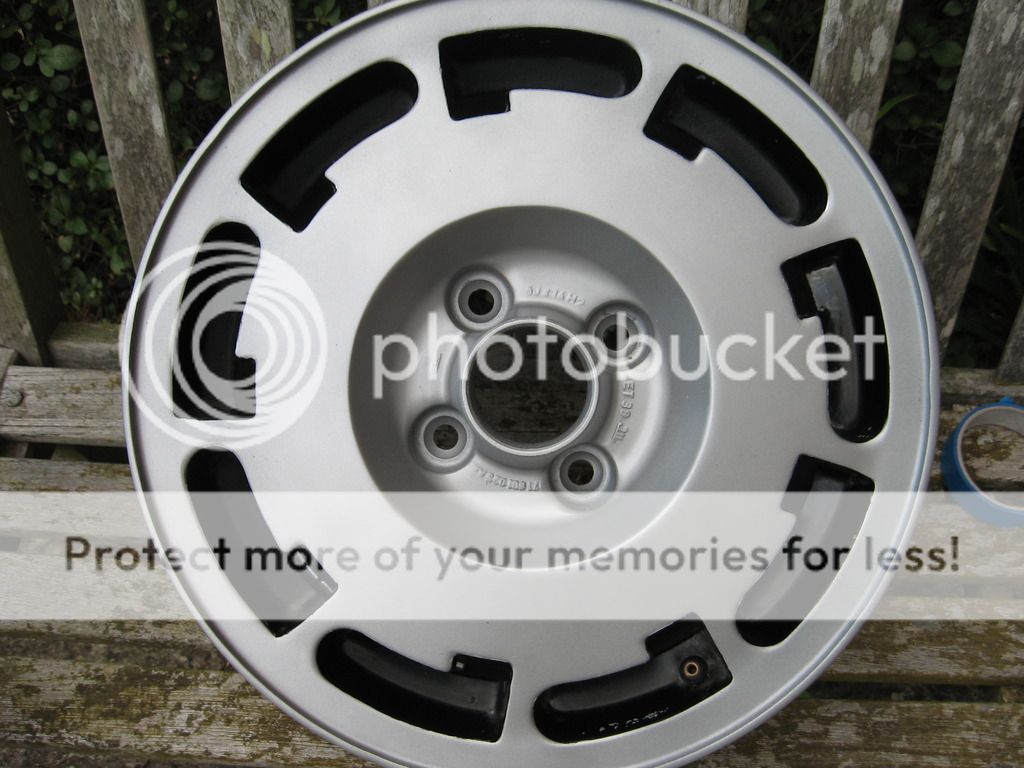
Also came with a set of polished p slots, and centres, that I refurbished and are currently sat in the loft.
Also has a full supersprint exhaust with 4 branch manifold that sounds sweet.
It had a few mk2 interior bits that I swapped out for the original ones, and sourced the VDO gauges etc which are not yet currently fitted (not very confident with wiring them up myself).
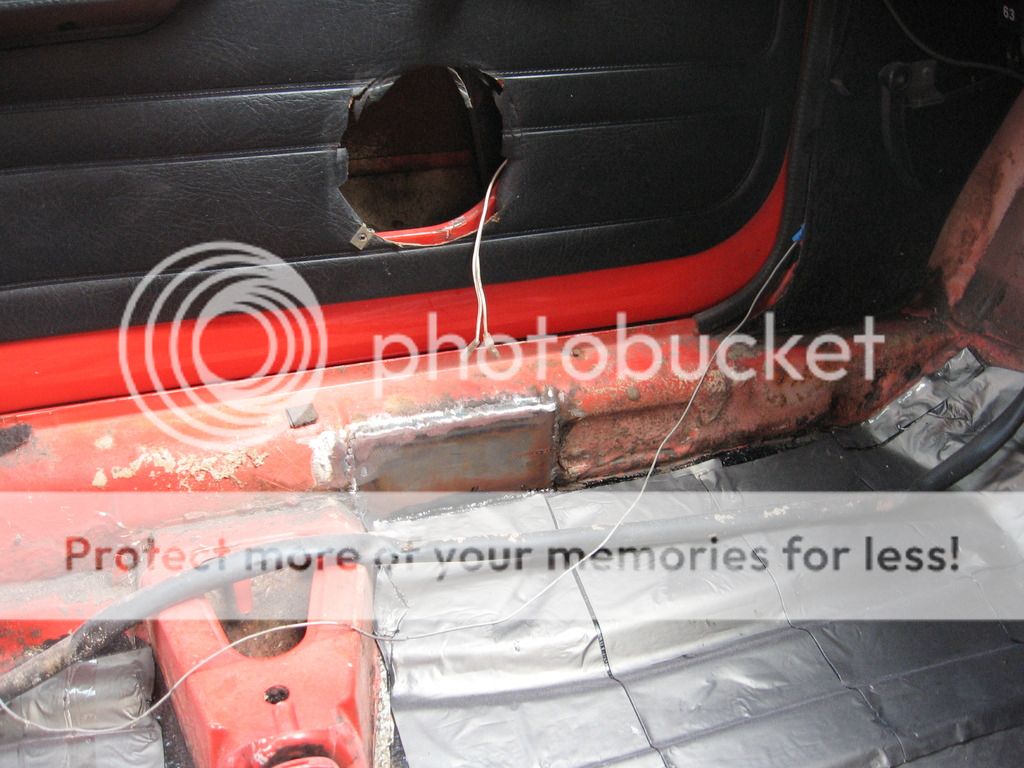
Had a bit of welding done to the floor pans so I could finish off the interior, and put new sound proofing down.
Wasn't very confident working on the car much myself as I am now, which is why I initially got on with smaller jobs.
It had what looks like a g60/16v rear brake disc conversion, had to source new sliders for the back, and replaced the calipers and flexi lines myself.
Had new fuel lines fitted, and got the engine running nicely (currently over 160,000 miles)
Project ceased for a bit after I found that the chassis by the rear axle mounting point needed some welding, and went away to Uni so didn't really have the time or the funds to get it sorted. Finished now though so the project must go on and much more confident in doing a lot of the work myself, aside from welding just yet, and I don't want to start on something so important!
Pictures:
Day it arrived home
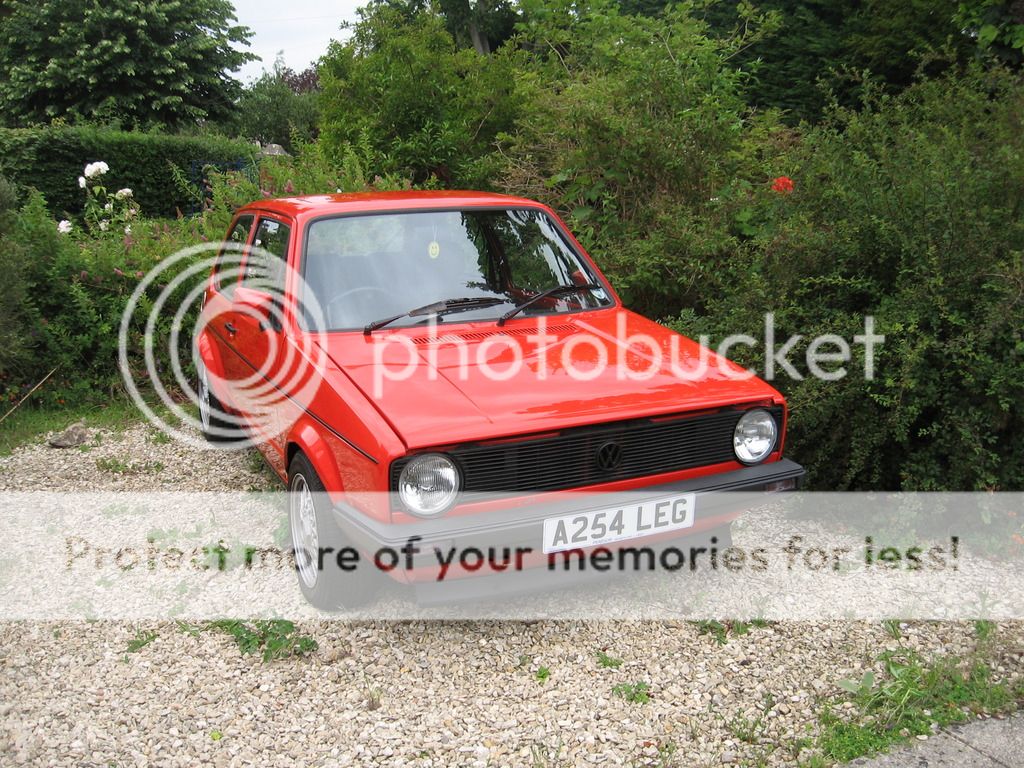
Had some damage to the drivers side wing and the sill, not sure what had happened either driven over/into something

Love the seats from a Rallye so these are definitely staying

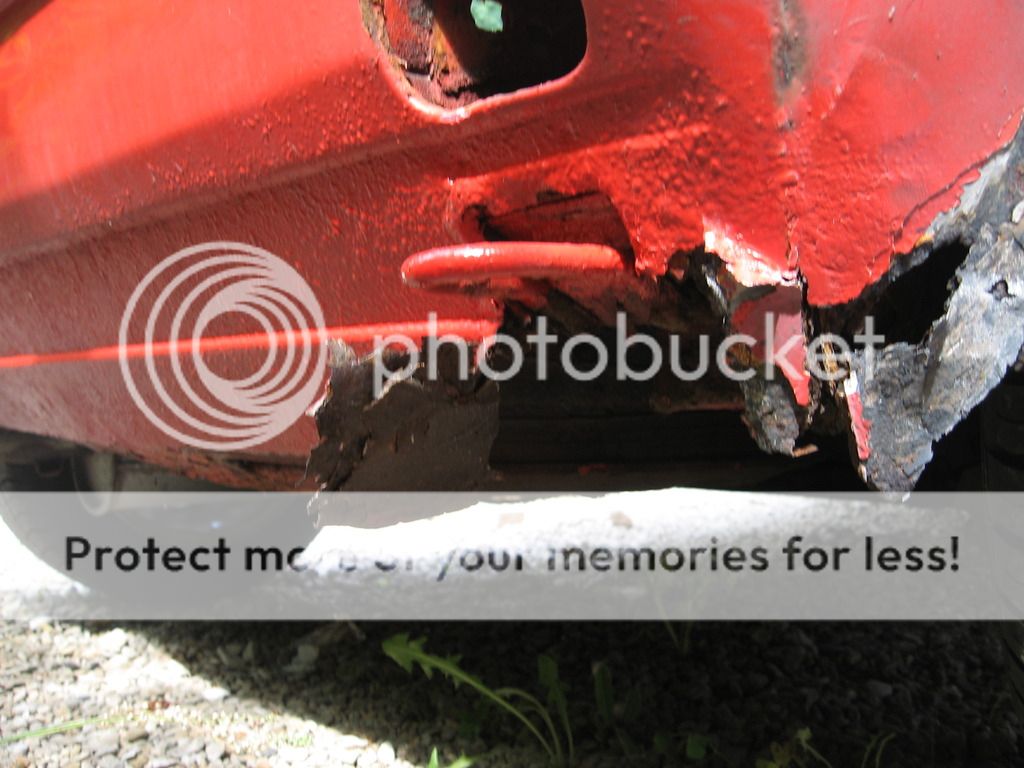
Few bits of rust that I got sorted:


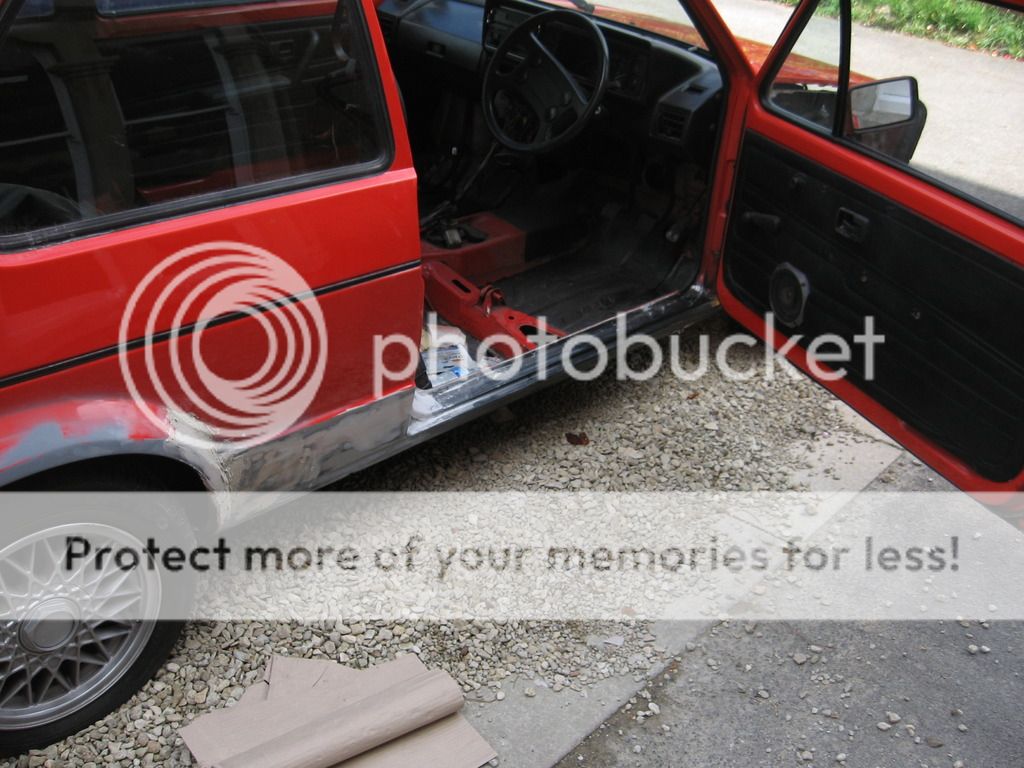
New drivers sill and rear panel in the process of being filled after welding
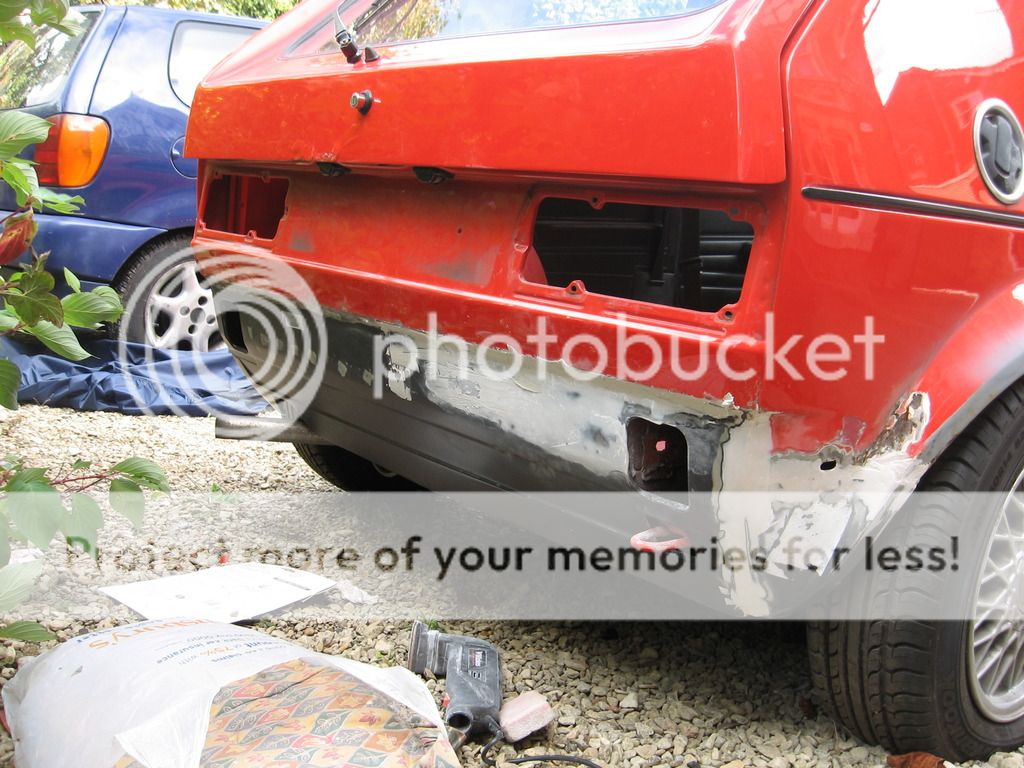
Used roof flashing as sound insulation
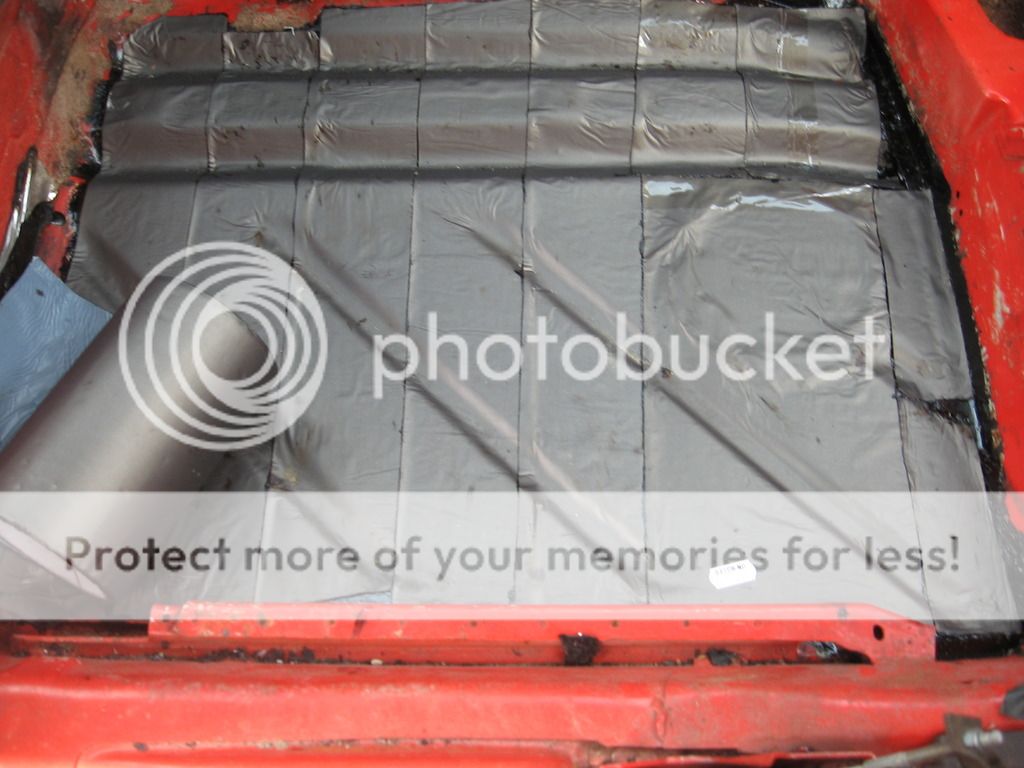
Continued below
 Last edit: by charliem
Posted
Settled In

It had been sat outside until this point so cleared out the garage to give it a new home
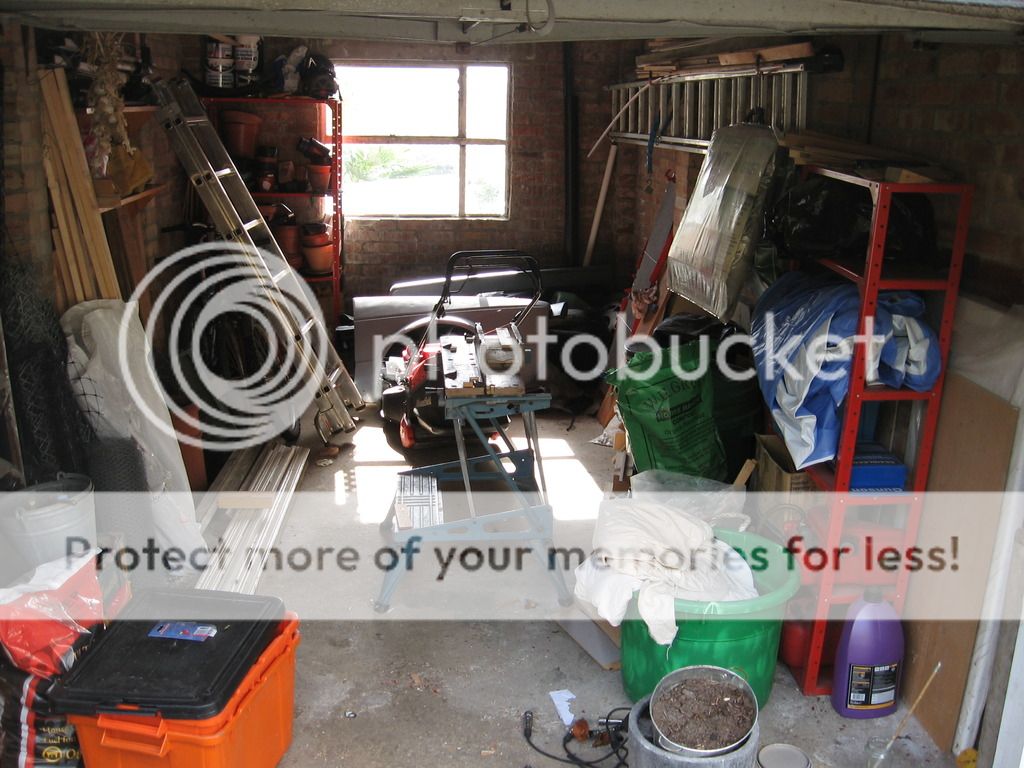
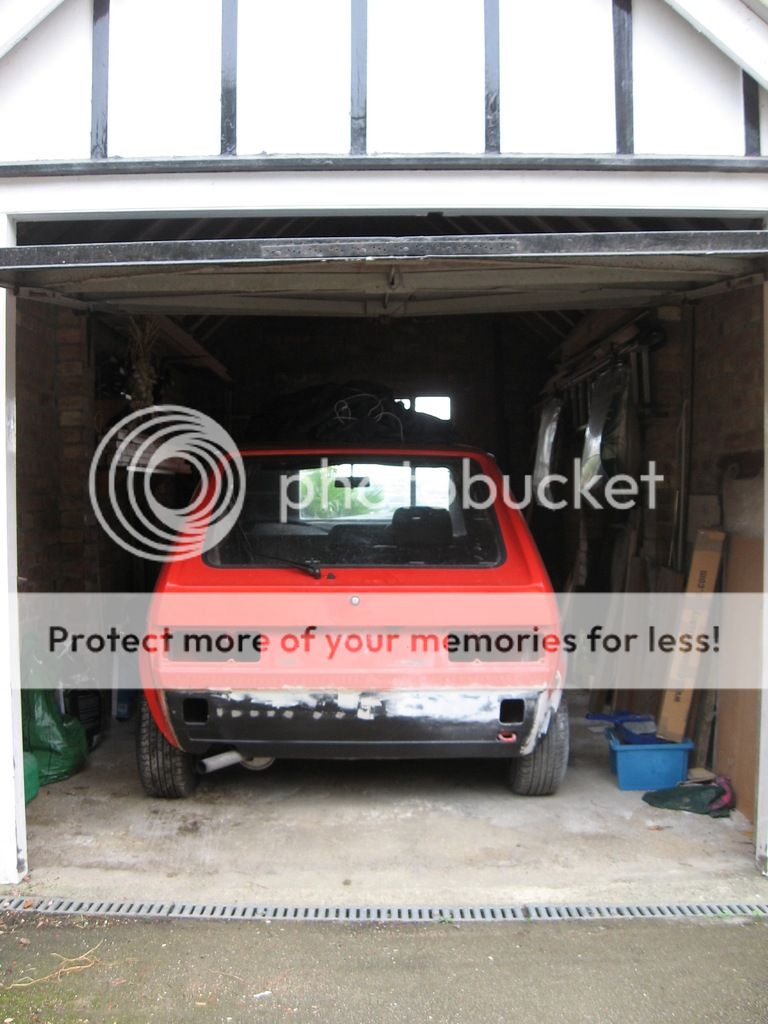
While it was in there did a few bits like changing the oil and filter, sump gasket etc, and got new fuel lines and brake lines in, new rear calipers
P slots painted up

 Last edit: by charliem
Posted
Settled In

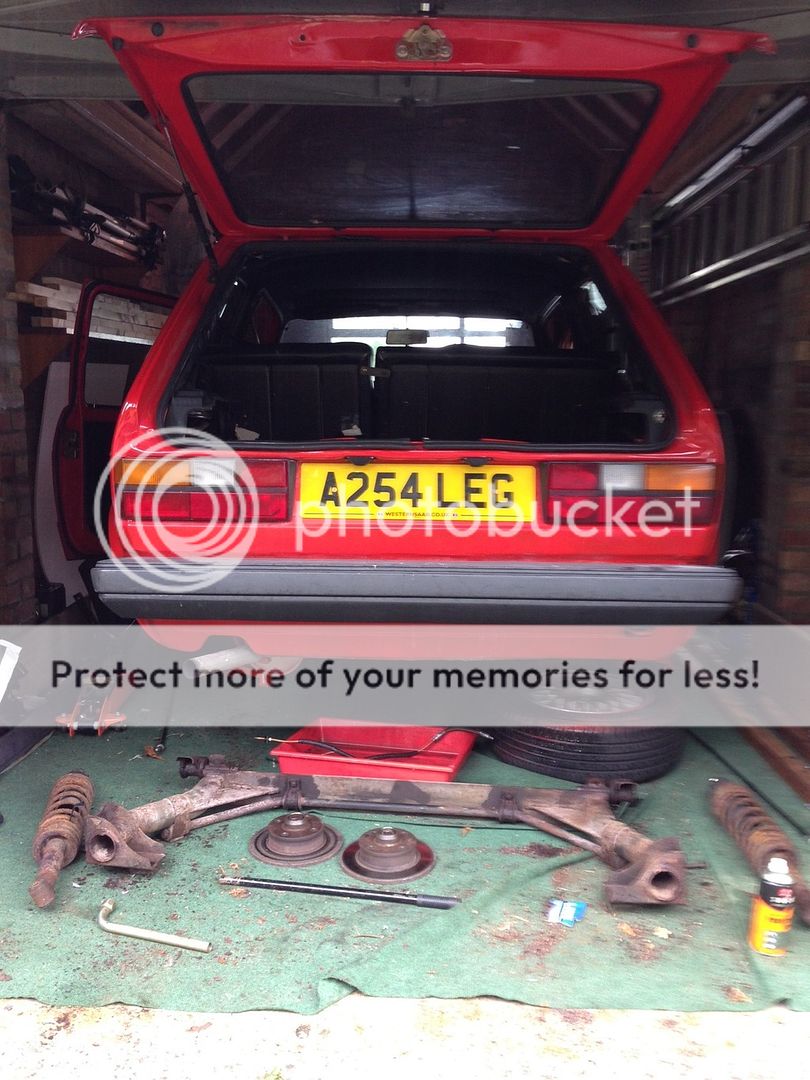
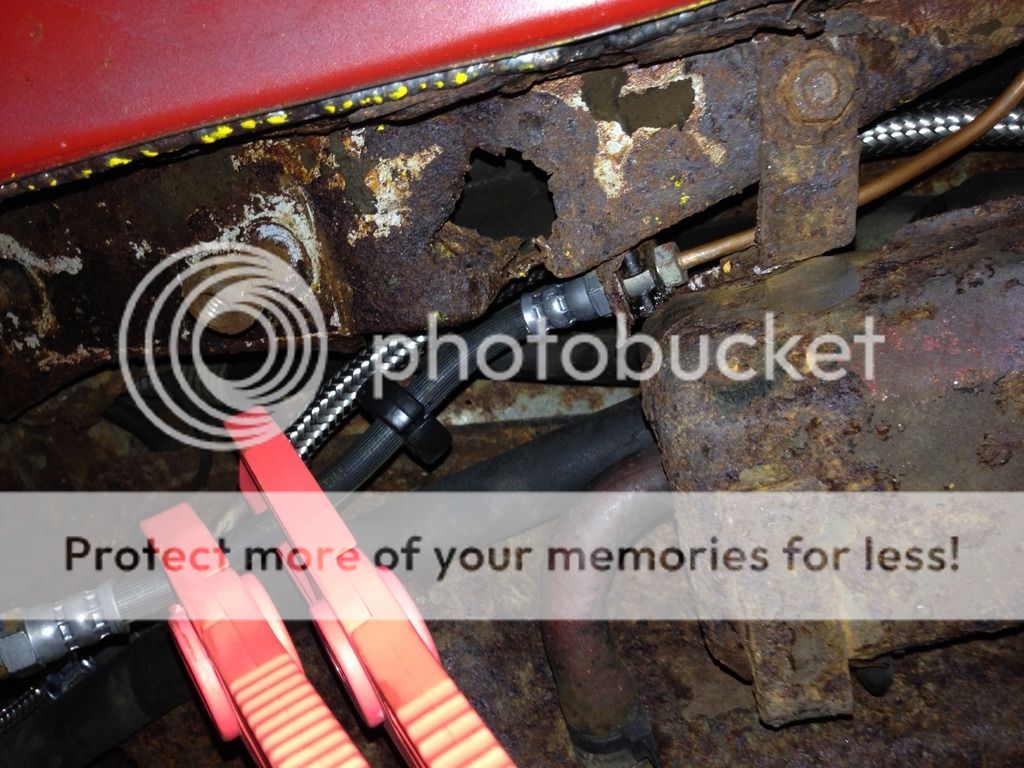
Here is the hole causing problems - looking pretty rusty under there!
Ordered a couple of repair panels to stick in there (hopefully the correct ones)
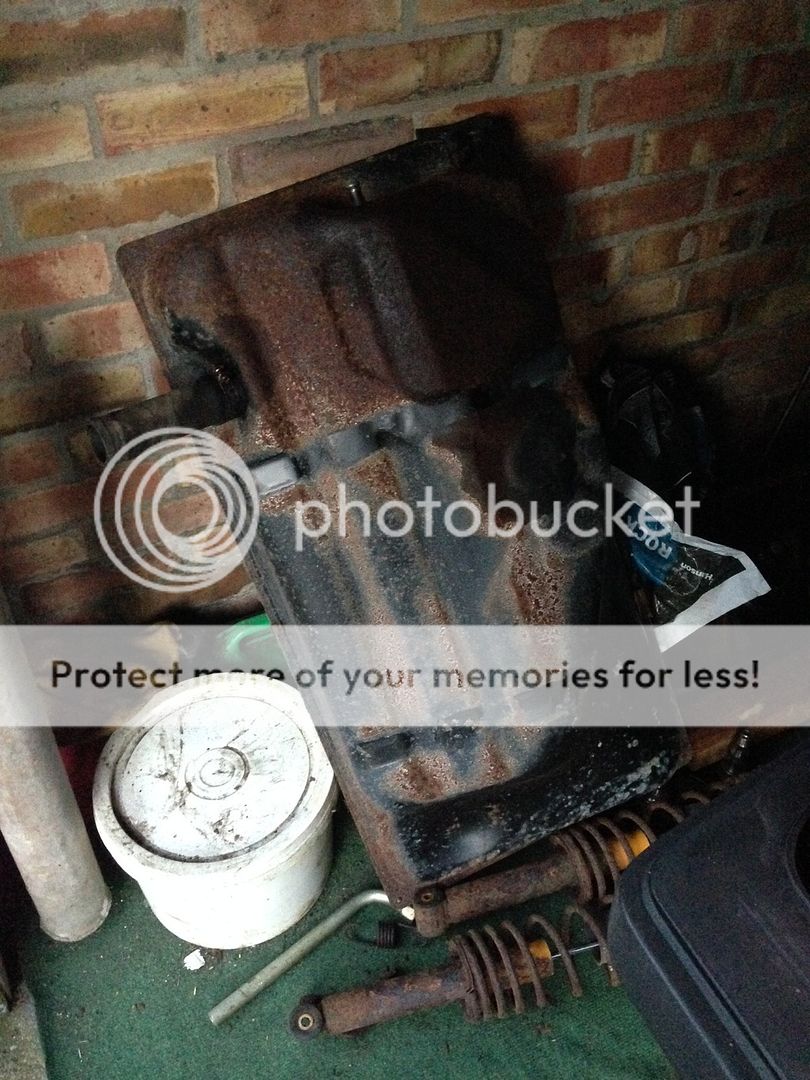
Had to drop the fuel tank as well and get all the fuel lines/fuel pump etc out the way too
Fuel tank is being replaced which is also on the way

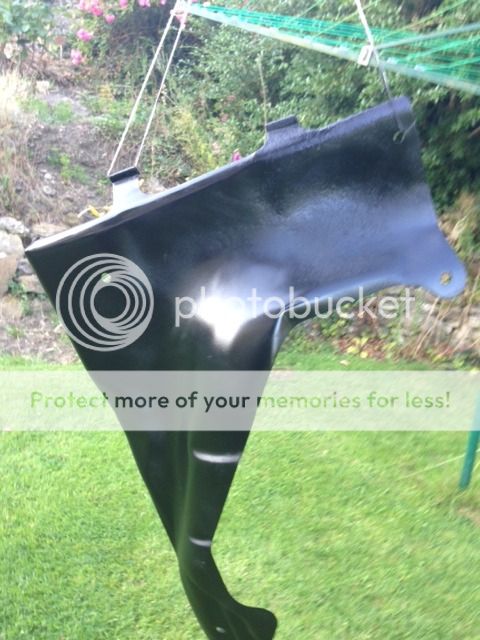
Ran out of jobs today while I'm waiting for parts so refreshed the fuel tank heat shield and gave it a bit of paint
Hope to get an m.o.t sorted within the next couple of weeks can't wait to go for a drive
Posted
Settled In

Posted
Settled In

![image\[1].jpeg image\[1].jpeg](https://i1164.photobucket.com/albums/q571/charliemacknight/The%20Mk1%20Golf%20Owners%20Club/image1_zpsxrsuudir.jpeg)
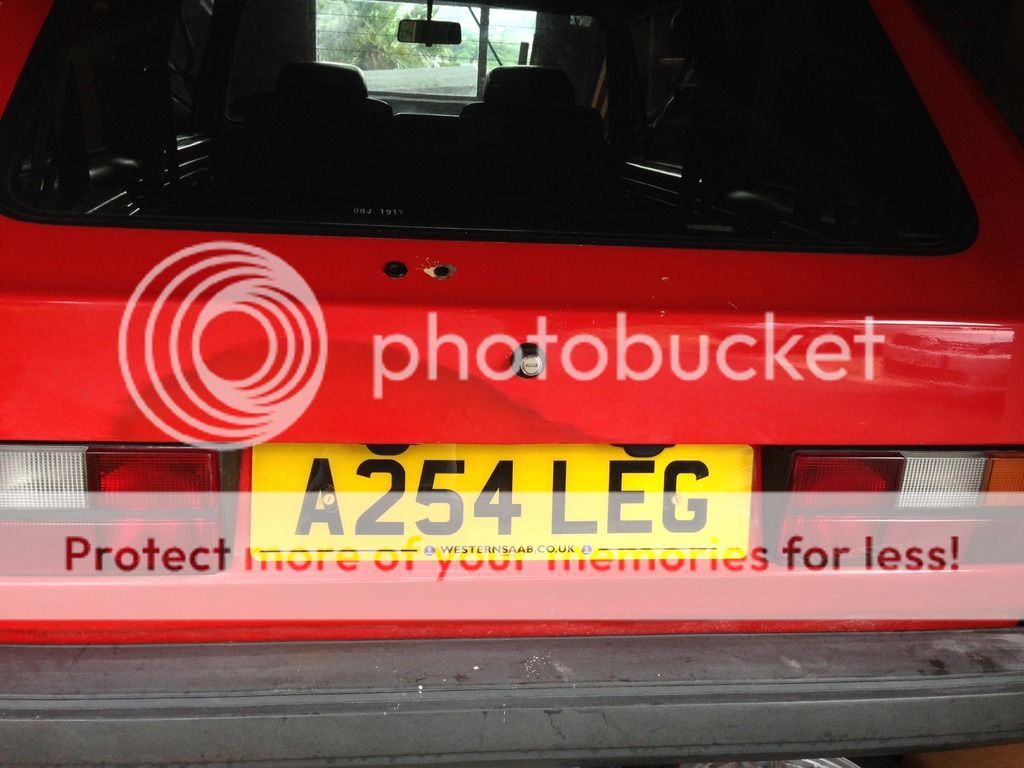
Was bored today so made a start on sorting out the tailgate, sanded through a ridiculous amount of filler to find the welds to drill out so I can fit badges, need to wait for them to turn up so I can make a template to drill the holes in the correct places

Posted
Settled In

![image\[1].jpeg image\[1].jpeg](https://i1164.photobucket.com/albums/q571/charliemacknight/The%20Mk1%20Golf%20Owners%20Club/image1_zpssqtopayt.jpeg)
Posted
Moderator


Anyway, good luck with the build.
Andy.
Posted
Old Timer

Matt
Posted
Settled In

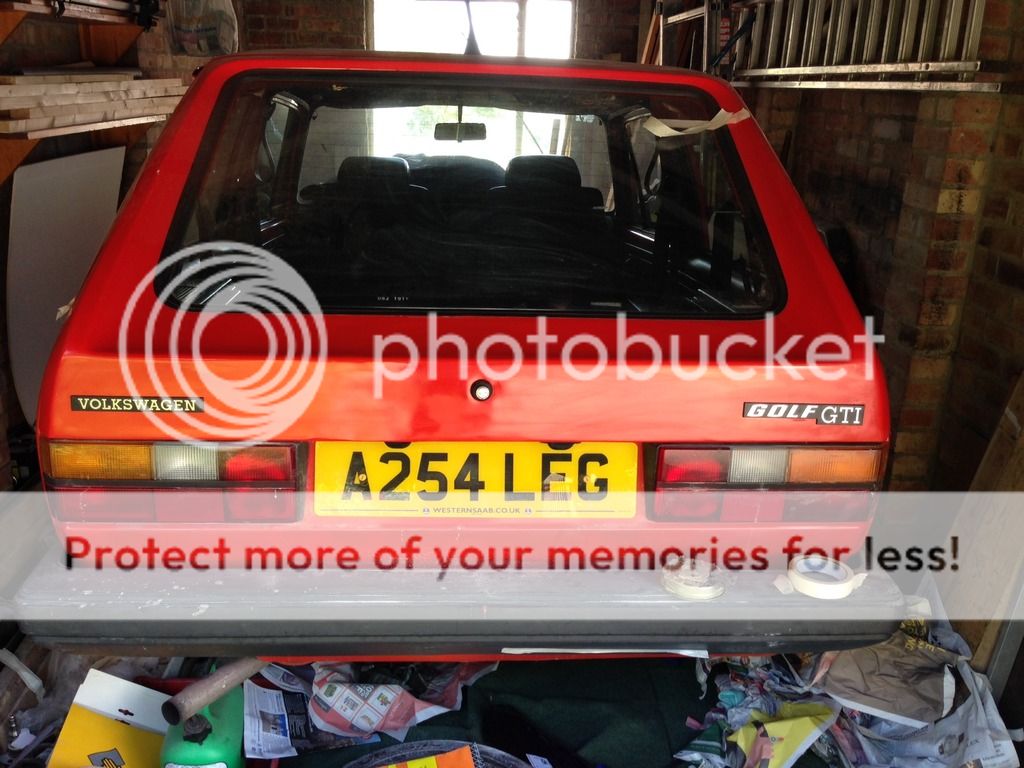
Bit more progress - Finished getting the badges fitted, drilled the welds out on the left by eye, as the right side went a bit wonky using a template I made
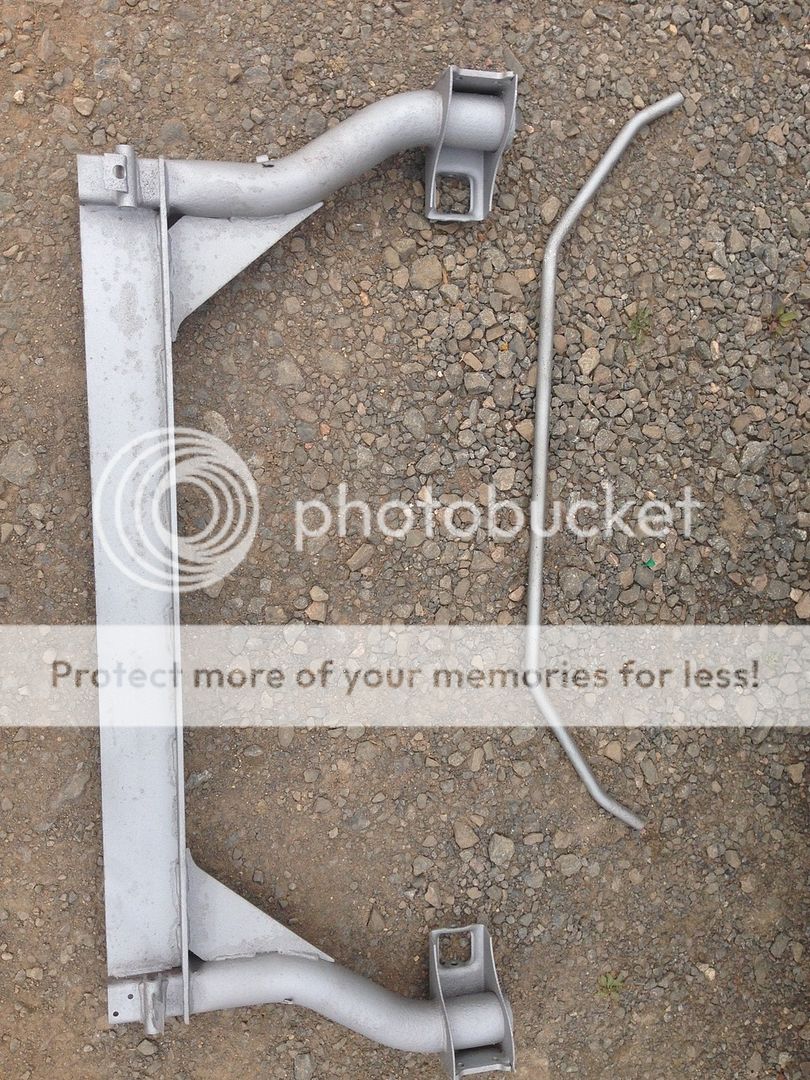
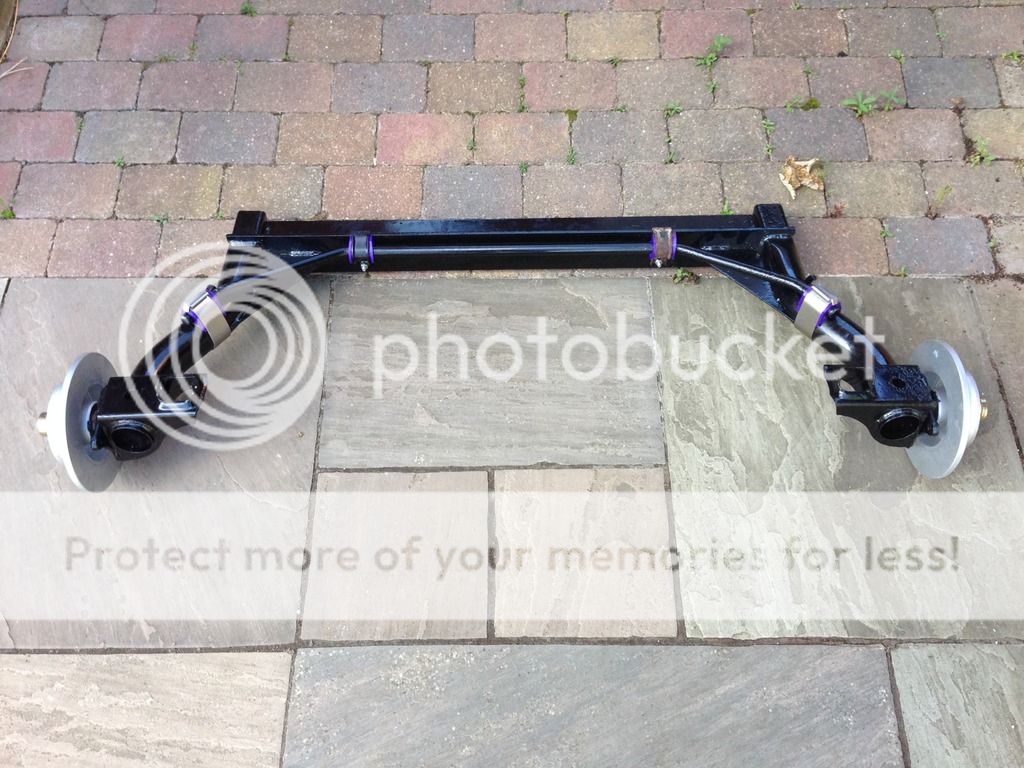
Started getting the beam back together, need to get the car on a trailer this week to go and get the mount welded up so don't need the brakes on there at this point, did put new discs and wheel bearings on though. Not too much of a pain getting the clips on after getting a bit of a technique down but definitely not a job I want to do again anytime soon. Unfortunately one of the inner clips kept popping off every time I tried to tighten up the bolt, must have been a dodgy one so got another on the way.
![image\[1].jpeg image\[1].jpeg](https://i1164.photobucket.com/albums/q571/charliemacknight/The%20Mk1%20Golf%20Owners%20Club/image1_zps048lc3fd.jpeg)
![image\[2].jpeg image\[2].jpeg](https://i1164.photobucket.com/albums/q571/charliemacknight/The%20Mk1%20Golf%20Owners%20Club/image2_zpska6giiyf.jpeg)
Should have it back on the car tomorrow or thursday and hopefully off to the welders by the weekend, leaving me a relatively small list when it comes back for the mot:
-Drop the beam back out
-Fit new fuel tank and connect up all the ancillaries
-Get the rear calipers etc back on the rear beam
-Order and fit new coilovers, still undecided on what to go for
-Bleed brakes front and back
Can't wait to go for a drive!
Posted
Moderator


Posted
Old Timer

Matt
Posted
Settled In

Thanks!Melteddrummer said
Nice work on the tailgate and rear beam, they look great!!
Found a slightly better method today, use a quick grip initially then get a c-clamp on top and get the quick grip out the way to get the bolt throughpazwaa said
Good thinking with the quickgripsMatt
![image\[5].jpeg image\[5].jpeg](https://i1164.photobucket.com/albums/q571/charliemacknight/The%20Mk1%20Golf%20Owners%20Club/image5_zpsn3hea1xs.jpeg)
![image\[6].jpeg image\[6].jpeg](https://i1164.photobucket.com/albums/q571/charliemacknight/The%20Mk1%20Golf%20Owners%20Club/image6_zps4dbsbmwp.jpeg)
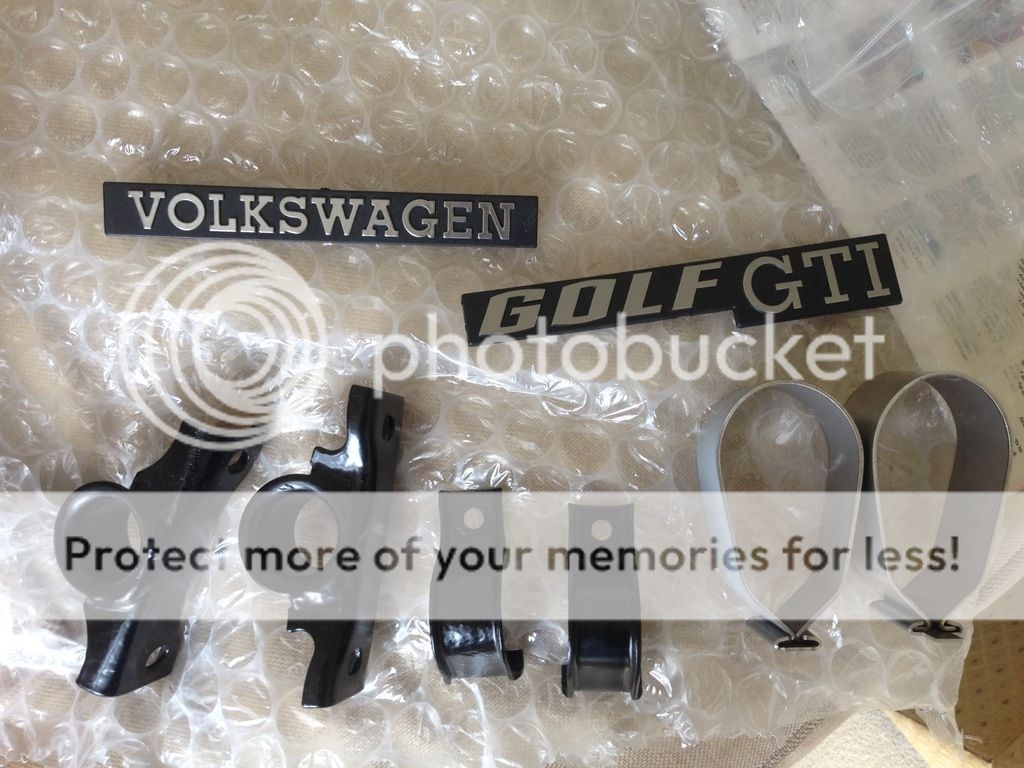
You can see why I was having trouble with this arb clamp popping off when compared with an original one
![image\[4].jpeg image\[4].jpeg](https://i1164.photobucket.com/albums/q571/charliemacknight/The%20Mk1%20Golf%20Owners%20Club/image4_zpsk67lbhhz.jpeg)
Few more bits came today, nice shiny new mount for the fuel pump as the old one pretty much crumbled off in my hand
![image\[3].jpeg image\[3].jpeg](https://i1164.photobucket.com/albums/q571/charliemacknight/The%20Mk1%20Golf%20Owners%20Club/image3_zpsfy9d0io5.jpeg)
And a few better shots of the beam, still waiting on the bushes for the axle mount otherwise the car would have gone today and the welding would have got under way!
![image\[1].jpeg image\[1].jpeg](https://i1164.photobucket.com/albums/q571/charliemacknight/The%20Mk1%20Golf%20Owners%20Club/image1_zpskithbkao.jpeg)
![image\[2].jpeg image\[2].jpeg](https://i1164.photobucket.com/albums/q571/charliemacknight/The%20Mk1%20Golf%20Owners%20Club/image2_zpsbdjddly4.jpeg)
Posted
Old Timer

Matt
Posted
Settled In

Pictures
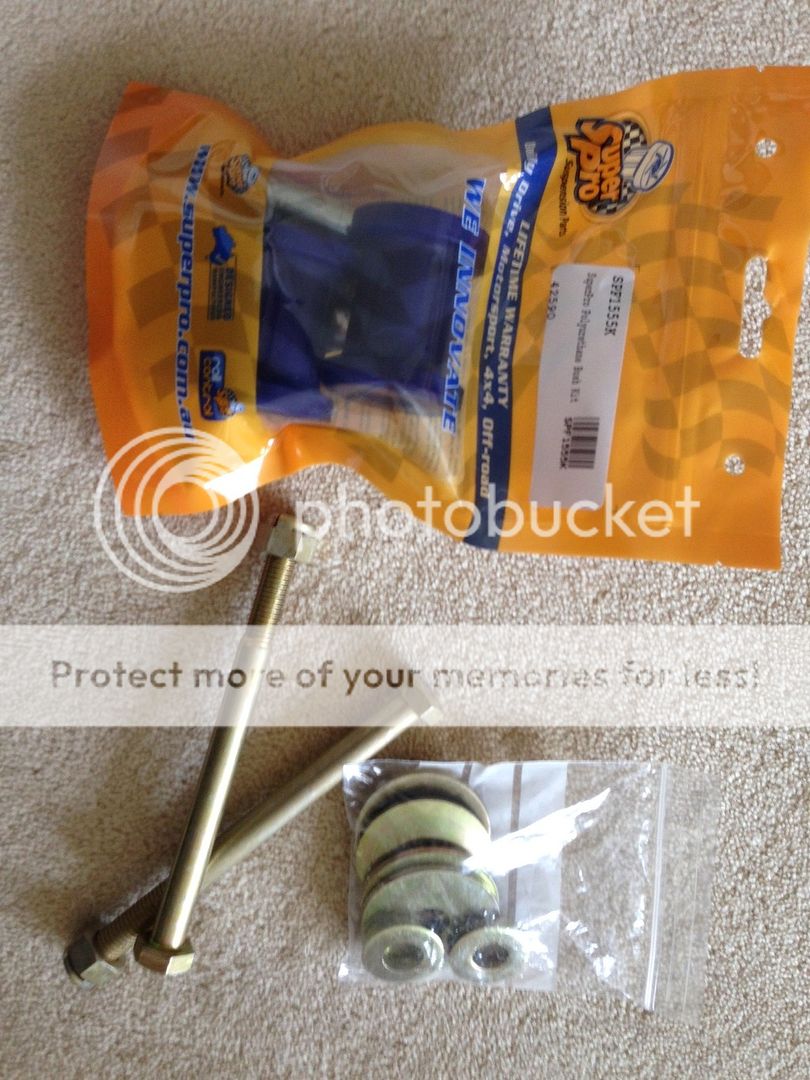
Took me a little while to figure out getting these bushes in, had to borrow some of the spacers from the old bolts, the second one went in straight away when I knew how
![image\[1].jpeg image\[1].jpeg](https://i1164.photobucket.com/albums/q571/charliemacknight/The%20Mk1%20Golf%20Owners%20Club/image1_zps7rcgazvu.jpeg)
![image\[2].jpeg image\[2].jpeg](https://i1164.photobucket.com/albums/q571/charliemacknight/The%20Mk1%20Golf%20Owners%20Club/image2_zps1ivzms73.jpeg)
Think it looks pretty smart with the new bolts back on the beam
![image\[3].jpeg image\[3].jpeg](https://i1164.photobucket.com/albums/q571/charliemacknight/The%20Mk1%20Golf%20Owners%20Club/image3_zpsirbqclrg.jpeg)
![image\[4].jpeg image\[4].jpeg](https://i1164.photobucket.com/albums/q571/charliemacknight/The%20Mk1%20Golf%20Owners%20Club/image4_zpsdp2em4rw.jpeg)
![image\[5].jpeg image\[5].jpeg](https://i1164.photobucket.com/albums/q571/charliemacknight/The%20Mk1%20Golf%20Owners%20Club/image5_zpsmlnssmr4.jpeg)
Quick shot of it going back into the car
![image\[6].jpeg image\[6].jpeg](https://i1164.photobucket.com/albums/q571/charliemacknight/The%20Mk1%20Golf%20Owners%20Club/image6_zpsmincg8nt.jpeg)
And on the ground again ready to go and get welded at last
![image\[7].jpeg image\[7].jpeg](https://i1164.photobucket.com/albums/q571/charliemacknight/The%20Mk1%20Golf%20Owners%20Club/image7_zpszl2qnml5.jpeg)
Aside from new bushings, discs and wheel bearings, nothing has changed, however it looks like there is more camber on the rear than before, anyone have any ideas what is causing it?
![image\[8].jpeg image\[8].jpeg](https://i1164.photobucket.com/albums/q571/charliemacknight/The%20Mk1%20Golf%20Owners%20Club/image8_zpscqjckwph.jpeg)
Posted
Settled In

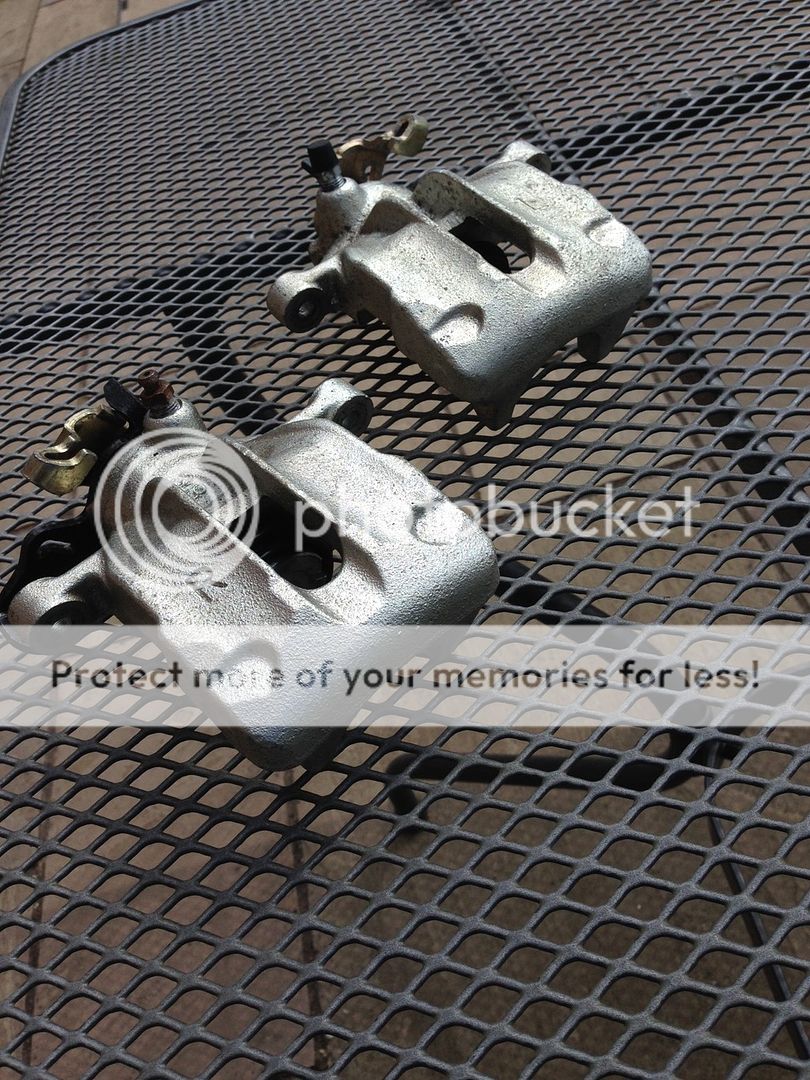
Cleaned up the rear calipers a bit, didn't take much as they are relatively new. Think I will be leaving the sliders for now though…
![image\[1].jpeg image\[1].jpeg](https://i1164.photobucket.com/albums/q571/charliemacknight/The%20Mk1%20Golf%20Owners%20Club/image1_zpsbbmx3h5j.jpeg)
Got a 10" sub and amp on the way that I want to fit tidily into either side of the boot, so set about making some (very dodgy) cardboard templates, also made one up so I can cover over the backs of the tail lights etc, which will obviously have to be removable if I need to change bulbs.
Obviously going to be a lot neater than it looks here
![image\[2].jpeg image\[2].jpeg](https://i1164.photobucket.com/albums/q571/charliemacknight/The%20Mk1%20Golf%20Owners%20Club/image2_zpsxa25vgly.jpeg)
![image\[3].jpeg image\[3].jpeg](https://i1164.photobucket.com/albums/q571/charliemacknight/The%20Mk1%20Golf%20Owners%20Club/image3_zpsgpd2mjgf.jpeg)
Ordered a couple of these clips like in my mk4 so I can make a panel to access the amp easily
![image\[4].jpeg image\[4].jpeg](https://i1164.photobucket.com/albums/q571/charliemacknight/The%20Mk1%20Golf%20Owners%20Club/image4_zpsjuznvooe.jpeg)
![image\[5].jpeg image\[5].jpeg](https://i1164.photobucket.com/albums/q571/charliemacknight/The%20Mk1%20Golf%20Owners%20Club/image5_zps4bh5pboe.jpeg)
Also got these speaker pods/door pockets that I think are from a cabby to fit, can't open to doors very far in my garage so will have to wait till its out on the drive to get them in…
![image\[6].jpeg image\[6].jpeg](https://i1164.photobucket.com/albums/q571/charliemacknight/The%20Mk1%20Golf%20Owners%20Club/image6_zpsyyou6kjm.jpeg)
Posted
Settled In

![image\[1].jpeg image\[1].jpeg](https://i1164.photobucket.com/albums/q571/charliemacknight/The%20Mk1%20Golf%20Owners%20Club/image1_zpskdk3uw4a.jpeg)
Sub arrived so made a start on a box for it, made some rings to mount it in so it sits flush, then mounted those on another piece that I will be fibreglassing tomorrow and carpeting
![image\[2].jpeg image\[2].jpeg](https://i1164.photobucket.com/albums/q571/charliemacknight/The%20Mk1%20Golf%20Owners%20Club/image2_zps1chru6re.jpeg)
![image\[3].jpeg image\[3].jpeg](https://i1164.photobucket.com/albums/q571/charliemacknight/The%20Mk1%20Golf%20Owners%20Club/image3_zpss7q1g3ad.jpeg)
![image\[4].jpeg image\[4].jpeg](https://i1164.photobucket.com/albums/q571/charliemacknight/The%20Mk1%20Golf%20Owners%20Club/image4_zpspuzgyksu.jpeg)
Posted
Settled In

First I stretched a fleece blanket over and stapled it in, then covered that in fibreglass resin and allowed it to harden, then a couple layers of fibreglass.
![image\[1].jpeg image\[1].jpeg](https://i1164.photobucket.com/albums/q571/charliemacknight/The%20Mk1%20Golf%20Owners%20Club/image1_zpsiy70rnfp.jpeg)

![image\[2].jpeg image\[2].jpeg](https://i1164.photobucket.com/albums/q571/charliemacknight/The%20Mk1%20Golf%20Owners%20Club/image2_zpsssha446g.jpeg)
![image\[3].jpeg image\[3].jpeg](https://i1164.photobucket.com/albums/q571/charliemacknight/The%20Mk1%20Golf%20Owners%20Club/image3_zpsqycfltqq.jpeg)
Posted
Local Hero


Have the welders got much to do?
Andy
LINCOLNSHIRE REGION - https://www.facebook.com/groups/467122313360002/
1983 MK1 Golf GTI Campaign Model - Under (looooong) resto!
1962 Rover P4 80
2002 BMW 745i
2008 BMW Z4 2.5Si
LINCOLNSHIRE REGION - https://www.facebook.com/groups/467122313360002/
1983 MK1 Golf GTI Campaign Model - Under (looooong) resto!
1962 Rover P4 80
2002 BMW 745i
2008 BMW Z4 2.5Si
Posted
Settled In

Hairyarse said
That's a steep ramp. I hope you didn't have a duck bill on your Mk1!
Have the welders got much to do?
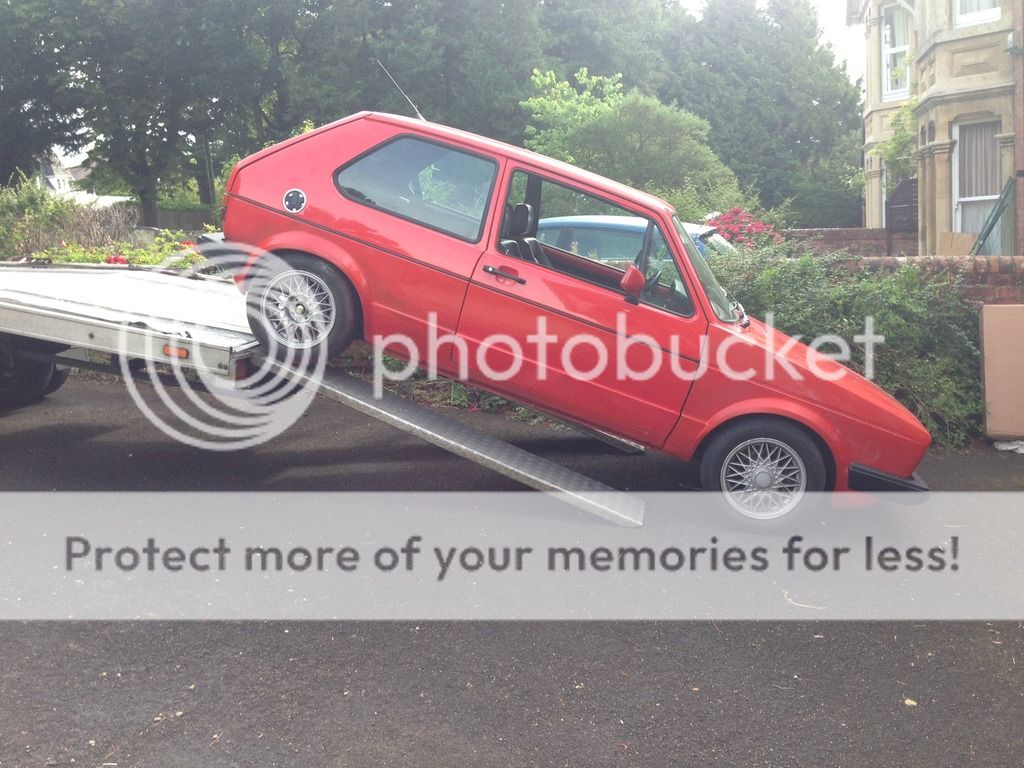
I know it wasn't ideal especially being on a sloped drive! I did and it was about 1mm off the floor, some strategically placed wood helped.
When it was further on the ramp the back suspension bottomed out on both sides!
Just the hole by the axle mount on the drivers side, and I got a rear chassis leg repair panel incase thats needed, but I said if any other bits in that area are needed then go ahead and sort it
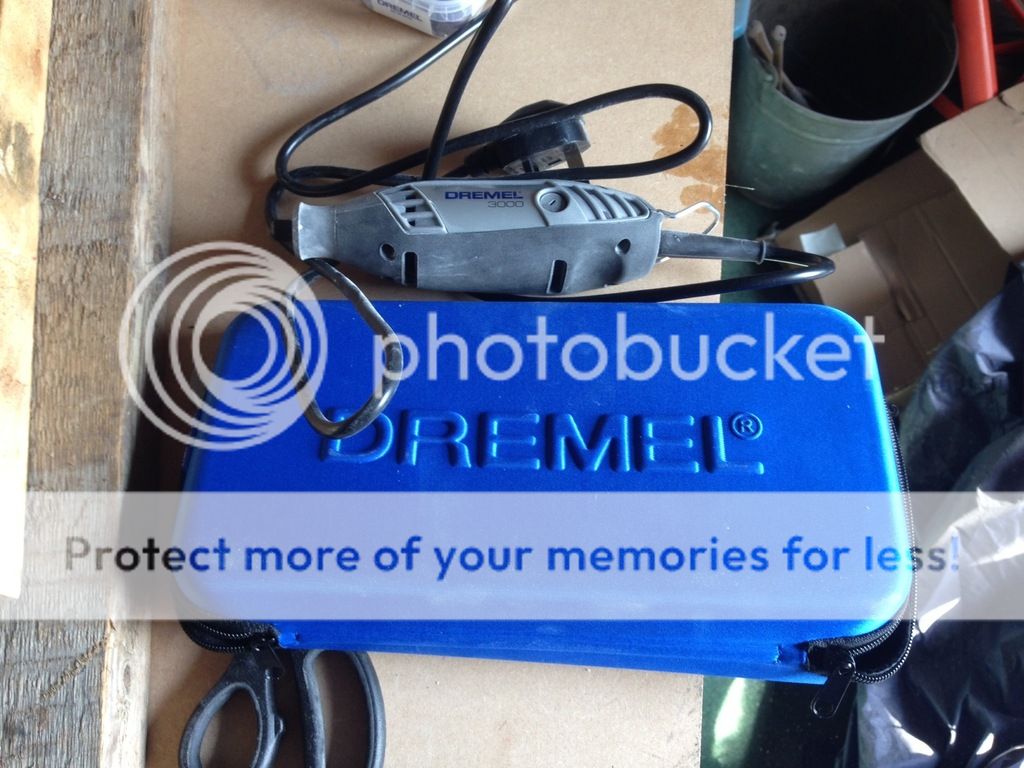
Got a little toy today, don't know why I haven't had one before its so useful!
Finished the face of the sub enclosure, its a free air one so doesn't need to be fully enclosed, and only 10" so won't be overkill!
![image\[1].jpeg image\[1].jpeg](https://i1164.photobucket.com/albums/q571/charliemacknight/The%20Mk1%20Golf%20Owners%20Club/image1_zps39iuj6uh.jpeg)
![image\[2].jpeg image\[2].jpeg](https://i1164.photobucket.com/albums/q571/charliemacknight/The%20Mk1%20Golf%20Owners%20Club/image2_zpshbxjlsvs.jpeg)
![image\[3].jpeg image\[3].jpeg](https://i1164.photobucket.com/albums/q571/charliemacknight/The%20Mk1%20Golf%20Owners%20Club/image3_zps0l0rxxqb.jpeg)
Posted
Local Hero


I bought one of those Dremels last year and like you didn't know how I coped without one! I don't use it often but sometimes it's the only tool for the job!
Andy
LINCOLNSHIRE REGION - https://www.facebook.com/groups/467122313360002/
1983 MK1 Golf GTI Campaign Model - Under (looooong) resto!
1962 Rover P4 80
2002 BMW 745i
2008 BMW Z4 2.5Si
LINCOLNSHIRE REGION - https://www.facebook.com/groups/467122313360002/
1983 MK1 Golf GTI Campaign Model - Under (looooong) resto!
1962 Rover P4 80
2002 BMW 745i
2008 BMW Z4 2.5Si
0 guests and 0 members have just viewed this: None.


