Colley's 82 mk1 gti
Posted
Old Timer


Mars red 1.8 GTI tintop now MOT'd and on the road!
http://vwgolfmk1.org.uk/forum/index.php?page=topicview&id=projects%2Fyour-mk1-golfs_2%2Fwent-to-look-at-a-golf&kfs79=150
http://vwgolfmk1.org.uk/forum/index.php?page=topicview&id=projects%2Fyour-mk1-golfs_2%2Fwent-to-look-at-a-golf&kfs79=150
Posted
Settled In

Saulty said
Good work, how difficult was it to remove the wheel arch tub? I'm going to have to do that repair on mine one day and wondered if it was a PITA to do!
Believe it or not getting it out isn't the problem they're fairly straight forward, there's a couple of dodgy welds to get to if you don't have decent access to the tub. I've got it up on a spit so can easily get to the welds along the floor pan. I used a spot weld drill and belt sanders to get the welds out but obviously you need to clean the undersea back first.
The main thing is before starting make sure you take measurements of the strut top from structural points so you can drop the new one in to the exact same position. Even measure other parts of the tub as you can't have too many measurements to guide you mate. Hope this helps.
Posted
Settled In


Posted
Settled In

Posted
Settled In


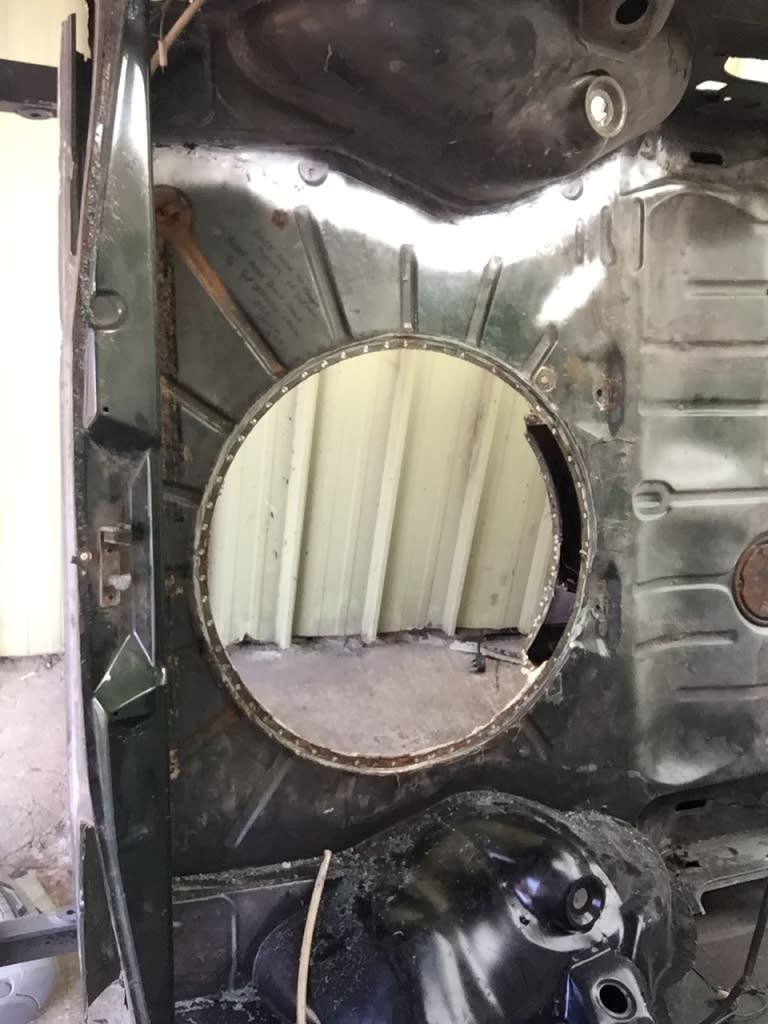
Posted
Settled In

 Last edit: by Colley27
Posted
Settled In


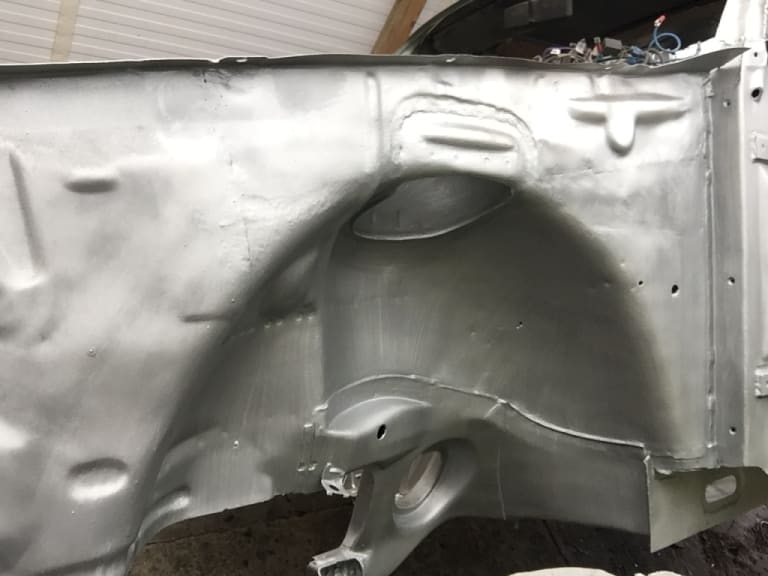
Posted
Local Hero


Andy
LINCOLNSHIRE REGION - https://www.facebook.com/groups/467122313360002/
1983 MK1 Golf GTI Campaign Model - Under (looooong) resto!
1962 Rover P4 80
2002 BMW 745i
2008 BMW Z4 2.5Si
LINCOLNSHIRE REGION - https://www.facebook.com/groups/467122313360002/
1983 MK1 Golf GTI Campaign Model - Under (looooong) resto!
1962 Rover P4 80
2002 BMW 745i
2008 BMW Z4 2.5Si
Posted
Settled In


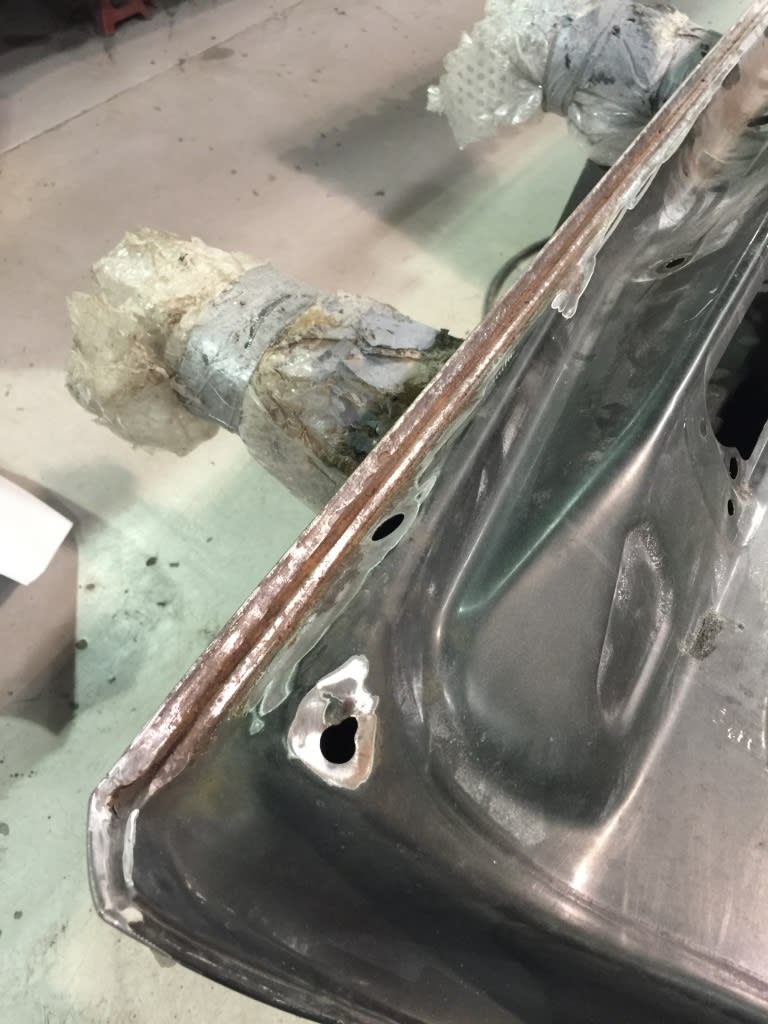


I've been repairing and treating my tailgate during some breaks at work bit by bit
Posted
Settled In


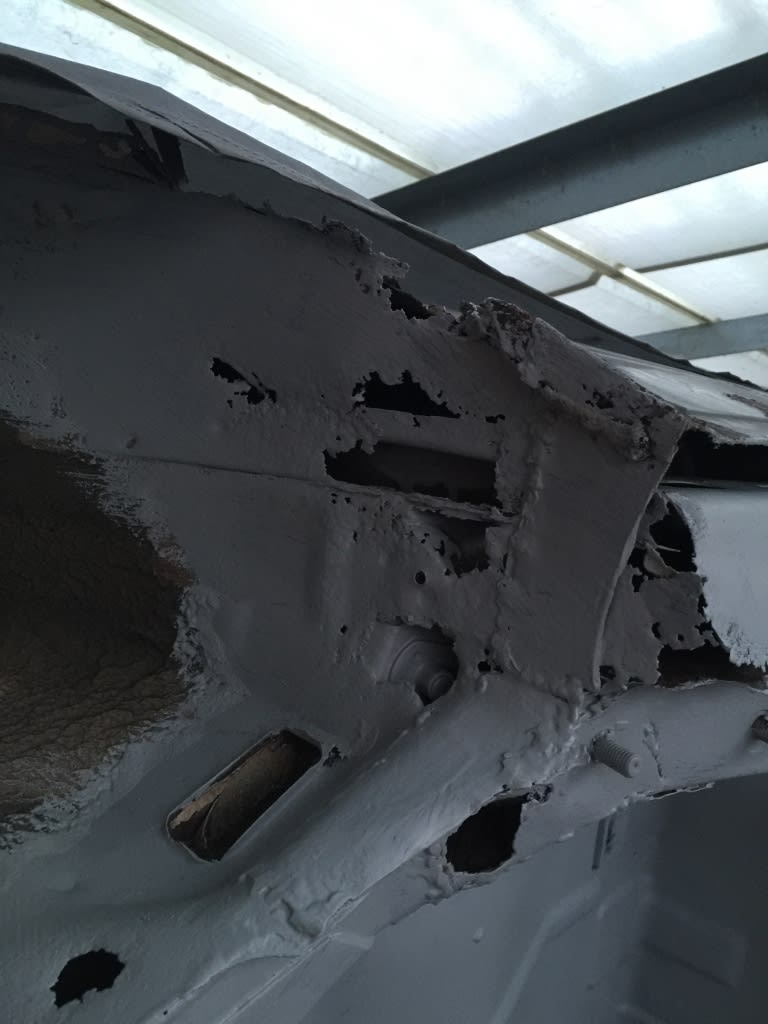
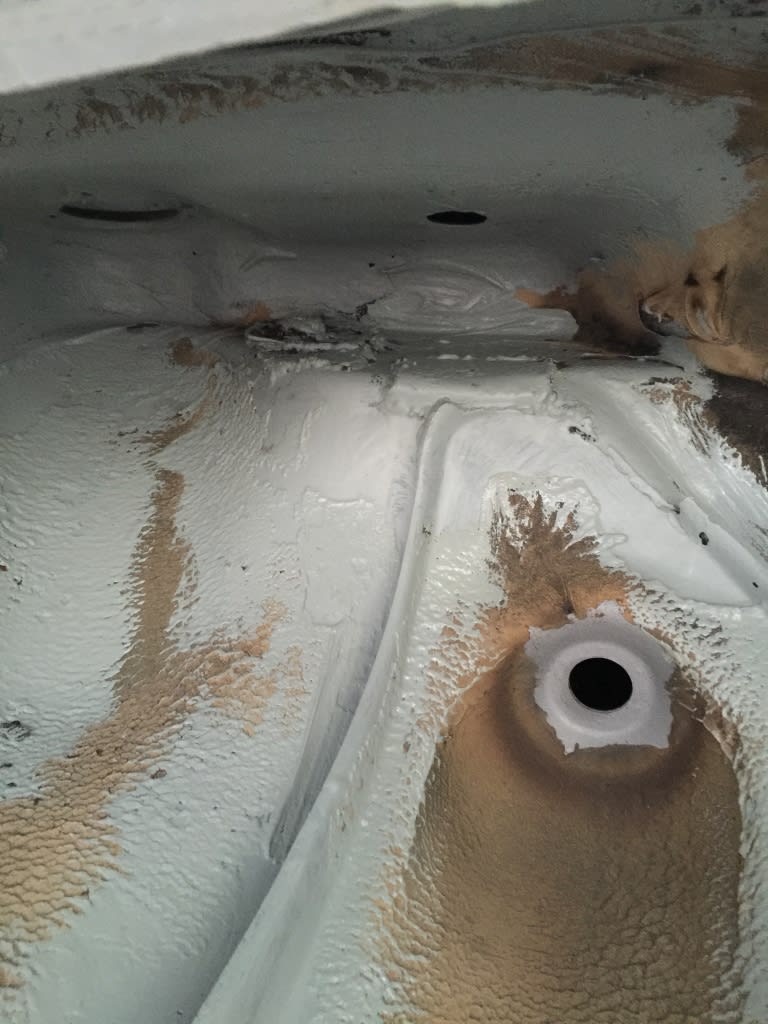


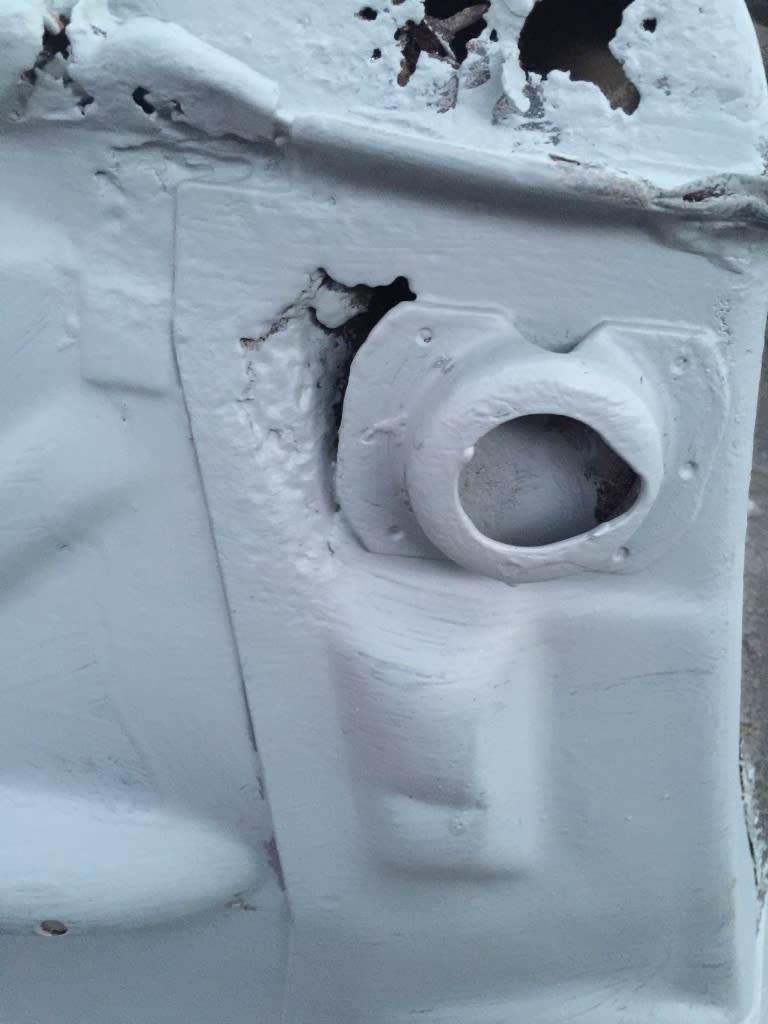

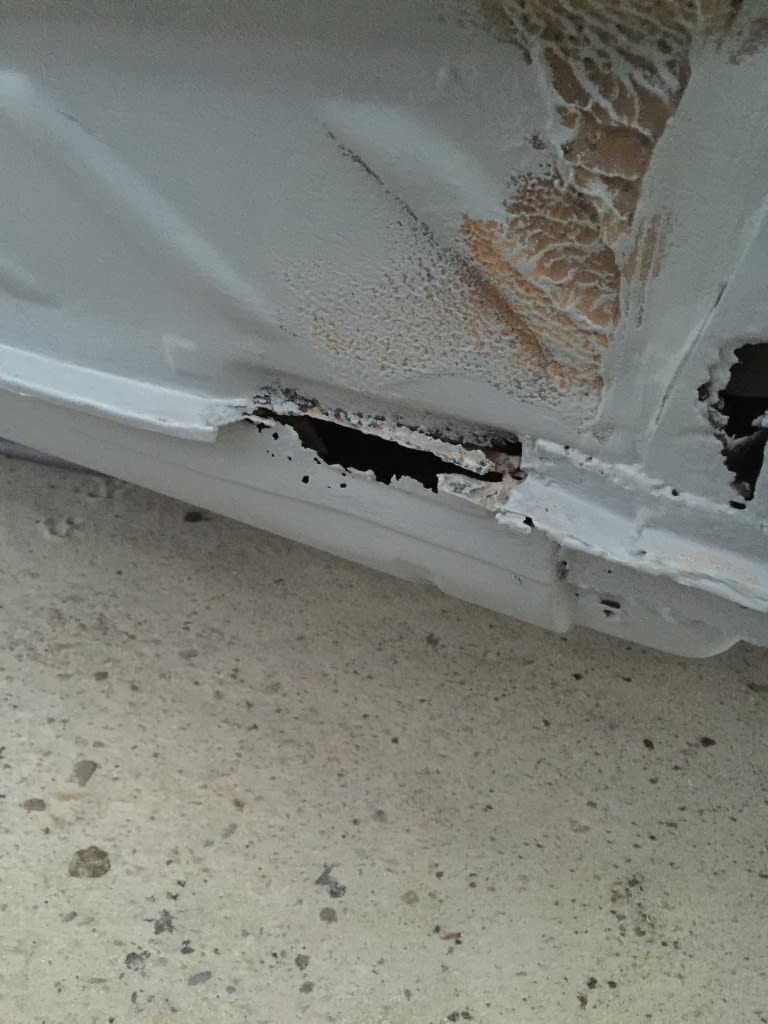
Found some old images on my phone, scary to think how little decent metal was left on some of the key strength areas of the car
Posted
Settled In

ERROR: You specified an invalid attachment ID.
Posted
Settled In


Chassis repair pieces for under the passenger side floor
Posted
Settled In


I stripped the primer back which I put on after having the bottom of the shell sandblasted a year ago and applied hydrate 80 rust prohibiter and a coat of primer
Posted
Settled In

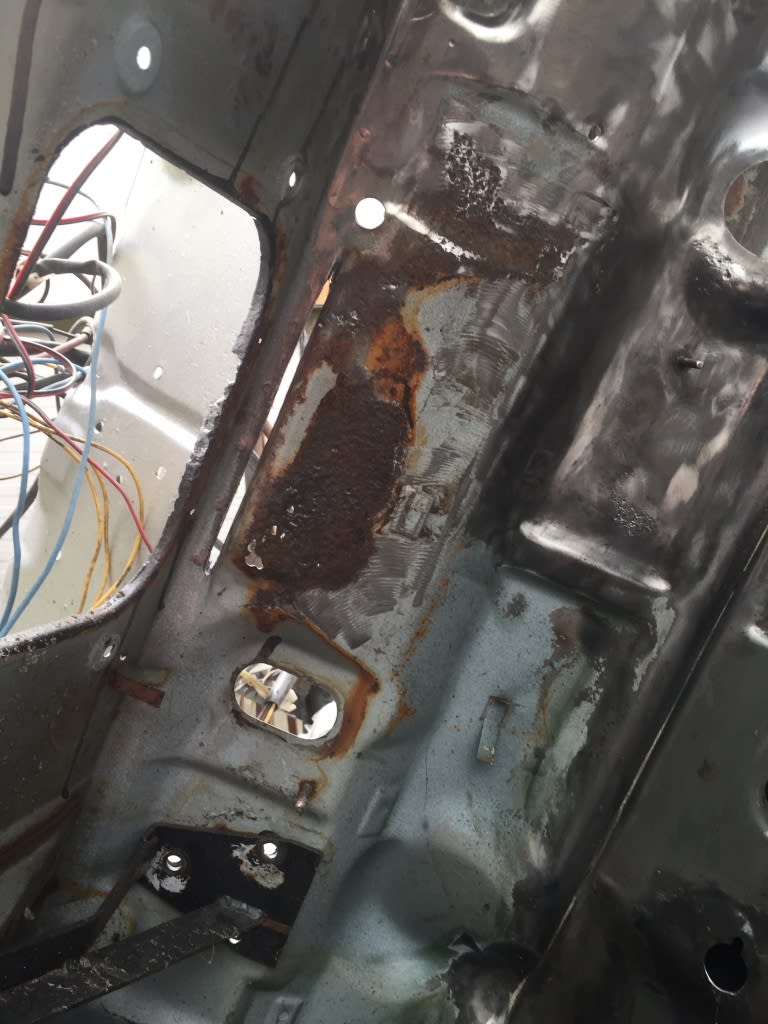
Repair panel to make up for the bulk head
Posted
Old Timer


Just out of interest, what repair panels did you use for the inner sills, what outer sills do you plan to use and what rear arches do you plan to use?
Mars red 1.8 GTI tintop now MOT'd and on the road!
http://vwgolfmk1.org.uk/forum/index.php?page=topicview&id=projects%2Fyour-mk1-golfs_2%2Fwent-to-look-at-a-golf&kfs79=150
http://vwgolfmk1.org.uk/forum/index.php?page=topicview&id=projects%2Fyour-mk1-golfs_2%2Fwent-to-look-at-a-golf&kfs79=150
Posted
Settled In

Saulty said
Good work, looking like a steady process. Keep it up! Loving the before pics, I think I'd have walked away from it!
Just out of interest, what repair panels did you use for the inner sills, what outer sills do you plan to use and what rear arches do you plan to use?
I took the panels I used for the inner sills from a job at work which was getting two chassis legs and these were left over ideal for what I wanted they were similar looking to the originals and were thick steel so cut them to size and dropped in. The panels I bought from eBay when they were on a good deal, for sills, inner and outer arches they are klockenheim if I remember right but anyway the reason I bought them is because the sills have the pressings in them for the trims and looked good quality and so far haven't disappointed been straight forward to fit
Posted
Settled In


Posted
Settled In


Managed to get a cut from a decent donor car for the inner scuttle panel as mine was shot, so stripped it back and coated with hydrate 80 and primer then trial fitted it with the new scuttle and front end panels.
Posted
Settled In

Posted
Old Timer


Colley27 said
Saulty said
Good work, looking like a steady process. Keep it up! Loving the before pics, I think I'd have walked away from it!
Just out of interest, what repair panels did you use for the inner sills, what outer sills do you plan to use and what rear arches do you plan to use?
I took the panels I used for the inner sills from a job at work which was getting two chassis legs and these were left over ideal for what I wanted they were similar looking to the originals and were thick steel so cut them to size and dropped in. The panels I bought from eBay when they were on a good deal, for sills, inner and outer arches they are klockenheim if I remember right but anyway the reason I bought them is because the sills have the pressings in them for the trims and looked good quality and so far haven't disappointed been straight forward to fit
Thanks mate, I think I remember a post on here about those panels. Was the make Klockerholm?
It looks like you've been busy again, it's gonna be worth it in the end.
Mars red 1.8 GTI tintop now MOT'd and on the road!
http://vwgolfmk1.org.uk/forum/index.php?page=topicview&id=projects%2Fyour-mk1-golfs_2%2Fwent-to-look-at-a-golf&kfs79=150
http://vwgolfmk1.org.uk/forum/index.php?page=topicview&id=projects%2Fyour-mk1-golfs_2%2Fwent-to-look-at-a-golf&kfs79=150
0 guests and 0 members have just viewed this: None.


