Colley's 82 mk1 gti
Posted
Settled In

Posted
Settled In


Posted
Old Timer


"Mk1 Golf Gti...all things to all men"
Posted
Settled In

Posted
Settled In

Posted
Settled In

Posted
Settled In


Posted
Settled In

Posted
Settled In


While I had the front of the inner wing removed I cleaned up the passenger side chassis leg and welded up one tiny pin hole in it then coated it with wurth rust treatment
Posted
Settled In


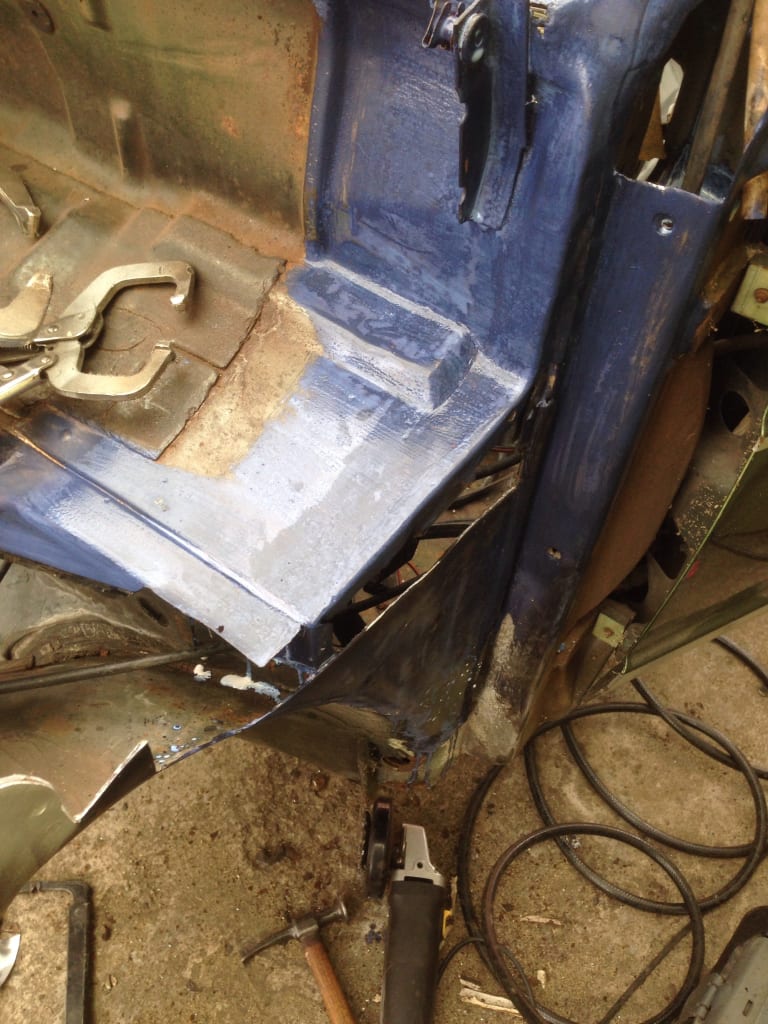

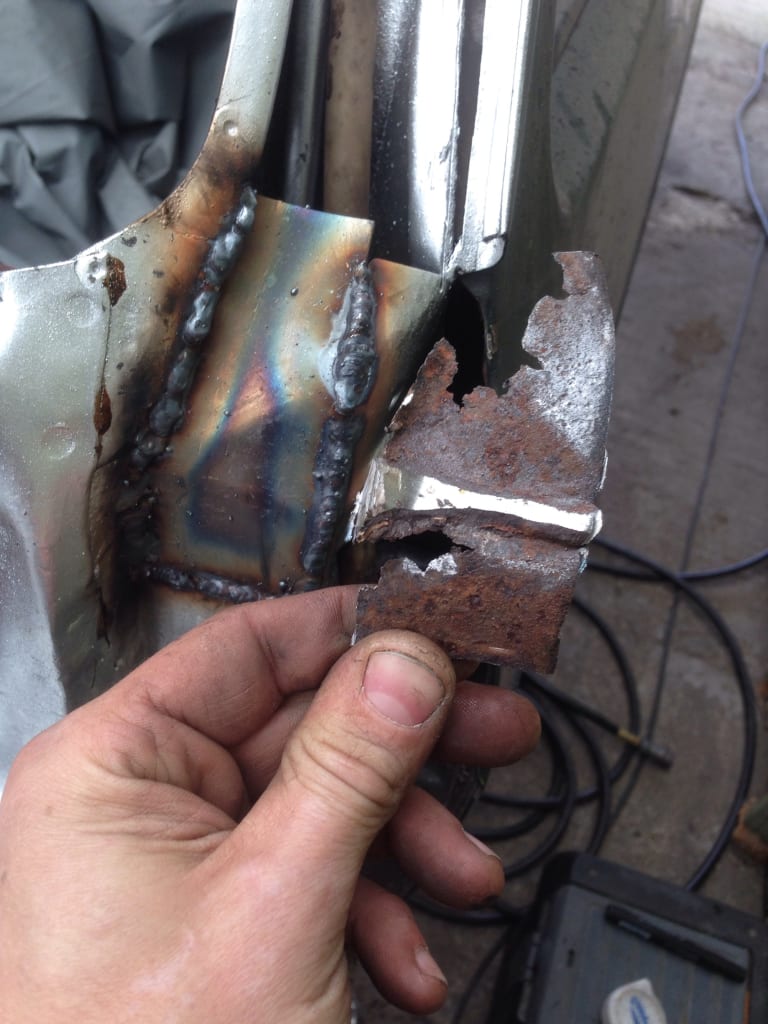

A few naughty little bits where I had to make some little in fill panels before I fitted the inner wing top to save chewing on afterwards.
Posted
Settled In

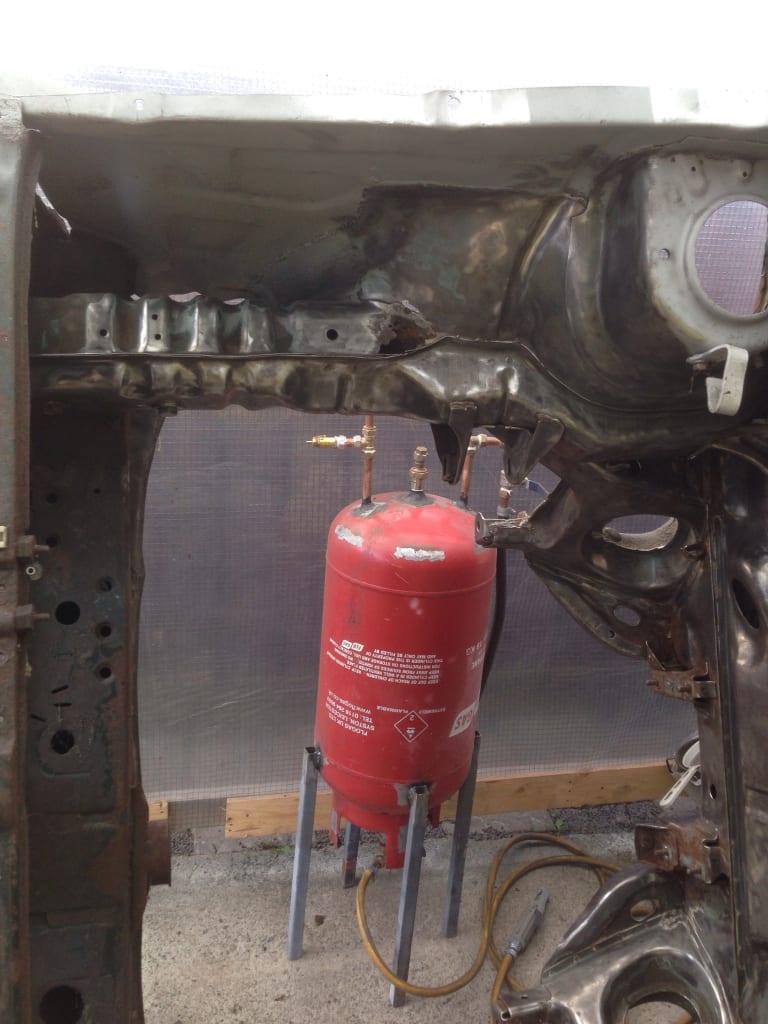

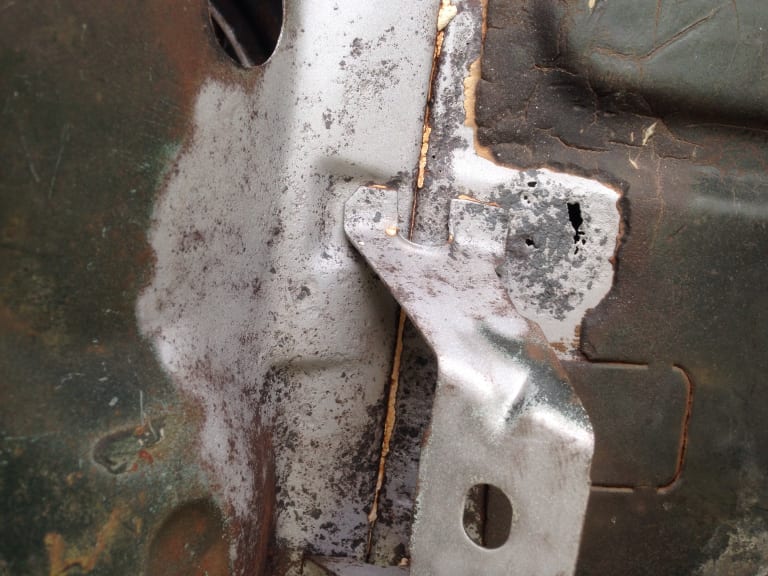


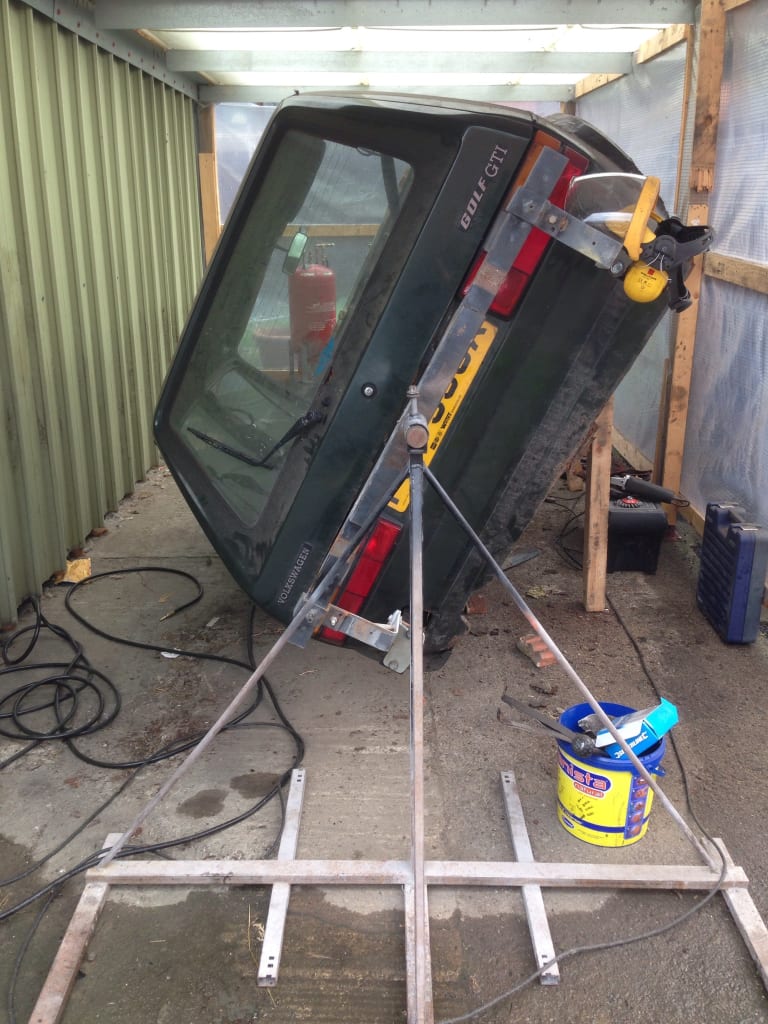
Ive built myself a sandblaster to help do the awkward parts where I can't get into with wire strip clean wheels and it made life loads easier, only using for the hard to get areas as its a messy job and goes through sand in a crack!
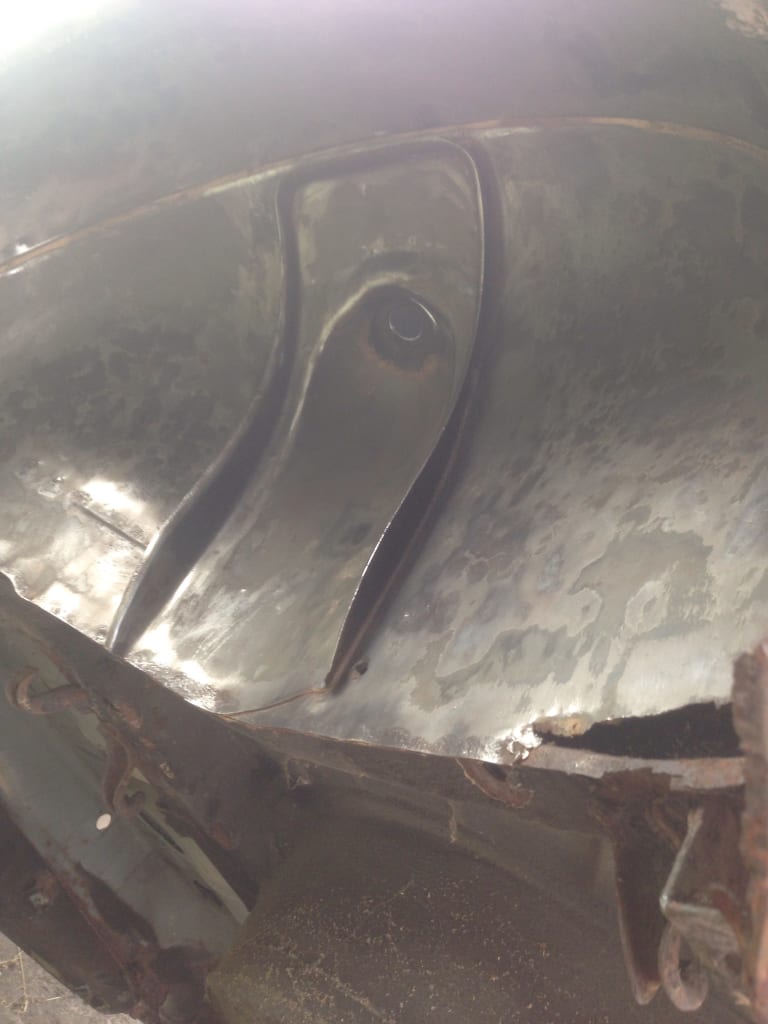
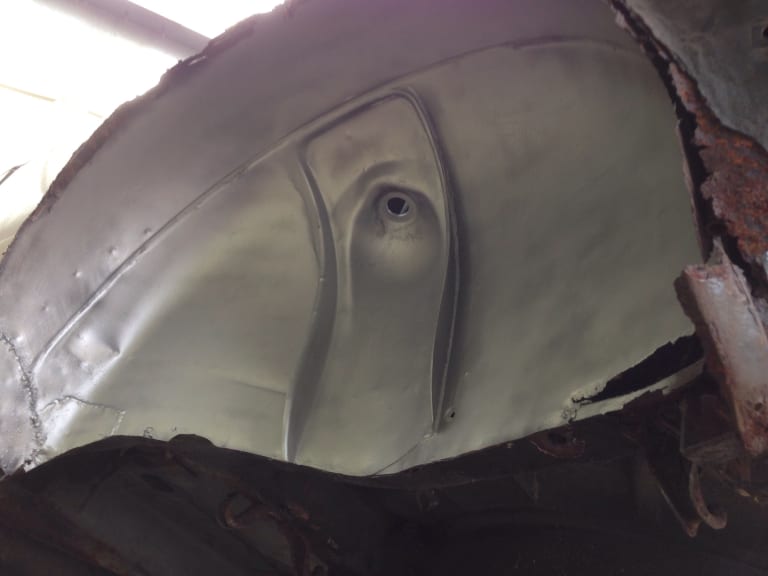
Cleaned back the engine bay but still have a couple of the areas to re do as I couldn't get them fully sorted with the strip wheel and ran out of time to sand blast them.
The battery tray was in not to bad shape just thought it would be better to take it off and clean the leg up fully.
Posted
Settled In


Does anyone know if the front floor repair panels have the this strengthening plate on them? Cheers
Posted
Settled In

You've inherited just about every possible repair required on a MK1 shell by the looks of it!
The photos are instructive for anyone tackling such challenges.
Keep at it one repair at a time - you'll win in the end
Posted
Settled In

ConvictGTI-No.1983EW said
Great Work going on there.
You've inherited just about every possible repair required on a MK1 shell by the looks of it!
The photos are instructive for anyone tackling such challenges.
Keep at it one repair at a time - you'll win in the end
Cheers mate
Posted
Local Hero

My Build Thread
All My Build Photos - https://www.flickr.com/photos/pix-al/albums/72157622794406840
My other hobby - www.pix-al.co.uk
All My Build Photos - https://www.flickr.com/photos/pix-al/albums/72157622794406840
My other hobby - www.pix-al.co.uk
Posted
Settled In

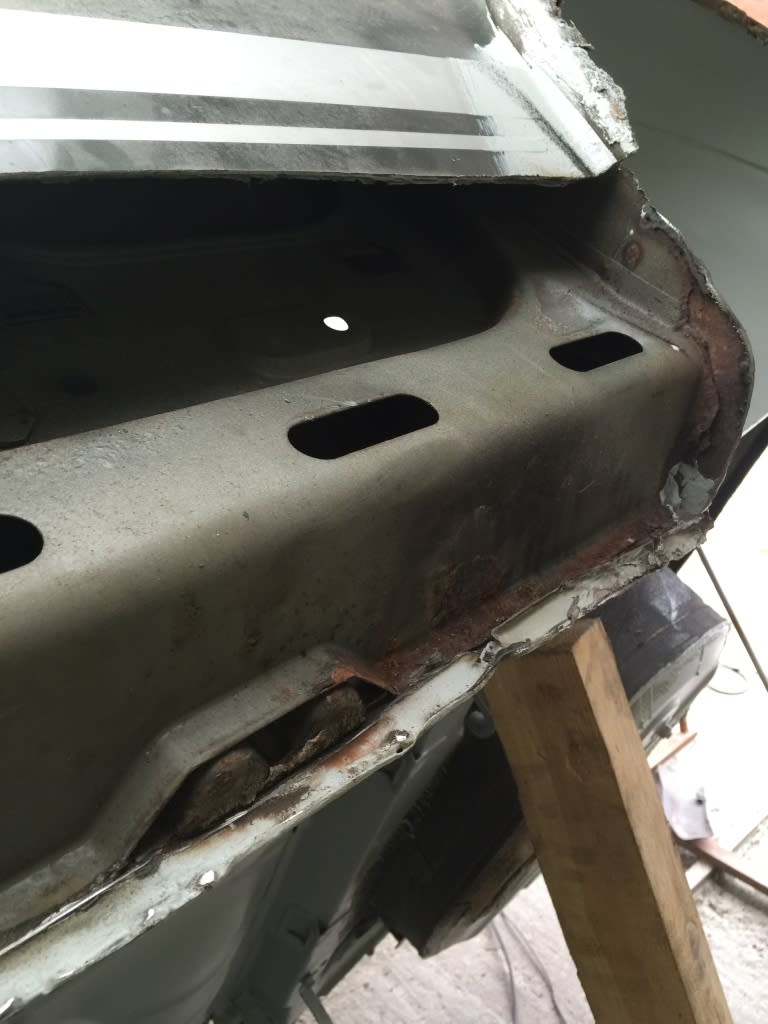


Managed to get a few hours on the golf today, chopped both sills off and made a start on the 'easier' passenger side 😄
First I wire wheeled the inner sill and chopped off an old repair on the inner arches which were joined to the inner sill to make it easier to repair the sill.
I repaired the backing plate to the inner sill by chopping out the rotten piece and replacing with some fresh metal before I weld in the axle repair mount which only needed light persuasion to drop straight in for the next time I get a bit spare time.
Posted
Settled In


Then had a small repair piece to drop in to the inner sill box section.
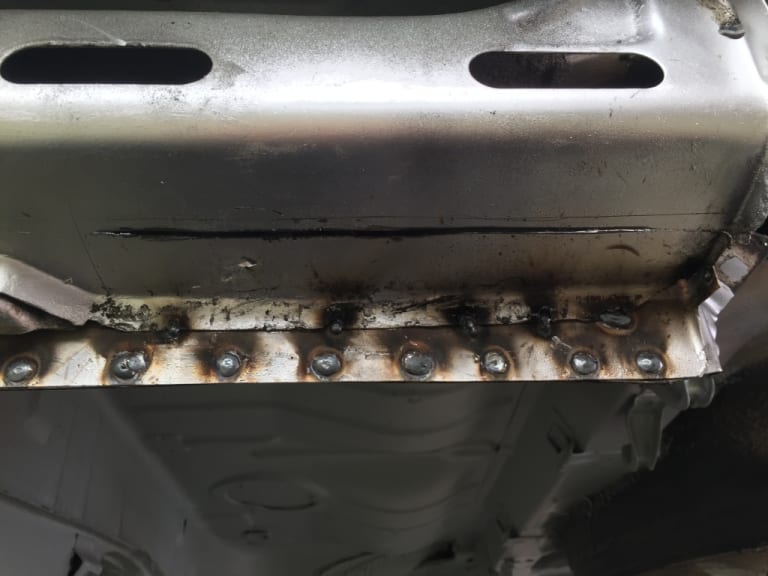
 After that I had an awkward repair piece to the wheel house tub at the front lower corner. Once I'm ready for primer I will dress this one up to shape before primer and stone chip.


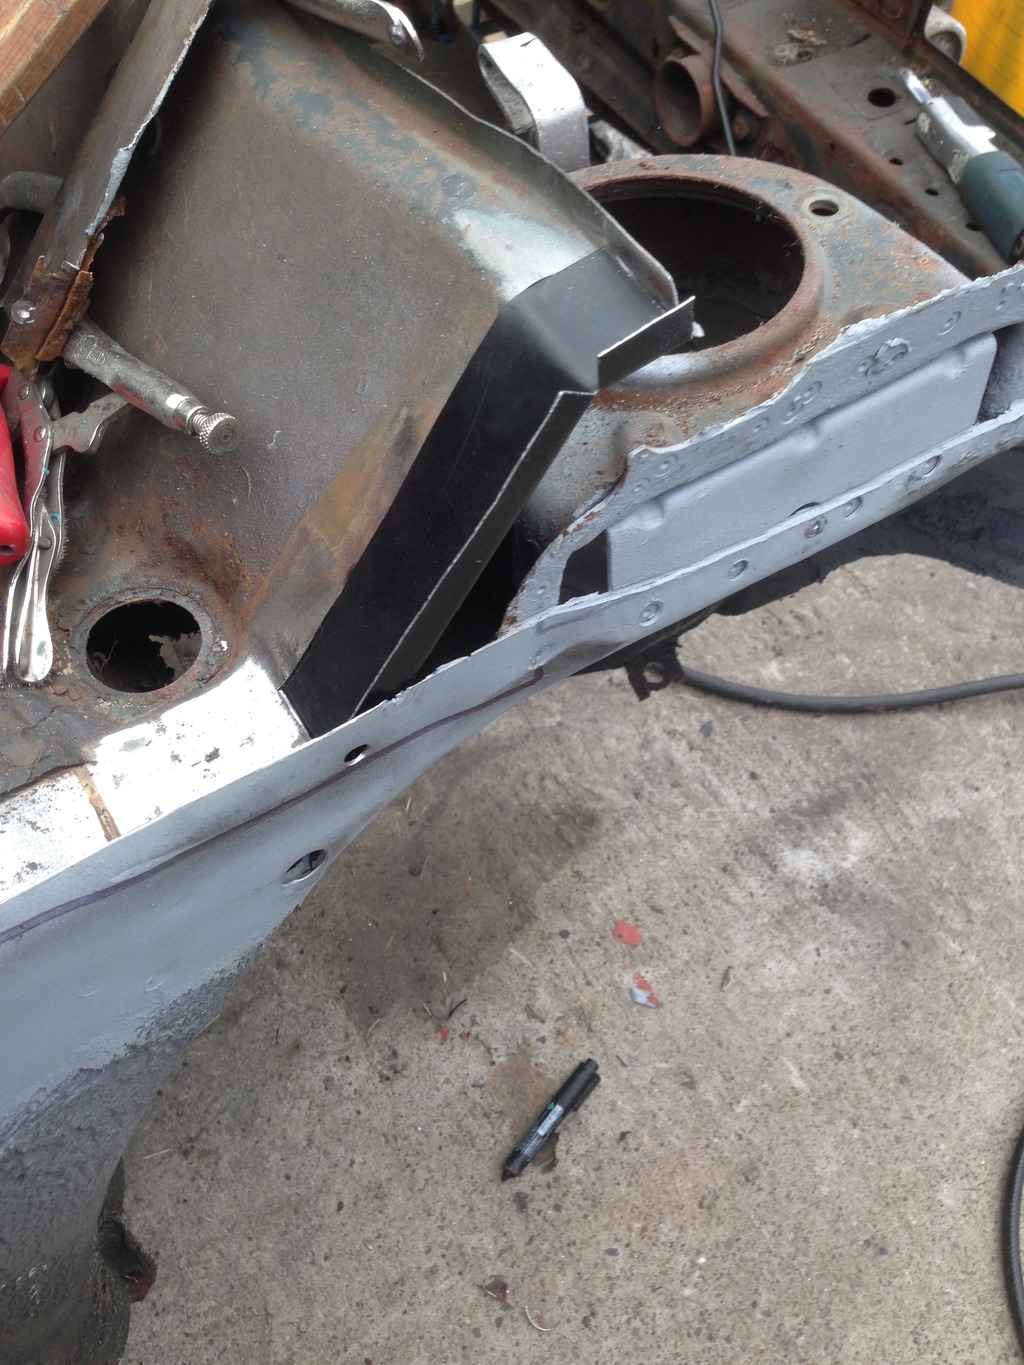
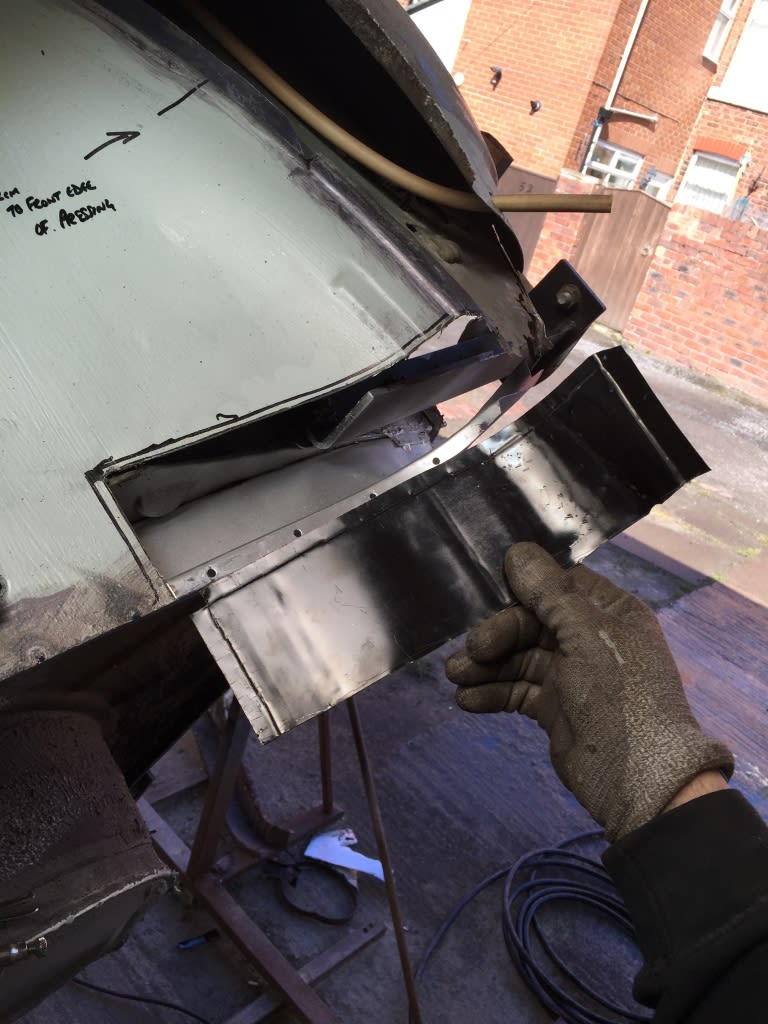
Then finally I removed the old chassis leg panel and cleaned up the panels behind and prepped the panel ready to be welded in the next time.

 Last edit: by Colley27
Posted
Settled In




Posted
Settled In

Posted
Settled In

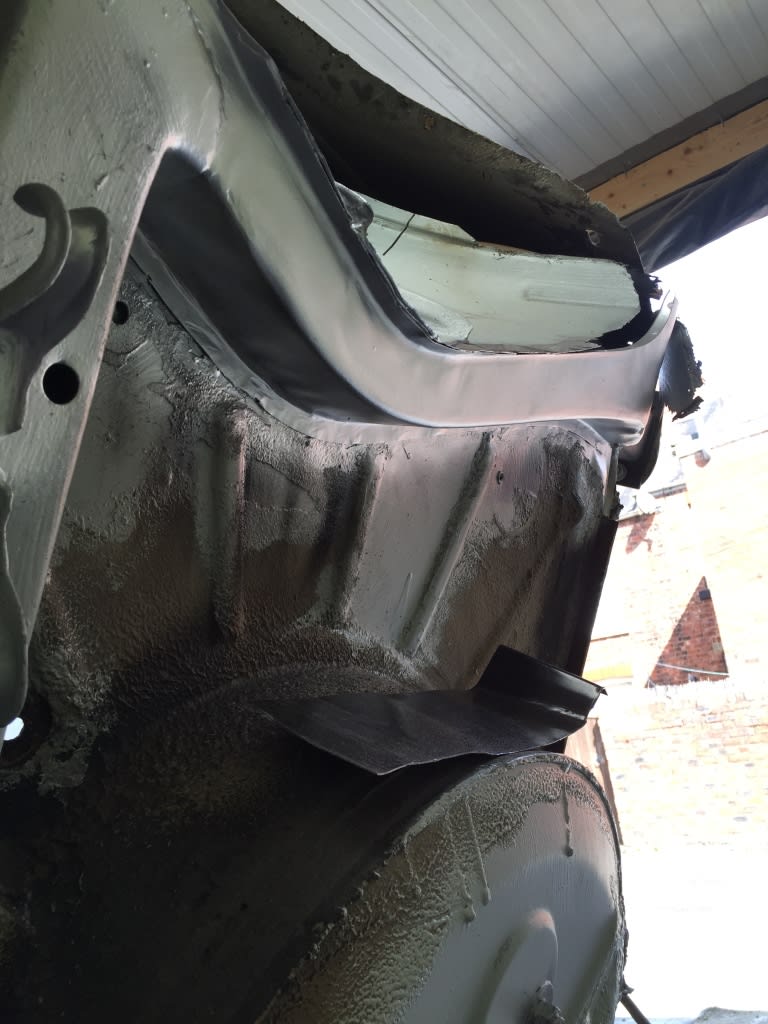
It's had a back panel put in at some point over the years which makes the job a bit more awkward and the lack on zinc primer hasn't helped matters leaving all the joining panels slightly rusted 😡
0 guests and 0 members have just viewed this: None.


