Humble Beginnings...........
Posted
Old Timer

Humble Beginnings...........
All good fun though
Posted
Settled In


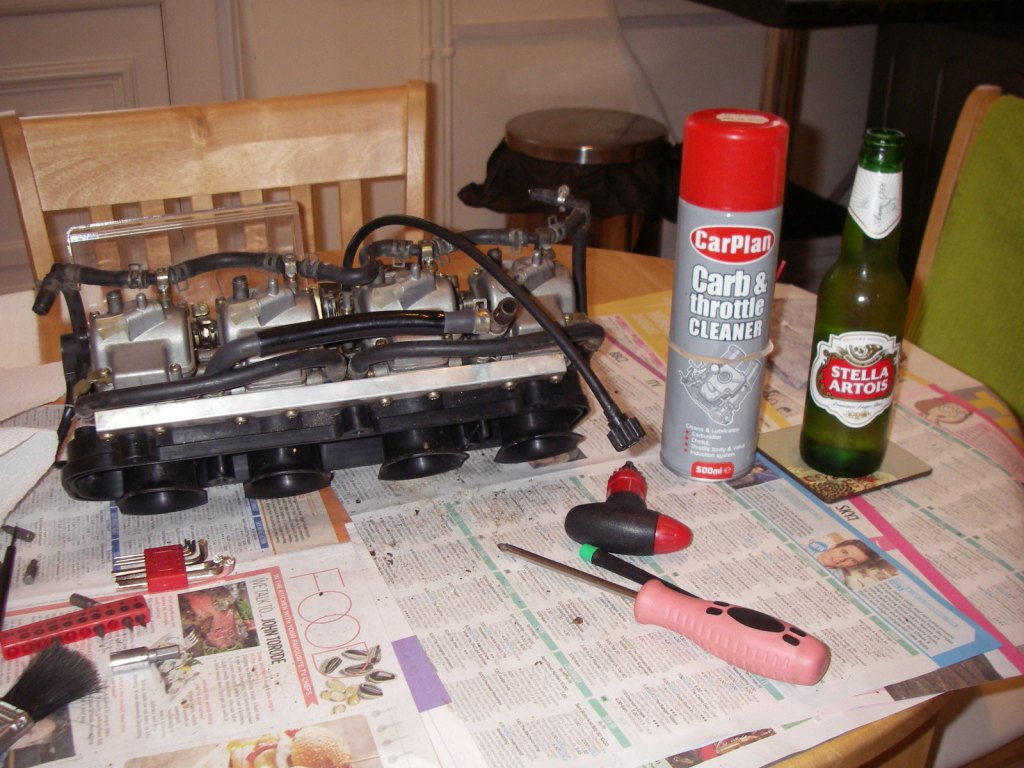
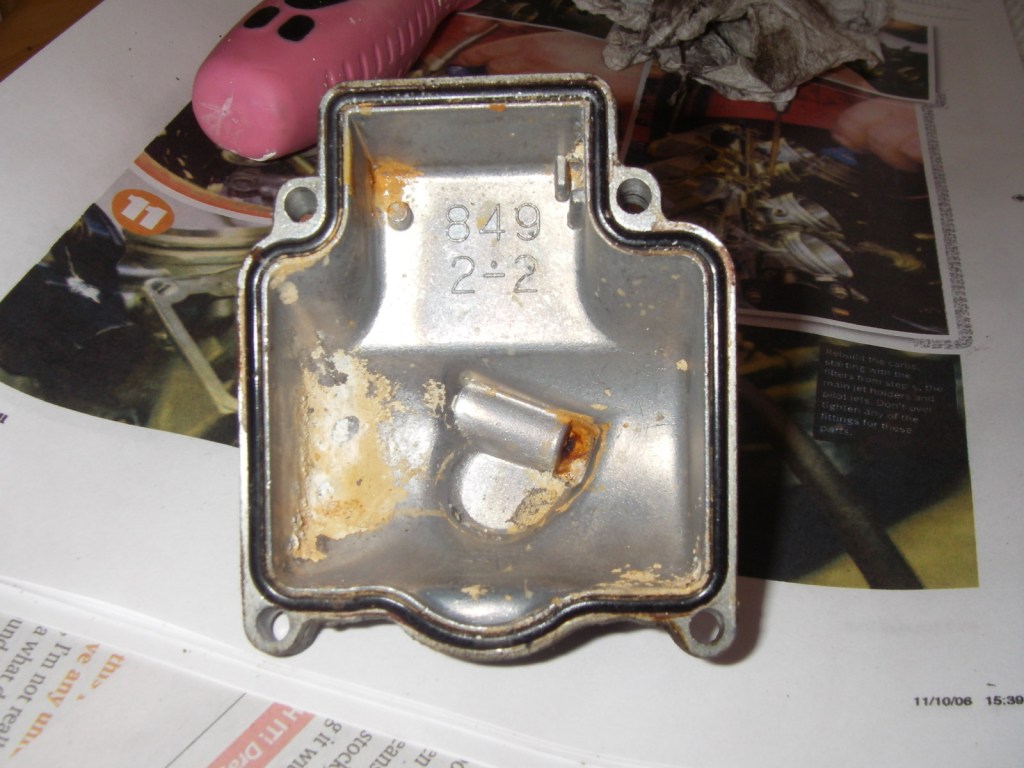
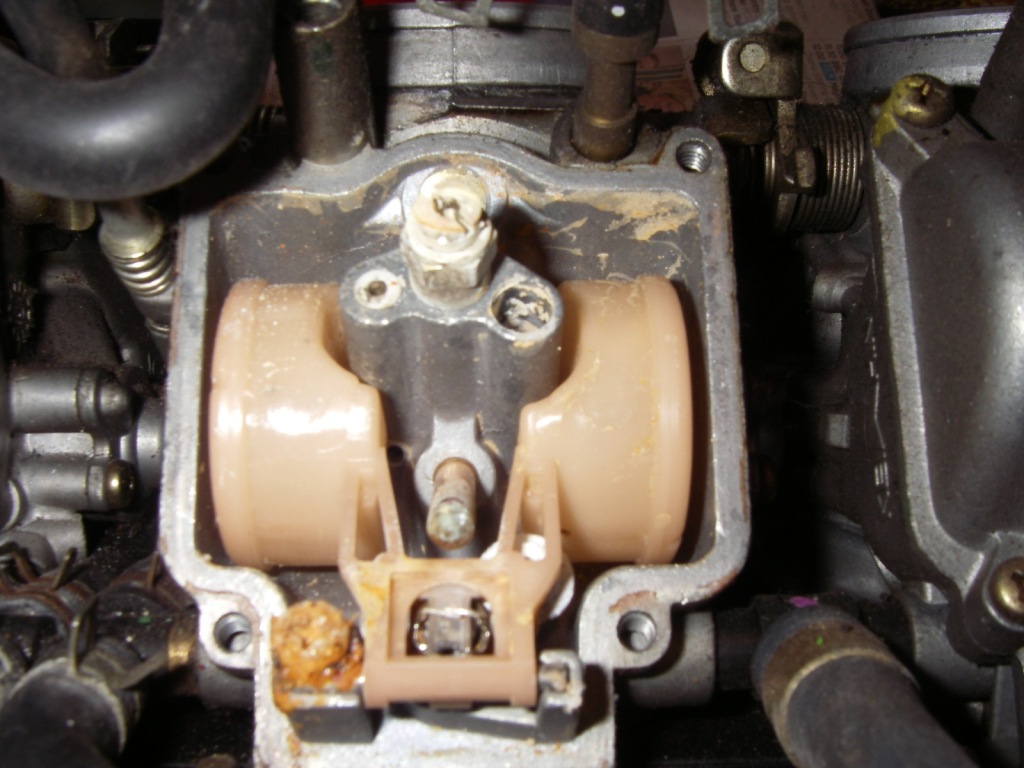
Before:
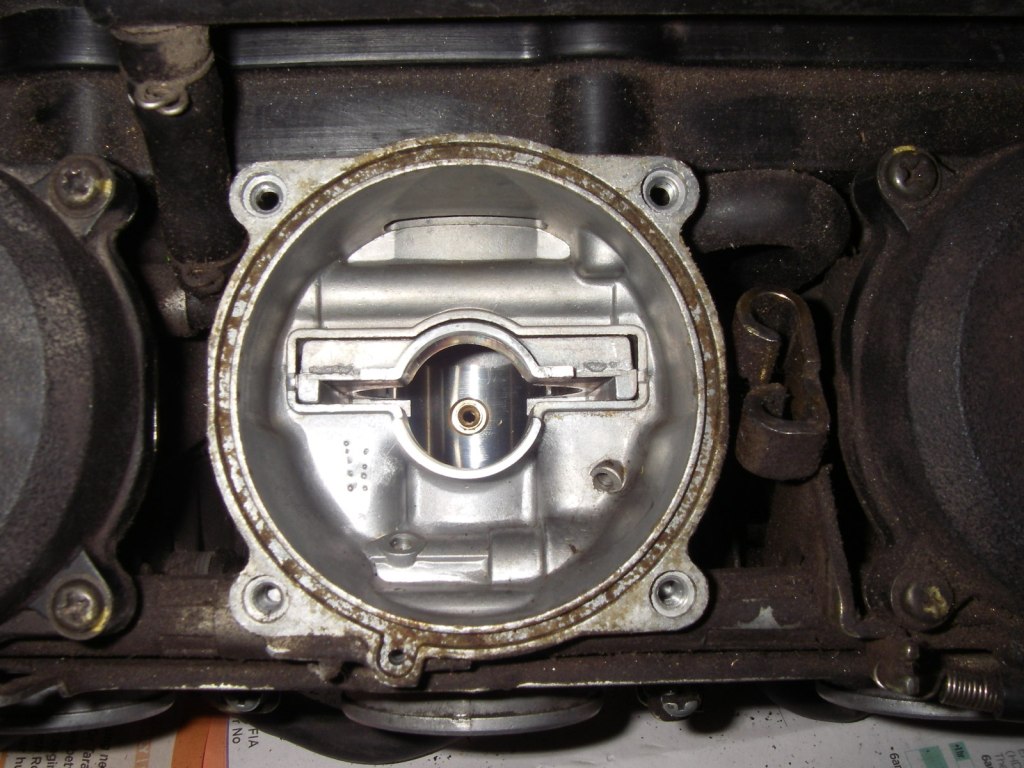
After:
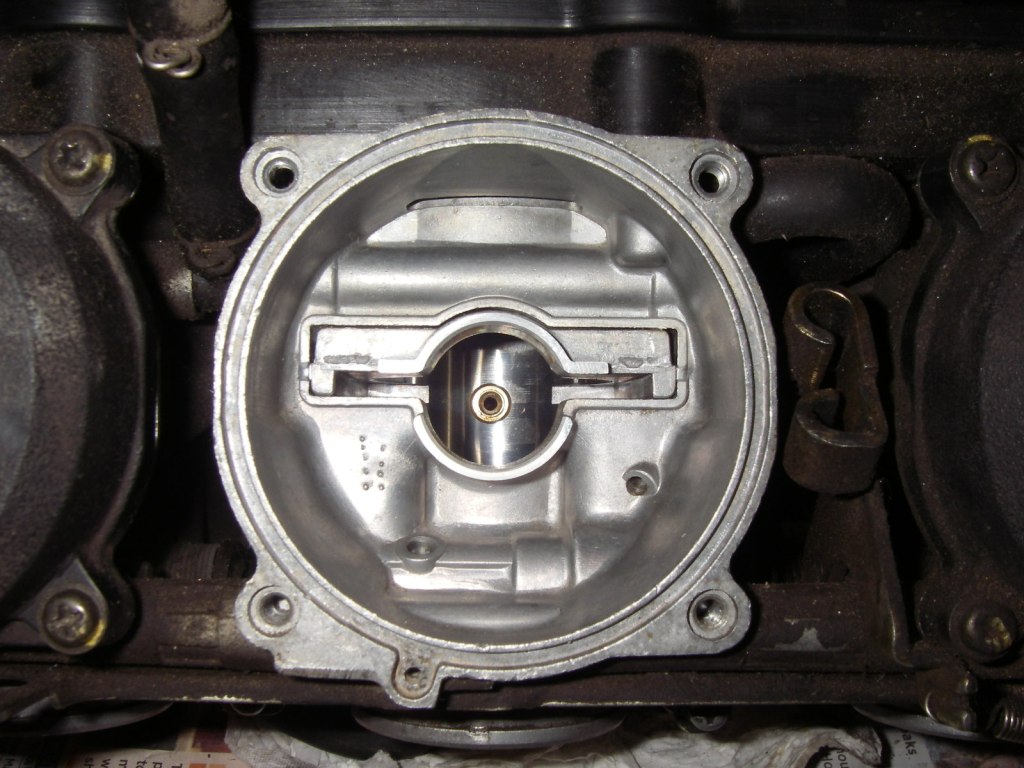
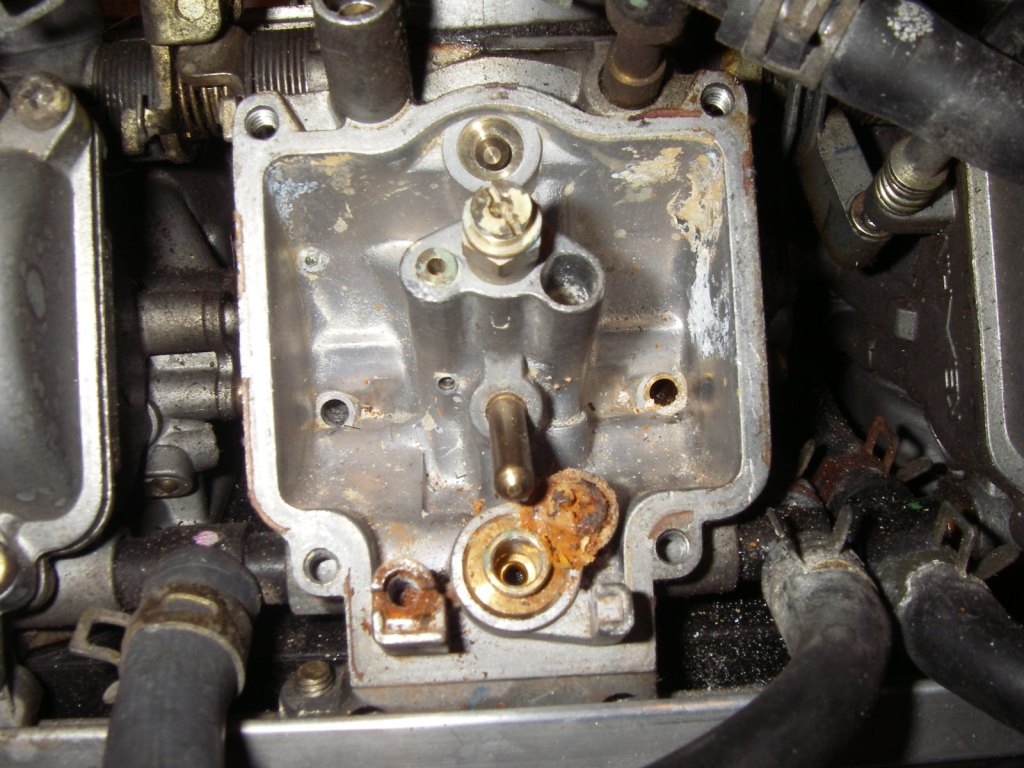
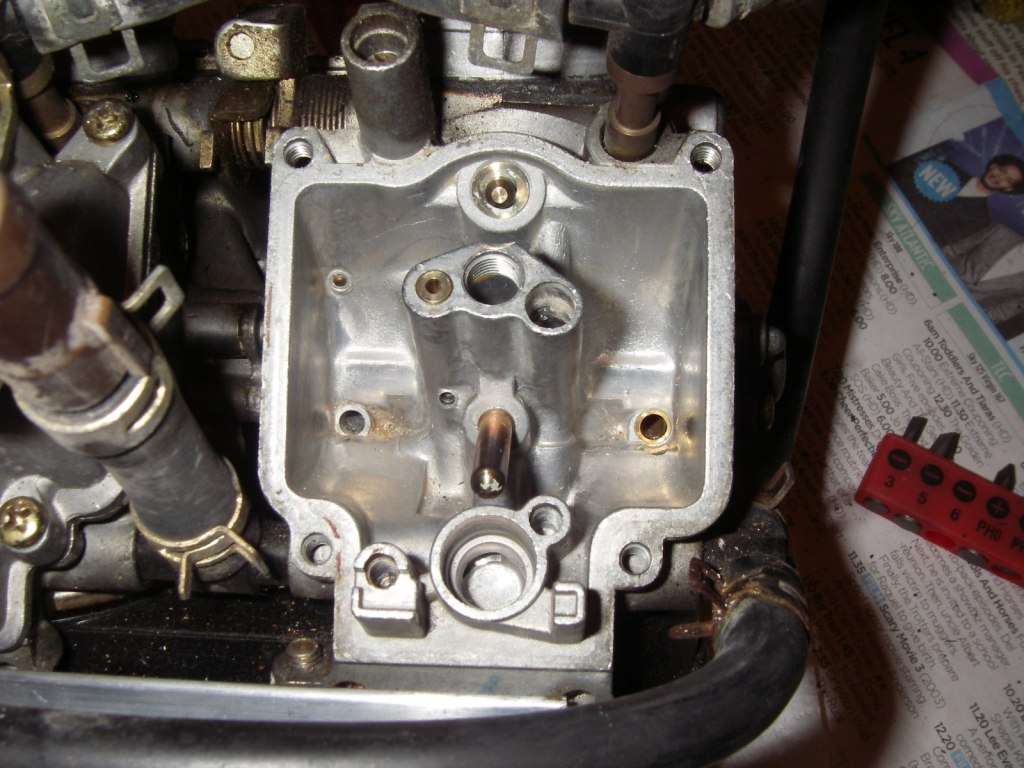
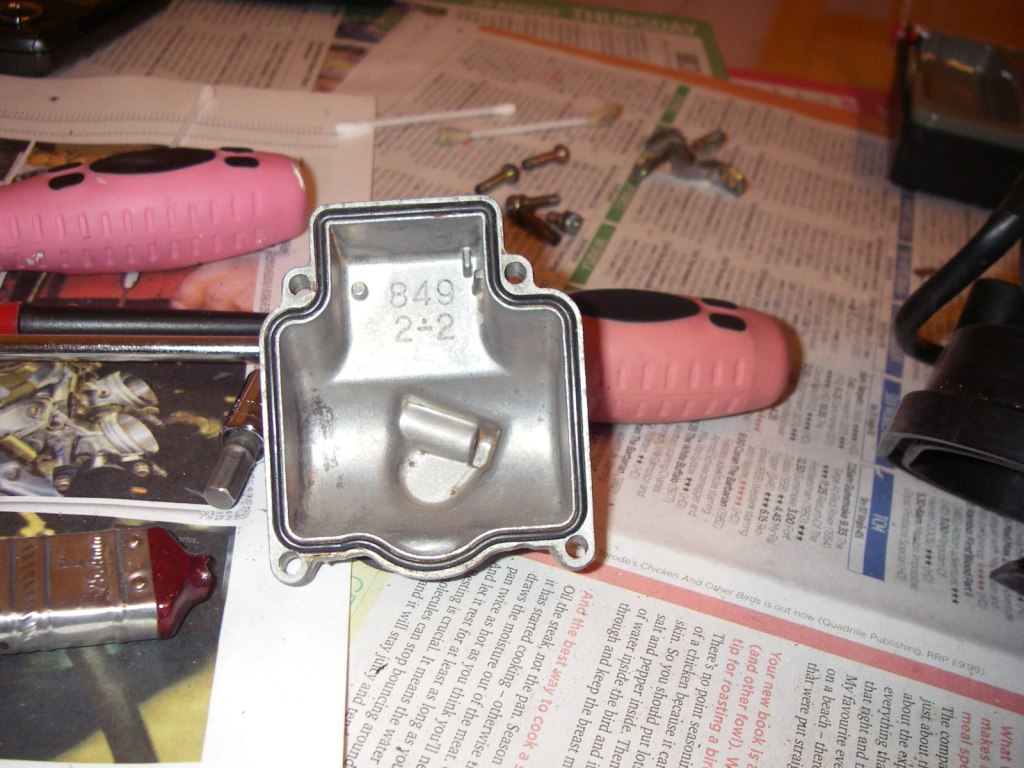
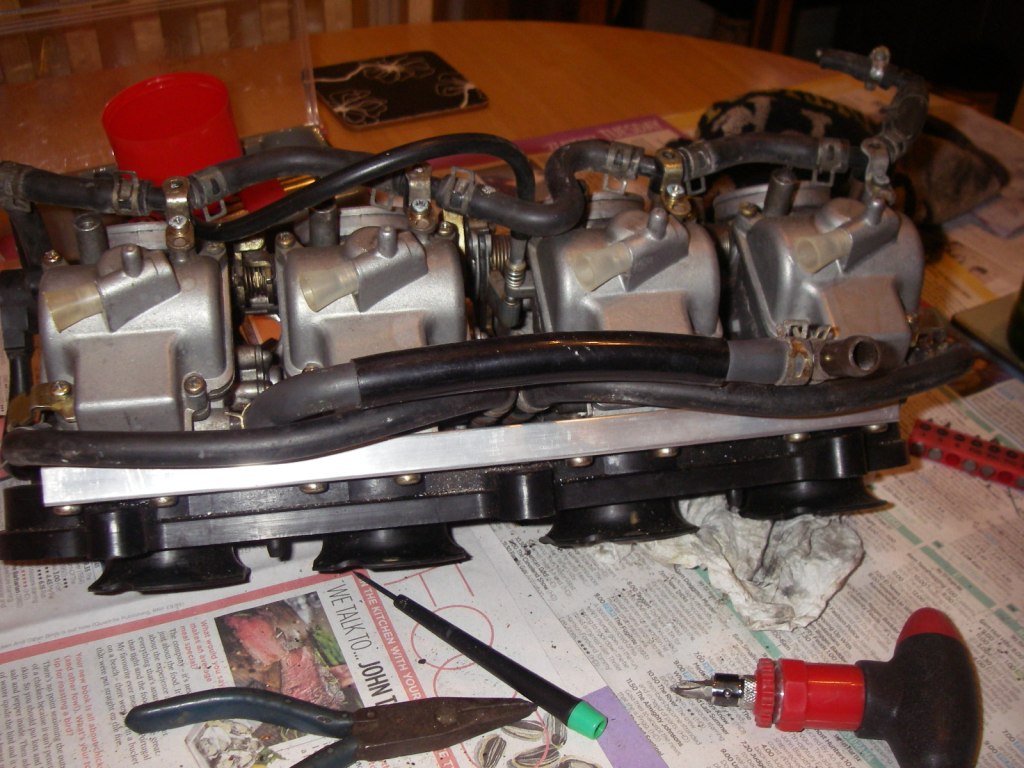
Next step is to completely clean down the outside of the carbs and figure a way of fitting a filter to them, whether to incorporate the existing plastic trumpets or whether to have a new backing plate to fit either a panel filter or individual filters.
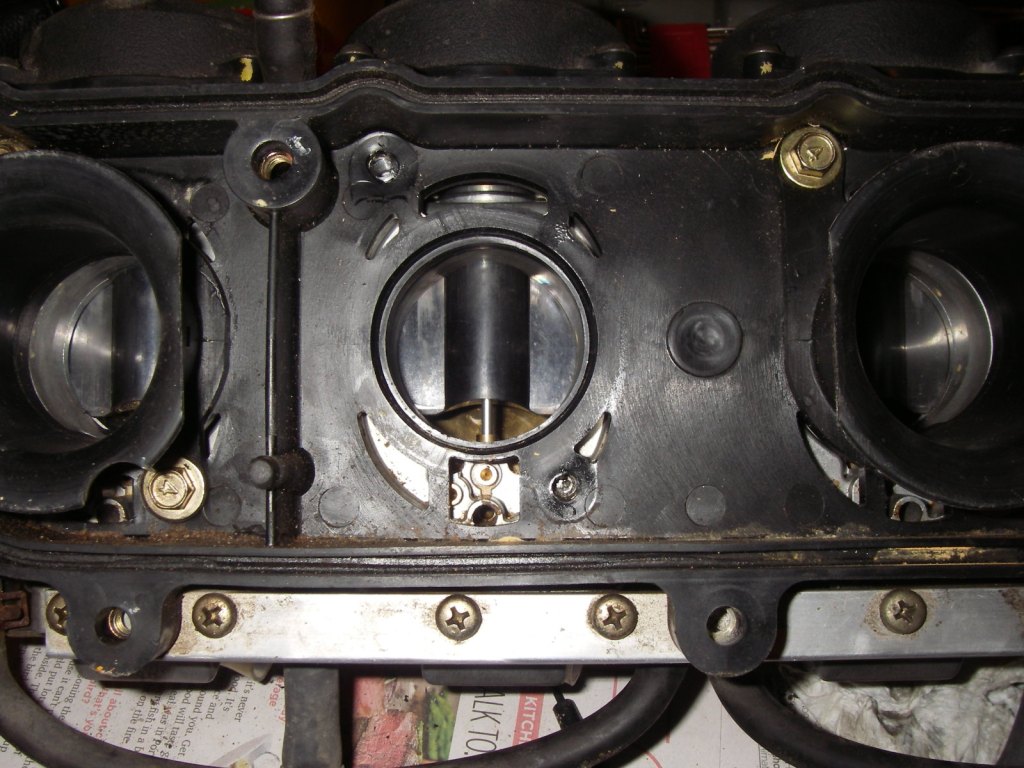
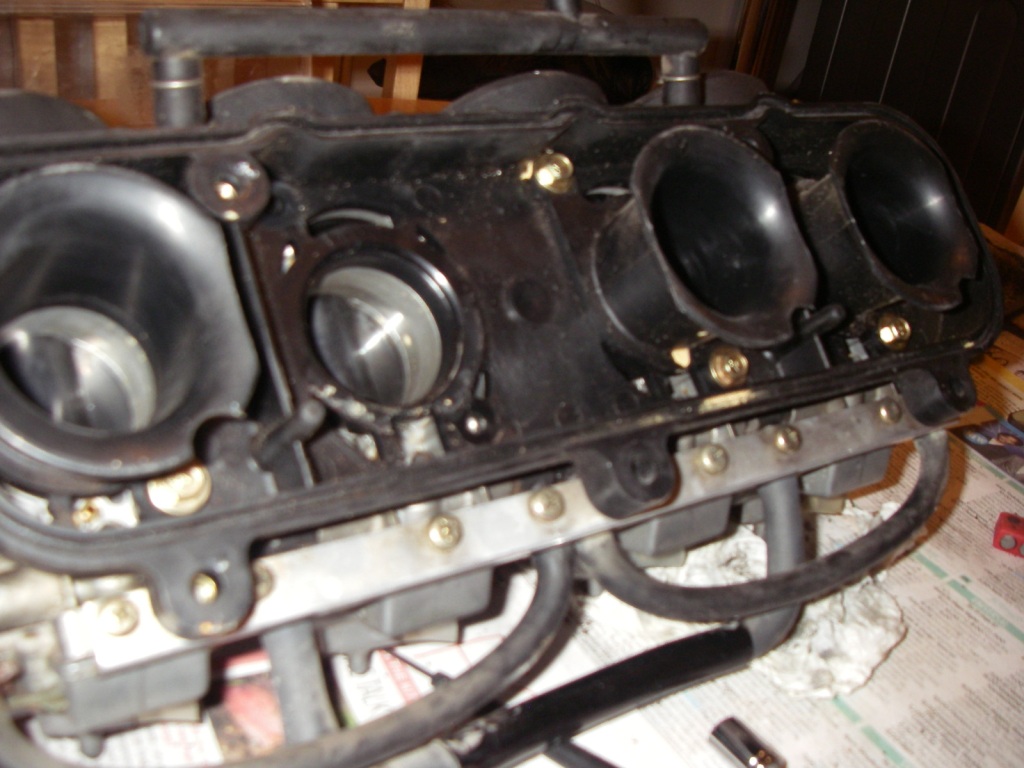
So that's a bit more done!
'84 MK1 Golf - View topic: Humble Beginnings........... - VW Golf Mk1 Owners Club '99 MK4 Golf
Posted
Settled In


So I broke the assembly off today, had a blow torch at the ready to heat up the bolt however decided to have another crack at it with the allen keys, sprayed some WD-40, gave it a tap with the hammer, allen key in and it came loose just like that! So yeah pretty chuffed with my hours work, that’s now one less thing I have to worry about! I’ll hopefully be heading to the bodyshop this week to take a look at the progress with the paint so far, i’ll get some pics and post ‘em up!
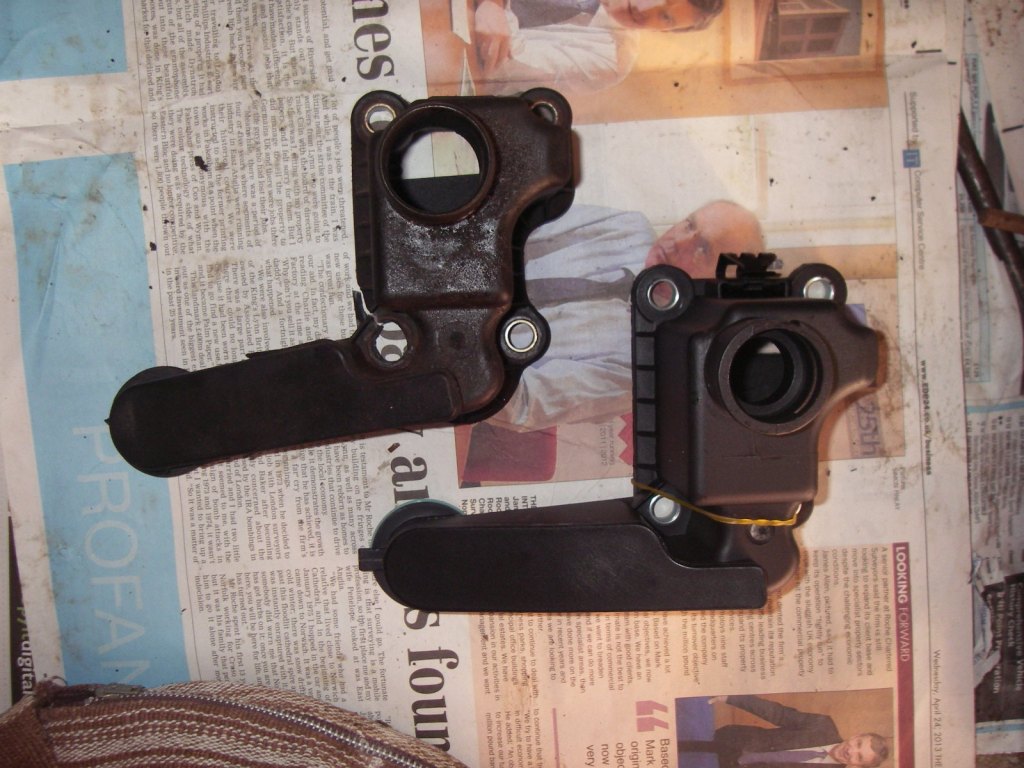
Top assembly is the one I broke off.
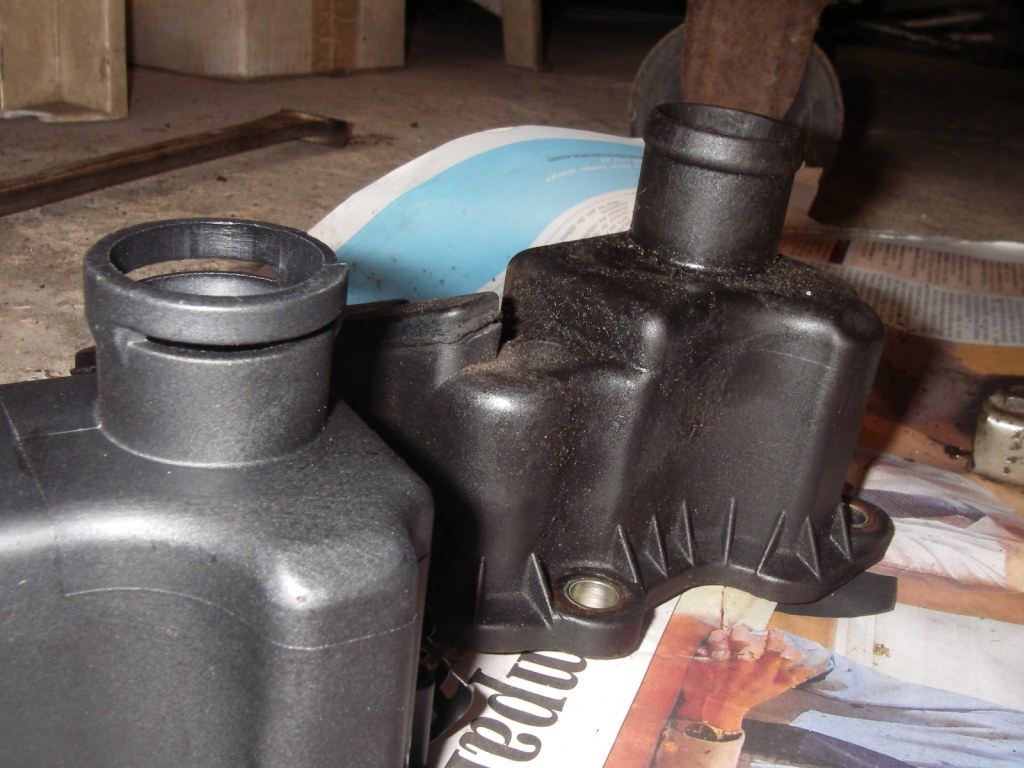
Slight difference between the two but shouldn't be a problem…………………….lol

Very crusty and horrible!
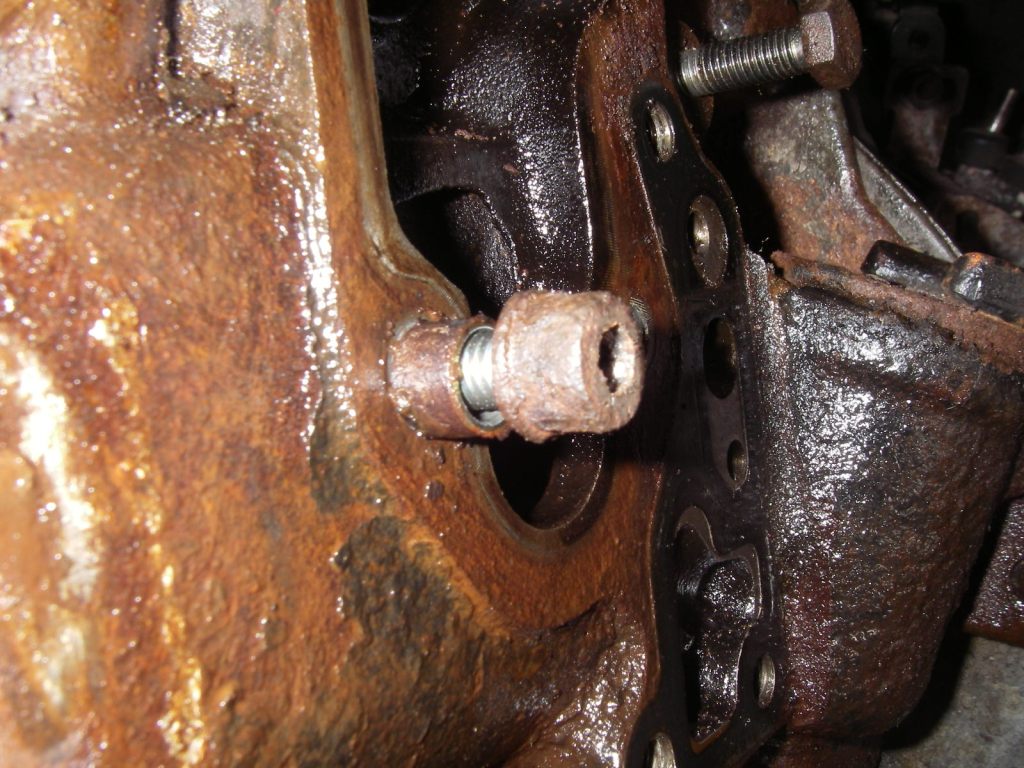
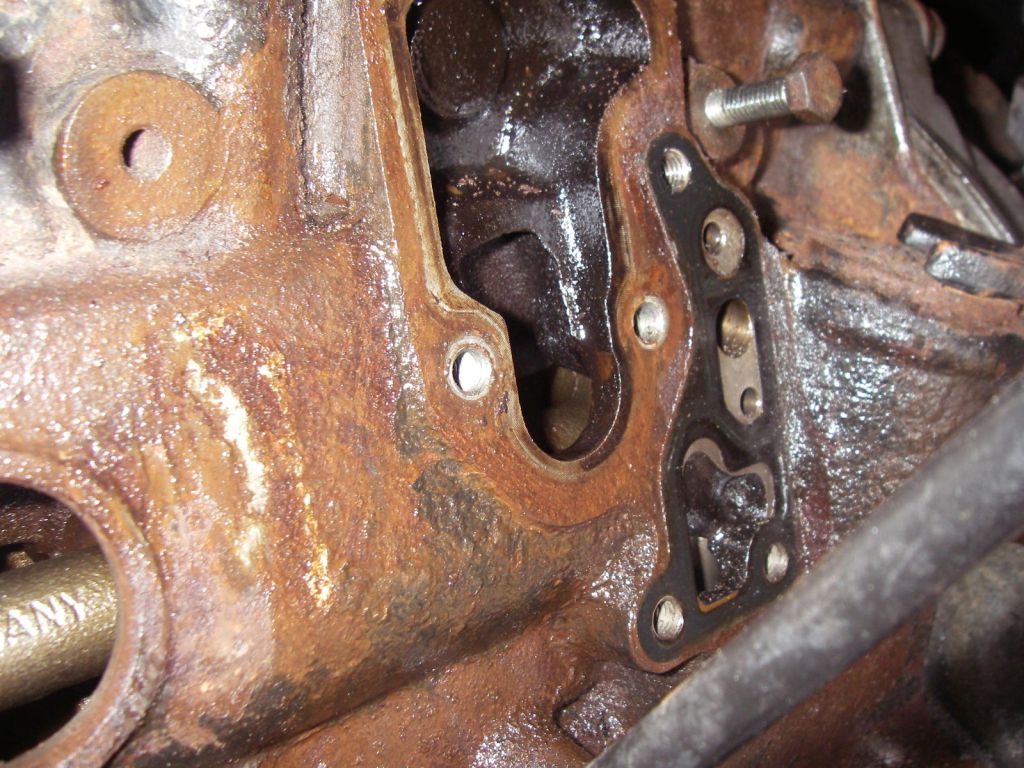
Crusty bolt removed, now to finish cleaning up the block ready to be re-painted………..watch this space!
'84 MK1 Golf - View topic: Humble Beginnings........... - VW Golf Mk1 Owners Club '99 MK4 Golf
Posted
MOTY 2013

Hello my name is John and I'm a dub addict.
My wiring diagrams and other documents have moved here:
VAG Documents & Downloads
You'll need to sign into google/gmail for the link to work! (its free!)
My wiring diagrams and other documents have moved here:
VAG Documents & Downloads
You'll need to sign into google/gmail for the link to work! (its free!)
Posted
Settled In


'84 MK1 Golf - View topic: Humble Beginnings........... - VW Golf Mk1 Owners Club '99 MK4 Golf
Posted
Old Timer

Posted
MOTY 2013

Hello my name is John and I'm a dub addict.
My wiring diagrams and other documents have moved here:
VAG Documents & Downloads
You'll need to sign into google/gmail for the link to work! (its free!)
My wiring diagrams and other documents have moved here:
VAG Documents & Downloads
You'll need to sign into google/gmail for the link to work! (its free!)
Posted
Settled In


No I haven't decided yet mate, I like the look of the cones filters as well it just depends on how much room I have under the bonnet as to what filter I use, I have seen plenty of people on here with the individual cone filters on though so they should fit. I would think you would need to remove the existing plastic trumpets and then attach the cone filters in place of them, I'd hope there would be enough room to attach them with jubilee clips……………..I'll take some pics when I've got them apartpazwaa said
Have you decided which filter for the carbs you're going to use? My carbs are the same as yours, I'm hoping to fit individual cone filters, love the look, just got to figure how to fit them.
Cool, will try that first I thinkrubjonny said
yah have seen that done as well, should hold up fine
'84 MK1 Golf - View topic: Humble Beginnings........... - VW Golf Mk1 Owners Club '99 MK4 Golf
Posted
Settled In


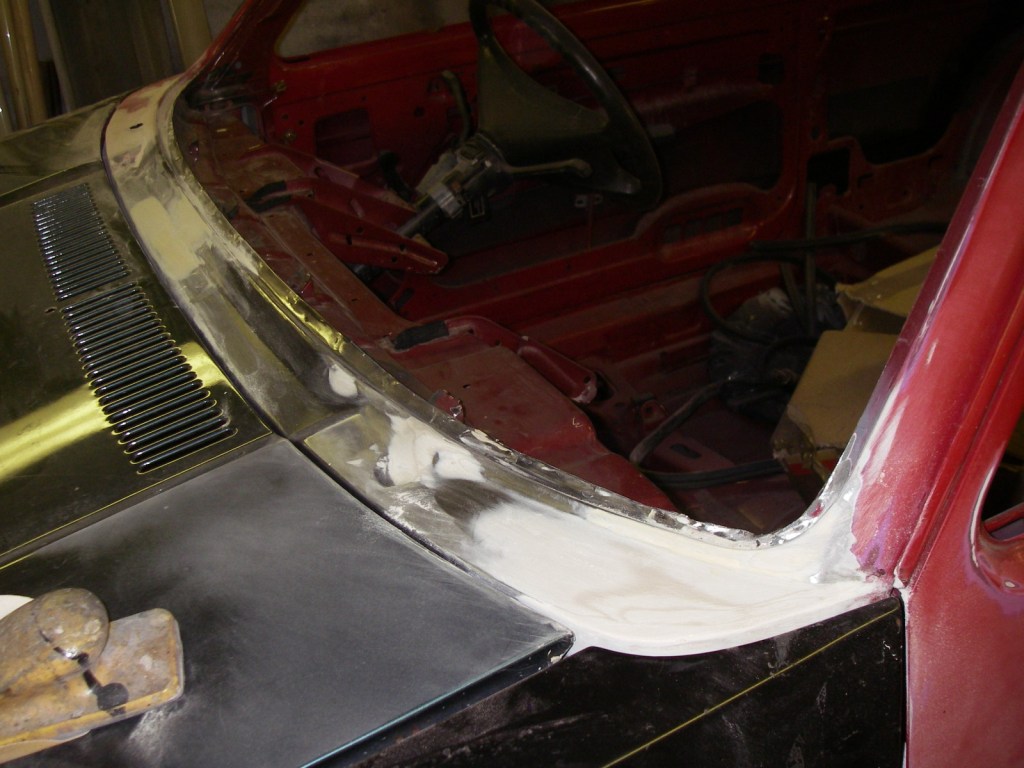
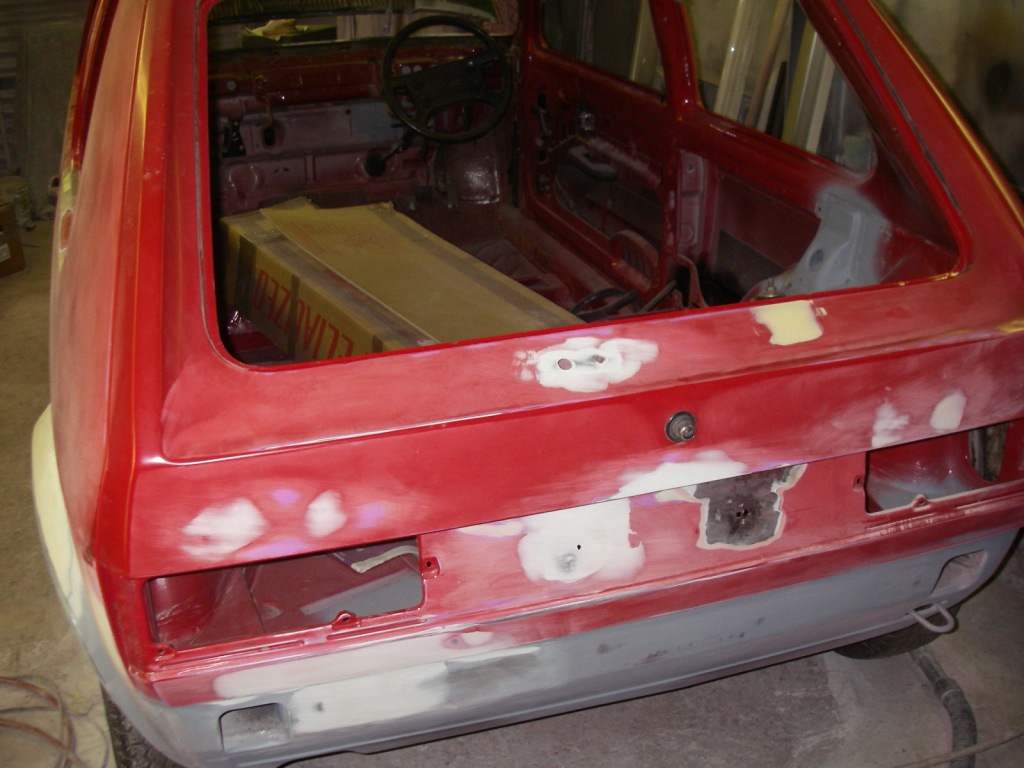
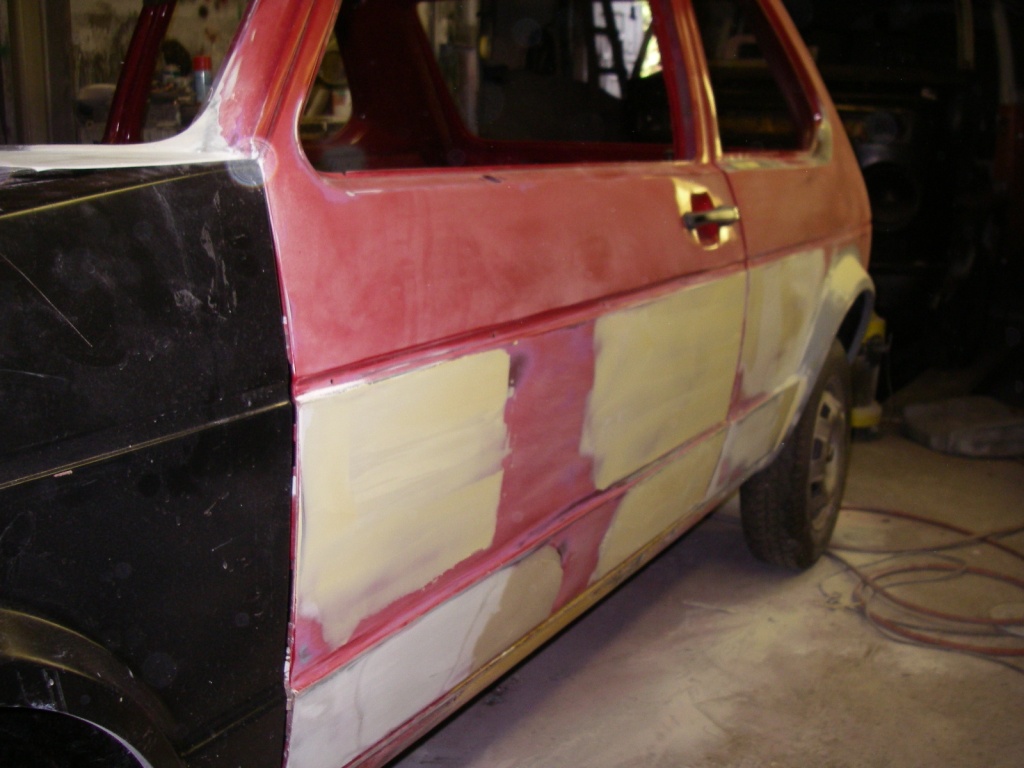
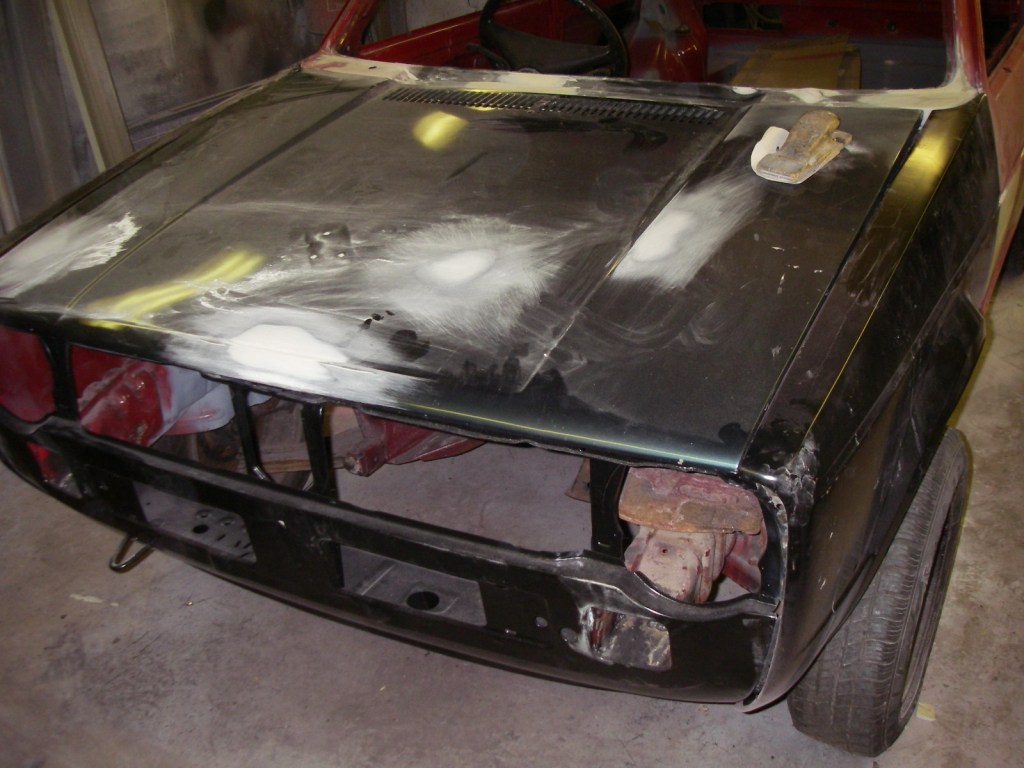
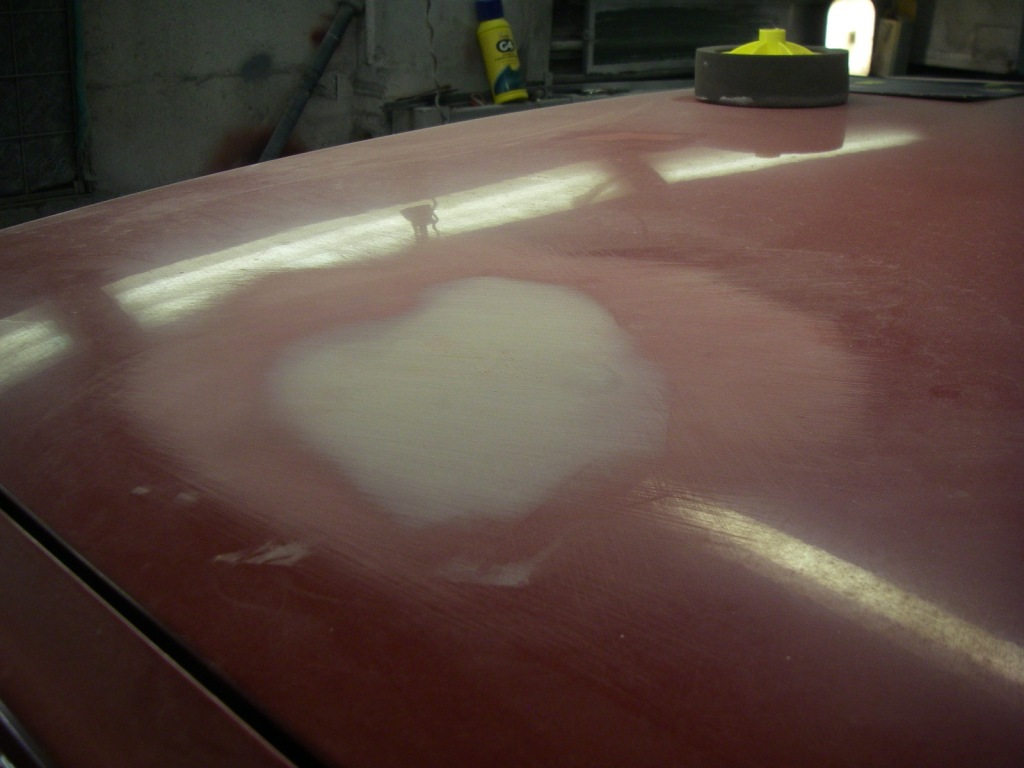
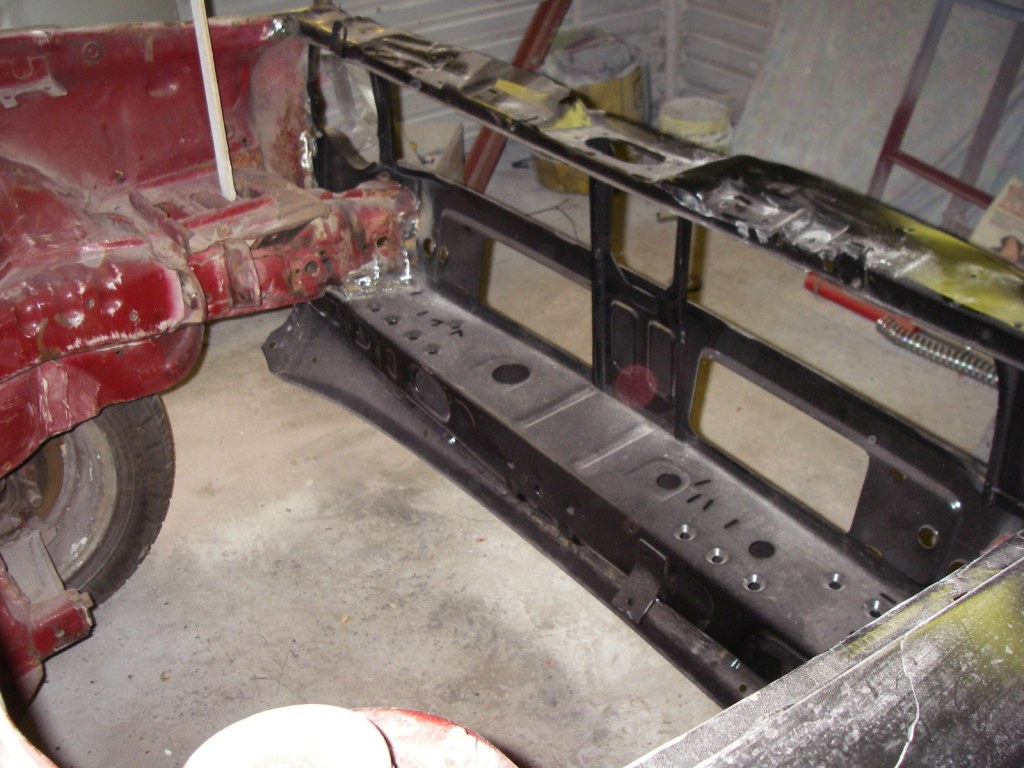
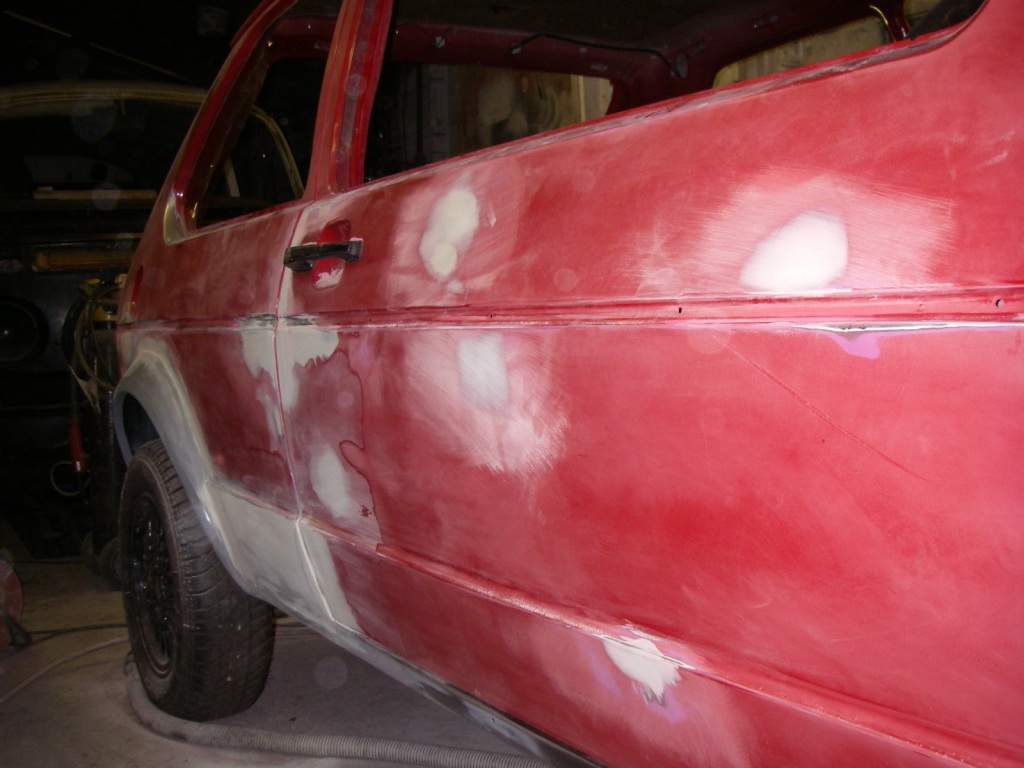
So that's it for now, more updates soon I hope!
'84 MK1 Golf - View topic: Humble Beginnings........... - VW Golf Mk1 Owners Club '99 MK4 Golf
Posted
Settled In


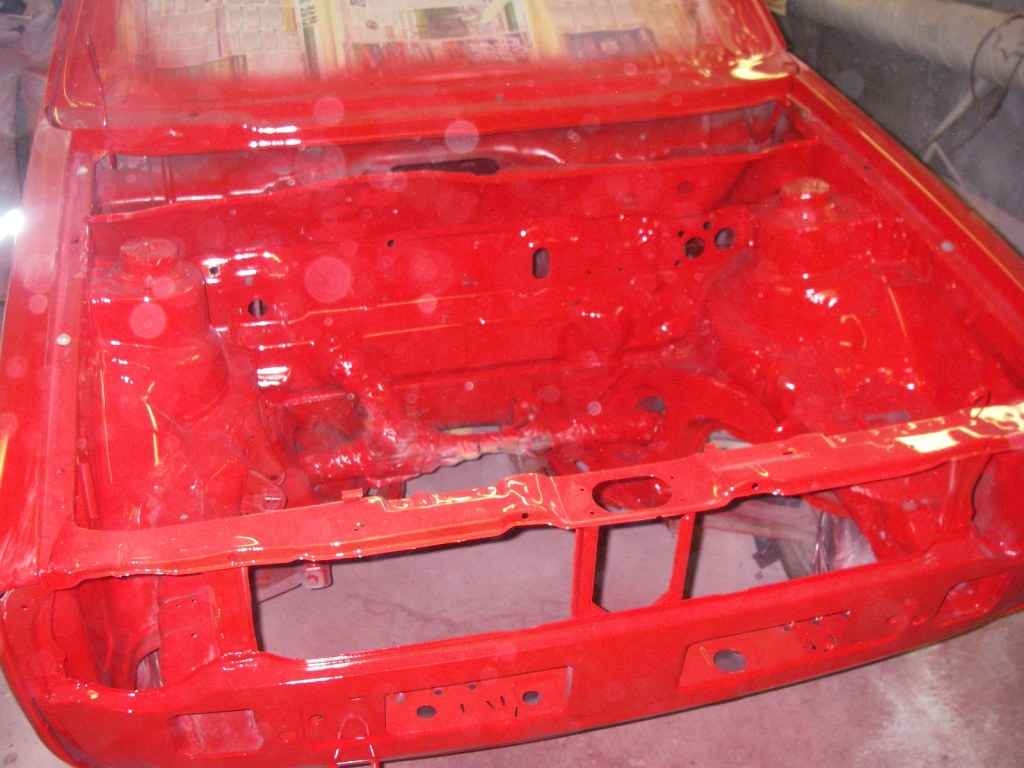
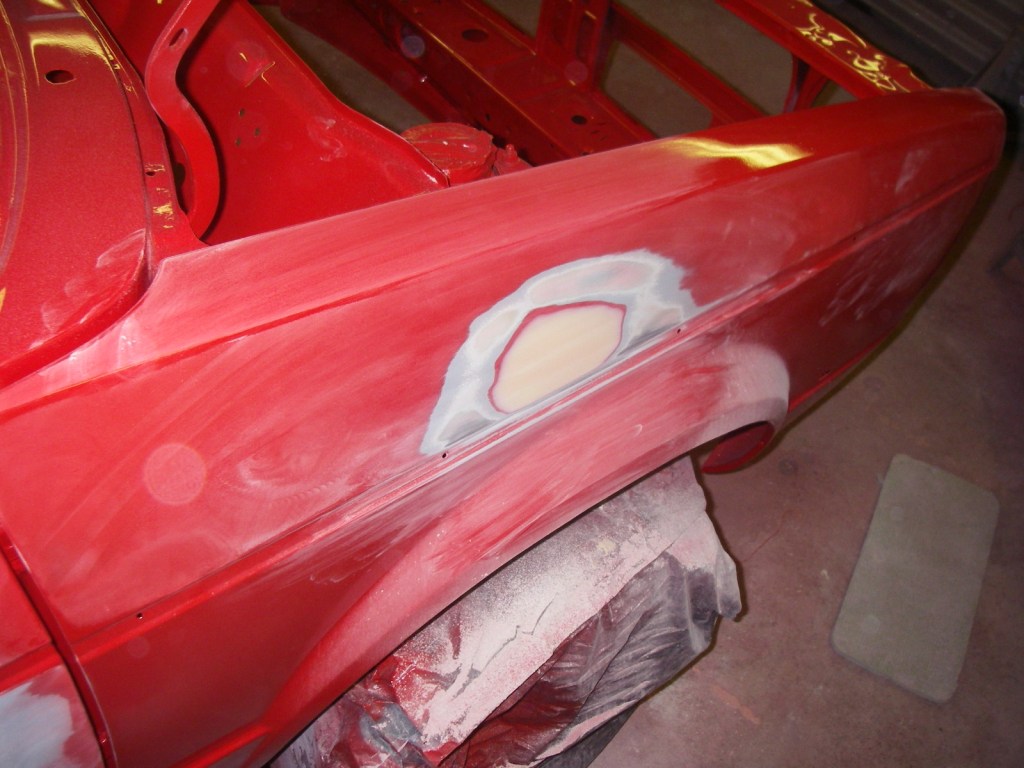
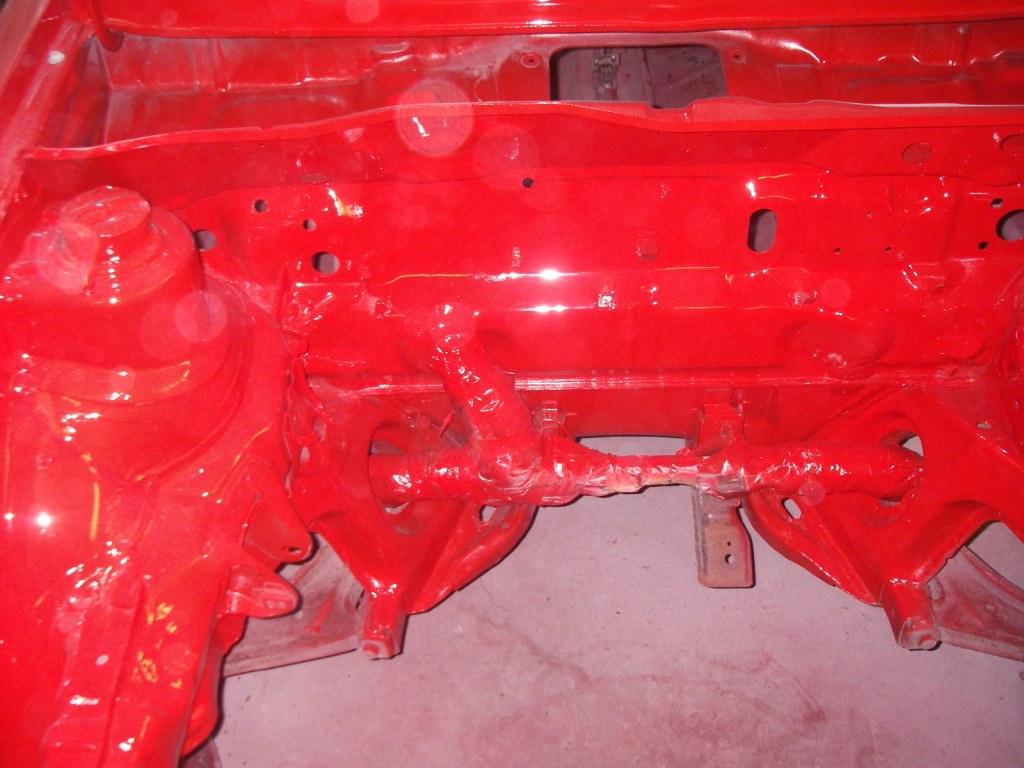
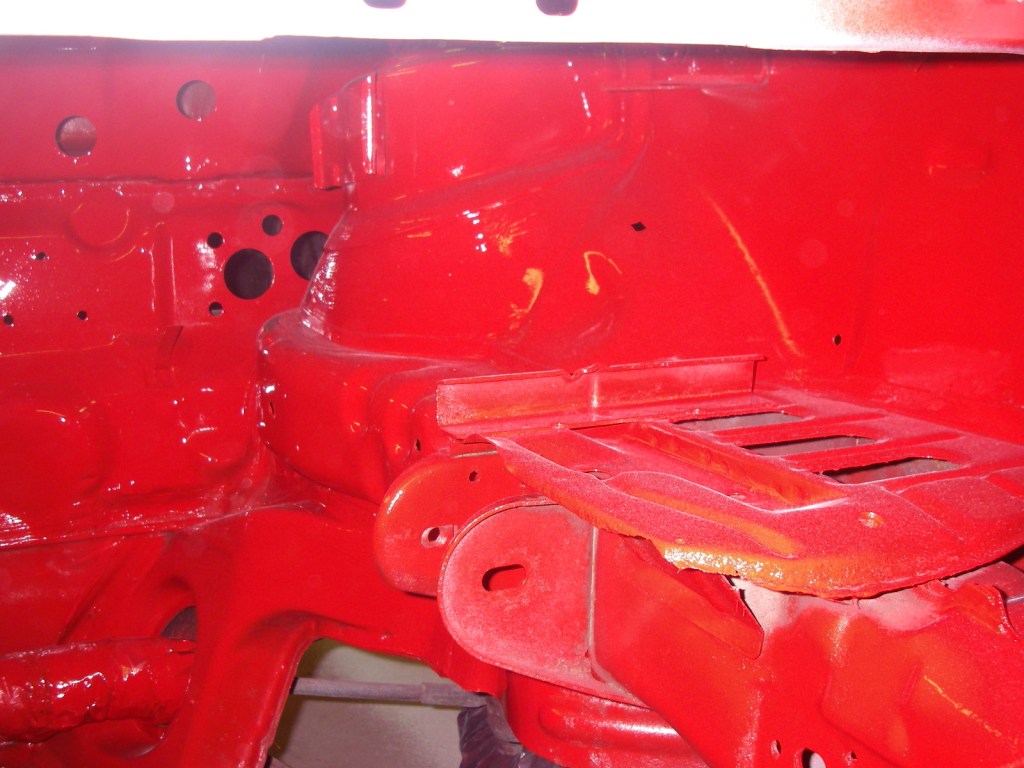
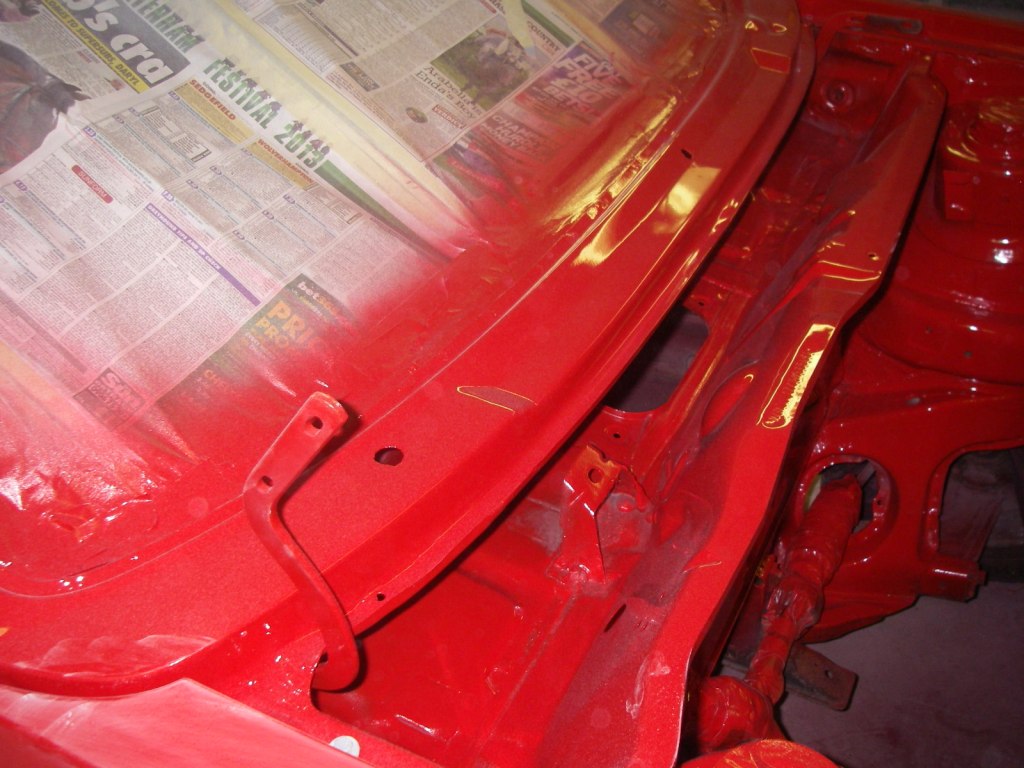
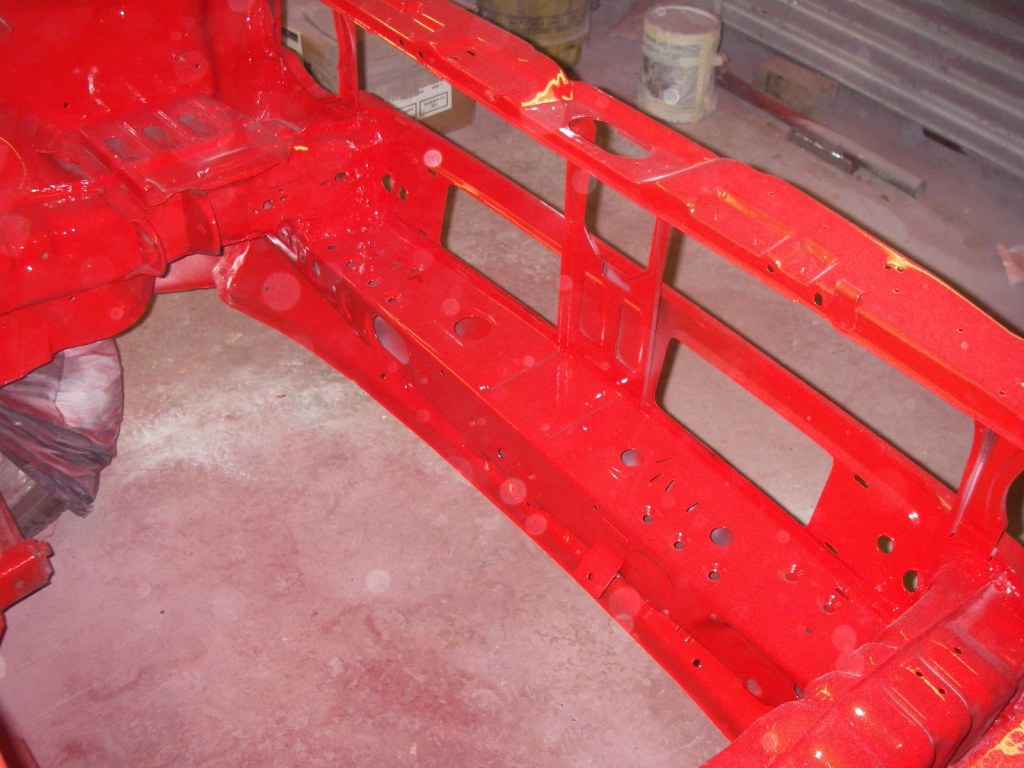
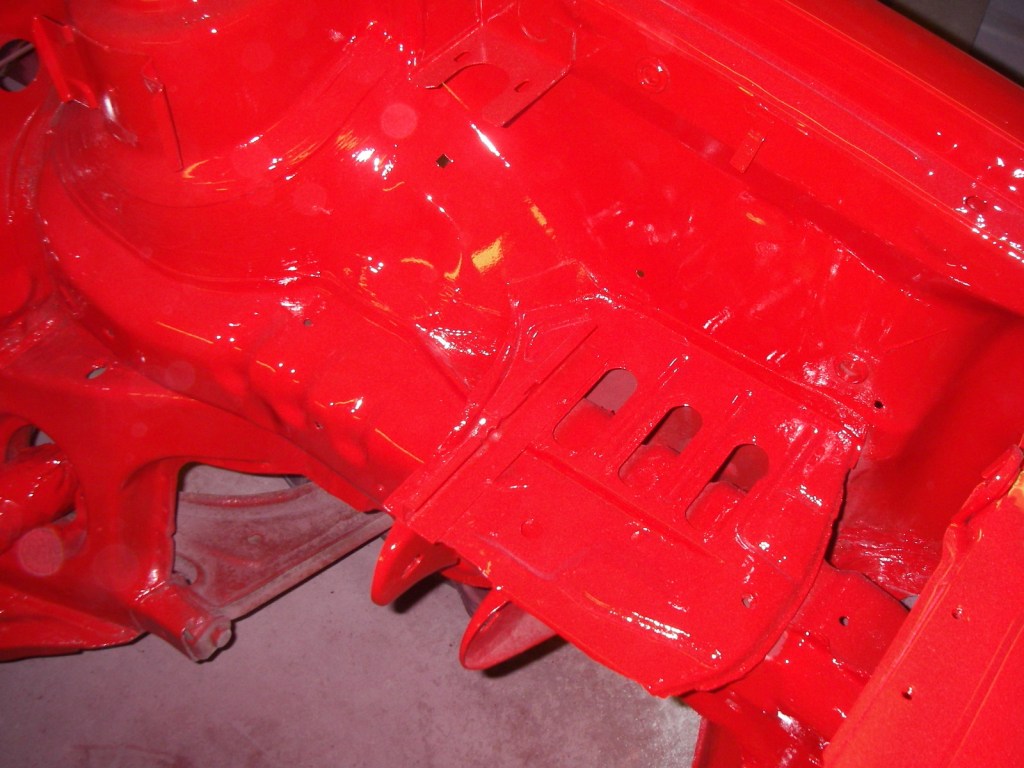
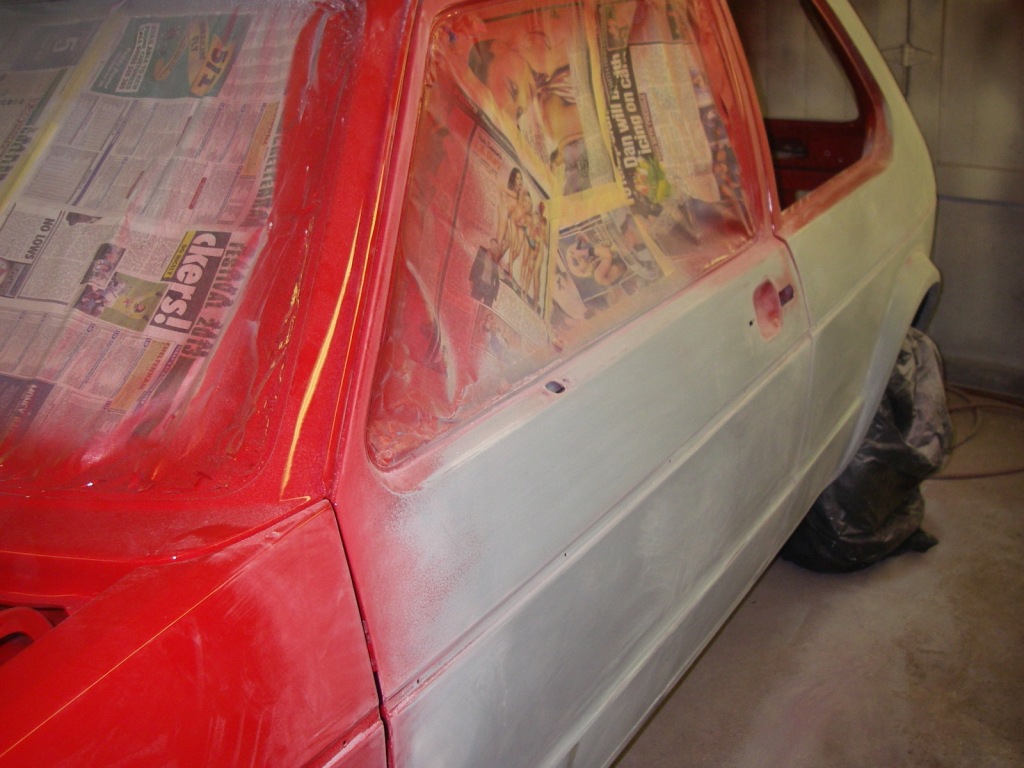
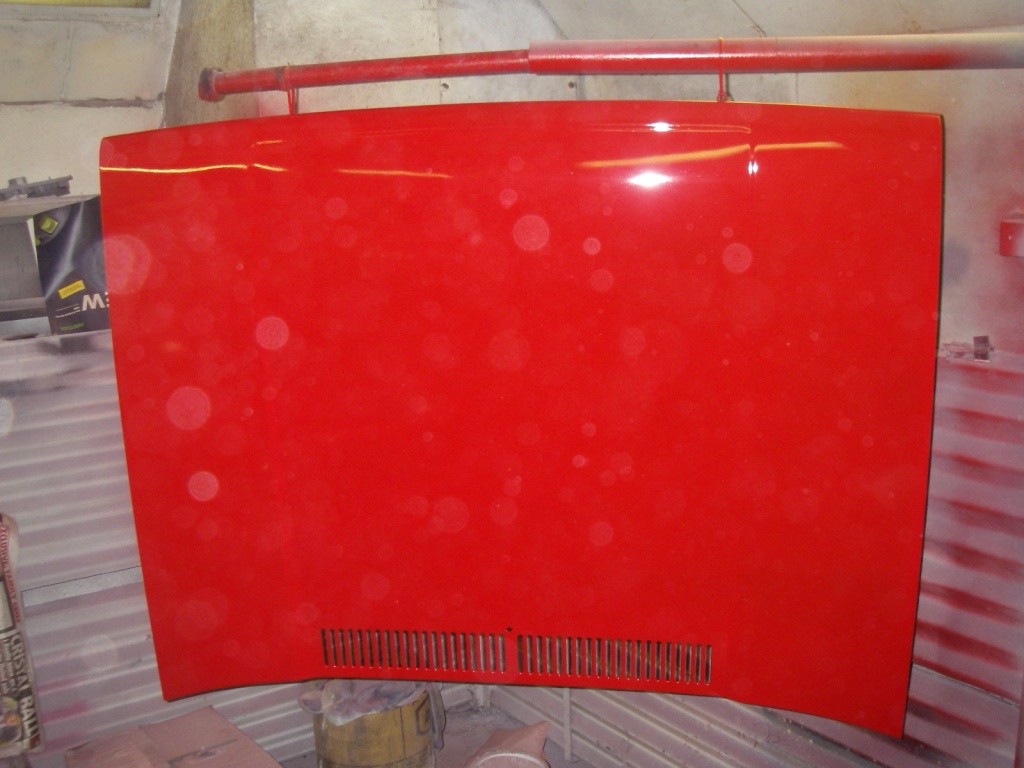
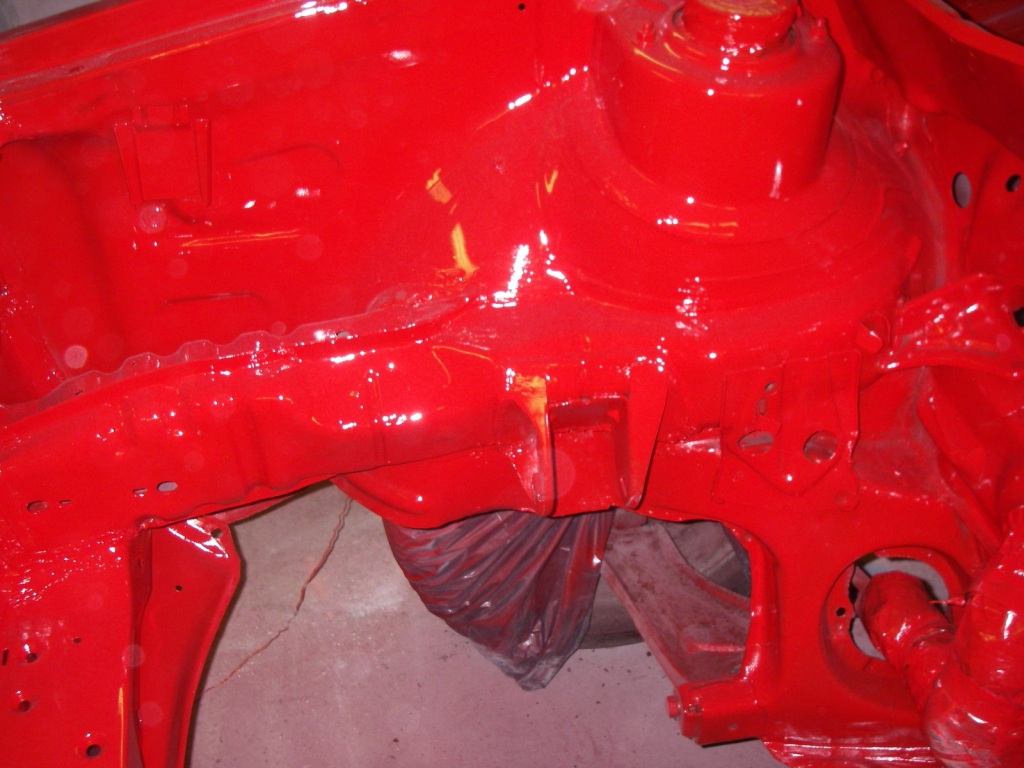
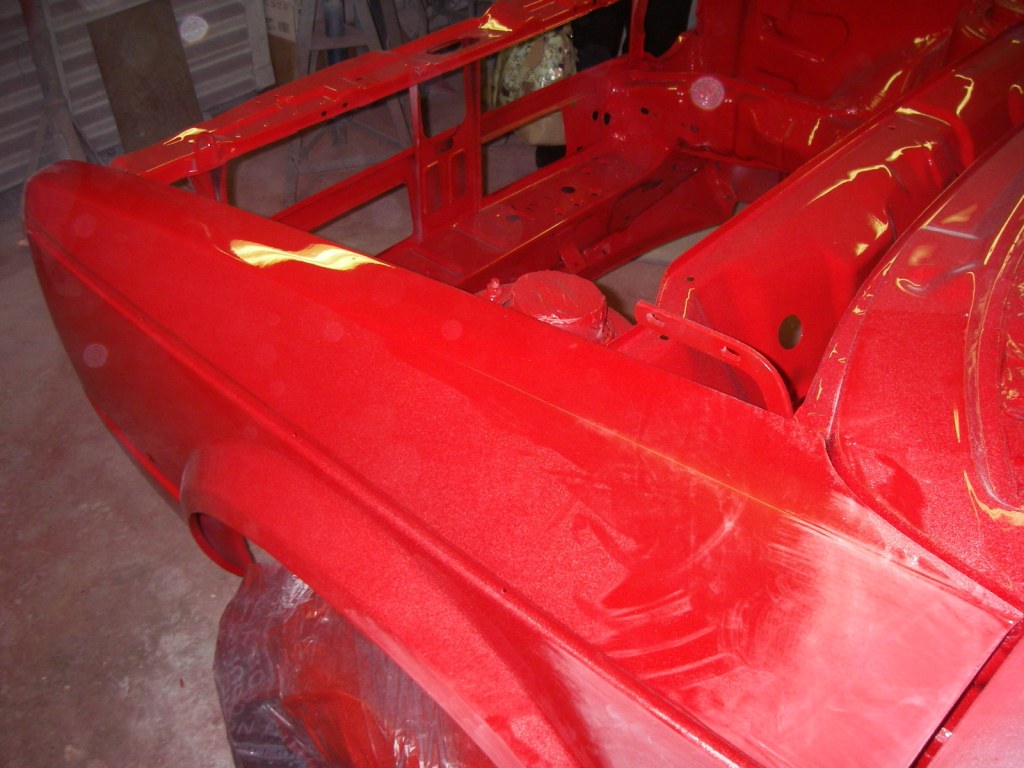
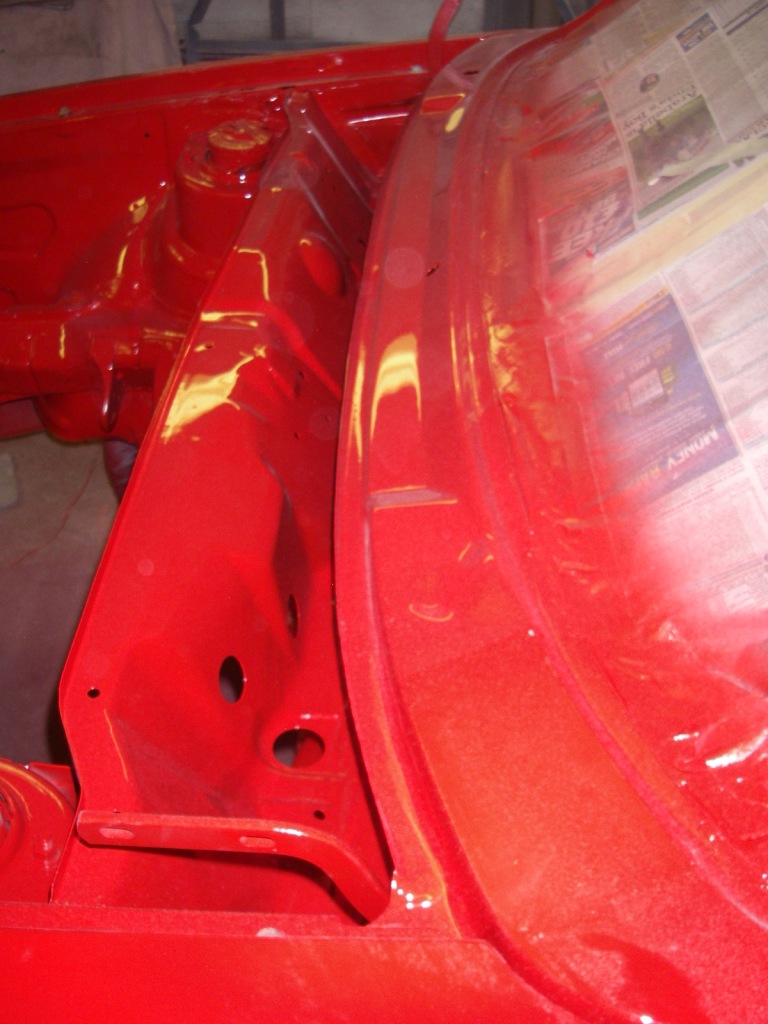
So far the bonnet, front wings, engine bay, scuttle and inside of the car have had a few coats of paint. After painting the offside wing the painter saw a small dent in the wing so then proceeded in smoothing it out and will re-paint it. Sorry for the quality of the pics but he was sanding down other parts of the car at the time and there was small pieces of primer / dust floating about in the air. The engine bay and inside of the car are pretty much finished but he’s got more to do to the other painted areas so these aren’t the finished product yet. From what I saw today I’m really chuffed with how it’s looking, after owning the car for 10 years it’s such a good feeling to finally see in reality what I’ve had pictured in my head for so long. If all goes well then the whole car will be fully painted by next week and I’ll have it home by next Thursday.
It must be true that good things come to those who…………………………………………wait!?
'84 MK1 Golf - View topic: Humble Beginnings........... - VW Golf Mk1 Owners Club '99 MK4 Golf
Posted
Old Timer

Matt
Posted
Settled In


'84 MK1 Golf - View topic: Humble Beginnings........... - VW Golf Mk1 Owners Club '99 MK4 Golf
Posted

Moderator

Smudger
Posted
Moderator


Posted
Settled In


Yeah I know, well happy mate only a few more days left now till she's back hopefully.smudger said
Nice job there dude. Won't be long till she's back from the paint shopSmudger
Ahaha I hope not mate, I've got pretty much 90% of the parts I need for the rebuild, just need to find the time to put her back together now, if I can make it to the next AGM I'll be a happy man!borednow said
Looking good mucker.
Is it gonna take you another 10yrs to get her back together?Ian

'84 MK1 Golf - View topic: Humble Beginnings........... - VW Golf Mk1 Owners Club '99 MK4 Golf
Posted
Settled In


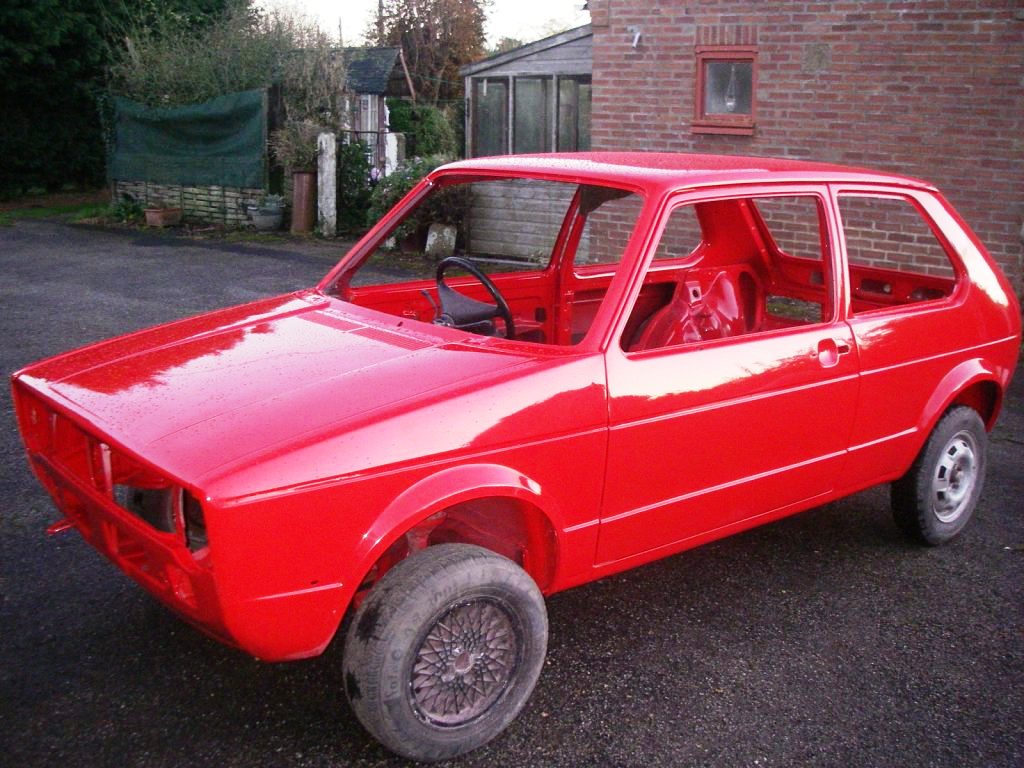
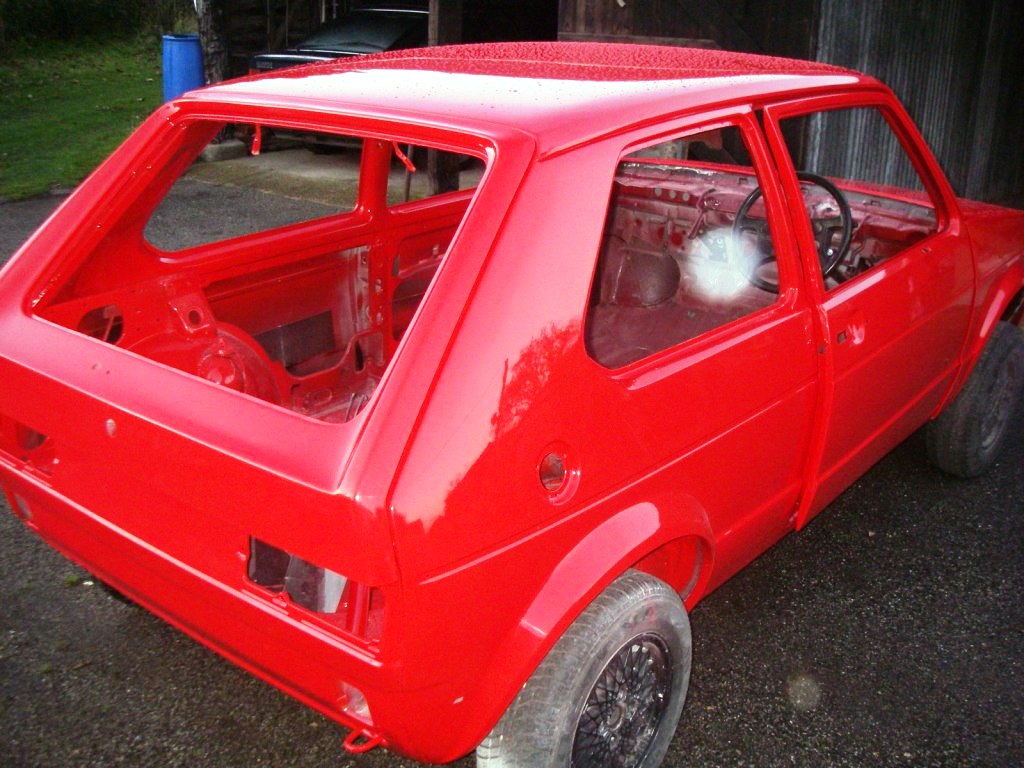
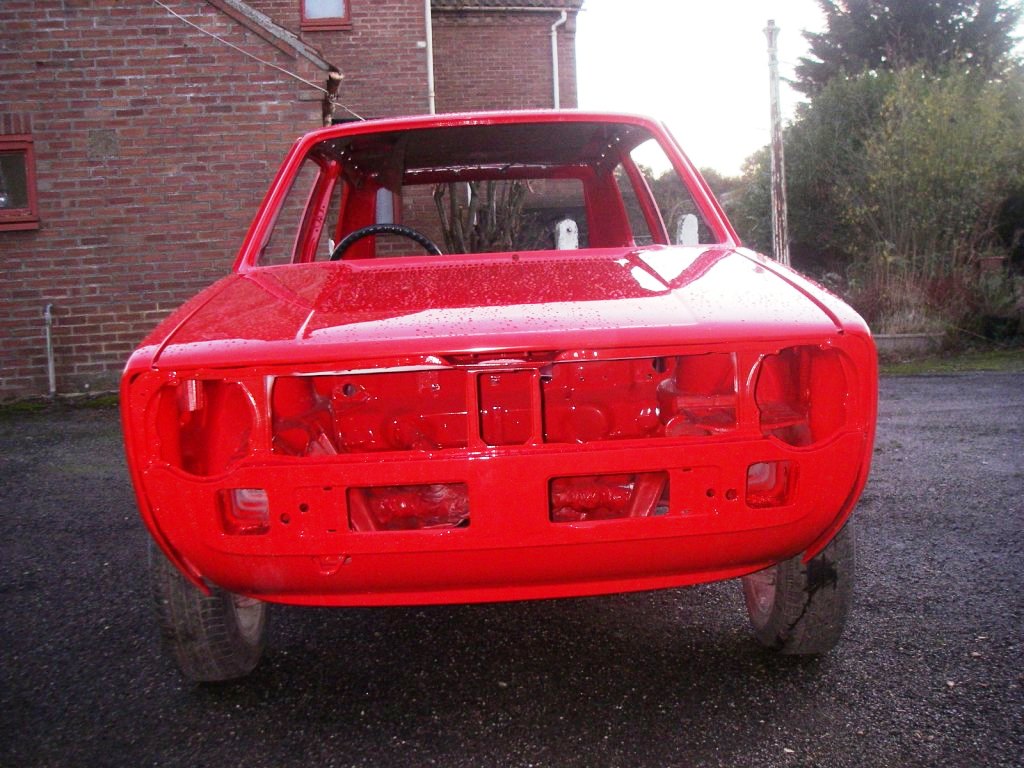
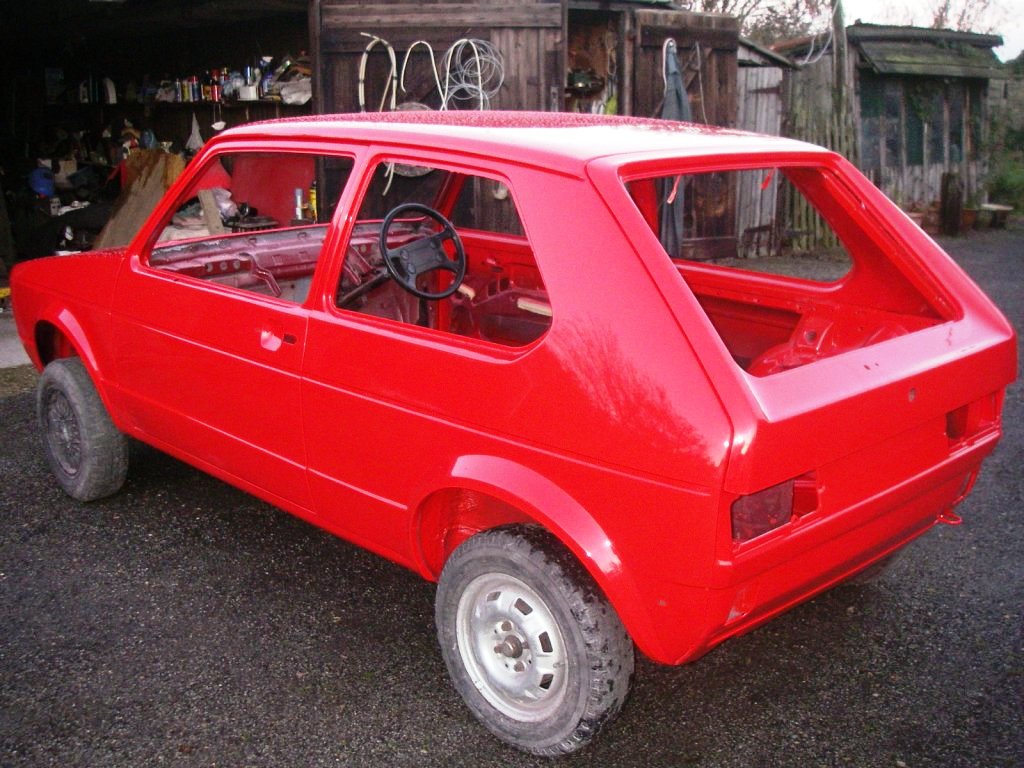
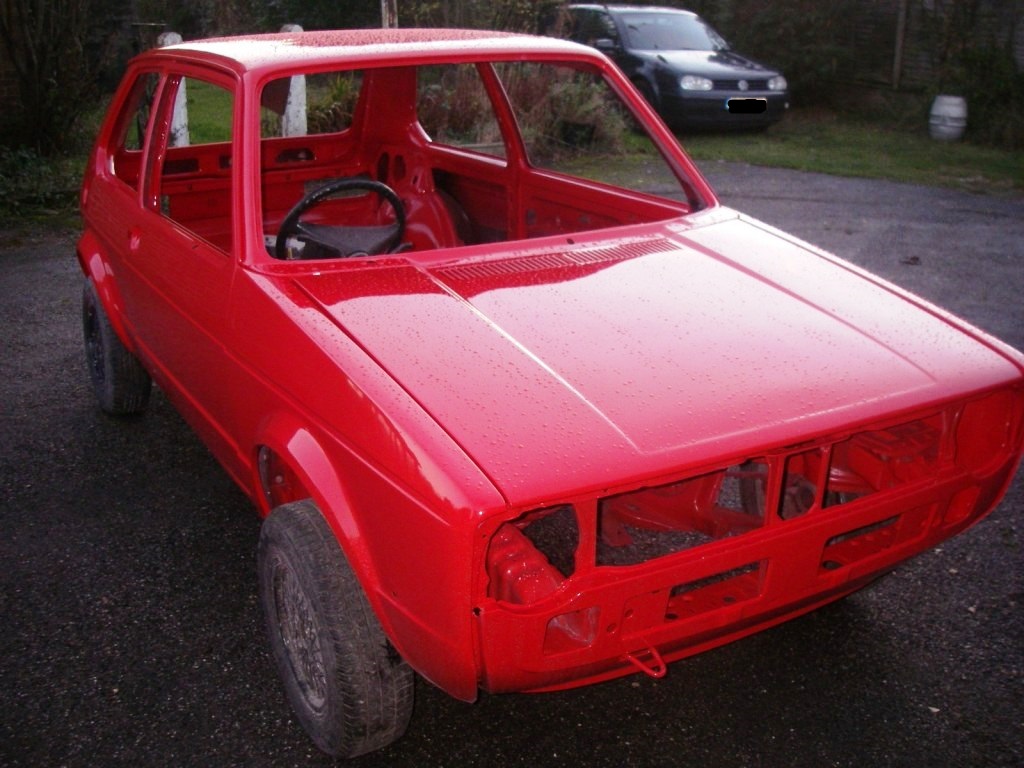
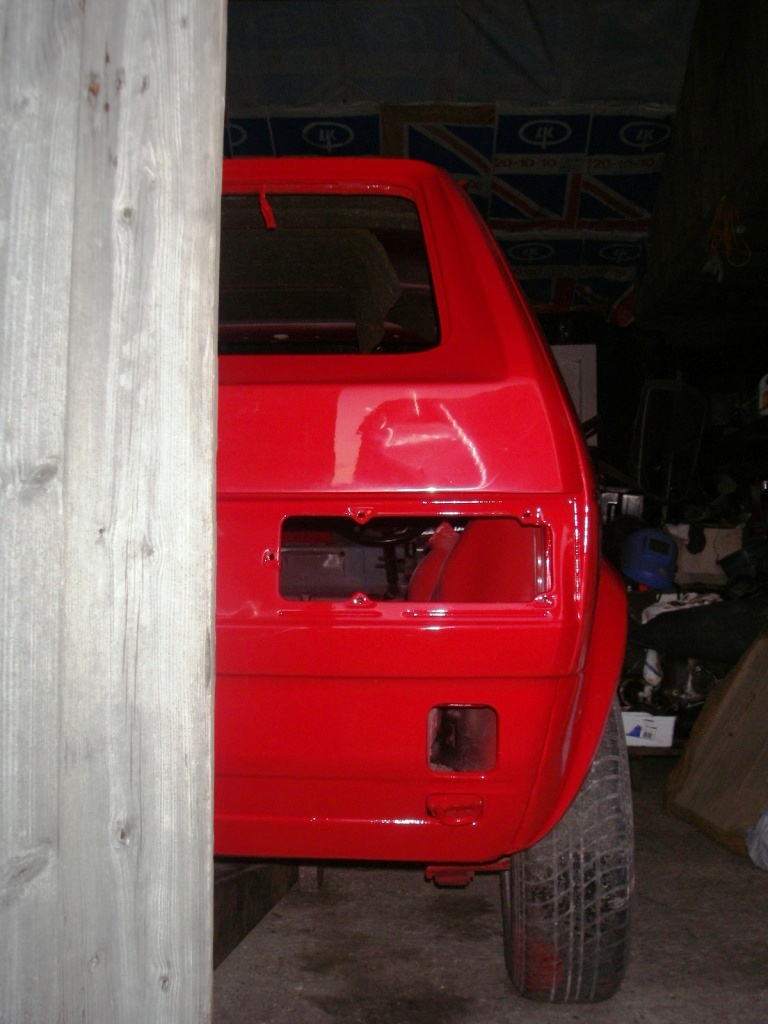
I'm really chuffed with how she's turned out, better than I could have imagined and she's now a lot straighter. Now all I've got to do is remember where all the parts go! lol
Full steam ahead from now on!
'84 MK1 Golf - View topic: Humble Beginnings........... - VW Golf Mk1 Owners Club '99 MK4 Golf
Posted

Moderator

Posted
Moderator


Posted
Settled In


'84 MK1 Golf - View topic: Humble Beginnings........... - VW Golf Mk1 Owners Club '99 MK4 Golf
Posted
Old Timer


"Mk1 Golf Gti...all things to all men"
0 guests and 0 members have just viewed this: None.


