Shellby - 83 gti ABF on carbs
Posted
Old Timer

Shellby - 83 gti ABF on carbs
Nosmonkey said
Fiesta Rainbow recaro's, good find! When you're getting them re-trimmed if you take care removing the old seat material i'd be interested
Yeah, was a happy boy the day I won those! I think well be talking years before the retrim, rather than months, but ill let you know if that changes.
Posted
Settled In

I think I may have to steal your seat mounting idea so thanks in advance
Also I can't see the pictures from when you first got the shell, don't suppose you have a couple you could post up?
Posted
Old Timer

Morgie said
Brilliant build thread, you seem to have done some things very similarly to me.
I think I may have to steal your seat mounting idea so thanks in advance.
Also I can't see the pictures from when you first got the shell, don't suppose you have a couple you could post up?
Definately some similarities, but you are light years ahead of me!!
The seats were a pain to do, tried measuring up off the old seat, but no real datums to take measurements from. In the end I left the passanger seat in, put the driver subframe in and marked the angles and heights with chalk by eye, removed it and cut it slightly higher with a cutting disc, then kept fitting it and balancing the recaro on top, in, out, in, out until i was finally happy with the fit. Not very scientific, but got there in the end.
Havent got many shell photos, I bought it as an abandoned project shell, i'm 99% certain it was Jellybellys "project rotbox" theres a 40 odd page thread on the repairs he carried out on the shell. Id already bought the shell when I found that thread, wasn't until about page 40 that i started noticing the patchwork repairs matched those on mine and thought "jesus, I think thats my shell!!"
Posted
Settled In

pazwaa said
Morgie said
Brilliant build thread, you seem to have done some things very similarly to me.
I think I may have to steal your seat mounting idea so thanks in advance.
Also I can't see the pictures from when you first got the shell, don't suppose you have a couple you could post up?
Definately some similarities, but you are light years ahead of me!!
The seats were a pain to do, tried measuring up off the old seat, but no real datums to take measurements from. In the end I left the passanger seat in, put the driver subframe in and marked the angles and heights with chalk by eye, removed it and cut it slightly higher with a cutting disc, then kept fitting it and balancing the recaro on top, in, out, in, out until i was finally happy with the fit. Not very scientific, but got there in the end.I'll be working on her tonight and hopefully thursday, so if you want any photos/measurements let me know.
Havent got many shell photos, I bought it as an abandoned project shell, i'm 99% certain it was Jellybellys "project rotbox" theres a 40 odd page thread on the repairs he carried out on the shell. Id already bought the shell when I found that thread, wasn't until about page 40 that i started noticing the patchwork repairs matched those on mine and thought "jesus, I think thats my shell!!"I contacted him, but he said his shell had gone to be scrapped, but think it's somehow made its way to me. Theres a build thread on ED38, also called Shellby, which has all the photos that are missing from this one, or i can look through my photobucket album for anything specific if you need anything, let me know. Matt
Ok thanks bud, I'll tackle these seat frames next week probably and see how I get on. And I'll have a browse over on Edition as well
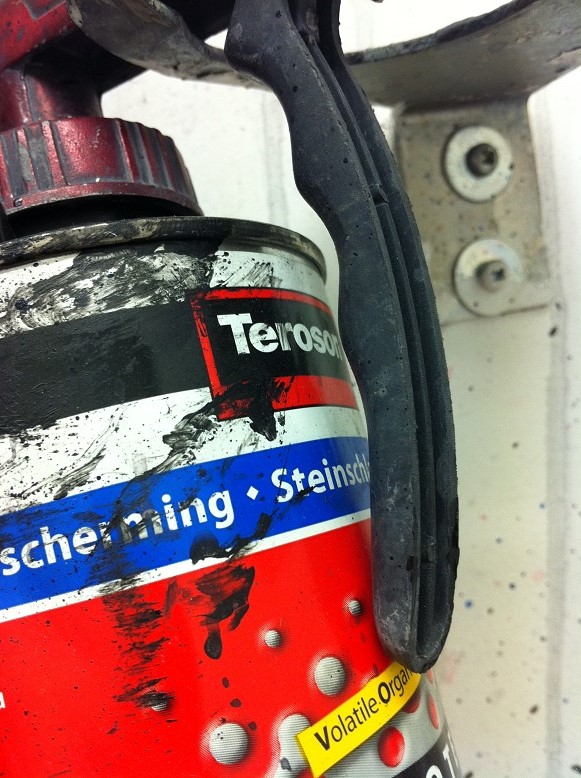
Also this is the stuff I used for my interior floor:

Posted
Old Timer

Paint prep is coming along nicely.
Boot finished
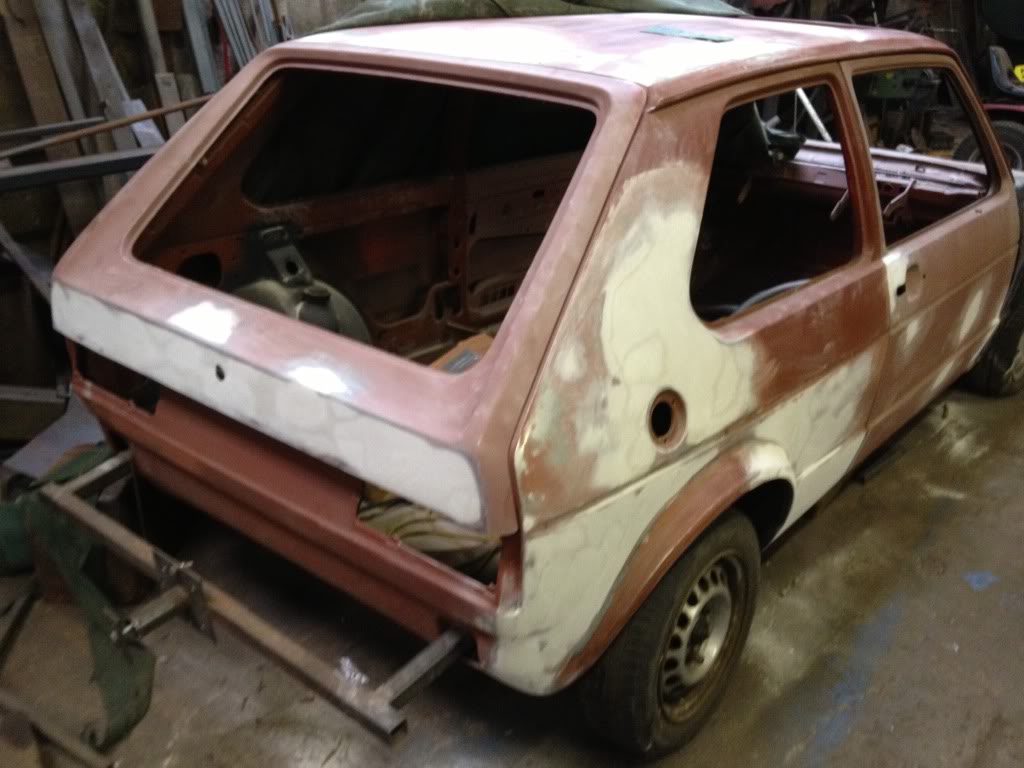
Rear offside quarter and door complete


Just the wing to complete and fit and that's the offside done!
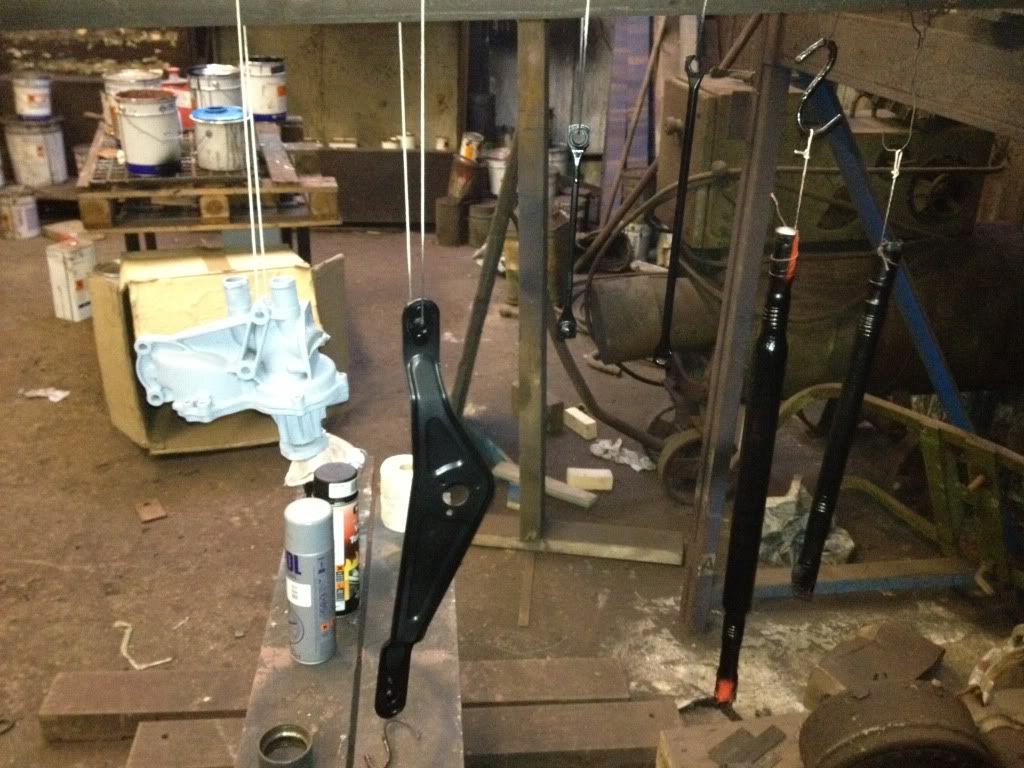
Drive shafts and windscreen wiper parts painted. Water pump primed.
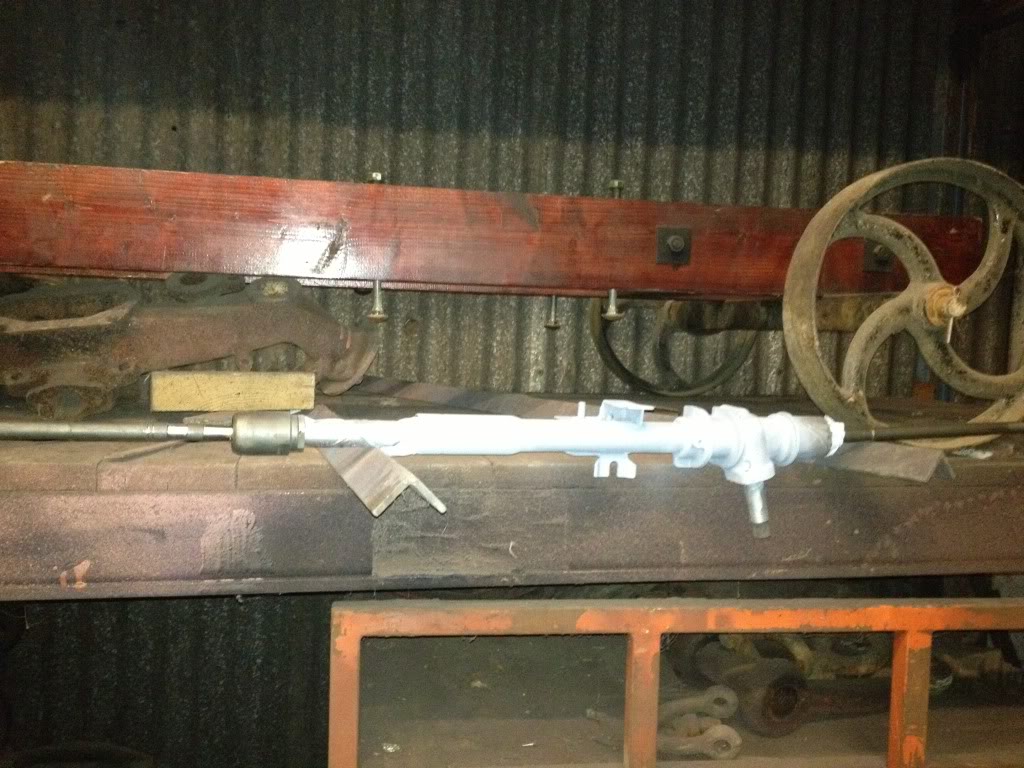
Steering rack primed
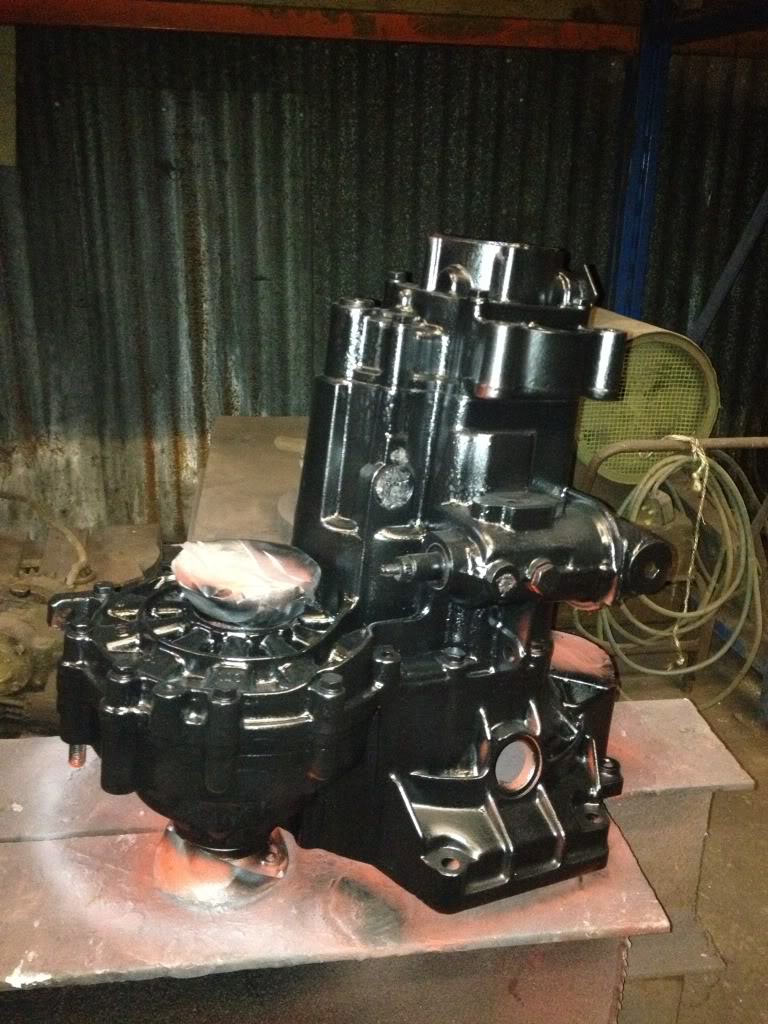
Shiny gearbox
Then a little side project, removed the dash board, it's filthy!


Oh my, there's a lot of wires behind there
Needed to work out how the steering column fitted and worked so I could install this

Wilwood bias pedal with 0.7 and 0.625 master cylinders
 Last edit: by pazwaa
Posted

Moderator

Posted
Old Timer


Quick tip for getting unwanted bushes out of wishbones, hacksaw one end off, place a large socket one end and a small socket the other, then close in a vice, the bush pops out into the large socket.

Seam welded the wishbones

Then primered

And a few engine parts finished

Had hoped to finish painting the engine, but made a mess of the rocker cover, orange peel everywhere.
Soon be time to start re-assembling everything, bit worried about the mass of parts I seem to have, hopefully will all make sense.
 Last edit: by pazwaa
Posted
Old Timer

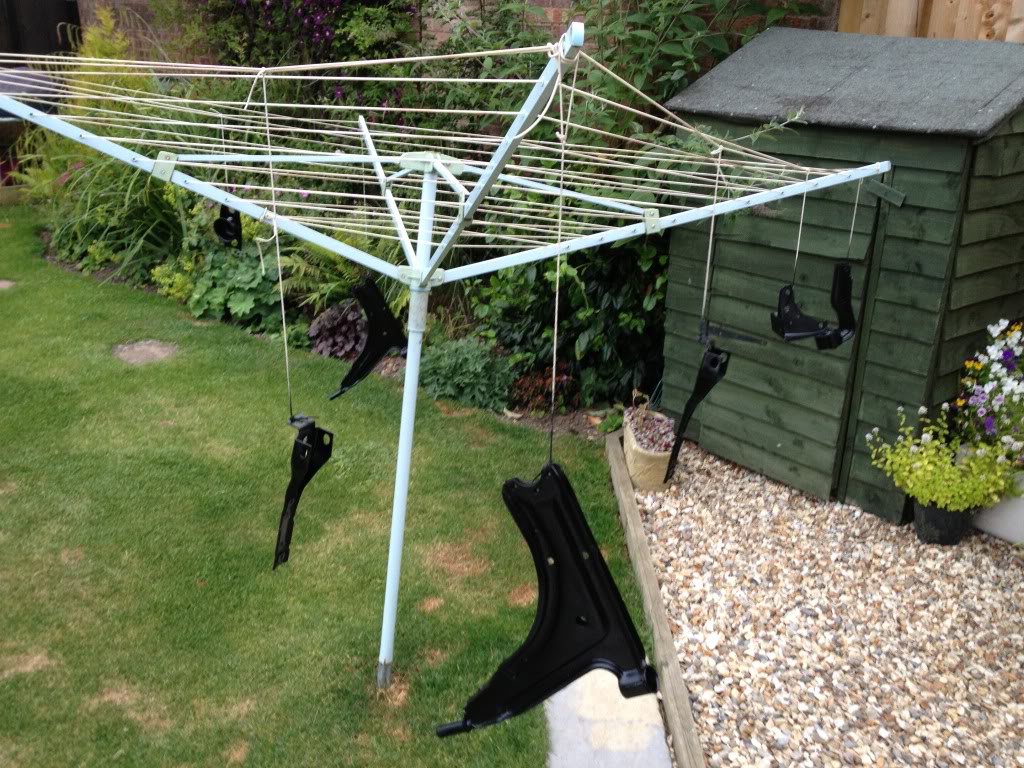
Parts drying on the washing line
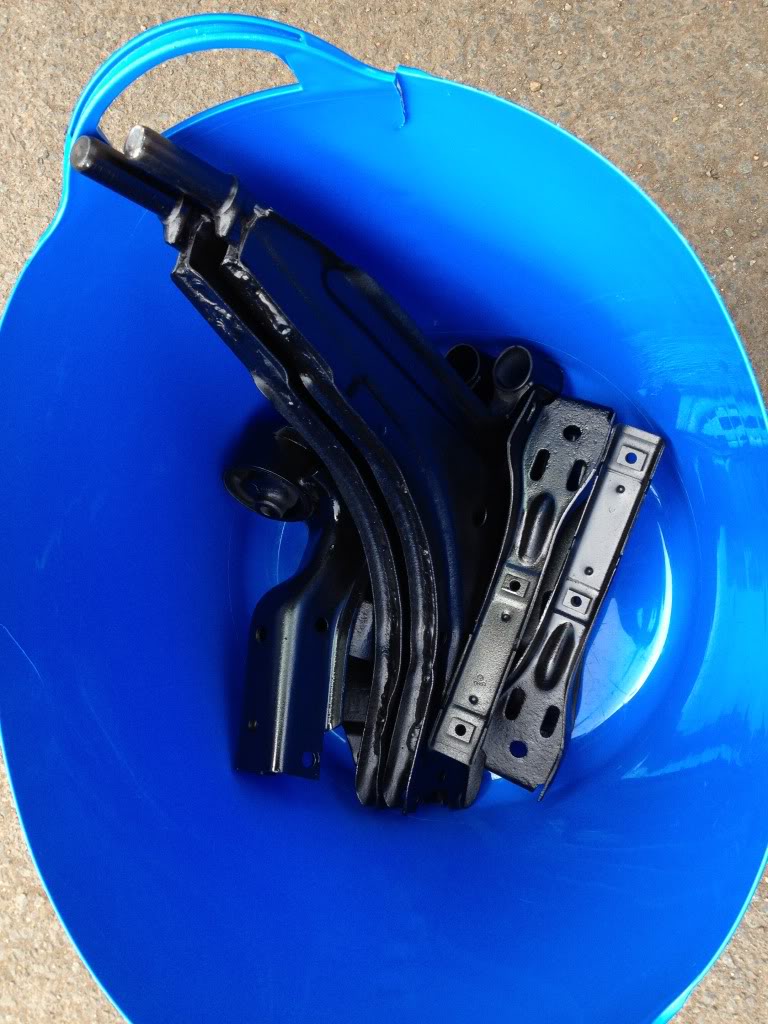
And a bucket of finished parts
Started on the headlights, not in a good way
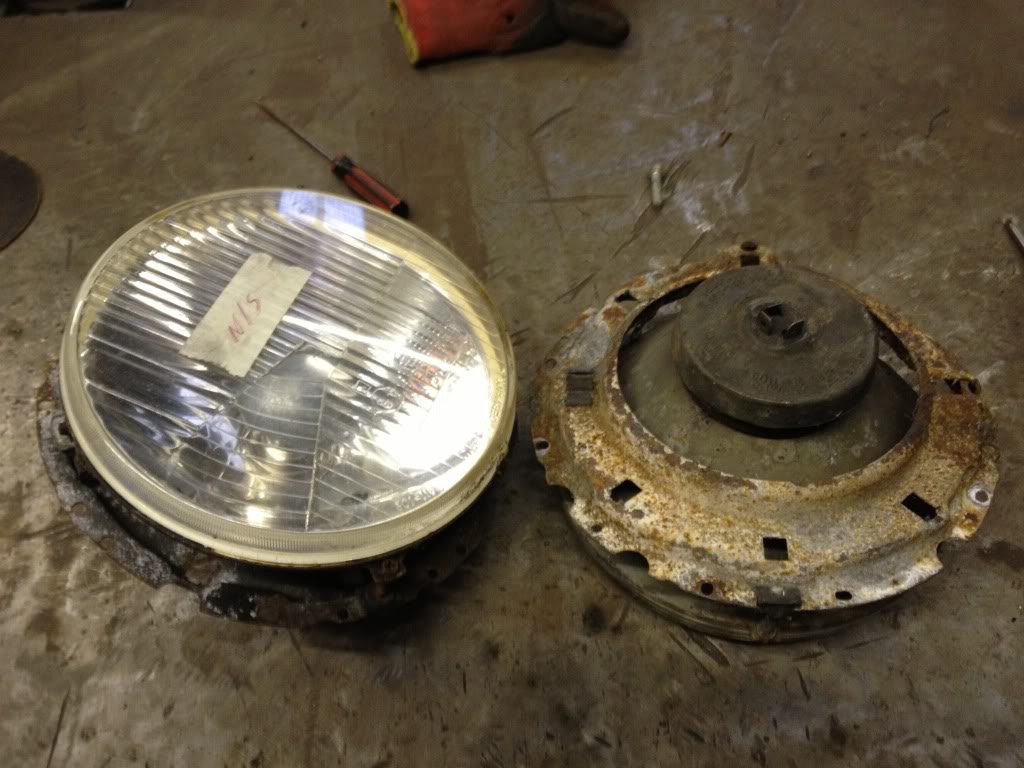
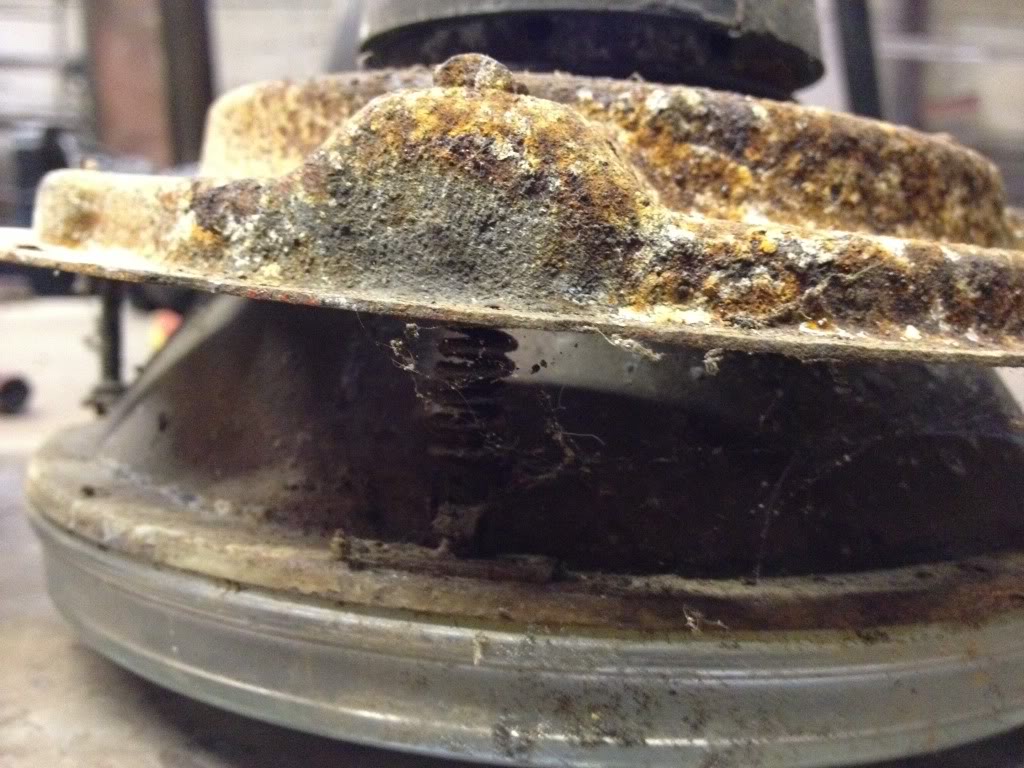
Does anyone know a part number for the bolts and springs that hold the two sections together?
 Last edit: by pazwaa
Posted

Moderator

Posted
Old Timer

smudger said
Nice work buddy. Putting the washing line to good use I see. Bet the Mrs was happy
Got some dirty looks, even more when I pinched her washing bucket to put the bits in
I can't register on the vagcat site you sent me the link for, would you mind looking and seeing if the codes for the headlight parts are listed? Probably gonna be cheaper to buy new ones, but would would rather refurb if possible. Cheers.
Posted

Moderator

Posted

Moderator


Posted
Old Timer

Cheers, youre a hero
Is that off the vagcat site?
Posted

Moderator

Item 9 shown as adjusting screw…… 113941141
item 10 shows as tension spring …….. 321941157
Hope that helps.
Smudger
Posted
Old Timer

Posted
Old Timer

Cero said
Very well done on the work you've accomplished so far, like the bending 'tool'. Just watch when using those stainless fittings as they can be very brittle & can snap in comparison to the usual tempered steel bolts. I wouldn't use them 'structurally'.
Thanks Cero, means a lot
Cheers for the tip on the bolts, just gonna use them to add some shininess to the engine bay, nowhere where real strength is required
Posted
Moderator


Posted
Old Timer

Melteddrummer said
I've got one of those benders at work for making handrails. I see you have a 'cut down' version of it
Yeah, that's what this one is used for, but as I say, a bit primitive
Posted
Moderator


Posted
Old Timer

Car is almost ready to begin paint.
Near side being finished. Plus the wing is on, this wouldn't fit earlier because the front inner wing was too short. Had to split it to get the bolt holes for the wing in the correct positions.
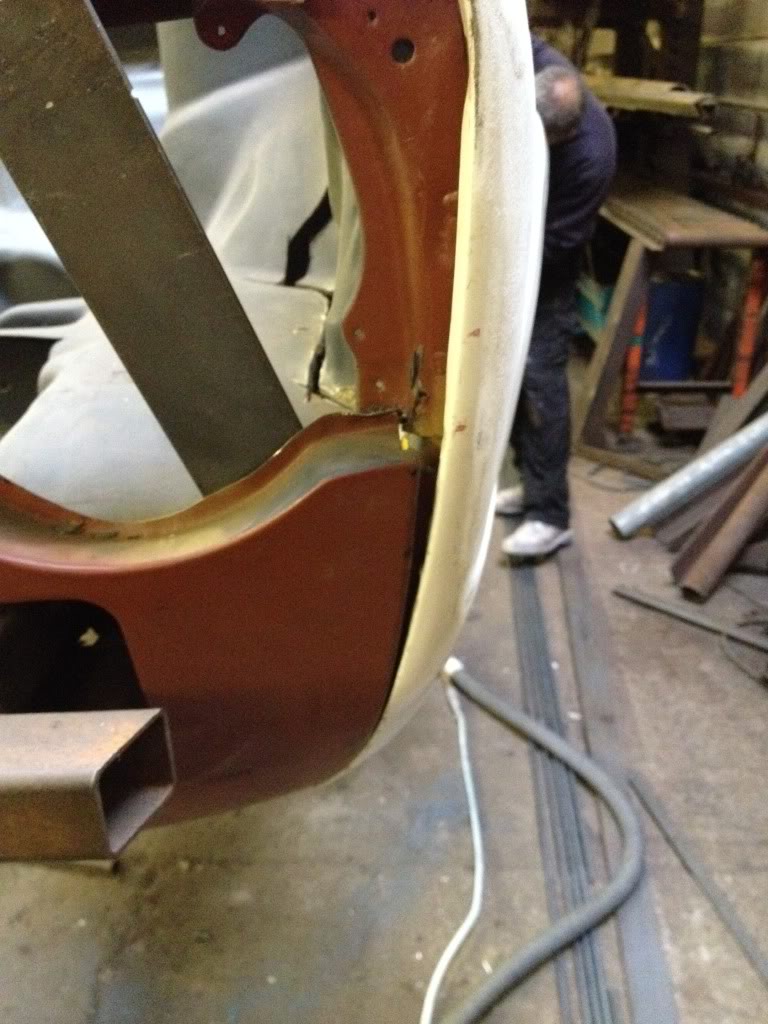
The split
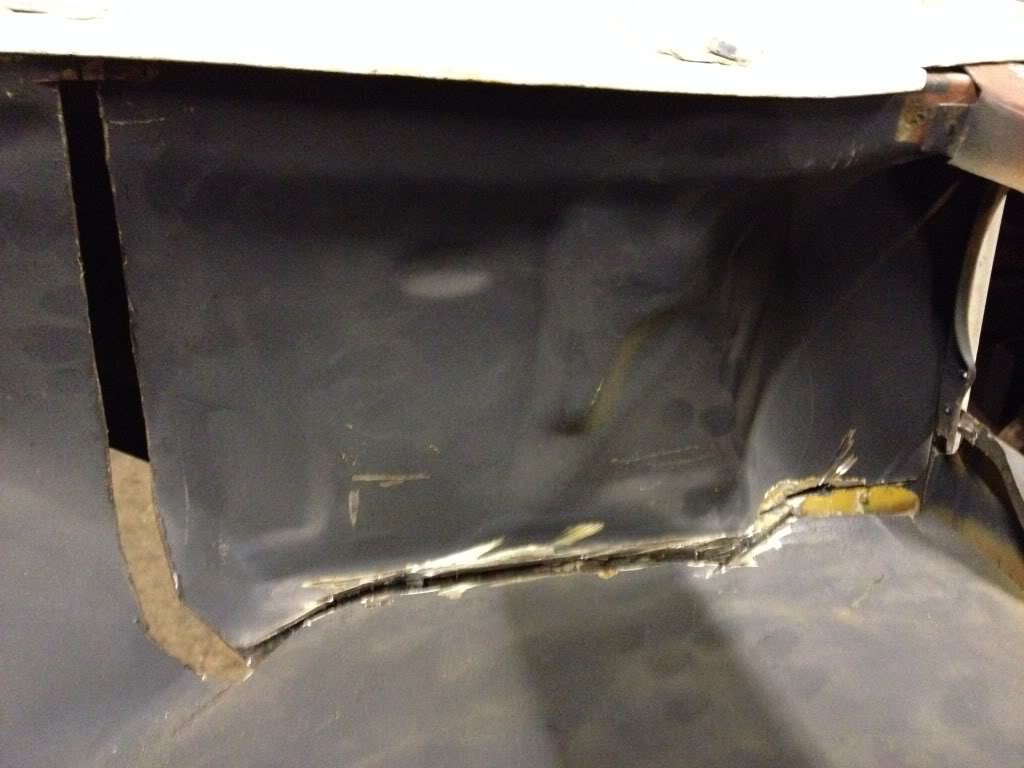
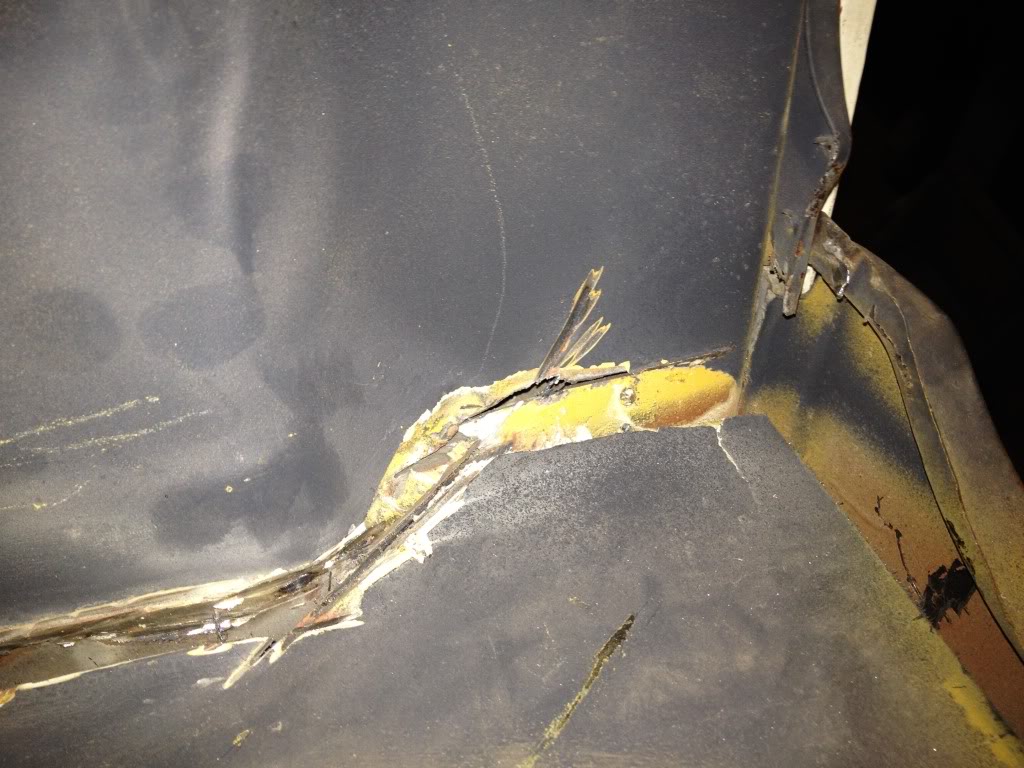
 Last edit: by pazwaa
There are too many online users to list.


