


mk1 golf series one rebuild

Posted
Old Timer

mk1 golf series one rebuild
Posted
Settled In

have you got any pics of your, i put inner and outer sills on mine first then seamed a bit at a timeso it wouldnt flex. New sills didnt fit snuggly so had to chop top edge where door meets sil etc. if i was you just weld everything you need to do first then alter things when shell is solid. if you need any help pm me
Posted
Settled In
Posted
Old Timer
Thanks for the offer , i will defo ask some help with the wiring as im going to be going through the same motions as you have with hiding the looms etc .
Have you got the rear lamp fuel flap sorted ?? Thats soo trick mate fair play . Dont worry i wont copy your idea !! Have you also changed the way the spare wheel sits in the rear floor pan ??
Posted
Old Timer
Posted
Settled In
G-DUB said
I got a couple mate ill post em up , im a painter and prepper , i can panel beat just fine and weld happily but i like turning out paintwork the most . I will start a build thread on mine sometime soon hopefully - at the moment it would just be the same old photos of rot being cut up and holes being blown and plates being fabricated .
Thanks for the offer , i will defo ask some help with the wiring as im going to be going through the same motions as you have with hiding the looms etc .
Have you got the rear lamp fuel flap sorted ?? Thats soo trick mate fair play . Dont worry i wont copy your idea !! Have you also changed the way the spare wheel sits in the rear floor pan ??
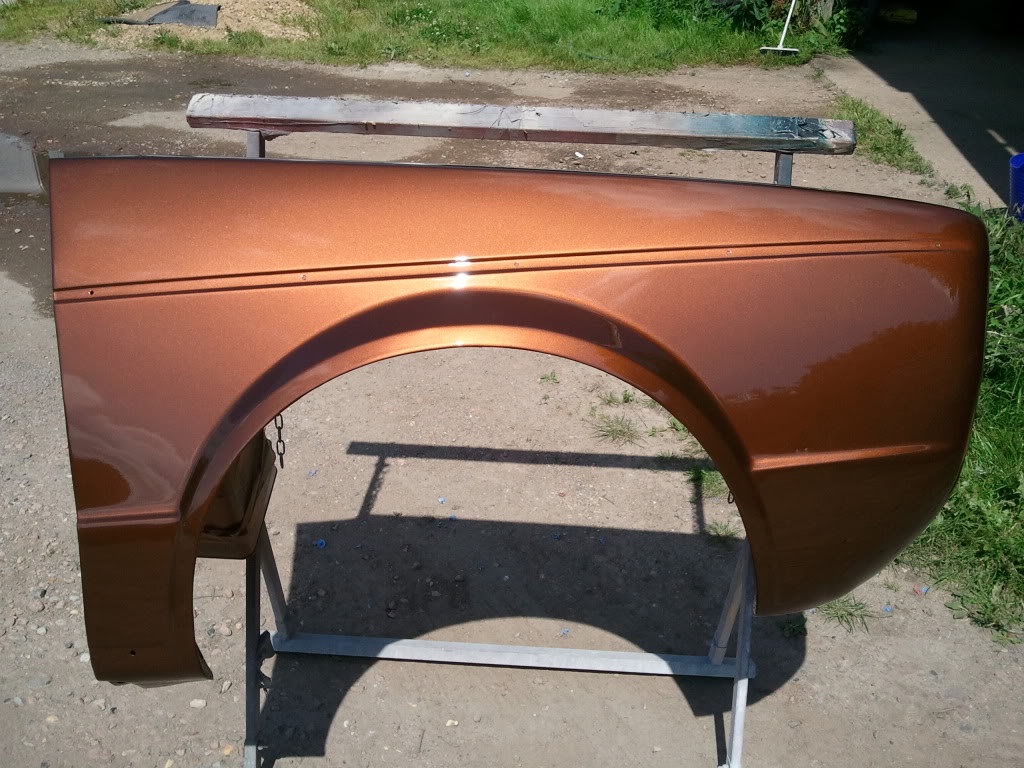
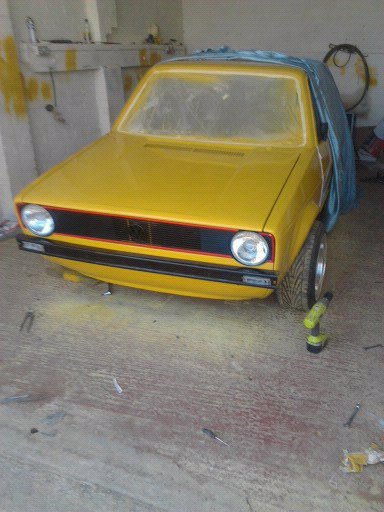
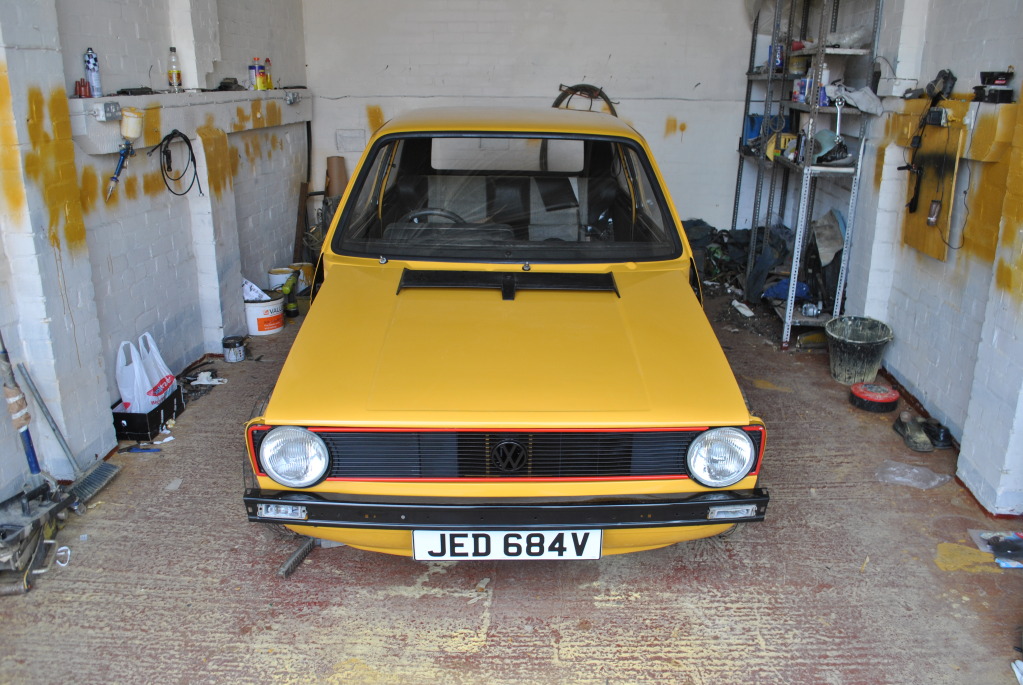
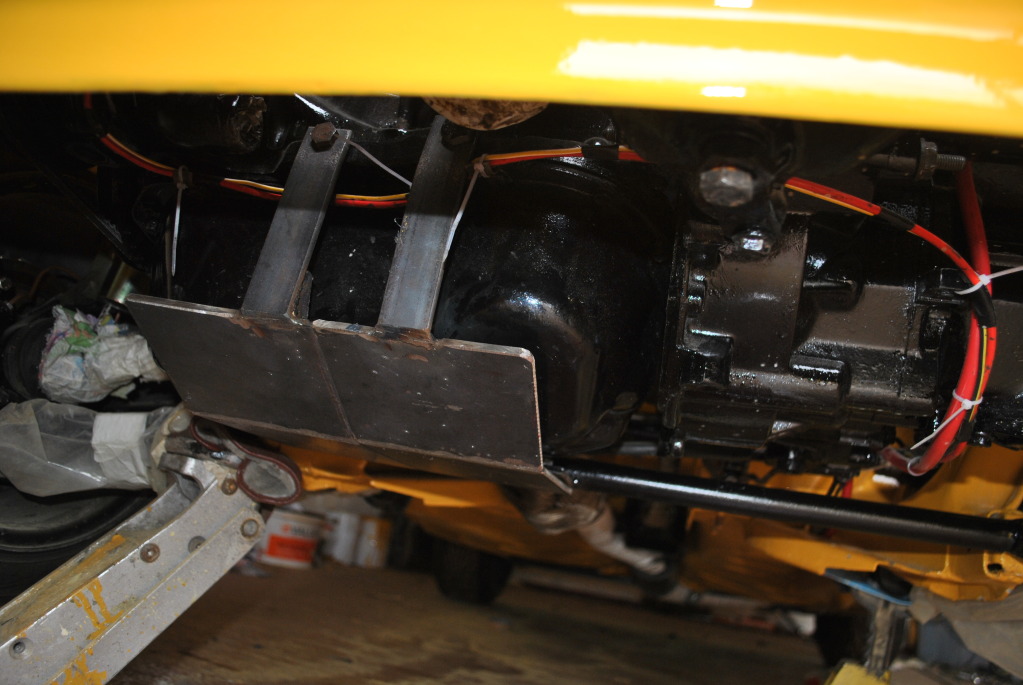
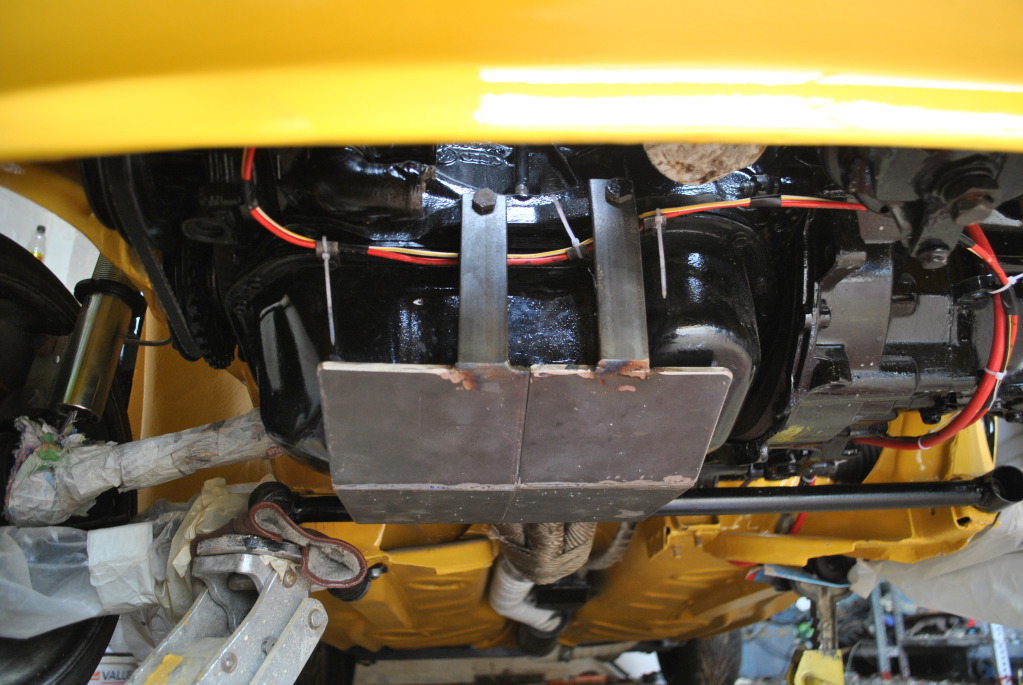
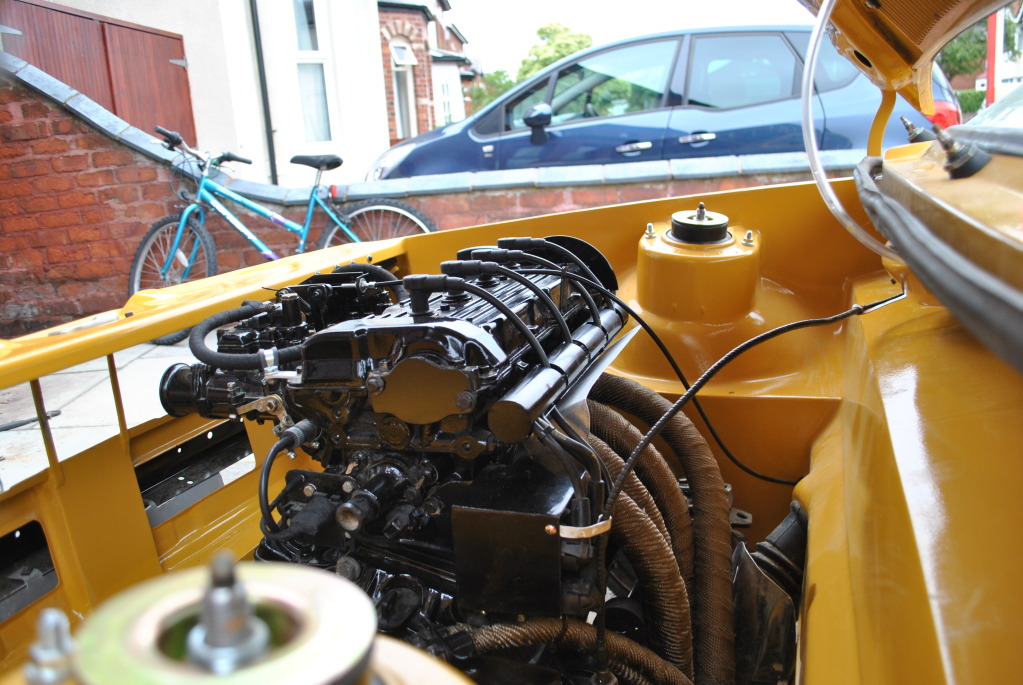
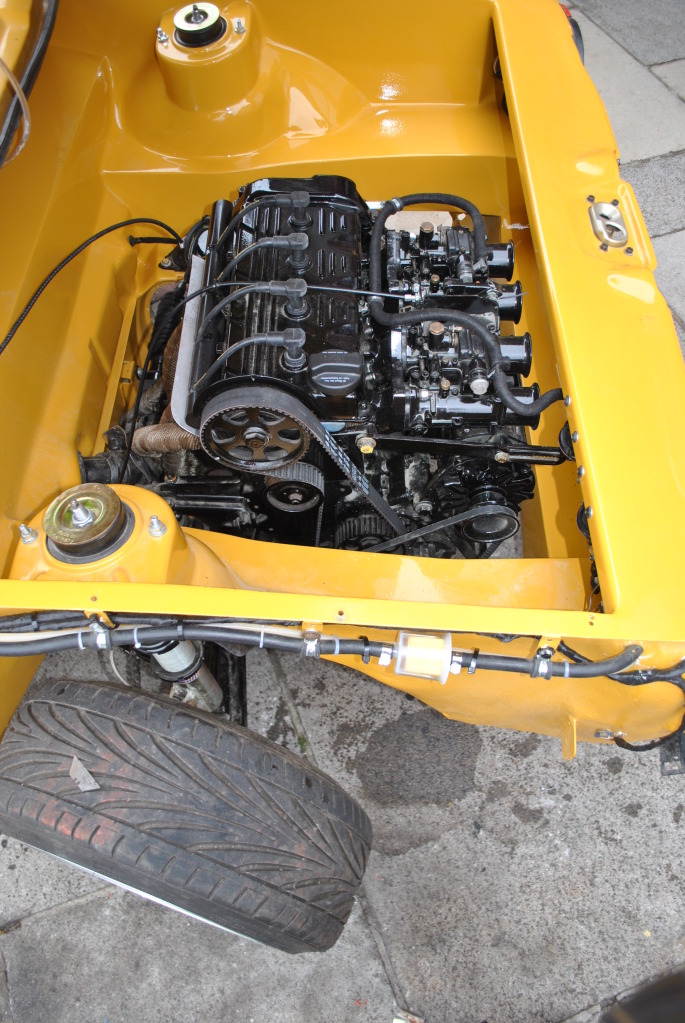
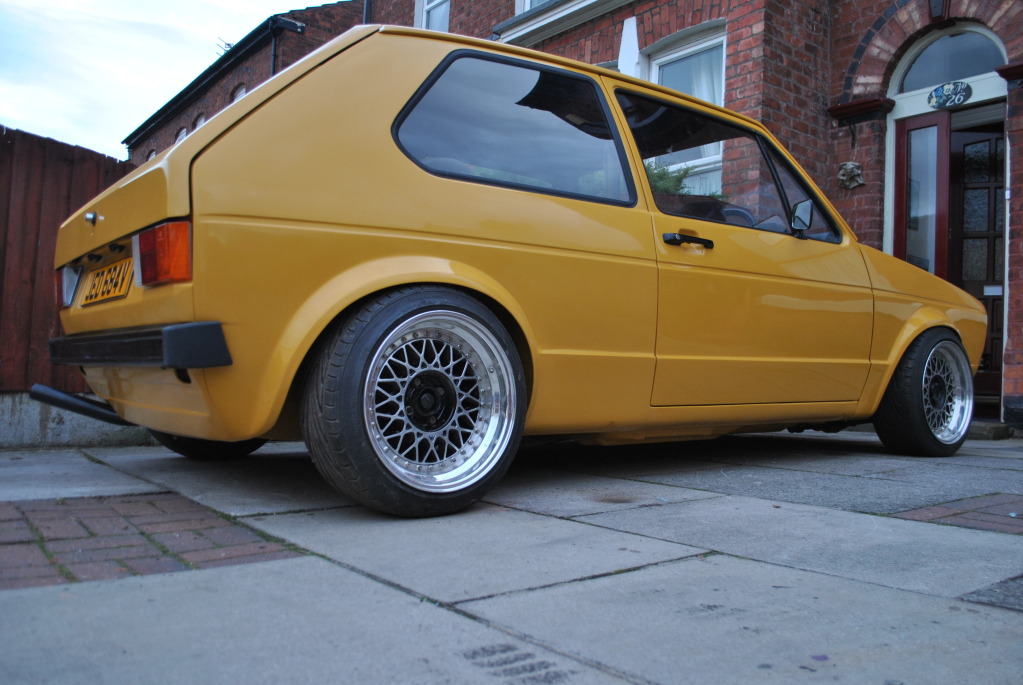
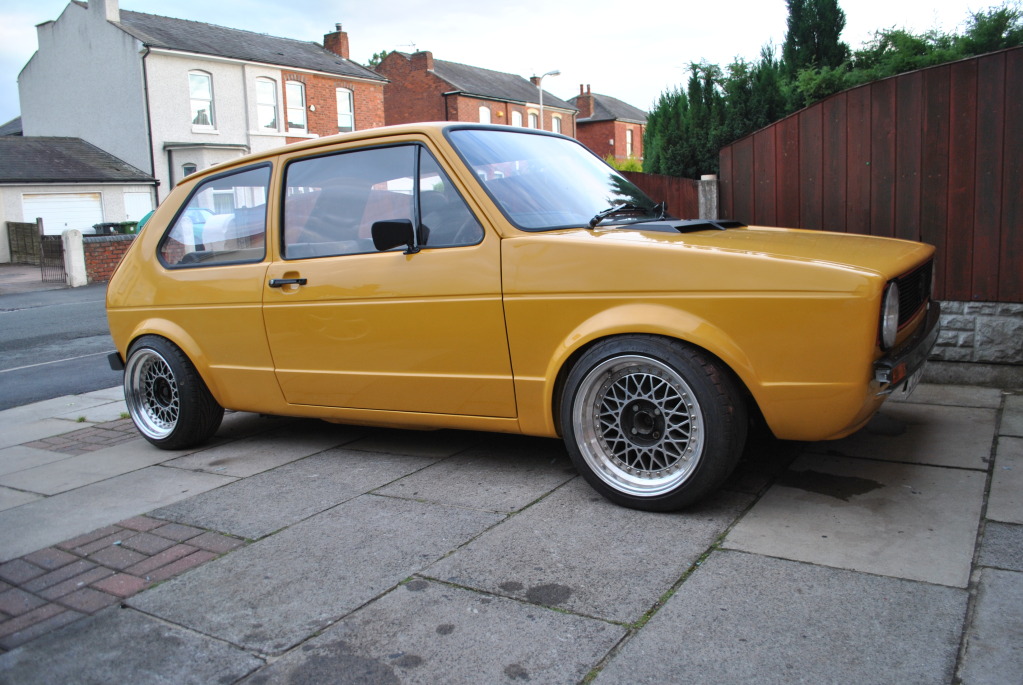
good matey. this is my first time at restoring a car. never welded before and never painted. the fuel filler is all operational. took over 4 weeks to make it work and chopping 2 headlights to fit. i changed the layout of boot to hide all the pipework for fuel filler plus i have a few neat tricks why the wheel is sitting upright but ill be puttin pics on when finished. as for wiring ive run all light loom under arches, all other engine wiring runs under my custom engine round and under sump. best way to hide it all. so you painting metalic orange. im a fan of metalics but mines gone yellow for easier paint repairs from stone chips etc.
Posted
Old Timer
So how does the rear lamp work is it hinged ??
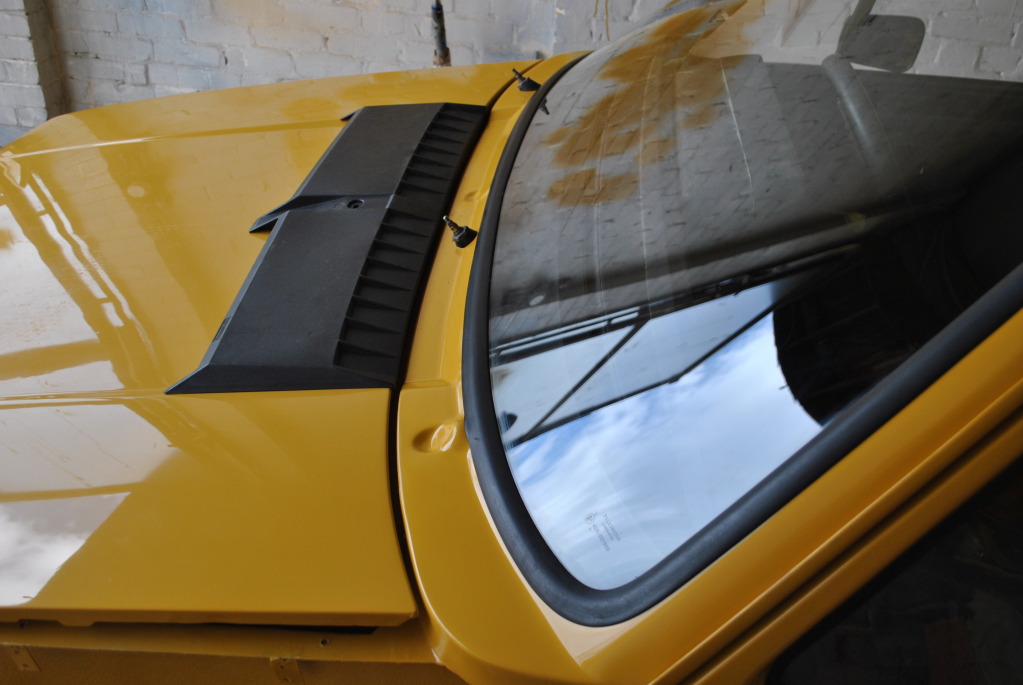
Im also smoothing out the scuttle panel heater box and all the pipework etc what heater box are you using ? I was hoping to find a fully electric one to use , is the one your using totally water free ??
Posted
Settled In
G-DUB said
Top work then mate , thats pretty amazing for a first time .
So how does the rear lamp work is it hinged ??
Im also smoothing out the scuttle panel heater box and all the pipework etc what heater box are you using ? I was hoping to find a fully electric one to use , is the one your using totally water free ??
cheers.
its hinged to the rear panel. i personally wudnt do it again because its a real pain to get to work correctly.if i was to relocate filler neck again i wud put it behind reg plate hinged upwards using a simular mech like a typ 25 reg plate holder. i aint puttin a heatr system in it now, just gonna use it for summer each year. cant see the point of usin all year round and wrecking all the work gone into it, which is over 2600 hours so far.
there are electric heaters from bmw convertibles which demist rear screen. ive heard of people using them before
Posted
Old Timer
http://www.ebay.co.uk/itm/PEUGEOT-407-CITROEN-C6-INTERIOR-HEATER-ELECTRIC-HEATING-ELEMENT-4PUH-18K463-AF-/261035885486?pt=UK_CarsParts_Vehicles_CarParts_SM&hash=item3cc6f383ae#ht_844wt_1037
it would then just be a case of lowering the blower fan as it wont be able to poke up through the scuttle panel any more - no fresh air feed of course so it would recycle the air in the car .. should be enough to demist and keep the toes warm tho !
Posted
Settled In
Posted
Settled In
Posted
Old Timer
Posted
Settled In
sure will be, should be all finished end of the month. fngers crossedG-DUB said
Are you gonna be at e38 later this year ? will be good to see it in the flesh 8)
Posted
Settled In
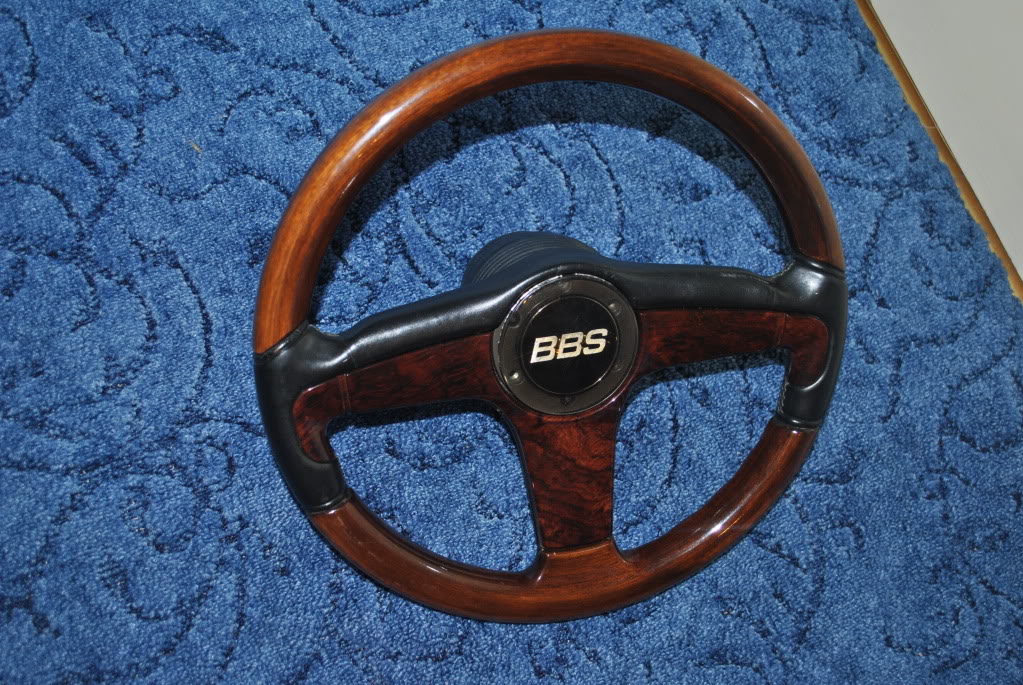
wolfsberg one
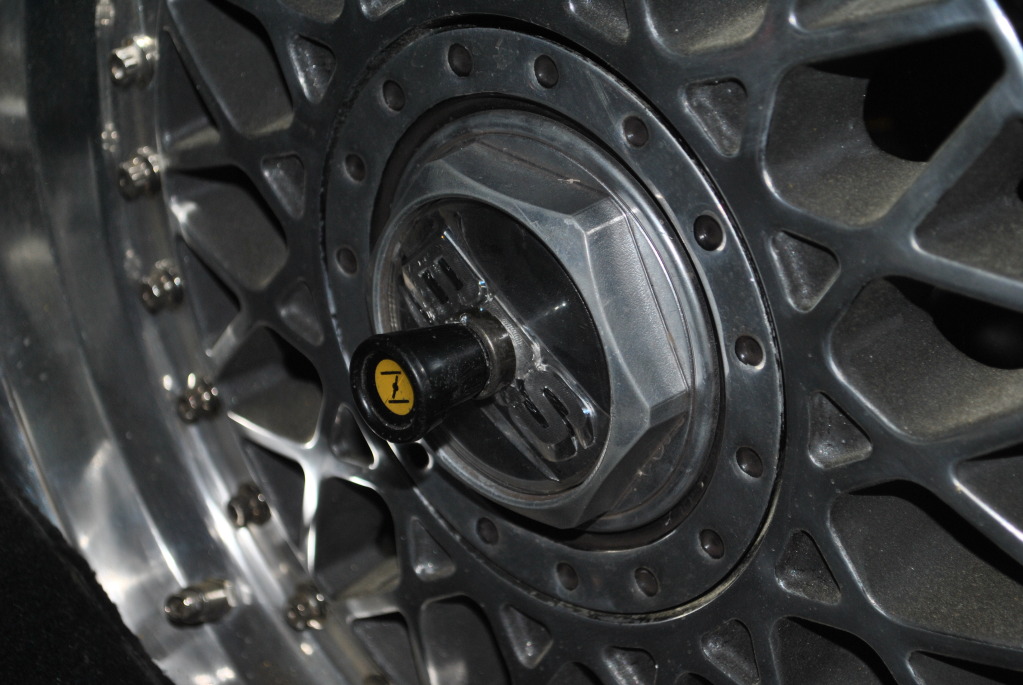
or my bbs one
Posted
Settled In
Posted
Settled In

tail light pull switch to gain access to petrol filler

Posted
Settled In
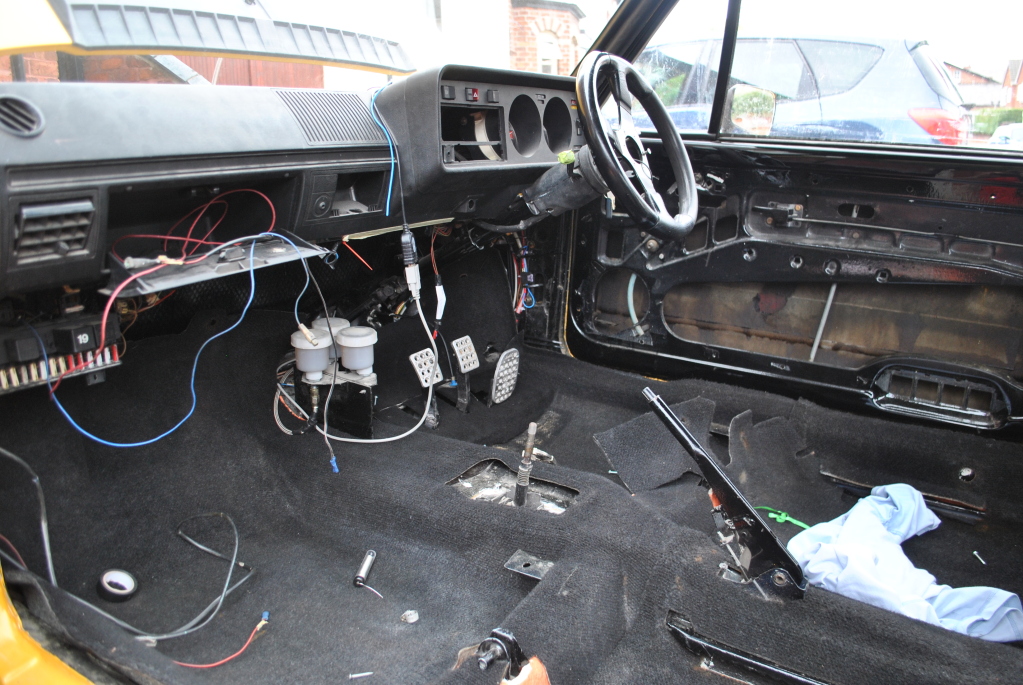
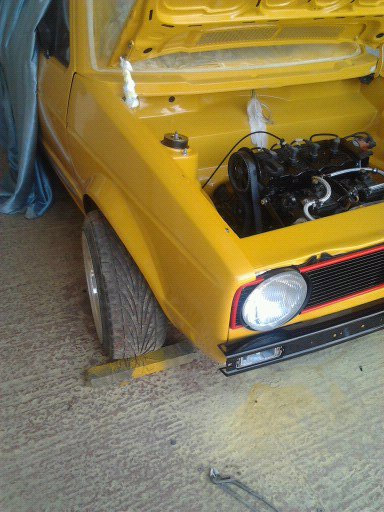
all wired up and running
Posted
Settled In
Posted

Old Timer
hats off to you mate…. well played!
1980 Series 1 GTI (gone now .. what a mistake selling her!)
1979 Series 1 LD - the Mandarin Dragon … gone as well. oh dear.
1979 Series 1 LD - the Mandarin Dragon … gone as well. oh dear.
Posted
Local Hero

Diesel Possessed
A97JCE
Feeby
A97JCE
Feeby
0 guests and 0 members have just viewed this: None.