


My Mot'd 1975 Golf LS

Posted
Local Hero

My Mot'd 1975 Golf LS
Please keep us posted with as many pics as you can as i am glued to this re-build thread.
Good luck buddy.
Cheers
Diesel Possessed
A97JCE
Feeby
A97JCE
Feeby
Posted
Settled In

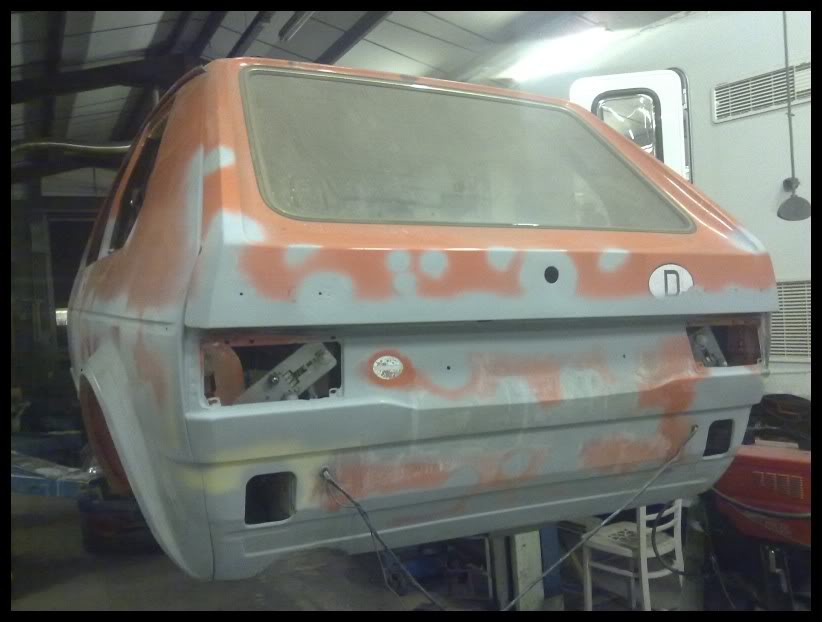
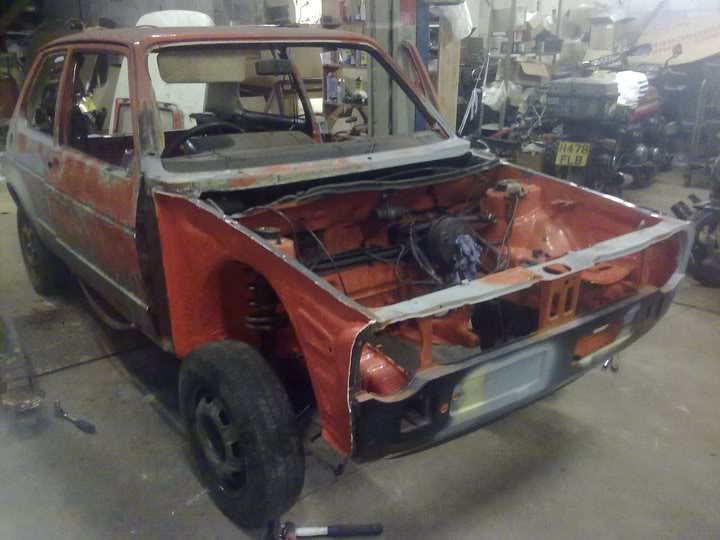
the whites stuff is just a bit of acid etch before i prime it, i only changed the bottom part of the sill from about 1" down from the door lip. Put all the seams back to keep it "right"
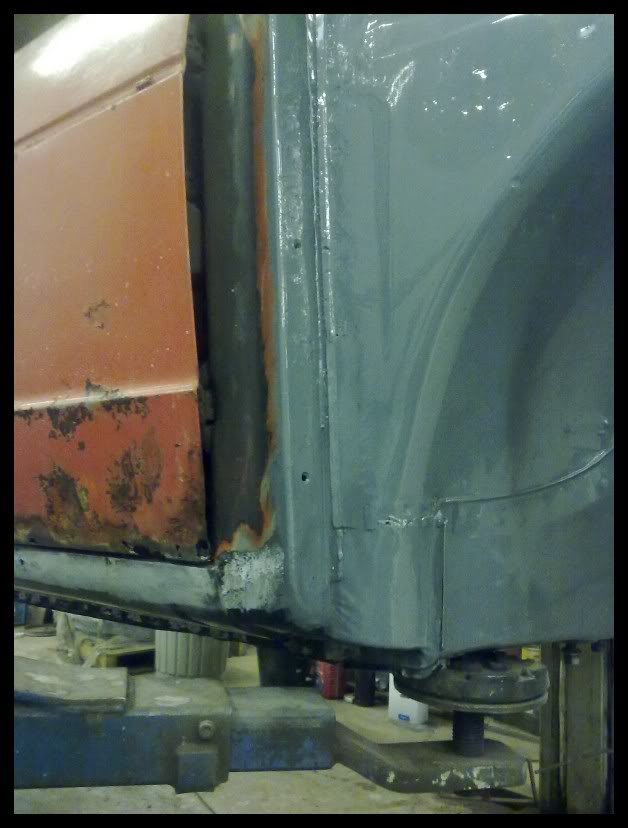
today the outer arch went on first, again i joined it part way through the curve …
some carefull grinding and panel work and its virtually flat

There was also a small part just above the arch that needed some help..

Inner went in after these were taken, but its not fully welded yet. Hope to get this rear corner finished this week .
So after all the inner wings are refinished with rubber i can get the suspension back on, drop it down and get the doors off for some work and get it ready for paint

Cheers
Mark
Posted
Old Timer


Posted

Local Hero

Shame Sky aren't filming it, "Golf S1 Crisis"
1983 Mars Red 1.8 Golf GTI
1987 Alpine White 1.8 Clipper Cabriolet
The trouble with doing nothing is that you never know when you are finished.
1987 Alpine White 1.8 Clipper Cabriolet
The trouble with doing nothing is that you never know when you are finished.
Posted

Local Hero

1979 mk1 Golf Gti (Dan)
1983 mk1 Golf gti G60 (little-un)
1991 mk2 Golf Country Chrome Edition
2010 T5 Karmann Colorado
2012 mk6 Golf Tdi convertible
2019 Skoda Octavia Sport ( it’s Golf)
1983 mk1 Golf gti G60 (little-un)
1991 mk2 Golf Country Chrome Edition
2010 T5 Karmann Colorado
2012 mk6 Golf Tdi convertible
2019 Skoda Octavia Sport ( it’s Golf)
Posted

Old Timer
Posted
Twitter Manager
Posted
Settled In
In actual fact i finished repairing the scuttle on tuesday night and welded up the tab holes Dub boy told me i had missed on the front and i stood back and realised i had finished the welding :mrgreen: - thank god…
ok so im awaiting a delivery of POR to 2nd coat the inner arches in , i have 3 arches to rerubber as per original and then the suspension will go back in.
Plan is to have it back on its wheels in the next week or so so i can get the doors open wide enough to get them undone and for the repairs to the lower half to be done, while my mate gets the body flat ready for paint, we will then do a total bolt up to make sure everything fits and aligns up and then deassemble and paint it.
I will post some pictures very shortly of hopefully some nice inner painted wheel arches filled with as new suspension
.oh one thing - im still a few parts short that i just cant find, i need a chrome style passenger front wing trim, i also dont have one of the chrome sill trims as it dropped off before i parked it up and i still have not found a clutch release bearing for an 020 4 speed 1500 cc gearbox which i guess is the most urgent thing..
Pics very soon
cheers
Posted
Settled In
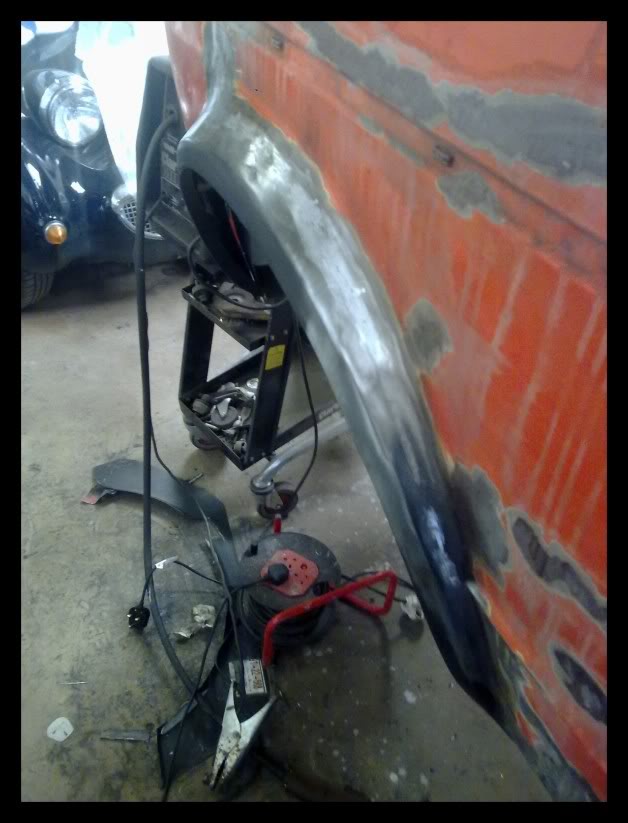
the door bottoms will be done once its on its wheels… still zero filler
.Mountain of work to do this weekend as the painter is due to have it next week 8O

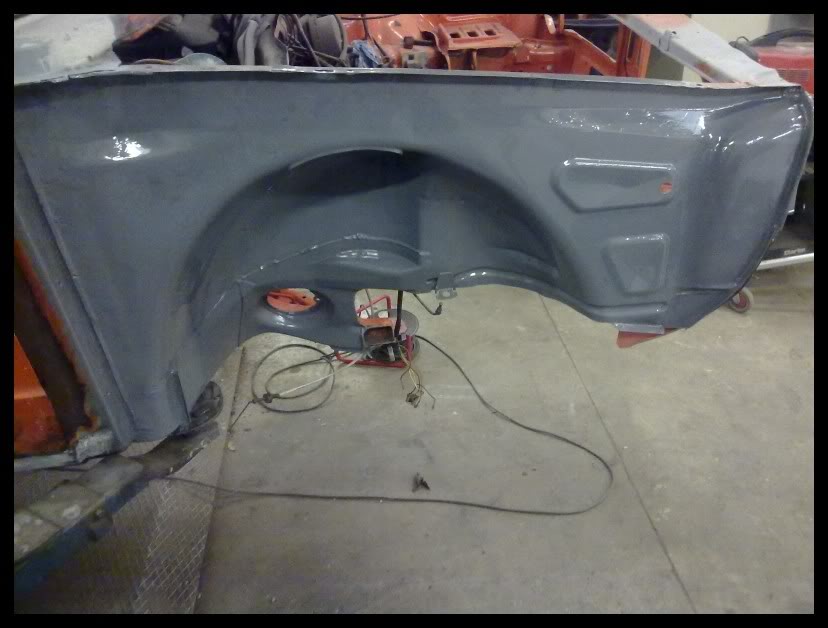
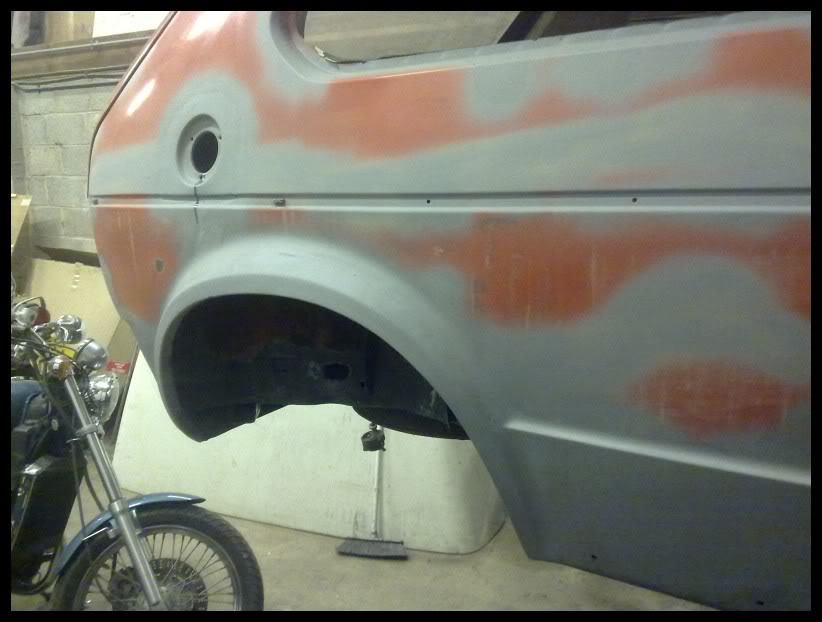
Just finishing this inner arch before i start on the door
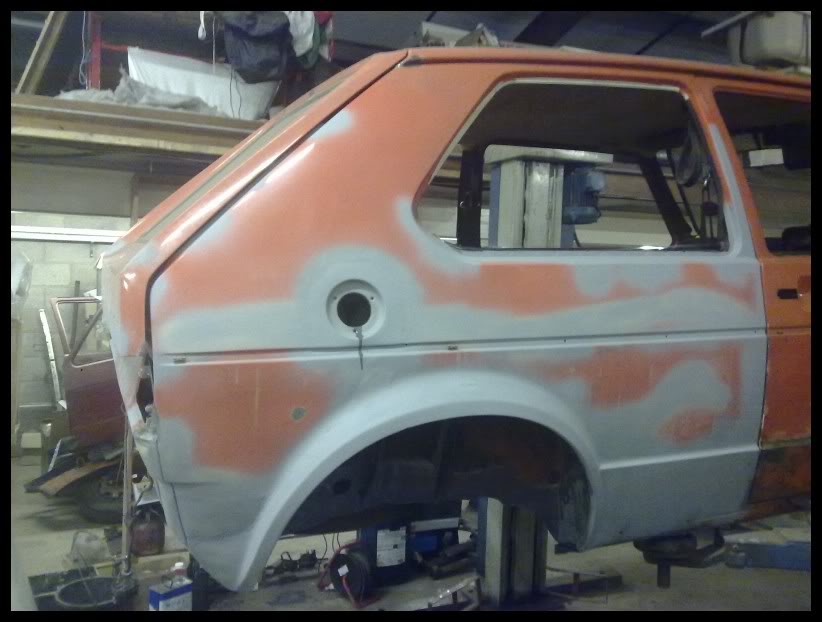
Tiny bit to finish below the filler hole where the trim goes as the lip wants rolling over a bit more..
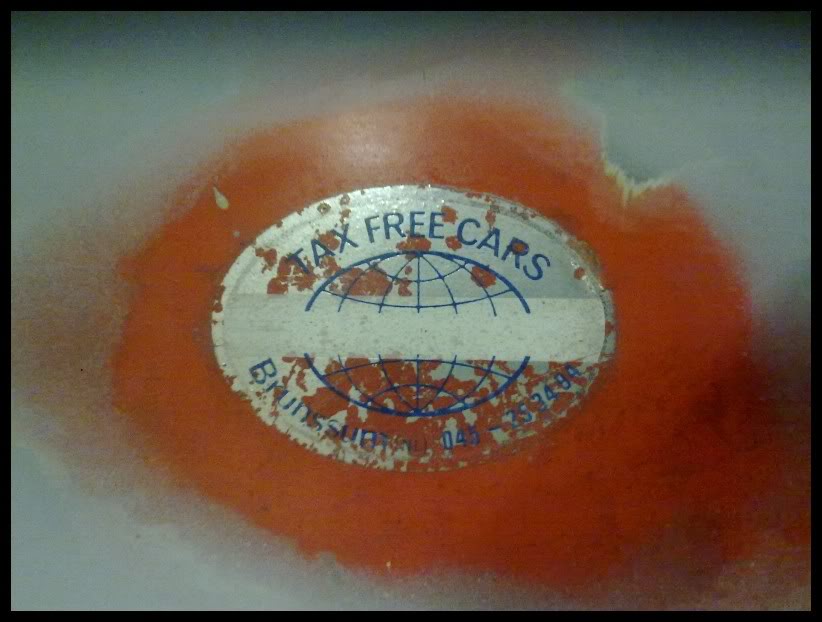
I rang the original company today Intercars in Holland who my Dad bought the car through and we picked it up from when i was less than 2 years old back in 75 and spoke to some one there to see if if they still have any original stickers left (else we will paint round it). I was asking daft questions like do you have any stickers like the ones from 75 left and i got the impression he thought i wasnt a full ticket at first and he explained he was also 2 in 75 (same age as me oddly enough).. but they have virtually the same logo now so fingers crossed when i mail him this picture tomorrow… 35 years later and they are in the same building and have the same telephone number - whats the chances of that!
http://www.intercar.nl/index.php
Mark
Posted
Settled In
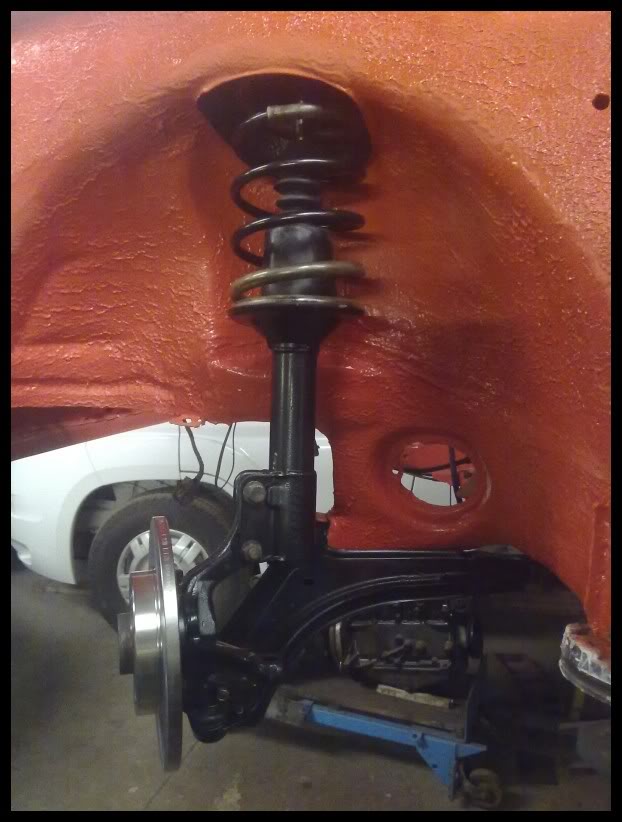
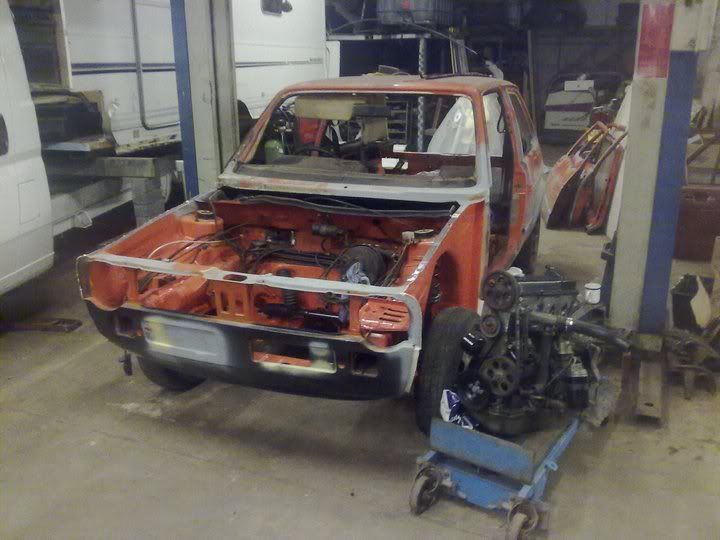
then on sunday for the first time i actually started bolting parts back on, i rubberised the inner wing as close as i could get it to the factory mess and sprayed it on sunday and started to assemble the front suspension getting ready to drop it back down… yep i have accidently forgotten to put the back plate on :dontknow:
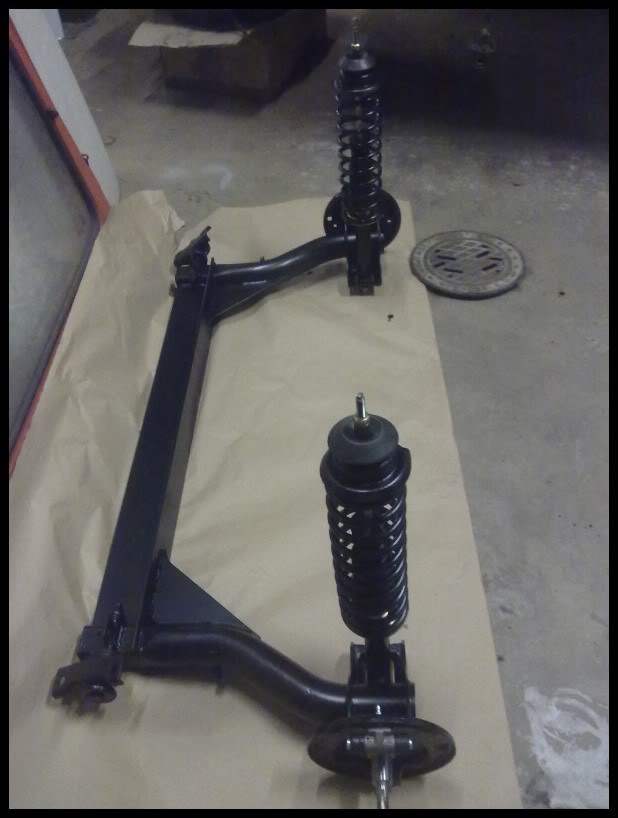
Tonight i got on with the rear suspension…

Got this far, then started on cleaning the fuel tank ready to hopefully drop all this back in tomorrow night..
Posted

Old Timer
when I saw the first pics go up a while back, I did suspect the restore wouldnt get to the point of seeing paint :redfaced: . Youve done a fantastic job so far, car is looking a mllion times better, keep up the great work.
1988 1.8 carb Golf Clipper
Posted
Old Timer
Posted

Settled In
1st off all very impressed with you work and love the fact it is a family owned car great history/times you must have had in it. :mrgreen:
What was it you used to rubberise the inner wings?
Keep up the good work, hope to see you out and about in your car next year.
thanks
mark
Team Wackeldackel - Team Wackeldackel
Posted
Settled In
I have been driving about with the back beam in my daily car for 3 weeks now as im a bit behind shedule
.djheap22 said
when I saw the first pics go up a while back, I did suspect the restore wouldnt get to the point of seeing paint :redfaced: .
Yep it was rough ….If it hadn't been in the family almost the same amount of time as my sister then it may well of ended heading for the scrapper… no more restorations out of sentimentality after this one!!
. But im really looking forward to having it on the drive and being able to use it again, i hope to have it back together by Christmas.markl said
What was it you used to rubberise the inner wings?
I tried a few products, 6 in one rubber/ bonding/ seam sealant was ok, nice and thin but in the end i went for a simular product , in white as original but much thicker, more like rubber seam sealant but part bonding agent too.
My mate borrowed me a spray gun that takes the tubes that body shops use to spray this stuff on but i just couldnt get it to give a simular finish so in the end i went with plan B…
Smeared it on in big clumps with rubber gloves till the wing was all covered nice and thick (about 2.5 tubes/ inner wing) and looked an utter mess.. next thing to do quickly was to smooth it all down using rubber gloves dipped in celly thinners so it looked like i had plastered it.
Then the finish to make it look like i had used a spray gun was to use a comressed airline blower to go over it and give the sprayed look. then a quick brush over the panel seams and done
..i will get the products name for you but i would imagine most of those sorts of rubber products would work just as well.
Ok painter has put me back a week so gives me some breathing space, tonight the tank and rear suspension are going back in..
Mark
Posted
Settled In
Can't wait to see it in fresh paint!
Posted
Settled In
Well that feels like a massive step forward and home early tonight, got the tank in and then the rear suspension all exactly as planned …for a change.
The original tank had cleaned up well, i reapplied the 3 sticky pads and then gave the top a good splattering of waxoyl to see it through

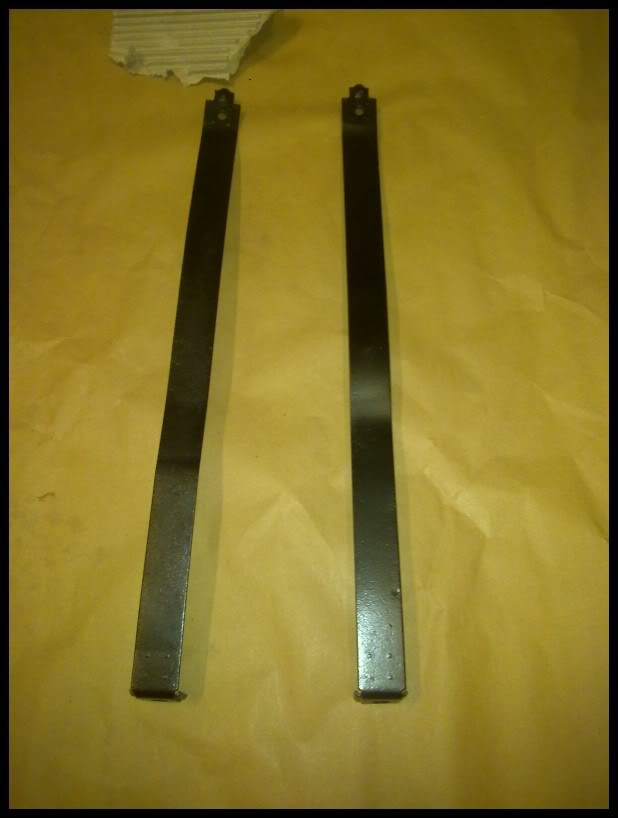
hanging straps had also been powder coated and the 4 strap rubbers remade and it was in…
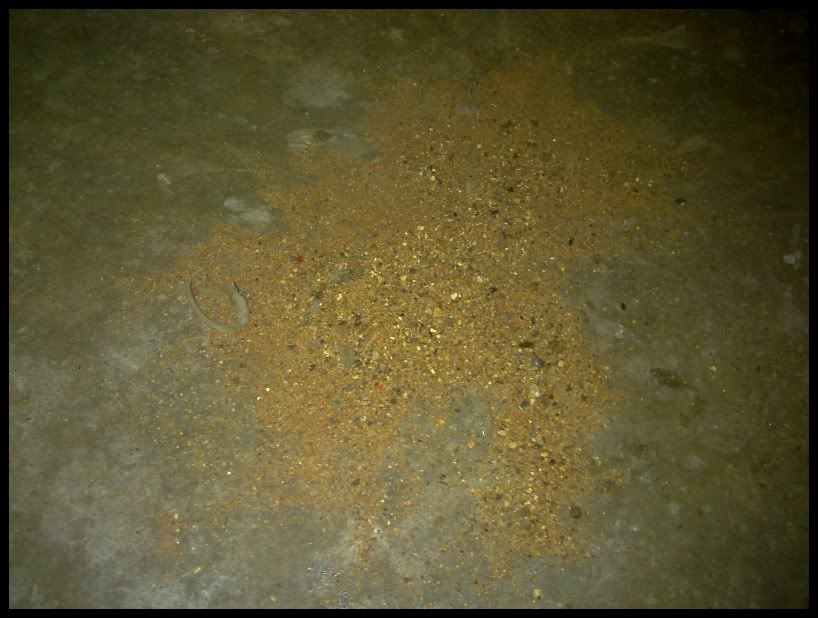
spent a little while emptying 35 years of sand out the tank, this has all come through the fuel pumps as the filler has never holed
And then i bolted it up
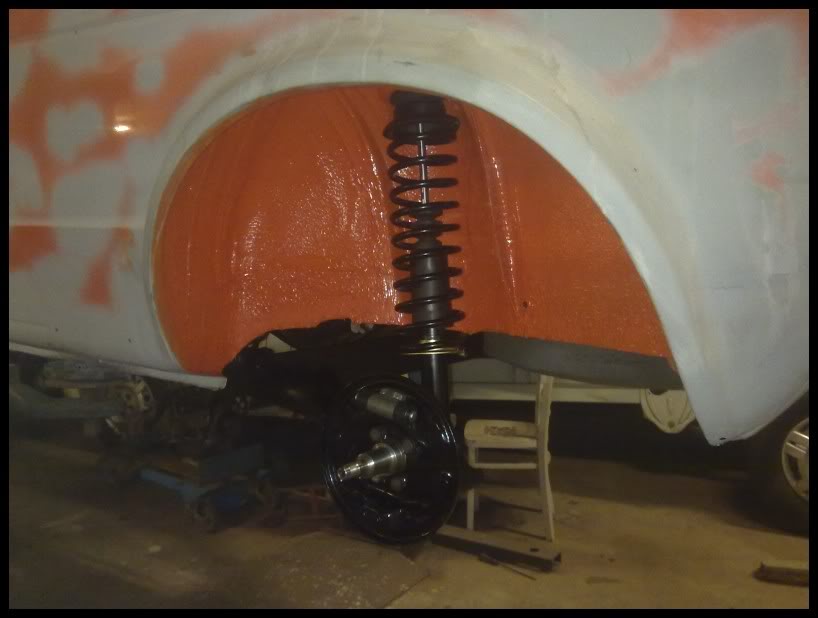
As new
(Ok except the Febi wheel cylinder as i only have one usuable original Vw wheel cylinder currently)
So next stop is to get the O/S front inner wing rubberised/ painted and the suspension assembled so i can get it on its wheels…
Posted
Old Timer
Posted
Old Timer
1990 MK1 Golf GTI Cabriolet
1983 MK1 Golf Campaign

1983 MK1 Golf Campaign
Posted
Settled In
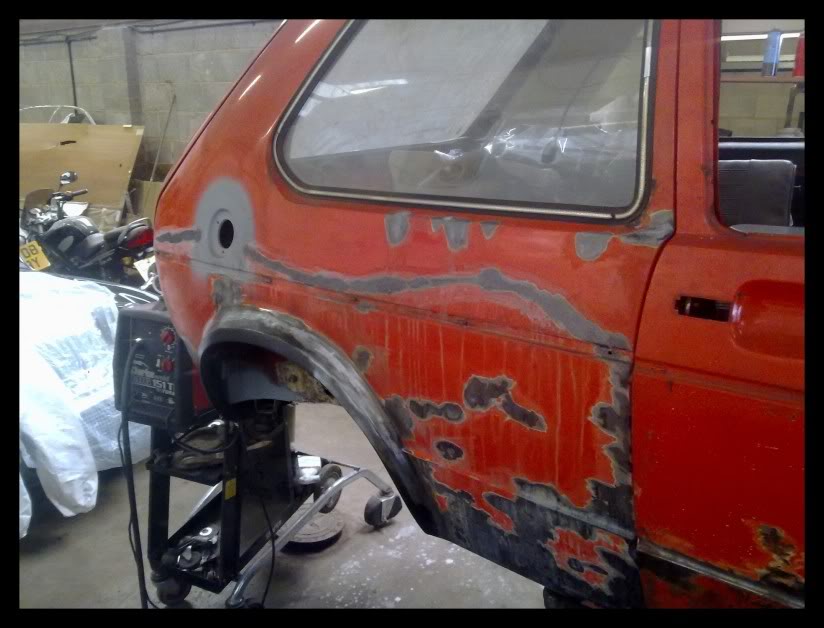
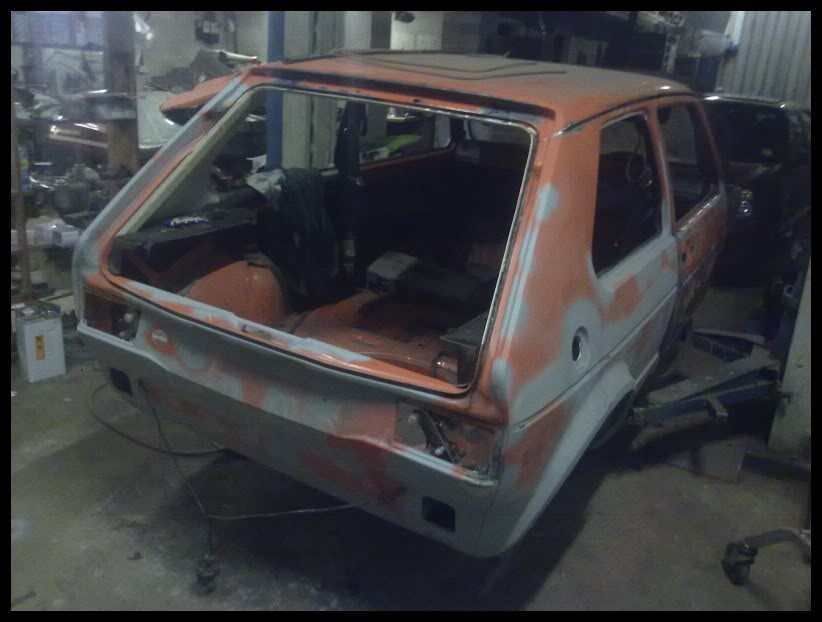
So big night last night, finally got the last inner wing rubberised and painted and the suspension leg in and the Nos steering rack and all the steering dropped in and it on to its wheels….
Then off came the doors
Painter now booked for weekend after this one, so gives me a week to fix the doors and finish the O/s A pillar which i seem to have forgotten about :?
….
Posted
Local Hero
Alex
0 guests and 0 members have just viewed this: None.