


Kamei Retro Racer mk1 build

Posted
Old Timer

Kamei Retro Racer mk1 build
Posted
Settled In


Posted
Settled In
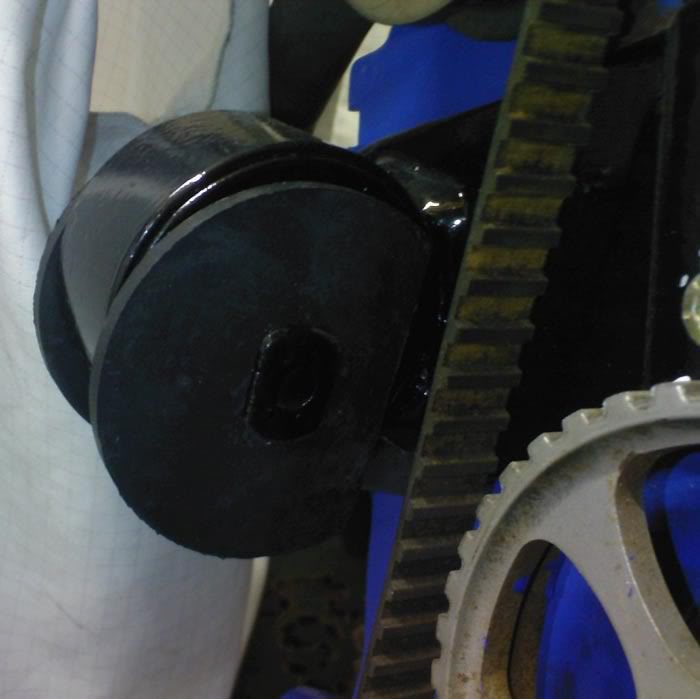
Found new rubber ends to go over the driver side mount:
small bits tidied & starting to be refitted:
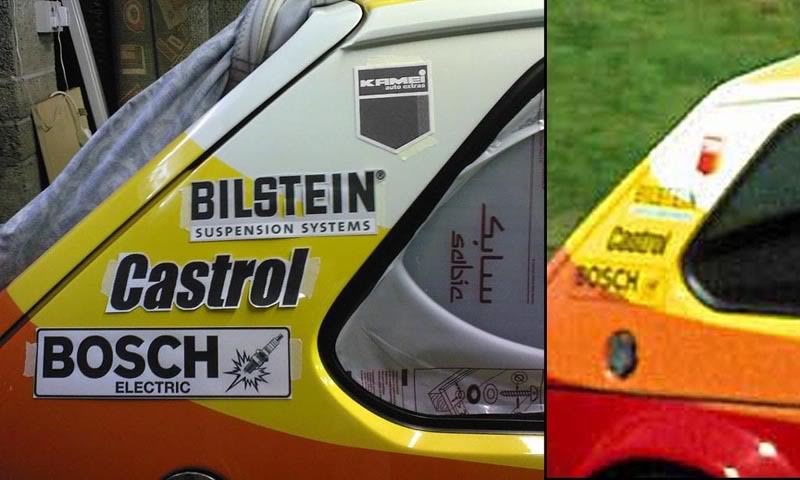
Final mock up of the last of the decals these being for the rear quarters for Mike to do his wonders on:
Got a stack of course work to do over the next 4 weeks for work to secure my contract so have to juggle with time until then.
Posted

Settled In
Mk1GTi
Rallye Golf
Mk5 GTi
Mk7 GTD
Rallye Golf
Mk5 GTi
Mk7 GTD
Posted
Settled In
Tiny update….
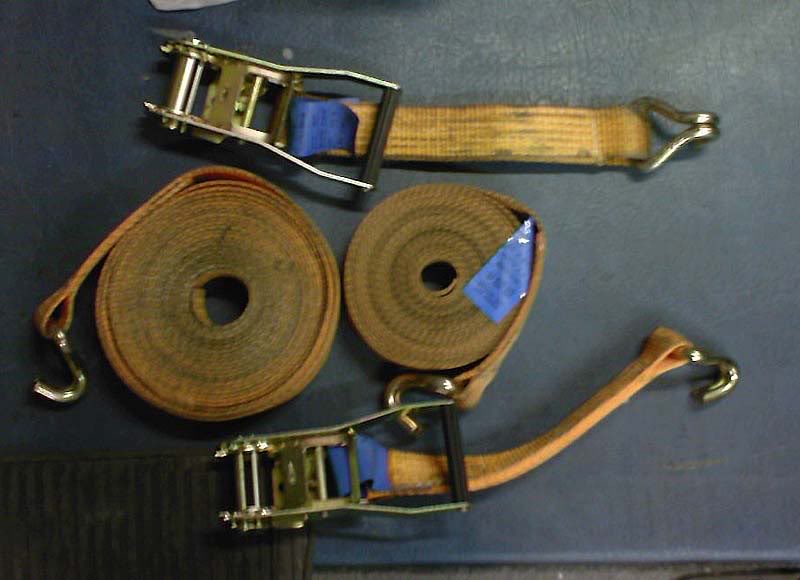
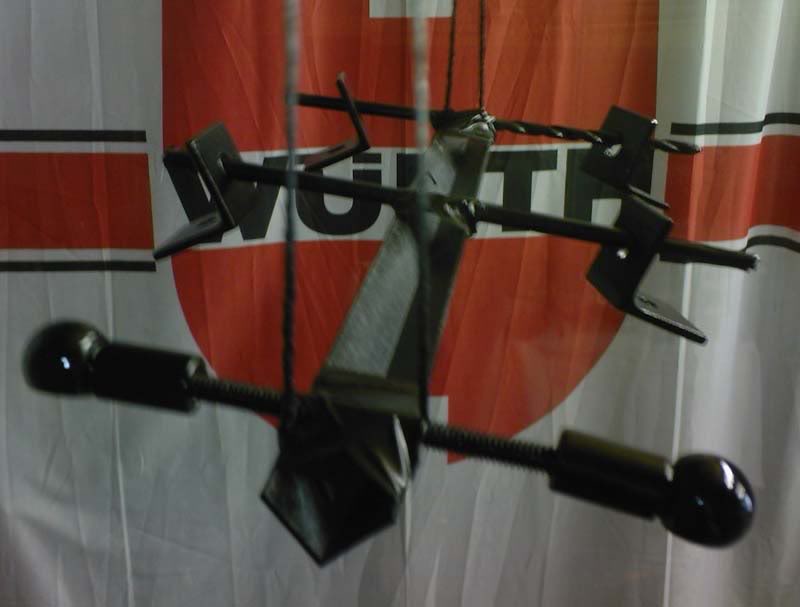
Got out some straps:
Wrapped a chain around the rear cage beam & tied the straps around the front top corners of the cage & pulled it down to join up with the rear half (after having some material cut away from the ends of the front cage to be able to move it away from the windscreen area):
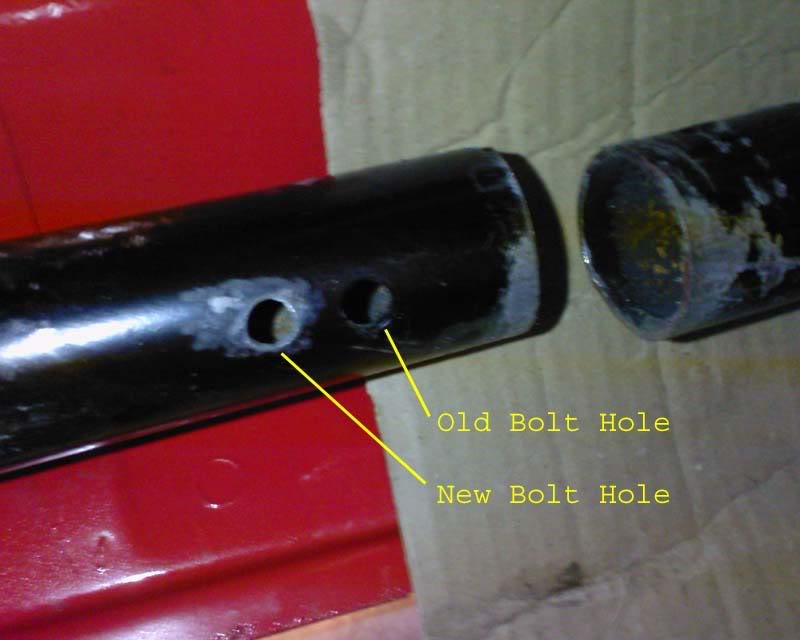
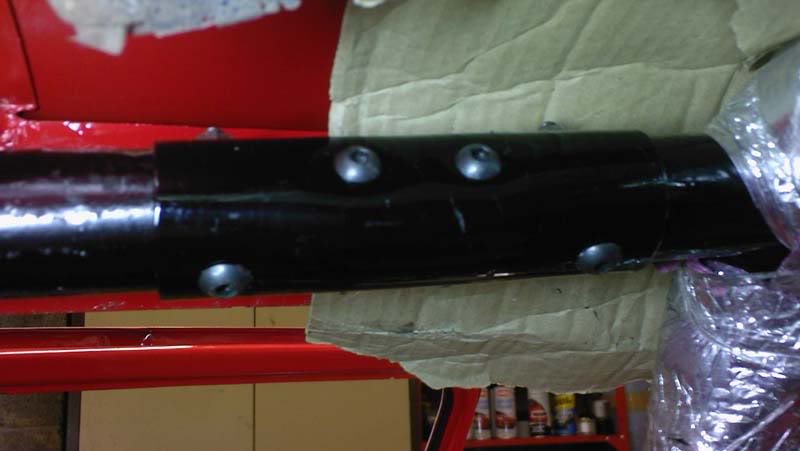
Here you can see were the 4 bolts normaly bolt through the sleeve & hold the front & rear together:
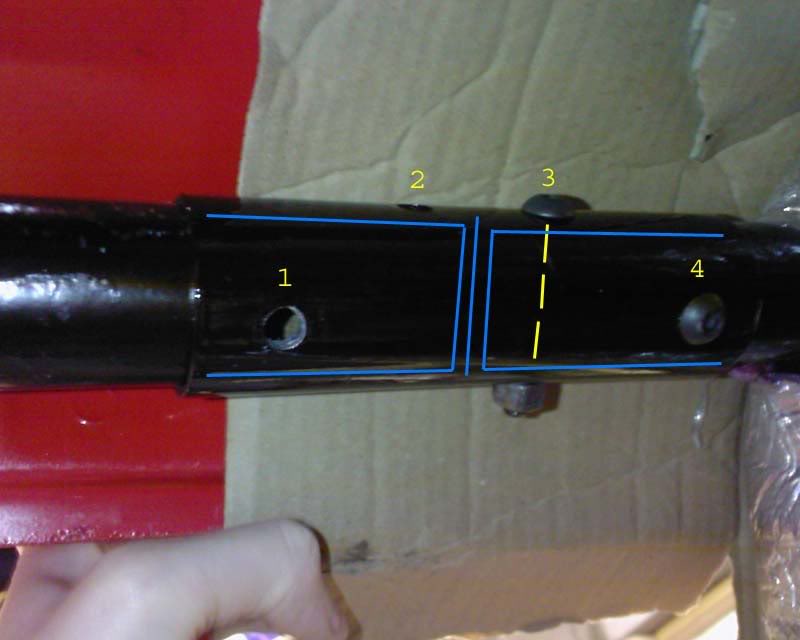
Bolts 1 & 2 had to be redrilled after the shorter front half was pulled into the sleeve with the straps until it met the already bolted rear half within the sleeve (bolts 3 & 4 secured rear already).
As you can see the 2 bolts are drilled at a 90 degree angle to each other so one side of each in the car wasn't to hard to drill so i drilled 2 of the 4 holes either side of the car leaving the opposite awkward sides to do next time, these are nearer the roof/pillar so will have to be drilled when the cage is pulled down without the sleeve giving me a safe zone in case the drill slips through.
This pic shows after the sleeve was removed the distance that was needed for the new holes to match up on the front half:
Posted
Settled In
Now sold and on their way to me 8)
Posted
Settled In
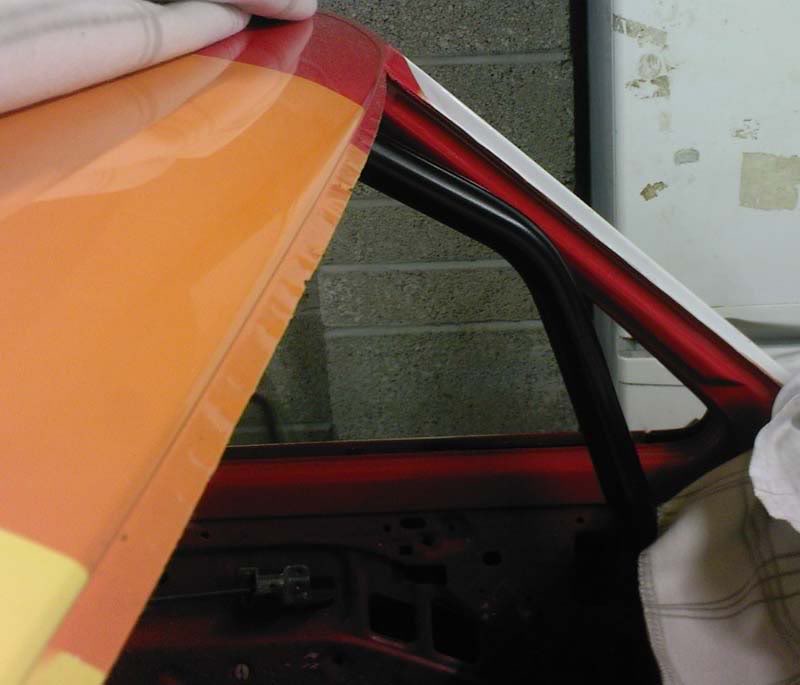
Marked up the holes inside the tube (by eye), wacked it with a start punch for drilling then taped a block of wood between the cage & roof:
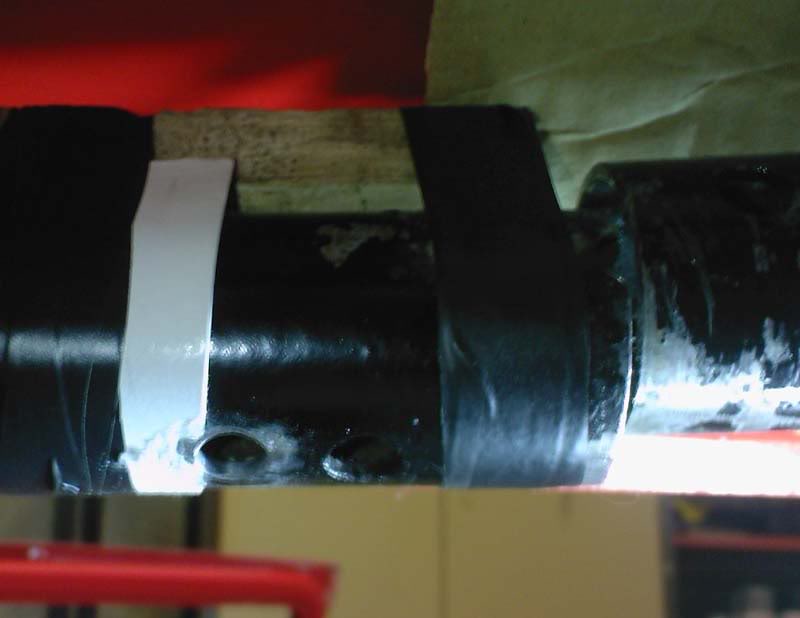
Drilled & de-burred & only need a quick poke of the drill through again when it was all back together & all the bolts lines up:
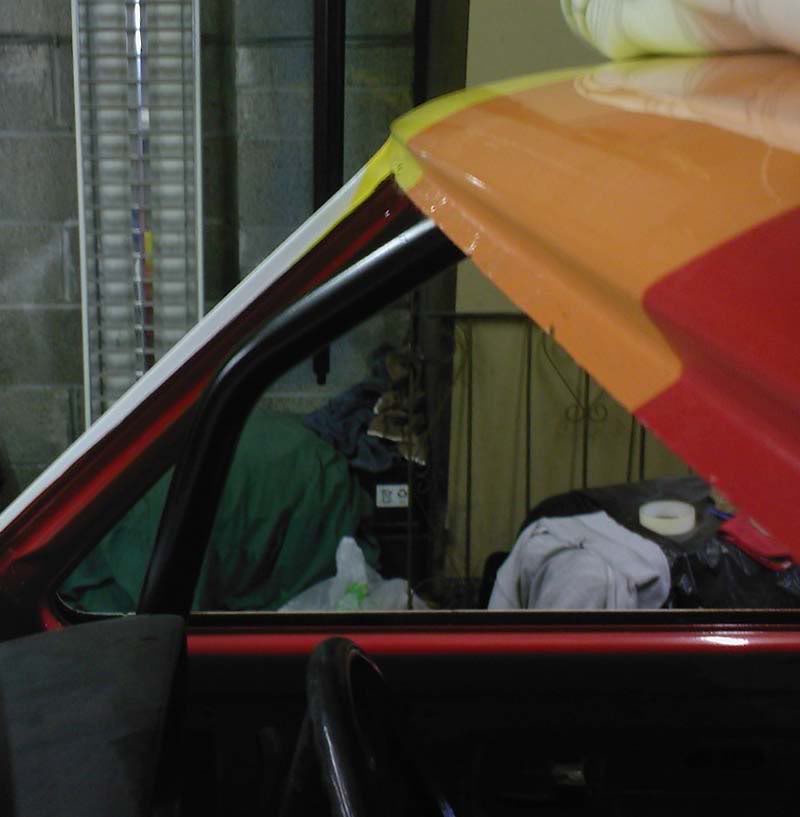
End result was well worth it as it is now away from the windscreen:
Posted
Settled In
Have to see how much i can get done now before it goes into storage.
Posted
Settled In
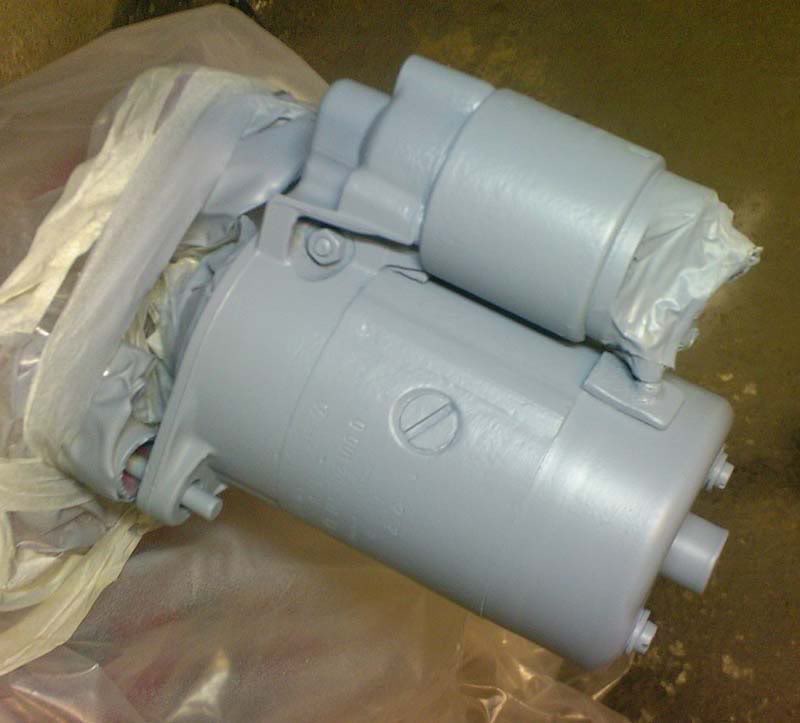
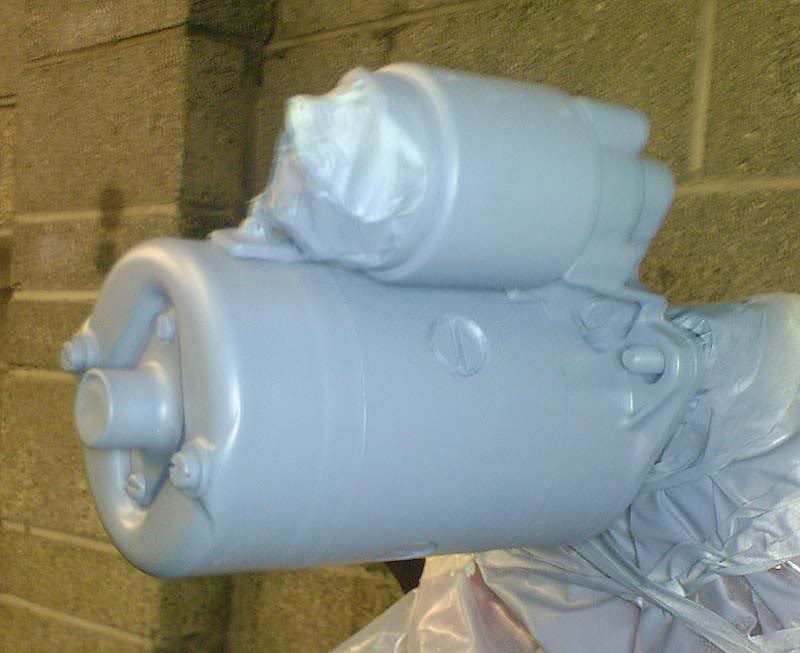
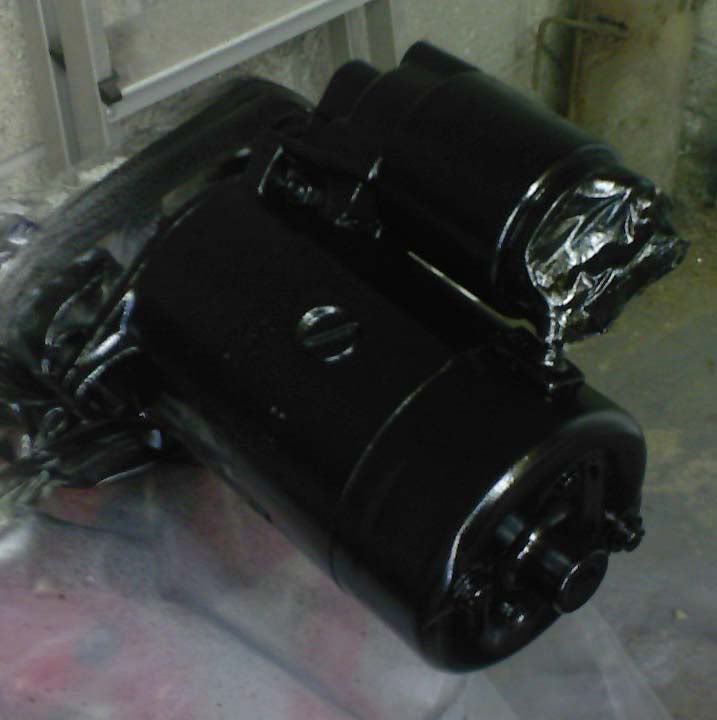
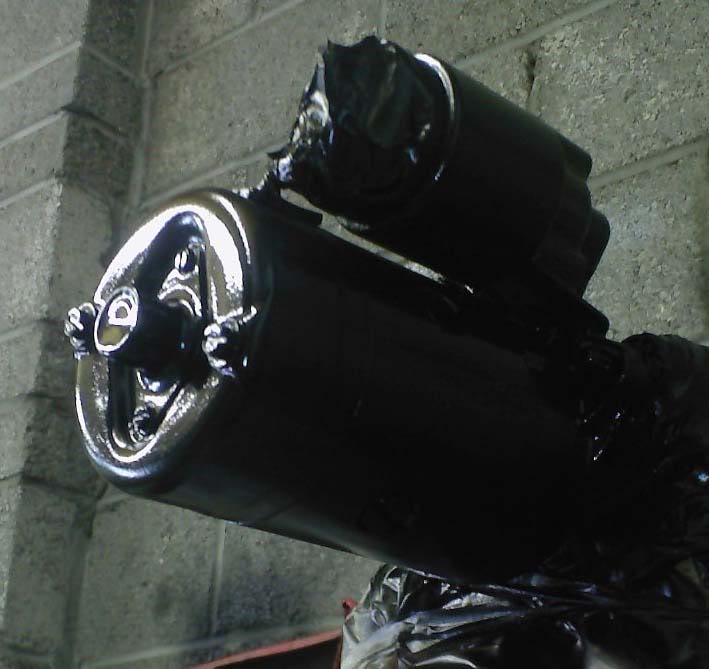
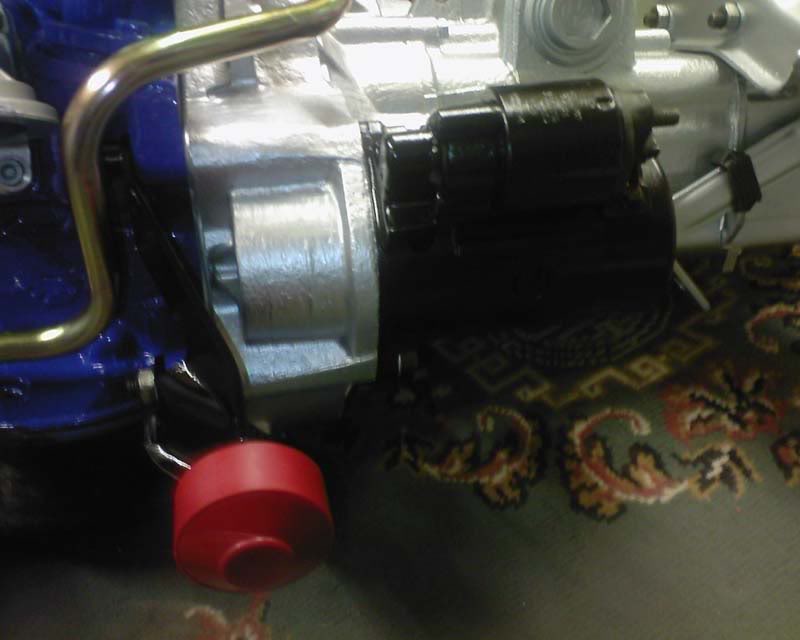
Started to clean up the starter motor:
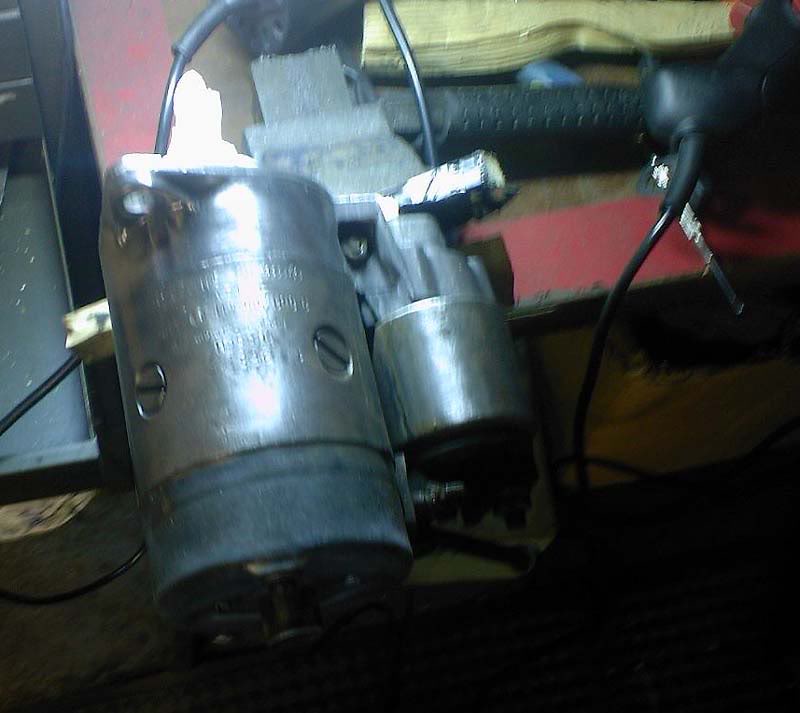
Then when done i had some primer on it after masking off a few bits:
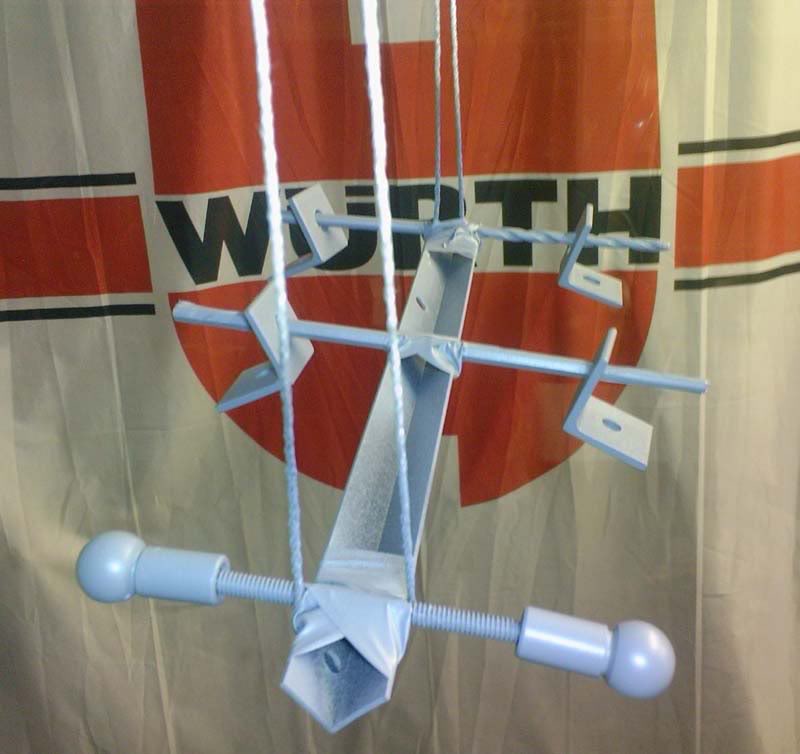
Also cleaned up some other bits & done them too:
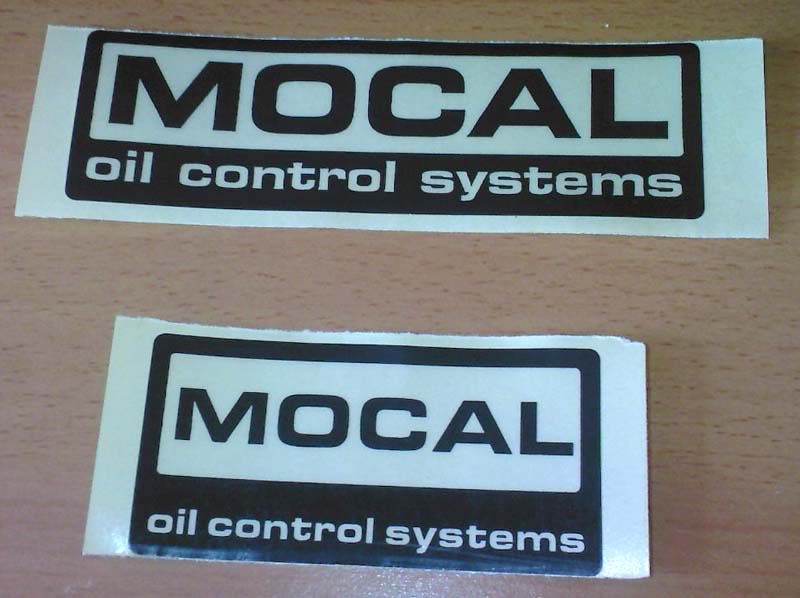
And the kind people at Mocal sent me some new stickers to put on my 19 row oil cooler after i respray it:
Going back to the house i have someone coming tomorrow to do a survey so sounds positive.
Posted
Settled In
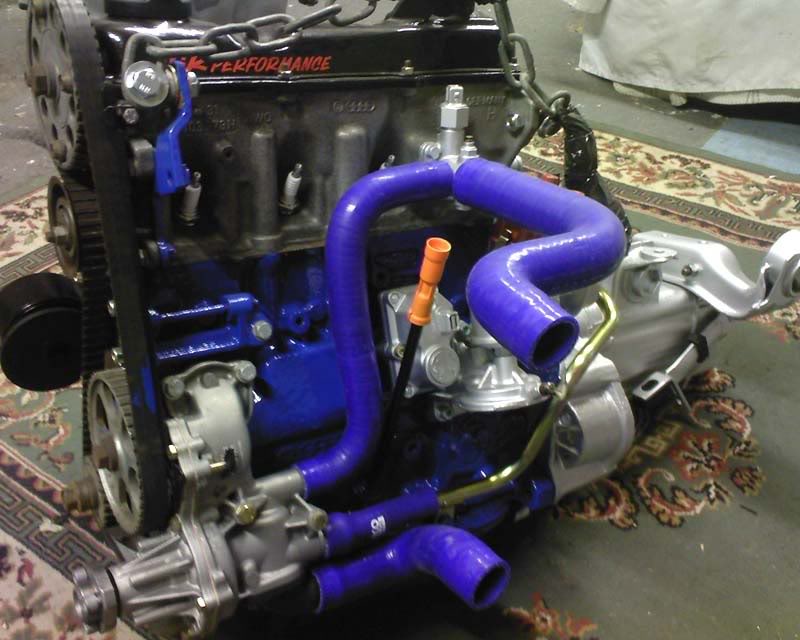
Other bits painted:
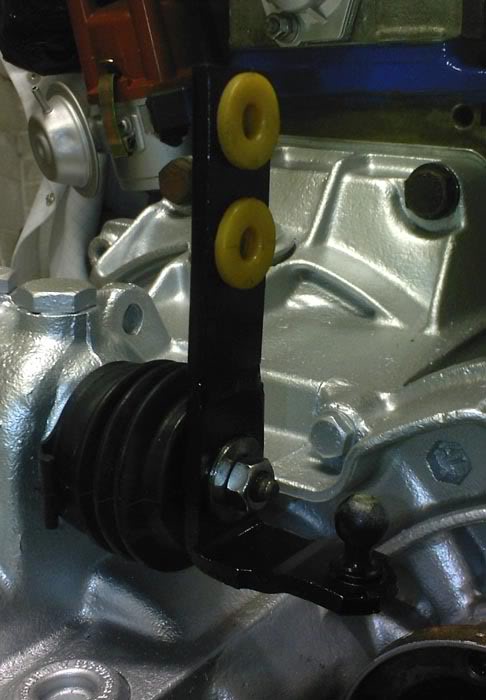
Fitted part of the gear linkage onto the box:
Also fitted metal water pipe onto the block after a bit of jigging and trial fitted the Samco:
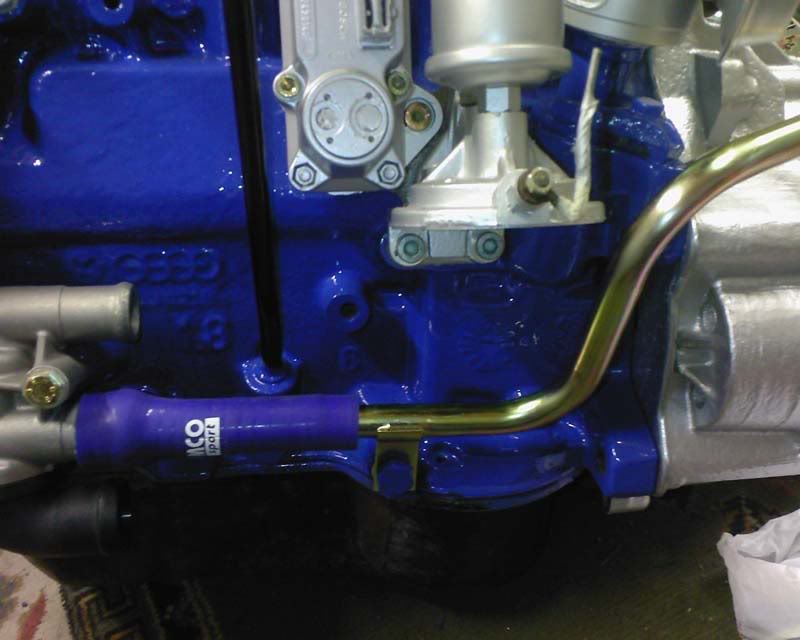
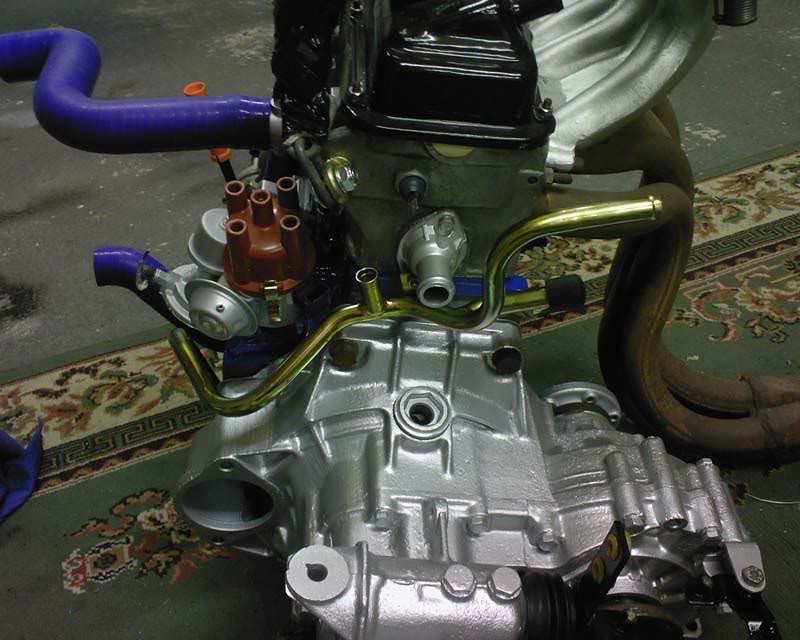
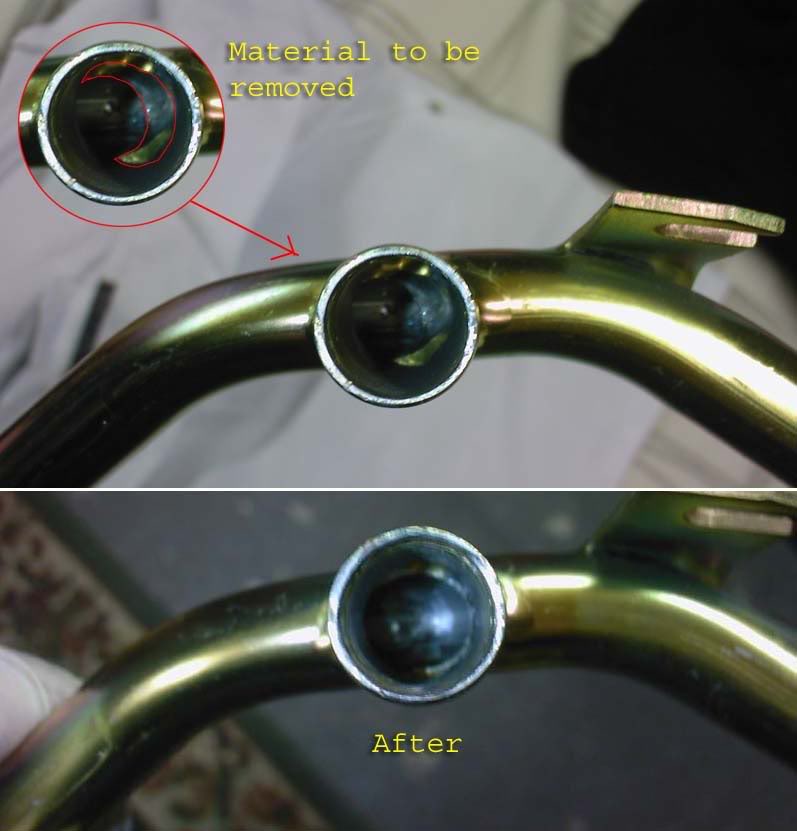
The "ebay special" metal water pipe had another minor issue that one pipe was welded onto it off centre but the grinder sorted that out:
Pushed the other Samcos on for a pic:
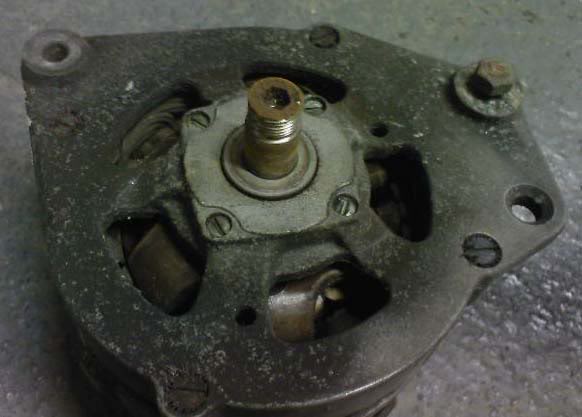
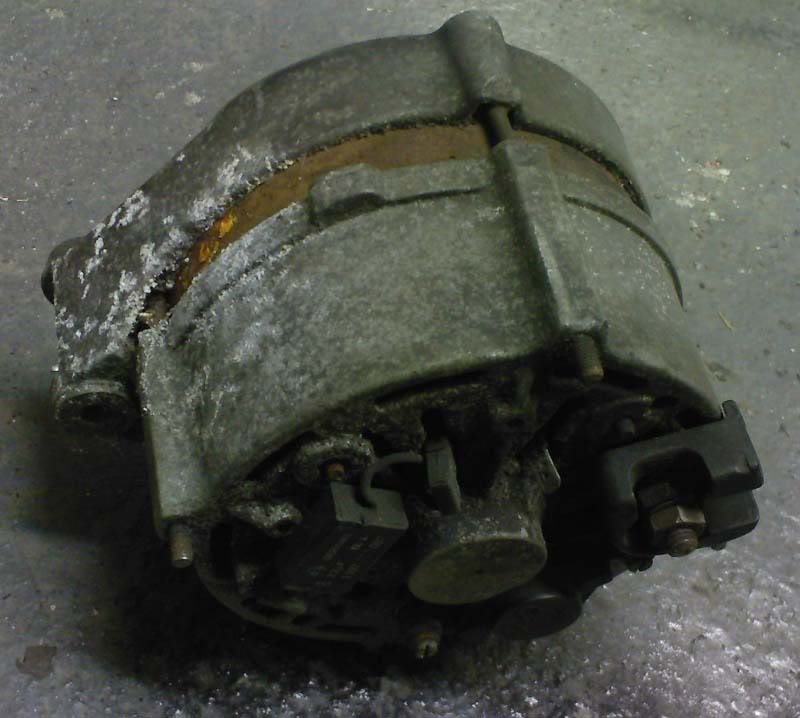
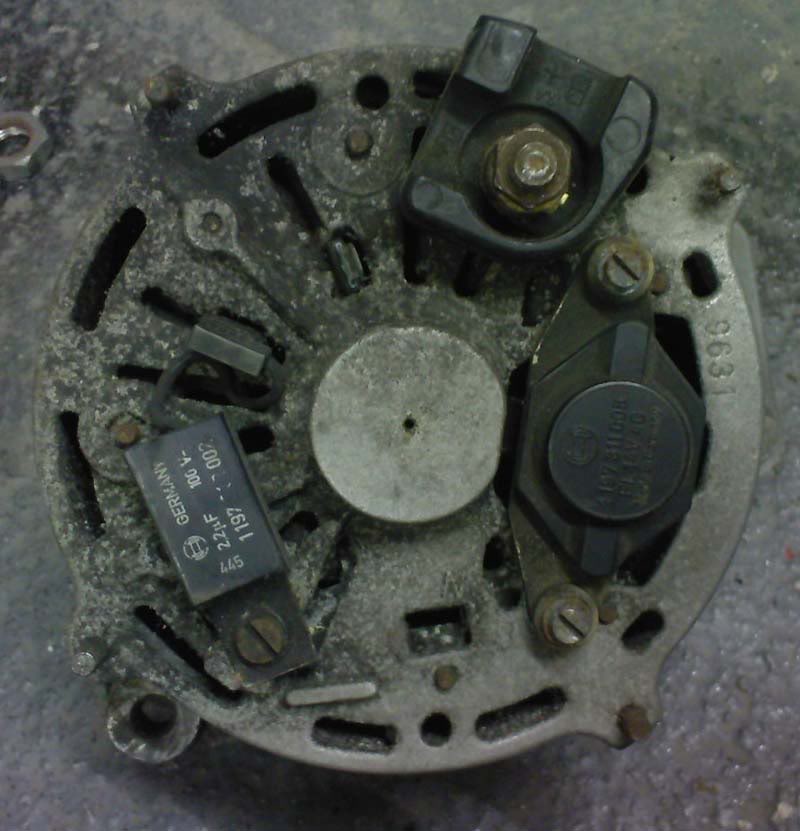
Started to strip down the Alternator:
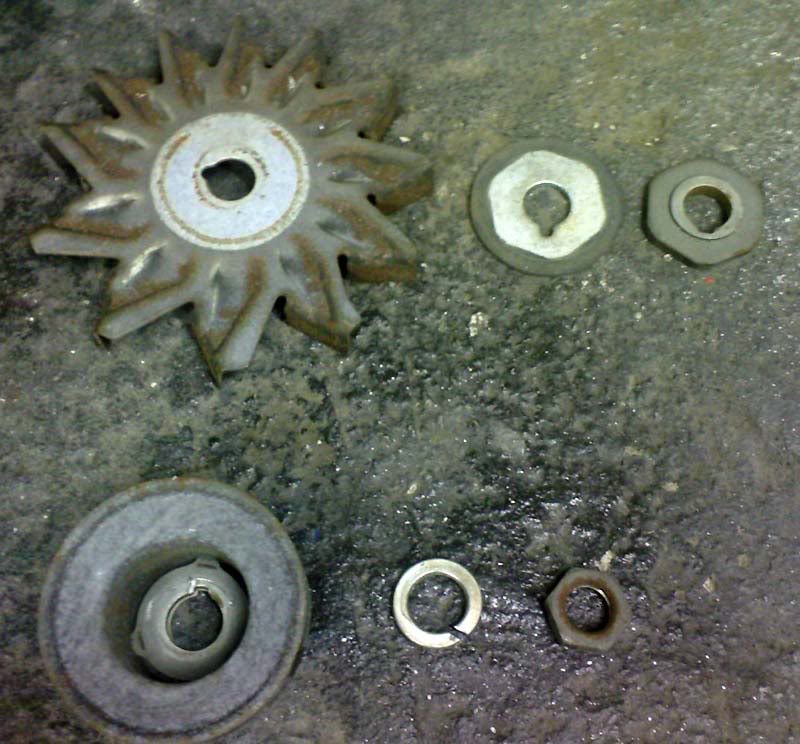
Found it strange that all the parts although all held on tight by the nut had a slot cut out but no keyway? fitted in the shaft (is it missing?).

Few years off the car & it will need a good clean:
Radiator also in need of a tidy up:
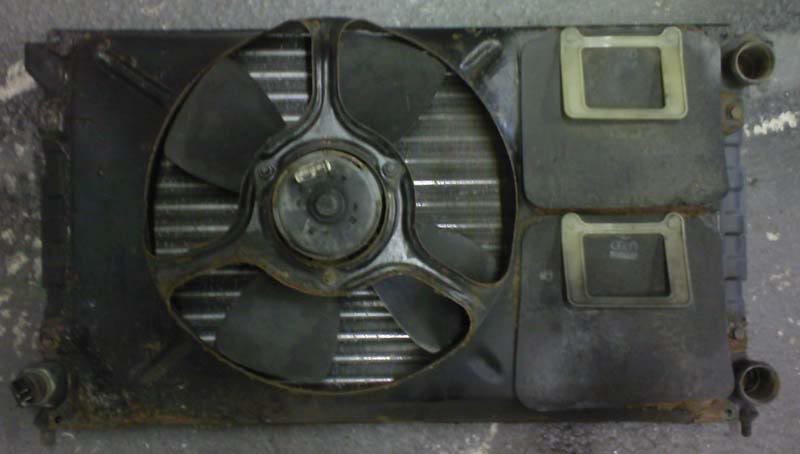
Not sure if the above radiator is a standard mk1 rad, anyone? The metal core is about 53-54 cm long & 32cm deep.
The two plastic locating pins on the bottom of the rad that locate it onto the mk1 front panel are about 60cm apart.
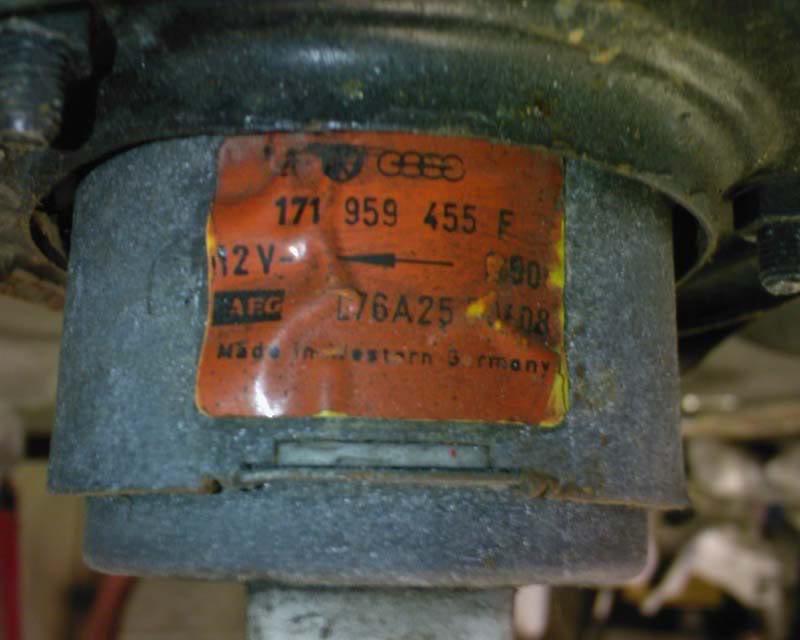
The rad fan motor:
Posted
Settled In

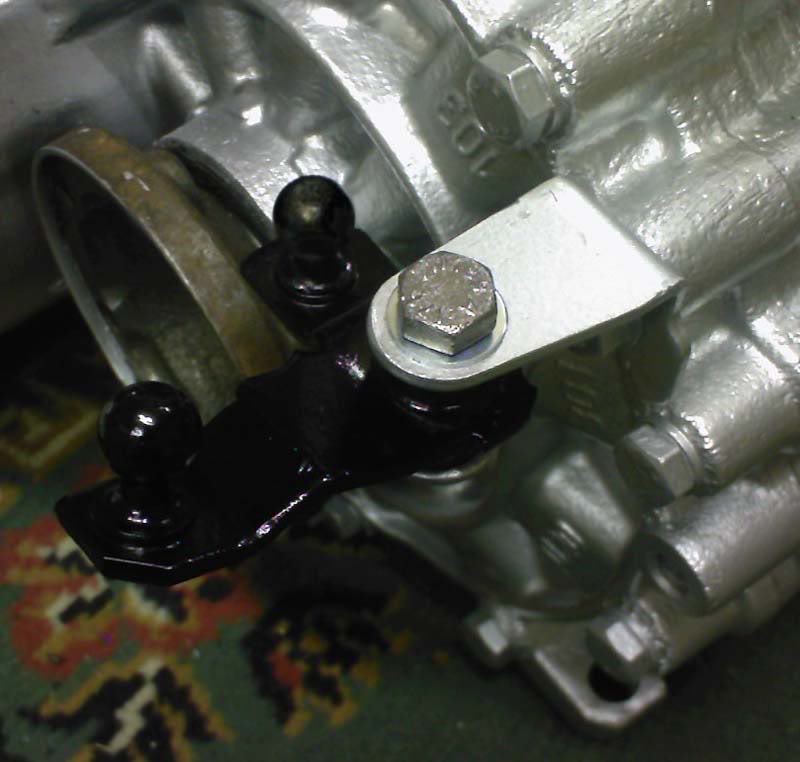
Also the front mount was fitted as it shared the same bolts:
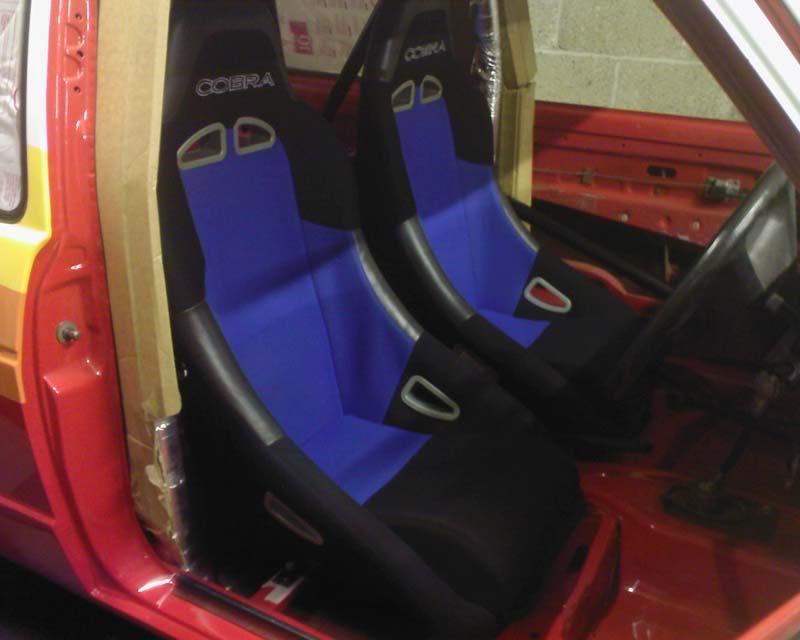
Started to mark up & drill ready to bolt down the seats but ran out of time half way through the 1st one::
Posted
Old Timer
Really looking forward to seeing this build done!!!!
Tbf I'm running out of changes of underwear…
lol
Jon.
Posted
Settled In
Would have liked to have had red seats also but on a very tight budget & theses were cheap when i started the build. I will try to dye the blue into black at a later date if possible?
Mike
Posted
Newbie

it is supposed to un-dye coloured fabric to let you dye lighter colours so you could possibly dye the seats red.
http://www.dylon.co.uk/products/dyes/pre-dye/pre-dye.html
not got round to using it yet but i will be dying some recaros lighter for a mk2 im working on at some point over the next few months and will let you know how it goes if you dont beat me to it.
… absolutley awsome looking car and such a high quality of work, cant wait to see more

Posted
Settled In
Just found this:
http://simplyspray.com/
Posted
Settling In

red allways fades quickly with wear and sun , nothing worse then faded cobra's
mk4 golf gti with bora front end and lots more ,
mk1 gti project
mk1 gti project
Posted
Settled In
Posted
Settling In
just my 2 cents
without sounding nasty it looks like youve spent hundreds / thousands on getting everything right , then the seats are a half arsed because they are there sorta thing ya know ? dont wanna sound bitchy

mk4 golf gti with bora front end and lots more ,
mk1 gti project
mk1 gti project
Posted
Settled In
One thing… how do you know the originals were red?
(ignoring models as i have found various faults on them).
Posted
Settling In
no i jest , not sure how i came to that conclusion tbh probably because you said you would have liked to have red ?
on another note , showed this build to a friend of mine and he has convinced me that if i didnt do something along a similar line id be a fool , (obviously it would be with the budget or originality)
mk4 golf gti with bora front end and lots more ,
mk1 gti project
mk1 gti project
0 guests and 0 members have just viewed this: None.