GarytheGolf
Posted
Settled In

GarytheGolf
Wow!! incredible work there malc, wish i had your expertise.
I really need to do what your doing as my engine has done 171k miles but i havn't got the confidence to strip the engine down to its bare bones.
Great work almost new engine when youve finished.
Is that a matt black engine enamel that you have used?, it looks so clean.
Keep up the good work
regards andy
Posted
Old Timer


Put piston Nos 1 and 4 first.
Lubricated the conrod journal and placed a piece of Plastigauge across the journal.
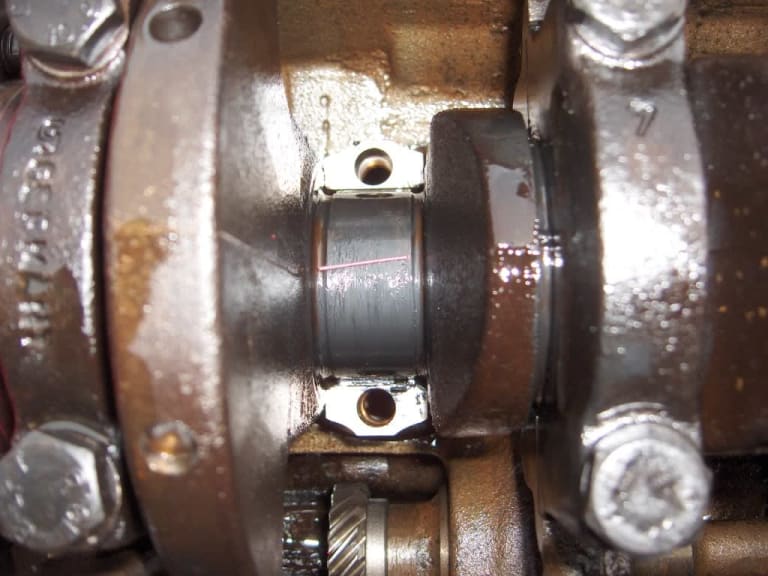
New shell in place for the conrod cap.
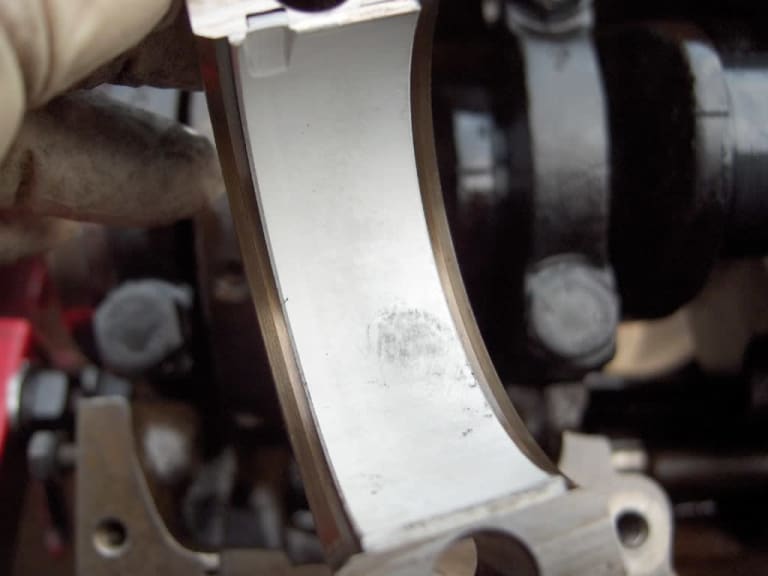
Torqued down the conrod cap and then removed it.
You can see how the plastiguage has spread out. This width was measured using the supplied gauge and it equaled 2 thou. Well in tolerance, as new.
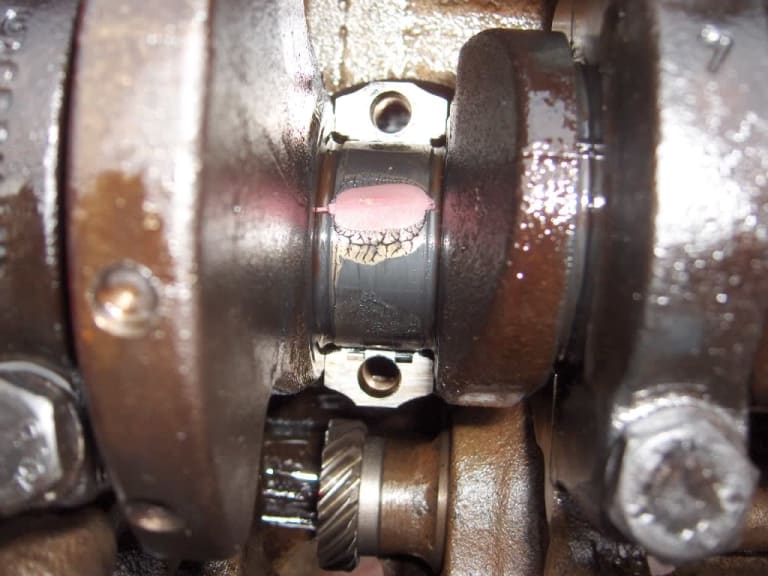
Refitted the cap and torque loaded. All four pistons in place. All mid stroke.
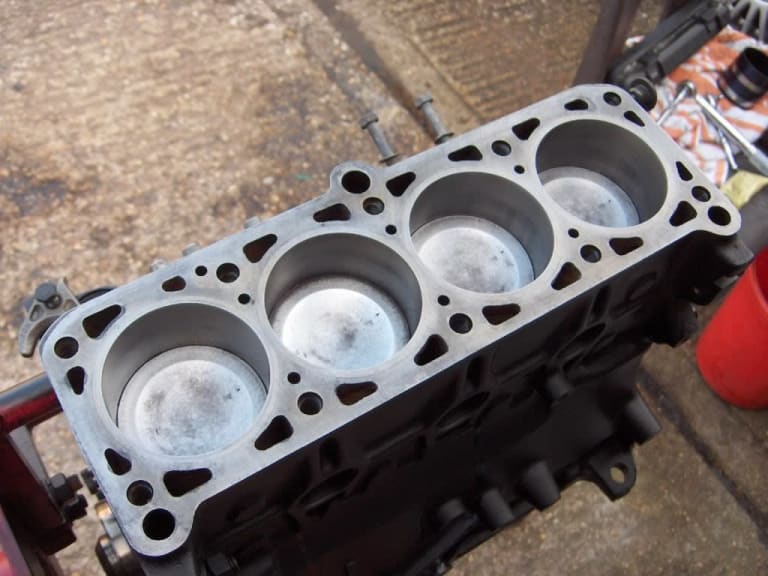
For the moment, I have stored the engine upside down and filled the pistons with some clean engine oil.

Weekend fix over. That's it for about a fortnight. Xmas shopping next weekend. Hope to get the sump, cylinder head and timing gear back on next.
 Last edit: by Malcolm
Posted
Old Timer


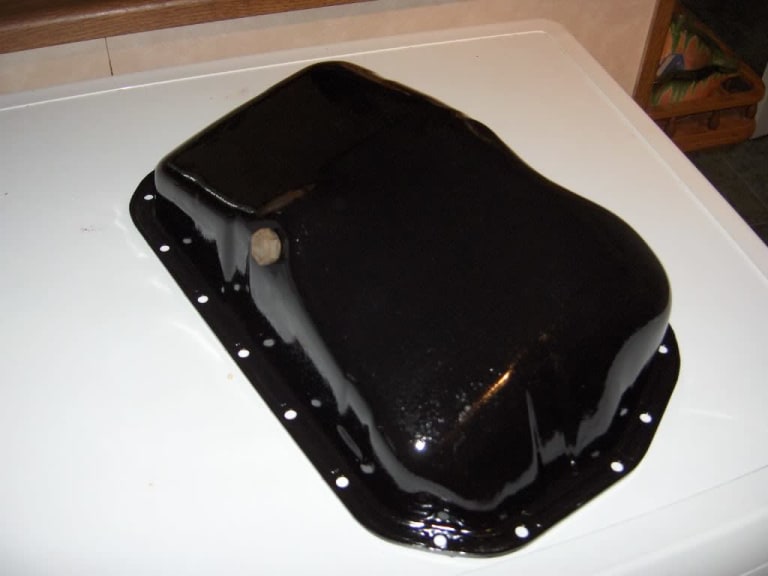
Only managed to paint the sump with POR 15. Hope to do better next weekend.
 Last edit: by Malcolm
Posted
Old Timer


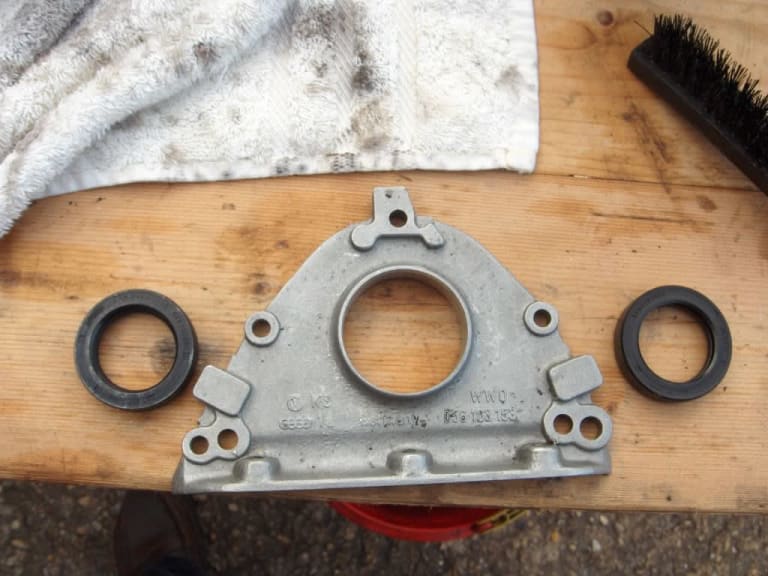
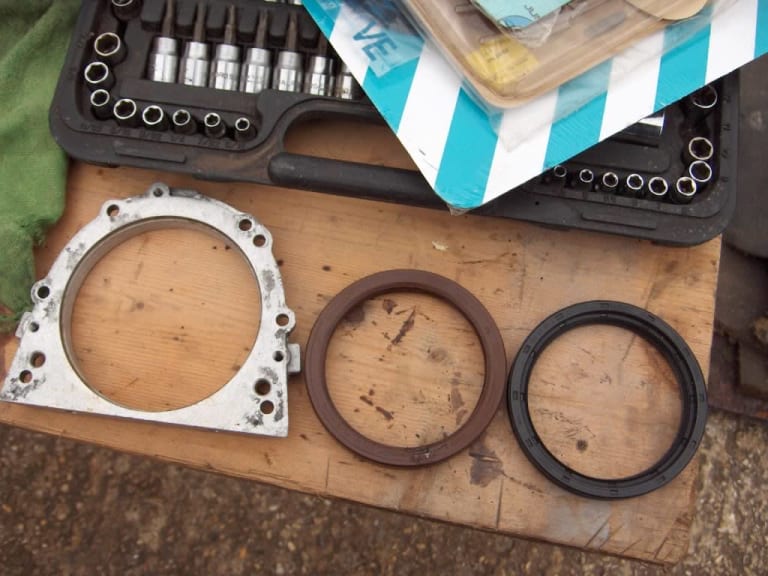
I replaced the front and rear crankshaft seals with new. Both new seals were VW.
Out with the old (right) and in with the new (left) front.
Out with the old (brown) and in with the new (black) rear.
To fit the rear seal housing, I had to take the engine block of the stand.
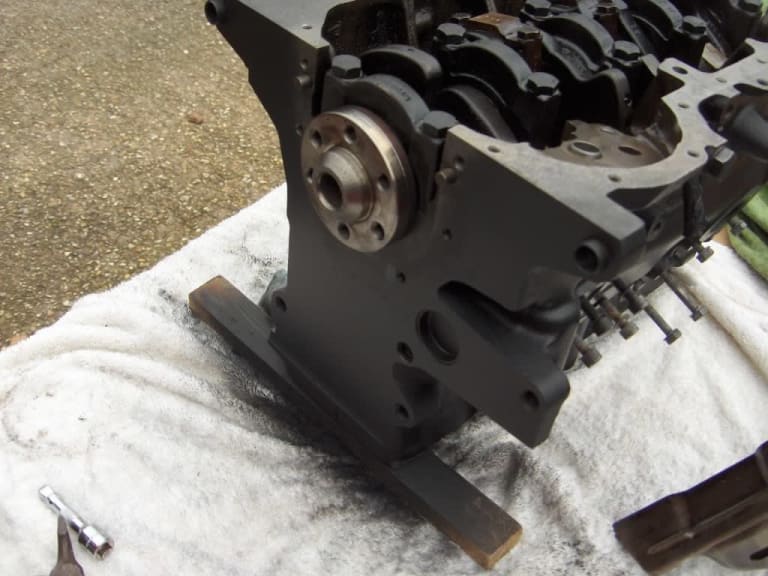
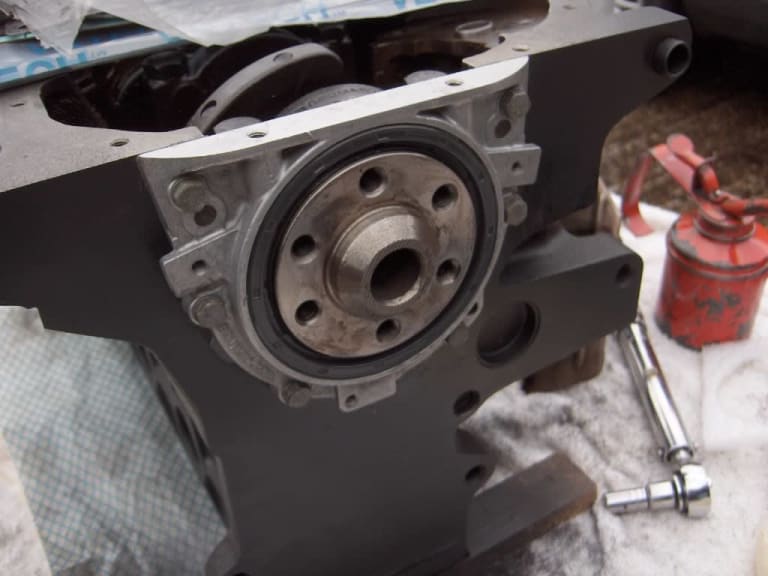
Refitted the block onto the stand and the front seal housing onto the engine block.
Flushed out the oil pump and filter and installed the pump, surprisingly no gasket. Primed the pump.
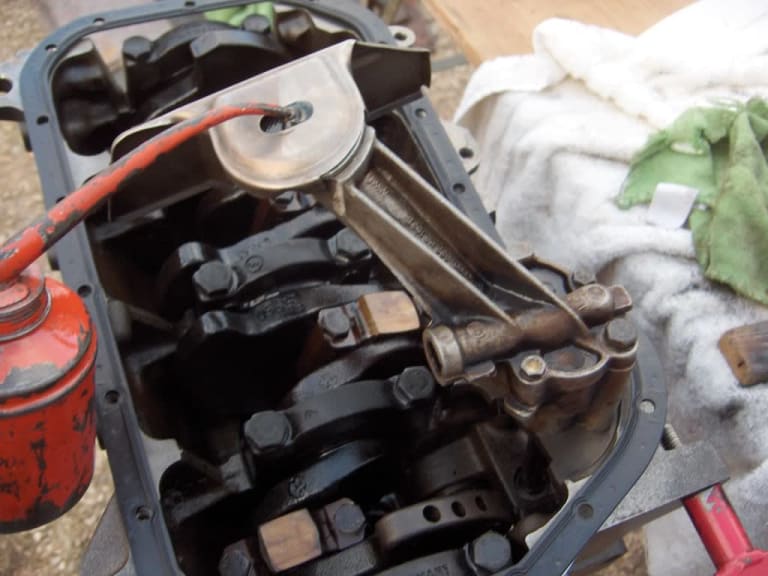 ]
]Fitted the sump pan with new gasket. Sump is POR 15'd.
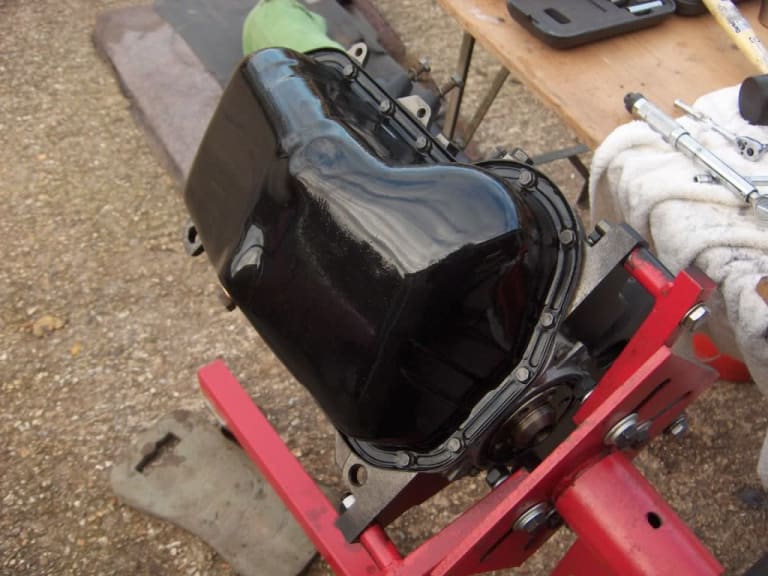
Turned the engine over and installed the cylinder head with new gasket and bolts. Front crankshaft seal housing installed.
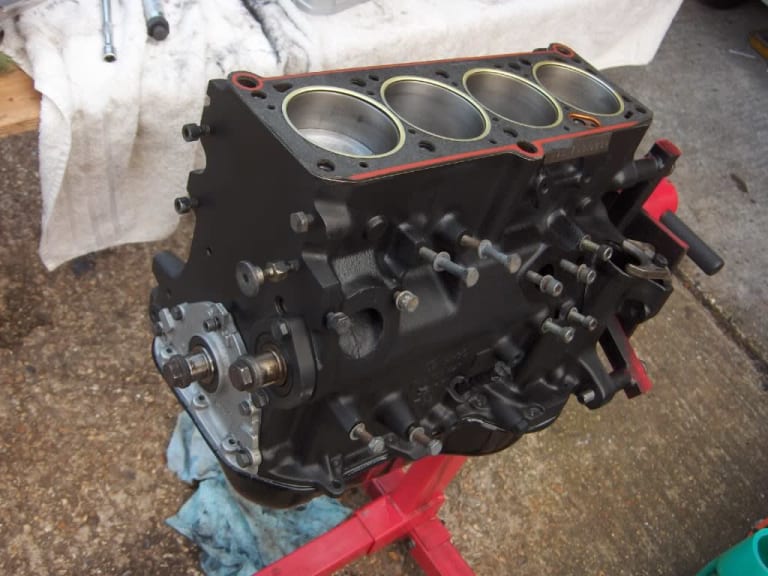
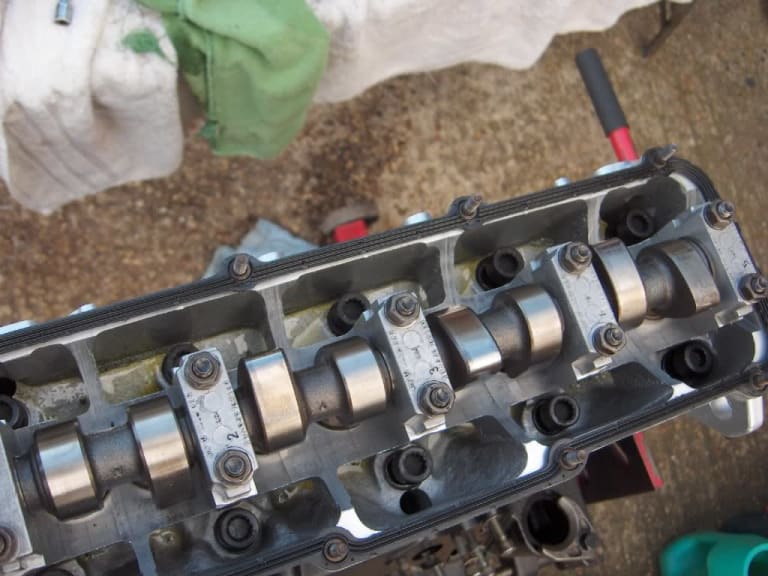
Proper tool for the head bolts, 12 spline not 6.
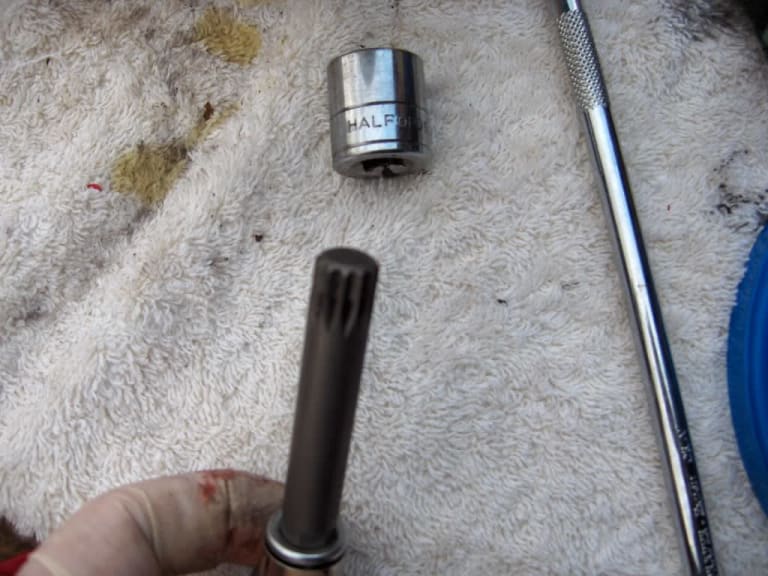
The cylinder head tightening down procedure is quite complicated. Starting from the middle bolts outwards, 40 Nm torque, 60 Nm then 75 Nm, then add a further 1/4 turn. It gets really tight towards the end.
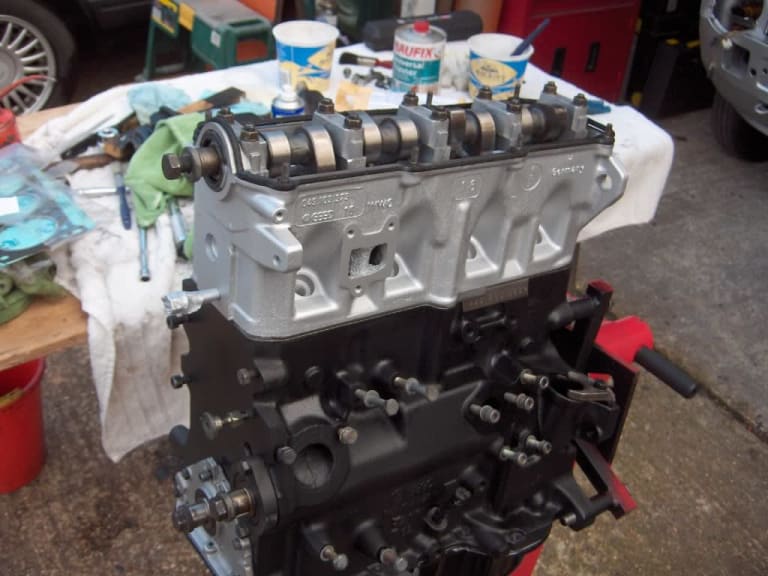
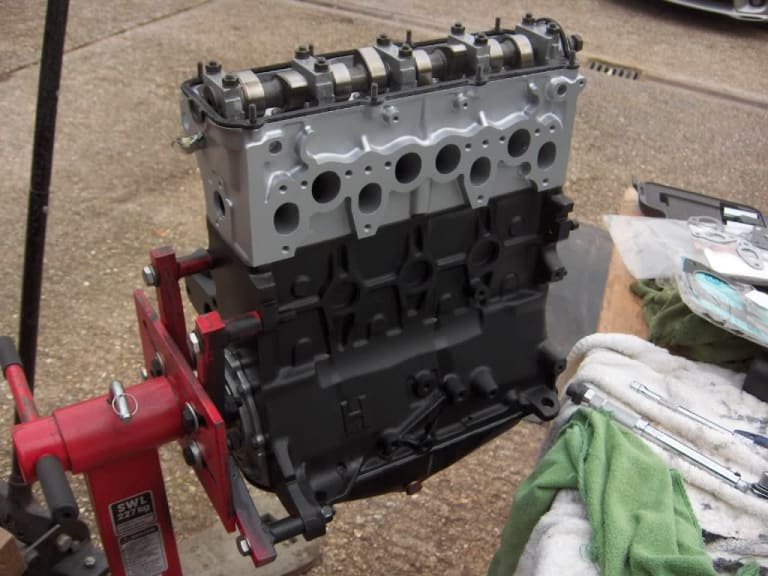
Light getting low, time to pack up. Pretty happy
 Last edit: by Malcolm
Posted
Old Timer


Distributor and fuel pump added.
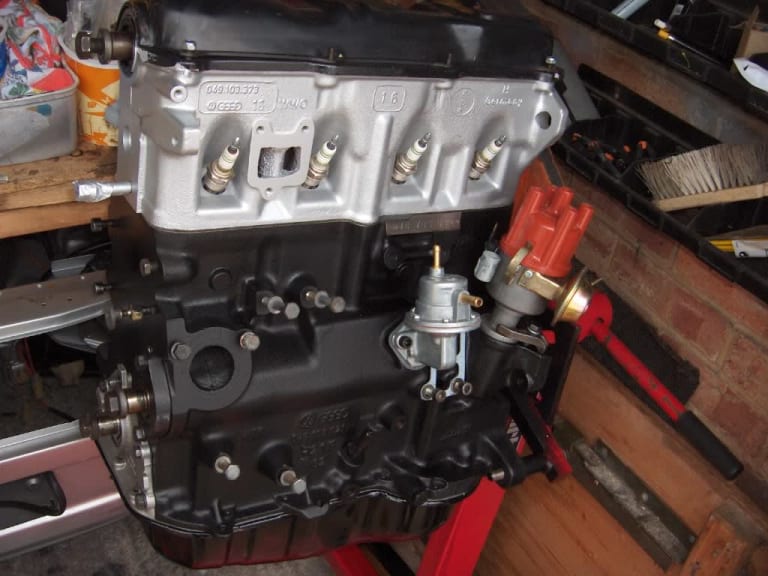
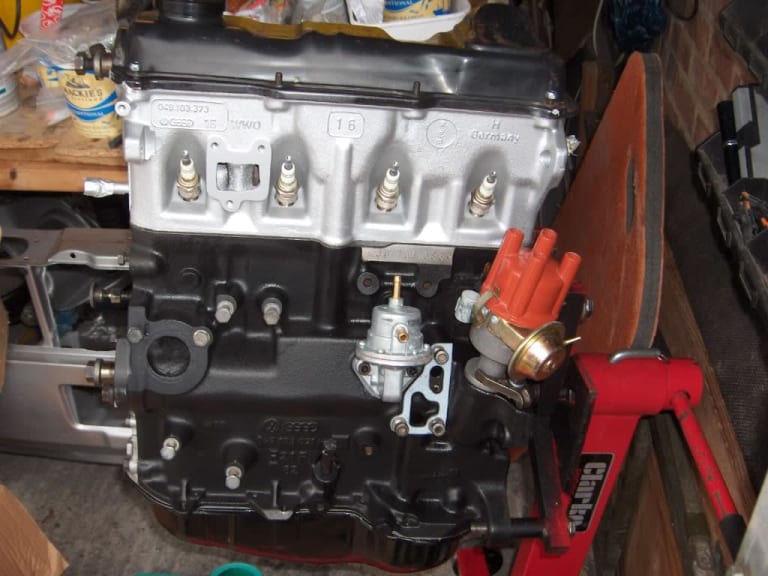
Parts cleaned and sprayed with engine enamel.
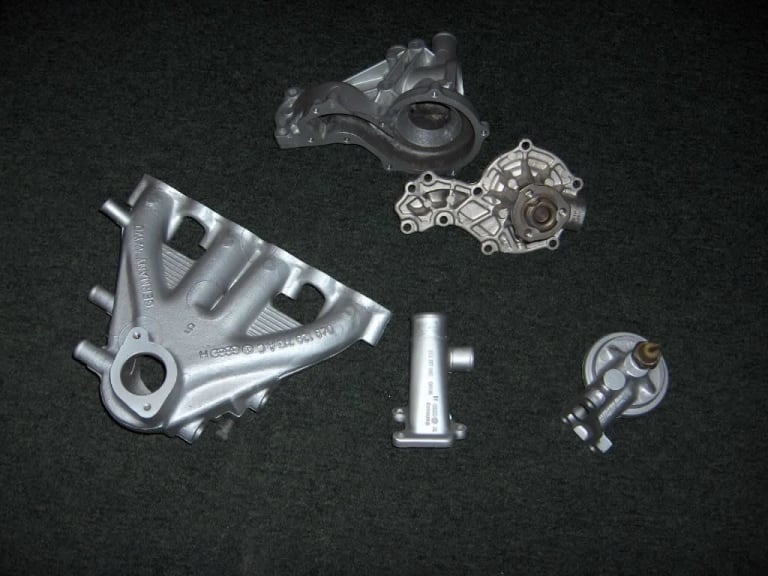
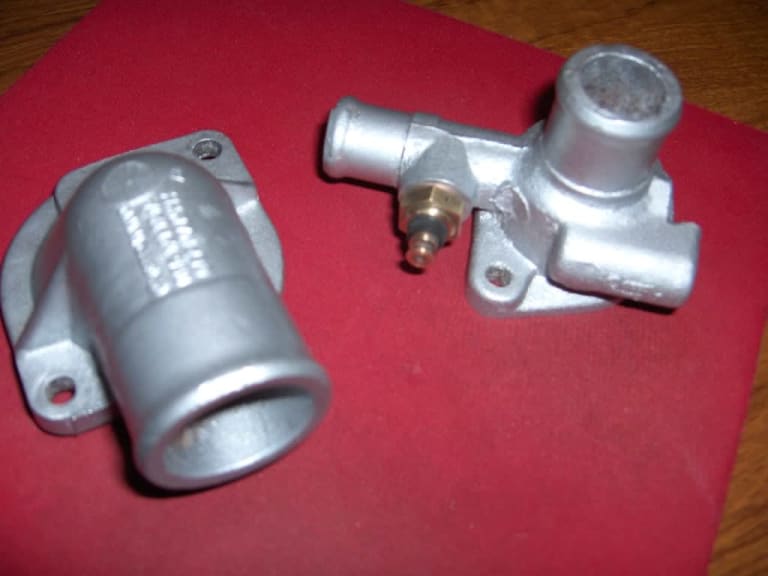
Note the new water pump half. I originally purchased this years ago for my Mk2.

Two halves of the water pump assembled, unfortunately with original gasket sealed with Hylomar sealant.
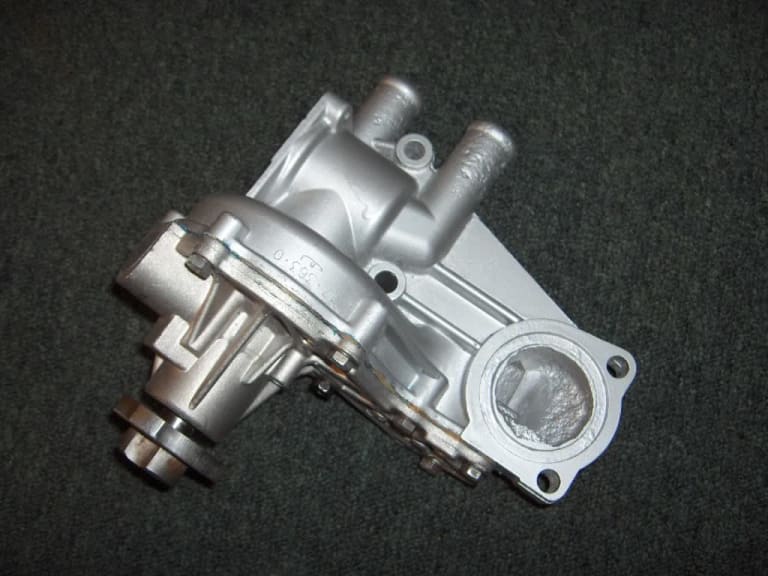
The black bolt is a replacement, the original had sheared, I had to drill the broken bolt out and retap a new thread.
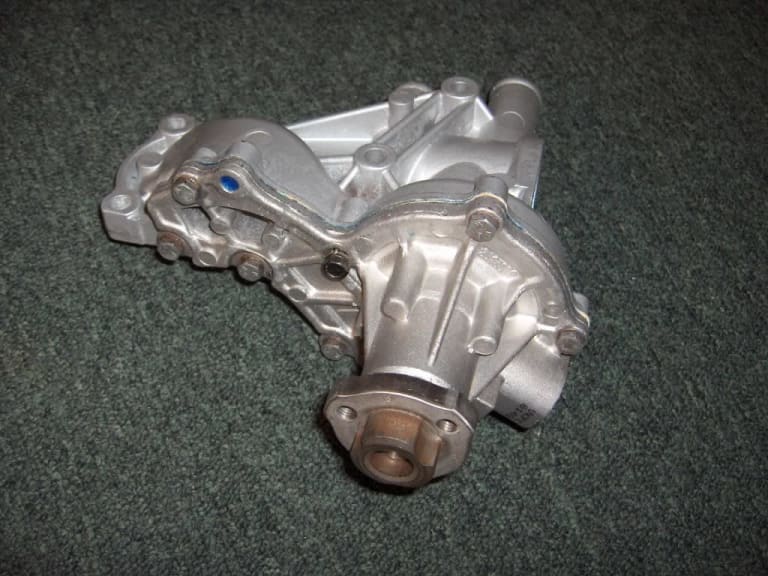
I hope to get some of these parts back on the engine, time and fit the cambelt tomorrow.
 Last edit: by Malcolm
Posted
Old Timer


Whilst fitting a new cambelt and tensioner, I decided to use a small paint brush in the No.1 cylinder so I could see it rise to TDC.
Imagine my horror when a piece of the paintbrush handle broke inside the cylinder !!. I tried all sorts of things to get it out, including a blob of grease on a metal rod.
I eventually managed to find my extending grabber. I could pick the paint bush hanldle up, but could not get it out through the spark plug hole. It was like a dog trying to get a branch through the gate.
I had just decided to take the head off again, when I thought I would give it another go. The pictures say it all !!
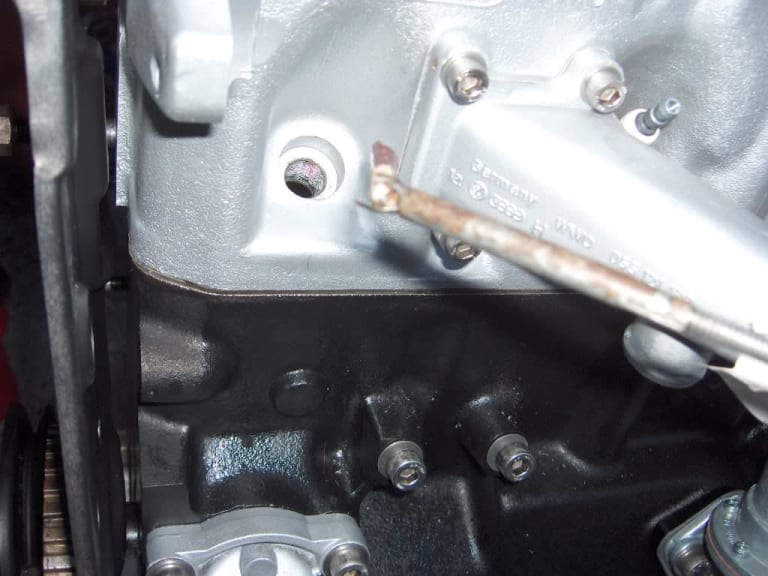
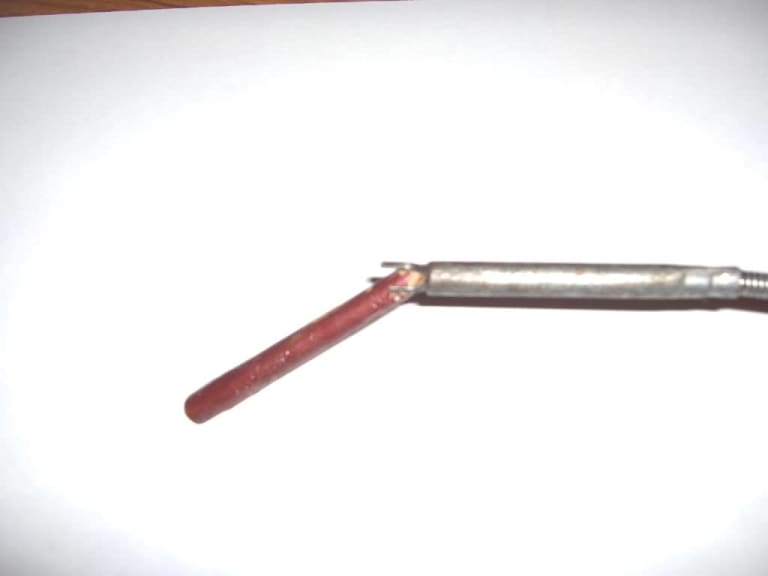
In addition today, I did manage to fit the cambelt and tensioner.

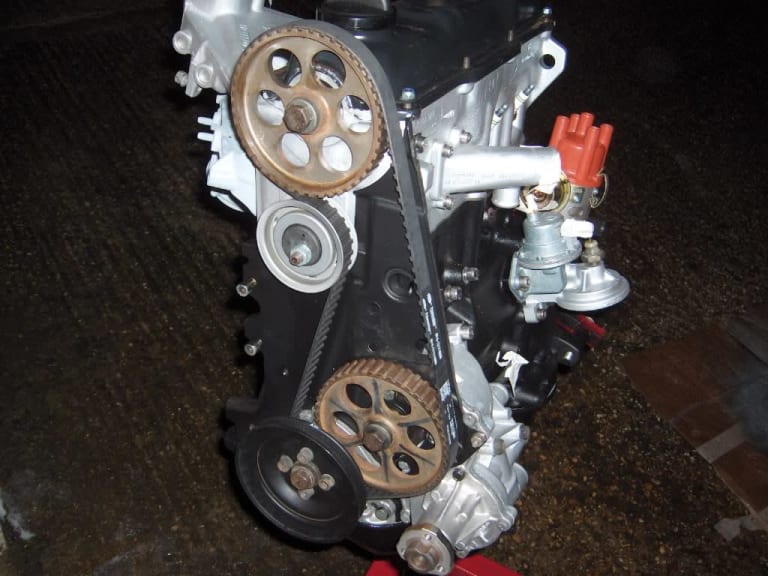
The inlet manifold, water pump, oil filter mounting and water tapping with some stainless steel bolts.

 Last edit: by Malcolm
Posted
Old Timer


Posted

Local Hero


Weber,ATS,Apex,Ripspeed,Supersprint,K&N MOMO..tbc
Posted
Old Timer


As I do most of my work outside, I feel that the weather will limit the progress over the winter period.
Posted
Old Timer


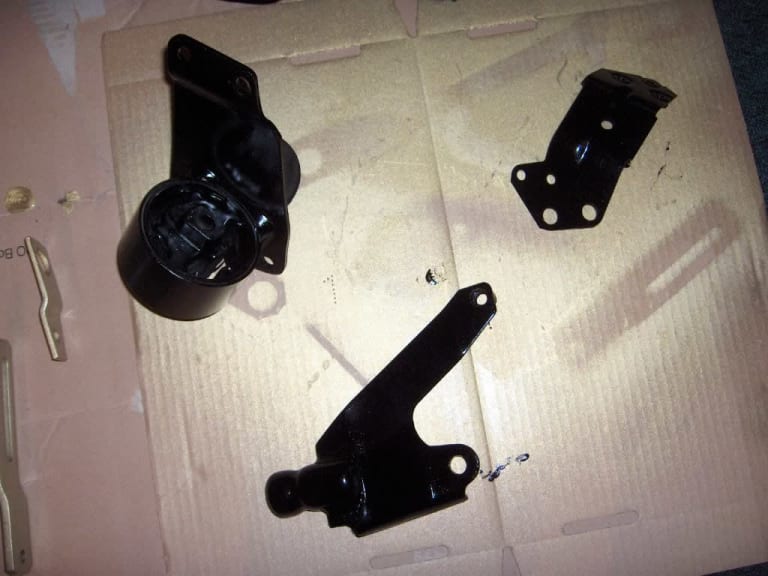
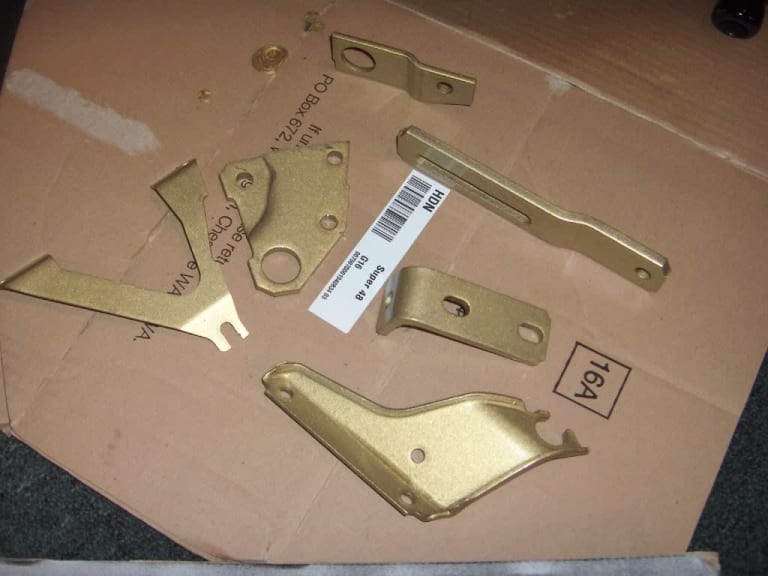
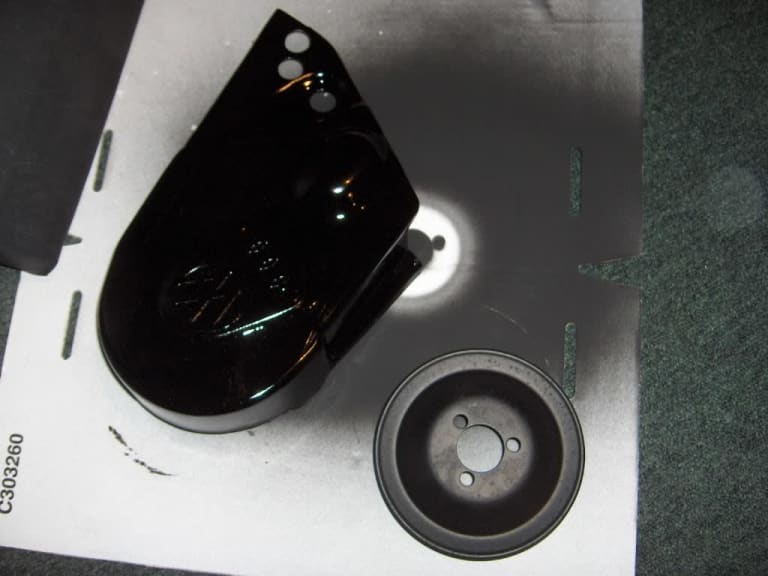
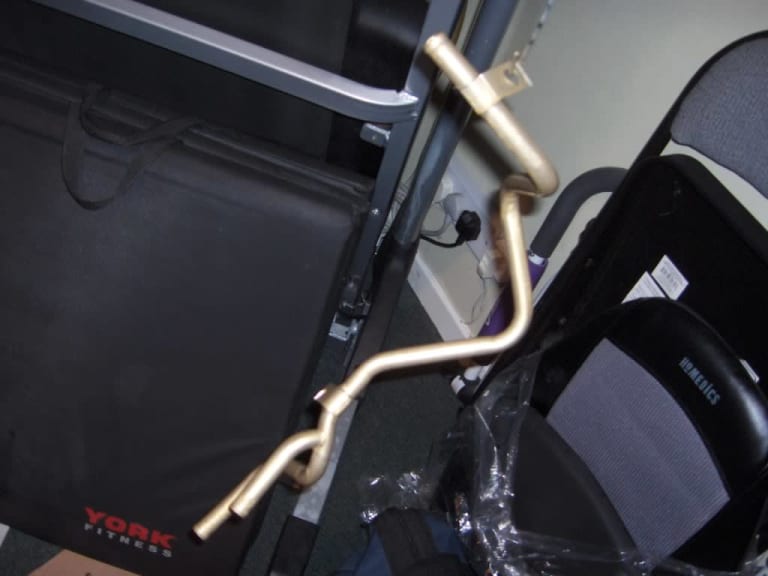
I have come to the point where I am fitting things onto the engine and find that they need derusting, pickling and painting.
A little logistics of keeping the items and the paint warm before spraying outside seemed to be the best approach.
Though the wife is complaining about the smell of paint whilst they dry in the house with being too cold outside.
 Last edit: by Malcolm
Posted
Old Timer


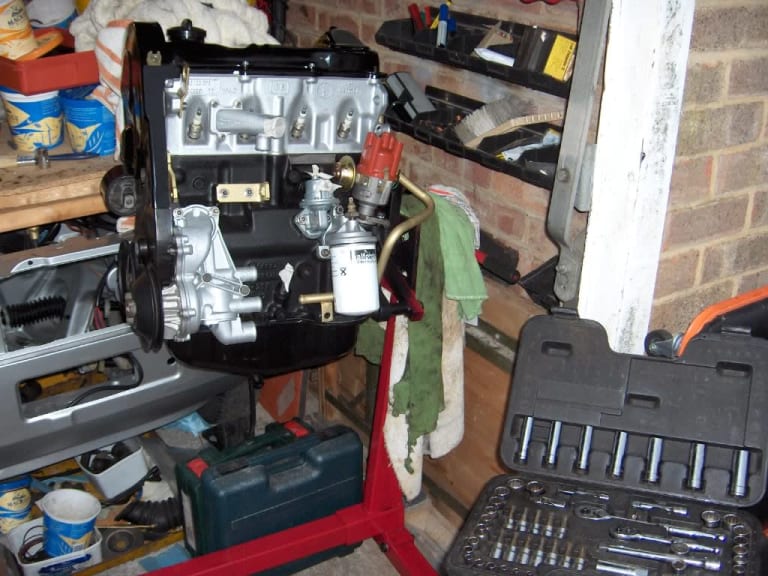
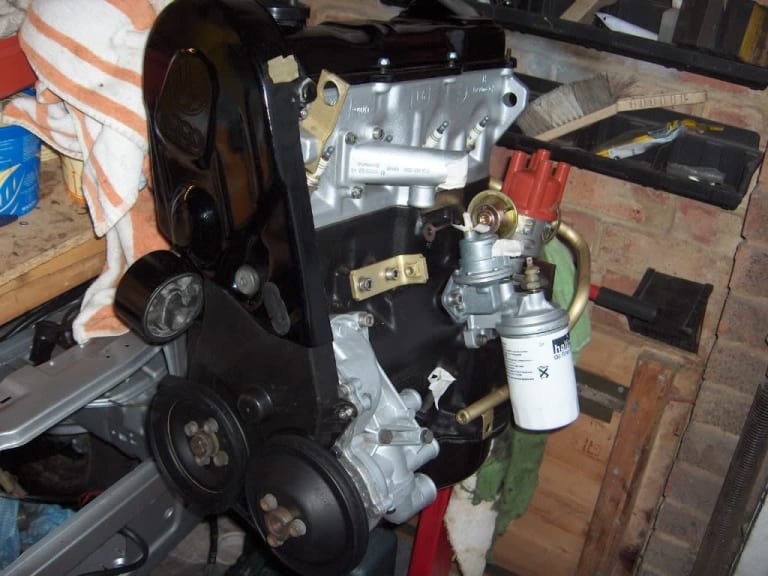
With Xmas and family commitments out of the way, I managed to have a normal weekend and did a few hours on the car today.
A bit of personal admin, finding parts, I managed to fit some of them.
Trying to put everything back together seems a bit of a jigsaw despite having all the manuals, Etka and Elsawin, particulary around the cambelt area.
A couple of photos representing todays work.
 Last edit: by Malcolm
Posted
Local Hero


Andy
LINCOLNSHIRE REGION - https://www.facebook.com/groups/467122313360002/
1983 MK1 Golf GTI Campaign Model - Under (looooong) resto!
1962 Rover P4 80
2002 BMW 745i
2008 BMW Z4 2.5Si
LINCOLNSHIRE REGION - https://www.facebook.com/groups/467122313360002/
1983 MK1 Golf GTI Campaign Model - Under (looooong) resto!
1962 Rover P4 80
2002 BMW 745i
2008 BMW Z4 2.5Si
Posted
Old Timer


Posted
Old Timer

1988 1.8 carb Golf Clipper
Posted
Old Timer


Posted

Settled In

thanks for the help with the gravity valve bracket. 8)
Posted
Old Timer


Posted
Old Timer


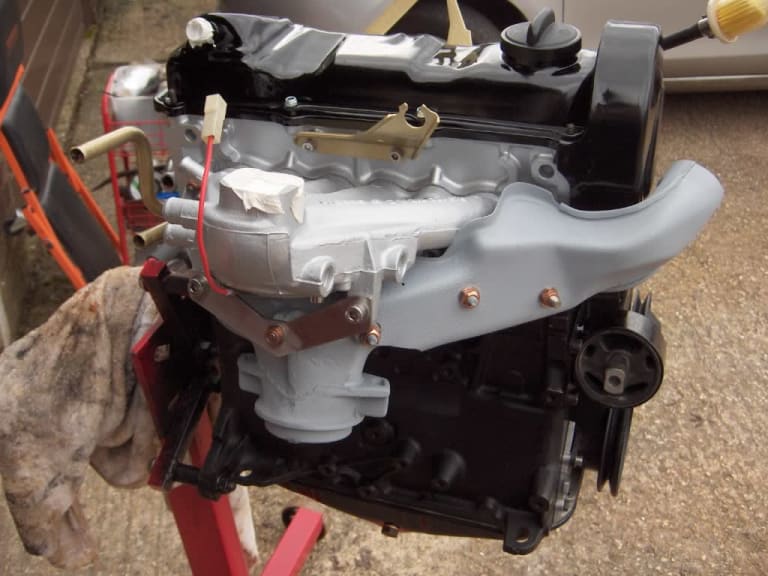
A little bit done today, still on the engine. Trouble is finding the items to fit. They are in the garage somewhere.
Torque loaded all the manifolds, oil filter housing, water and fuel pumps. Connected some water and fuel hoses, replaced some bolts with stainless steel.
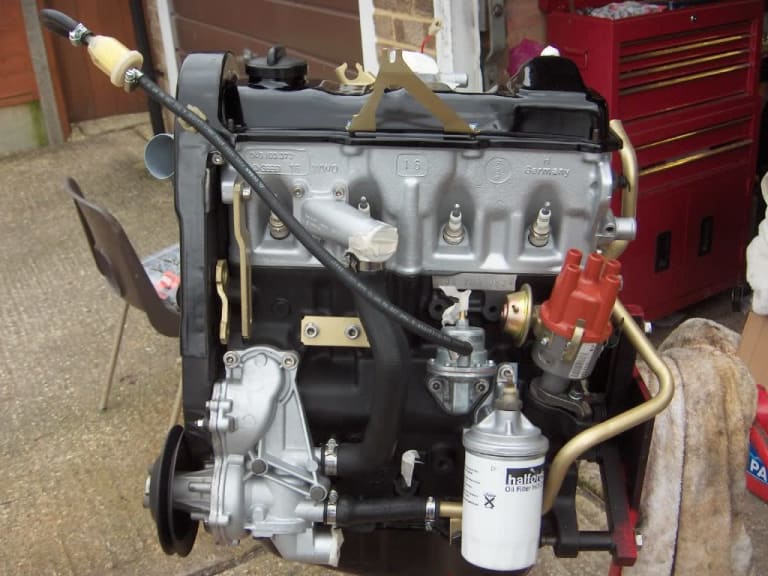
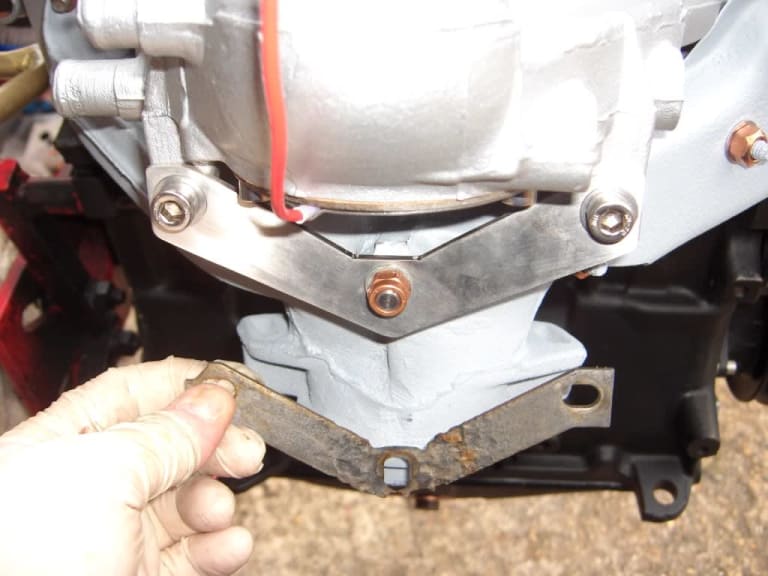
The strap between the inlet and exhaust manifold has corroded quite badly. A work colleague made me a new one out of stainless steel.
Enough for today, still quite cold despite 4 layers on.
 Last edit: by Malcolm
Posted
Local Hero


Andy
LINCOLNSHIRE REGION - https://www.facebook.com/groups/467122313360002/
1983 MK1 Golf GTI Campaign Model - Under (looooong) resto!
1962 Rover P4 80
2002 BMW 745i
2008 BMW Z4 2.5Si
LINCOLNSHIRE REGION - https://www.facebook.com/groups/467122313360002/
1983 MK1 Golf GTI Campaign Model - Under (looooong) resto!
1962 Rover P4 80
2002 BMW 745i
2008 BMW Z4 2.5Si
Posted
Old Timer

0 guests and 0 members have just viewed this: None.


