Skip navigation

Mk1 Caddy Pickup aka Patches

Post

Back to the top
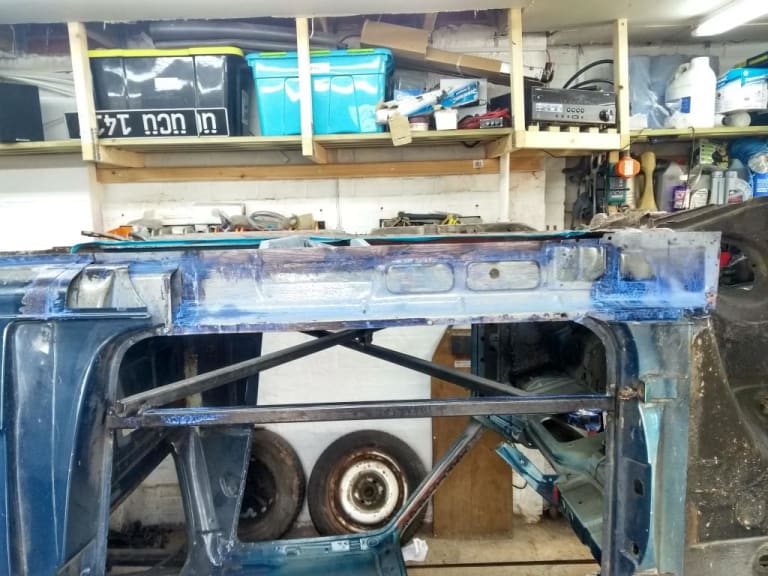
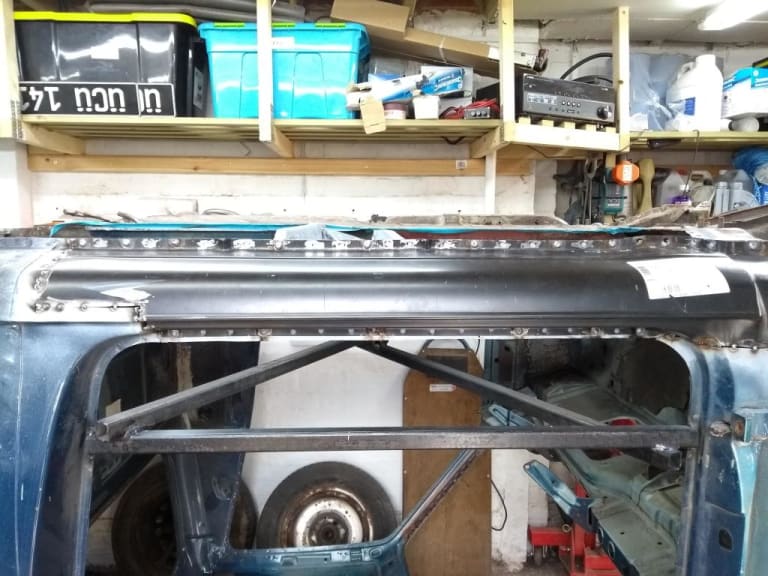
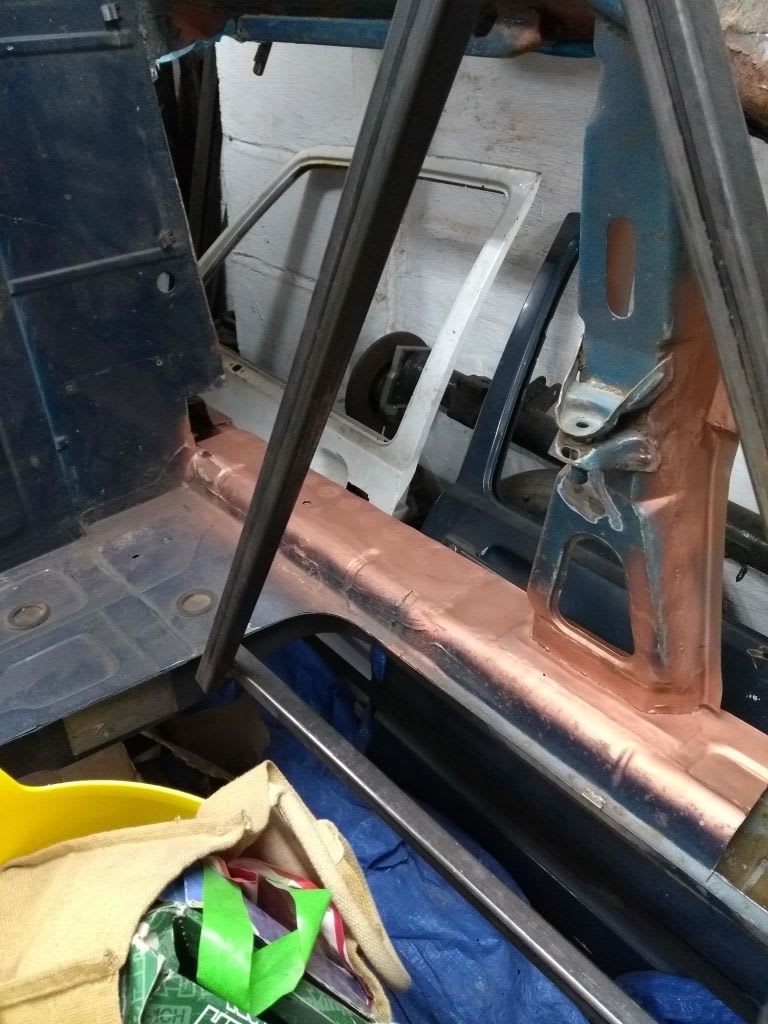
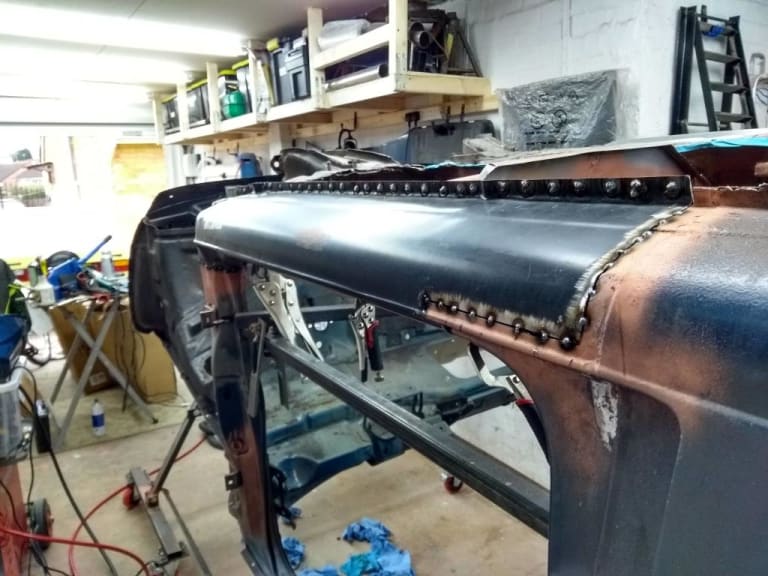
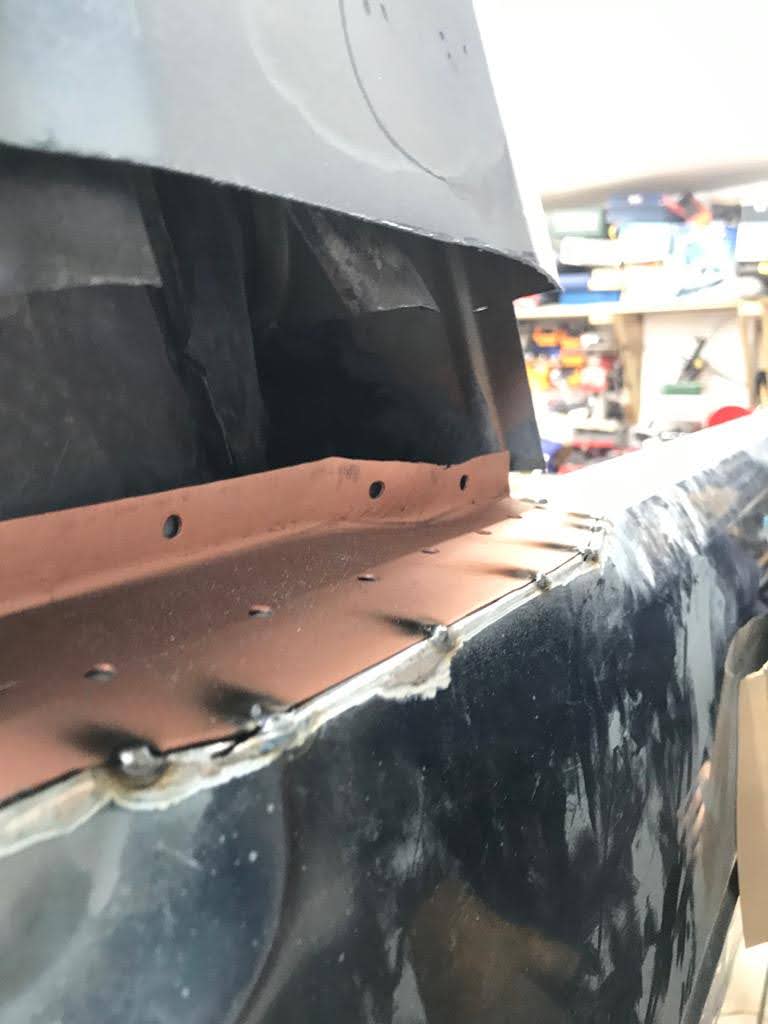
The outer sill was removed and cleaned up and then the new sill welded on.

IMG_20210817_161642320.jpg IMG_20210817_161649459_HDR.jpg IMG_20210817_161709944_HDR.jpg IMG_20210821_140220748.jpg  

Post

Back to the top
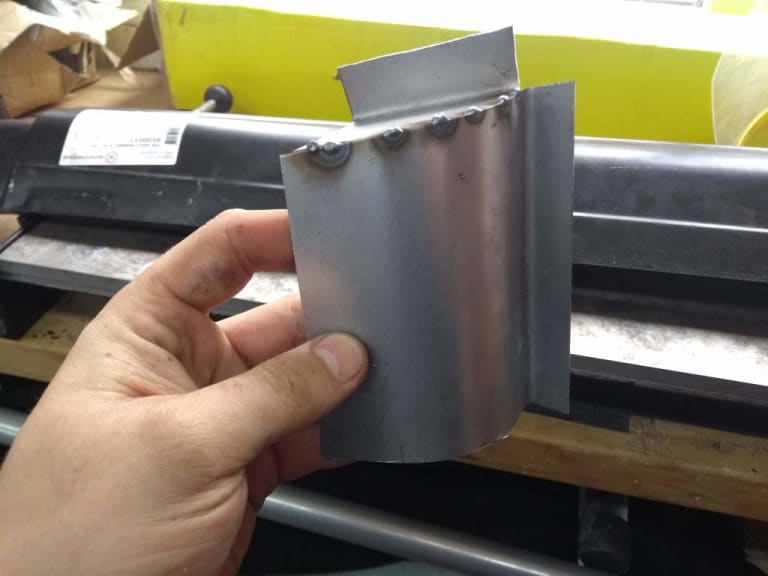
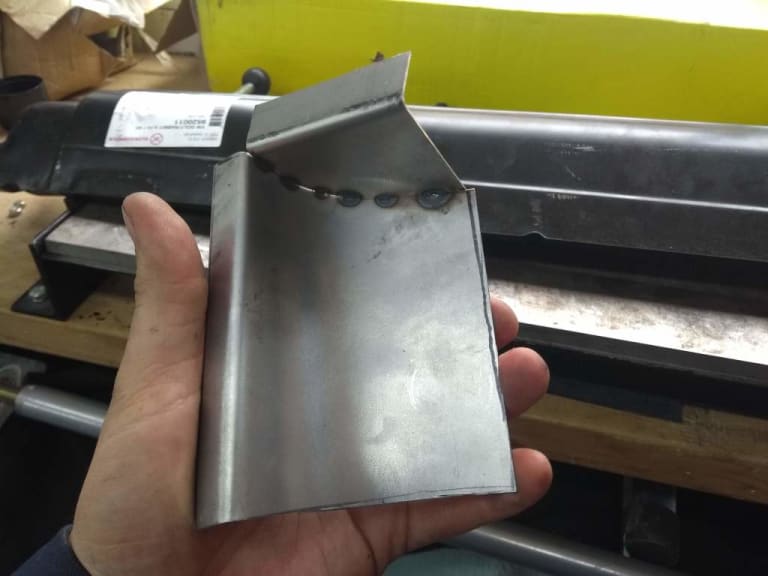
There is a bit more work done such as the corner cap but I need to take a picture of that installed.

IMG_20210817_161719200.jpg IMG_20210817_161722337.jpg IMG_20210817_161743281.jpg

Post

Back to the top
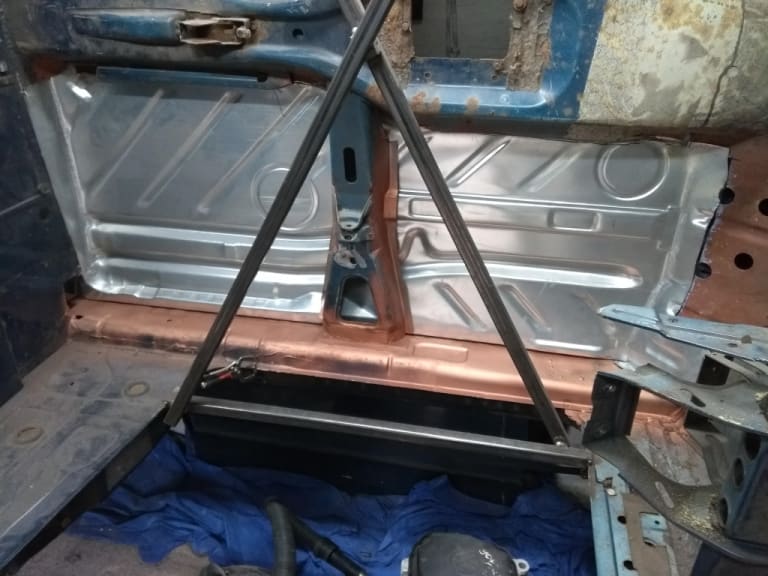
Got first section of the floor in and tacked in place. When the Golf is finished we will get right back on it.

IMG_20210925_131830194_HDR.jpg IMG_20210925_131842189_HDR.jpg IMG_20210925_131851081_HDR.jpg IMG_20210925_140729857_HDR.jpg
 

Post

Back to the top

Mk1 Caddy Pickup aka Patches

Not been on here for a bit so great to see the progress!

Honestly, I’ve worked with steel and top fabricators/welders over many years Rich and your work on this Caddy is second to none! Keep up this great work my friend


Sent from my iPhone using Tapatalk

Post

Back to the top
Just read this through from the start, fantastic work, that A-pillar repair blew my mind  :o great stuff!!

Post

Back to the top
Haven't updated this in a while but plenty going on in the background.

Dad and I discovered the drivers side needed quite a bit of work. The inner and outer sill, floor, centre seat support, behind the seat rail and at the front bulkhead at the bottom of the A pillar.

Got all those repairs in. Next finish the floor welding and then start on the rear cabin panel and bed.

IMG_20220101_124357942.jpg IMG_20220101_142106731.jpg IMG_20220101_142121626.jpg IMG_20220110_155558987.jpg IMG_20220129_123001641.jpg IMG_20220129_123331648.jpg IMG_20220129_142229845_HDR.jpg IMG_20220205_144433760.jpg IMG_20220212_132138014.jpg
IMG-20220212-WA0003.jpg
IMG_20220205_144433760.jpg
IMG_20220226_140929434.jpg IMG_20220226_140959272.jpg  

Post

Back to the top
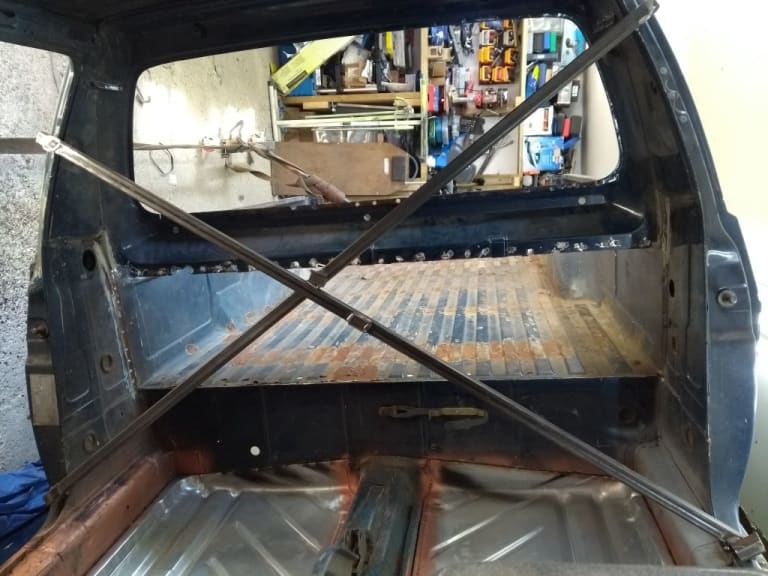
Almost have the cab complete now.

Made some sturdier chassis floor supports:

IMG_20220222_134855410.jpg IMG_20220222_134902990.jpg IMG_20220222_152627207.jpg

Post

Back to the top
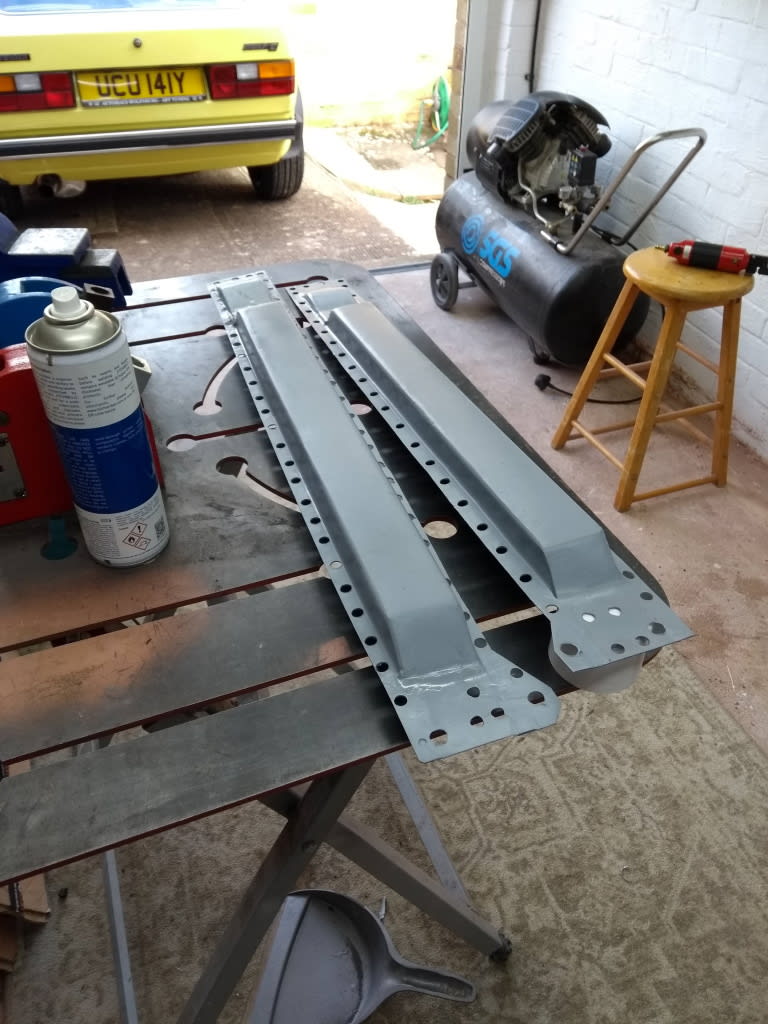
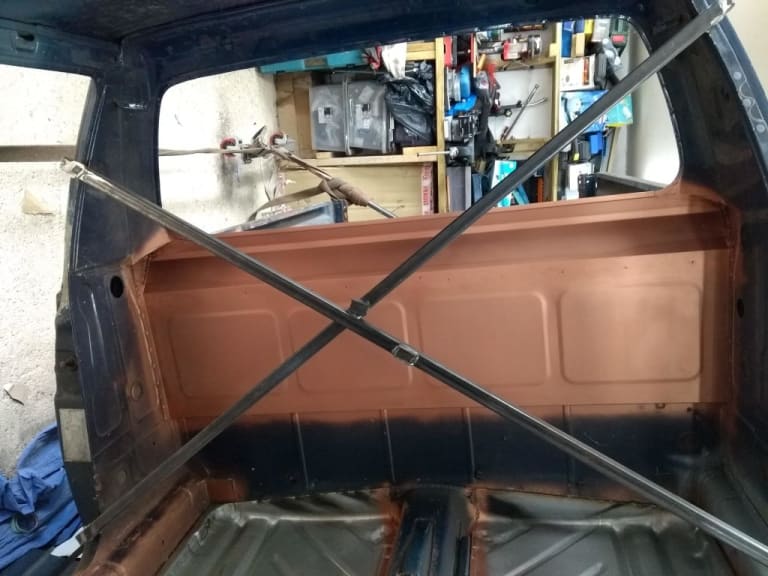
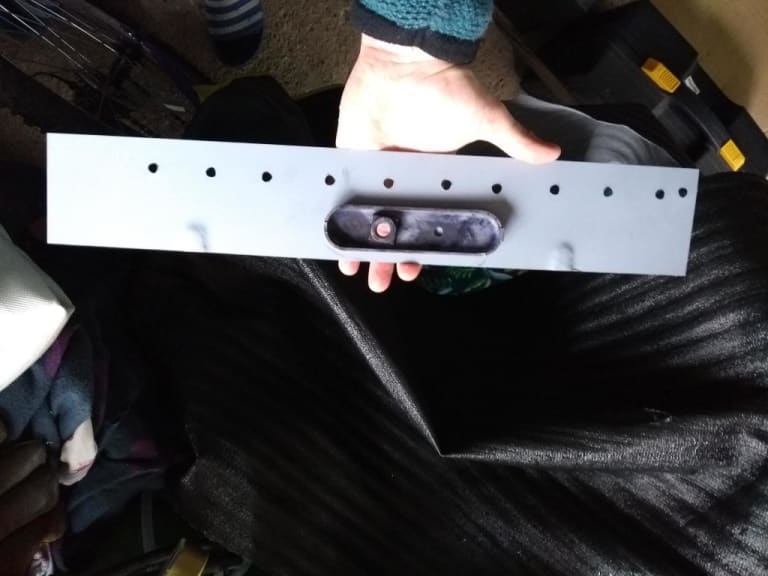
The the back of the cabin is a known rusty bit where the rear screen mounts.

It's made up of 3 parts. The lower embossed panel and 2 upper panels which form the base of the screen.

IMG_20220415_093201627_BURST000_COVER.jpg IMG_20220415_122615766.jpg IMG_20220415_122634332.jpg

Post

Back to the top

Post

Back to the top
The inner repair section didn't span the entire width so took the end sections off the original part which were in a good condition and welded them on.

This is the final piece of the puzzle and will finish the cab.

IMG_20220521_141234287.jpg

Post

Back to the top
Just need to weld that on to finish the cabin and then B pillar repair on drivers side and then the pickup bed.

Post

Back to the top
Great Build there Rich .How did I miss this seeing as I follow the Other mk1?🤔😁. Pleased people still do descriptive builds . A local build too.

Post

Back to the top
Can't read this thread without signing AC/DC rock n roll singer…I got patches on the patches of my old blue jeans..
Top work again  :thumbs:

Post

Back to the top
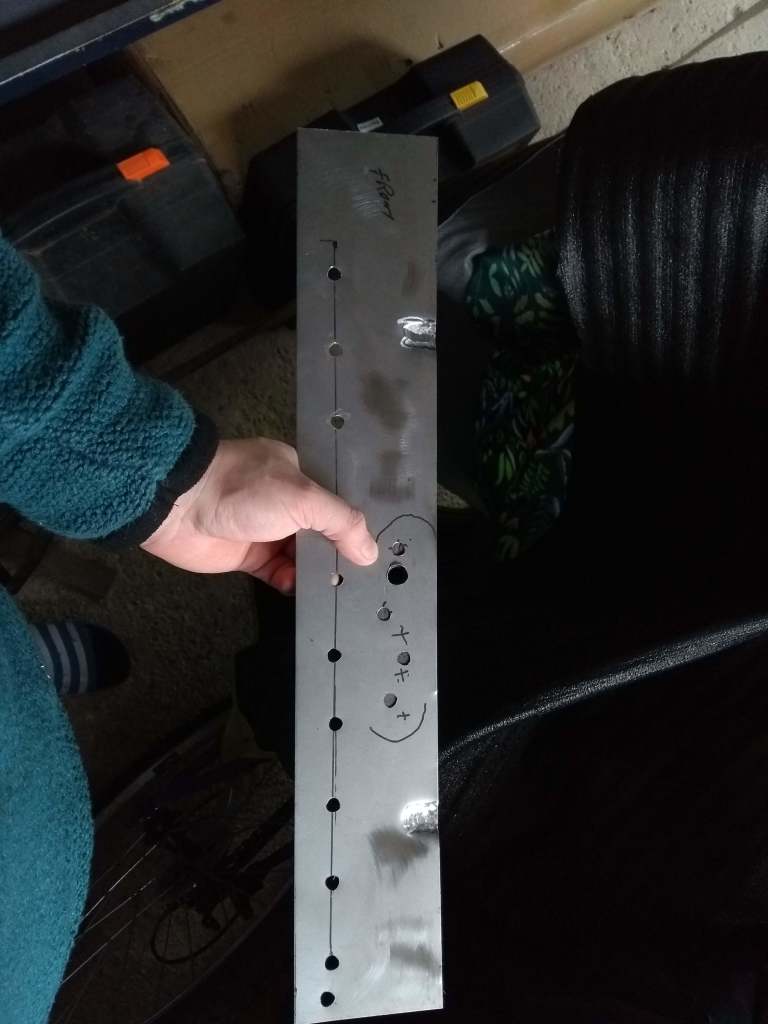
Been a while with an update. It is progressing in the background.

Dad and I finished the internal window panel:

IMG_20220604_125315889.jpg IMG_20220604_125324290.jpg

Post

Back to the top
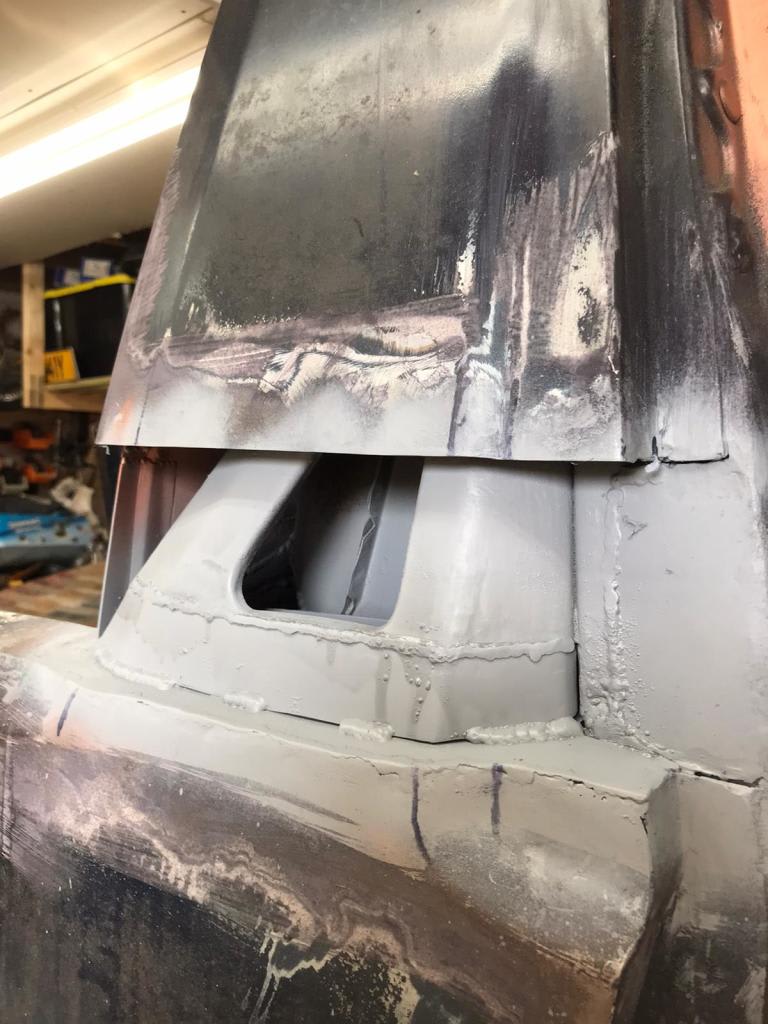
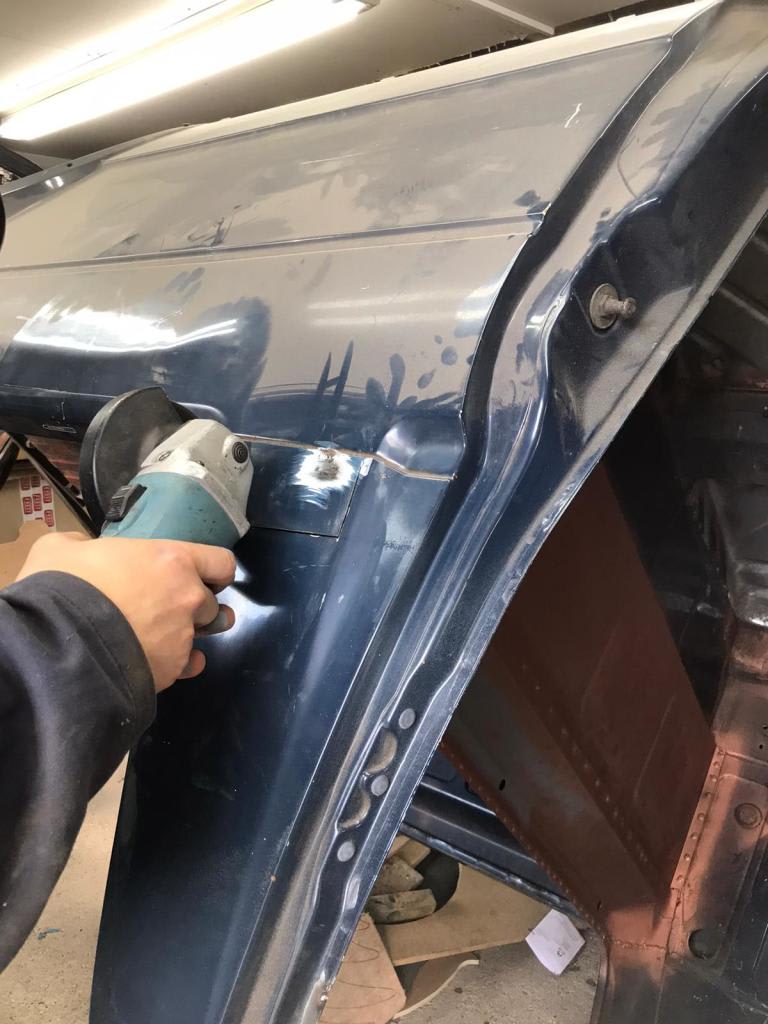
And then the B pillars. Seems to be a common failure point on the Caddy's.

Both sides were crusty but not overly apparent :o.
IMG-20220827-WA0003.jpg

IMG-20220827-WA0001.jpg

That tiny spot of rust at the bottom of the seam was the tell-tale sign something was amiss :o.

IMG-20220827-WA0002.jpg


Last edit: by Rich.

Post

Back to the top
IMG-20220827-WA0000.jpg
IMG-20220827-WA0006.jpg
IMG-20220827-WA0005.jpg

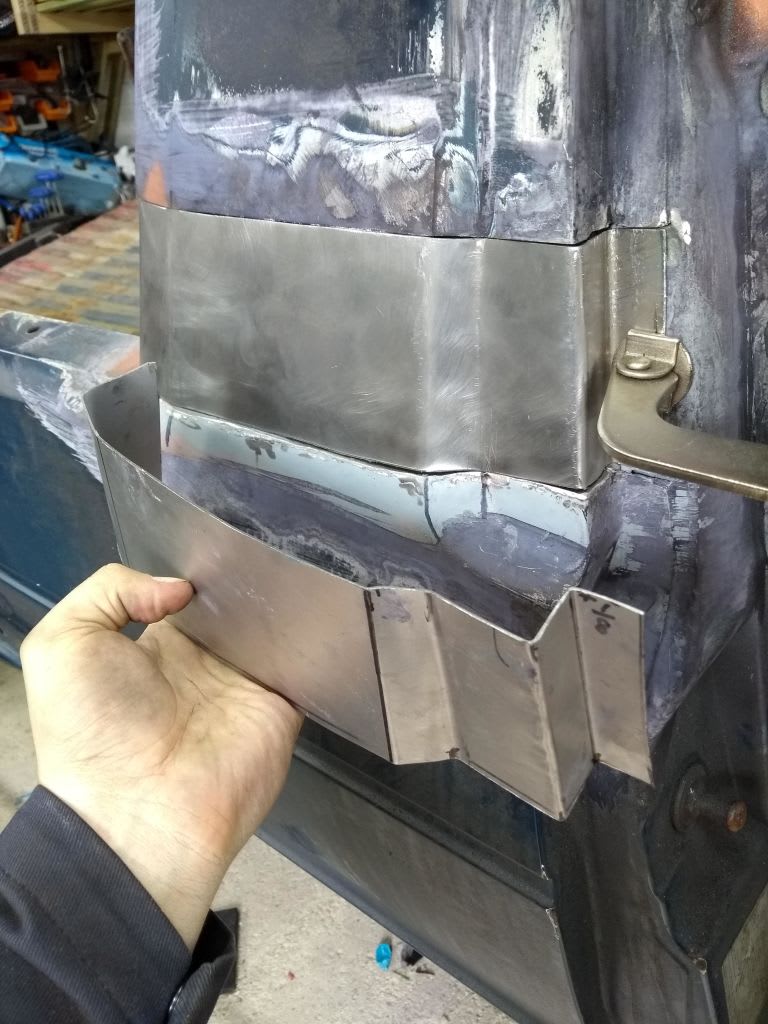
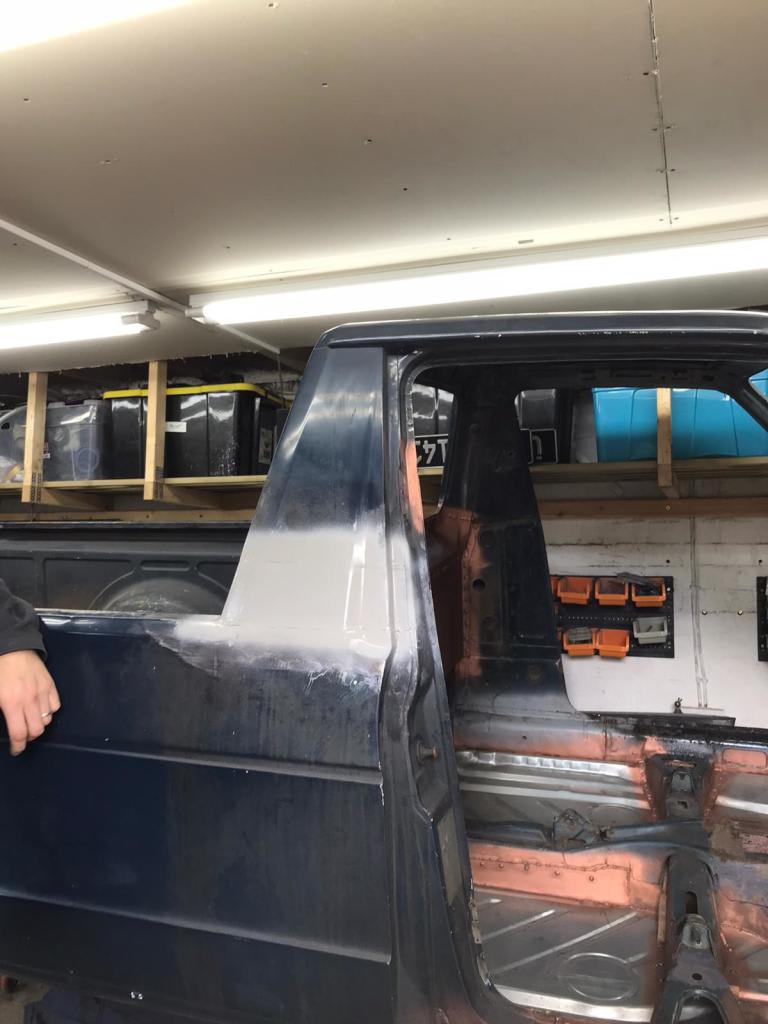
Version 1 of the outer skin:

IMG_20220730_135003385_HDR.jpg IMG_20220730_135014076_HDR.jpg IMG_20220730_135049393.jpg

Version 2 with sharper swage lines ;).
IMG_20220730_135616140.jpg IMG-20220827-WA0004.jpg

Last edit: by Rich.

Post

Back to the top
The other side:

IMG-20220903-WA0005.jpg
IMG-20220903-WA0003.jpg IMG-20220910-WA0000.jpg
IMG-20220910-WA0003.jpg IMG-20220910-WA0002.jpg
IMG-20220910-WA0001.jpg  

Last edit: by Rich.

Post

Back to the top
Final stage is the outer skin like the other side.

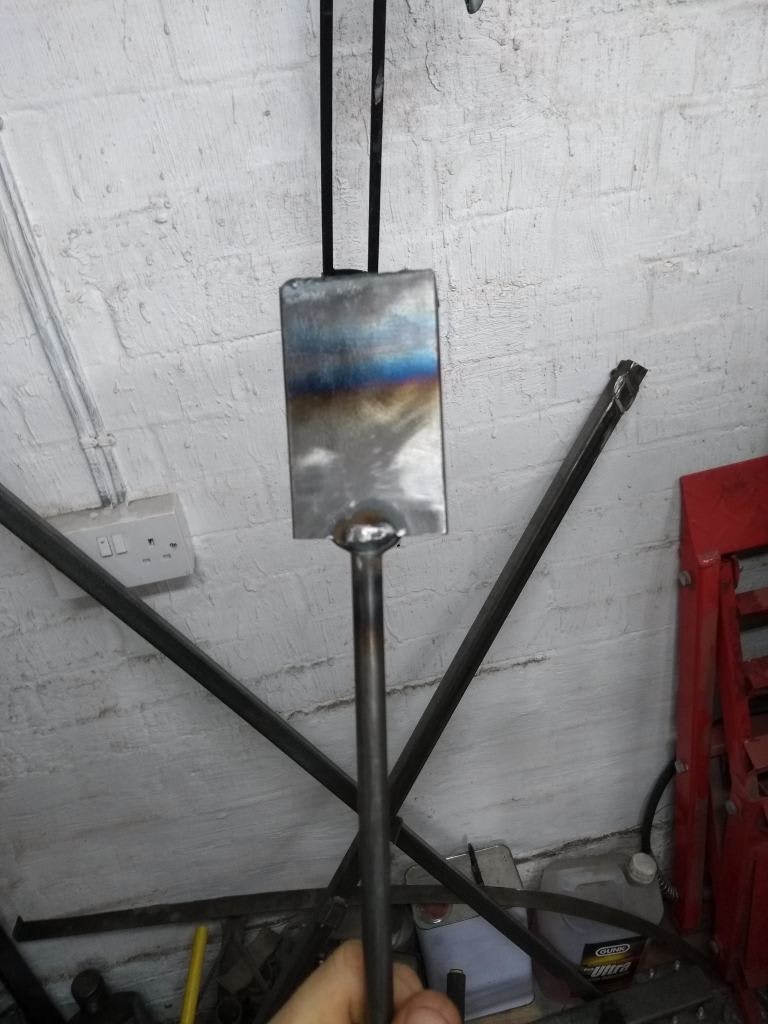
There was a dent in the outer skin above where it needs to be made so constructed a tool to use with a hammer and got it straight again :).
IMG-20220903-WA0006.jpg
IMG_20220910_131310137.jpg IMG_20220910_131312693.jpg IMG_20220910_131315540.jpg IMG_20220910_131329570.jpg  
0 guests and 0 members have just viewed this: None.