Mk1 Caddy Pickup aka Patches
Posted
Old Timer


Super_ted said
This is great Rich! Cant believe you are on to another project straight away, madness
Cheers chap, looking forward to getting dad back over to get some serious momentum going.
Posted
Old Timer


Baggins said
Looking good Rich, will watch progress with great interest.
I'd like a Caddy as a future project - mainly so I can 'scratch the itch' of a proper engine swap this time, without ruining originality, but with a platform I'm now familiar with.
If you decide to sell the new brake compensator please let me know.

Yes the Caddy really is a blank canvas, long way to go yet before the exciting bits get added though
Posted
Old Timer


New toy fixed that

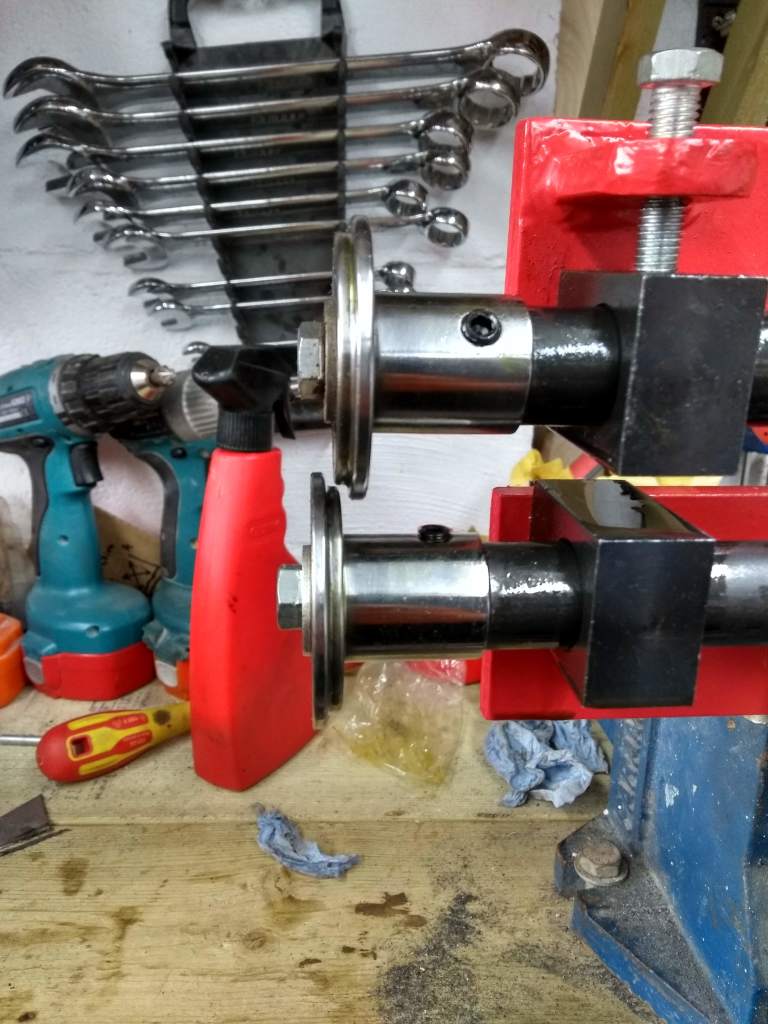
Much happier with that shape now and nice and tight against the section at the end of the leg.
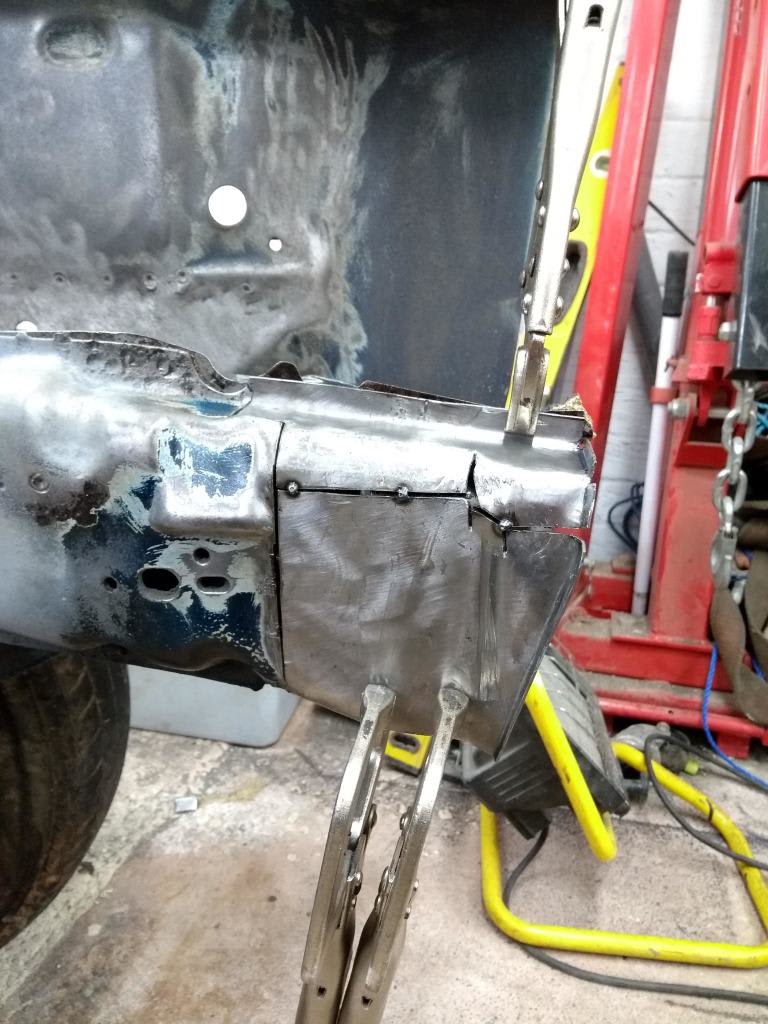
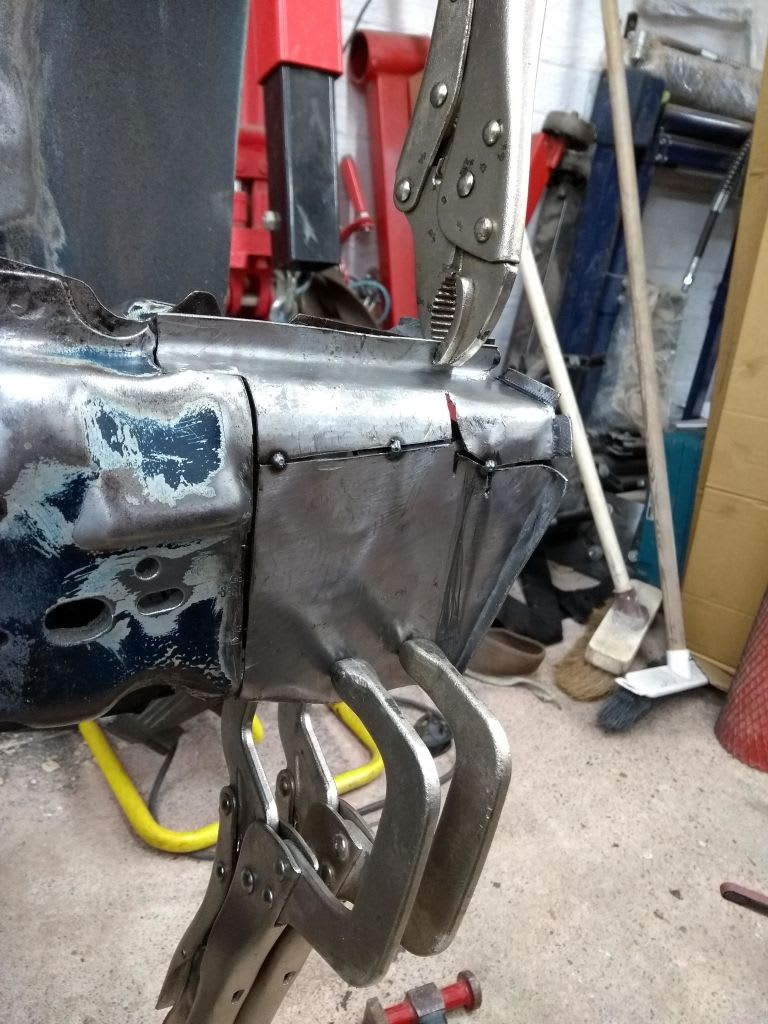
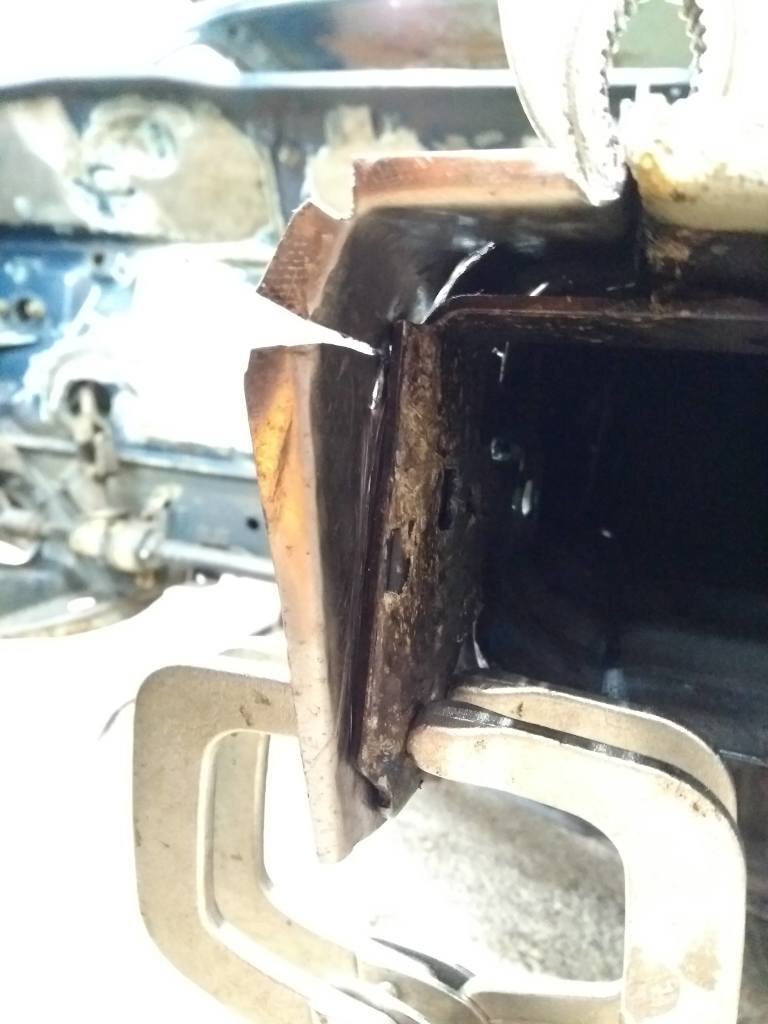
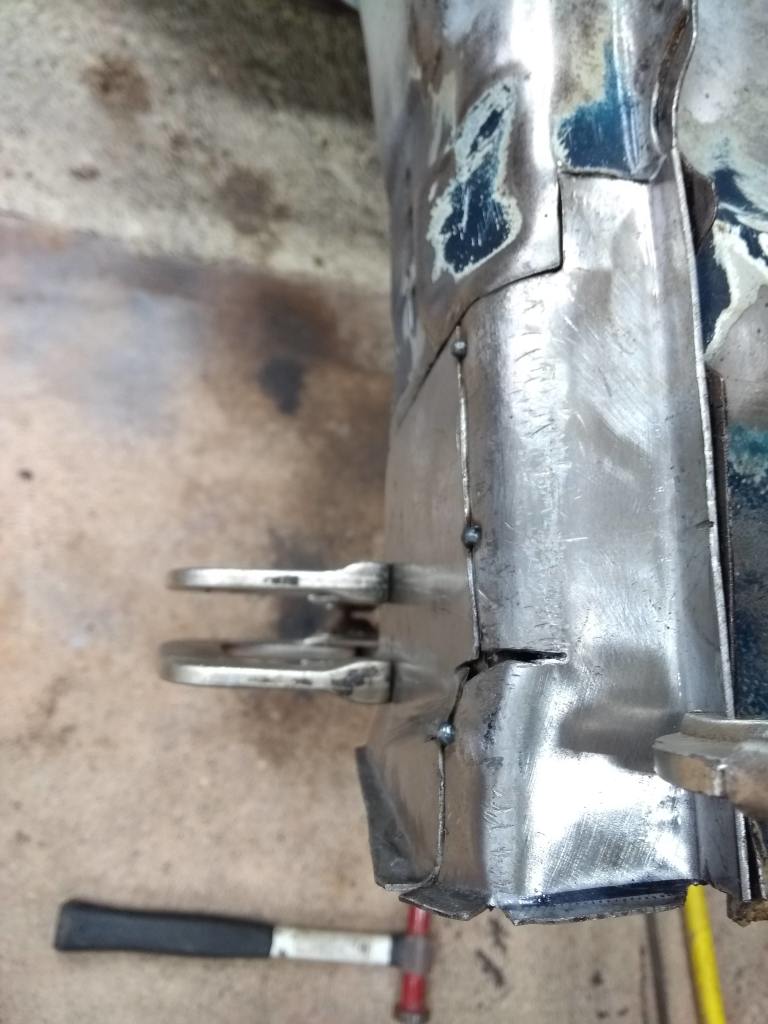
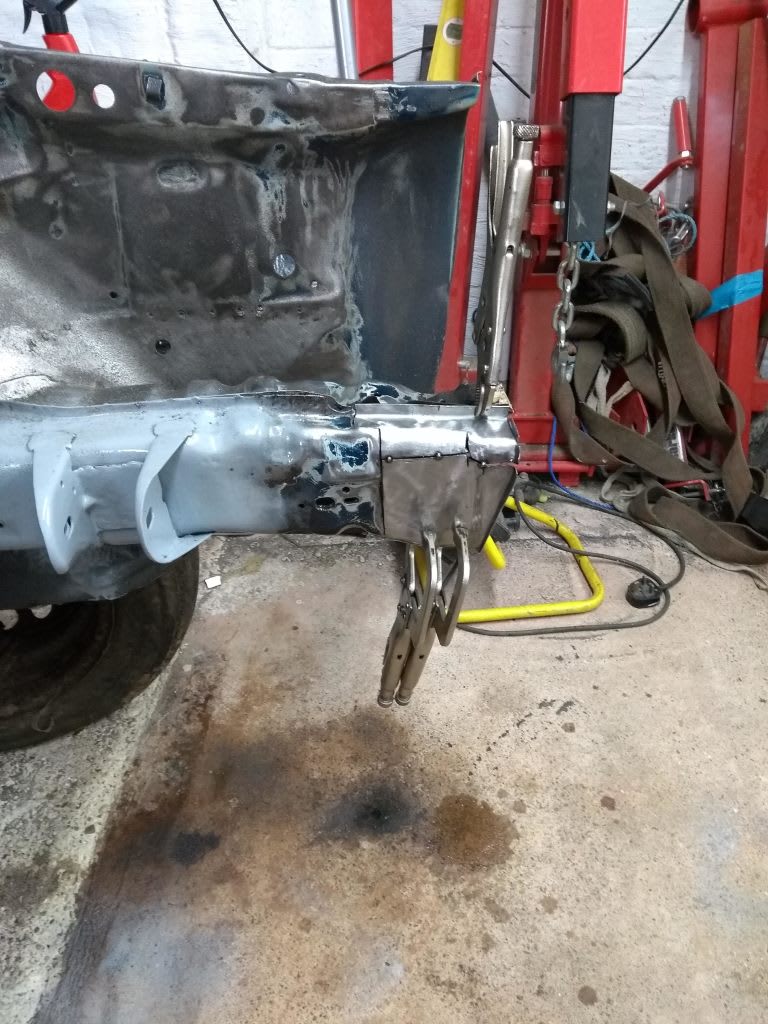
Now I really need to weld it up and on
Posted
Settling In

Posted
Settled In


Mk1 Caddy Pickup aka Patches
Sent from my iPhone using Tapatalk
Posted
Old Timer


000dave000 said
where was your front panel from mate? looks good quality
Got it from Werkz 34 but is a Rhibo branded. I believe its the same one Heritage sell.
They just didn't have any stock at the time I was looking. Quality seems OK. Lots of sharpe edges though
Posted
Old Timer


Hef355 said
You can weld and fabricate my chassis legs any day Rich! Skills+++
Sent from my iPhone using Tapatalk
Send your leg over and i'll have a go
Posted
Old Timer


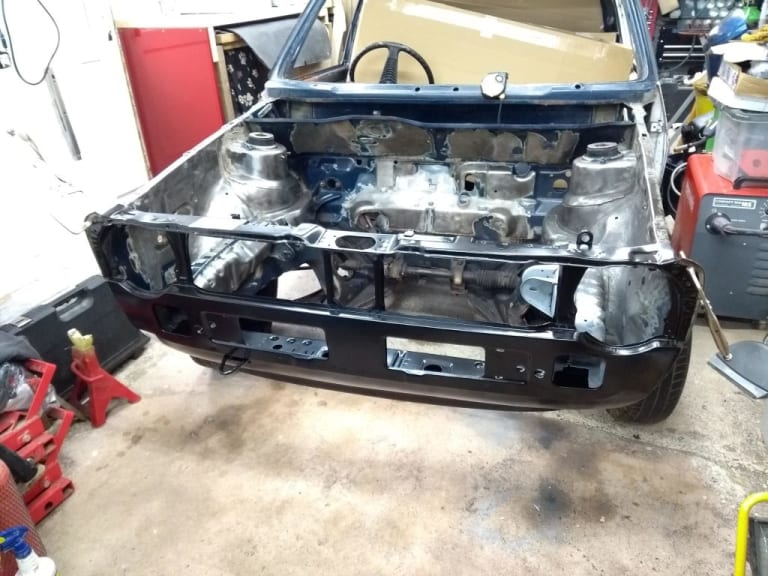
I TIG welded the repair panel where I had tack welded the joint off the pickup and then plug and seam welded it with the MIG on the pickup.
Really pleased with it's fitment

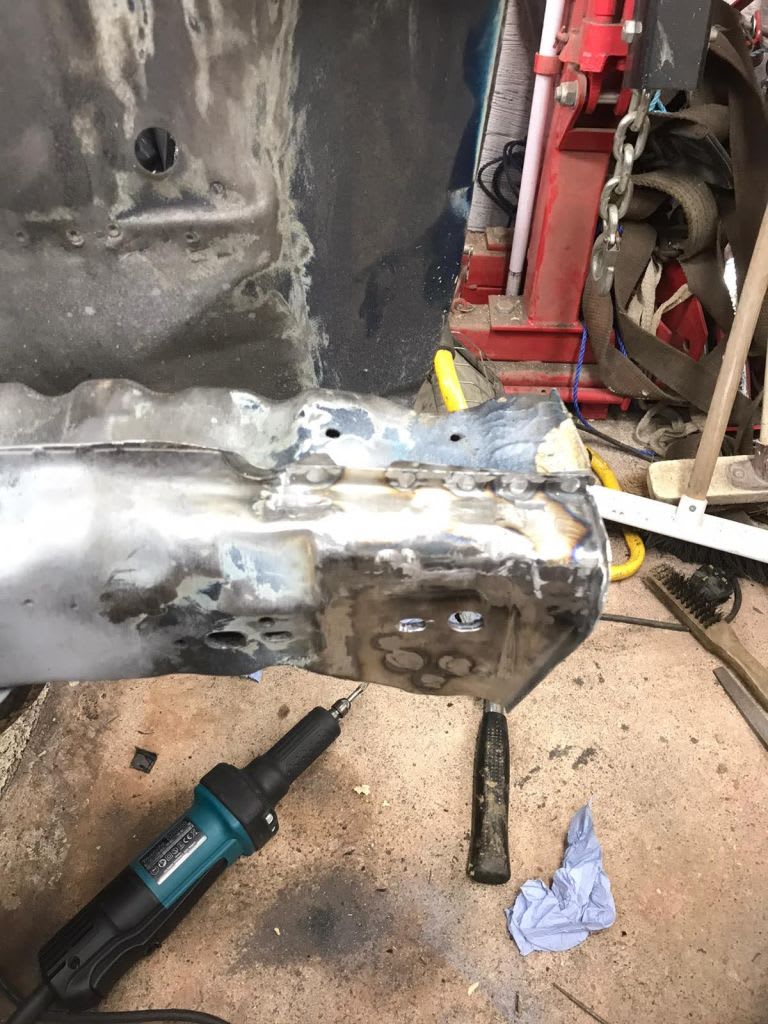
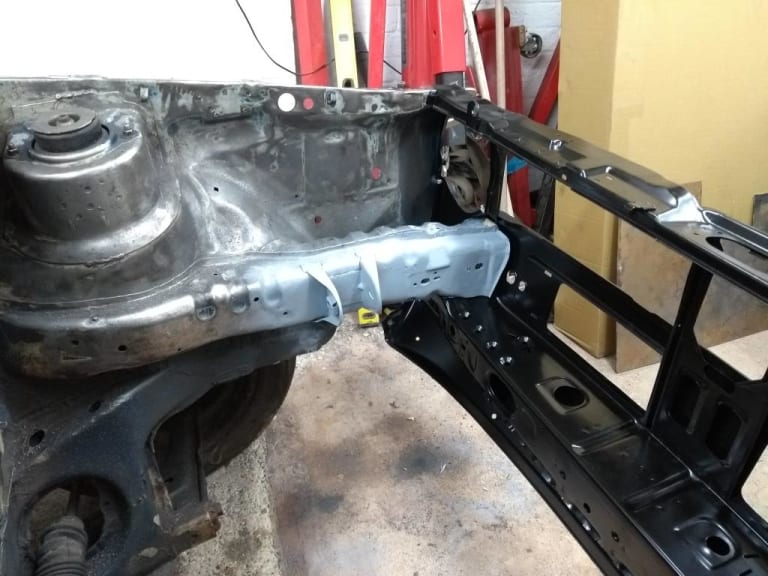

Posted
Settling In

Posted
Settled In


Mk1 Caddy Pickup aka Patches
Posted
Old Timer


I spot blasted the areas where the panel mates to and also where it will be difficult to reach once the panel was attached.
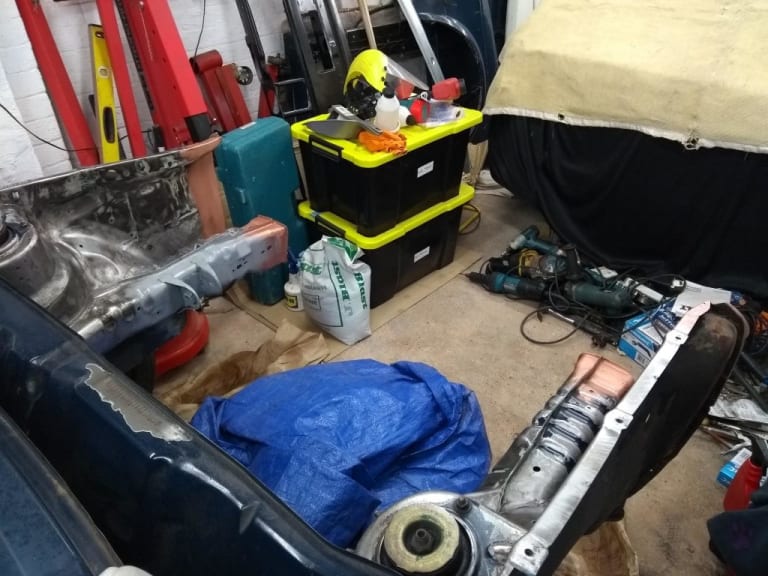
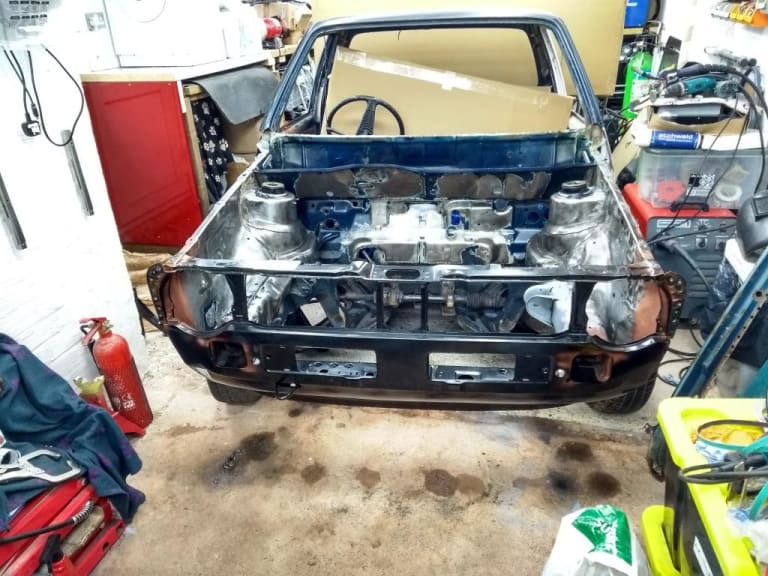
Removed the lower windscreen panel and not too bad underneath but the upper A pillar doesn't look too clever on the drivers side.
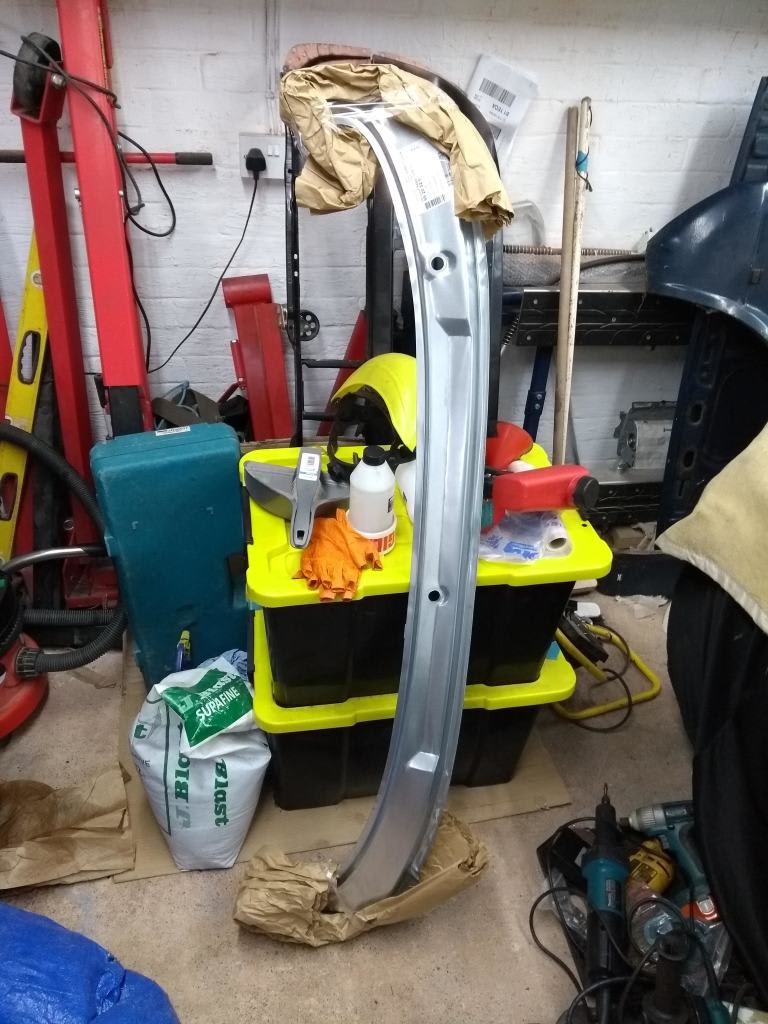
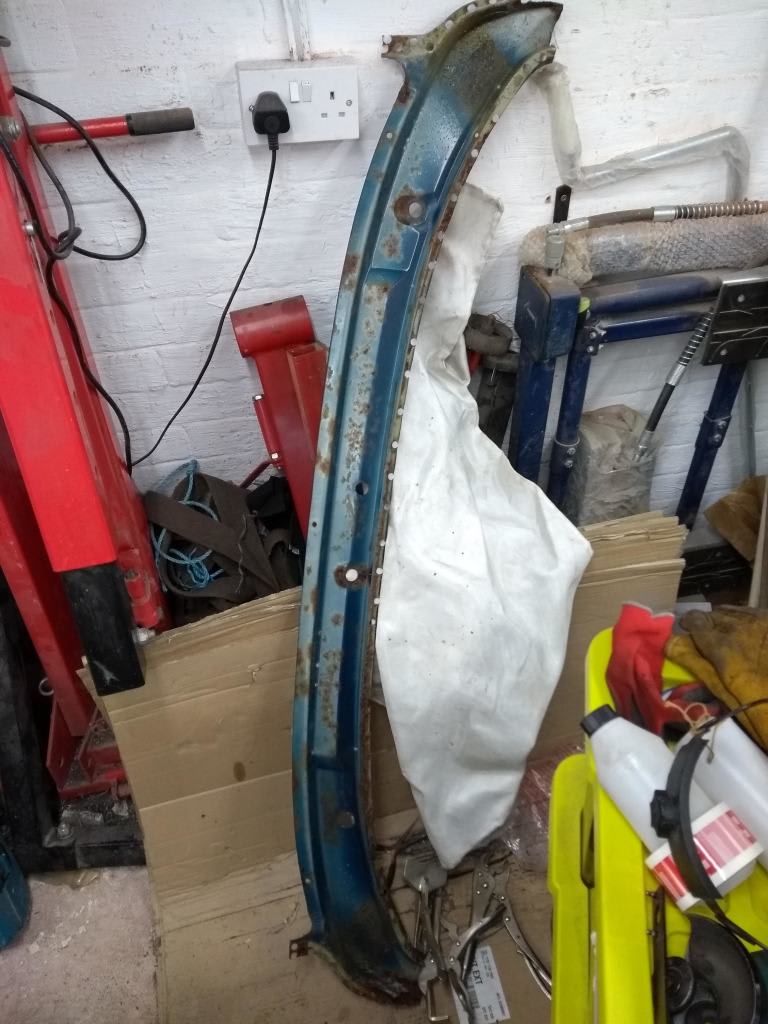
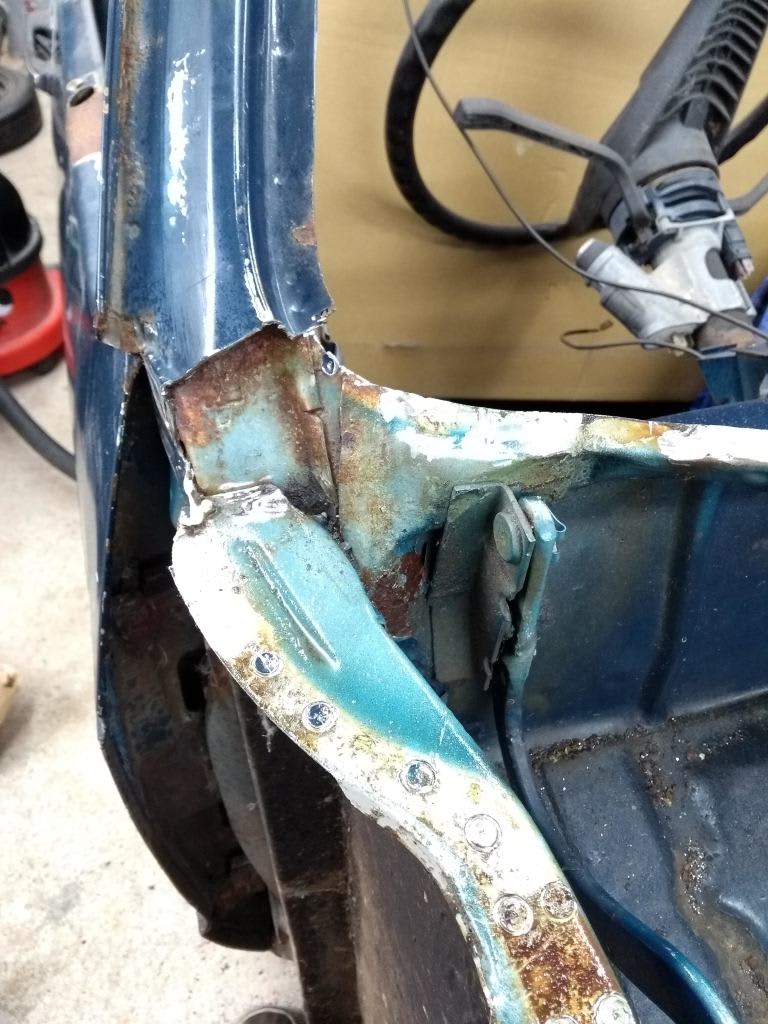
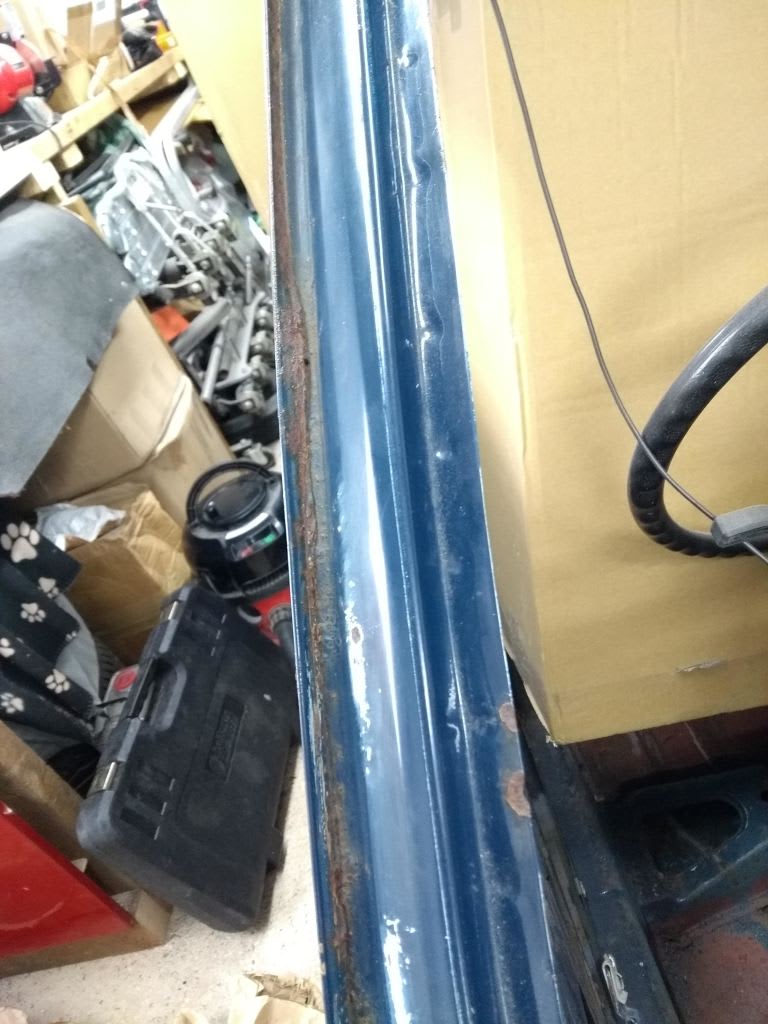
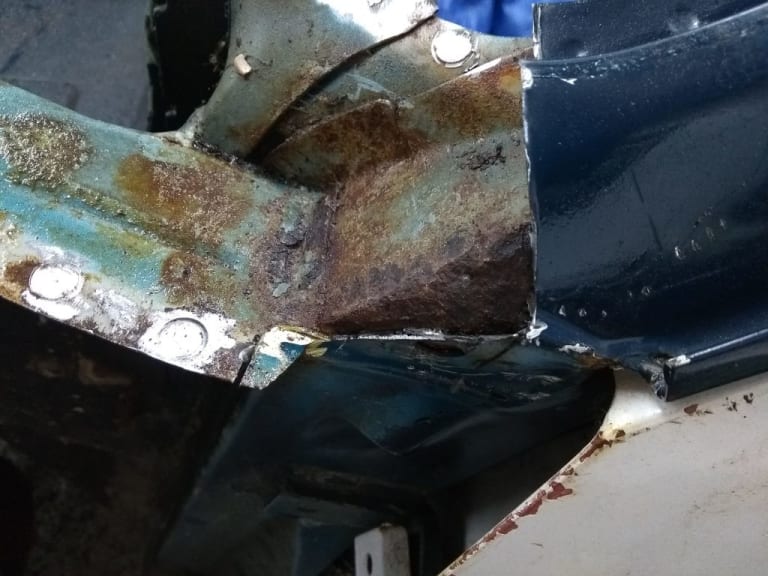
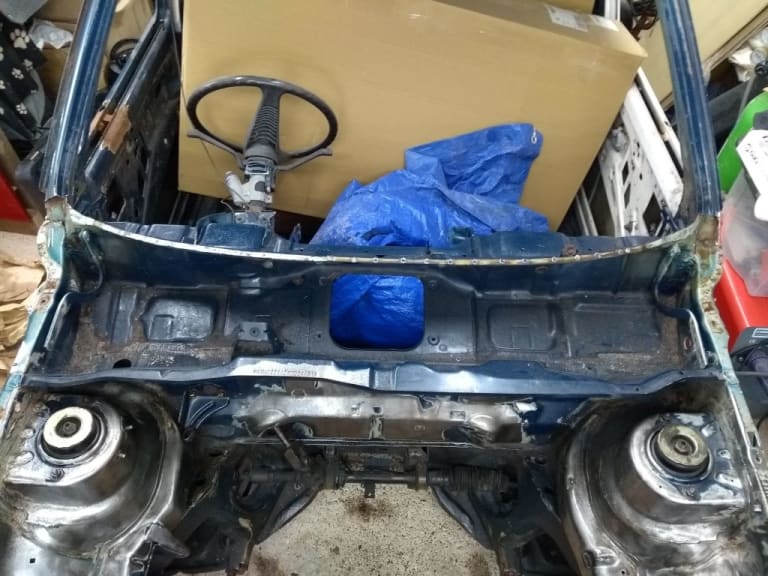
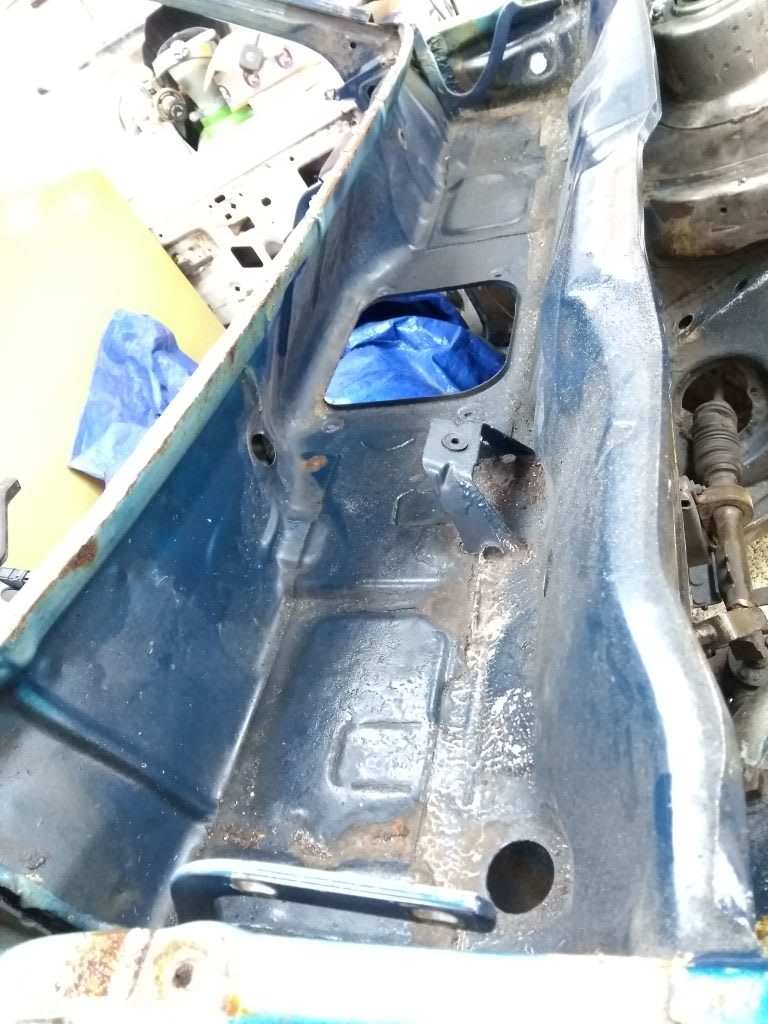
The gutter seam appears to be coming away so drastic exploratory surgery needed there. I've had a good search for a replacement outer skin but no one sells these as a pattern part. Otherwise a mk1 that is being broken up for spares may be an option. If anyone could cut both sides off a car they are breaking I would be very grateful otherwise I will need to remove the outer skin, repair it and replace it.
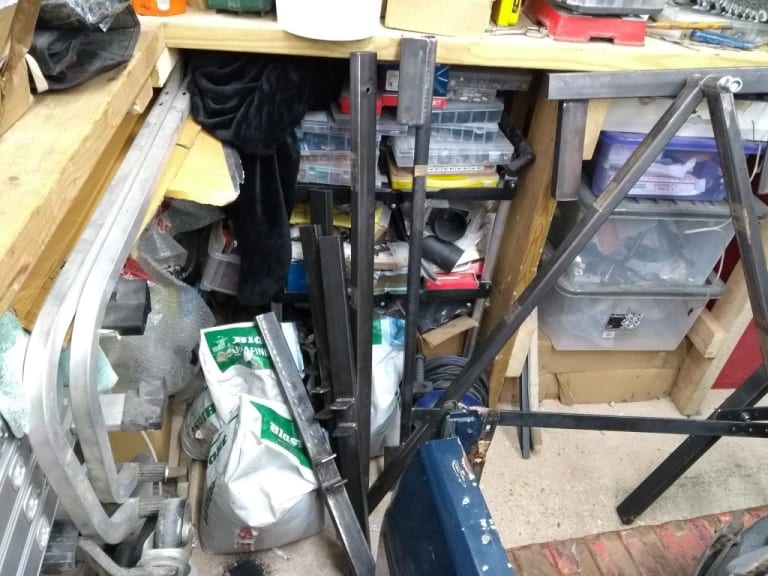
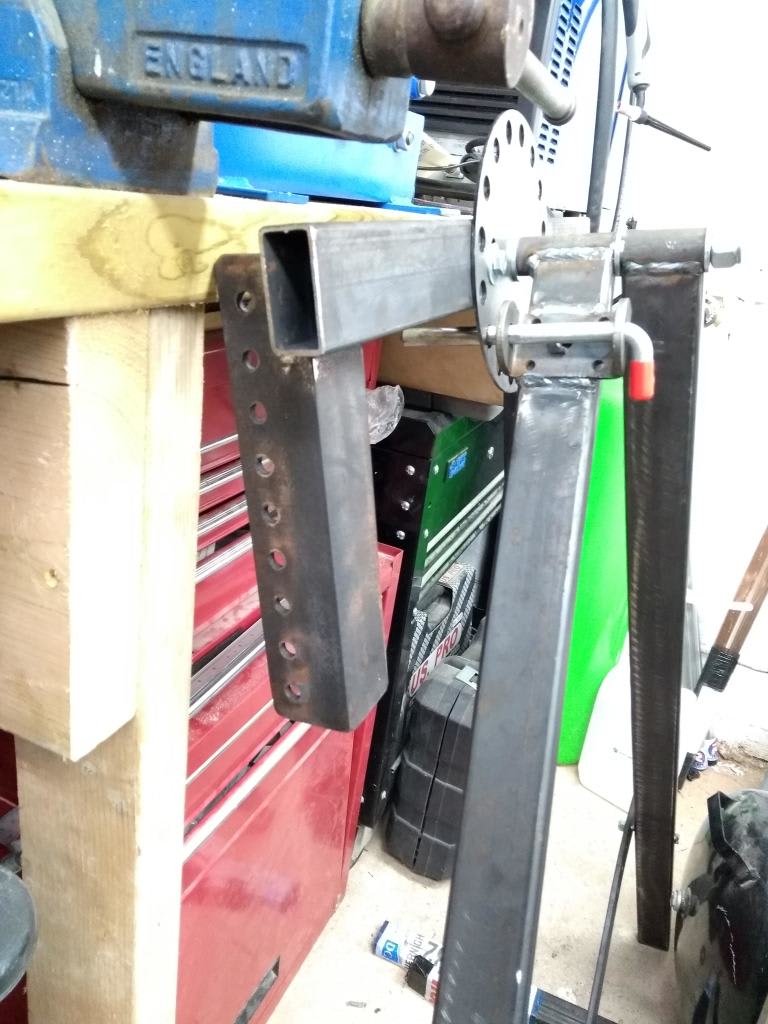
Got the jig preassembled ready for use

Posted
Old Timer


Dug in to the upper A pillar and it's full of surprises!
To remove it I ground the top of the gutter where it folds over and then drilled out the spot welds.
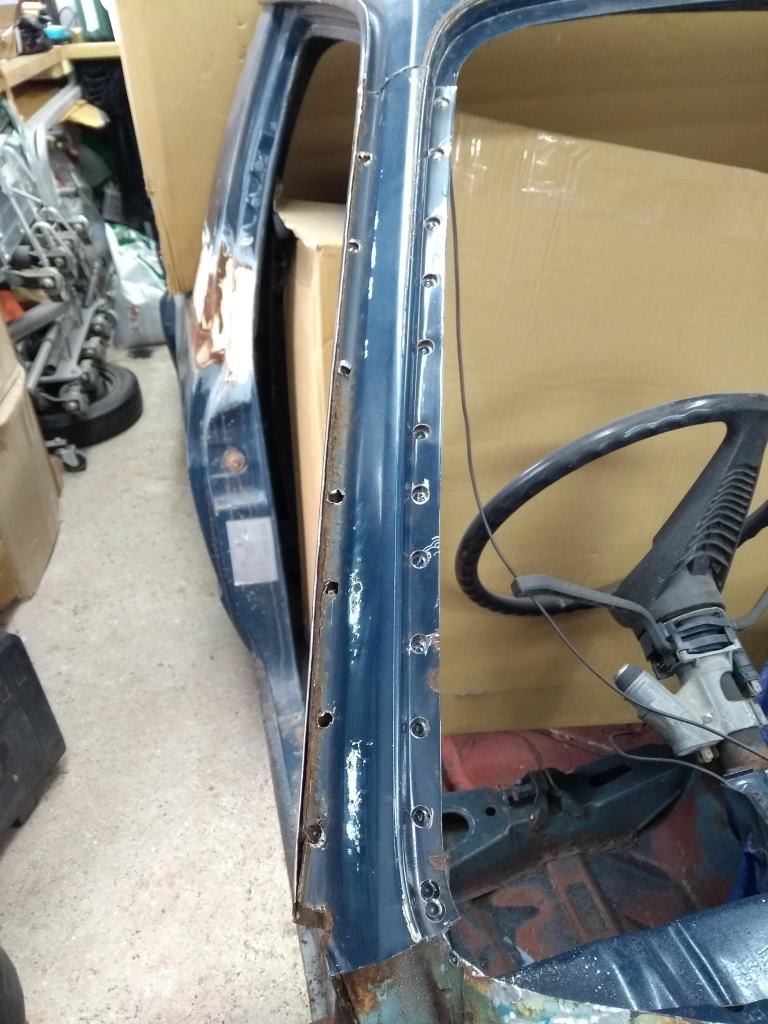
A little bit crusty underneath
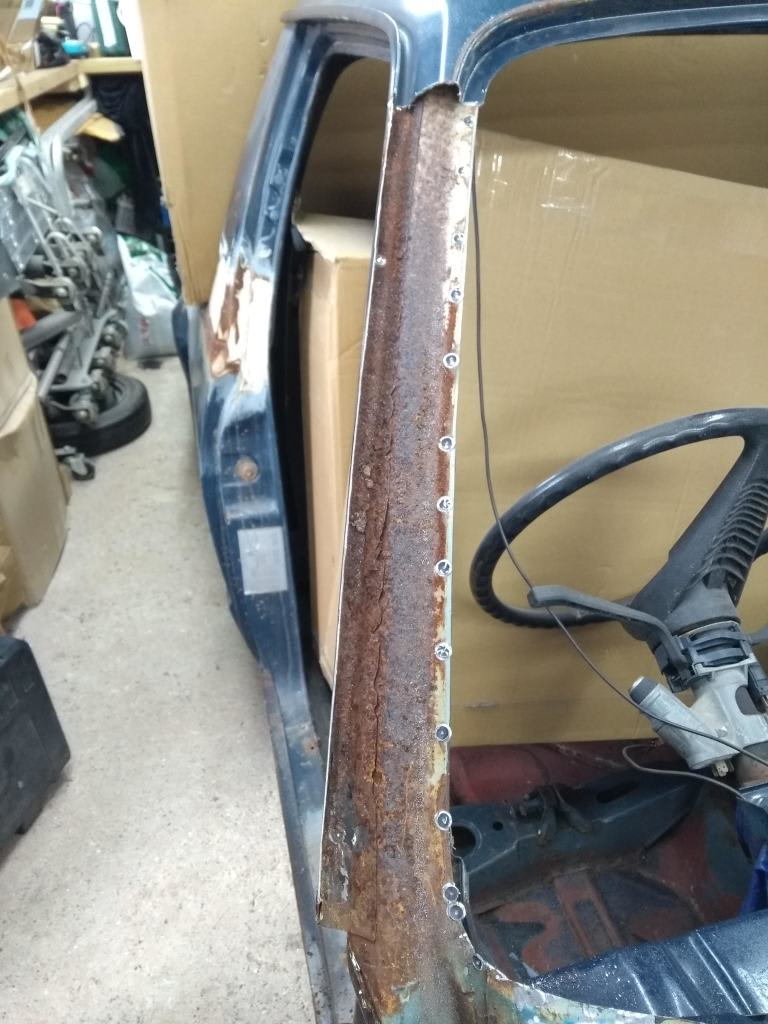
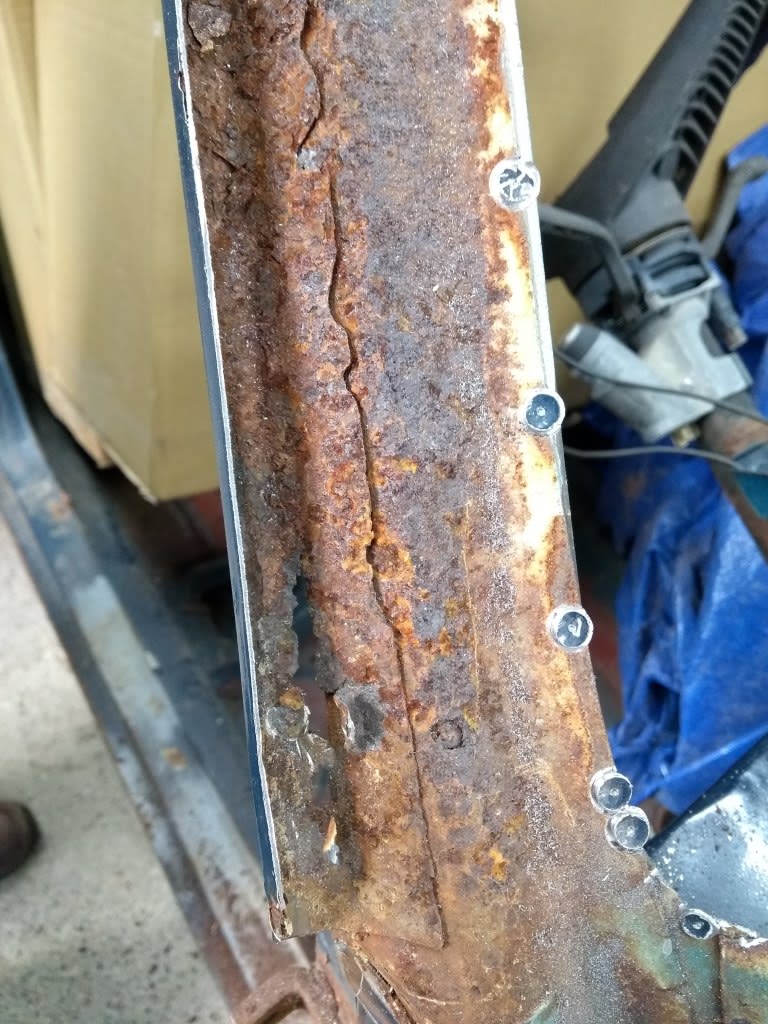
Removed the gutter section next.

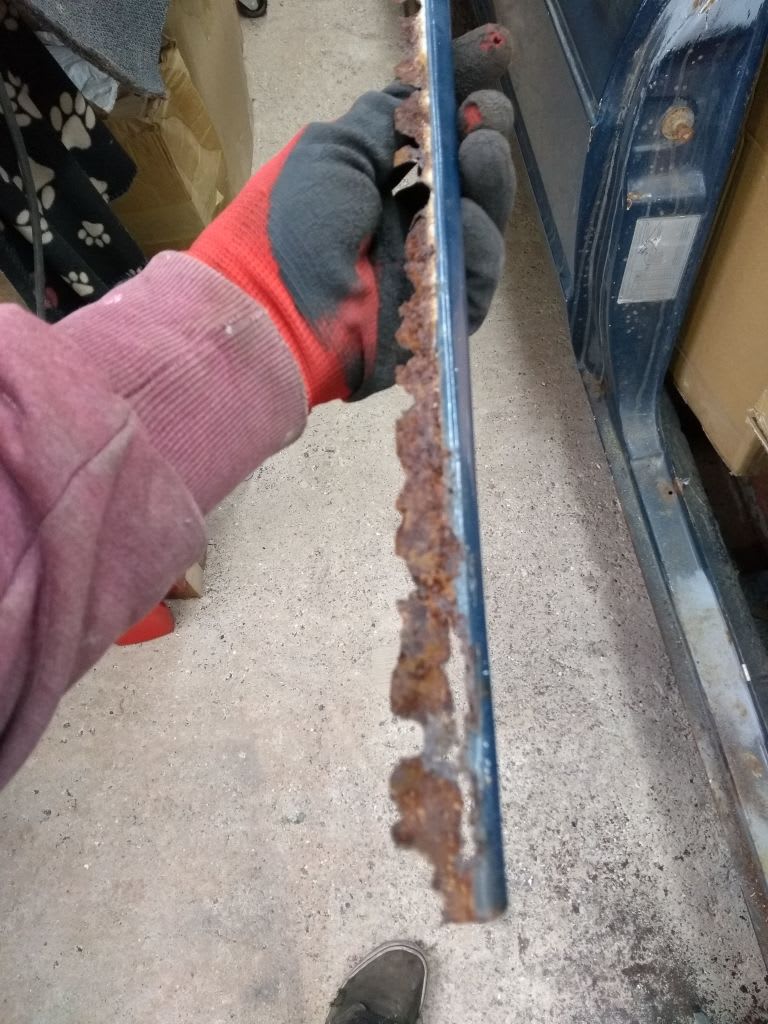
Then cut out the rusty section it was sitting on.
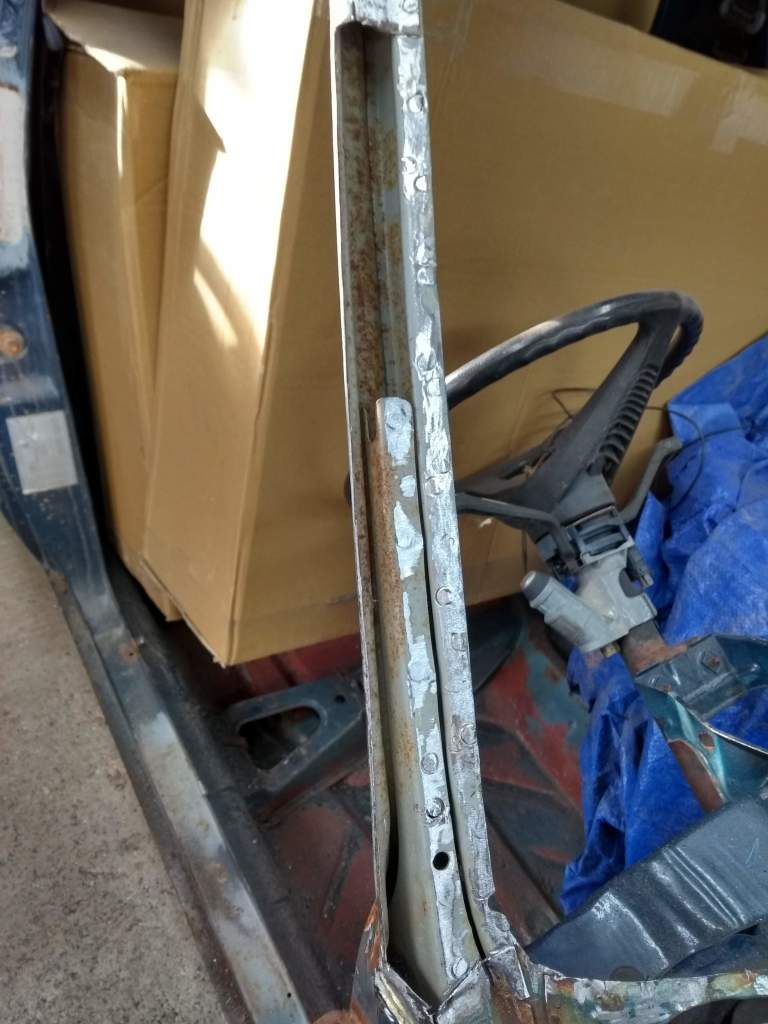
Spot blasted the inside to clean metal.
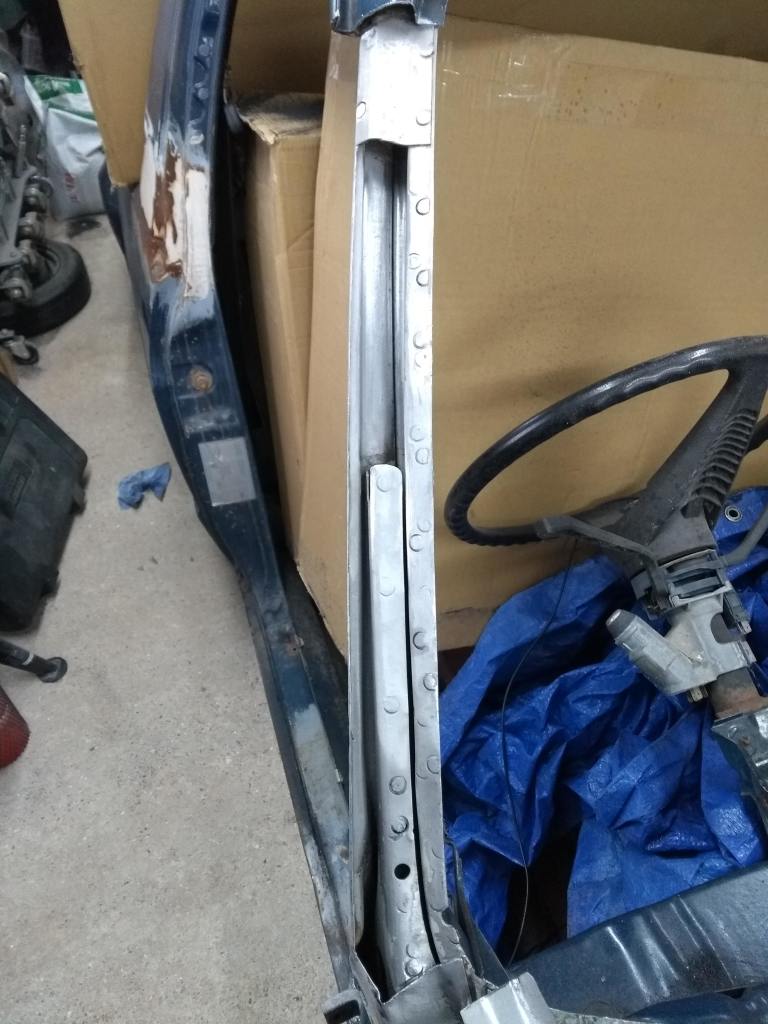
Weld through primer on.

New repair section made.
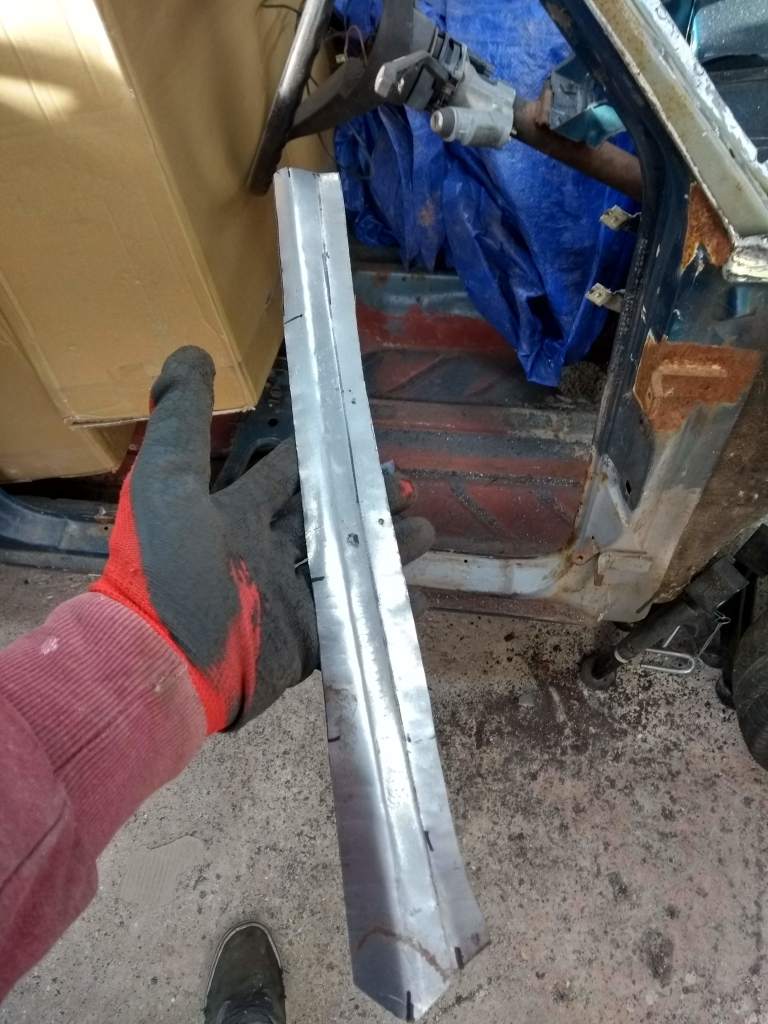
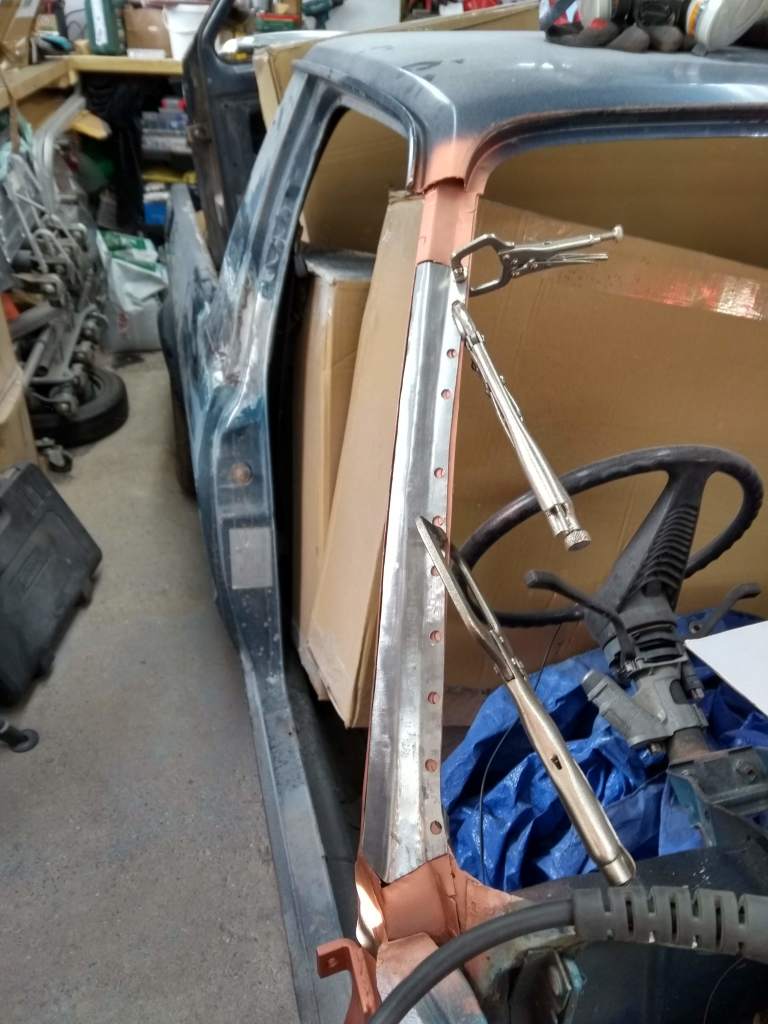
Welded on and protected with weld through primer.
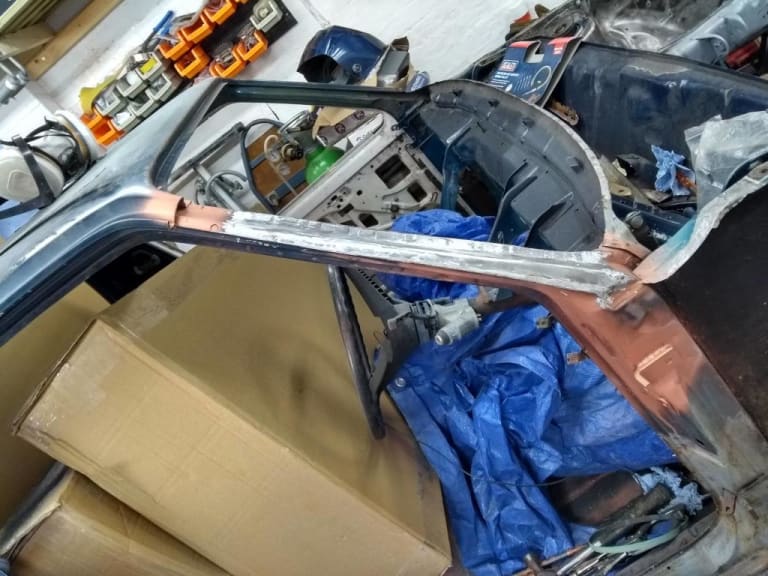

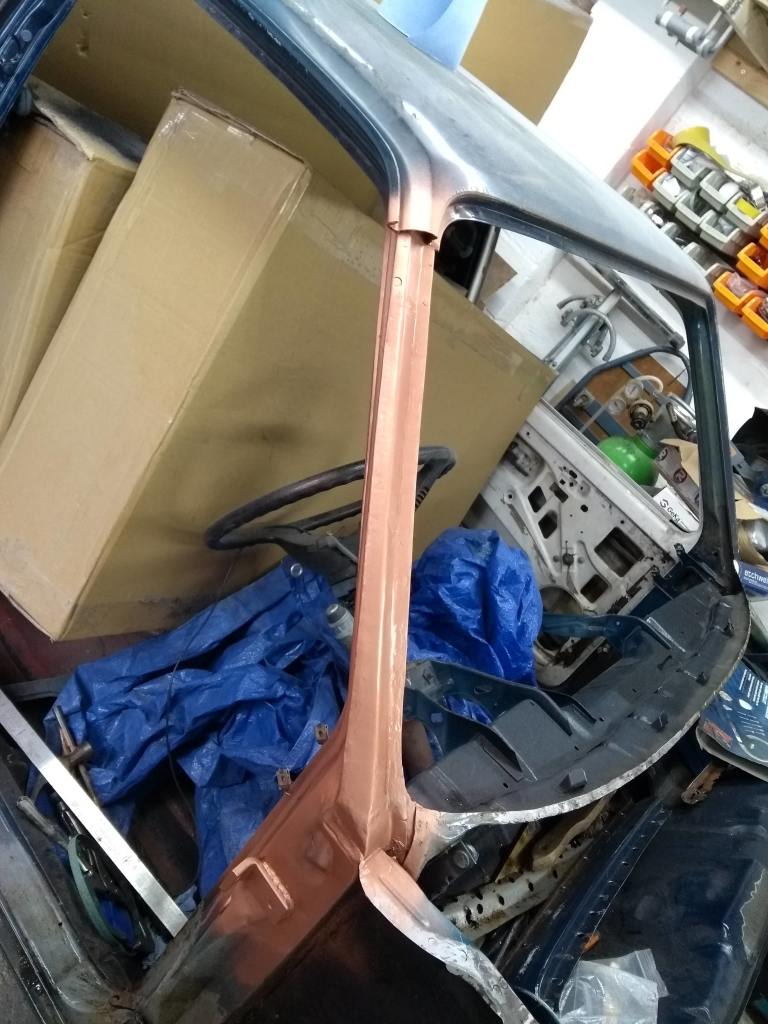
Need to make up a new gutter piece next as the original is pretty crusty

The outer skin might be salvageable with a bit of spot blasting and some repair sections made where it's tucked in the gutter.
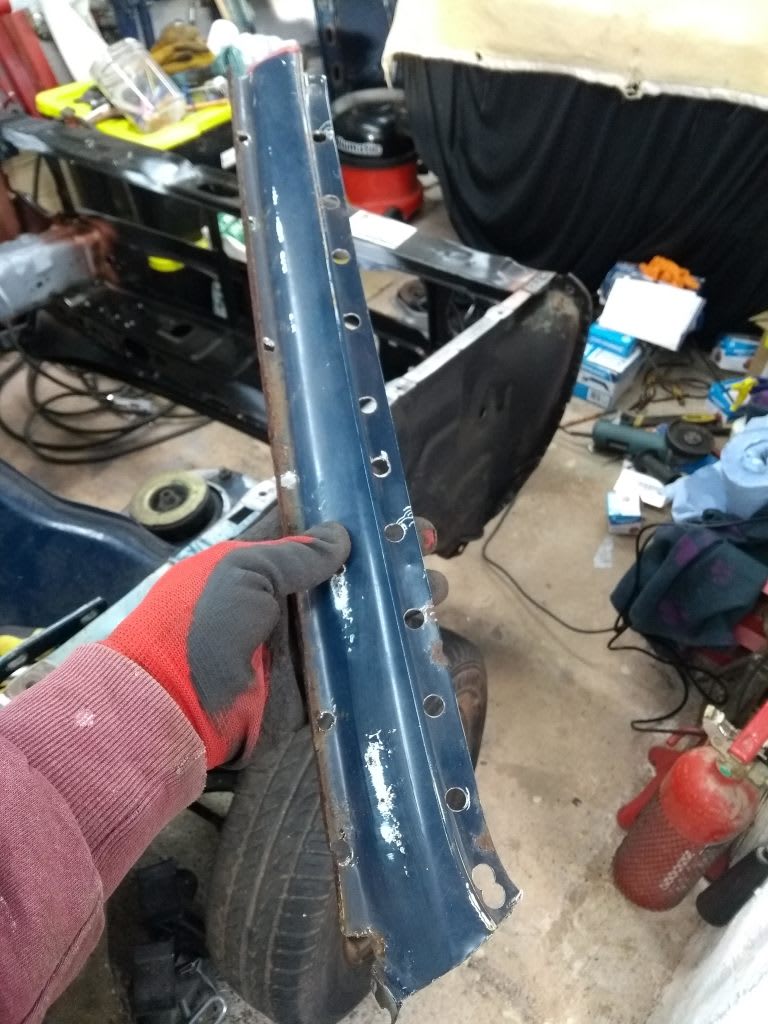

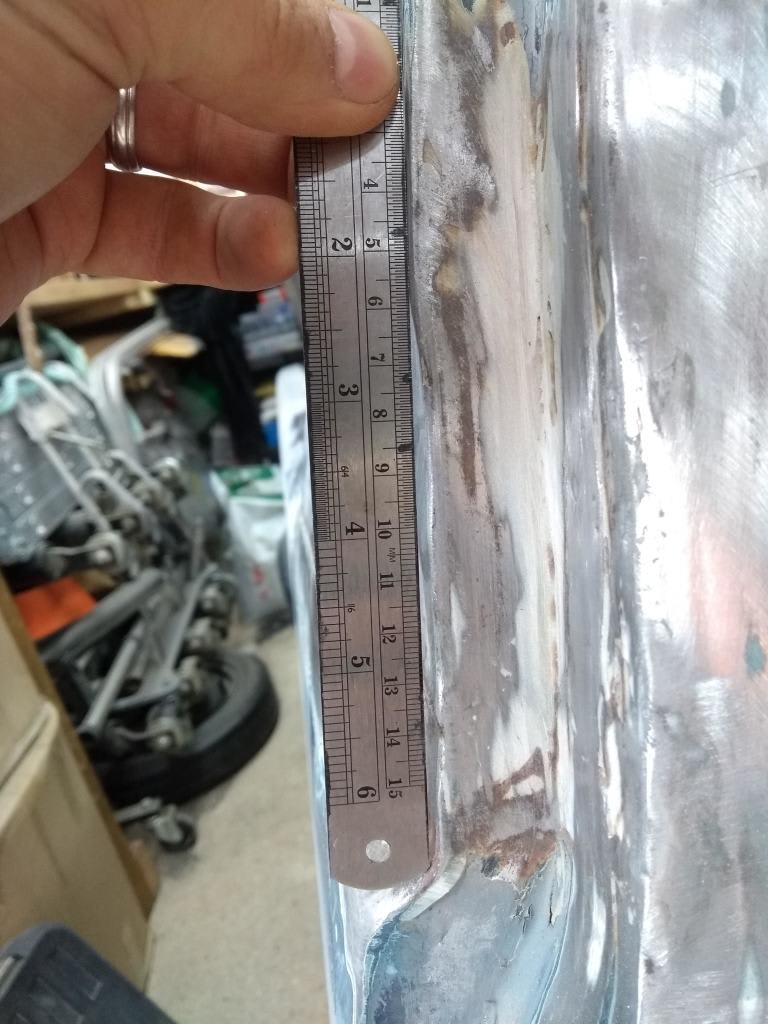
Had a look at the B pillar and removed all the filler. The previous repair was poorly done and there is a large dip in the panel. I will cut it out, inspect behind and remake it
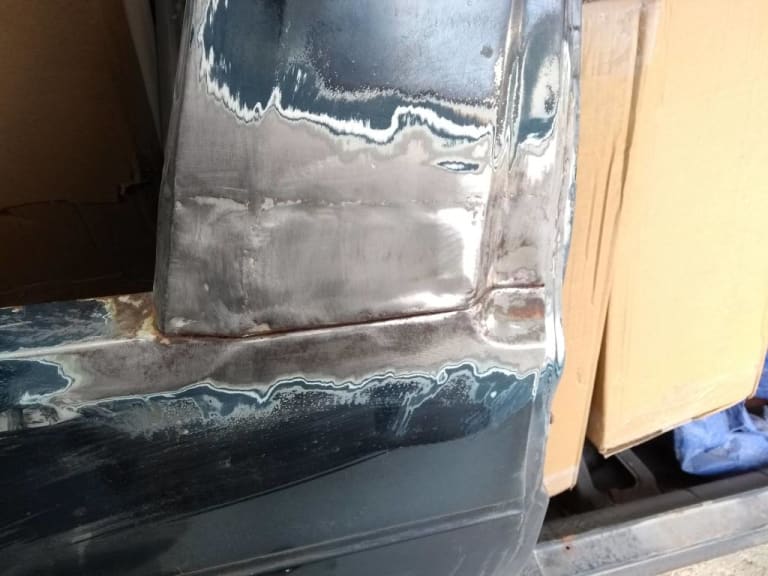
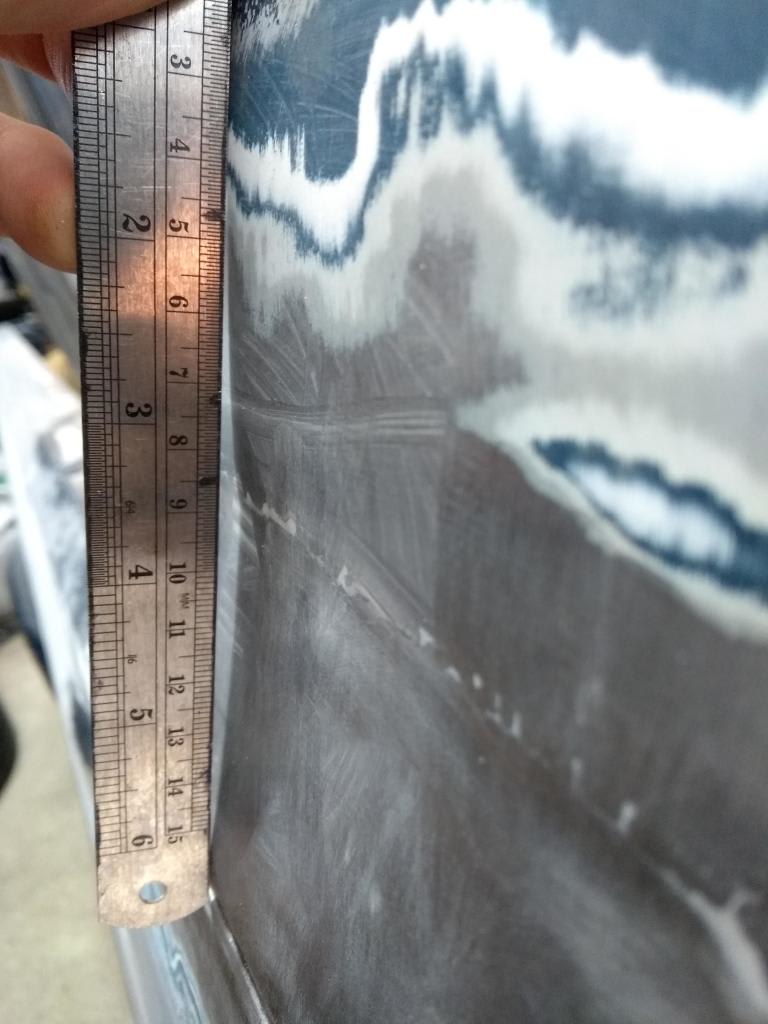
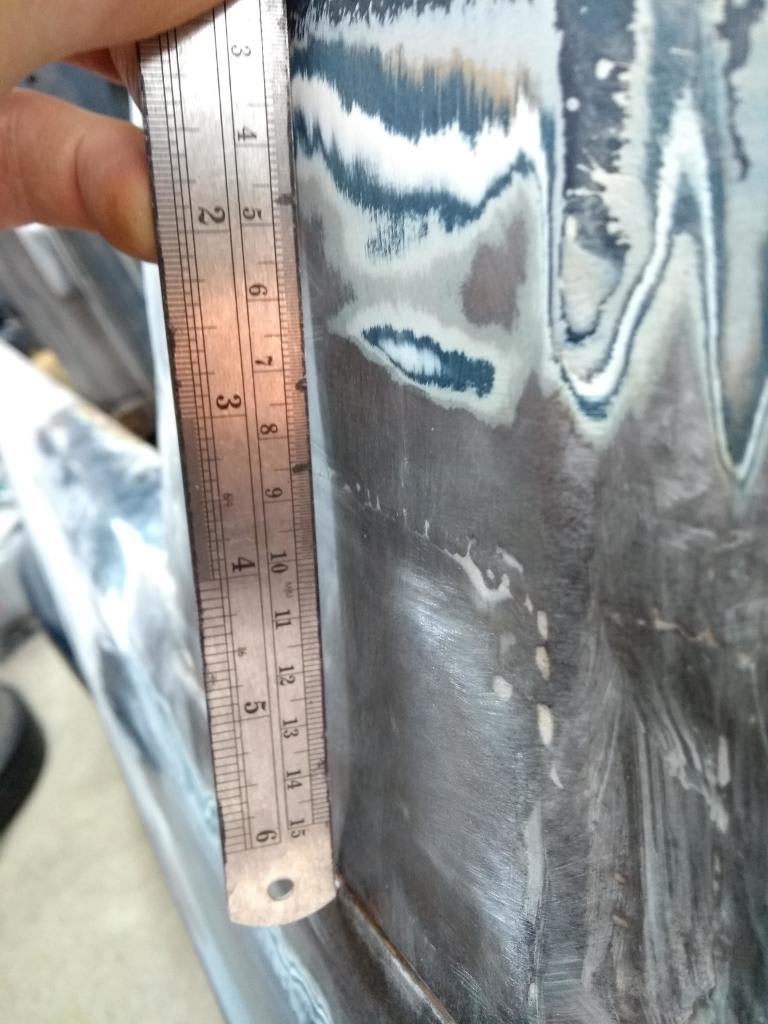
 Last edit: by Rich.
Posted
Settled In


Black 1984 MK1 Golf GTI Campaign.
Posted
Old Timer


Campaigning for Dave said
Loving this thread Rich, fantastic skills! Love that little spot blaster, I have an old bumper frame that I'm going to clean up and spray soon as the pattern frame I have doesn't seem to fit. Would it work on a job like that do you think?
Hi Dave thanking for the kind comments.
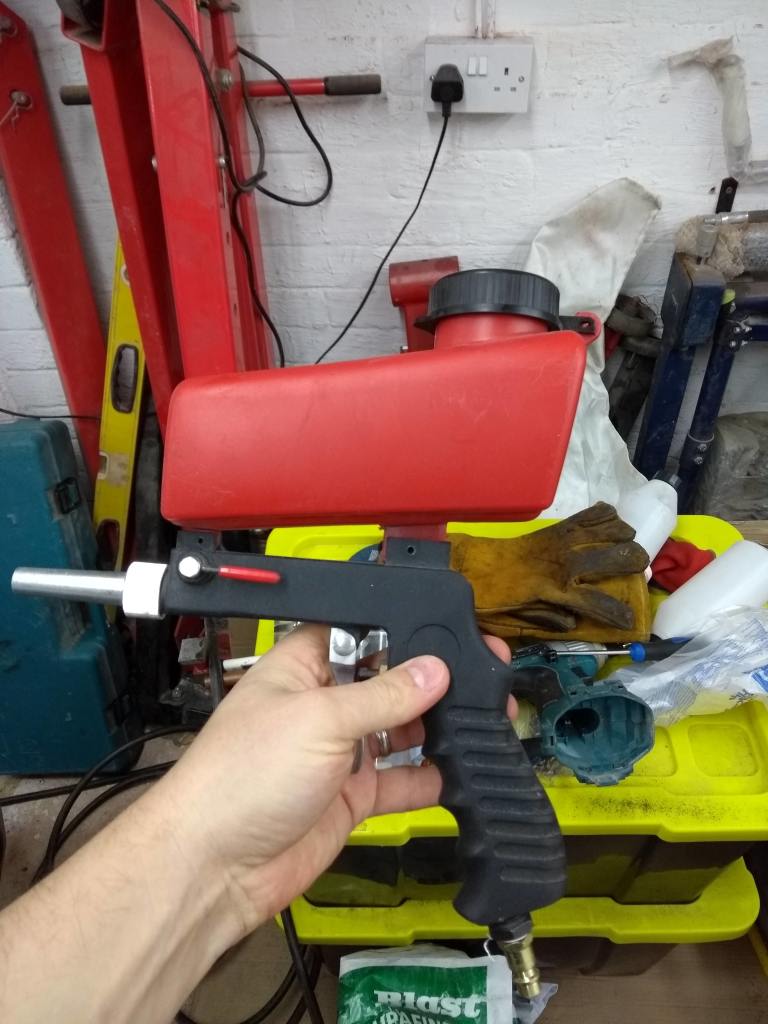
The spot blaster off my compressor ( 3hp 14.6cfm) made light work of removing the paint and pitted rust.
Would highly recommend it, especially useful in the nook and crannies.
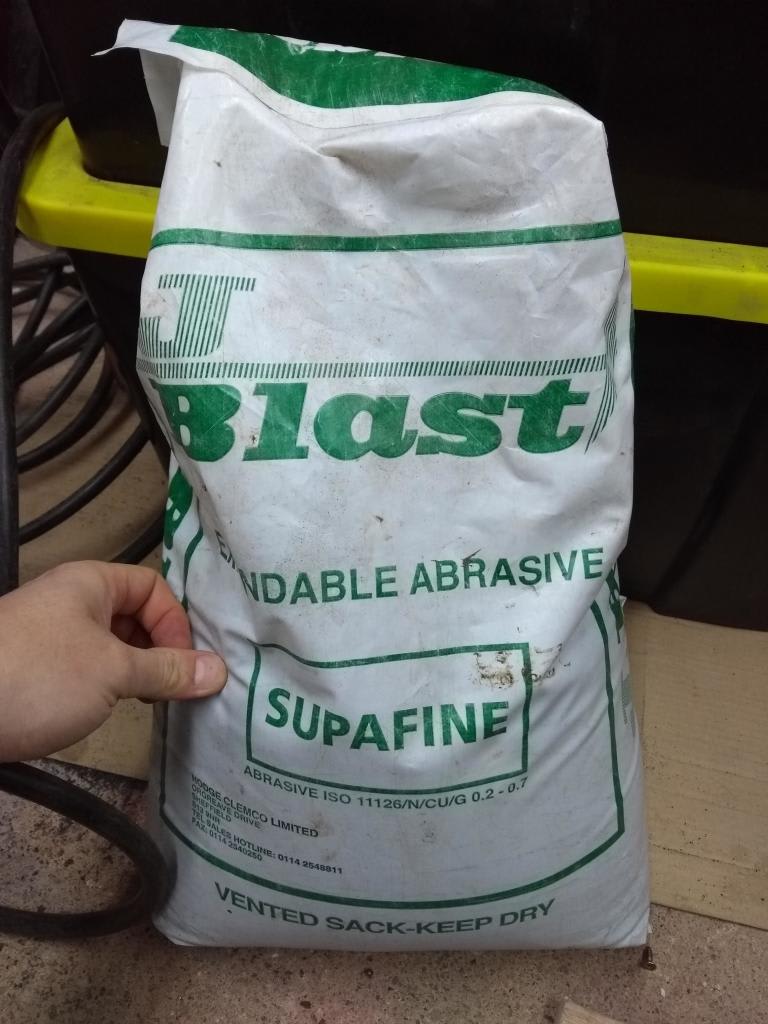
It gets absolutely everywhere mind and you use the spot media very fast but I think that was me opening it up and giving it full send
For larger jobs a pressurised vessel would be better as has more capacity.
 Last edit: by Rich.
Posted
Settled In


Brilliant, thanks Rich, one ordered now. I did have a blast cabinet but it was too big to store and annoyingly too small for lots of the bits I need to restore - the gun is definitely the best of both worlds!Rich. said
Campaigning for Dave said
Loving this thread Rich, fantastic skills! Love that little spot blaster, I have an old bumper frame that I'm going to clean up and spray soon as the pattern frame I have doesn't seem to fit. Would it work on a job like that do you think?
Hi Dave thanking for the kind comments.
The spot blaster off my compressor ( 3hp 14.6cfm) made light work of removing the paint and pitted rust.
Would highly recommend it, especially useful in the nook and crannies.
It gets absolutely everywhere mind and you use the spot media very fast but I think that was me opening it up and giving it full send
For larger jobs a pressurised vessel would be better as has more capacity.
Your fabrication work is incredible dude, are you self-taught? I've a pretty crusty Campaign that's mothballed down at Mums that needs rear arches, sills, spare wheel well and god knows what else so I'd love to know how you built your skills!
Black 1984 MK1 Golf GTI Campaign.
Posted
Settling In

Posted
Old Timer


Yes all self taught from watching youtube videosCampaigning for Dave said
Brilliant, thanks Rich, one ordered now. I did have a blast cabinet but it was too big to store and annoyingly too small for lots of the bits I need to restore - the gun is definitely the best of both worlds!Rich. said
Hi Dave thanking for the kind comments.Campaigning for Dave said
Loving this thread Rich, fantastic skills! Love that little spot blaster, I have an old bumper frame that I'm going to clean up and spray soon as the pattern frame I have doesn't seem to fit. Would it work on a job like that do you think?
The spot blaster off my compressor ( 3hp 14.6cfm) made light work of removing the paint and pitted rust.
Would highly recommend it, especially useful in the nook and crannies.
It gets absolutely everywhere mind and you use the spot media very fast but I think that was me opening it up and giving it full sendFor larger jobs a pressurised vessel would be better as has more capacity.

Your fabrication work is incredible dude, are you self-taught? I've a pretty crusty Campaign that's mothballed down at Mums that needs rear arches, sills, spare wheel well and god knows what else so I'd love to know how you built your skills!
The brilliant thing about metal is it can be worked again and again and if you mess it up then flatten and start again. Some of the trickier bit's I found it easier to make as separate parts off the vehicle, weld together and weld on.
Oh and a lot of patience and perseverance.
Posted
Old Timer


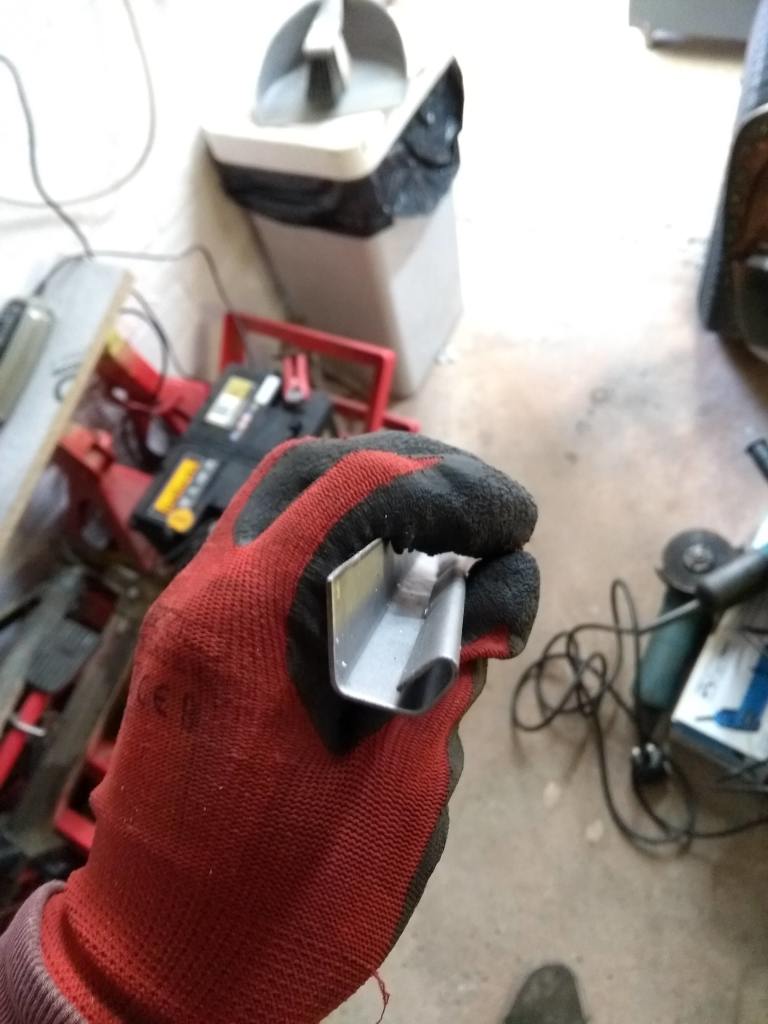
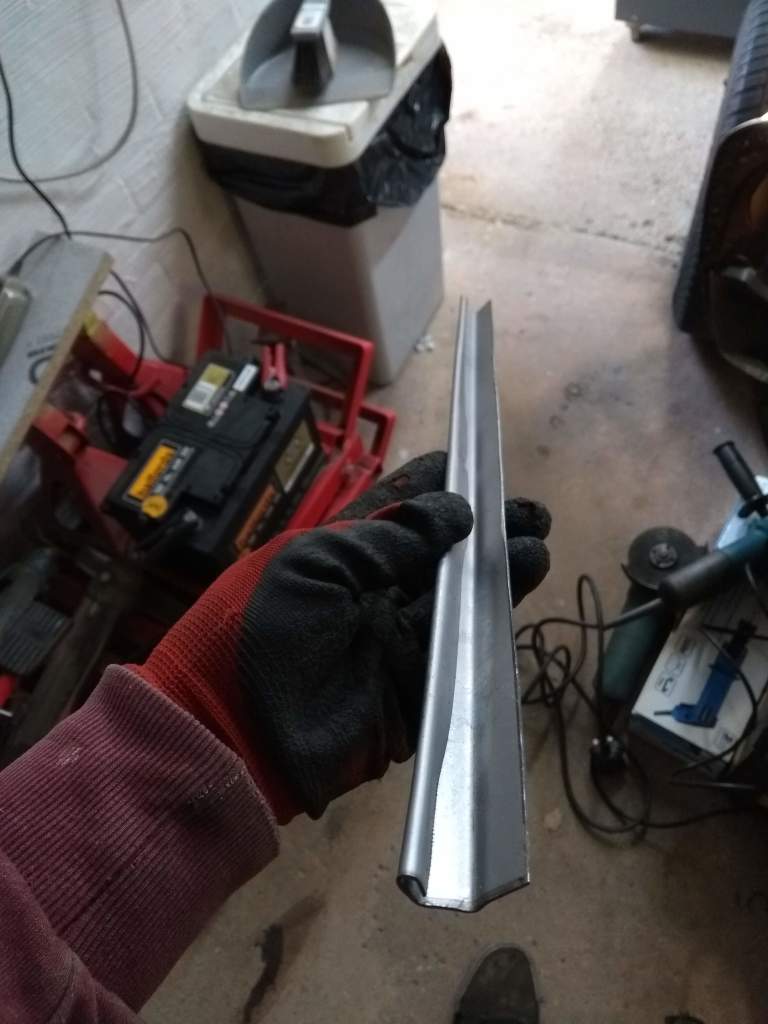
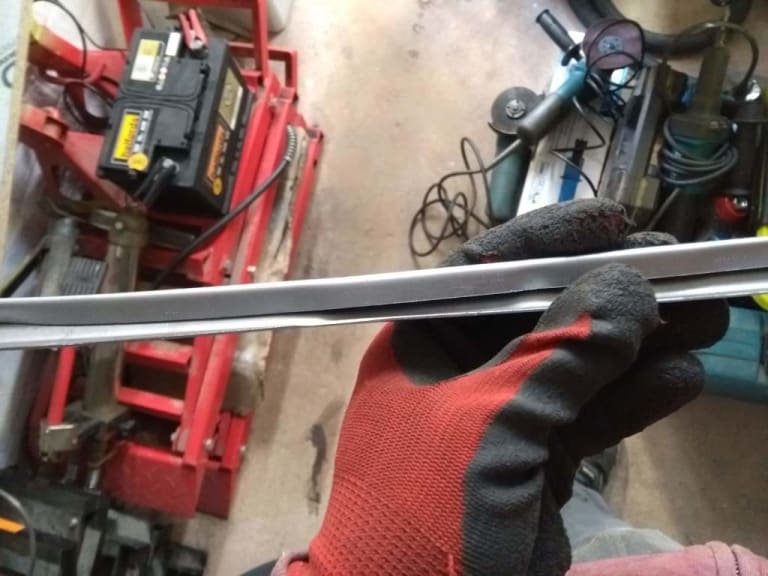
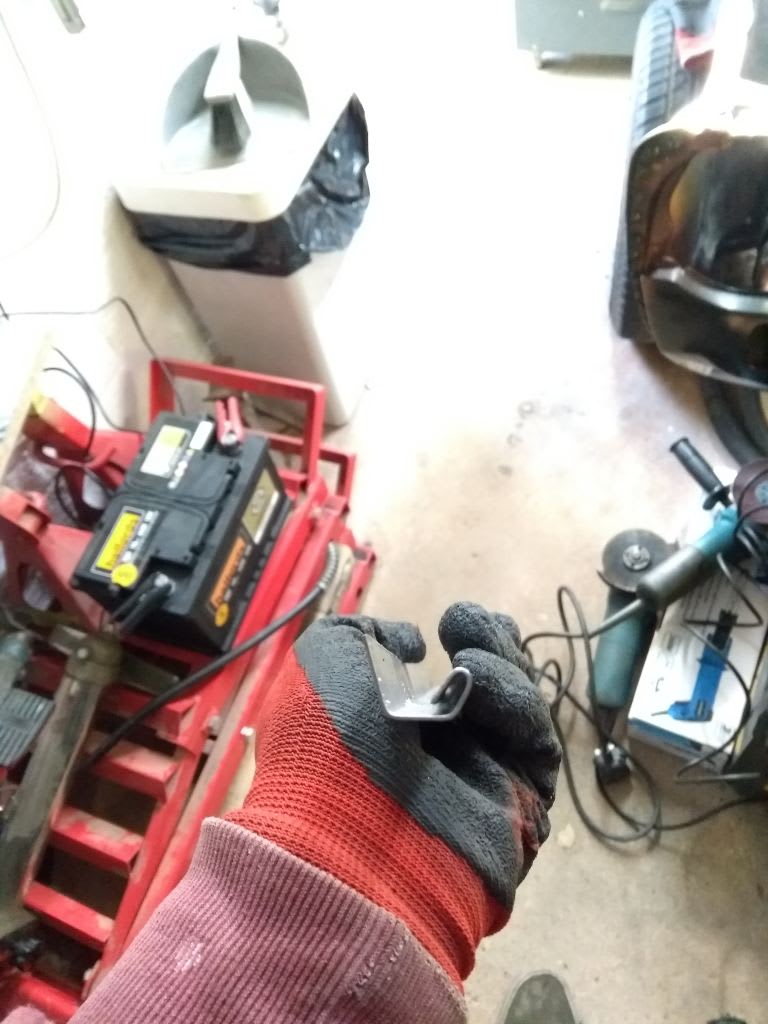
Started making a prototype part out of aluminium using a sheet metal bender. It worked quite well but the height wasn't right.


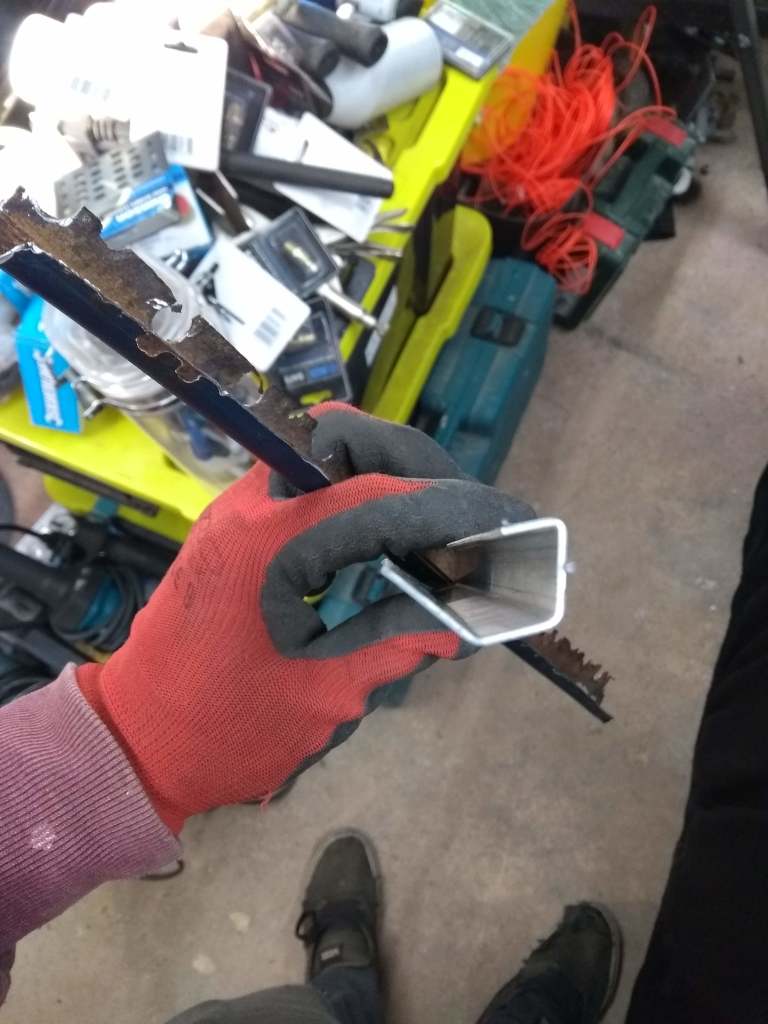

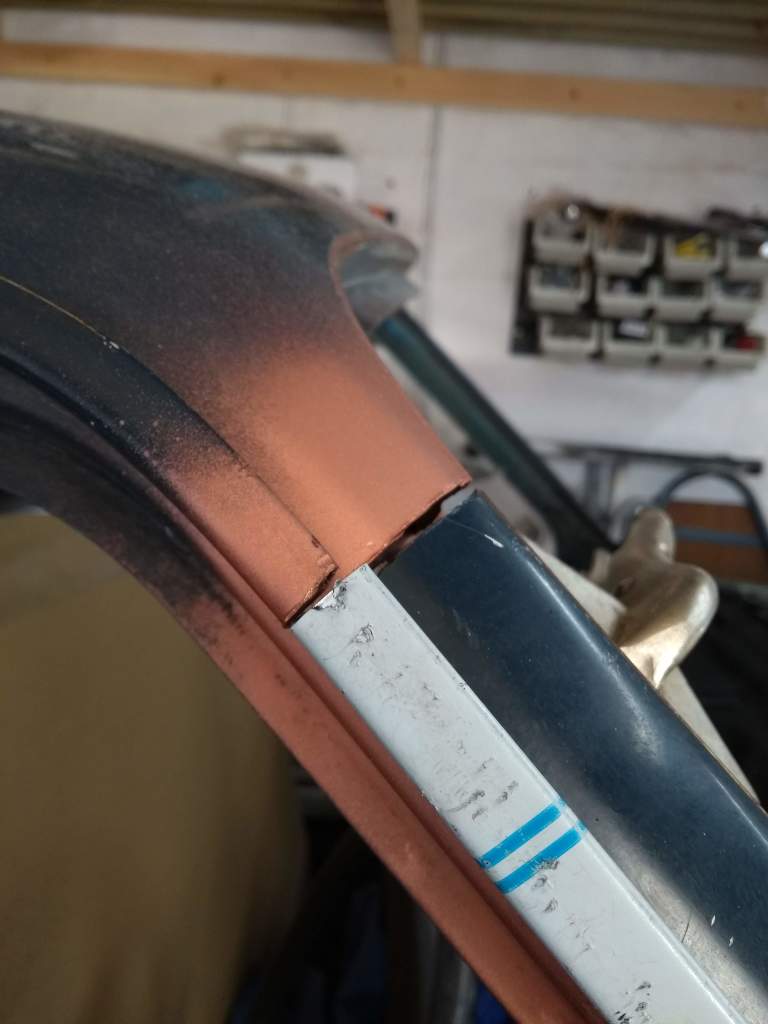
Made a few more until I got the measurements right:
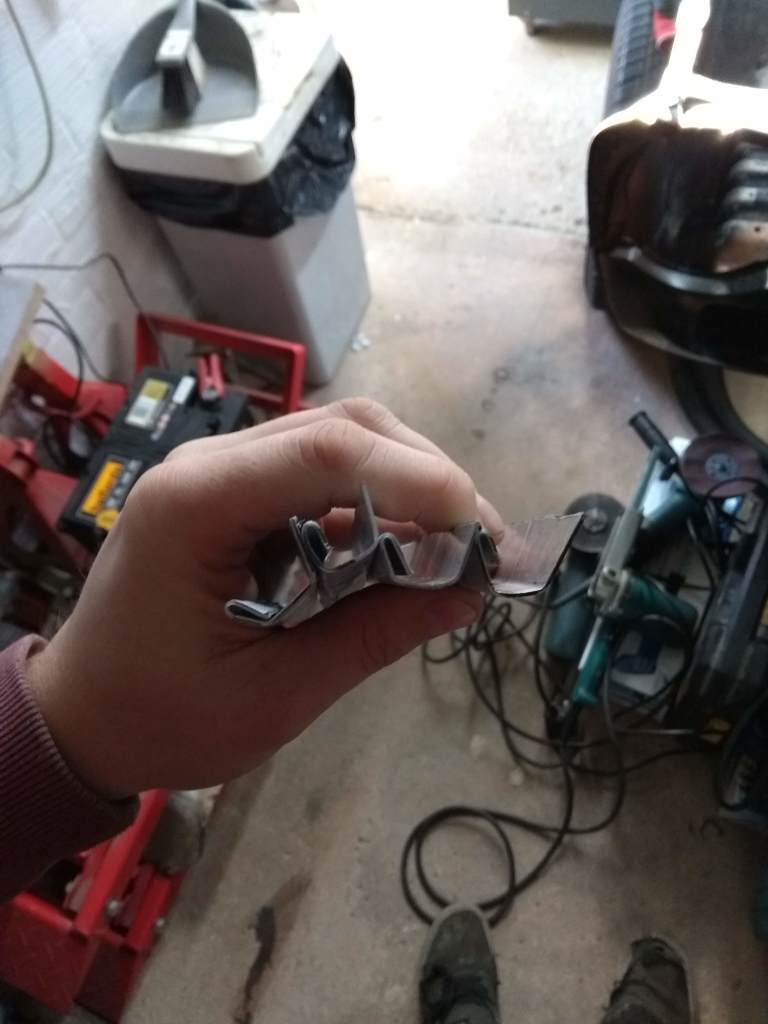

Then tried to create a final version in 18g steel, got one end spot on but the final bend didn't go very well in the centre and the other end.
With steel being stiffer than aluminium it was much harder to get a defined edge. I think it's back to the drawing board. I might use my bead roller to produce the open hem and then bend the rest of the part.
If anyone can think of a better way please let me know. The added challenge is that the part im making needs to be welded first and then the outer skin placed in it. The open hem will need to be fairly open to start with before the out skin can be placed in it and then the final fold made.
This is my attempt in steel.
Posted
Old Timer


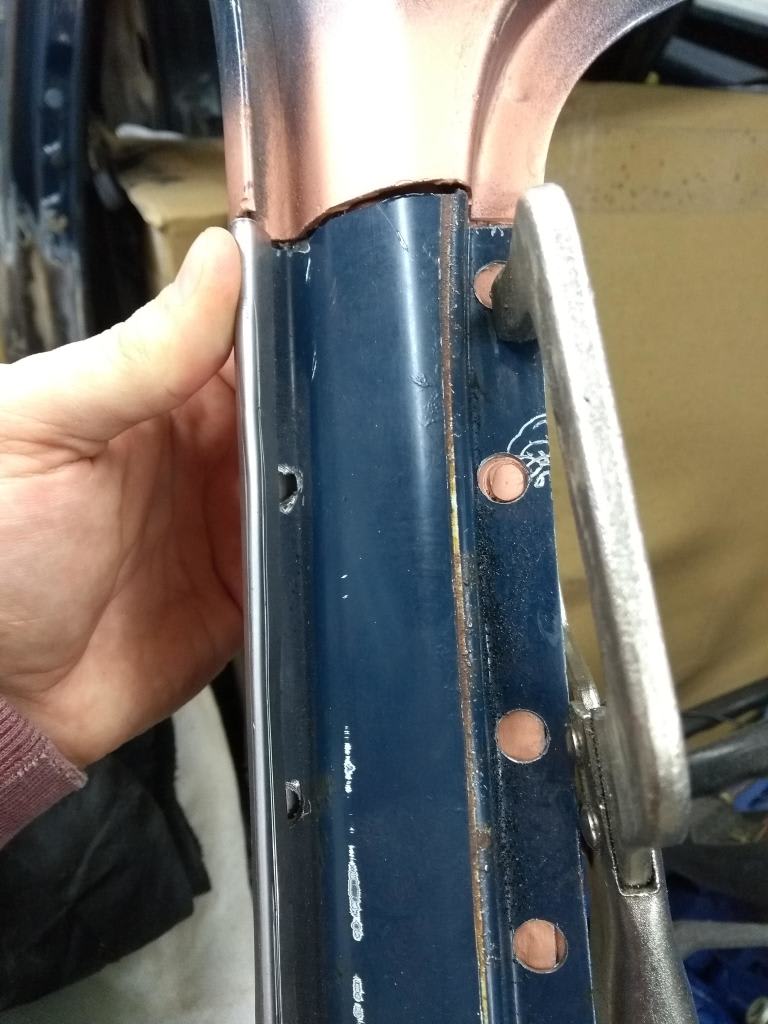
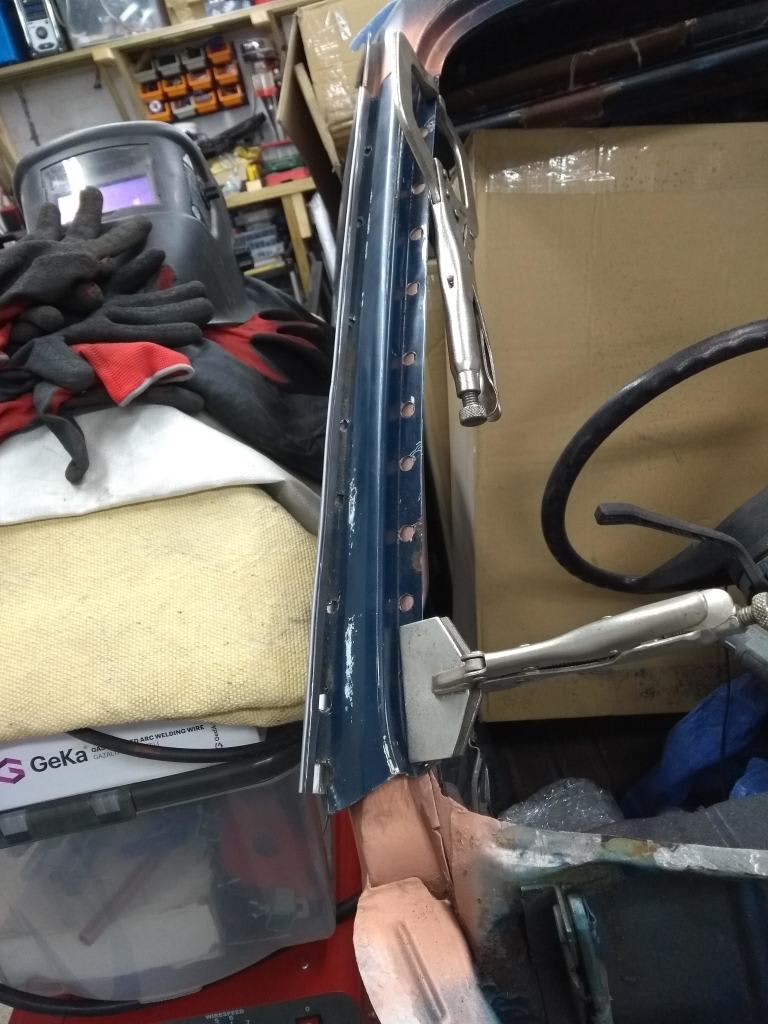
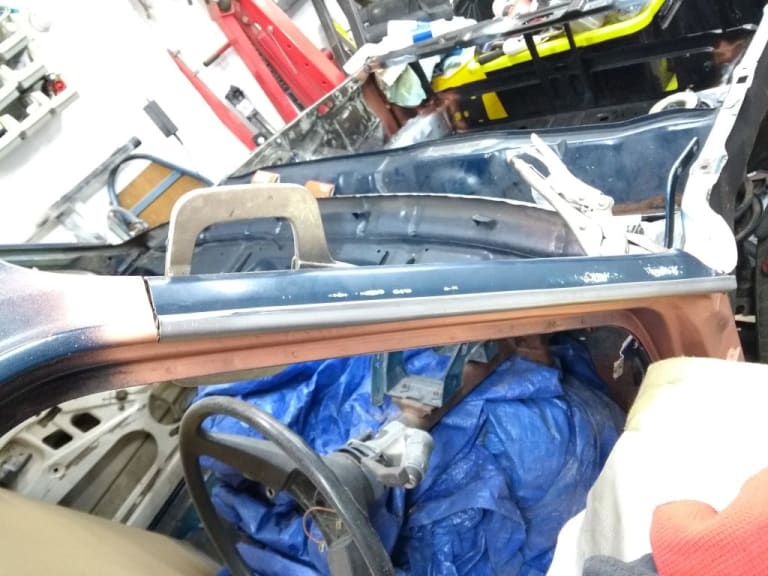
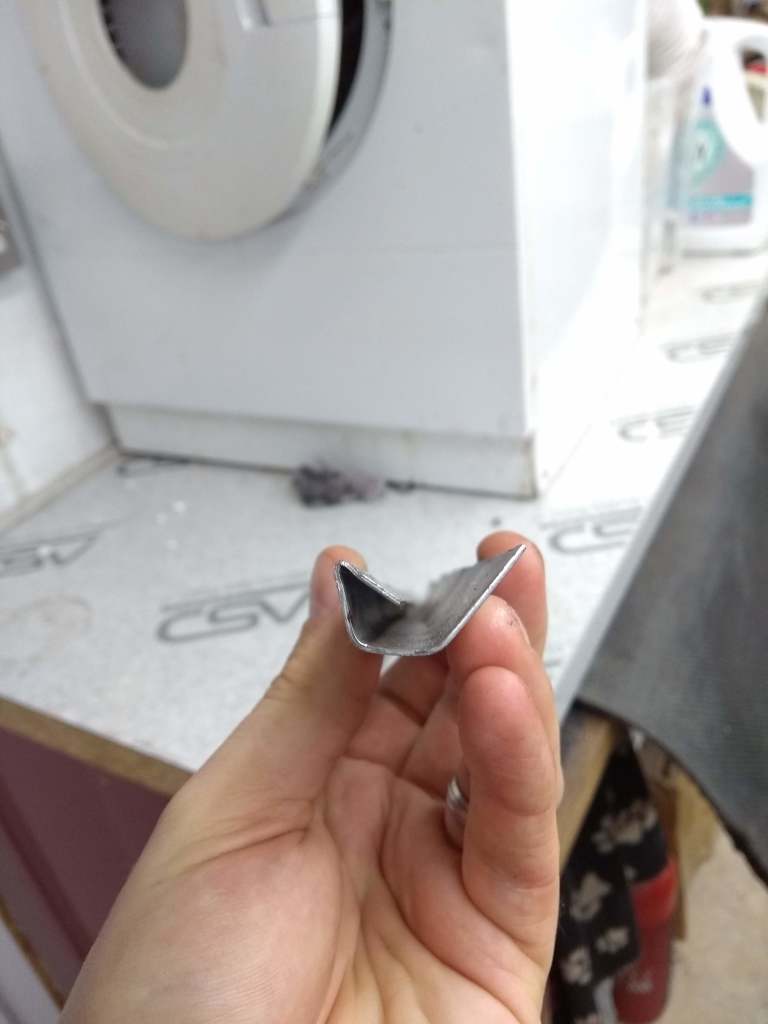
Instead of doing the initial bend with the metal bender I used a hemming die on the bead roller. Gave a much tighter bend.
I need to repair the outer skin next but there is enough room to slide the 2 pieces together.
I can weld the gutter first and then weld the out skin on top as per the factory and then finish the gutter with hemming pliers to fold it over tight, hammer and dolly and give it a good sand
Posted
Old Timer


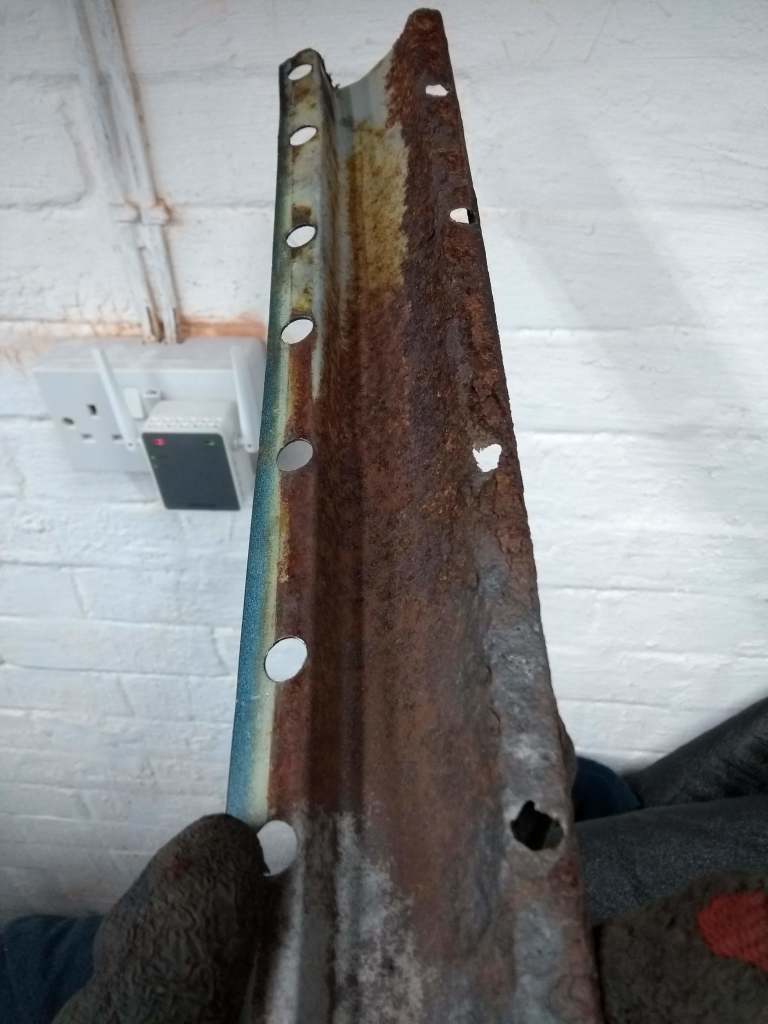
I spot blasted the pillar to see what I was dealing with.
Before:

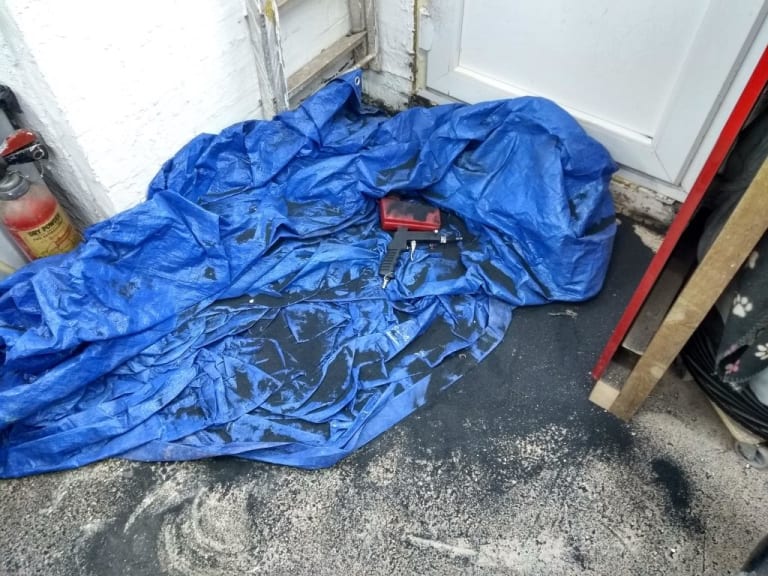
The mess afterwards.
The result:
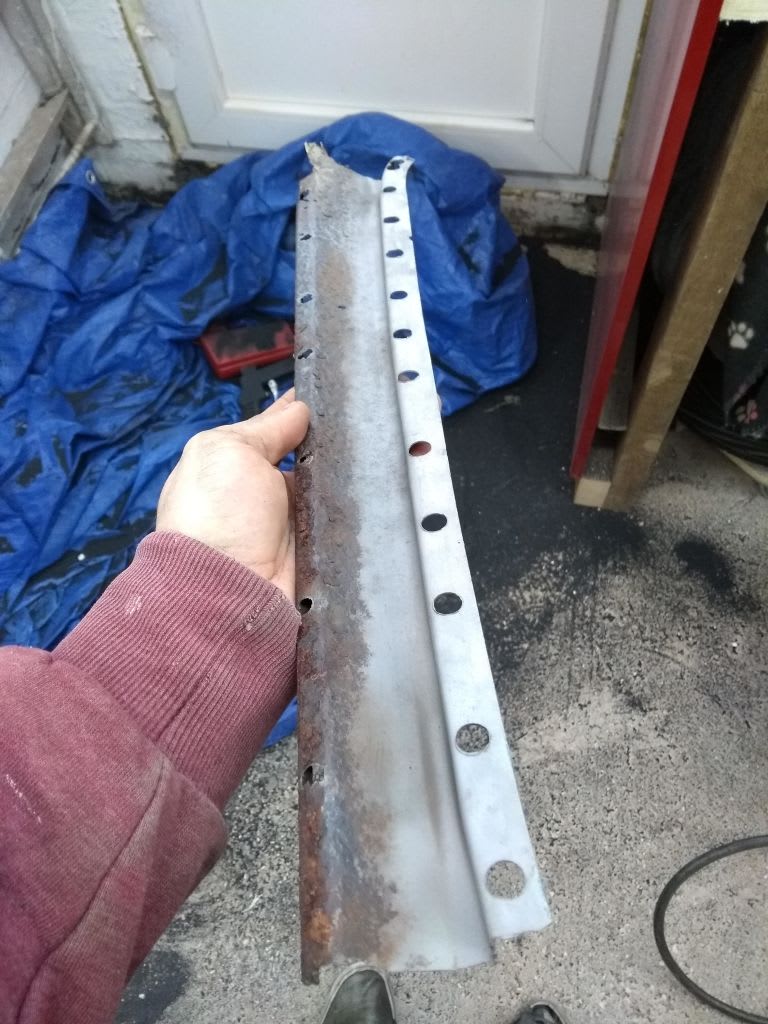
Only half the part was worth saving. Fortunately the most dominant swage line was not affected by rust so I could cut it half.
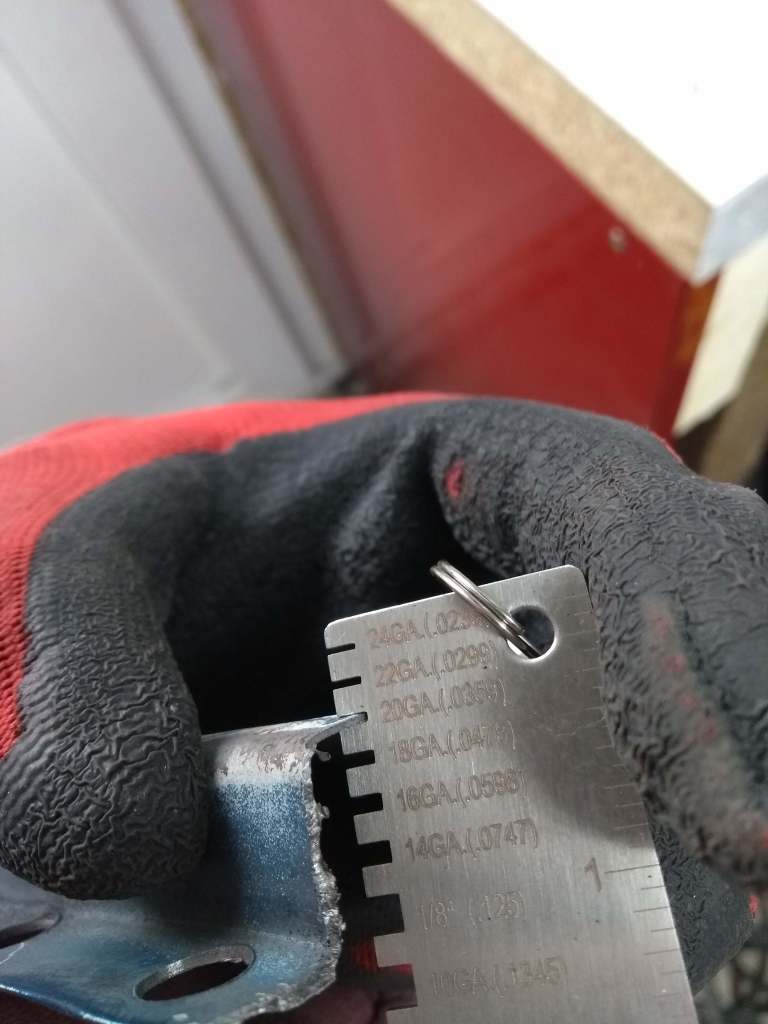
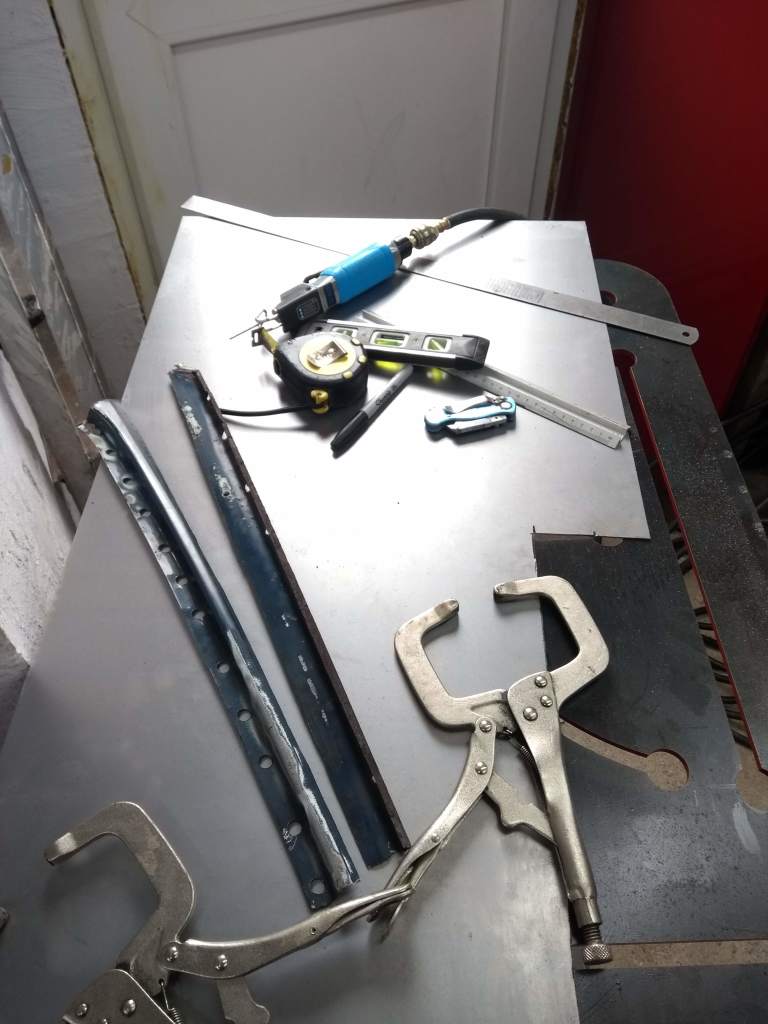
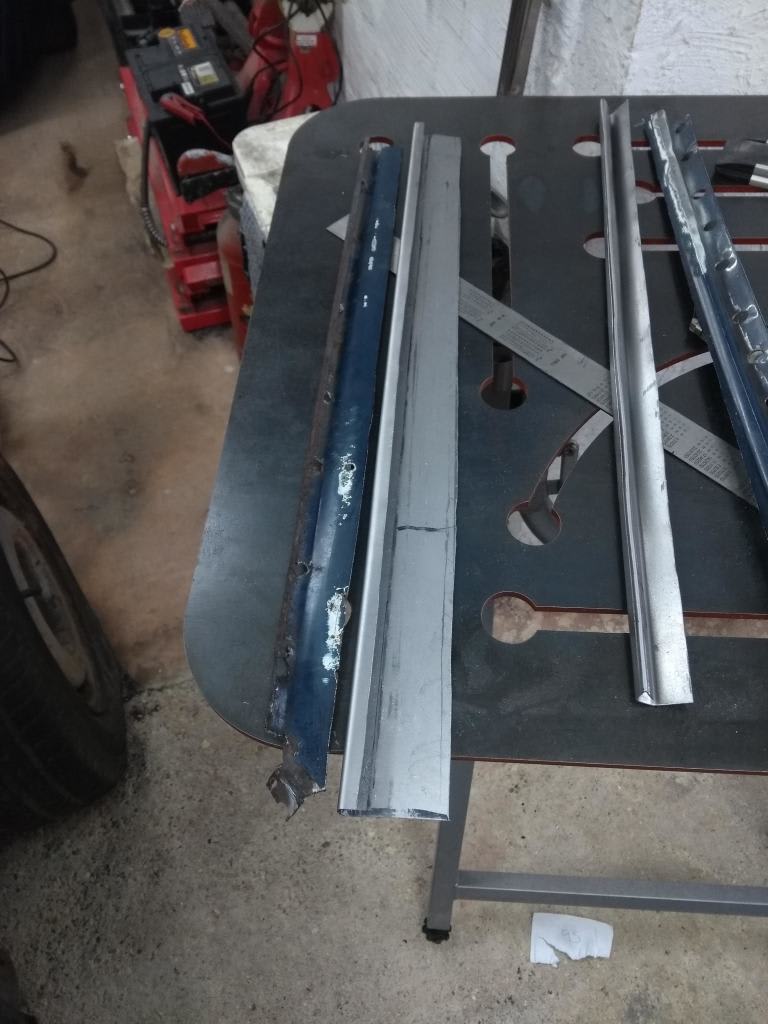
Many hours later on the T dollies, bender and bead roller and I have this.

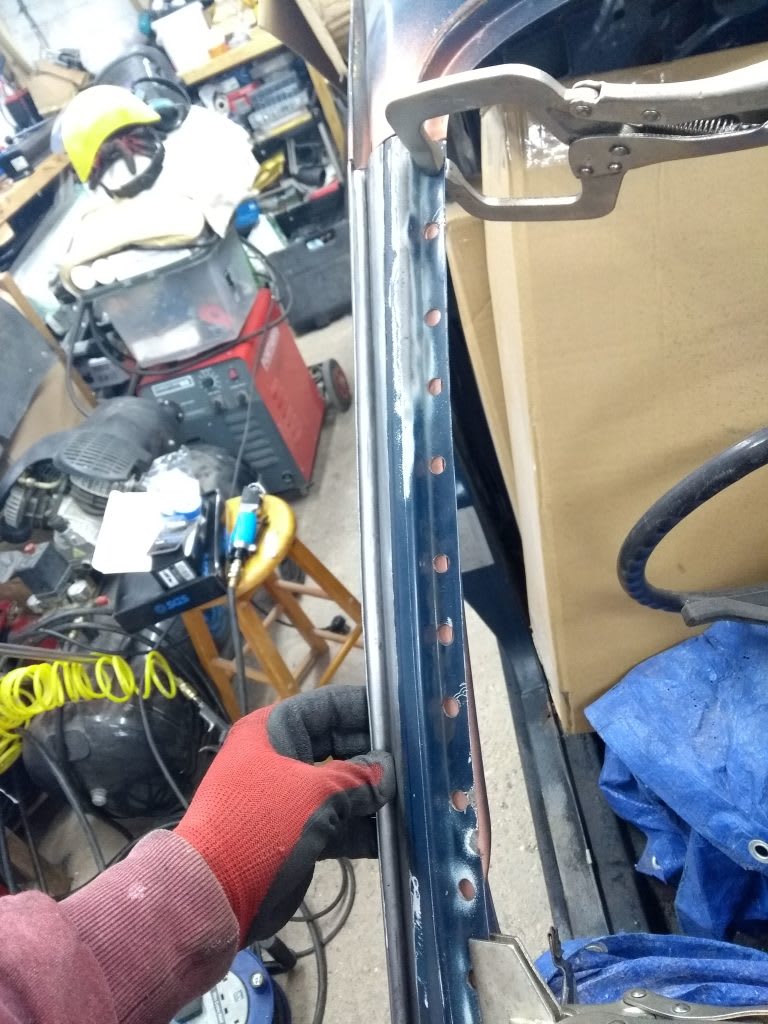
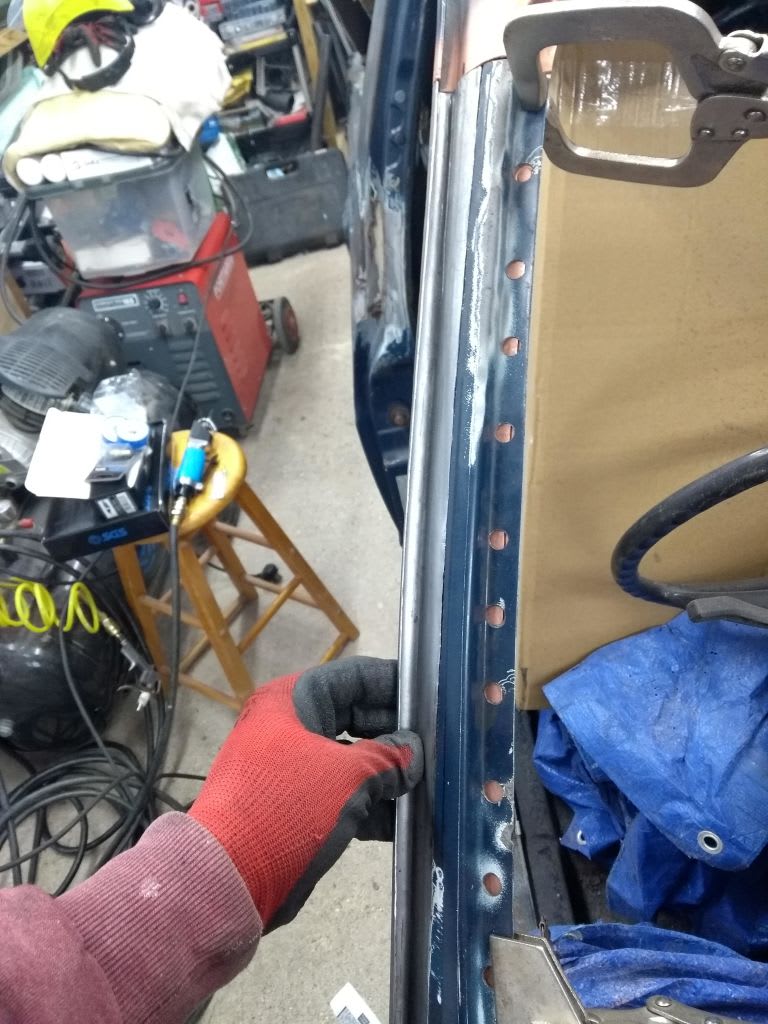
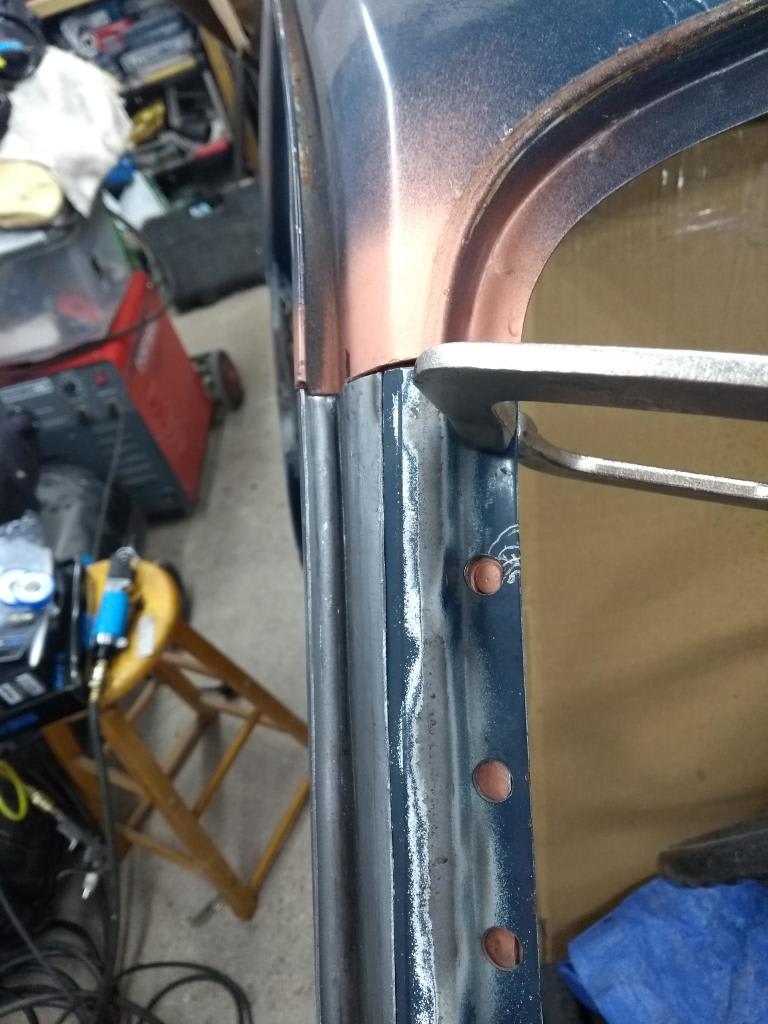
It needs some fine fettling but with the gutter repair part I think this will work.
0 guests and 0 members have just viewed this: None.


