1992 vw cabriolet water pump question
Posted
#1607743
(In Topic #219296)
Settled In

Posted
Local Hero

Posted
Local Hero

1992 vw cabriolet water pump question
Sent from my iPhone using Tapatalk
"Making Cabbies More Beautiful One Roof at a Time"
Posted
Local Hero

It is easy enough to measure it from under the car with the Wheel off.
What do Divorces, Great Coffee, and Car Electrics all have in common?
They all start with GOOD Grounds.
Where are my DIY Links?
They all start with GOOD Grounds.
Where are my DIY Links?
Posted
Local Hero


1983 Mars Red 1.8 Golf GTI
1987 Alpine White 1.8 Clipper Cabriolet
The trouble with doing nothing is that you never know when you are finished.
1987 Alpine White 1.8 Clipper Cabriolet
The trouble with doing nothing is that you never know when you are finished.
Posted
Local Hero

how I do it…. Easier to measure the WP hub.
How I change out my Water Pump | Volkswagen Owners Club Forum
What do Divorces, Great Coffee, and Car Electrics all have in common?
They all start with GOOD Grounds.
Where are my DIY Links?
They all start with GOOD Grounds.
Where are my DIY Links?
Posted
Settled In

Posted
Local Hero

We are talking MG's, AH Sprites, GM, Dodge, Rovers, Toyotas, Hondas, you name it…..
When I took my leaking water pump off my first Rabbit/Golf I was in for a "Treat" or "Vexation" depending on your outlook.
1. There isn't much Clearance between your Ratchet and the pump.
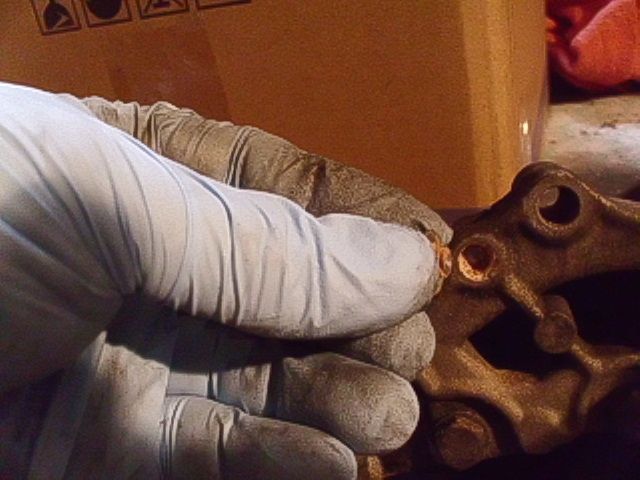
2. The Pumps housing where the bolts go through are open at the rear allowing corrosion to start between the bolt (steel) and the Housing (aluminum).
3. I have Snapped the heads off the Bolts, as the corrosion was there (yes it was a 1 owner car, and I only had 100K on the clock). After getting the broken bits out (It snapped the head at the pumpside of the housing) so I could get Vice-grips on it. I lastly going back stripped the t-stat cover bolt. (fixed it with a longer bolt and washered nut.
Taking it off the car as an assembly is only 4 bolts that are Steel into steel.
With the assembly on a bench where you can get to it, you can soak all the bolts from the rear with PB-Blaster, Kroil, or what ever you use…Let it work for a while.
If you have a Battery or electric impact tool USE ONLY 6 Point sockets to remove the bolts makes it less likely that you will break a bolt
Here is a Spare WP that I used only a 1/4 Ratchet and Socket on the bench without using PB-Blaster on the bolts.

Chasing the threads with a tap is a good thing but always Clean the Bolts and use never-seize on them going back.
When you return the bolts to the housing you only need 87 in/lbs or 9.83nm of torque. It prevents strippage.
Just make sure you get the t-bolt inserted before you bolt the thing back. (been there done that it is a PITA to position in afterwards).
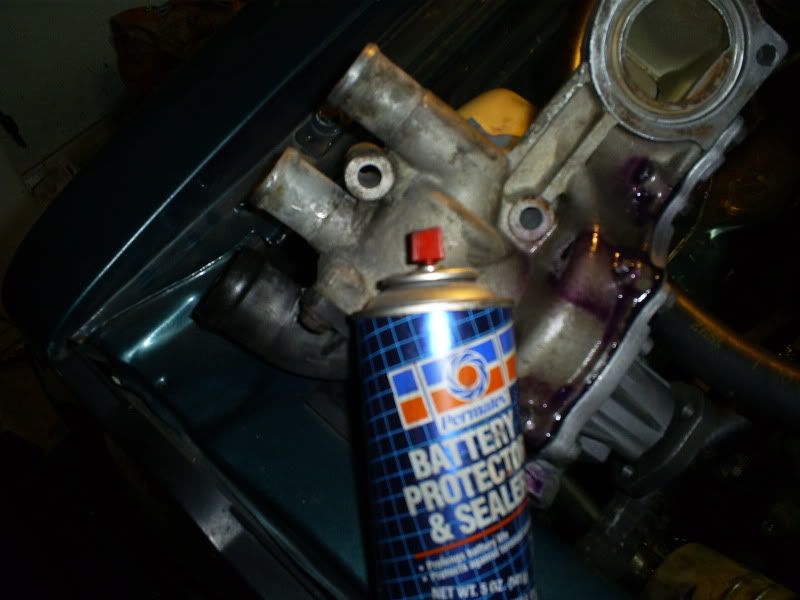
When you are finished replacing and re-torqueing the bolts, Spray the Back Side of the bolt holes with a corrosion preventative spray (ie: Battery Corrosion paint works great)

Just a further bit of information for those that don't like to click how-to's.
What do Divorces, Great Coffee, and Car Electrics all have in common?
They all start with GOOD Grounds.
Where are my DIY Links?
They all start with GOOD Grounds.
Where are my DIY Links?
0 guests and 0 members have just viewed this: None.


