Lockdown time to work on my GTi
Posted
#1630133
(In Topic #223883)
Settled In

Sharing ideas
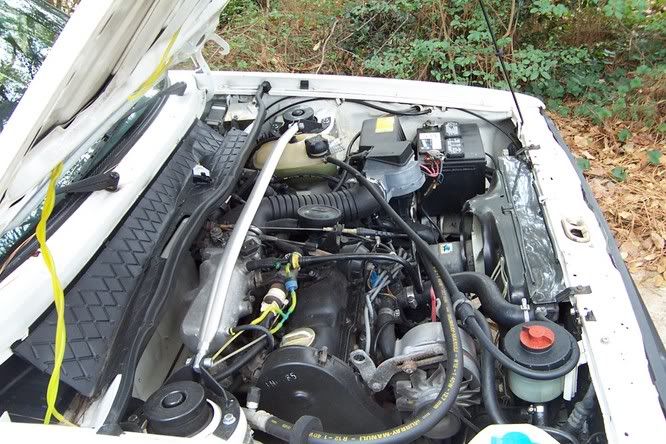
This was engine before start of work
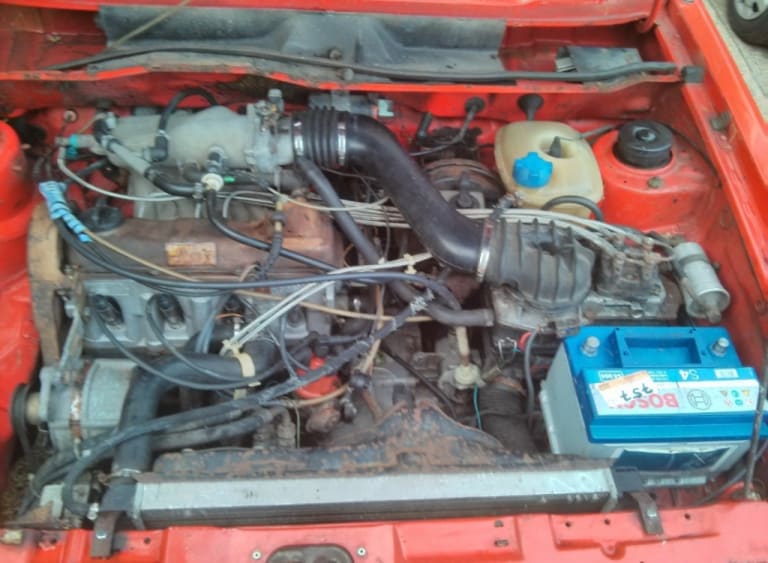
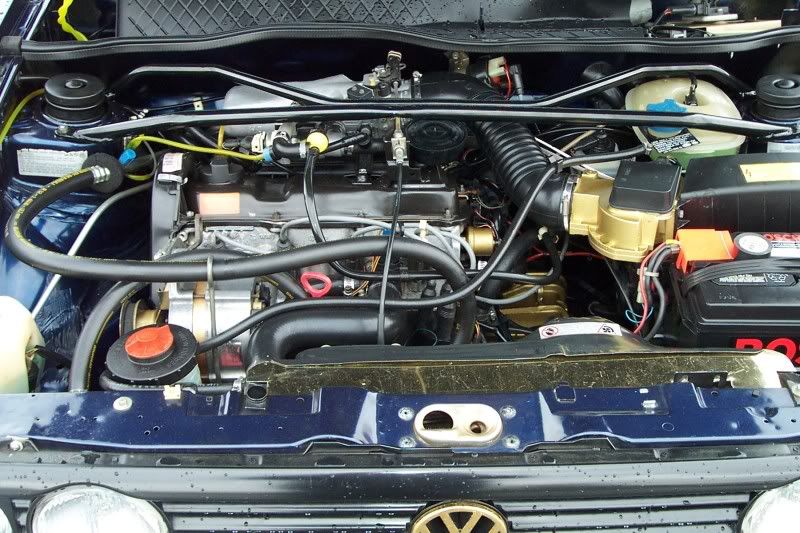
Powder coating of rocker head and rad cover…. alternator disassembly, paint and reassembly…..starter motor resprayed and dizzy cleaned up.
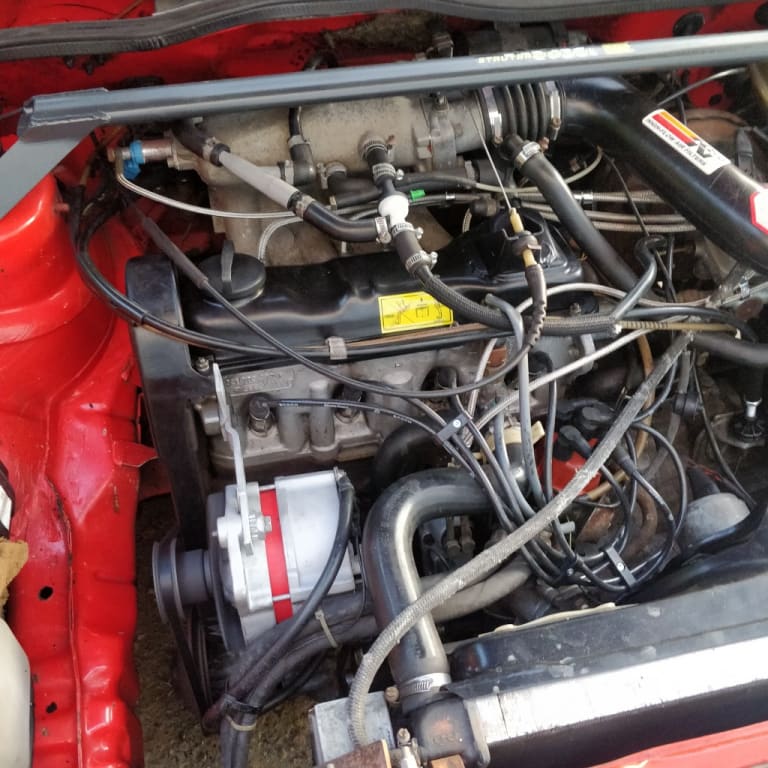


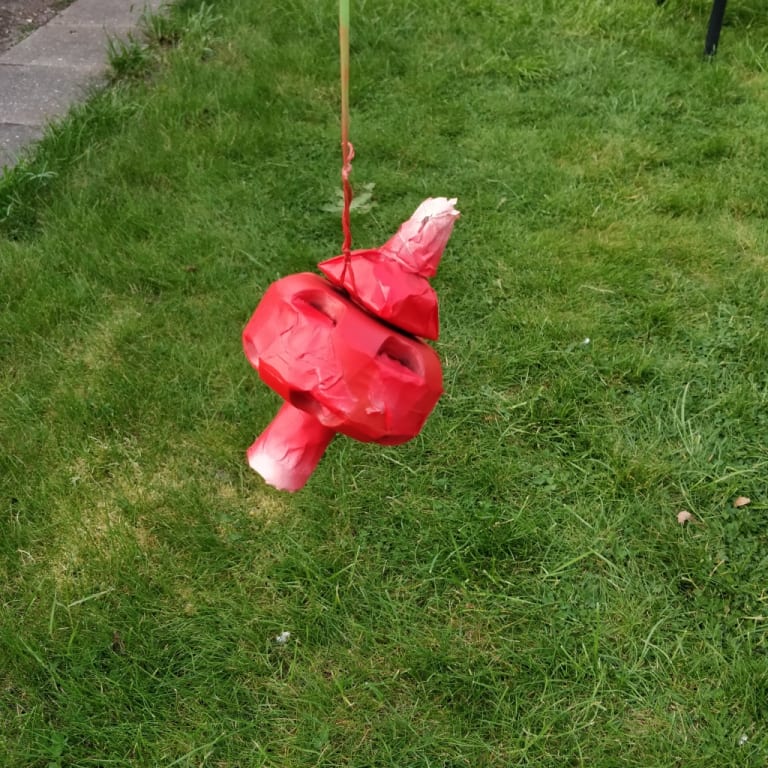
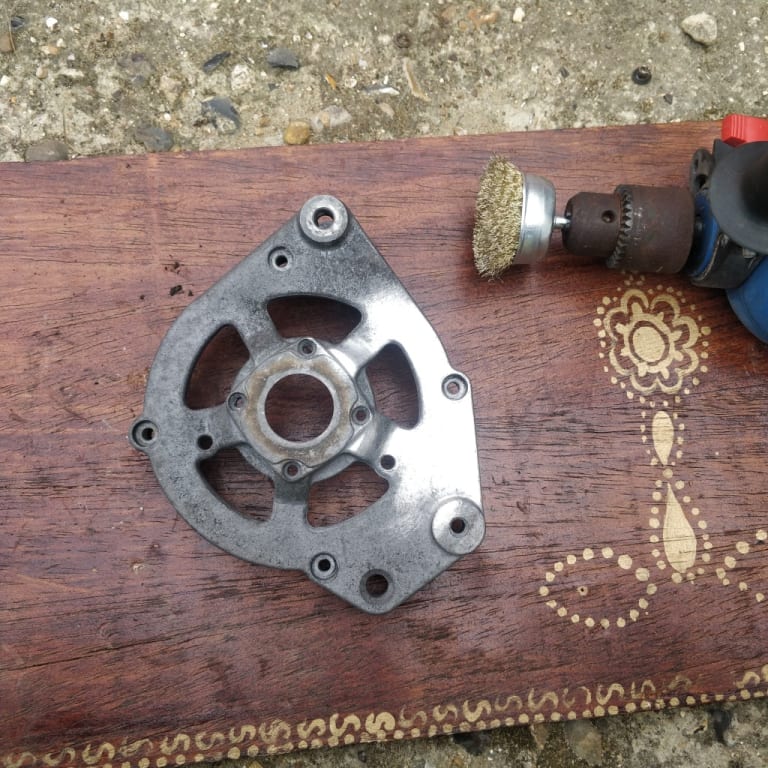


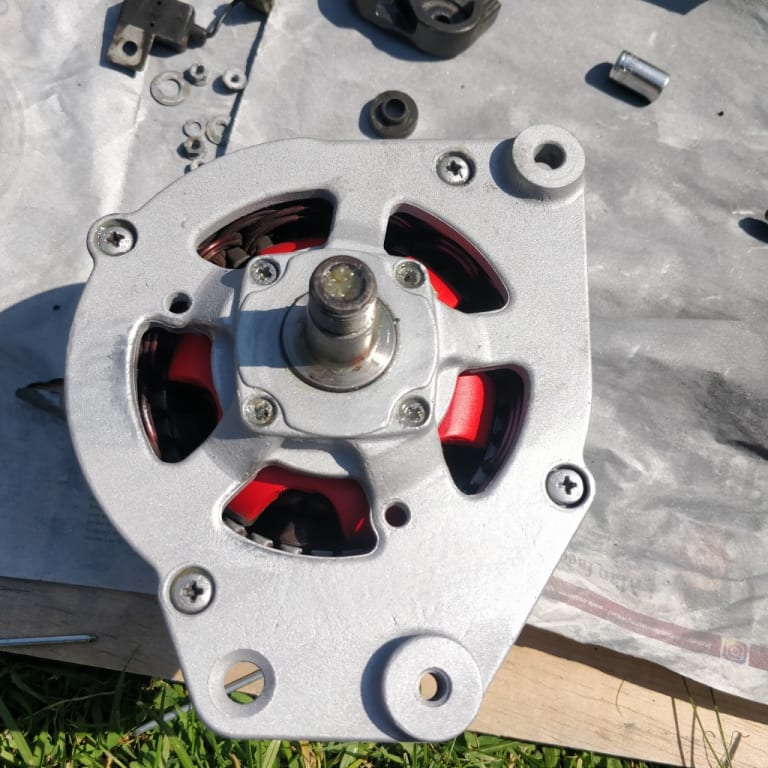


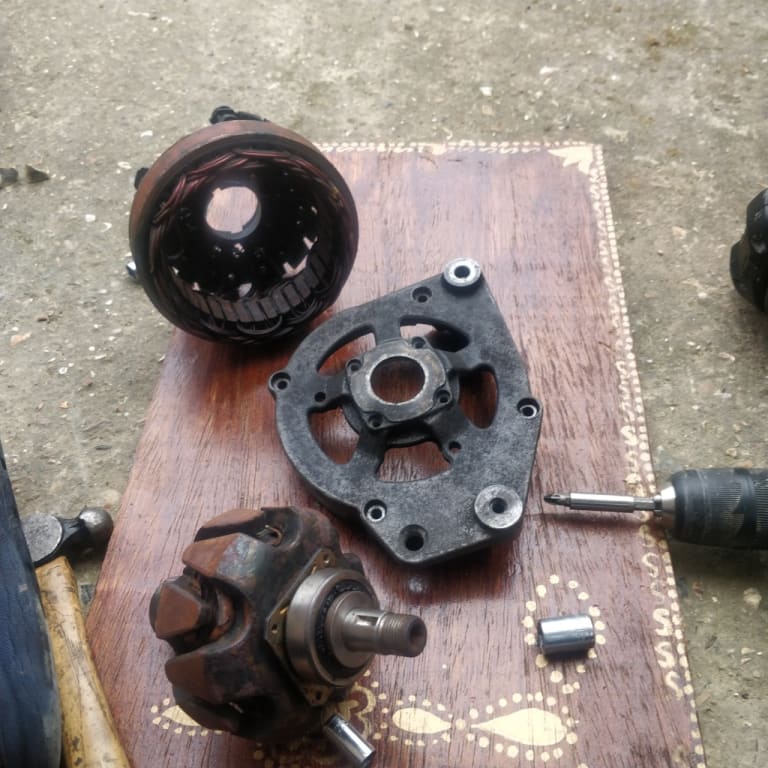


Next steps are to wire brush dirty areas of engine, degrease as required, replace K Jet airbox gasket, paint the brake servo and install rad card…… received most of the parts….found a good supplier from Germany, good price providing you purchase several parts as shipping can be costly.
Also will be sourcing the decals for finishing touches.
 Last edit: by BRINZ
Posted
Settled In

Also appreciate any pics of cleaned DX engines to motivate me more and make me jealous.
Cheers!
Posted
Local Hero

What do Divorces, Great Coffee, and Car Electrics all have in common?
They all start with GOOD Grounds.
Where are my DIY Links?
They all start with GOOD Grounds.
Where are my DIY Links?
Posted
Settled In

Did you spray your alternator like I did? Or that wire brush cleaning?
Really like the blue colour……I'm hoping to have my car ready for any future meets…..after the engine cleaning……just have the P Slots to get refurbished.
Posted
Settled In

Posted
Local Hero

BRINZ said
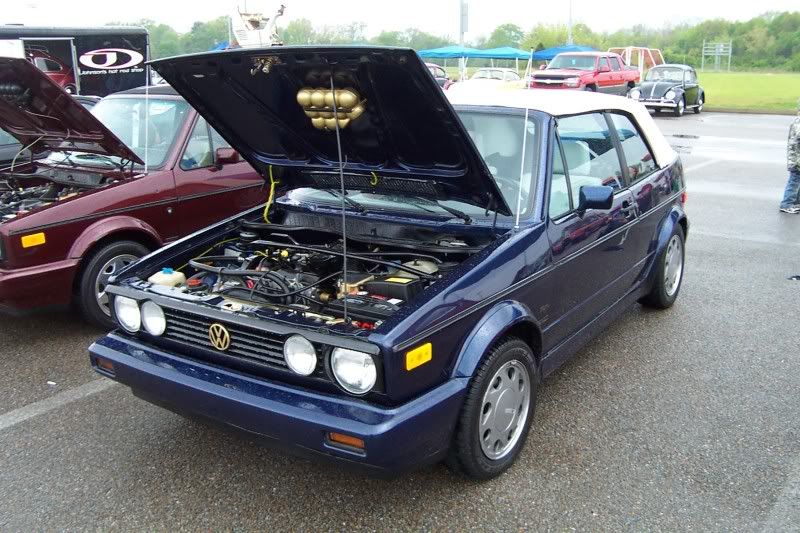
Lovely cars you have
Did you spray your alternator like I did? Or that wire brush cleaning?
just have the P Slots to get refurbished.
I used a brass wire brush on a Drill to clean it after I took all the grease off of it, then a Brass tooth Brush…. I then painted it….GOLD.
BRINZ said
Are the scuttle trays usually longer in length in these models? My tin top appears to be much shorter.
An a/c equipped cars the rain diverter, or Scuttle tray cover as you call it is about 6 inches longer for the Ac Plenum and Keeping water to a minimum. I have found that re-directing the Vacuum and windscreen hoses out of the rain drains, and via the Grommet using hard lines the best thing you can do. I changed over to Black Silicone hose and changed out the gold Balls for a really big check valve to get the over hanging stuff out of my way.
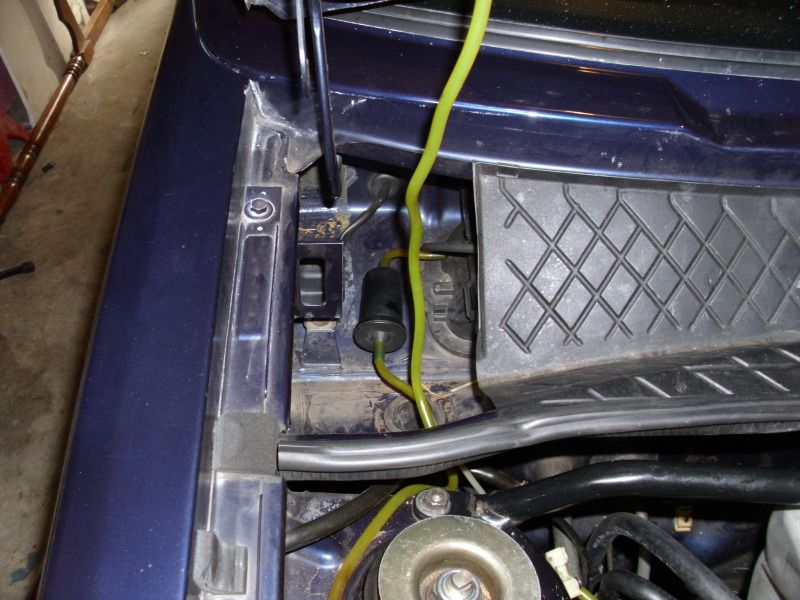
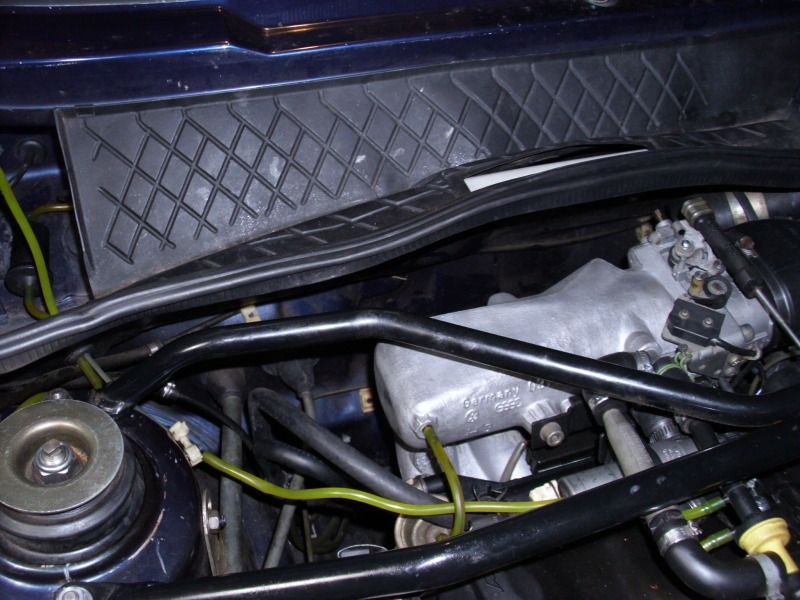
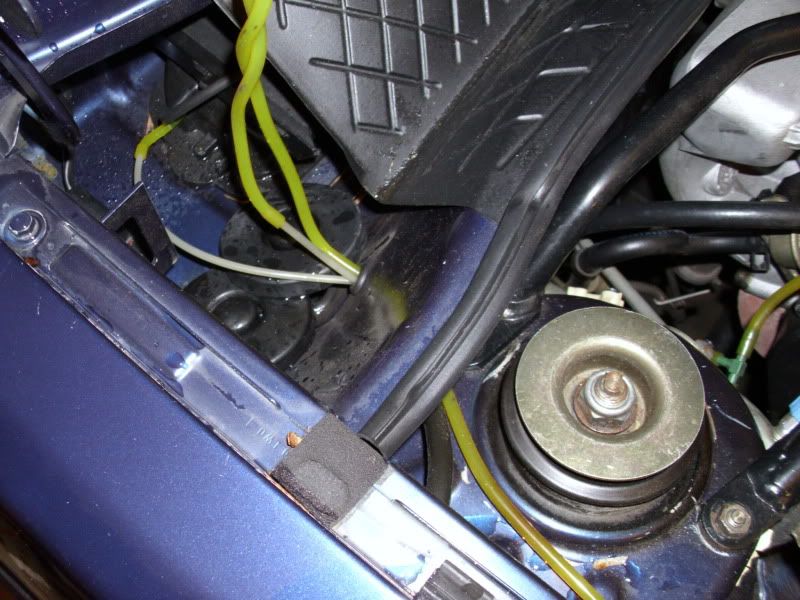
Changed over to black, and then removed teh tiny check valve for the bigger one above.
I finally re-ran the Windscreen hose on my Cabriolets, in to the hood hole, I used a small brass butt-to-butt where it was being pinched by the scuttle.
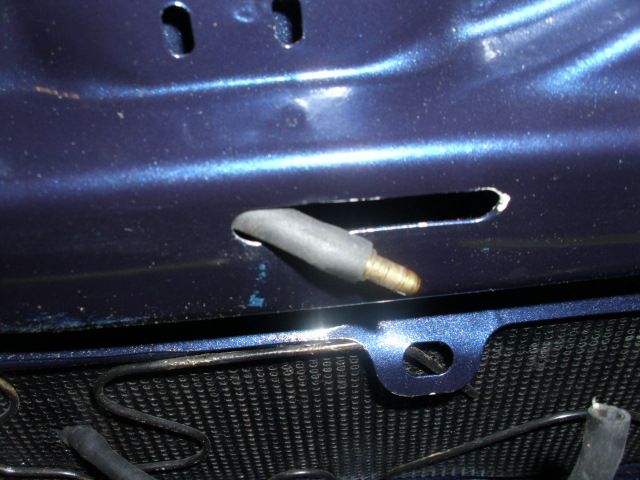
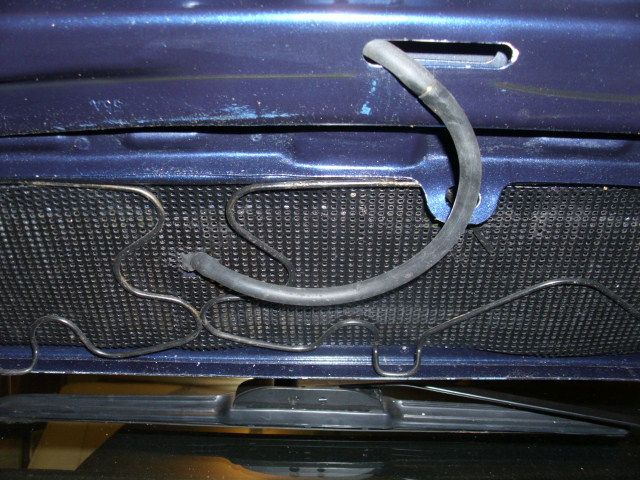
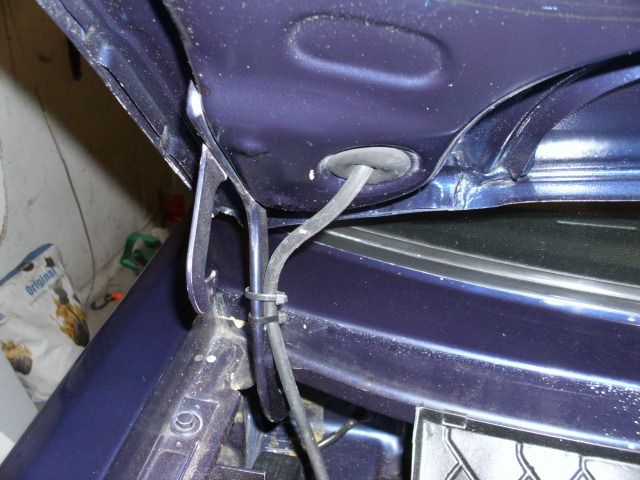
Worked really well Kept the Scuttle drain clean and made the bay a little bit less confused.
The Big check valve is from a US Chrysler Mini-Van.
What do Divorces, Great Coffee, and Car Electrics all have in common?
They all start with GOOD Grounds.
Where are my DIY Links?
They all start with GOOD Grounds.
Where are my DIY Links?
Posted
Settled In

I used VHT, and have run the engine a few times to cure the paint….
Posted
Local Hero

As far as wheels the best thing I did was to Strip the clear and color off my teardrops and then using sandy-type papers then polish, that is 400-3000 wet/dry polish them… sad was that it took about 3 hours per wheel to polish….
Keeping then up is that about every other year I scrub them with an SOS pad, then Polish with Brasso…
What do Divorces, Great Coffee, and Car Electrics all have in common?
They all start with GOOD Grounds.
Where are my DIY Links?
They all start with GOOD Grounds.
Where are my DIY Links?
Posted
Old Timer

Whip
/wip/
Noun - Car
When the steering wheel was first put into use in automobiles, it was called the whip. The term has now been generalised to classify any automobile.
/wip/
Noun - Car
When the steering wheel was first put into use in automobiles, it was called the whip. The term has now been generalised to classify any automobile.
Posted
Old Timer


btw - the starters are heavier than they look.
J
Posted
Old Timer

Whip
/wip/
Noun - Car
When the steering wheel was first put into use in automobiles, it was called the whip. The term has now been generalised to classify any automobile.
/wip/
Noun - Car
When the steering wheel was first put into use in automobiles, it was called the whip. The term has now been generalised to classify any automobile.
Posted
Settled In

Posted
Old Timer

BRINZ said
Yes easy to remove….. Allen head bolts and nut on otherside of bracket….. Disconnect battery before doing any work and be very careful when removing as it is heavy…… Keep your head clear at all times……
Noted
Whip
/wip/
Noun - Car
When the steering wheel was first put into use in automobiles, it was called the whip. The term has now been generalised to classify any automobile.
/wip/
Noun - Car
When the steering wheel was first put into use in automobiles, it was called the whip. The term has now been generalised to classify any automobile.
Posted
Settled In


Posted
Old Timer


Makes a big difference.
Sadly the little part no plaque on mine is really scruffy…
Posted
Settled In

Posted
Settled In


Posted
Settled In

Can't wait to clamp them on……

Posted
Moderator


Posted
Settling In

Have owned :-
Mk1, Mk2, Mk3, Mk4
Bugs, Buses, Type 3
Porsche 911T '71
Mk1, Mk2, Mk3, Mk4
Bugs, Buses, Type 3
Porsche 911T '71
0 guests and 0 members have just viewed this: None.


