Skip navigation

Big Vee's cab project

Post

Back to the top

Just about stripped down

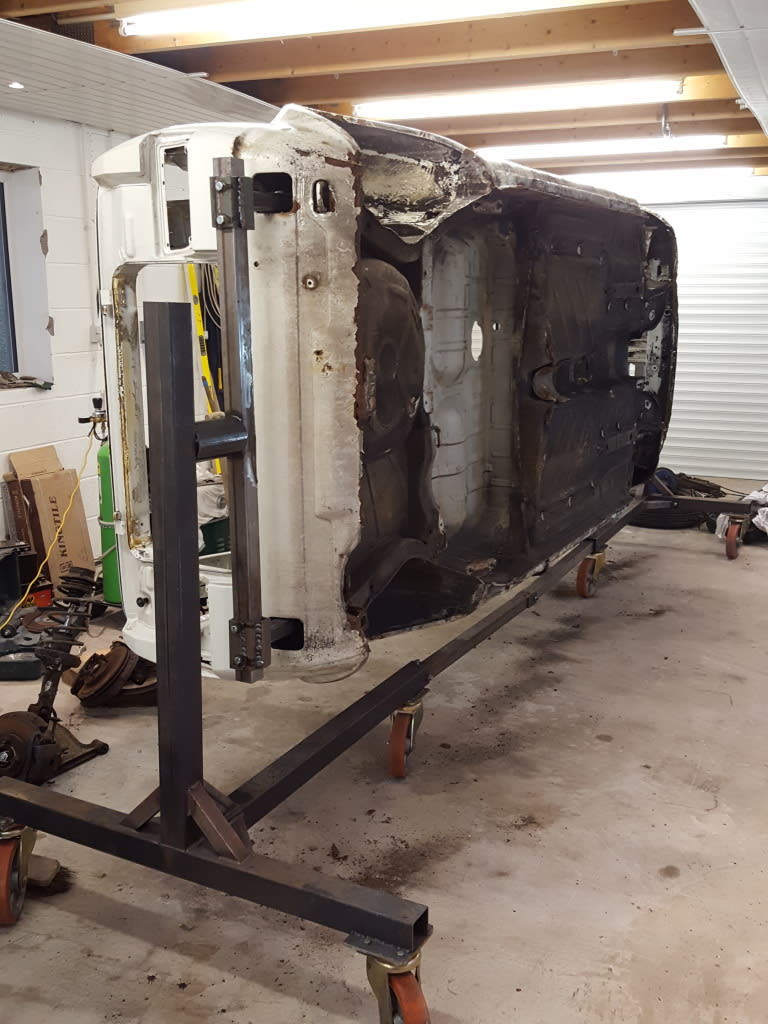
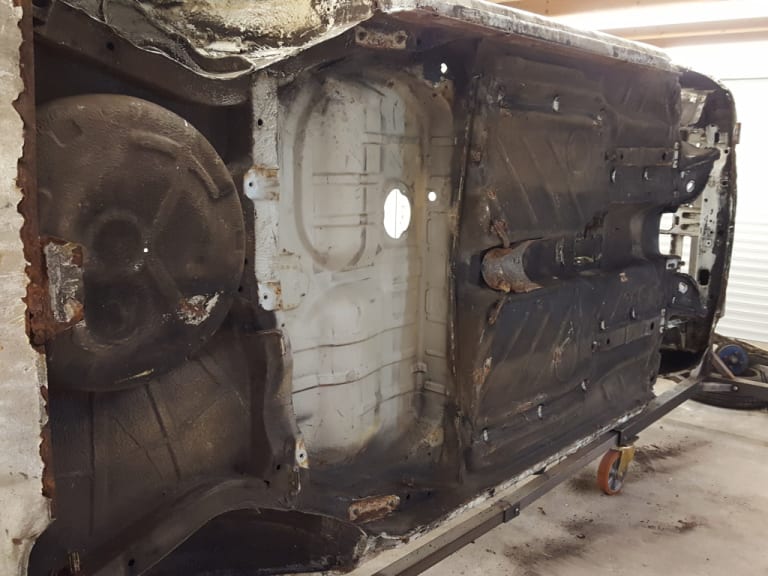
Hi all, this is my 1989 GTI cab project, I've taken many photos along the way to help with the rebuild later when it finally comes to that. just a few to start with.
20190302_121633.jpg

Last edit: by Big Vee

Post

Back to the top
20190302_153612.jpg 20190302_153624.jpg

Last edit: by Big Vee

Post

Back to the top
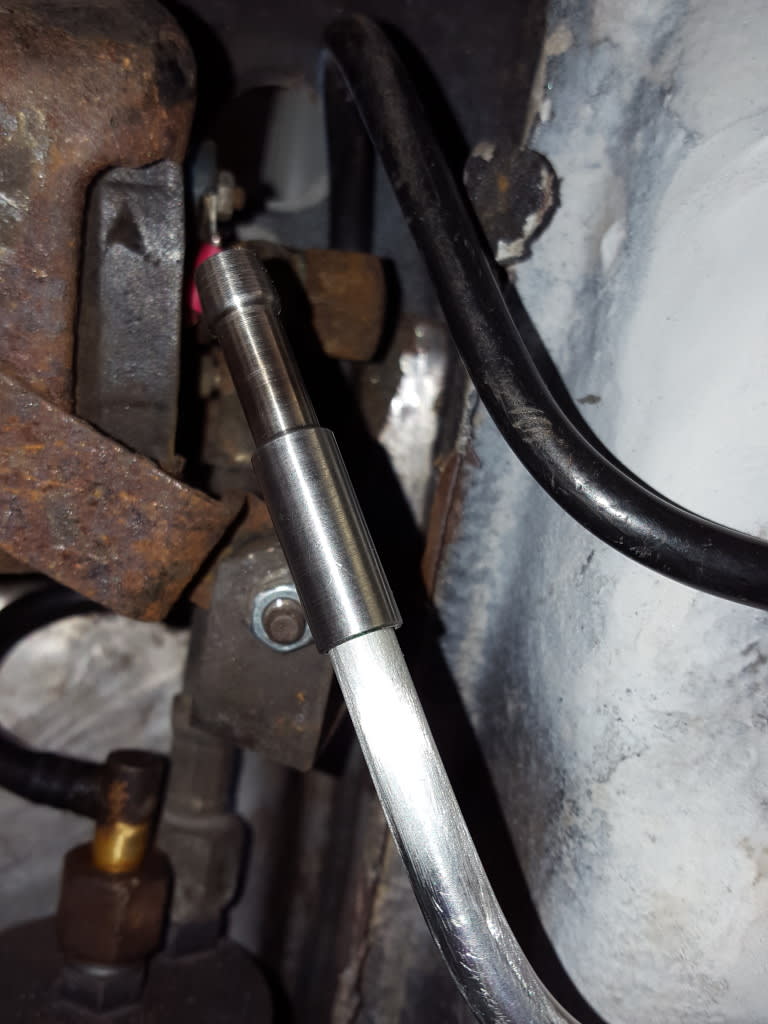
Made up some new fuel lines and custom end for the rubber pipe, new plastic coated brake lines next to flare and bend to shape, I thought I'd do all this now rather than when its all painted up. 20190331_165512.jpg 20190331_155836.jpg 20190331_155900.jpg

Post

Back to the top
From cloudy to shiny, took the back bulb holder off then cleaned up the inner glass, saved me a few quid. 20190313_181616.jpg 20190313_183904.jpg

Post

Back to the top
 

Post

Back to the top
Hi, those headlights look bob on mate, what did you use to clean the glass? Anything special? Iv just picked a single headlight grill up for mine and the headlights are cloudy like that. Can I use the original lights in that grill or do I need to use the ones that come with it? Sorry if that's a stupid question, although its not my 1st vw it's my 1st golf.

Post

Back to the top

GBone said

Hi, those headlights look bob on mate, what did you use to clean the glass? Anything special? Iv just picked a single headlight grill up for mine and the headlights are cloudy like that. Can I use the original lights in that grill or do I need to use the ones that come with it? Sorry if that's a stupid question, although its not my 1st vw it's my 1st golf.
GBone, I just used some spray window cleaner then used a clean white cloth with a stick to move the spray about, be careful not to tip the lights as you don't want to damage the reflector surface as this is very delicate,  My main headlights are damaged so I am not sure if this can be repeated I.e. remove the bulb holder from light back, I've binned these so unable to give a definitive answer sorry. I have ordered two Hella lights from classic vw  £75.00
As to your lights I suppose you can use either if they look the same and mount to your front panel "think that makes sense"  ??

Post

Back to the top
Thanks for the reply Bigvee. Yes that makes sense cheers for your help. I'm going to have a go mine today hopefully. If I can use the original headlights I'll be fine anyway as these are really good condition. Its just the ones that came with the new grill that are cloudy. 

Post

Back to the top
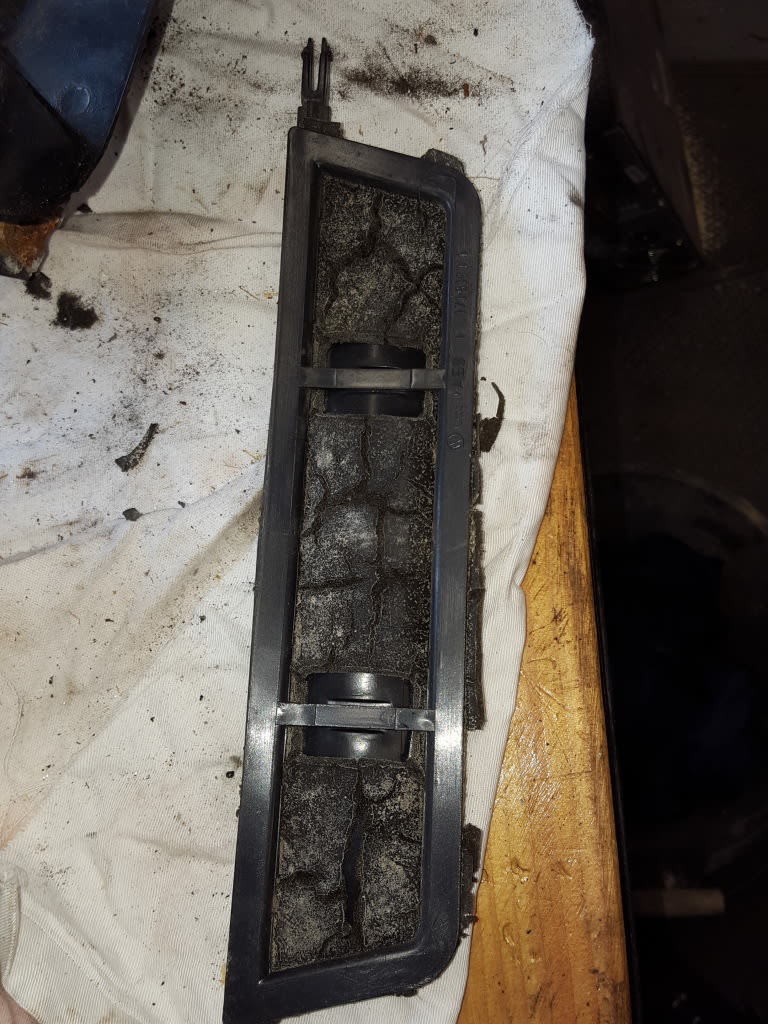
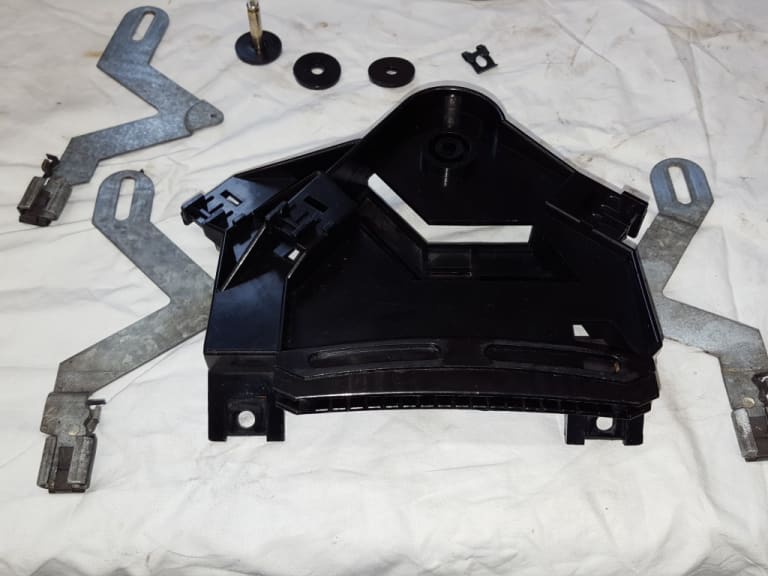
So I thought i'd clan up the heater box as the foam has gone to dust, whilst I was there the heater controls got a strip and clean too, fan motor cleaned and oiled up, I noticed the heater flaps when trial fitted seemed to have bent slightly over time so a quick heat up with the hot air gun with a bit of manipulation sorted that issue.  Test run on all speeds and no leakage of air when flaps shut, that's another job off the list……..

 .  20190525_144858.jpg 20190525_144908.jpg 20190525_145551.jpg 20190527_114501.jpg 20190527_121018.jpg
20190527_132244.jpg

Last edit: by Big Vee

Post

Back to the top

I'm liking what I'm seeing!  :ocf_emoticons__eek:

Especially the design of your car rotisserie, nice and simple.

If you designed/built it yourself, I'm sure there's lots of members who'd be interested in the design specs.

As a '93 Cabby owner you've my attention!  :ocf_emoticons__detective:

Post

Back to the top

ConvictGTI-No.1983EW said


I'm liking what I'm seeing!  :ocf_emoticons__eek:

Especially the design of your car rotisserie, nice and simple.

If you designed/built it yourself, I'm sure there's lots of members who'd be interested in the design specs.

As a '93 Cabby owner you've my attention!  :ocf_emoticons__detective:

Thanks Convict,  The rotisserie is borrowed of a mate who used it on the original Audi Quattro model, he did purchase it of eBay though. Its made life so much easier than crawling under the car.  Lots of work as it looks like its going to be a nut and bolt restoration.  :)

Post

Back to the top
   

Last edit: by Big Vee

Post

Back to the top
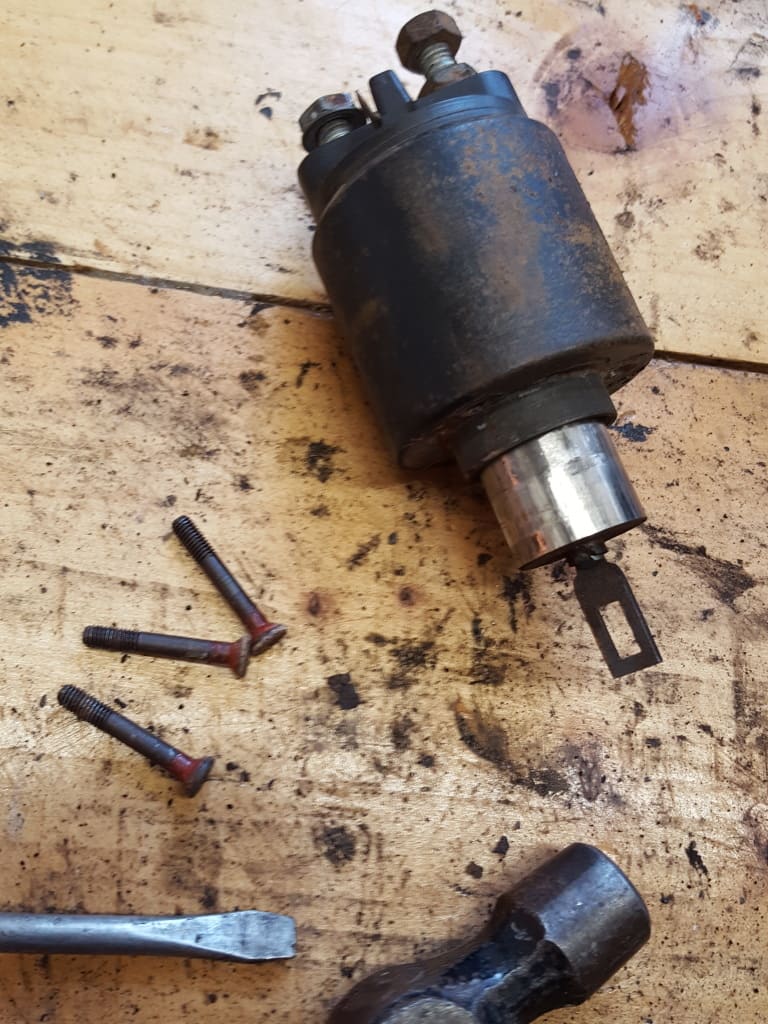
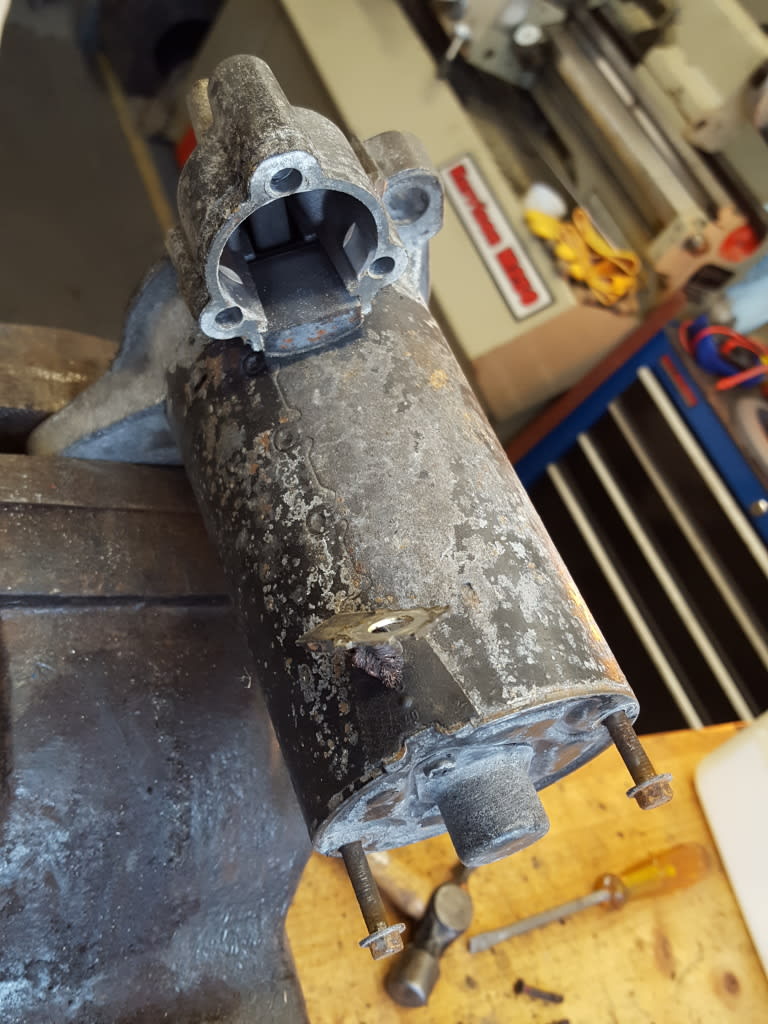
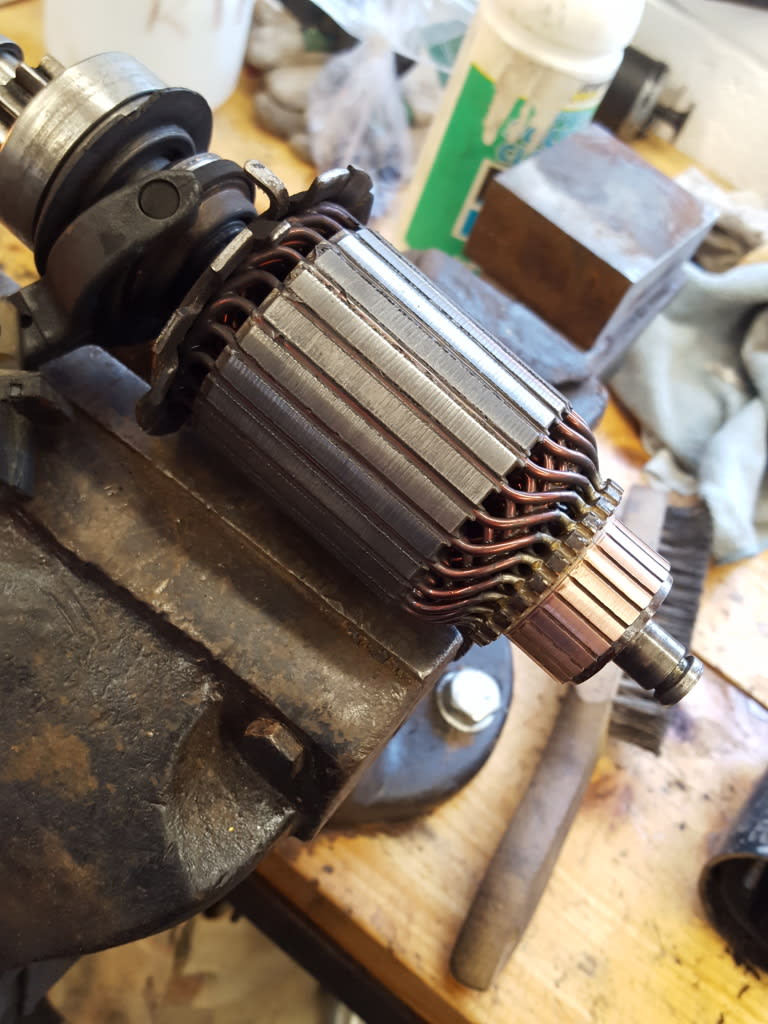
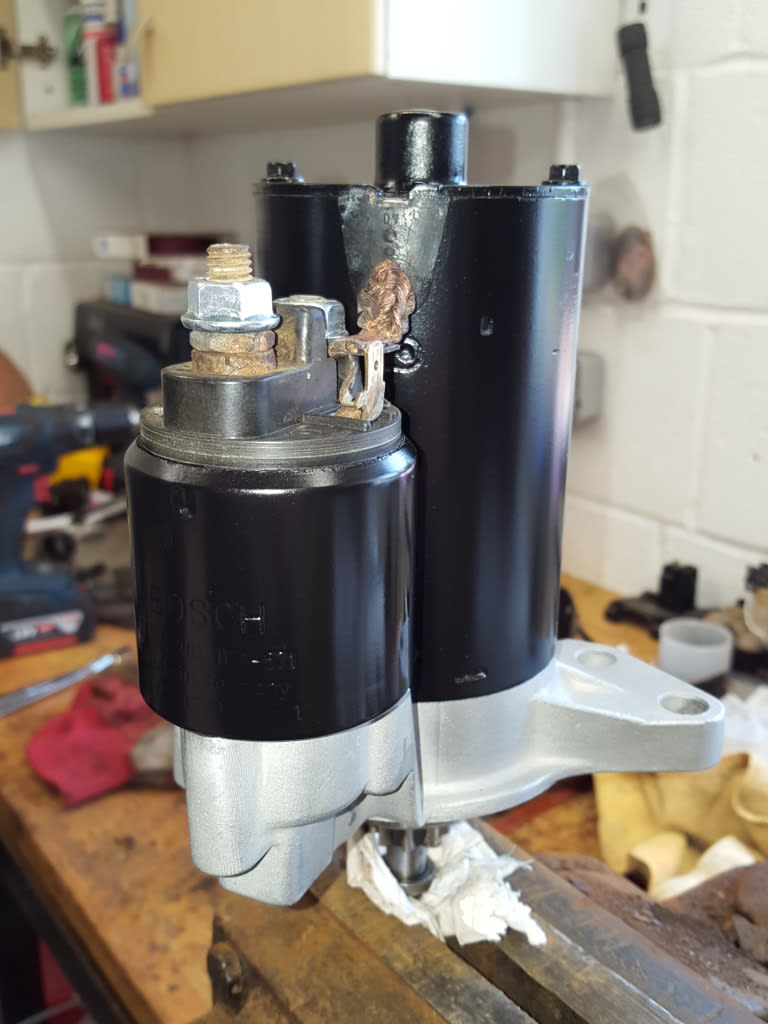
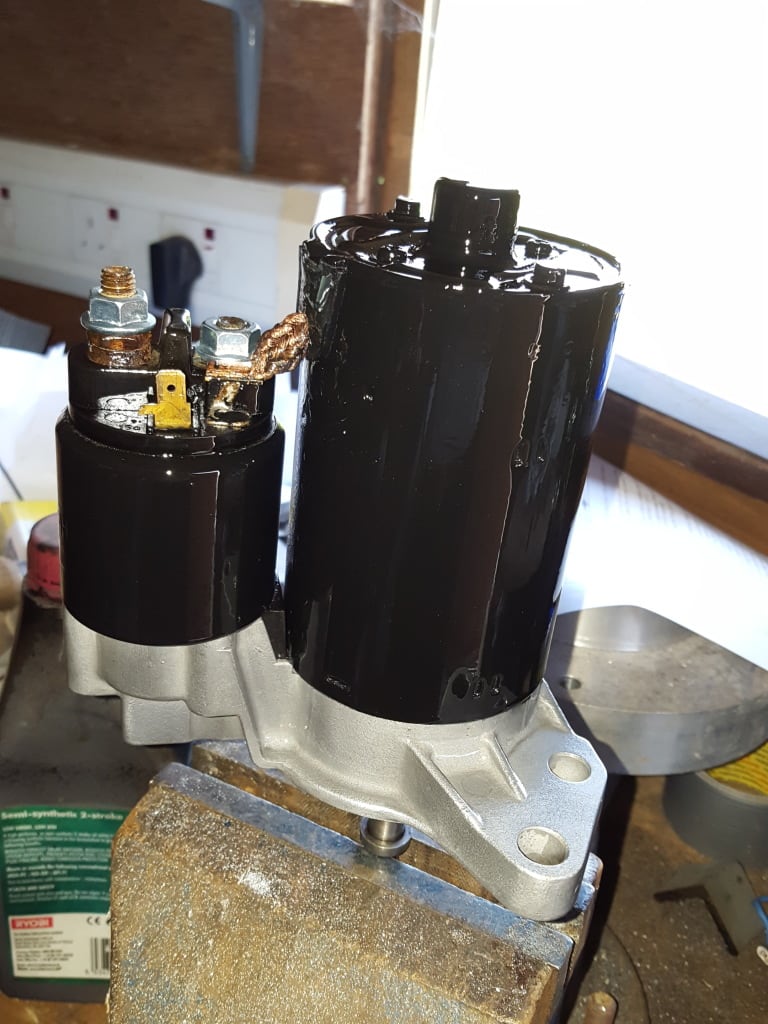
Gave the starter motor a good service, cleaned up the commutator on my lathe, Tested and painted up.. 20190411_130417.jpg 20190411_130426.jpg 20190411_132050.jpg 20190421_142115.jpg 20190429_154358.jpg

Post

Back to the top
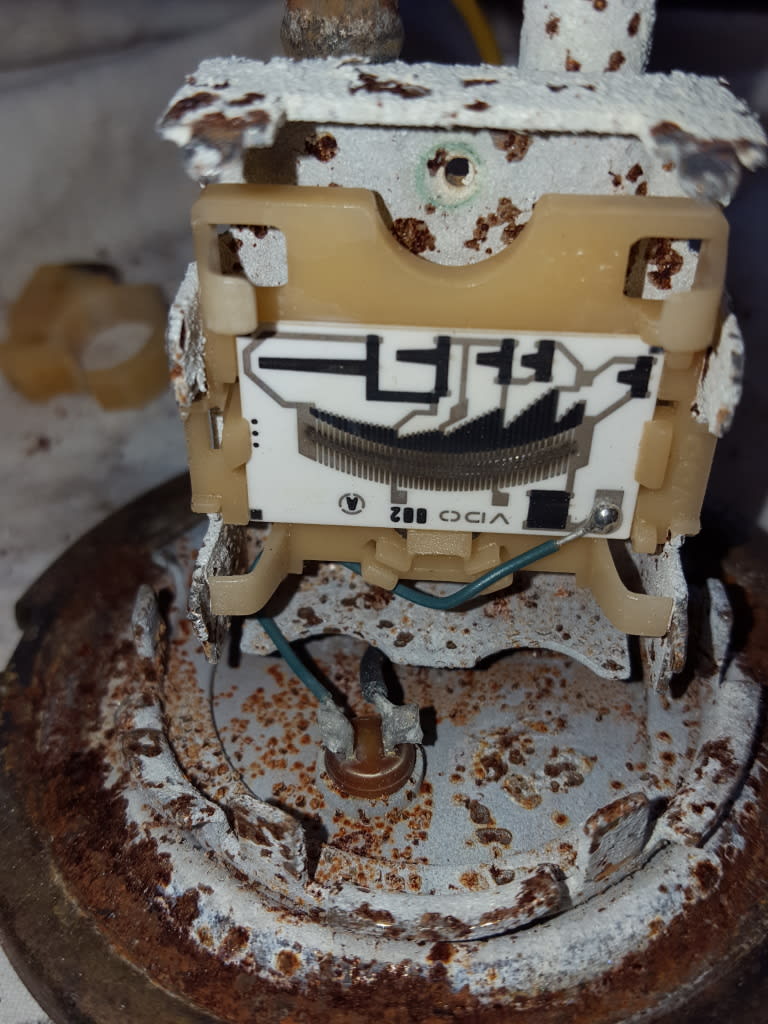
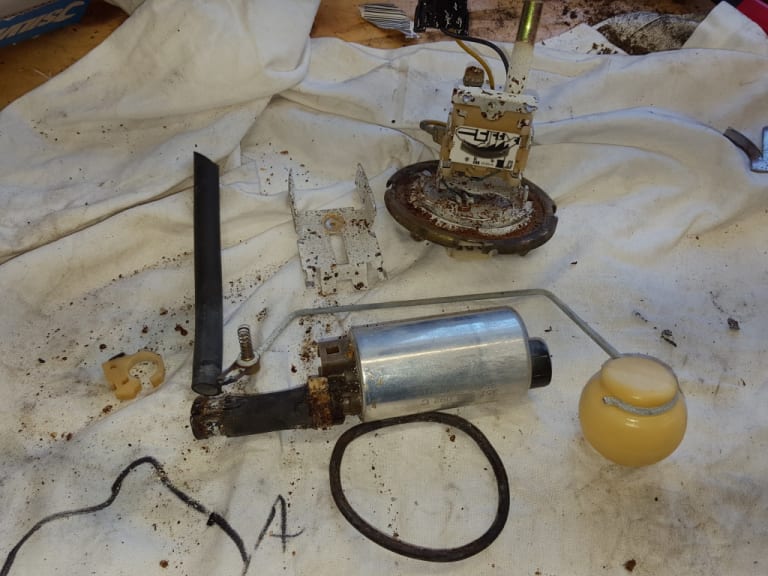
Next is the fuel sender overhaul, steel feed pipe found to be pitted after media blasting, bent up a new pipe, once this is done I will zinc plate and yellow passivate, new lift pump, O seal and fuel friendly rubber pipe between pump and steel pipe, ordinary fuel pipe is not suitable for modern fuels and this softens the outer rubber, the correct type is NBR inner and outer J30 R10 submersible grade. 20190528_142120.jpg 20190528_142210.jpg 20190528_151745.jpg

Last edit: by Big Vee

Post

Back to the top
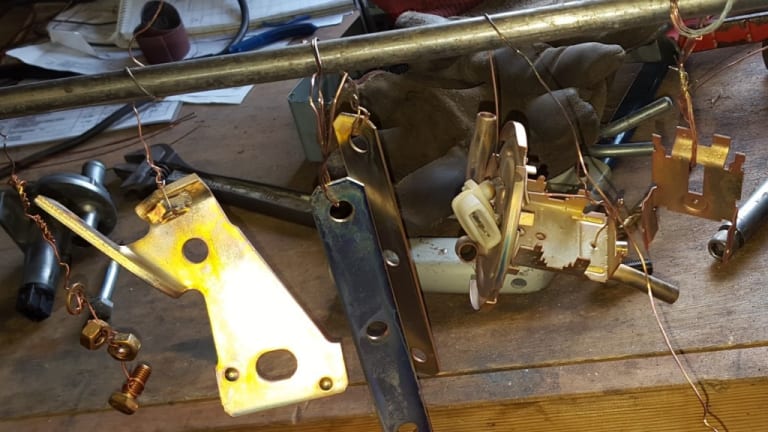
few items plated and yellow passivated

stuff (2).jpeg

Post

Back to the top
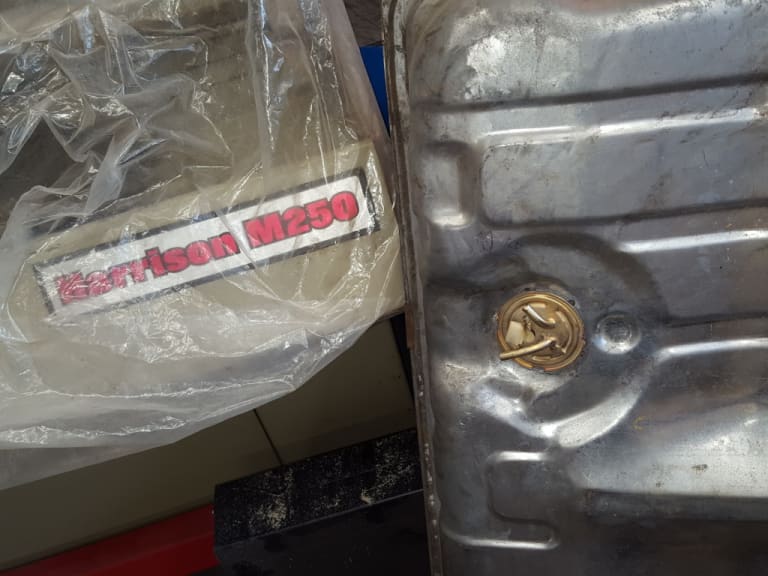
Fuel sender re-built, new OEM lift pump, hose & O-ring and fitted in tank

   20190531_154321.jpg 20190531_154327.jpg 20190531_154923.jpg

Post

Back to the top
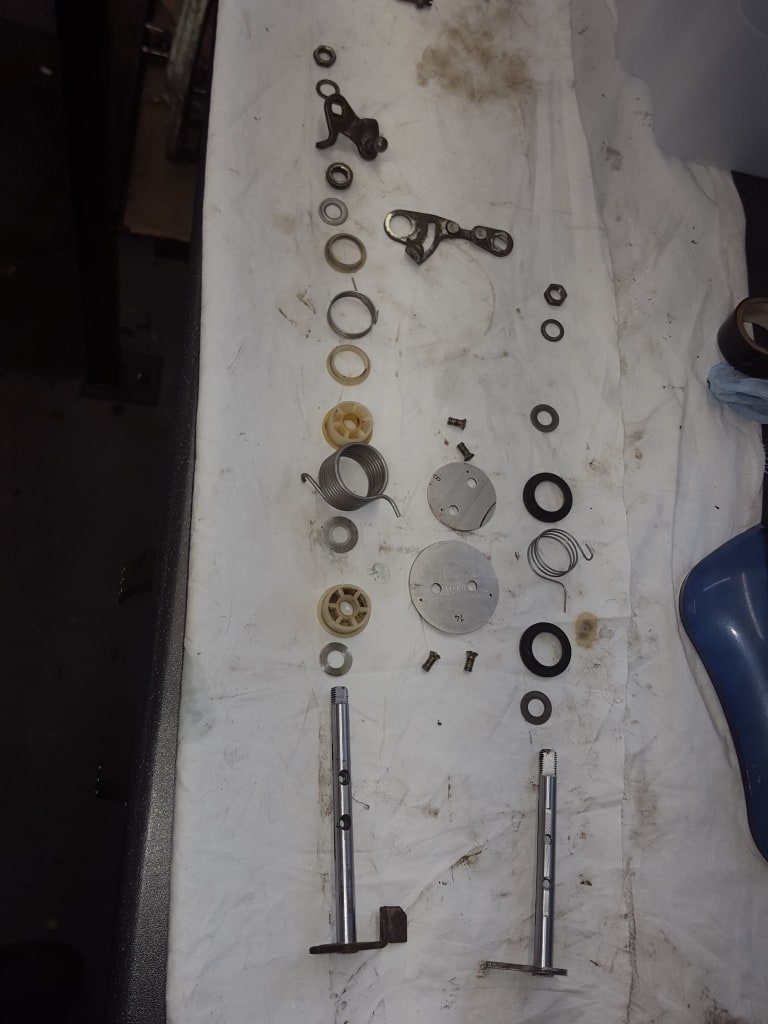
Throttle body stripped down, ultrasonic cleaned with a bit of passivating to freshen it up, more photos to follow Body strip.jpg

Post

Back to the top
Great attention to detail, it's going to be stunning when finished..

Keep the updates coming.  :thumbs:

1988 Mk1 Golf GTi Cabriolet 1.8cc DX, K-jet. Daily drive. 317,000 miles and counting
1978 Mk1 Scirocco GLS 1.6cc FR, Webber carb. Weekend toy.

Post

Back to the top
Thanks Mark1.

From a simple refurb to now a nut and bolt rebuild !!!! am I going to far with it or not ? the only thing I'll have done for me is the new roof covering

Post

Back to the top
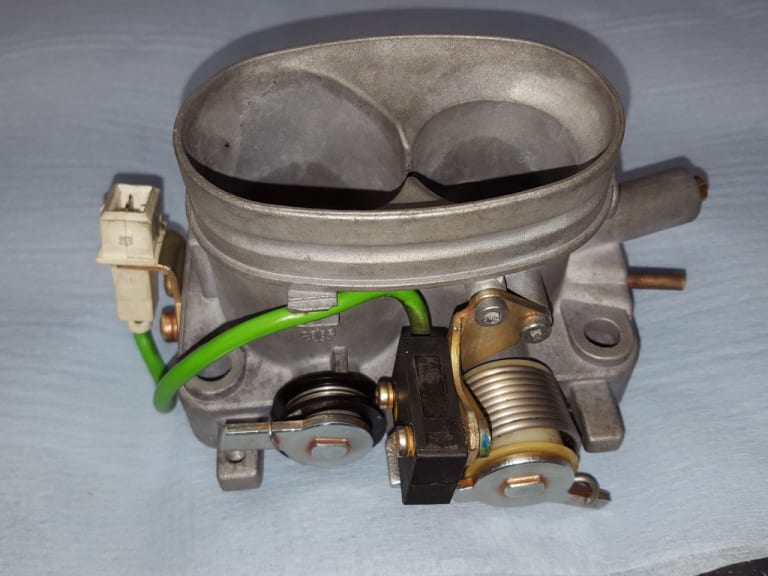
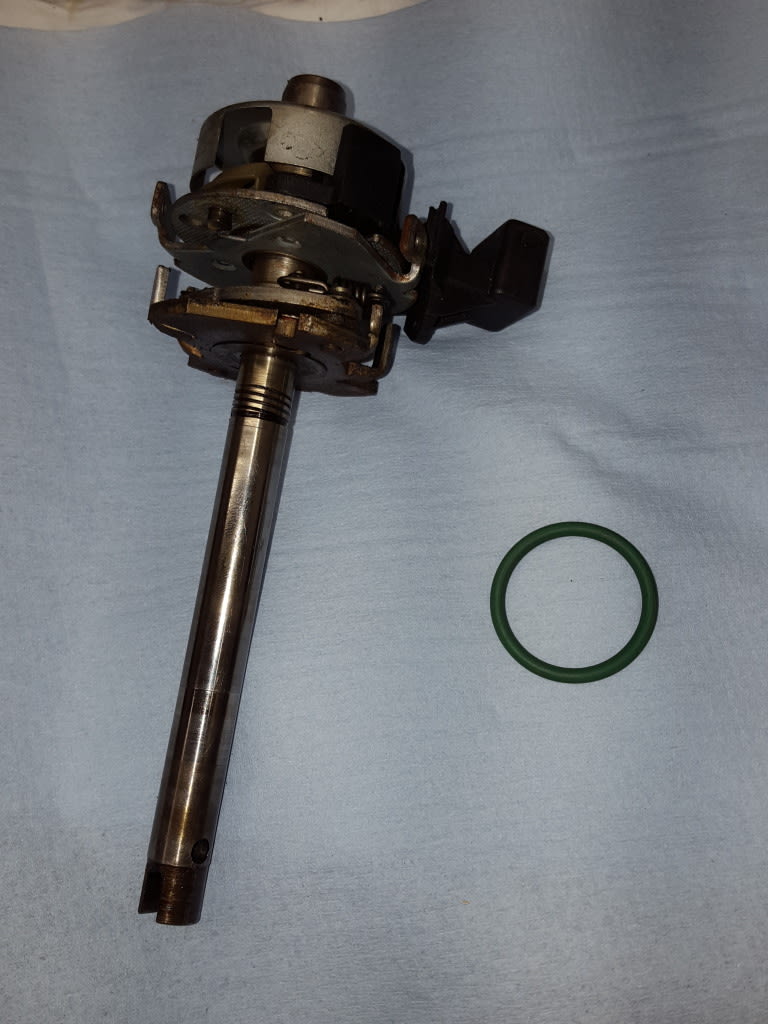
Cleaned up throttle body now rebuilt, whilst I was in that mind frame I thought what the hell……….Am I getting a dizzy head  :lol: 20190605_224751.jpg 20190605_224825.jpg 20190605_224829.jpg 20190605_224841.jpg
0 guests and 0 members have just viewed this: None.