All White Special Edition Rustoration!
Posted
#1630877
(In Topic #224045)
Settled In


Money Pit!
Been a while since I’ve been on here as been busy with my T4 campervan money pit….you think I’d learn?!?!?
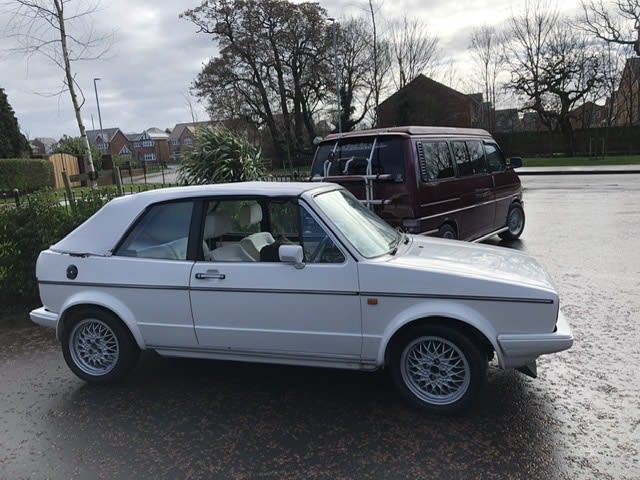
So after being off the road for nearly 6 years after a hard few years with me…… it’s about time I made a start on it!!
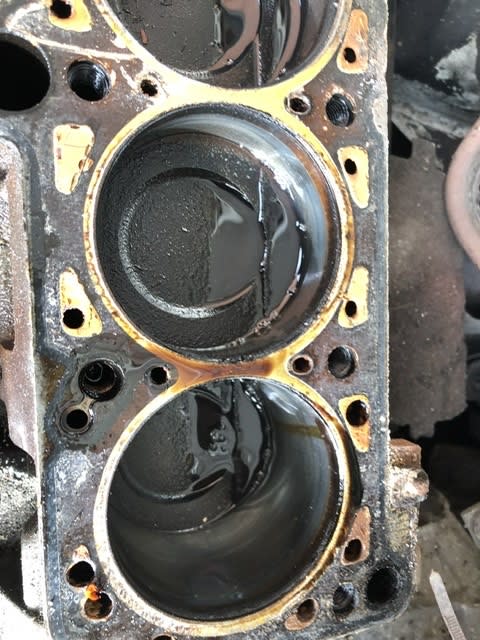
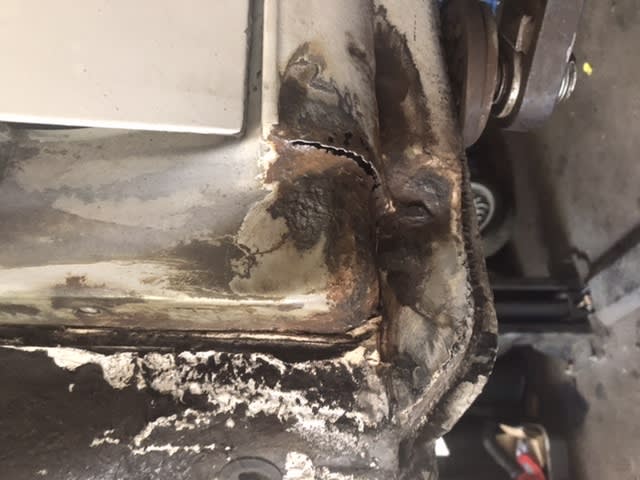
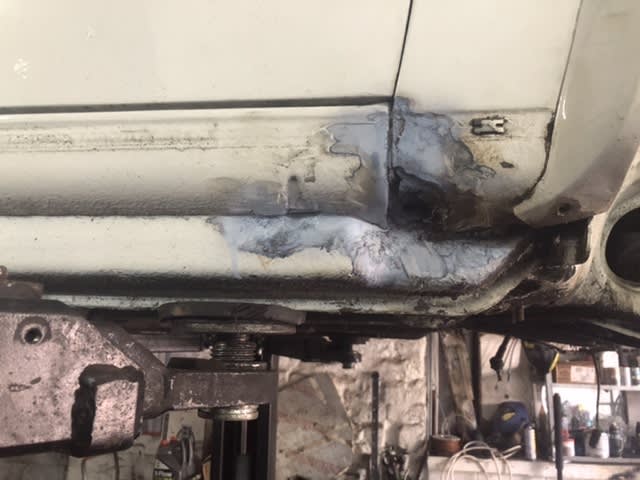
After trying to start and finding a bit of a rust issue in piston 1…… off with it’s head and the start of an adventure as lots of you have been on before!!!
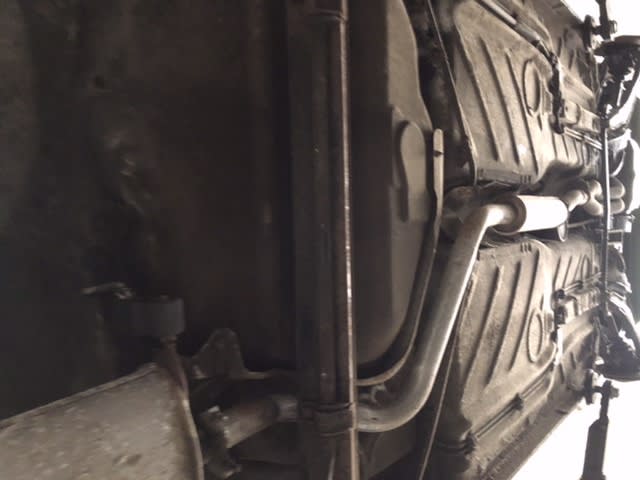
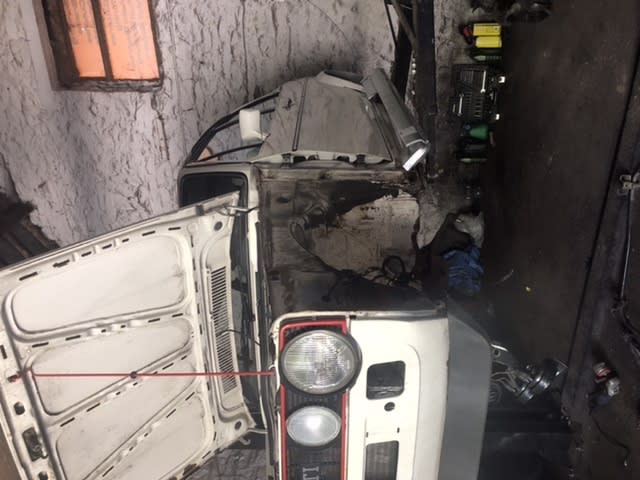
Will load some pics up and after chatting with Dano at the gym and then some great advice from Funk-Star so the project starts with a bit of a tear down and a shopping list and a half!
Will keep posting….. and asking for advice and look forward to meeting more of you at the next event……. whenever that may be!!



Posted
Settled In


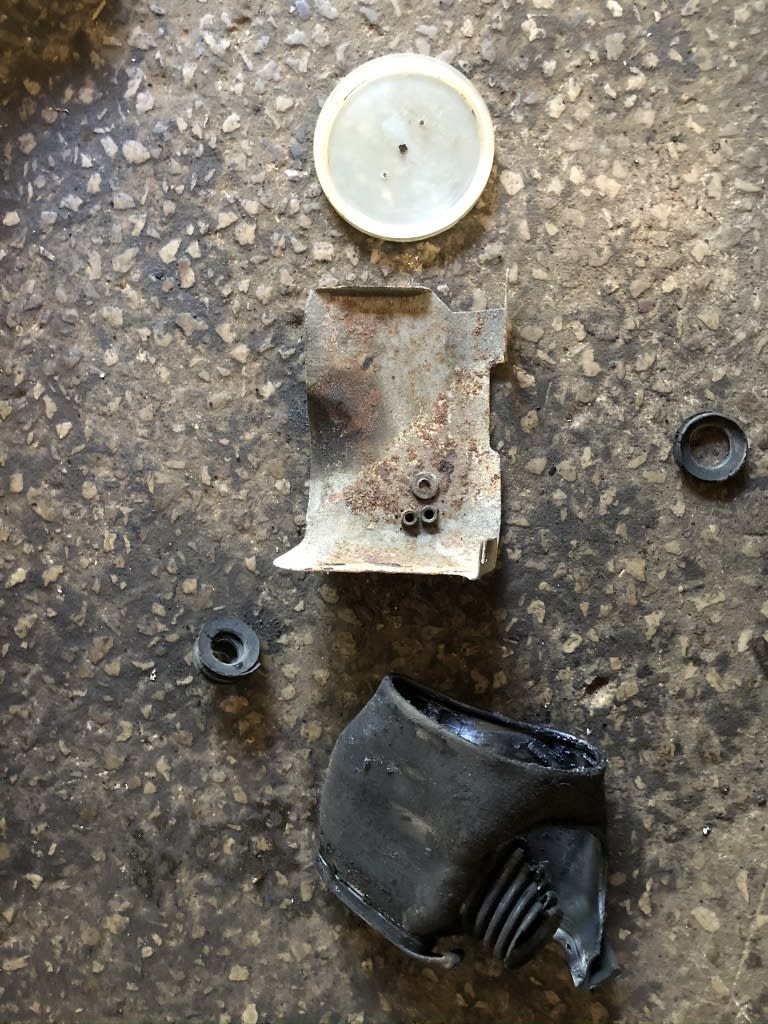
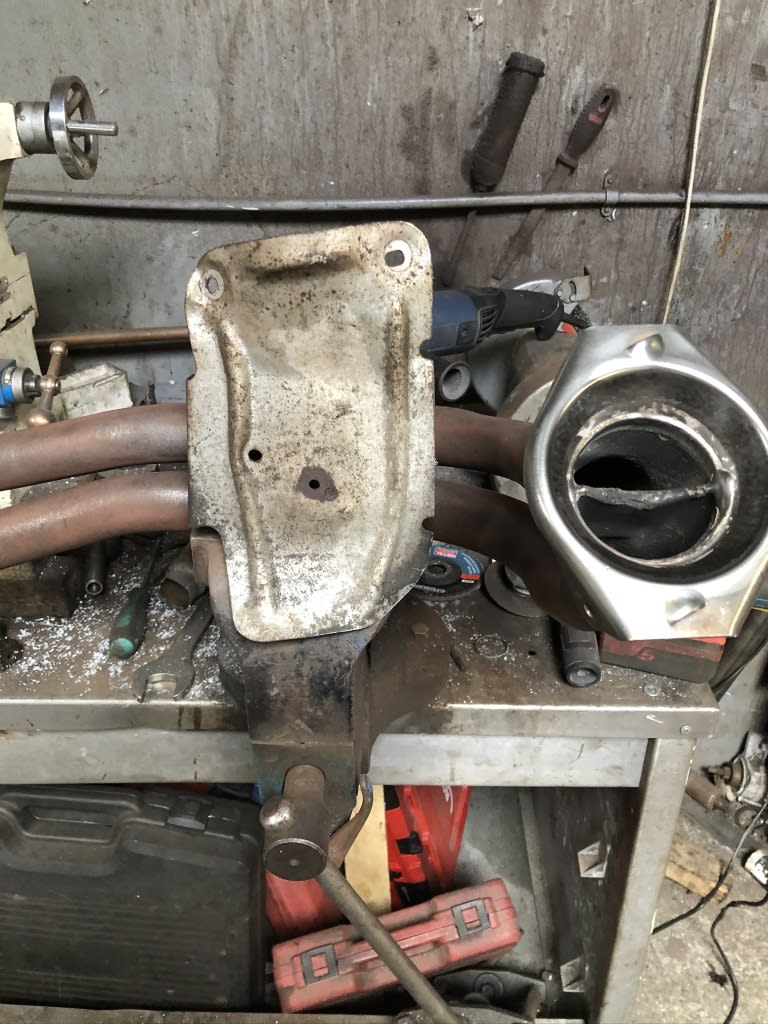
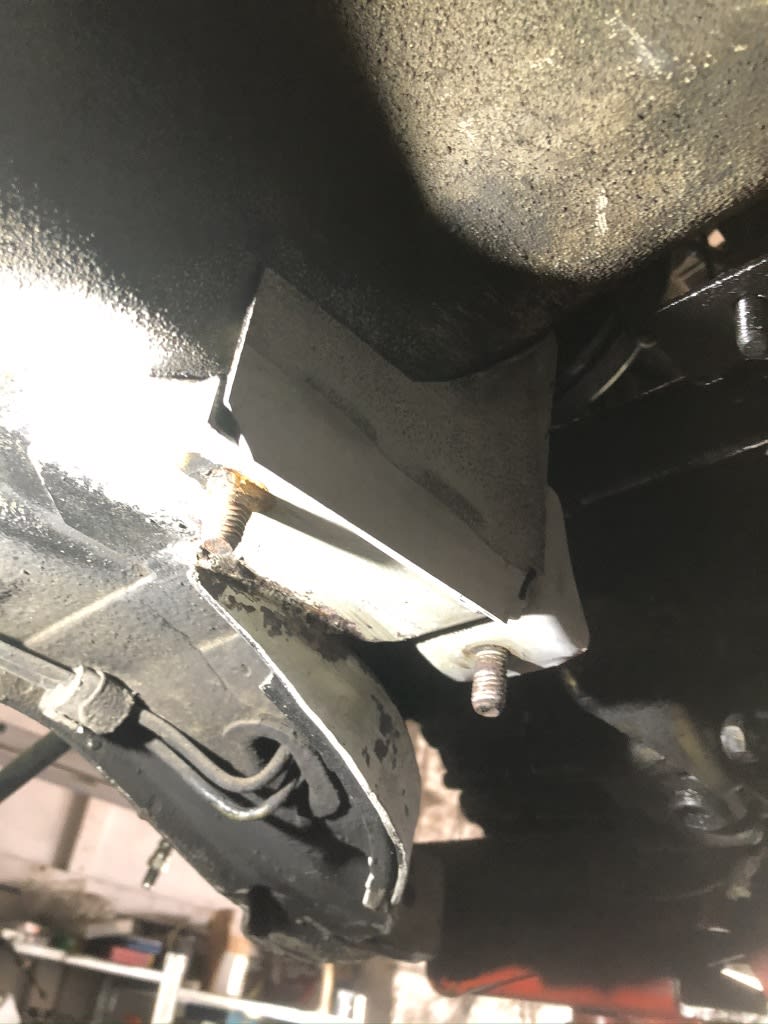
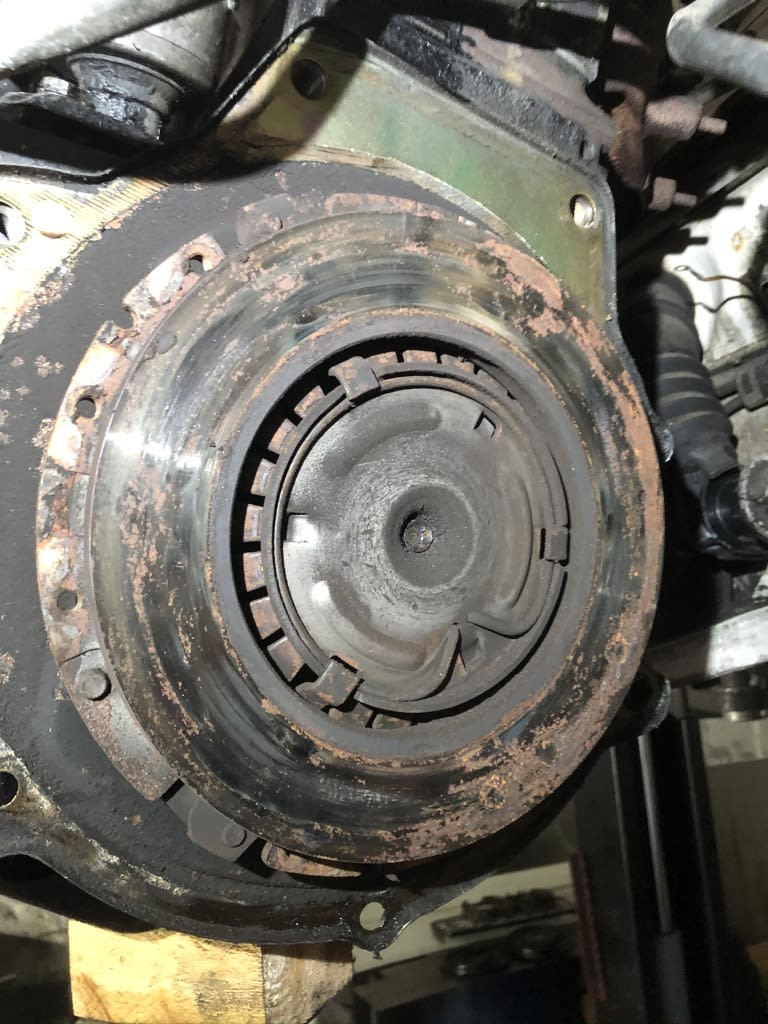
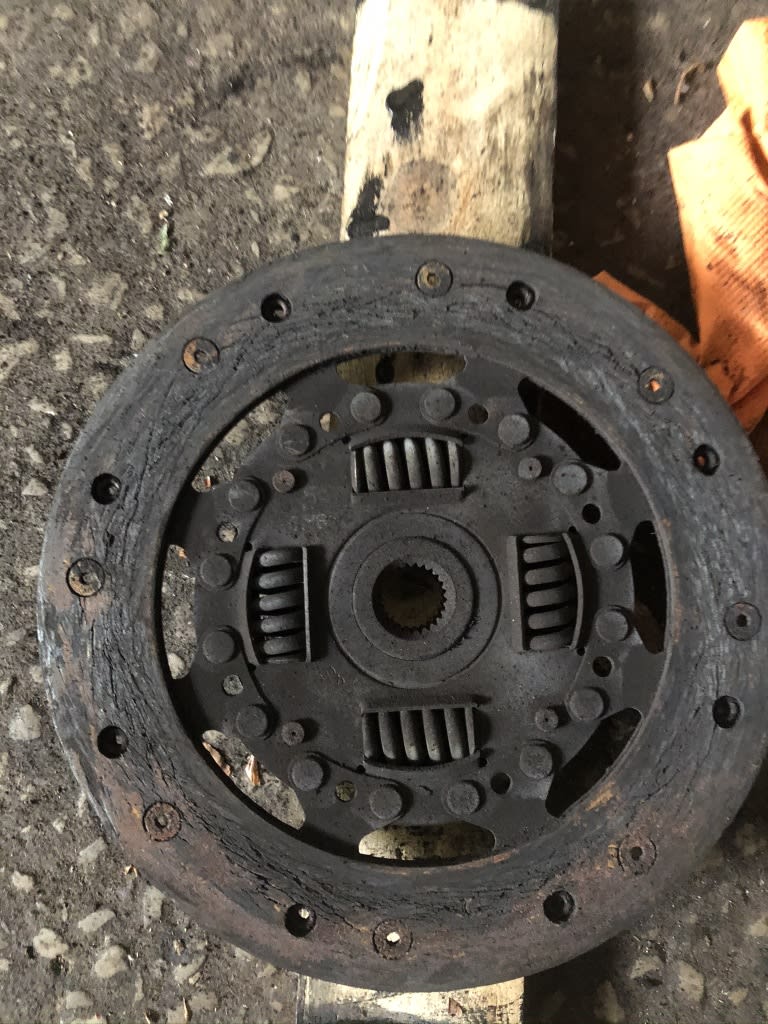
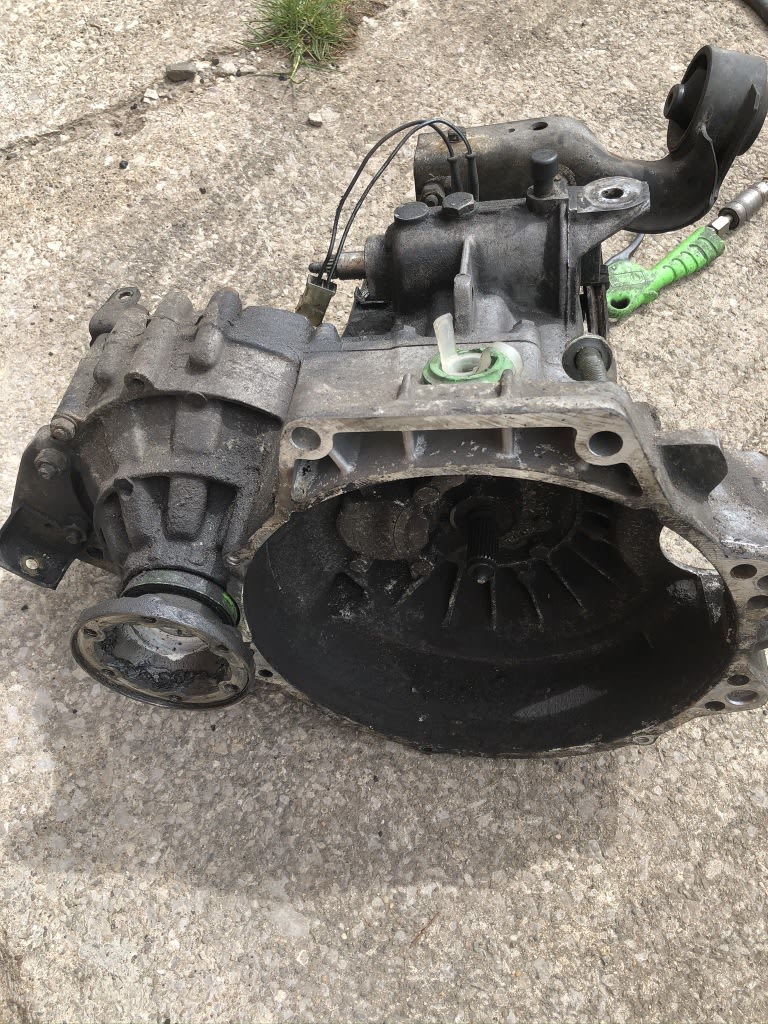
Looking at a lot of the parts they are looking like the originals (118k covered) and had a real fun day ripping out the gearbox and the clutch is well and truly frazzled!!! (I might have added to a bit of that)
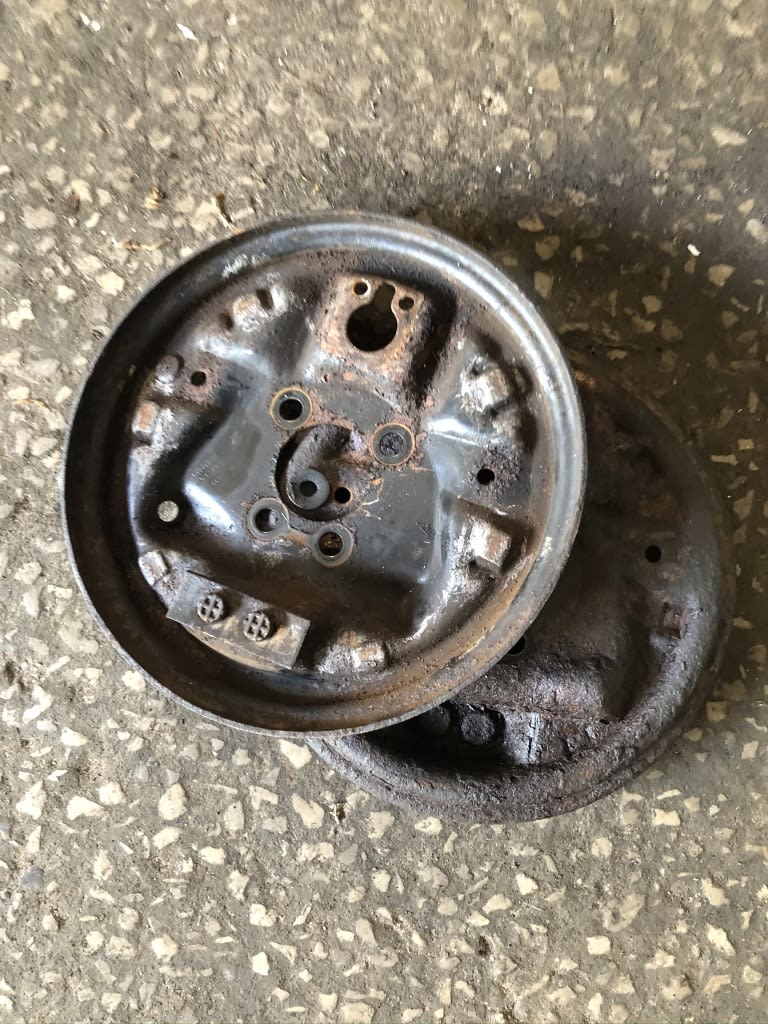
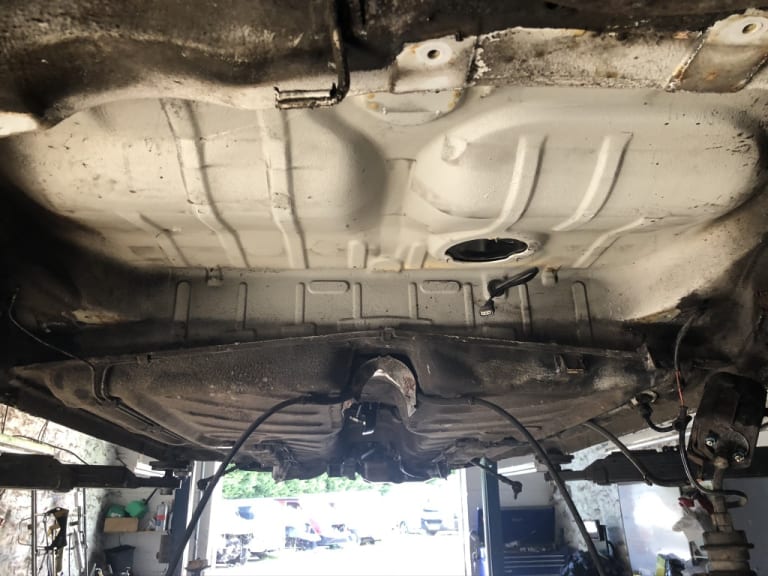
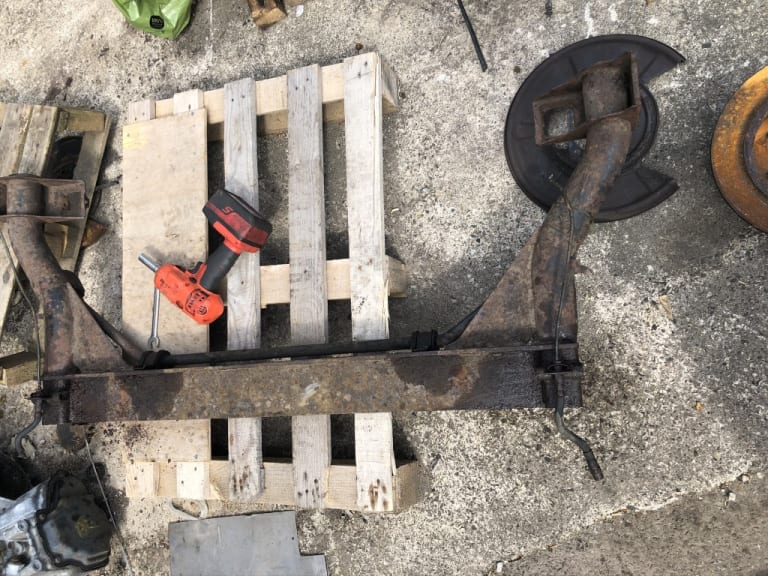
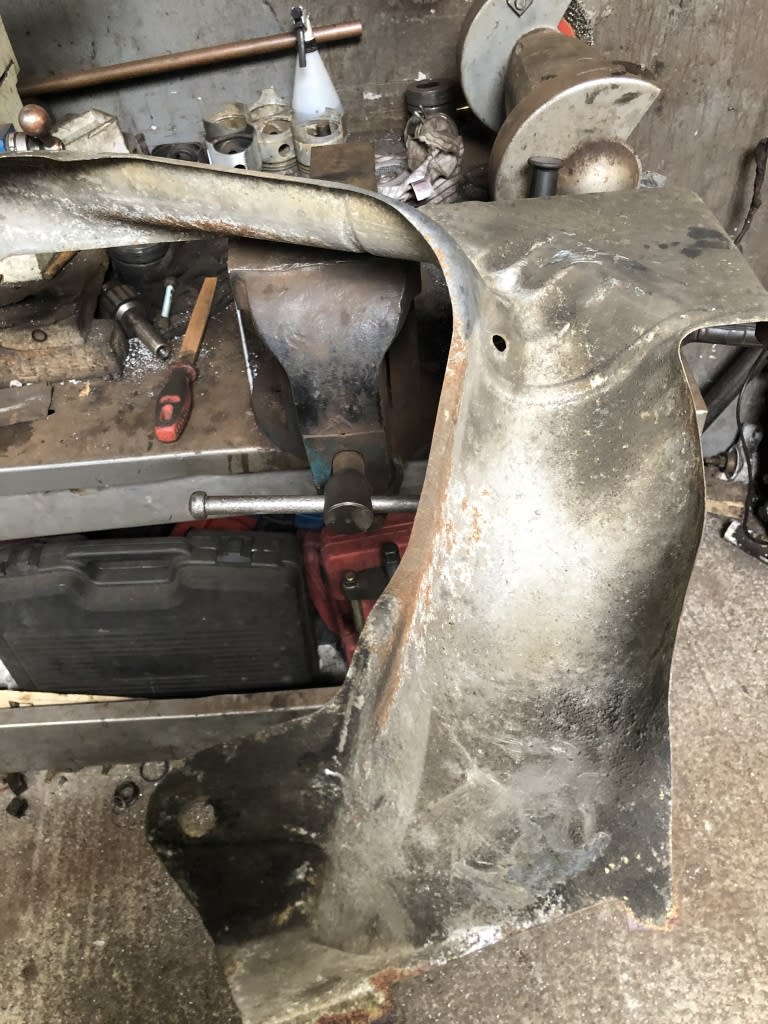
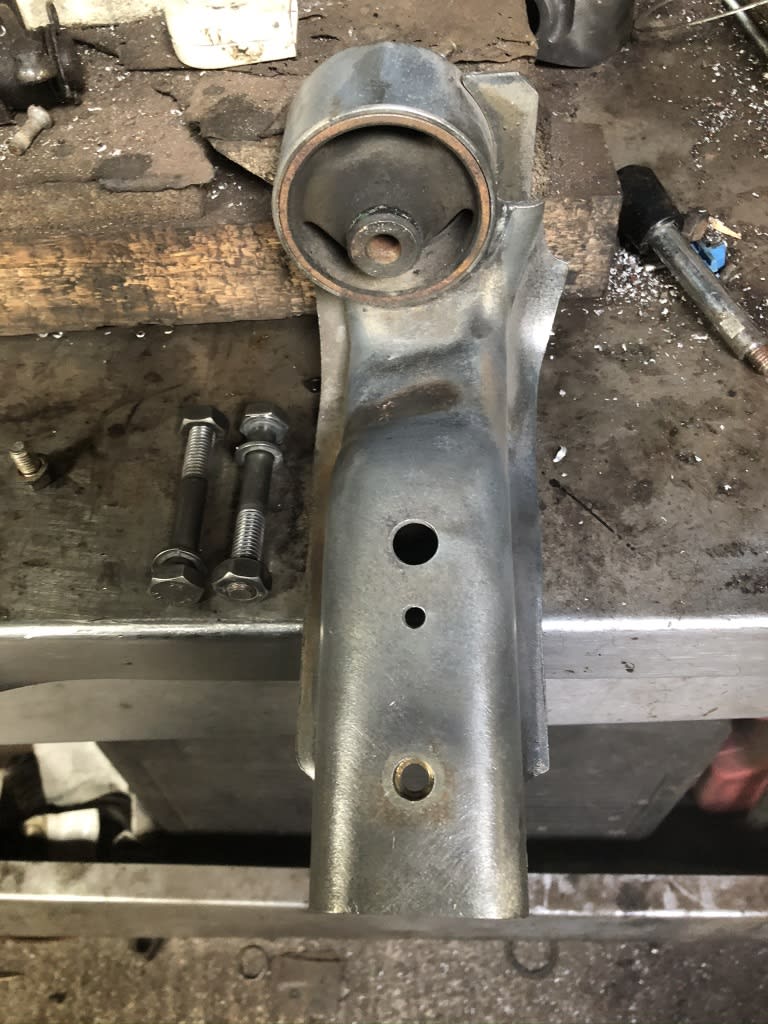
So every nut/bolt/bracket/gear linkage and everything else in-between cleaned/polished/sprayed……. still got tons to do but thought I'd post some of my handy work and will keep updating in-between many hours at the garage - Good job I can use my mates 4 post ramp and workshop facilities!
Anyway roll on tomorrow for some more parts re-furbing and spraying ready for the re-build!
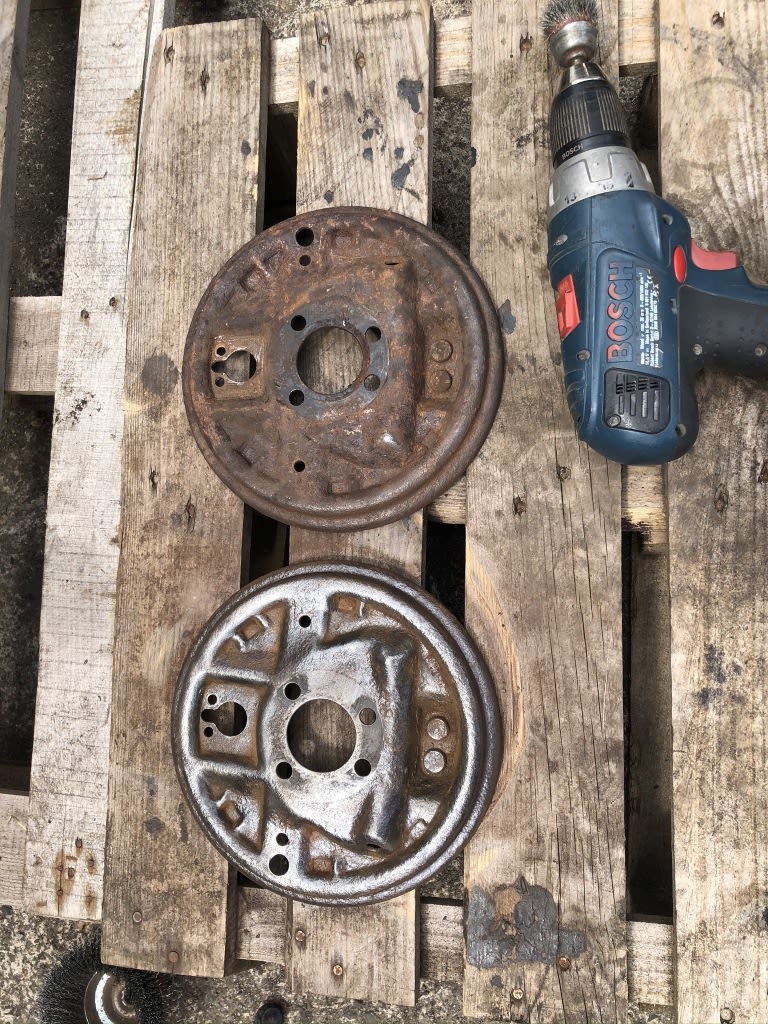
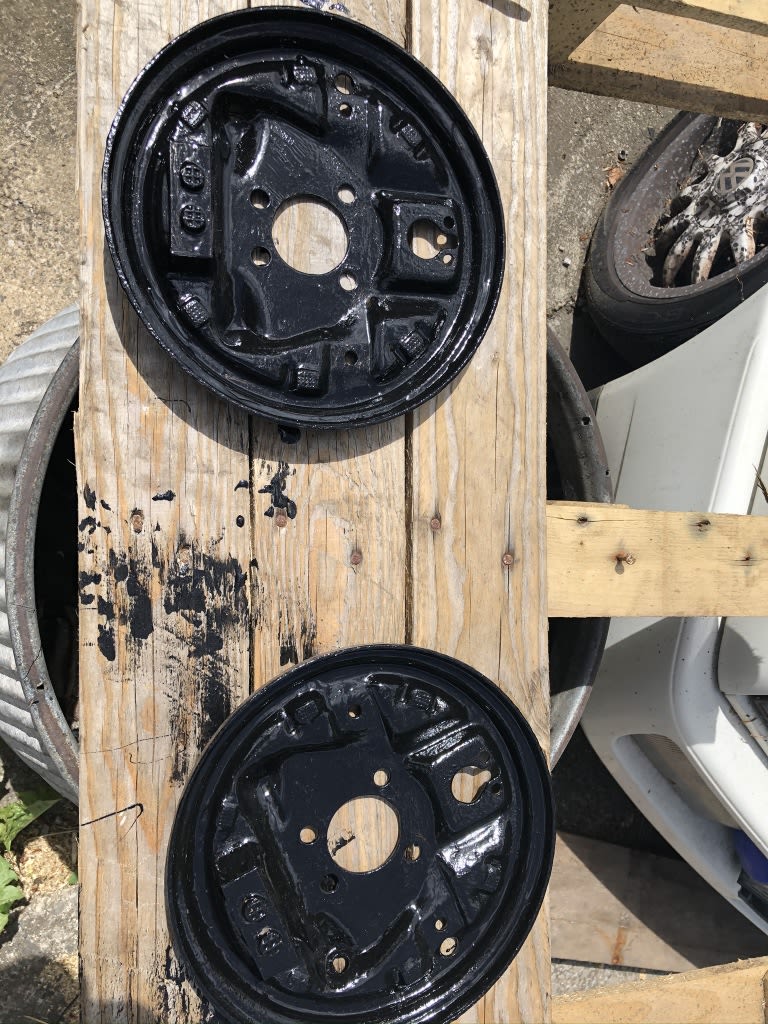
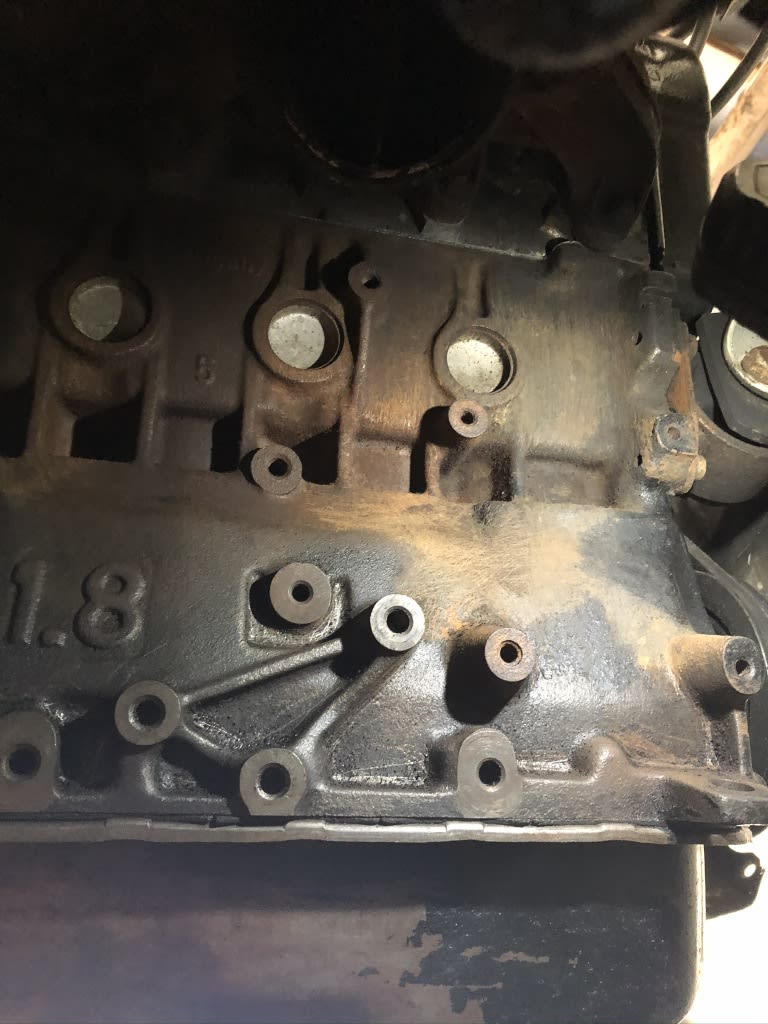
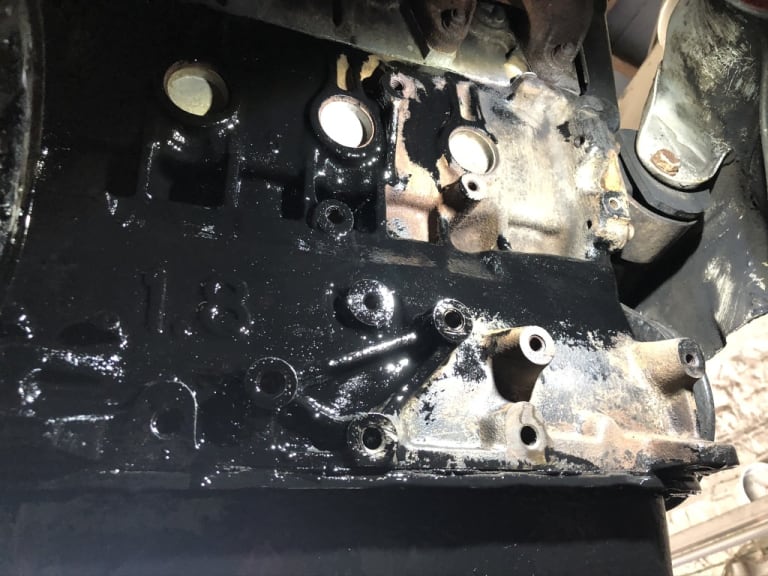

Posted
Moderator


Posted
Settled In


Will keep posting the various stages of destruction and re-build!!
Posted
Settled In


Posted
Settled In

Posted
Settled In


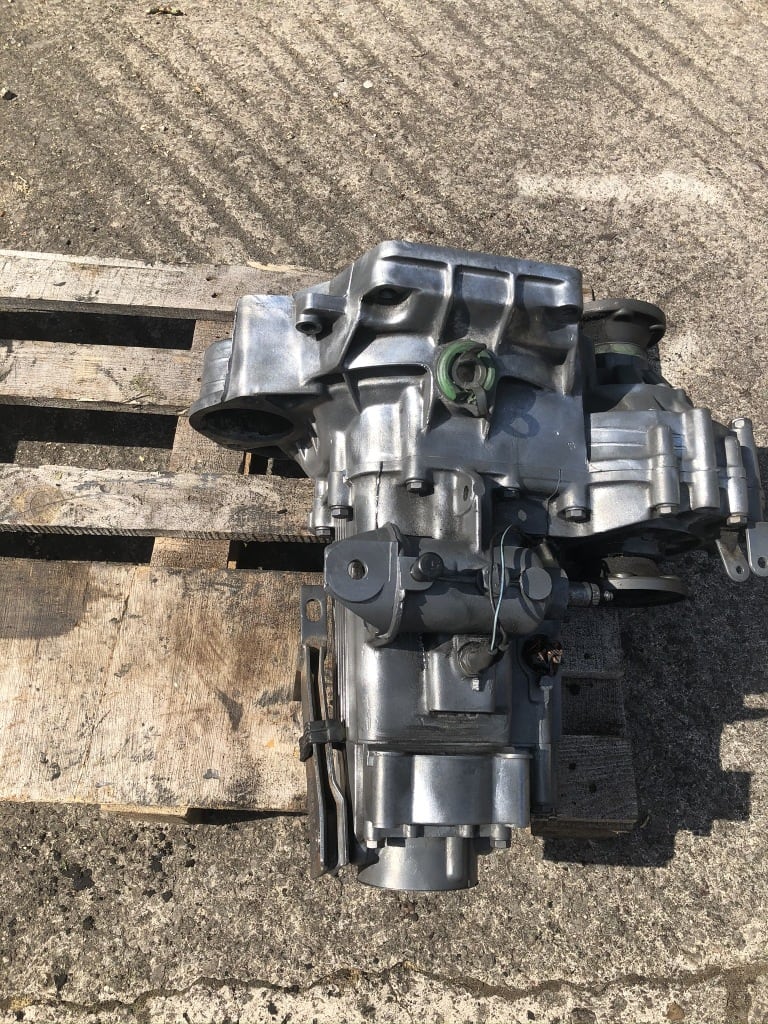
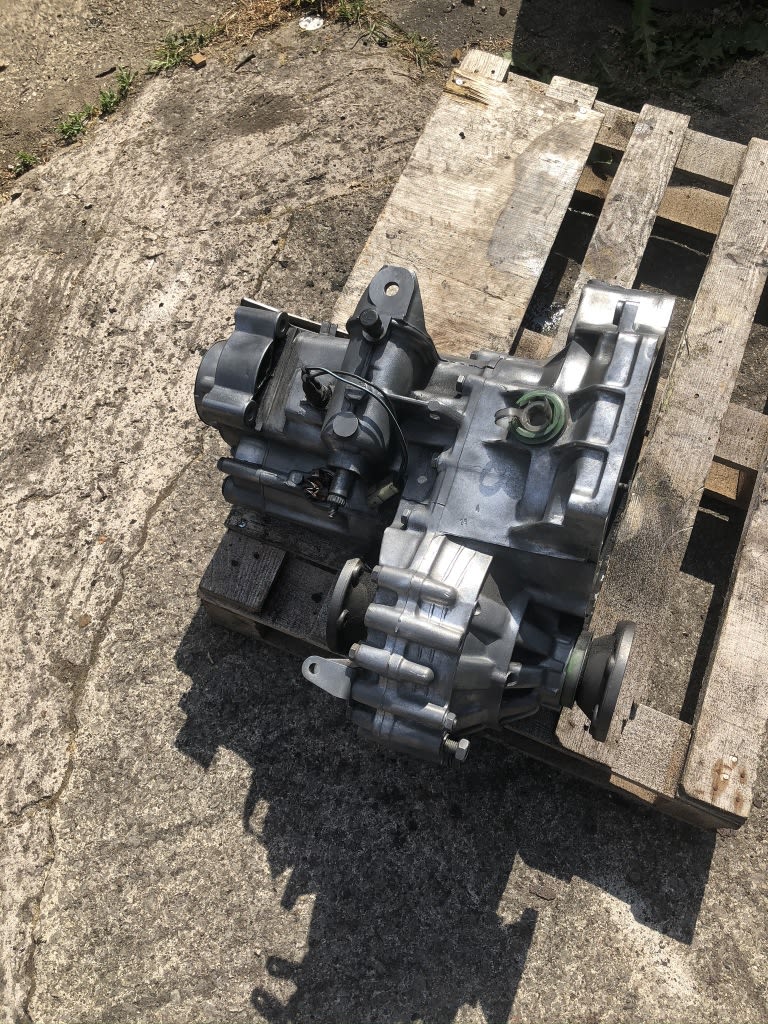
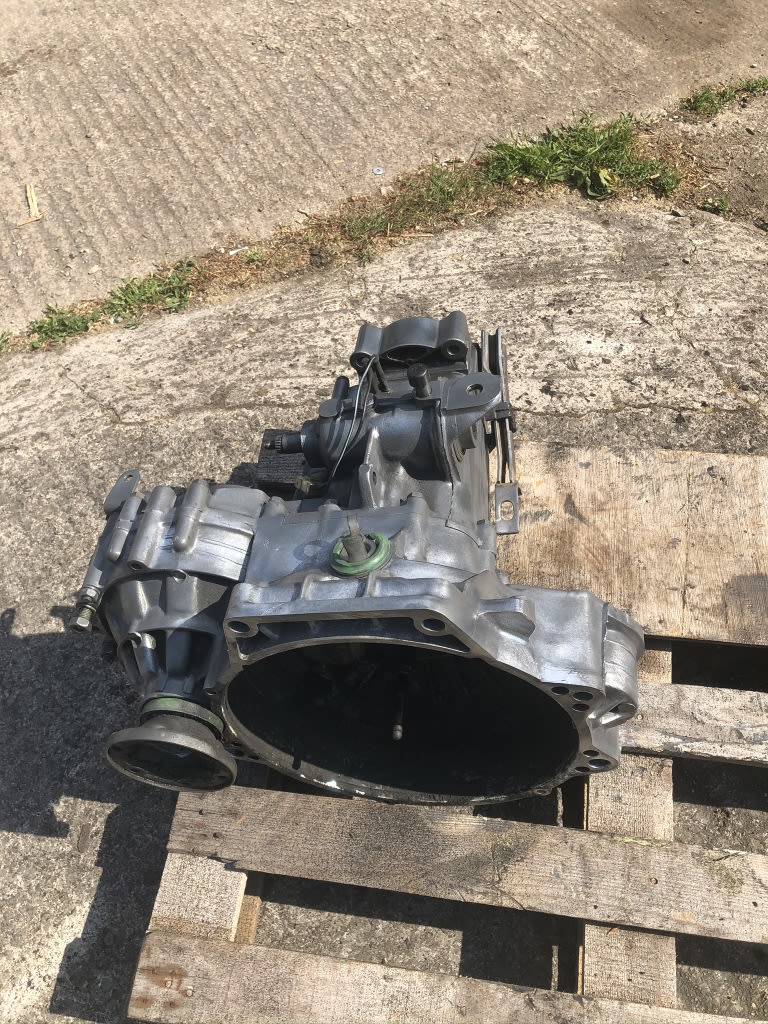
So onto the gearbox and the first couple of swipes over with the wire wheel and happy with the results….. need to get the battery drill and small wheels and bits to get into the nooks and cranny's where the last bit of dirt is!
Next is to get the flywheel skimmed as its quite pitted but otherwise in great condition - Place in Adlington I think then can get the gearbox back in and get re-building!
Then epoxy primer after some rust patch treatment near the back….. then onto panel repair!!!
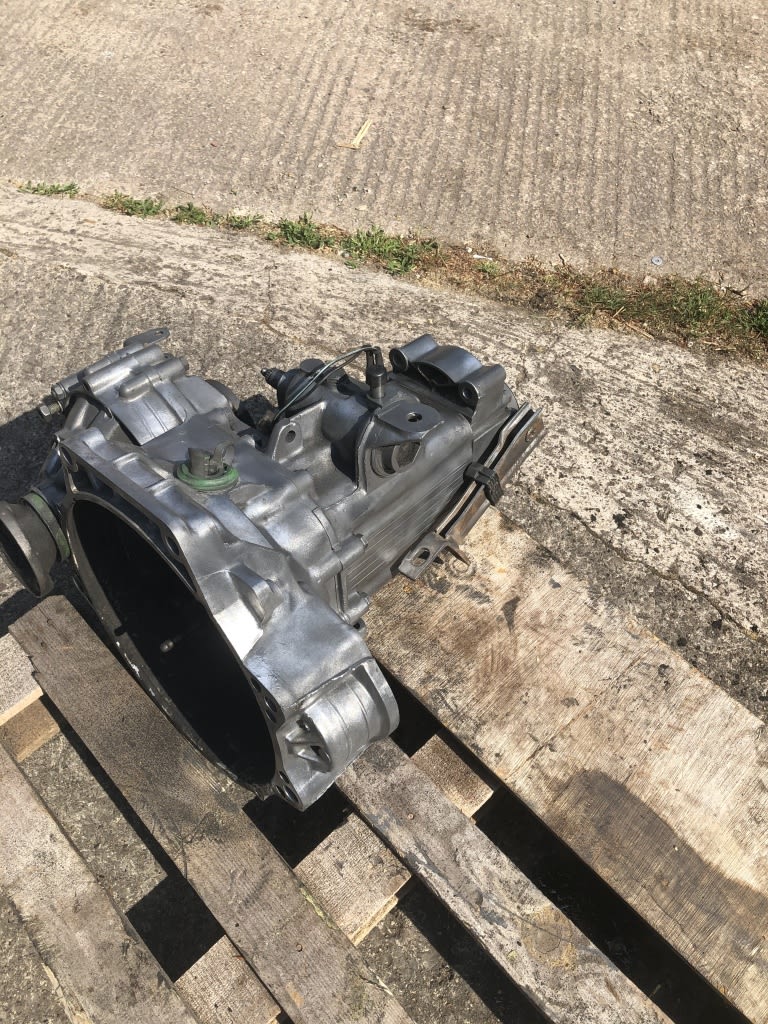
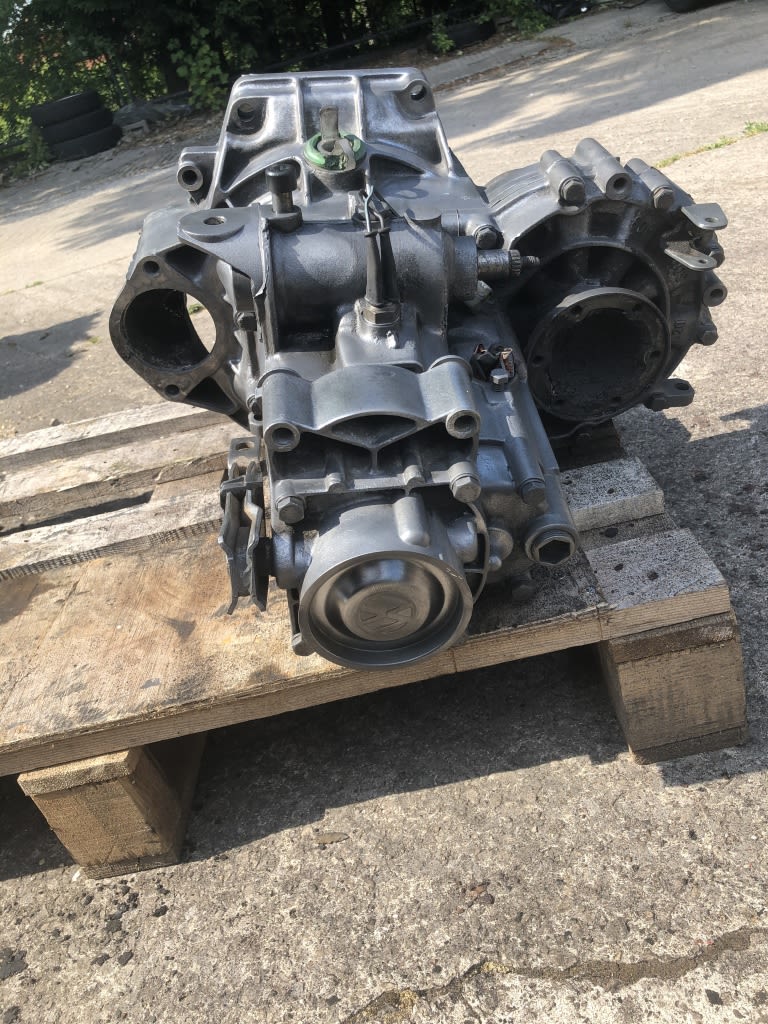
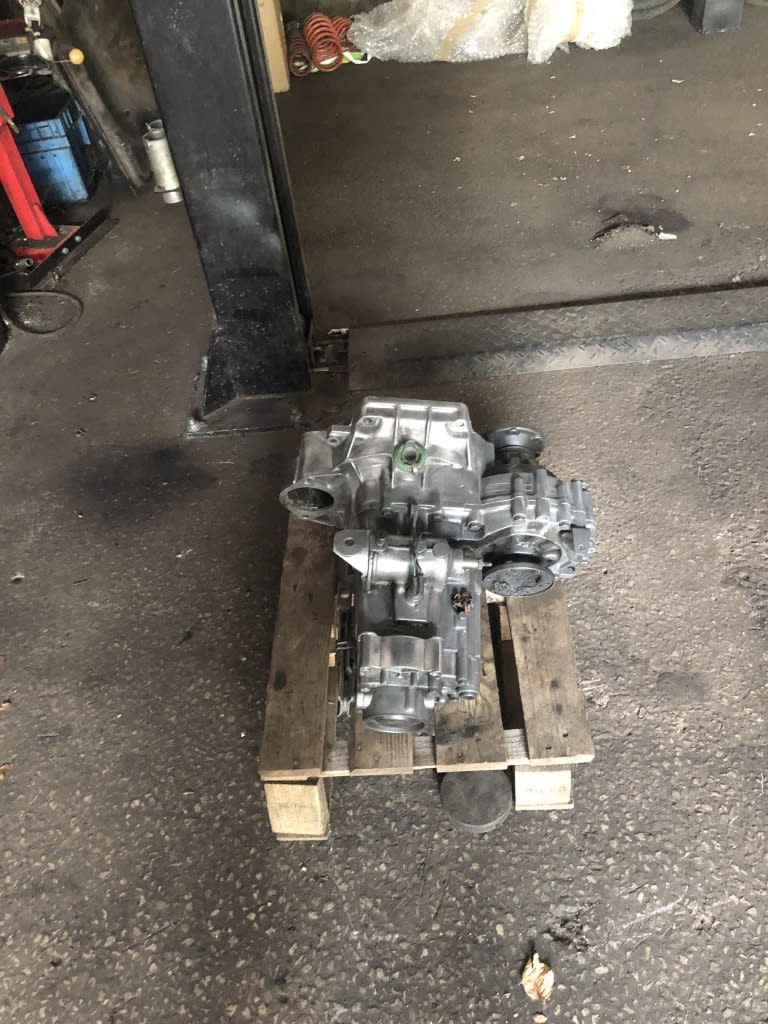
Posted
Old Timer


It would be worth doing some of the gearbox seals whilst you've got it out if you weren't already planning to. Drive flange seals, and the push rod seal at a min, and output shaft seal. The last 2 will trash a clutch if they leak (don't ask how I know this). Generally pretty cheap parts. I replaced the all those seals, clutch release bearing, the push rod bush and a new push rod for about £40. This is a great site for all things 020 gearbox - http://www.brokevw.com
J
Posted
Settled In


Hadn't even thought of any other seals but as you say why the lump is out makes total sense!! The oil is well and truly cooked and a lovely slimy brown so will get the Haynes manual out to see whats needed but thanks for the tip! Got the new crank seal to stop that leak but will get ordering whats needed!
Got some holidays from work booked this week so time for a big push and cutting out some tin wormed sills and rear arches!!
Posted
Local Hero

Welcome to BrokeVW.com
Most of the seals.
https://www.ebay.co.uk/itm/VW-Volkswagen-Golf-Jetta-Passat-Corrado-Vento-020-Gearbox-16v-8v-Oil-Seal-Set/112445735476?fits=Car+Make%3AVW&hash=item1a2e49c234:g:BvAAAOSwxeVefpqT
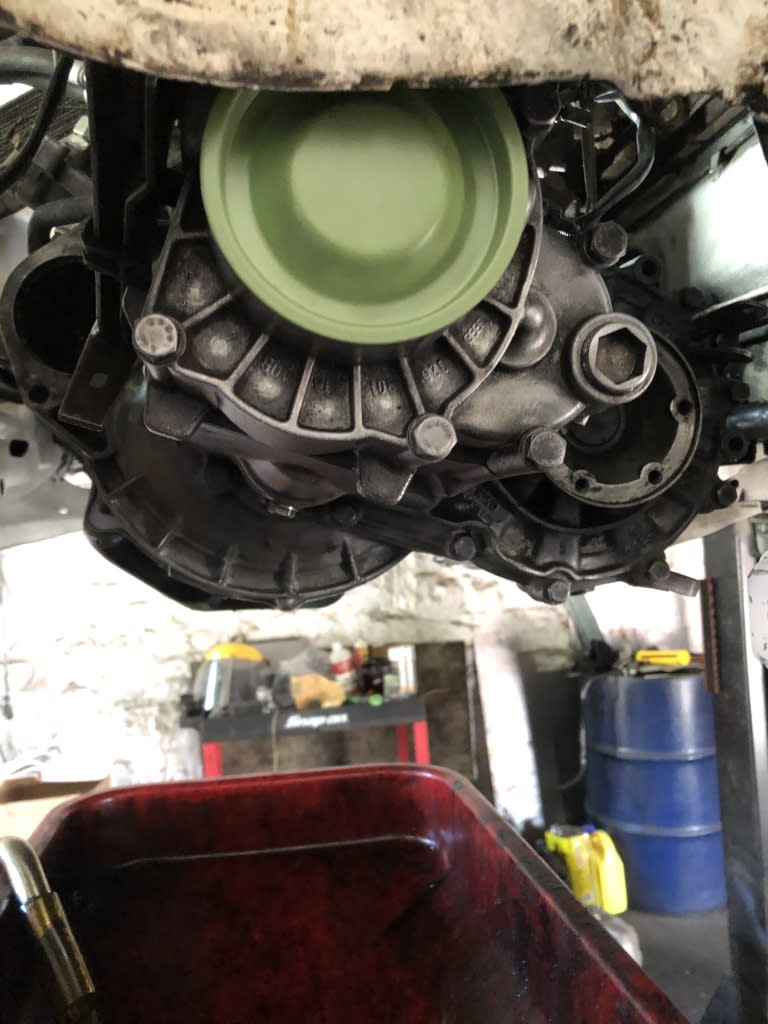
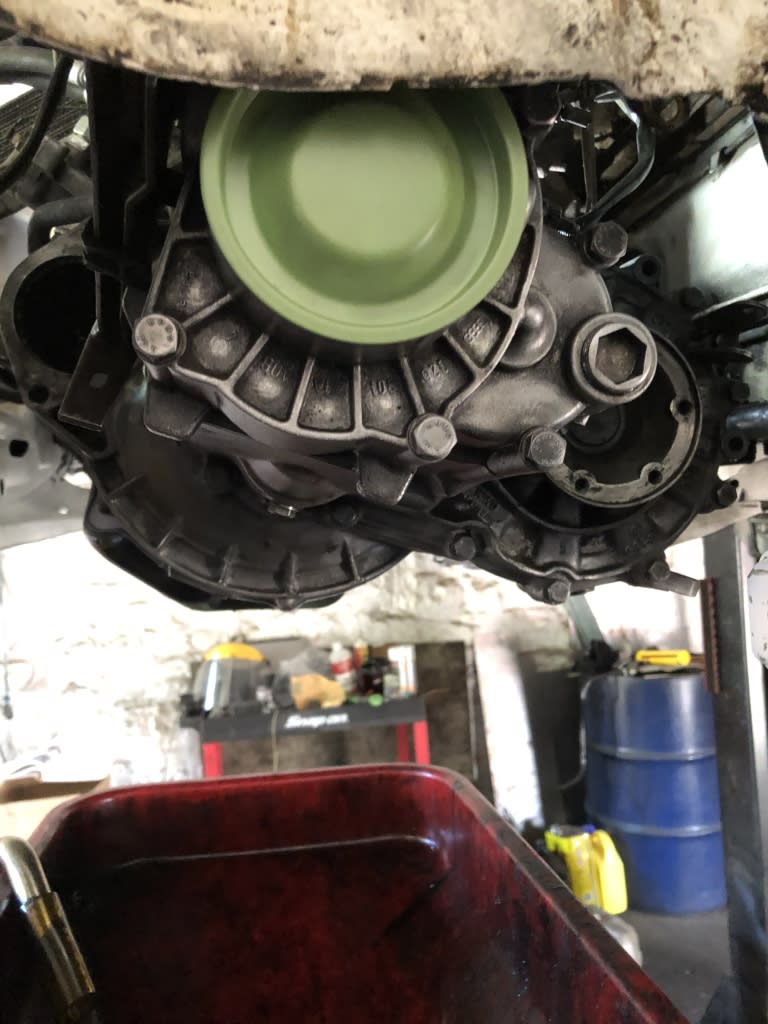
I also removed the green cap (yours in now silver) to check for bit's of metal and replaced the clutch release bearing. You can do this when the gearbox is on the car up easier on the bench.
View topic: Transmission noise - The Mk1 Golf Owners Club
1988 Mk1 Golf GTi Cabriolet 1.8cc DX, K-jet. Daily drive. 317,000 miles and counting
1978 Mk1 Scirocco GLS 1.6cc FR, Webber carb. Weekend toy.
1978 Mk1 Scirocco GLS 1.6cc FR, Webber carb. Weekend toy.
Posted
Settled In


Just reading through the Haynes manual now and compiling a list of parts from Paceman and you….. Time to go shopping again!
On a plus side every day is like Christmas Day at home now with couriers and Royal Mail arriving!
Just waiting for some stuff from Funkstar to arrive then I can get building the axle back up with shiny stuff and new bushes and anti roll bar!!!
Might be a bit busier than I thought this week!!!
Posted
Local Hero

1988 Mk1 Golf GTi Cabriolet 1.8cc DX, K-jet. Daily drive. 317,000 miles and counting
1978 Mk1 Scirocco GLS 1.6cc FR, Webber carb. Weekend toy.
1978 Mk1 Scirocco GLS 1.6cc FR, Webber carb. Weekend toy.
Posted
Settled In


Definitely worth doing while its out and going to change the green end cover after cleaning out the sludge that no doubts will be there!!
Posted
Settled In


On with the refurbish and painting of parts later! (Guy felling trees near me so can't spray anything yet as it'll get covered in bits!!!)
Posted
Old Timer


Posted
Settled In


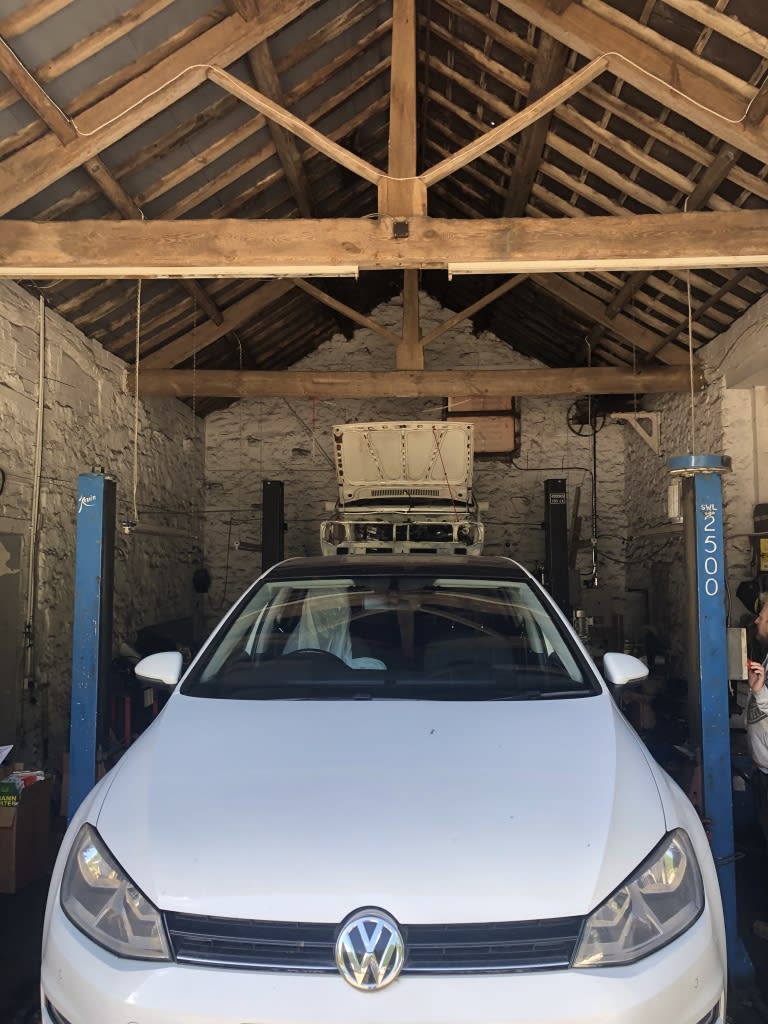
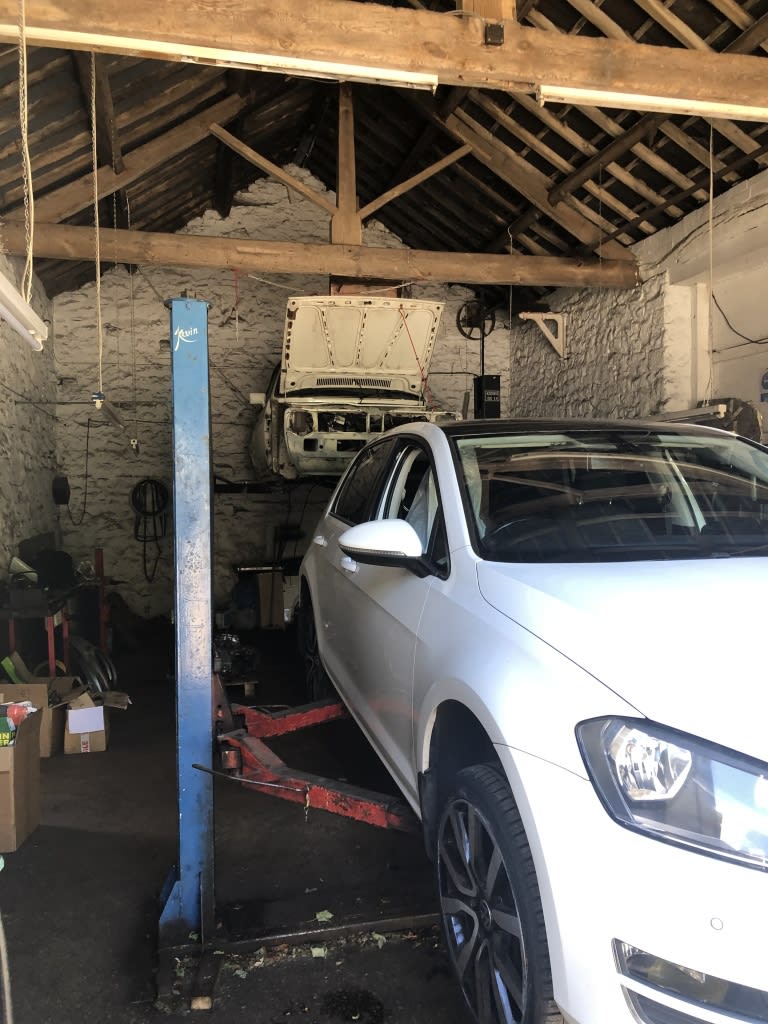
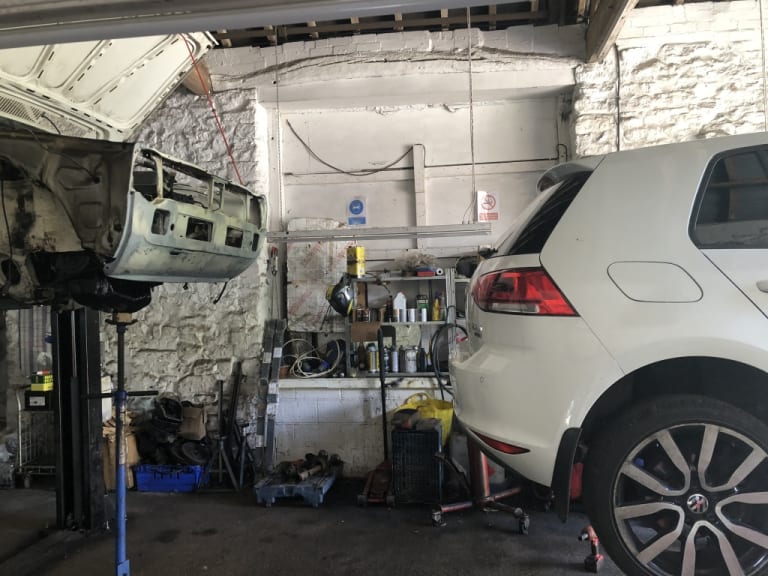
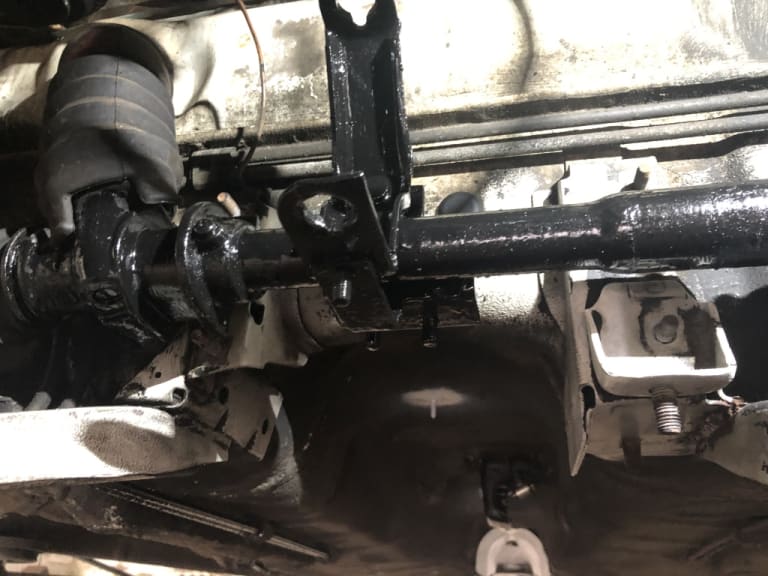
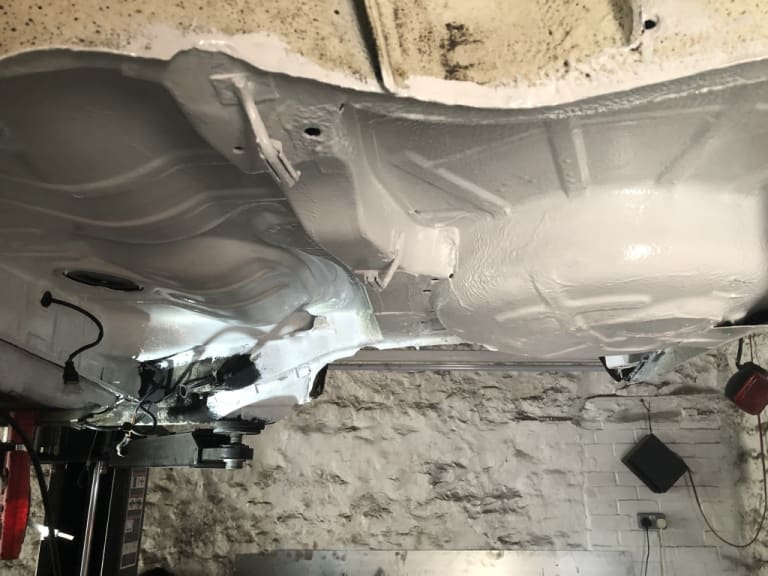
paceman….. deffo annoying!! Just got my new cover ready for the re-build… when I get my flywheel back from the machine shop when its been skimmed!
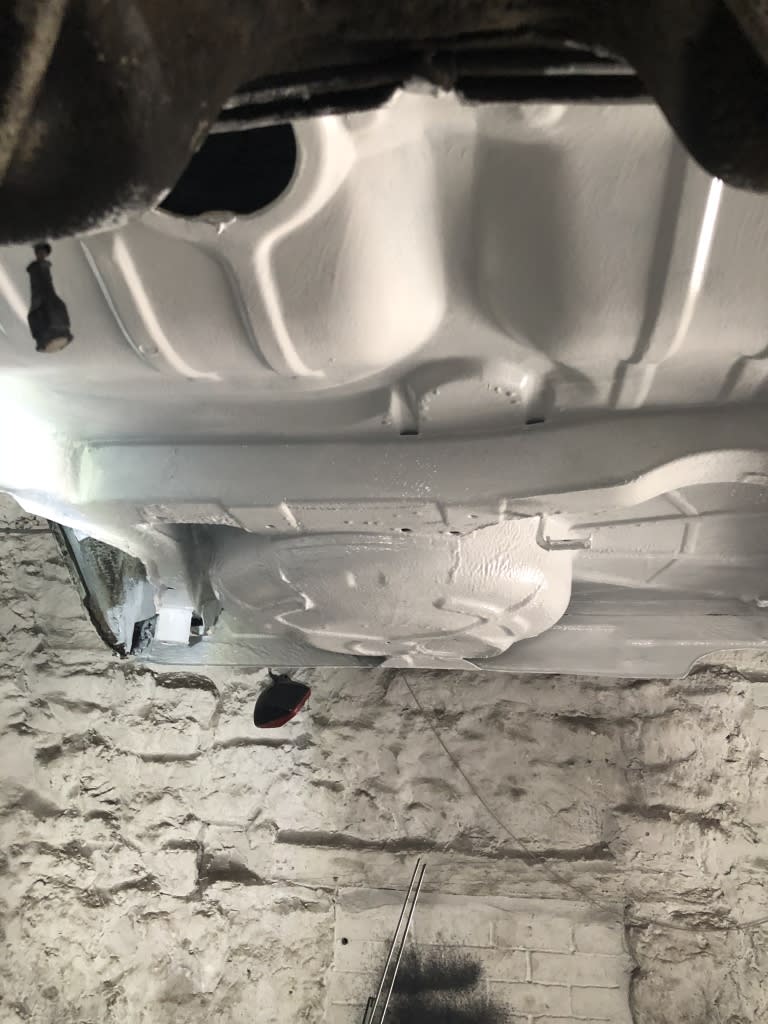
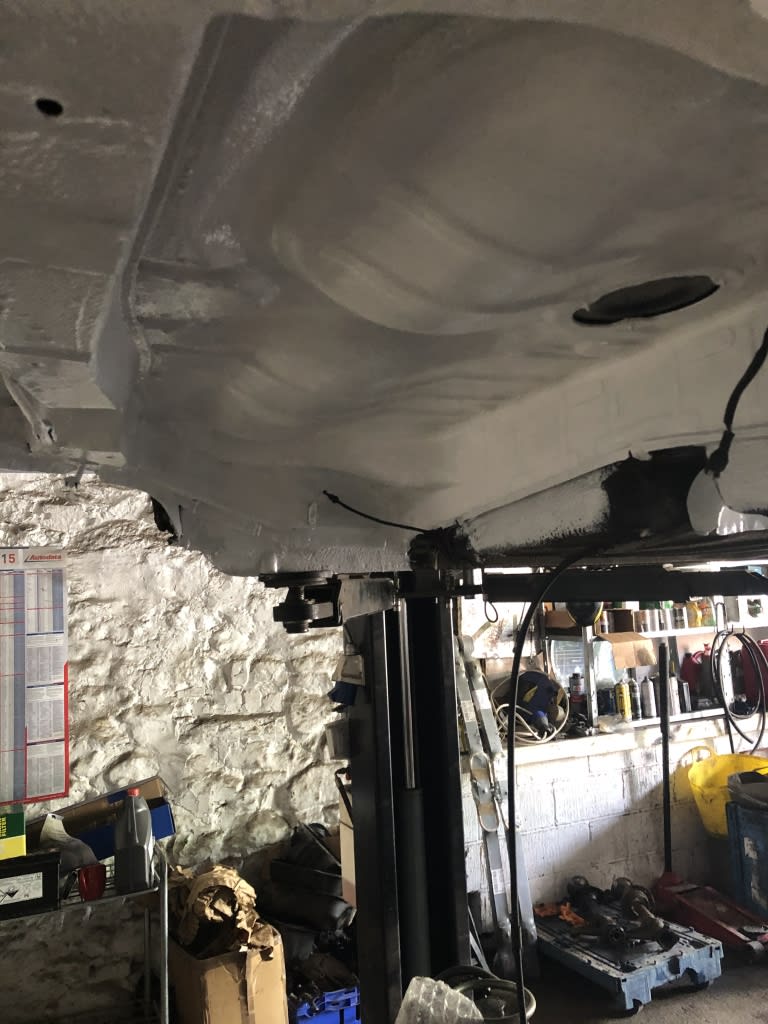
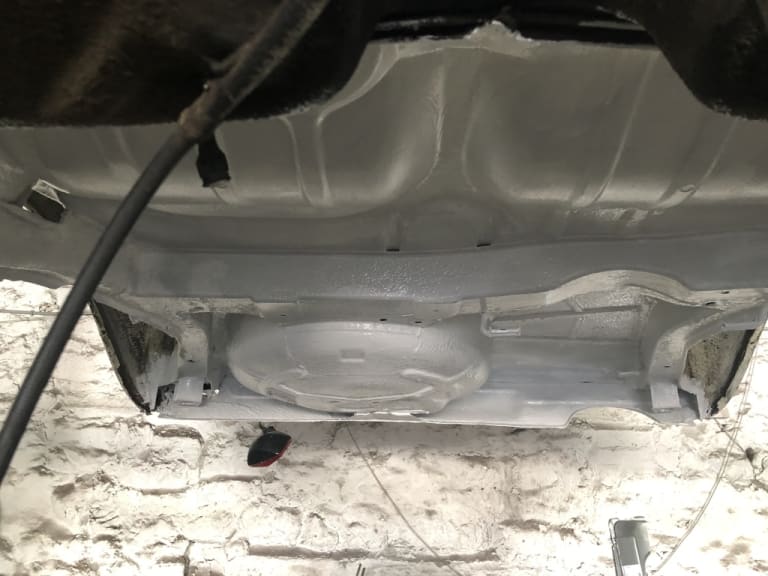
Had another productive day… fuel and brake lines hammerite coated… steering rack painted….. back end stripped… rust treated and then white hammerite before a good dose of epoxy primer in the next week to make sure its well protected…. and at the garage today…. current golf vs Mk1……. absolutely NO contest!!! Roll on the day I get the restore done and the re-spray finished then bring on the meets and shows!!!
Posted
Settled In


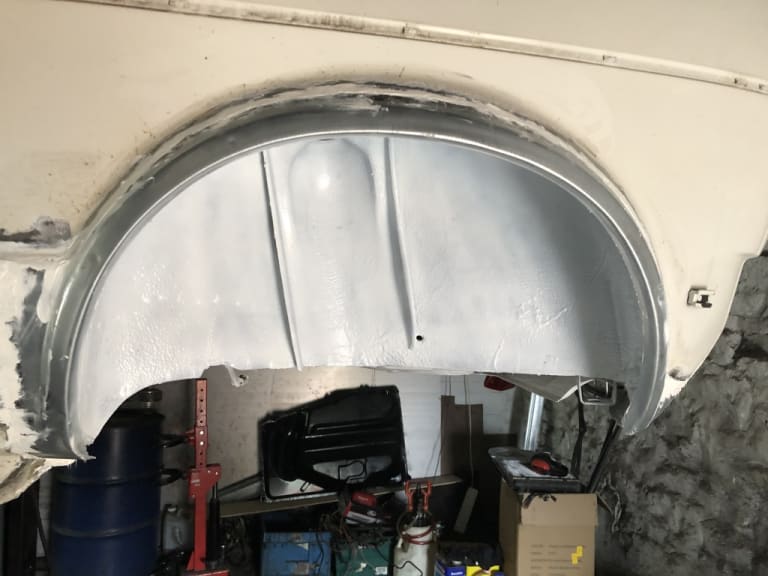
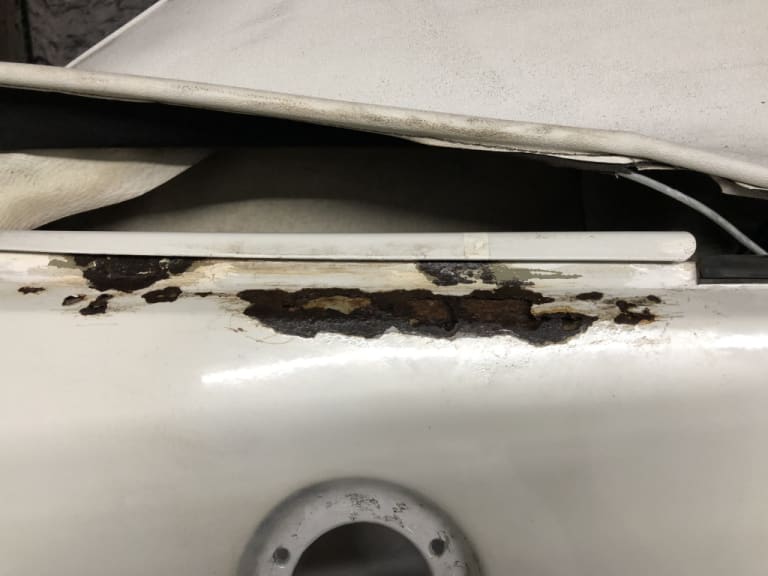
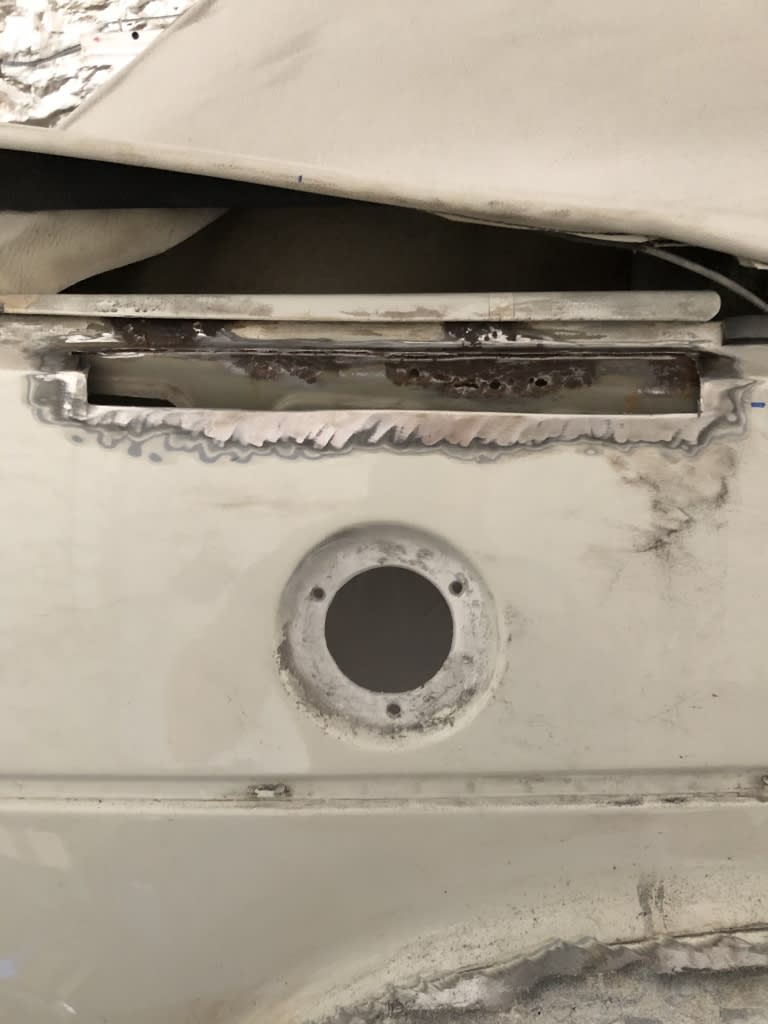
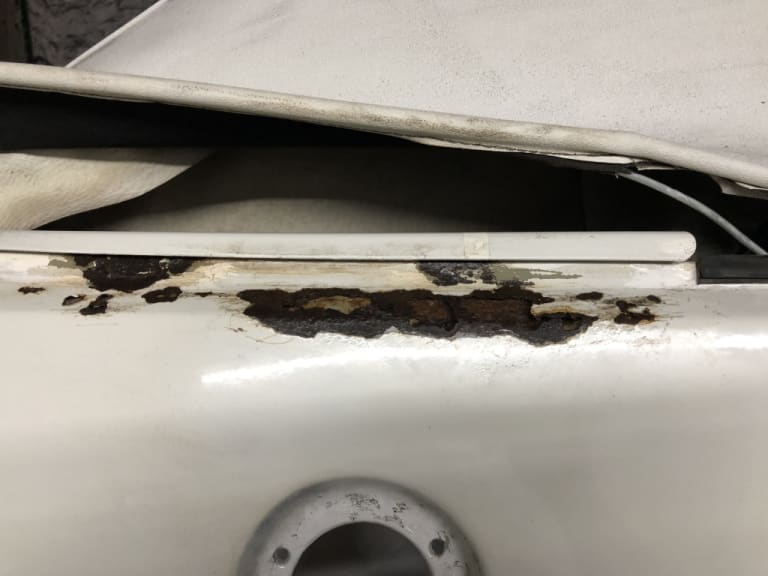
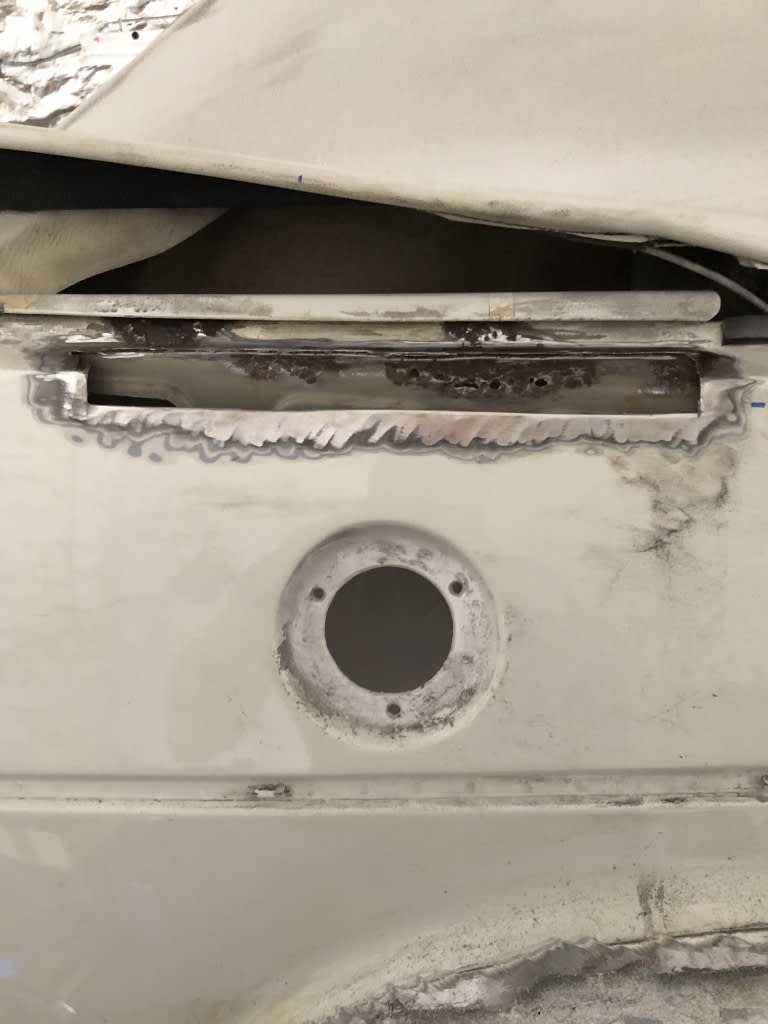
Some good progress made with the gearbox (Cheers Funkstar for the replacement seals and cover plate) and attention turned back to the body work… with a few more patches to do on inner and outer wing above the fuel cap.
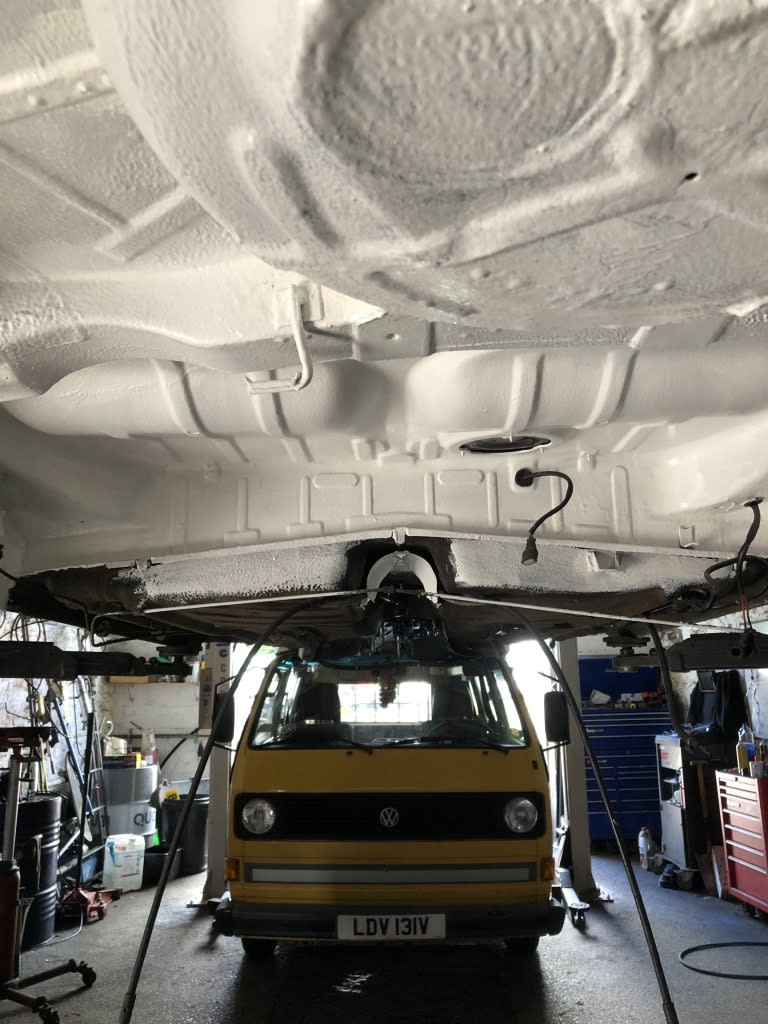
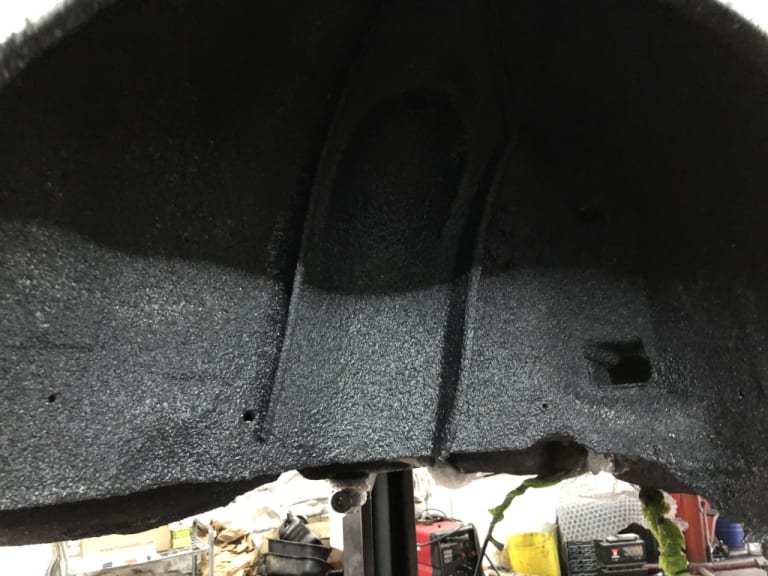
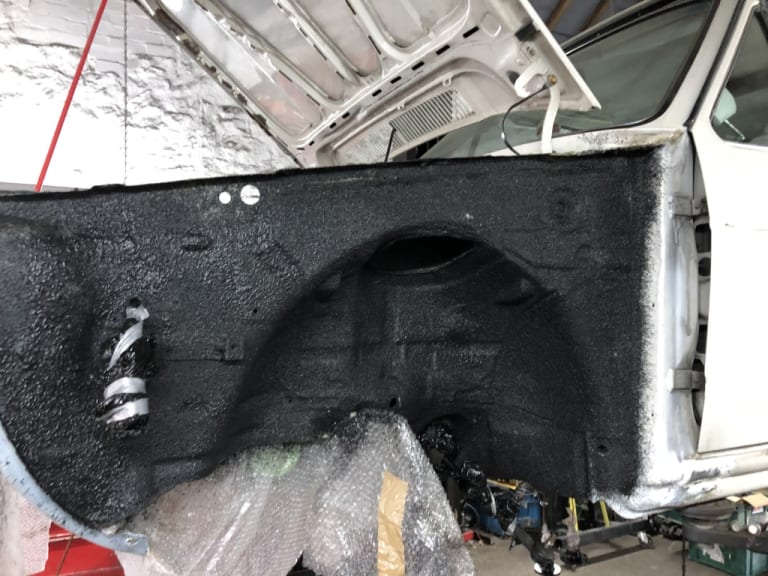
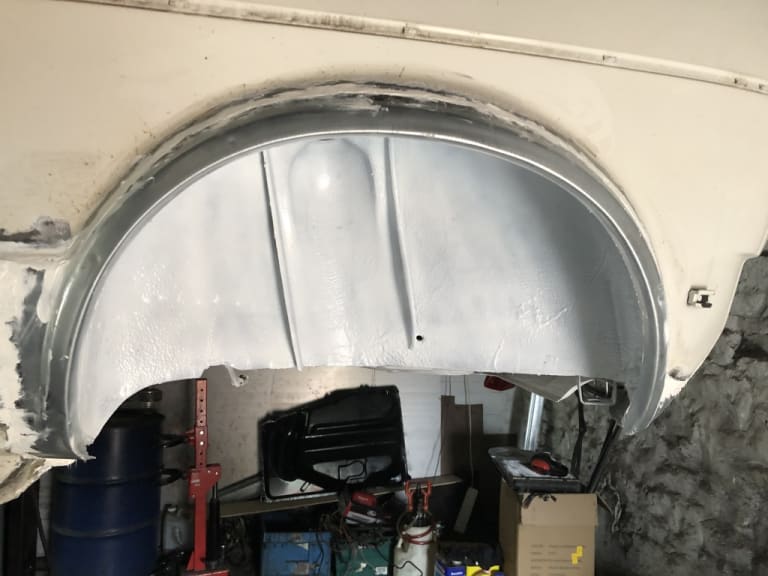
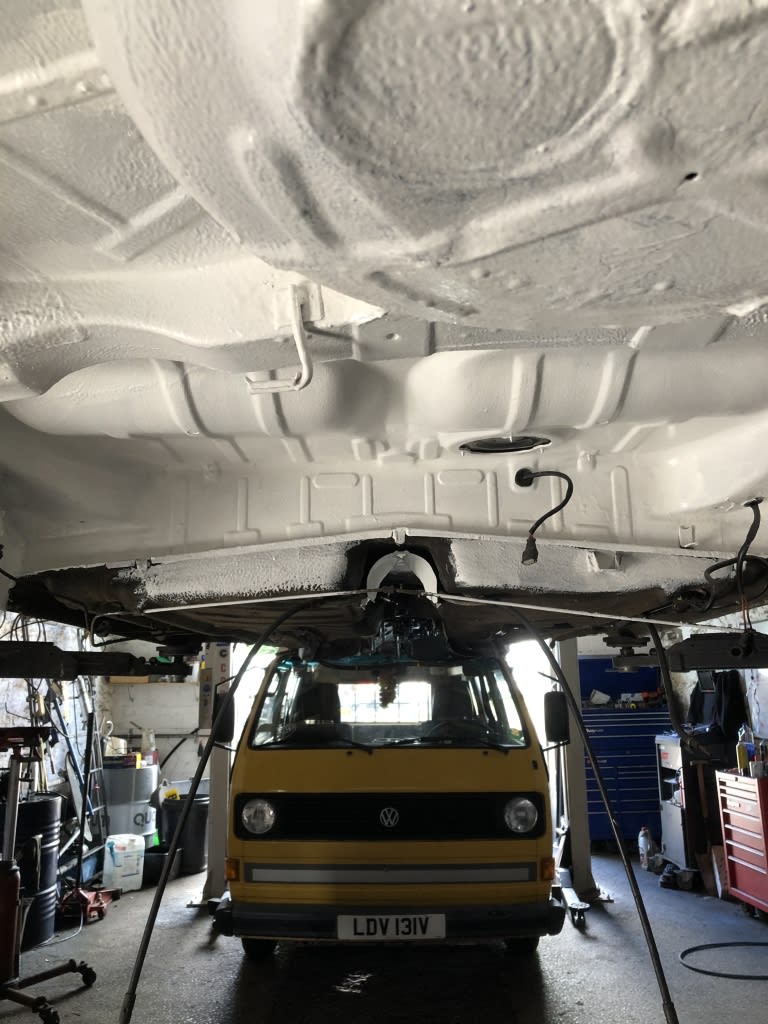
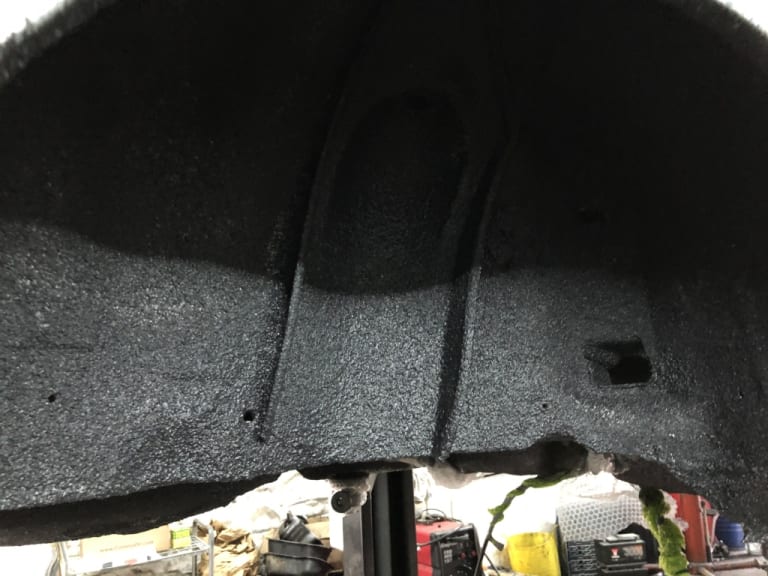
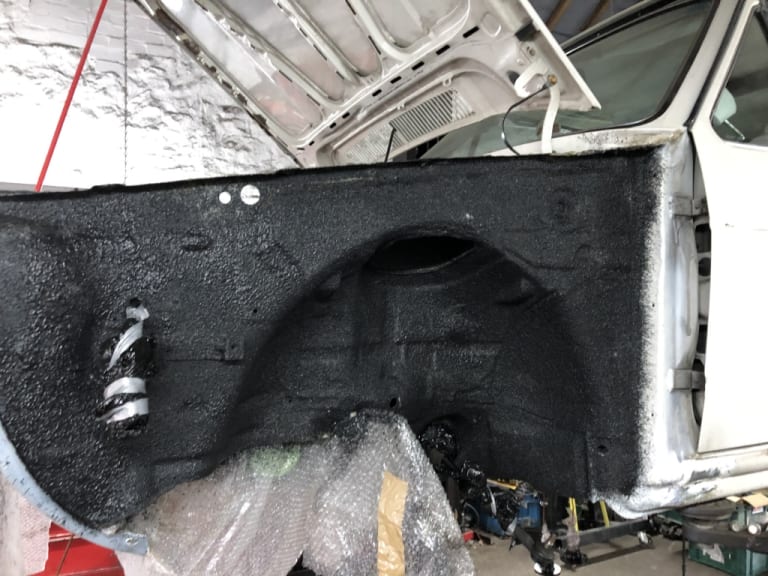
Underneath and arches painted following primer - Used the right paint code but didn't look right - Then my mate who's restoring an early beetle (Whilst building a race one) showed me an epoxy rubber primer applied with a gun - So all the back re-covered and all the inner arches done - Only trouble is it's black so unless I leave it like this - It's off to buy some L90E paint and get the spray gun out!!! But the rubber seal looks amazing and should be good for a long long time now all the rust has been cut away!
Now onto re-building suspension and then preparing for the paint!!!
Then will need that roof looking at (new one to be supplied and fitted) so might have to get in touch with Chortle for that reading some of the posts as deffo don't want to be fitting that myself!!
Posted
Settled In


Some good progress made with the gearbox (Cheers Funkstar for the replacement seals and cover plate) and attention turned back to the body work… with a few more patches to do on inner and outer wing above the fuel cap.
Underneath and arches painted following primer - Used the right paint code but didn't look right - Then my mate who's restoring an early beetle (Whilst building a race one) showed me an epoxy rubber primer applied with a gun - So all the back re-covered and all the inner arches done - Only trouble is it's black so unless I leave it like this - It's off to buy some L90E paint and get the spray gun out!!! But the rubber seal looks amazing and should be good for a long long time now all the rust has been cut away!
Now onto re-building suspension and then preparing for the paint!!!
Then will need that roof looking at (new one to be supplied and fitted) so might have to get in touch with Chortle for that reading some of the posts as deffo don't want to be fitting that myself!!
Posted
Settled In


Posted
Settled In


Keep up the hard work yourself…. every little bit you do gets it a little bit closer!!
0 guests and 0 members have just viewed this: None.


