1980 1.6 GTI - Unintentional Project
Posted
#1569658
(In Topic #211277)
Old Timer

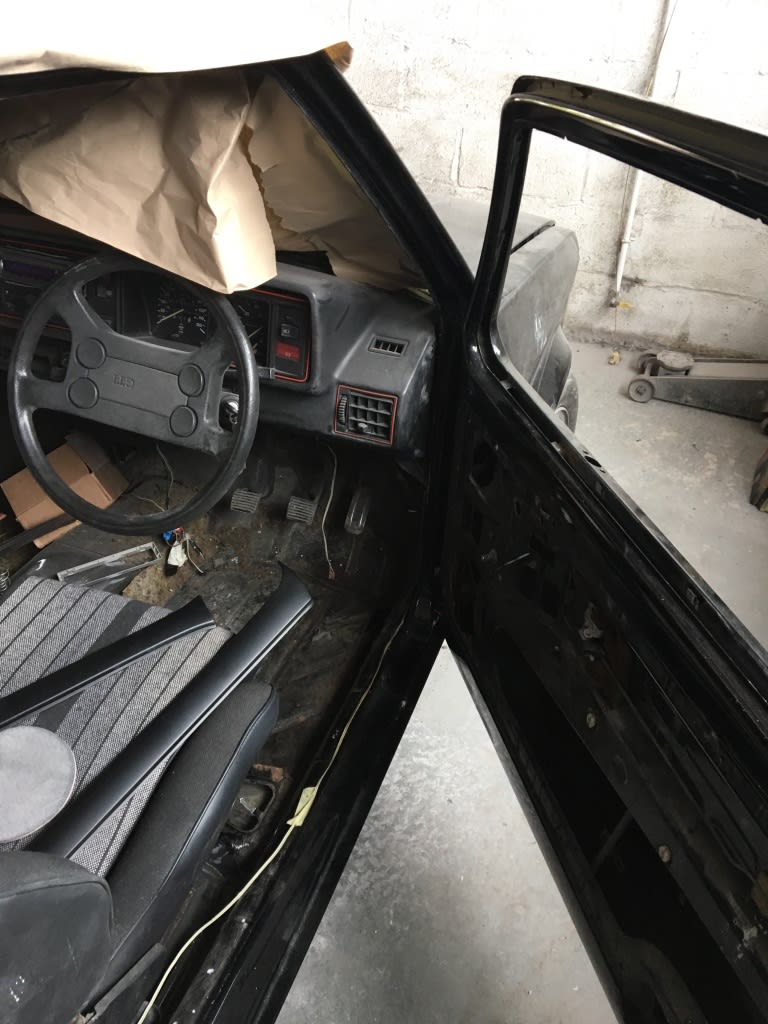
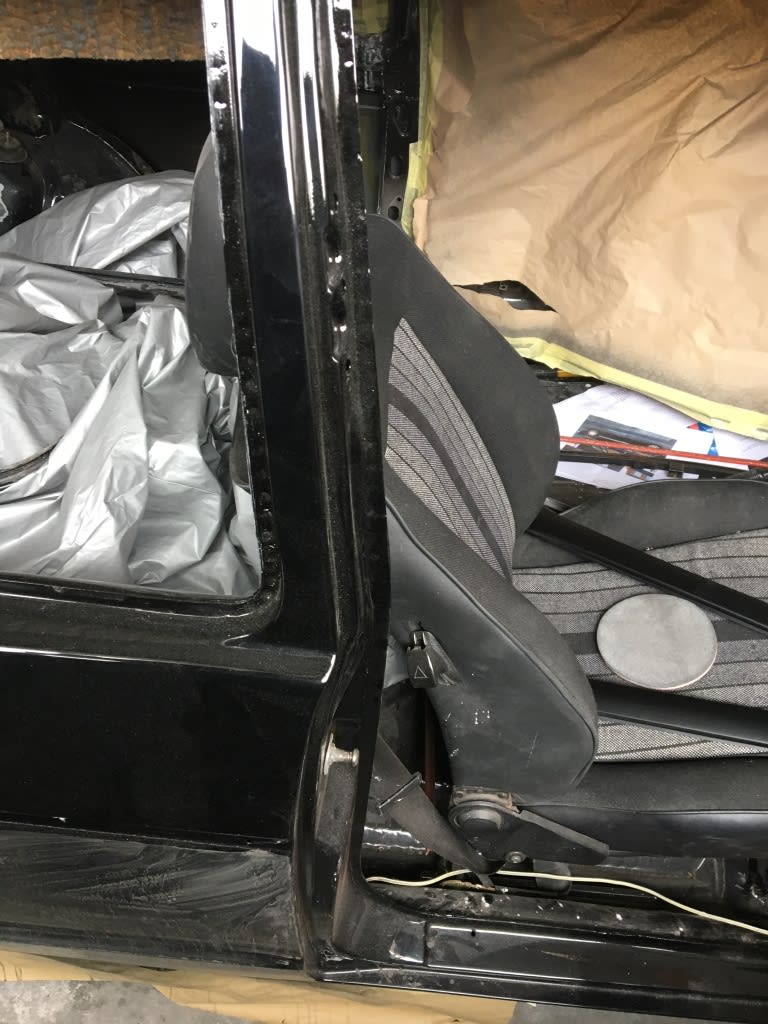
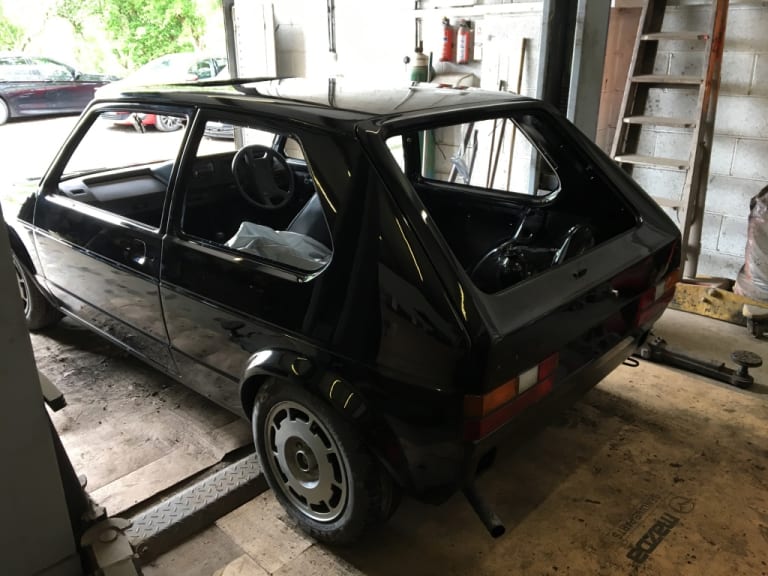
I have had this car for about a year and thinking it needed pain when I brought it was otherwise convinced nothing else to do. However my inner 20 year old soon reappeared (22 years after its first appearance) telling me to buy bits. So it is now in the spray booth today and will be back with me in a week or two for rebuild.
This is not a crazy project yet but one that had suddenly gone from owning a perfectly useful GTI to now having a little money pit that somehow makes me smile with every invoice.


Posted
Old Timer

Sorry they were really quick snaps while rushing past so come out a little blured


Posted
Local Hero


1980 1.6 GTI - Unintentional Project

Sent from my iPhone using Tapatalk
Andy
LINCOLNSHIRE REGION -†https://www.facebook.com/groups/467122313360002/
1983 MK1 Golf GTI Campaign Model - Under (looooong) resto!
1962 Rover P4 80
2002 BMW 745i
2008 BMW Z4 2.5Si
LINCOLNSHIRE REGION -†https://www.facebook.com/groups/467122313360002/
1983 MK1 Golf GTI Campaign Model - Under (looooong) resto!
1962 Rover P4 80
2002 BMW 745i
2008 BMW Z4 2.5Si
Posted
Old Timer

1980 1.6 GTI - Unintentional Project

Sent from my iPhone using Tapatalk
Posted
Old Timer

So I was/am pooing my pants about this job… First one I need to do next week when it is back from the painters is fit a new roof lining. In some earlier chats members mention 8 hours to complete….
So have Newton Commercial kit which by the looks of it is excellent better than expected with really useful instruction and tips. Having read through it and transferred my tension wires over last night (on the living room floor where else) then I am gaining some confidence.
Will let you all know how I get on with it and some picture if it does not make me swear, cry or simply rip it up and send it to the pro's
Hoping can get the main piece in in about 2 hours, then A pillars 30 minutes hahaha I hear you say as i want to put the front Screen in on the same day. If time then fit B and C post covers to allow the rear quarter fitment. All depends on kids, wife and general world leaving me alone long enough to concentrate and get a good run at it.
Posted
Local Hero


1980 1.6 GTI - Unintentional Project

Sent from my iPhone using Tapatalk
Andy
LINCOLNSHIRE REGION -†https://www.facebook.com/groups/467122313360002/
1983 MK1 Golf GTI Campaign Model - Under (looooong) resto!
1962 Rover P4 80
2002 BMW 745i
2008 BMW Z4 2.5Si
LINCOLNSHIRE REGION -†https://www.facebook.com/groups/467122313360002/
1983 MK1 Golf GTI Campaign Model - Under (looooong) resto!
1962 Rover P4 80
2002 BMW 745i
2008 BMW Z4 2.5Si
Posted
Old Timer


Posted
Old Timer


Posted
Local Hero


Andy
LINCOLNSHIRE REGION -†https://www.facebook.com/groups/467122313360002/
1983 MK1 Golf GTI Campaign Model - Under (looooong) resto!
1962 Rover P4 80
2002 BMW 745i
2008 BMW Z4 2.5Si
LINCOLNSHIRE REGION -†https://www.facebook.com/groups/467122313360002/
1983 MK1 Golf GTI Campaign Model - Under (looooong) resto!
1962 Rover P4 80
2002 BMW 745i
2008 BMW Z4 2.5Si
Posted
Old Timer

1980 1.6 GTI - Unintentional Project
 . My little mind is spinning on what way to attack this. Confident I can get a good finish so long as I can get it to stick solidly all round the edges with no creases when I apply seals etc.
 Sent from my iPhone using Tapatalk
Posted
Old Timer

1980 1.6 GTI - Unintentional Project
Sent from my iPhone using Tapatalk
Posted
Local Hero


Andy
LINCOLNSHIRE REGION -†https://www.facebook.com/groups/467122313360002/
1983 MK1 Golf GTI Campaign Model - Under (looooong) resto!
1962 Rover P4 80
2002 BMW 745i
2008 BMW Z4 2.5Si
LINCOLNSHIRE REGION -†https://www.facebook.com/groups/467122313360002/
1983 MK1 Golf GTI Campaign Model - Under (looooong) resto!
1962 Rover P4 80
2002 BMW 745i
2008 BMW Z4 2.5Si
Posted
Old Timer

Great work by Ade at bodytech on the paint and have put details on an image for anyone that is interested in getting help with theirs.


Posted
Old Timer

Fitted roof lining last night still a bit to do but more on that later when I take some pictures.†


Posted
Old Timer


 Headlining Being Fitted
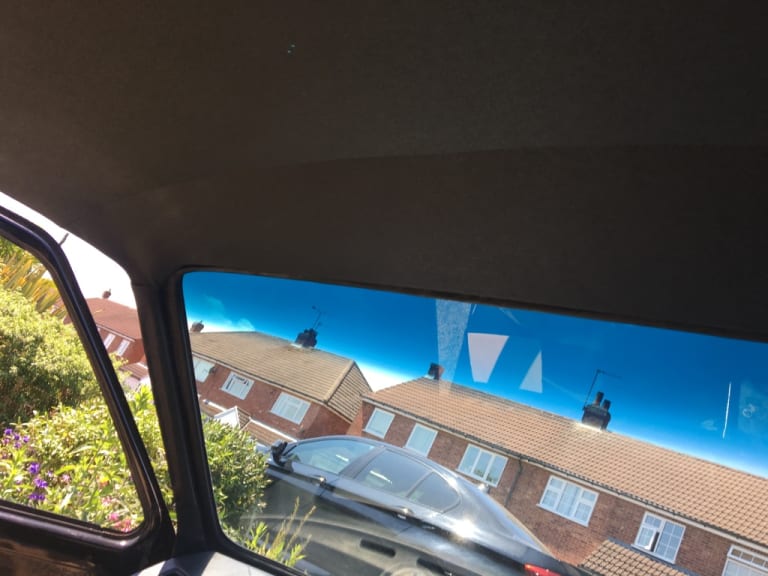
So grew a set yesterday and started the head liner…… Much more pleasurable job than I could ever of thought. This is still not finished but good enough point to share and let others thinking of doing the same gain some confidence. - For the record I have little patience and quite short tempered when things go wrong on the car, have been know to rip parts of in frustration to only end up having to spend a small fortune on hunting a replacement….
Yesterday evening from about 6PM to 8.30PM I manged to fit the main roof lining, A pillar trim parts and the front screen.
Today I have taken 2 hours out and fitted C pillar and B pillar trim on one side plus one rear qtr window.
In theory only about 2 hours to go on this job. It is not perfect but I am really pleased with the results
Tips;
Use spray glue, but mask the car off - I now have to spend some time degreasing and removing old adhesive when i am finished
I left my lining in sun - 25 Deg C yesterday before fitting it, makes it softer to stretch.
Main lining is easier than the pillar fittings.
Fit A pillar, then C pillar then B Pillar as after A you can fit the screen to lock it in place, B pillar fits over the C pillar trim to give a good finish.
Rear Qtr glass was harder to fit than the screen.
Have a sharp blade, scissors, small electrical screw driver and big blunt screw driver.
Small Screw driver can be used to pick the window seals over the trim as you fit them. Big screw driver can push the fabric on the a pillar between the car and the dash. I left a little extra (3~5MM) when trimming this piece (by accident on the first side) and as i pushed it down it flicked under the dash happy days.
Anyway some photos.

Posted
Local Hero


Andy
LINCOLNSHIRE REGION -†https://www.facebook.com/groups/467122313360002/
1983 MK1 Golf GTI Campaign Model - Under (looooong) resto!
1962 Rover P4 80
2002 BMW 745i
2008 BMW Z4 2.5Si
LINCOLNSHIRE REGION -†https://www.facebook.com/groups/467122313360002/
1983 MK1 Golf GTI Campaign Model - Under (looooong) resto!
1962 Rover P4 80
2002 BMW 745i
2008 BMW Z4 2.5Si
Posted
Old Timer

1980 1.6 GTI - Unintentional Project

Sent from my iPhone using Tapatalk
Posted
Old Timer

1980 1.6 GTI - Unintentional Project


Sent from my iPhone using Tapatalk
Posted
Old Timer

1980 1.6 GTI - Unintentional Project
Fitted the bottom first pealing the backing of from underneath as went. This was not easy. Decided to do the other differently so just stuck a corner down and pealed the whole back off and placed it freehand much better line and finish to it. Also much fast free hand. To put it simply be brave when doing it as being too cautious as it leads to mistakes. Good luck to anyone who does this it is not as bad as you think.
Sent from my iPhone using Tapatalk
Posted
Old Timer

1980 1.6 GTI - Unintentional Project
Sent from my iPhone using Tapatalk
0 guests and 0 members have just viewed this: None.


