


Seat Refurb with Pictures (How to)

Posted
#929830
(In Topic #109749)
Local Hero

Seat Refurb with Pictures (How to)
Started of by looking under the seat bases for all the fixing points and seeing how the backs are attached.
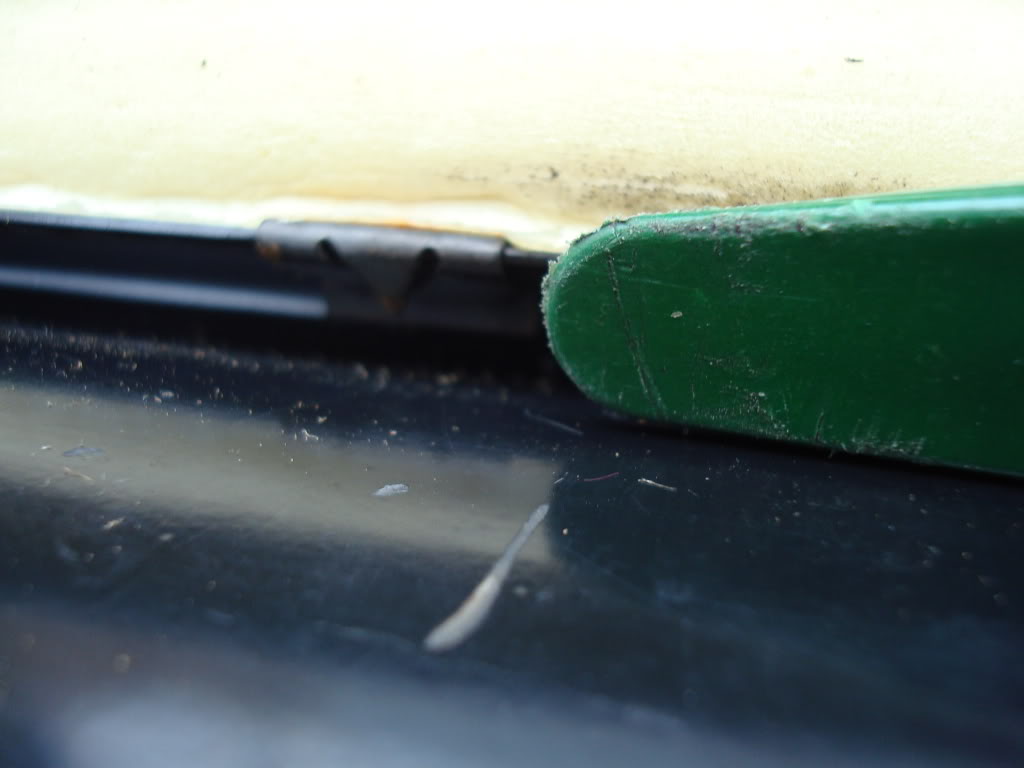
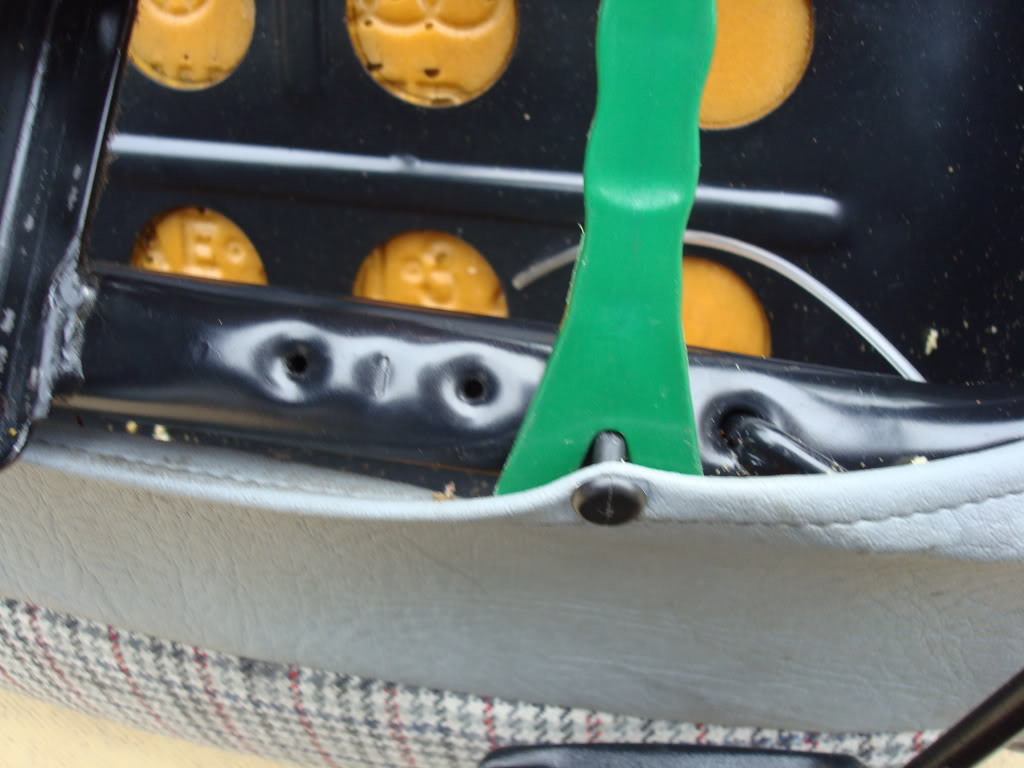
The rear of the seat cover Material is located into a metal channel on the base it's self.
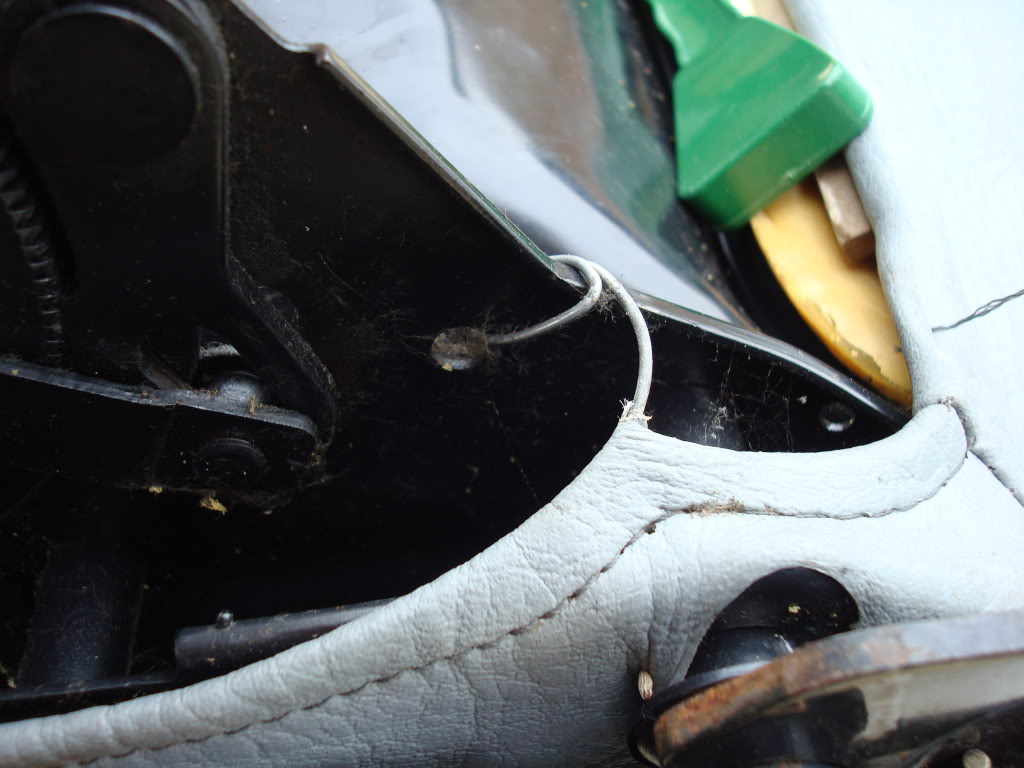
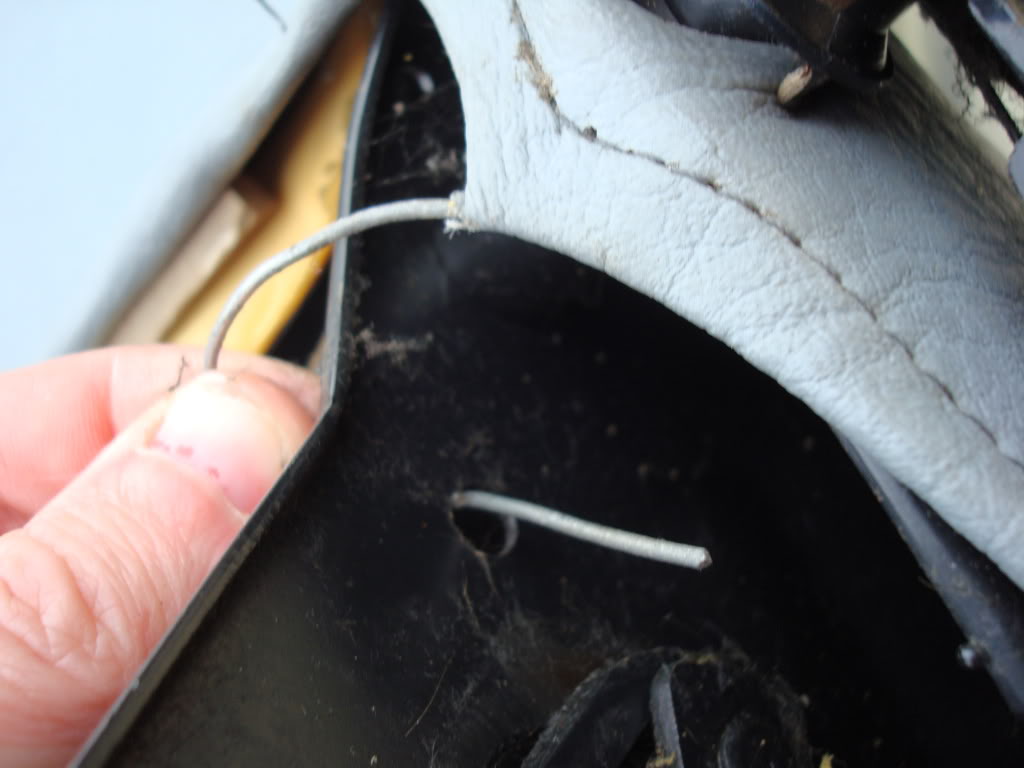
There is a wire that runs through the whole bottom of the material, which eventually wraps around the base. One on the drivers seat had rusted and broke away. It was fiddley to work out the bits of wire out of the material, by chance I found some identical in the shed.
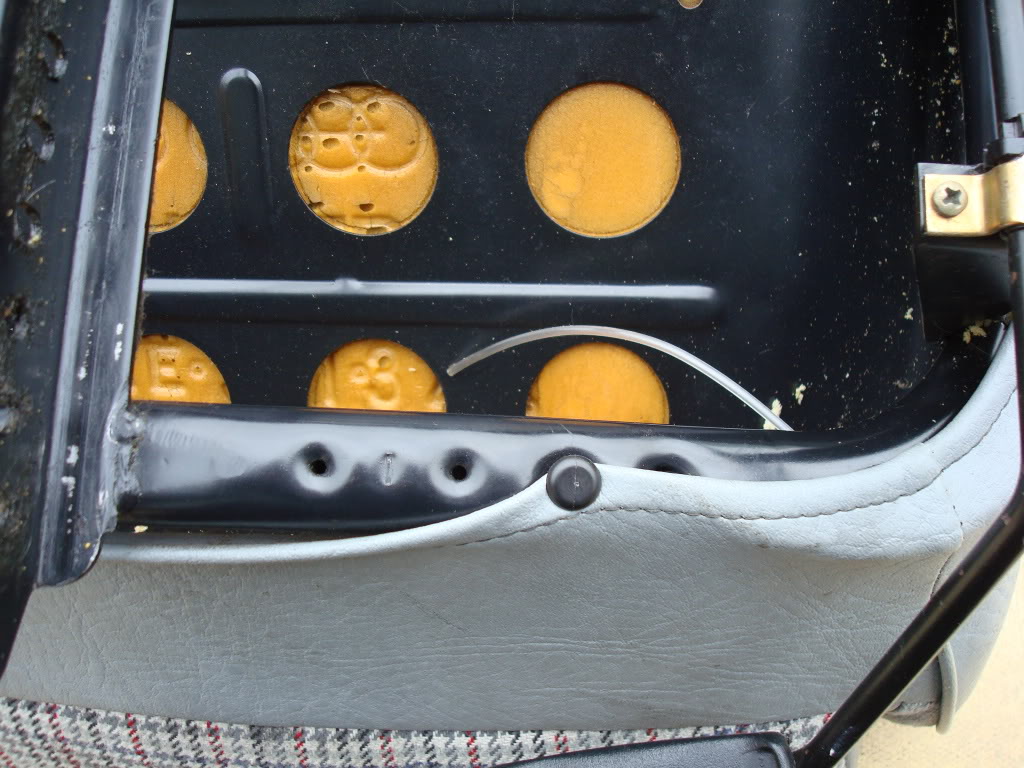
There are 2 plastic studs that hold the front Material into the base frame.
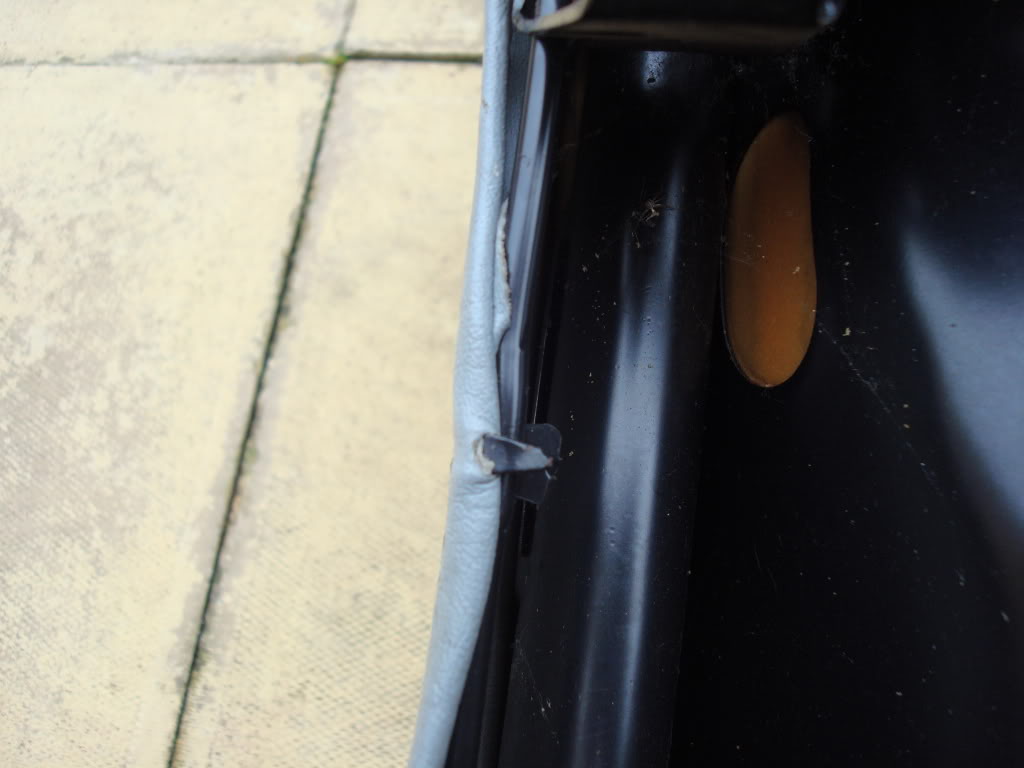
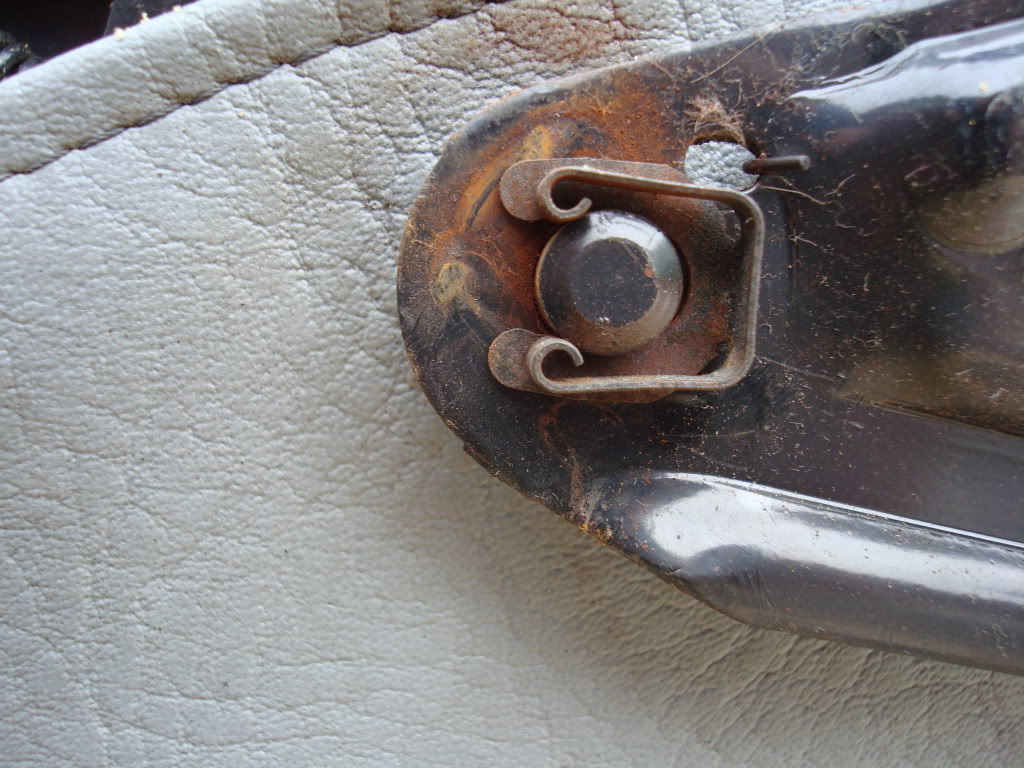
The side Material is located over 2 Metal prongs one either side.
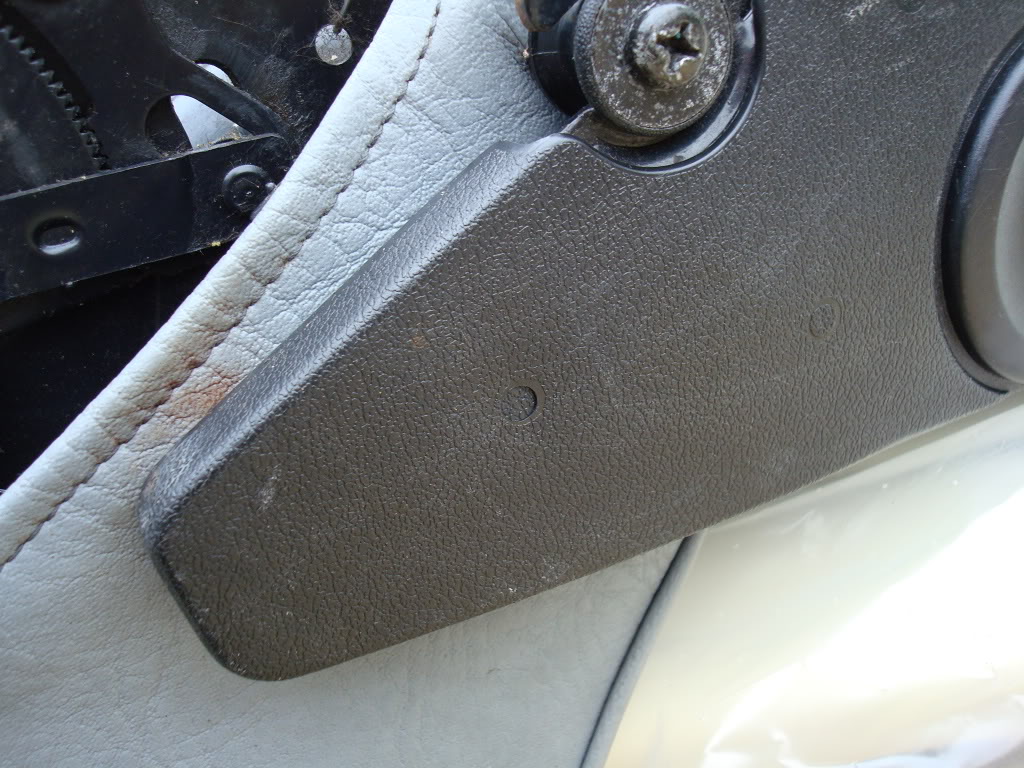
There are 2 plastic shields that cover the seat back adjustment/locking mechanisms. Again one either side.

The shields are held in place with 3 plasic plugs, simply push these through and out the other side. I grabbed them with some long nose pliers.
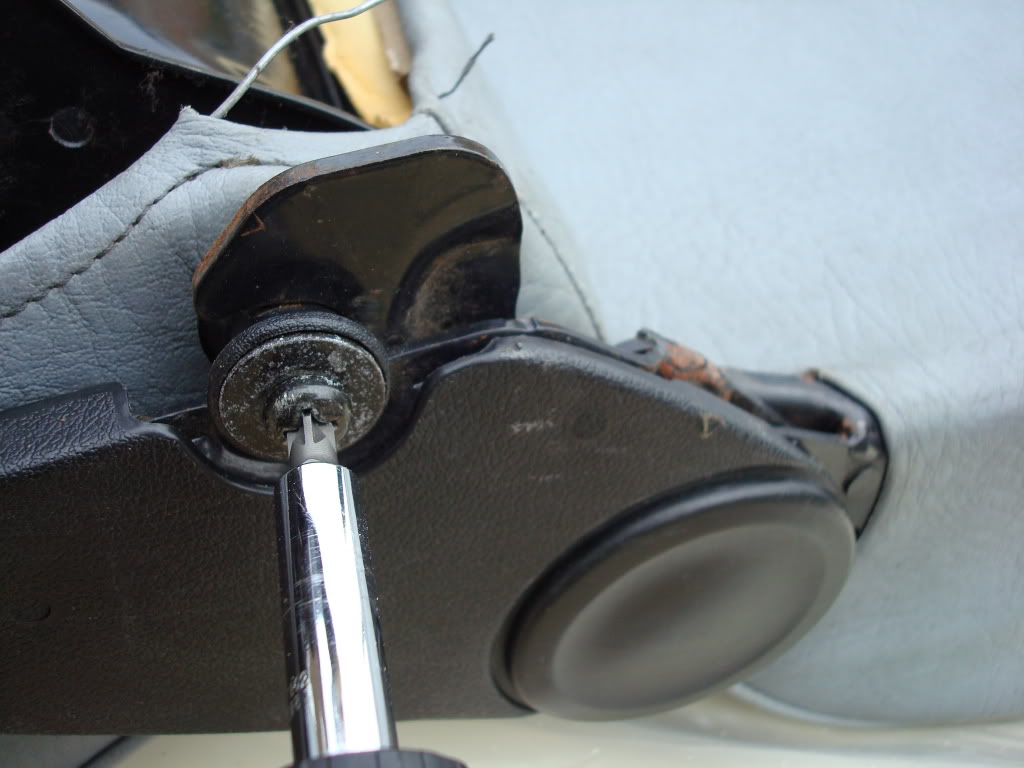
Unscrew the screw that holds the plastic trim that the seat tilt hooks latch on to, as the material is located behind these. they simply slide off.
I used my trim tool to lever out the Plastic studs that hold the material at the front.

simply push the Metal tags upwards and pull the material away from it to release the material at the sides.
Simply un hook the retaining wires from the frame.
With the side shields removed, pull these metal clips off there mounting peg. Next pull the tilt lever catches from it's locking bar, with the seat on it's side, pull the back part away from the base. repeat on the other side.
the seat base should now be seperated from the backrest.
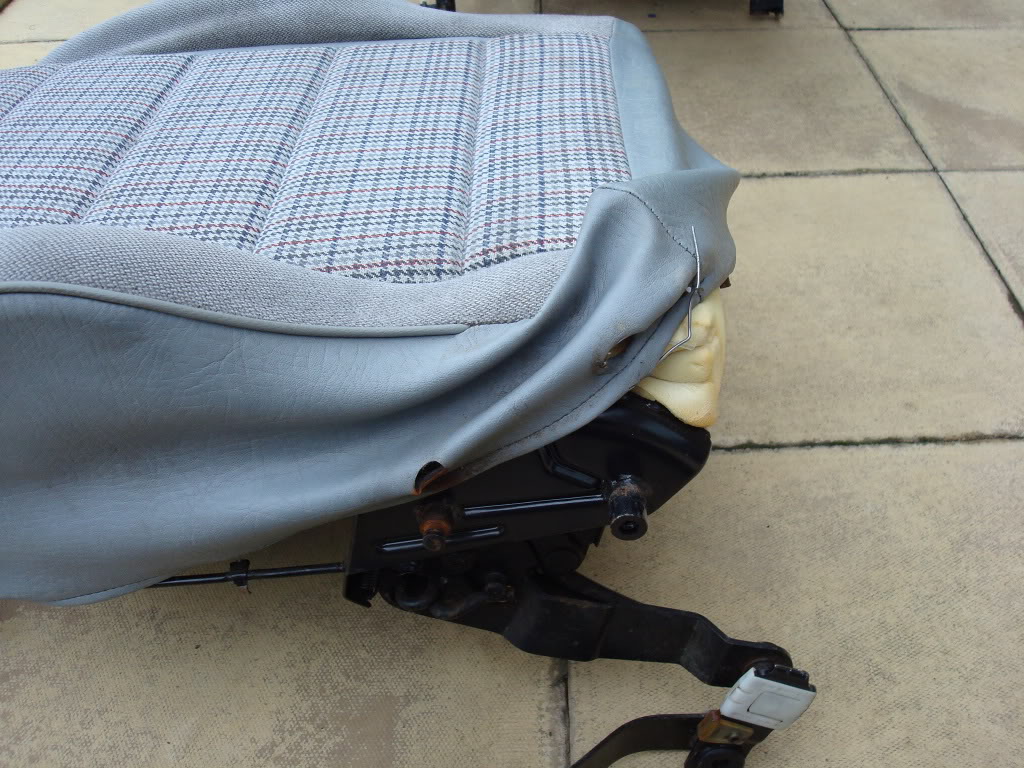
After checking you have undone all the components holding the material down, Ease the seat cover up to free it and lift away by the foam base with the cover attatched, DO NOT TRY AND PULL THE SEAT COVER OFF BY IT'S SELF AS THE SEAT COVER IS ATTATCHED TO THE FOAM BY WIRES.
Gently press the foam down and un hook the metal rods from the seat wires.
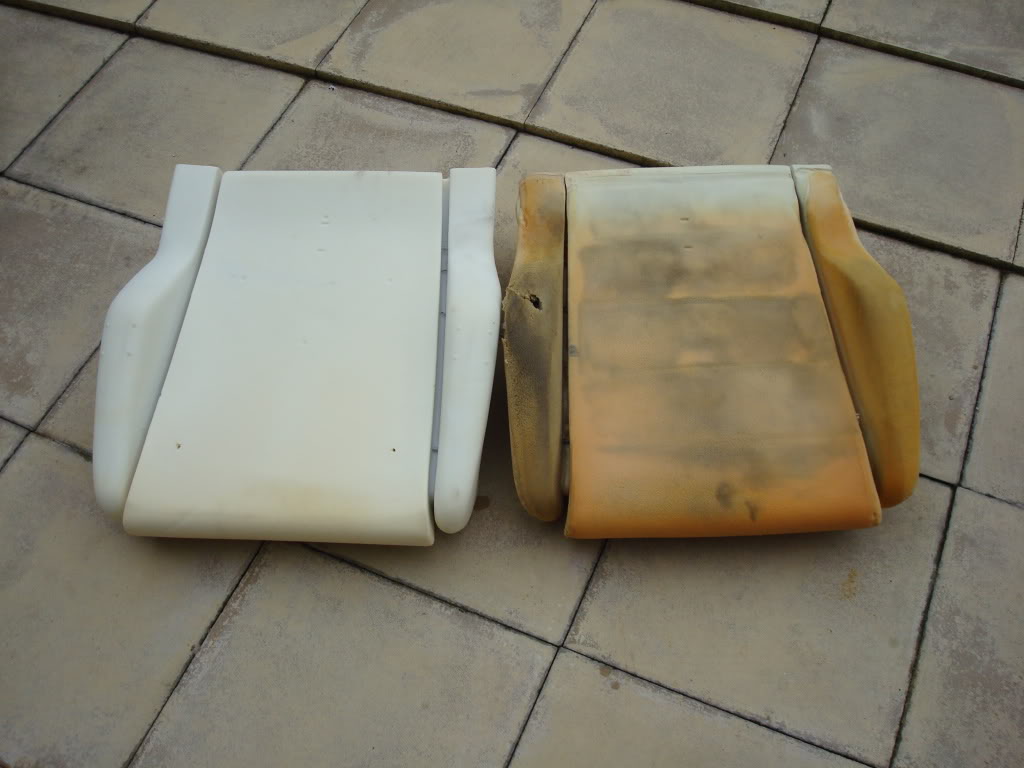
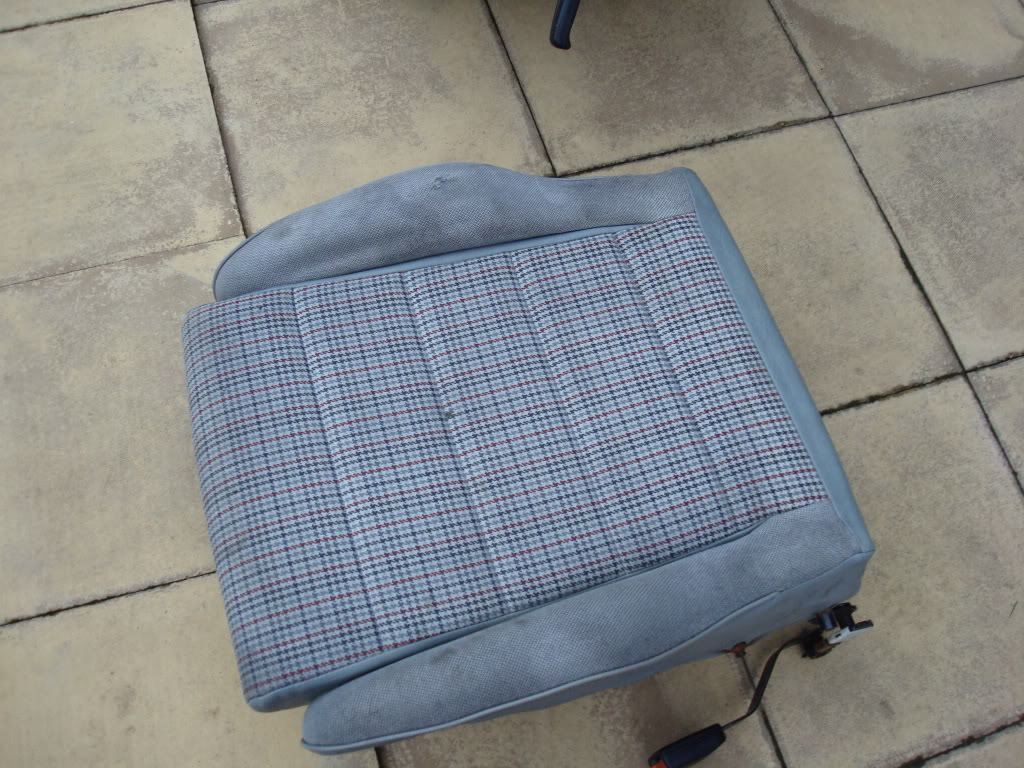
Old and new bases.
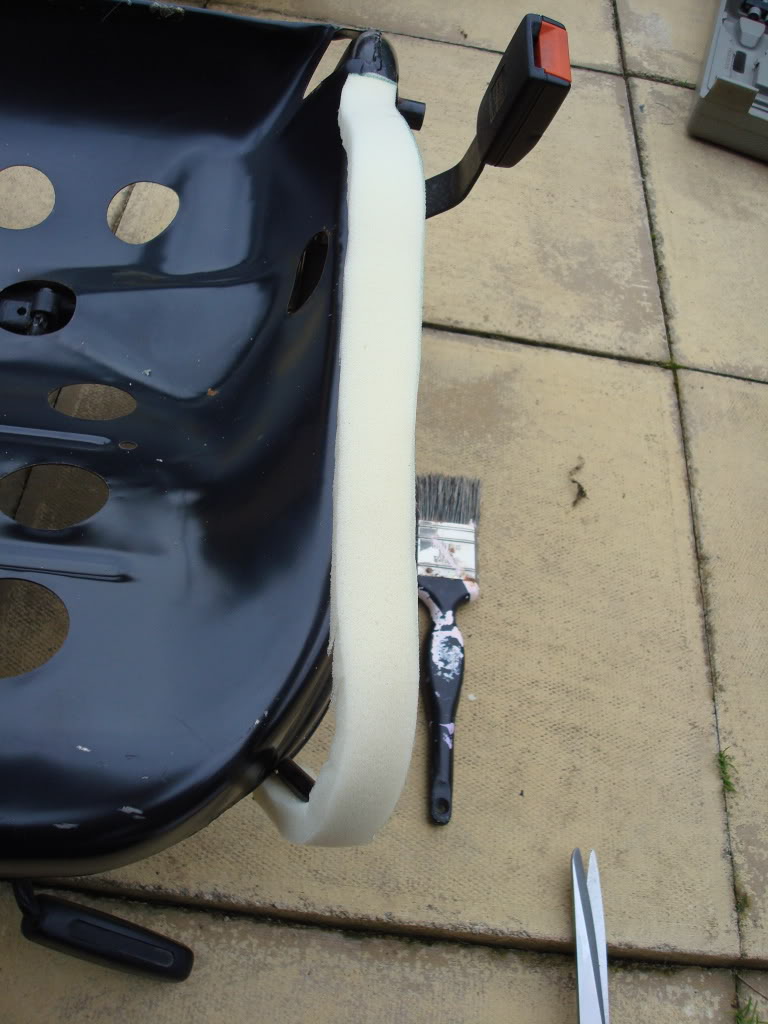
On the Metal side Bars that are inside the bolster, which seem to cause the problem by rubbing against the foam when you get into the car, I decided to glue some stips of sponge, which I trimmed down later, to help avoid this problem.
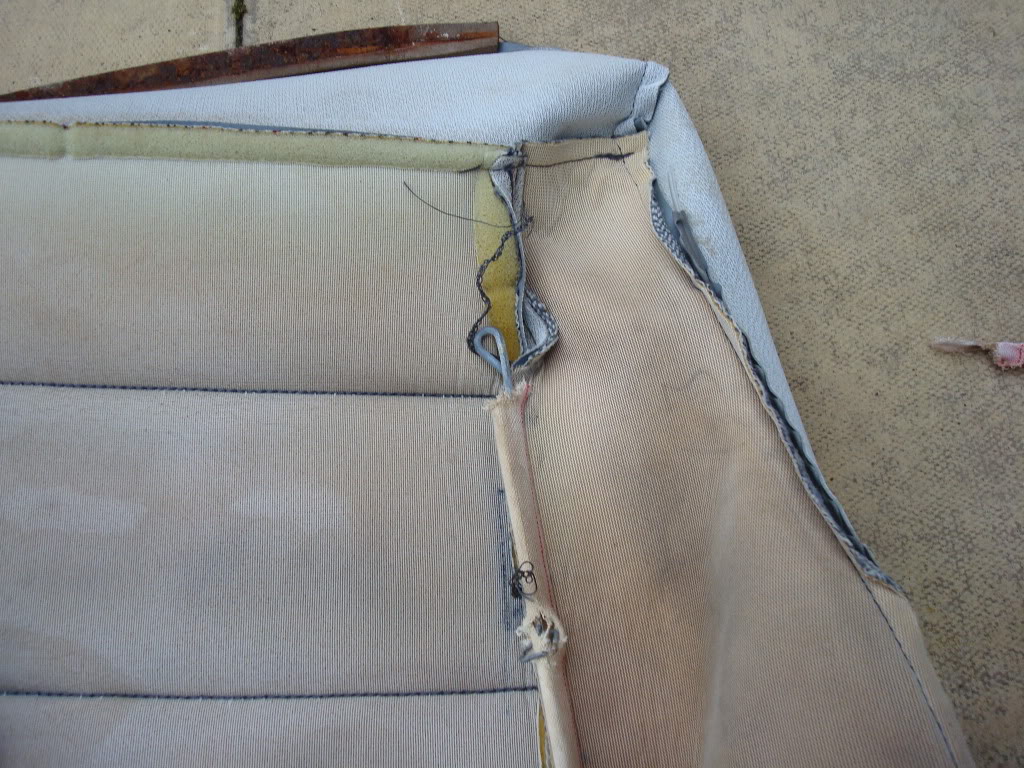
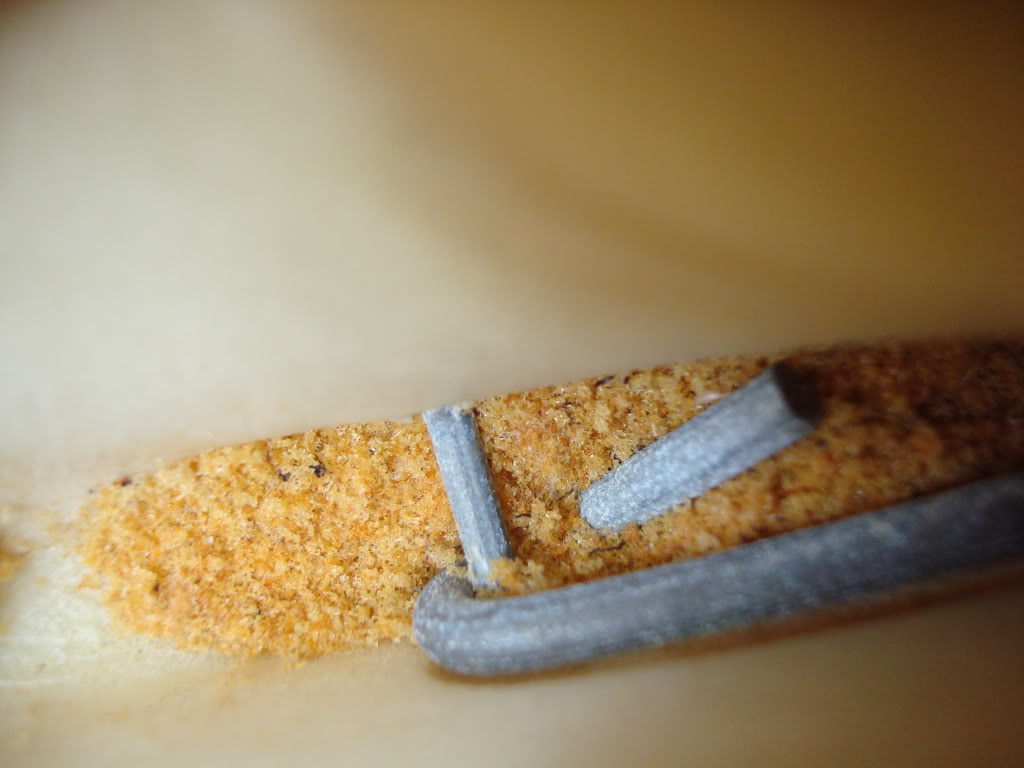
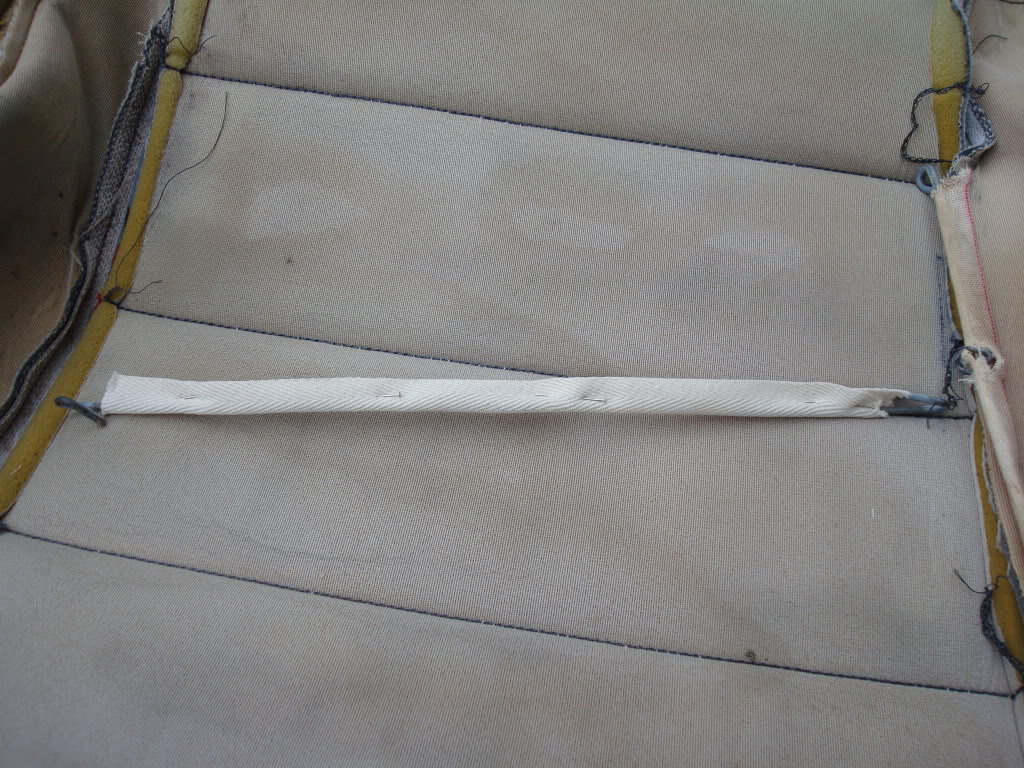
There should be two metal retaining rods that are sewn into the seat seams, they pull the seat fabric into the grooves at the sides of the seat foam, if you look at your seats the seat centre panel should be even and not show much vynil between the seat pad and the side areas, if they are not, it probably is because the material which forms a sleeve to hold the wire down has rotted away.
This was the situation with mine.
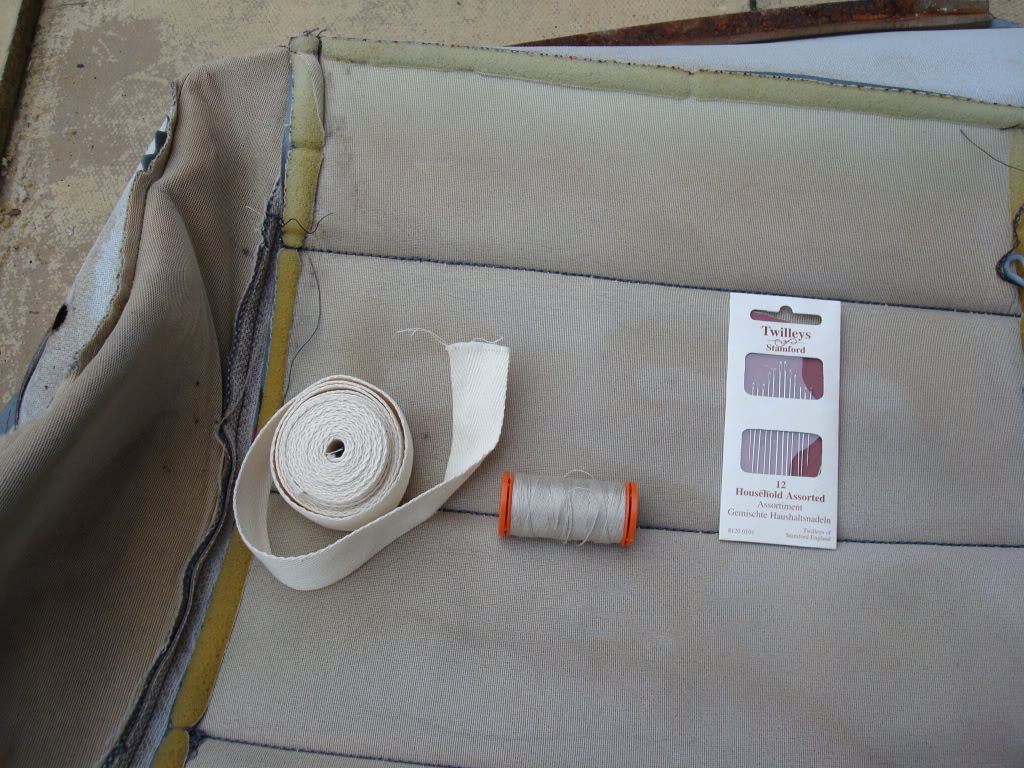
I got out some fabric webbing and some strong thread and remade the sleeves. I would recommend using 50mm wide fabric as you can simply fold it in half.
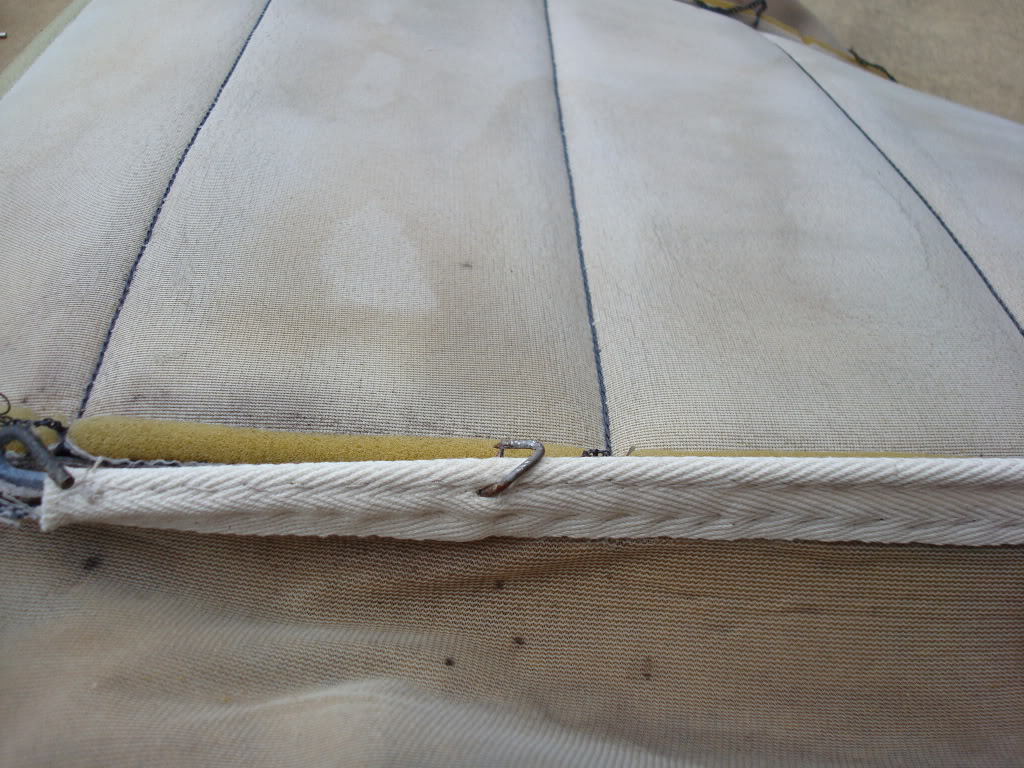
I glued mine with UHU and stitched it back into position on the seat material.
After the glue had gone off, it was into the shower with the old material for a good wash and scrub up. I pretreated the seat material with Vanish to start to break down the dirt.
After drying it was time to re attatch the material back into the seat foams, This was easier with the seat cover turned inside out, once you have one end located gently squash the foam down wards until you can locate the hooks onto their respective wires that are moulded into the seat foam.
Place the foam complete with the cover onto the metal base and gently ease the cover over making sure that it fits properly.
To finish off turn the seat upside down and replace all the various fittings, pulling the cover snuggly over the side retaining spikes, plastic plugs at the front and folding the reatining strip into the Metal channel at the rear.
Re attatch the seat back.
Repeat for the other seat.
I then Aqua vacced the backs so they were nice and clean, now ready to go back in the Cabby.
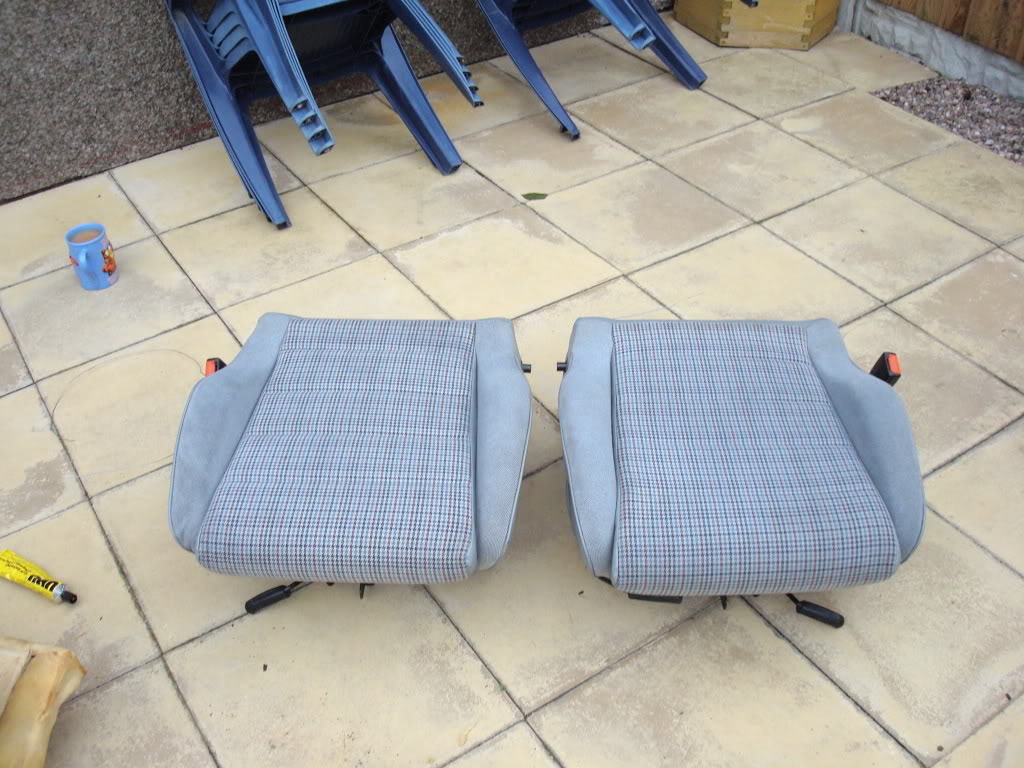
Stand back and admire your handy work.
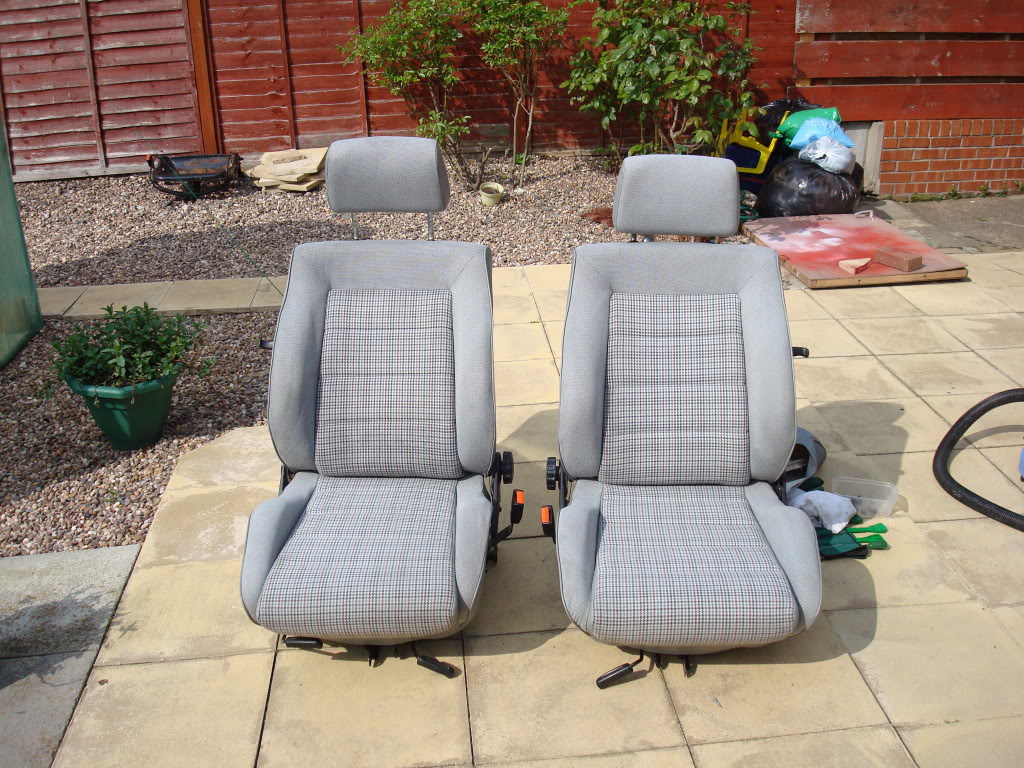
JOB DONE!!!!!
"Making Cabbies More Beautiful One Roof at a Time"�
Posted
Old Timer

 how long does it take from start to finish.
 The brew looks good aswell :roll:
Posted
Local Hero
I had a donor set of seats as well. The Material on both drivers bolsters were severly worn. I used the cover off the donor passenger seat to put on the drivers side to make up a good seat all round and it meant that I could still use the Car.
I have got to swap the passenger backs as the one in the cabby has some rips in the vinyl.
To be fair it took all day as I had not done this before, I took my time had about 5 cups of tea and took notes and piccies.
I took the car to the trimmer and he estimated between �250.00 and �350.00 to do the job.
I rang VW and checked if they did the foams which he said doubt it, I asked him to kindly check and there was 4 showing on the system, they are �78.00+vat each.
Decided to have them, I haggled some discount etc and got the pair for �139.00 inc vat. plus the cost of the spare interior at �40.00 the total has come to �179.00, I had all the other bits knocking about.
That's a good saving in all, plus the experience was good.
"Making Cabbies More Beautiful One Roof at a Time"�
Posted
Local Hero
"Making Cabbies More Beautiful One Roof at a Time"�
0 guests and 0 members have just viewed this: None.