


nose dive - rebuild 16v - Update page4 - now painted.

Posted
Settled In

nose dive - rebuild 16v - Update page4 - now painted.
hibbs said
i weld up the sides on my cabby looked great took a while and back ones were abit of apain had to strip out back seats as didnt want door cards on fire!!!cabbydave on here is doing the the same conversion at the mo last time i saw it had engine in and was about to put the gti petrol tank which he said aint a nice job !!good luck with it alll
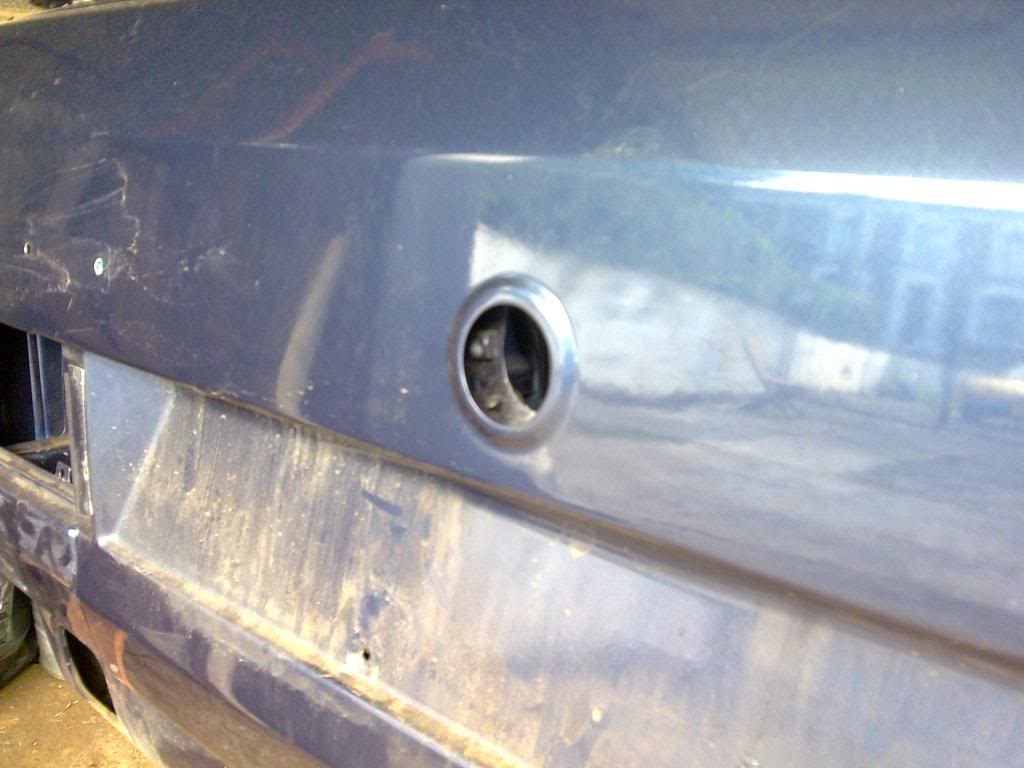
what you mean weld up the sides?? where the side strip trim holes are??
hmm. i thought of that originally but loads of people have said that it's difficult to get looking right? unless they were on about smoothing the recess altogether??
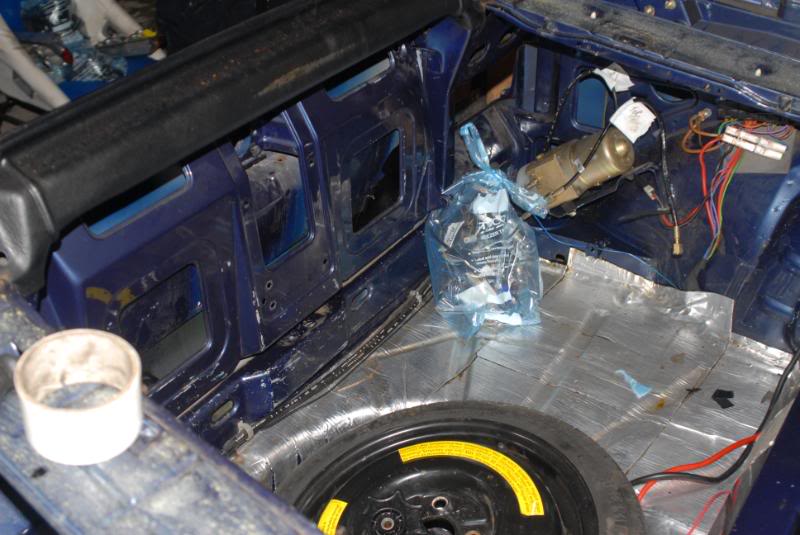
i'm not going to put a gti tank in as i've just bought a brand new cabriolet tank. so i'm going to get hold of the lift pump and main pump from a gti cabby (anyone got a set?? cash waiting..) and fit that into the new tank. I think they're the same anyway.. it's just that the gti has a lift pump and sender in the tank as opposed to just the sender.
Posted
Settled In
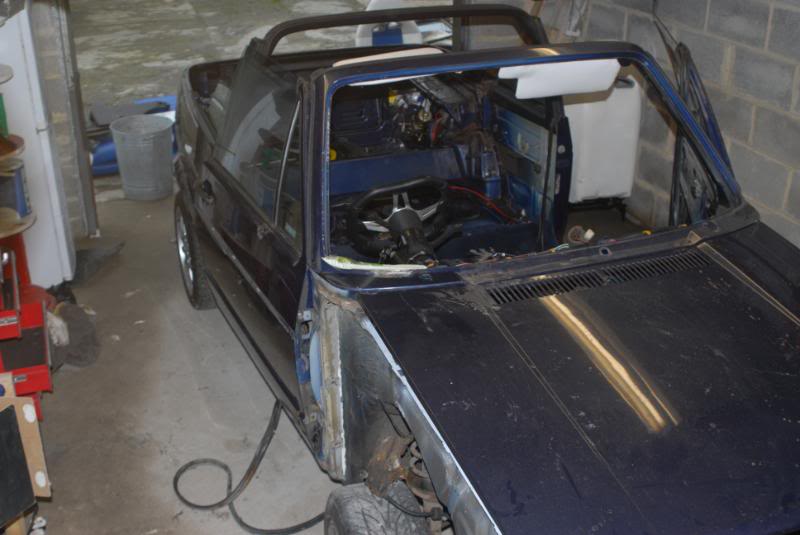
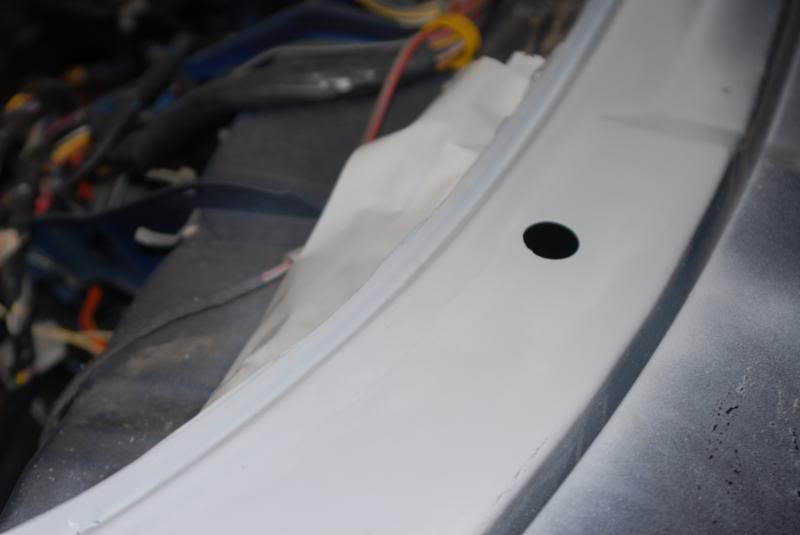
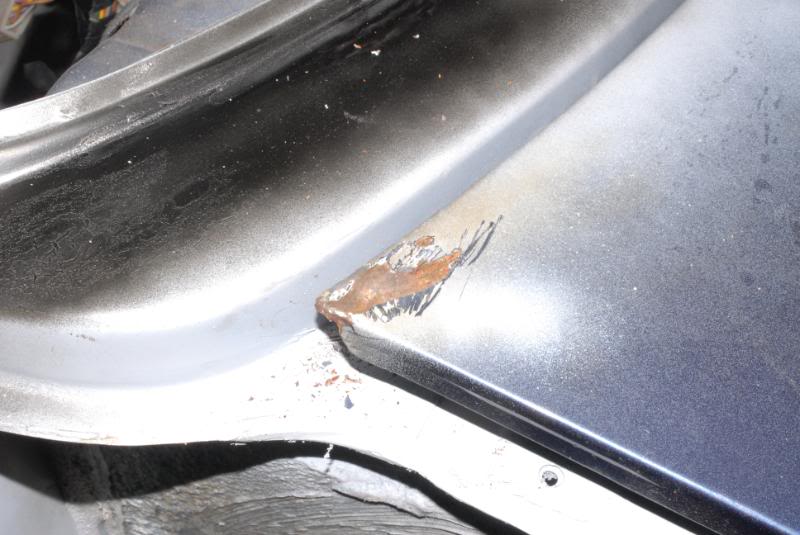
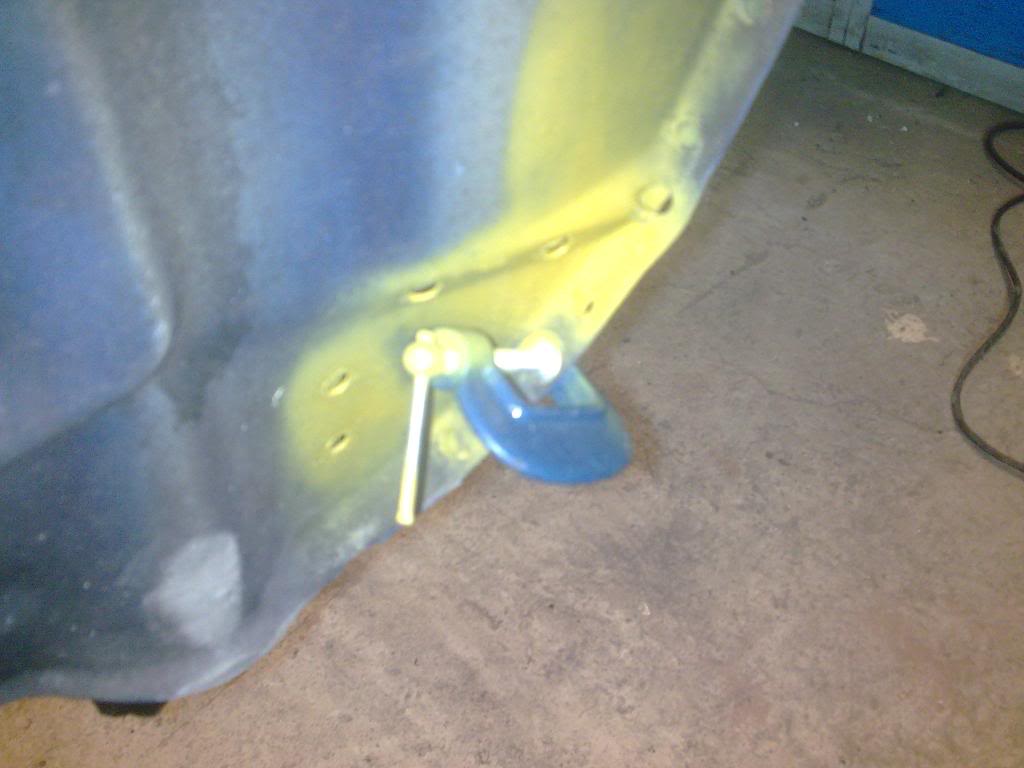
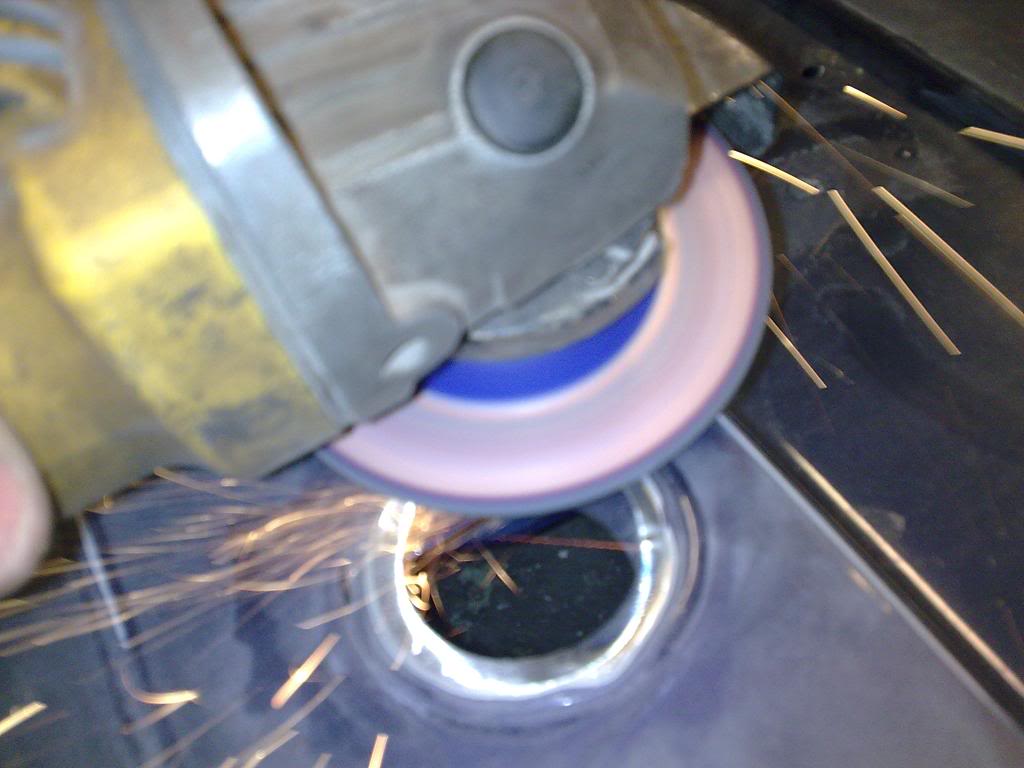
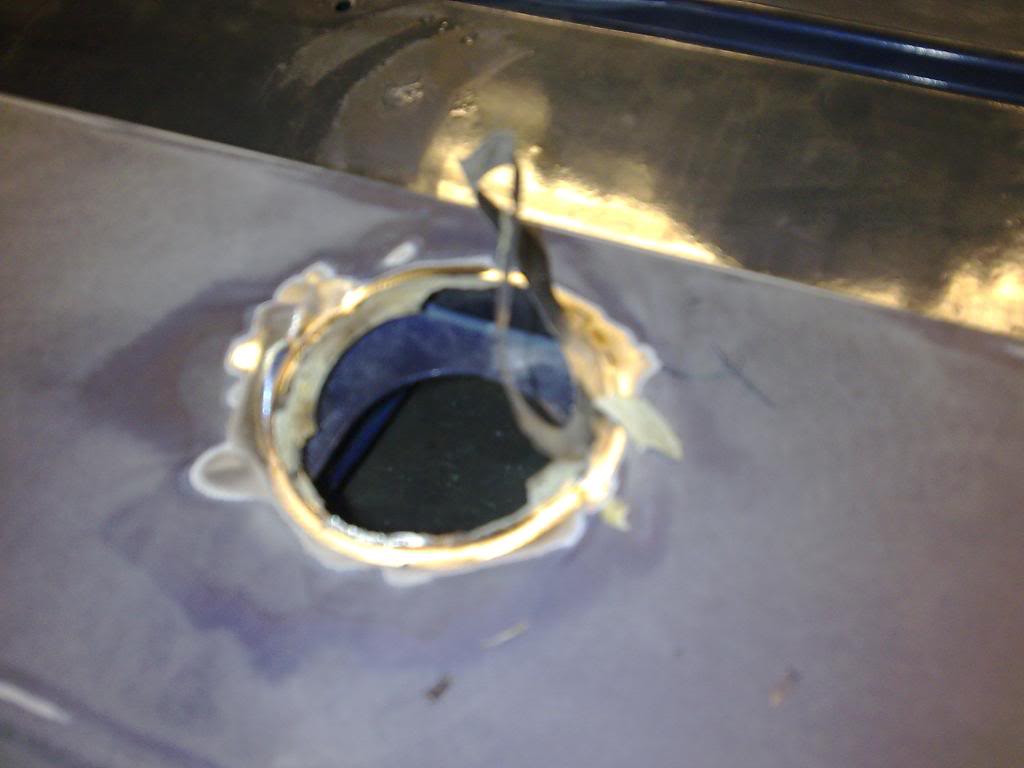
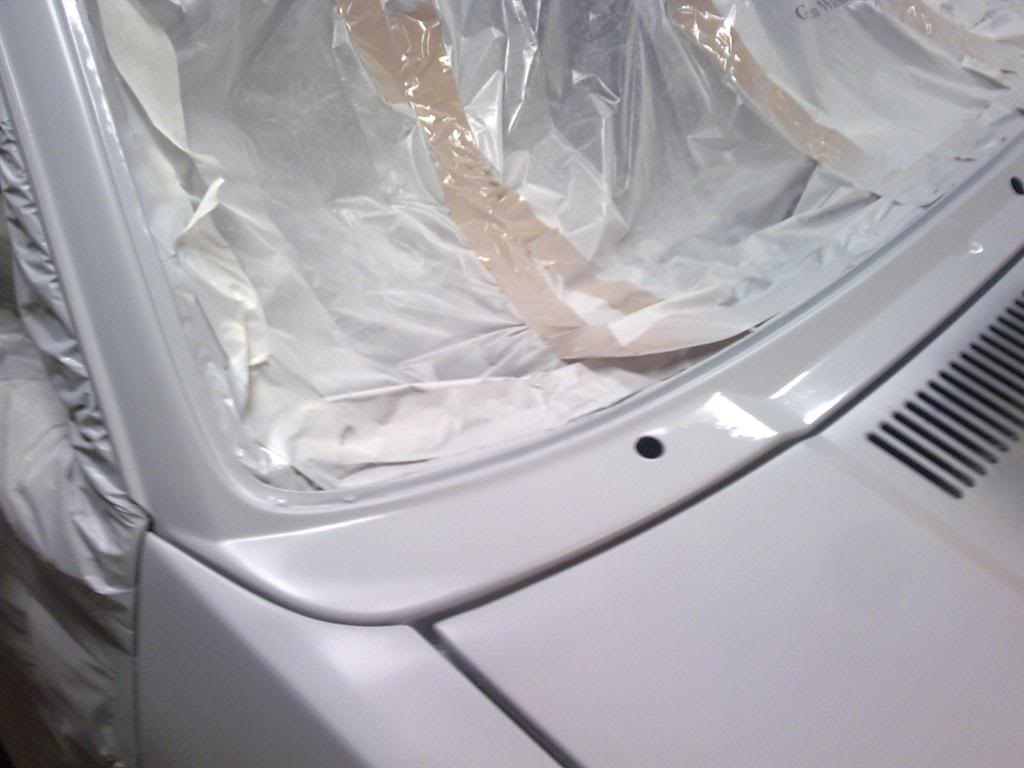
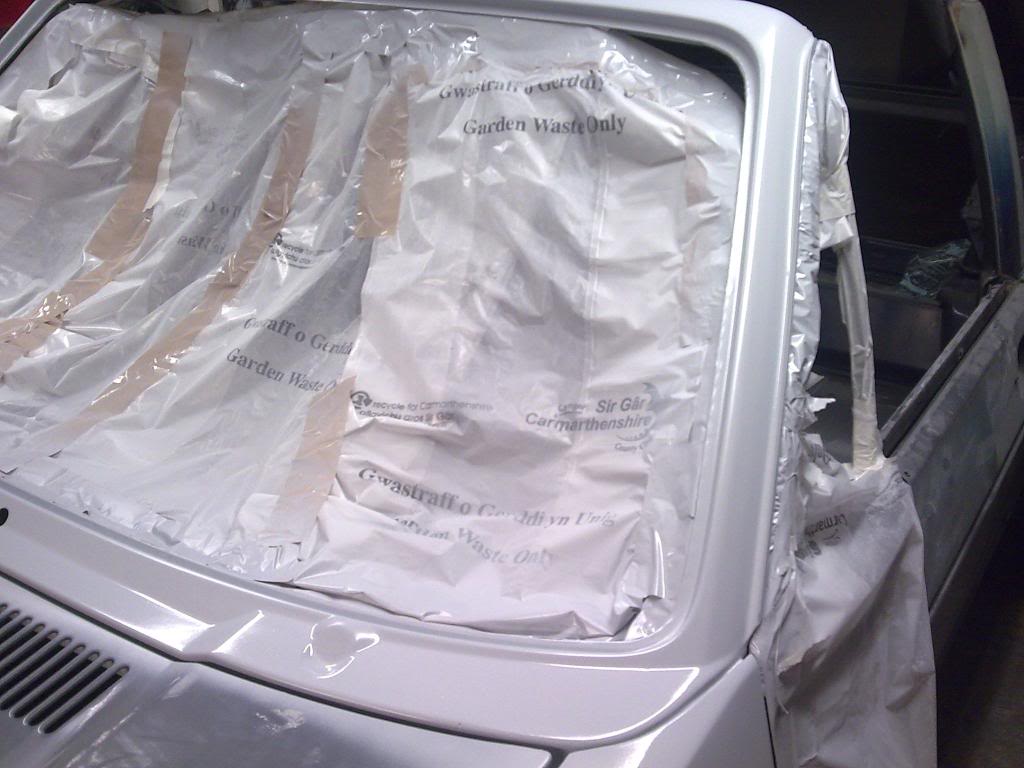
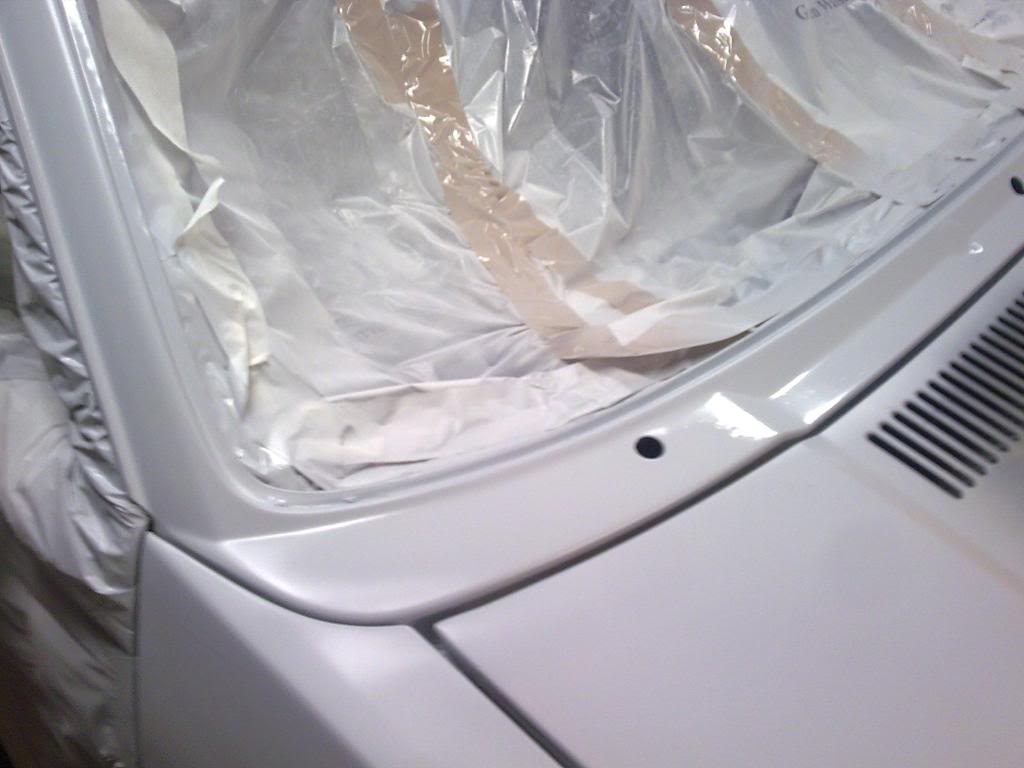
i removed it as carefully as i could. it broke. bugger.
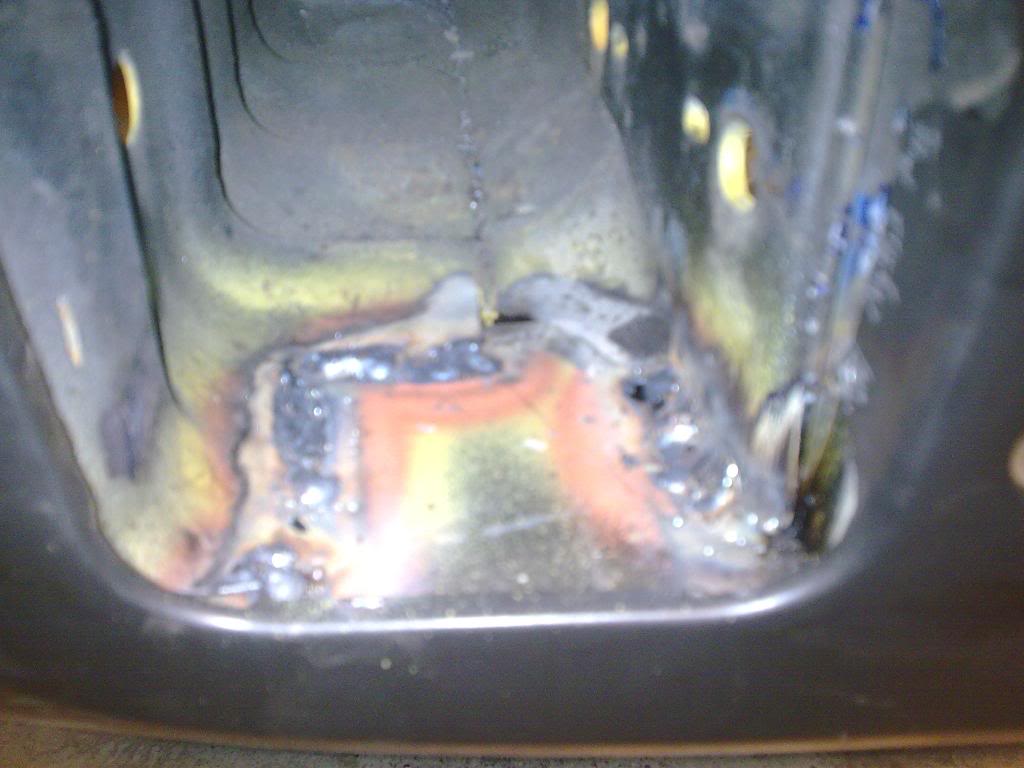
but then i got on with repairing a rust hole under the windscreen rubber.
heres how i got on (apologies for the blurryness).
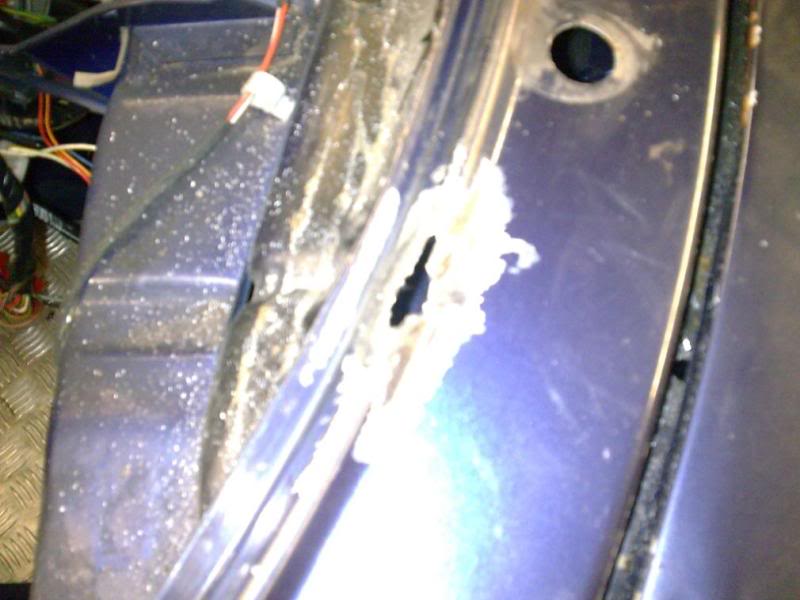
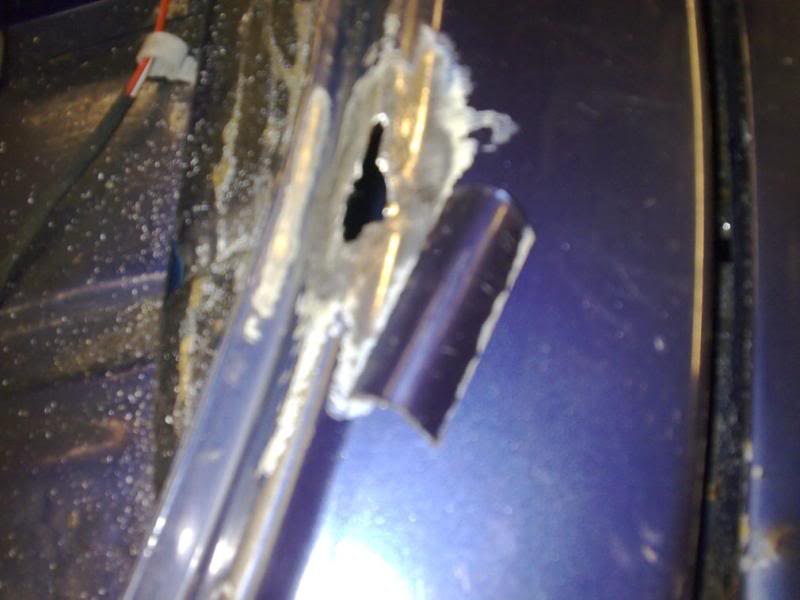

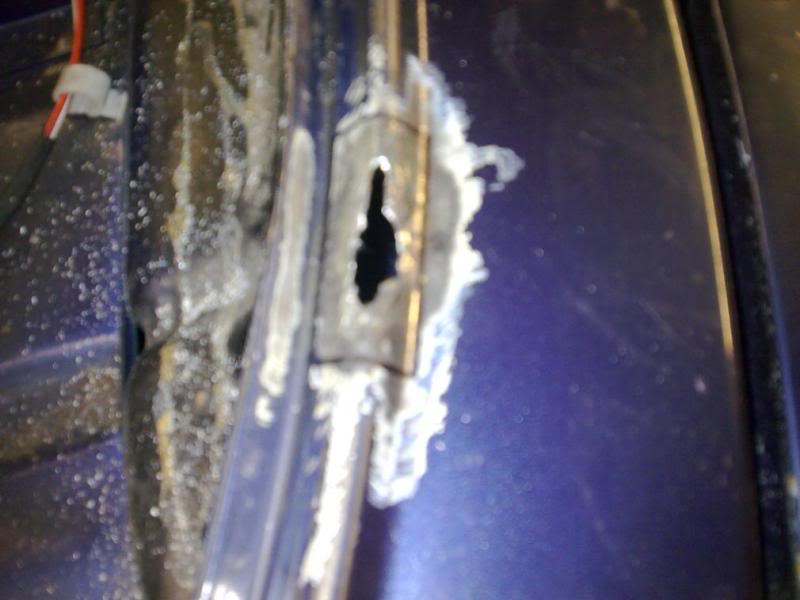
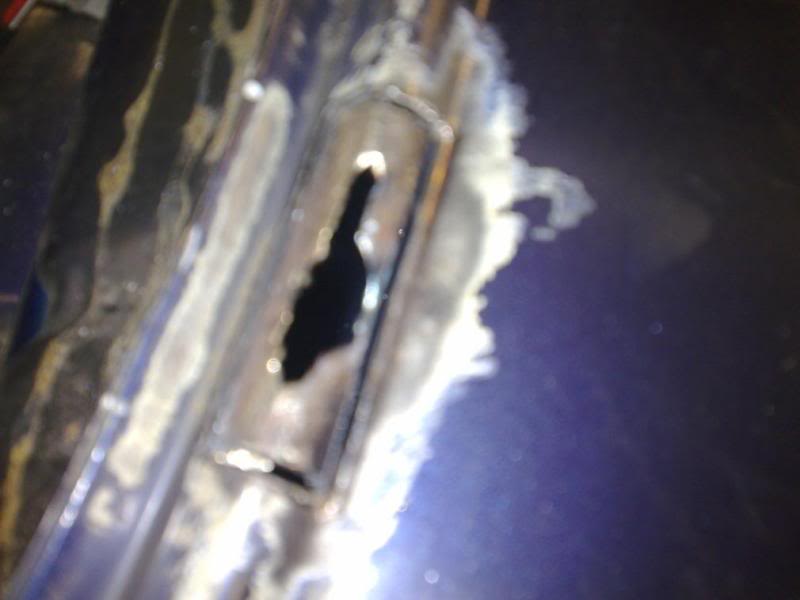
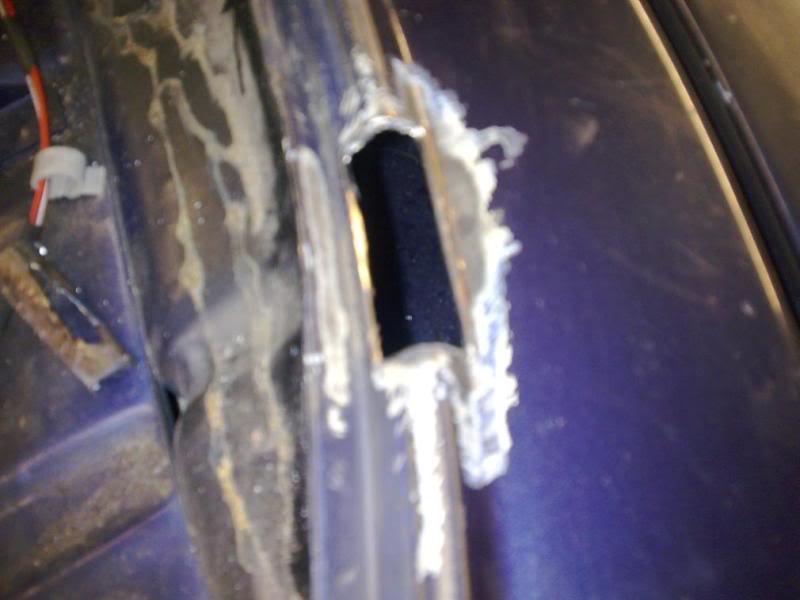
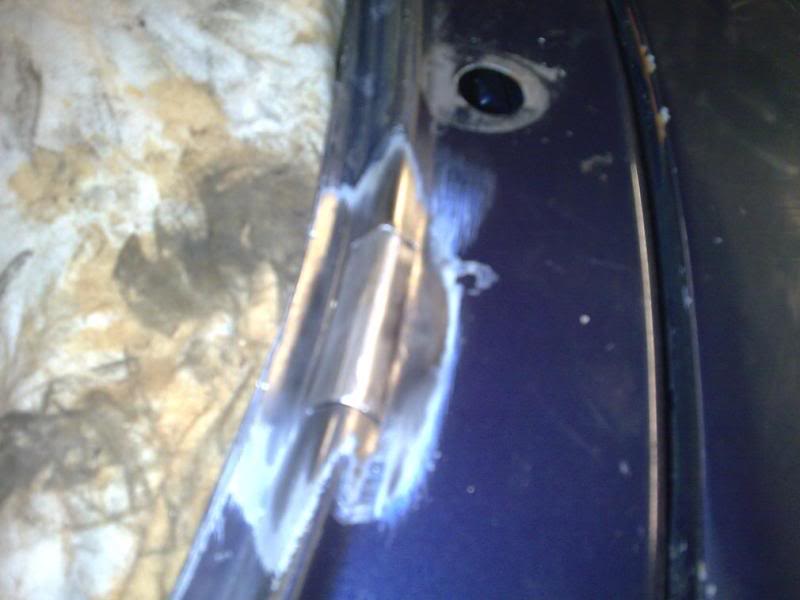
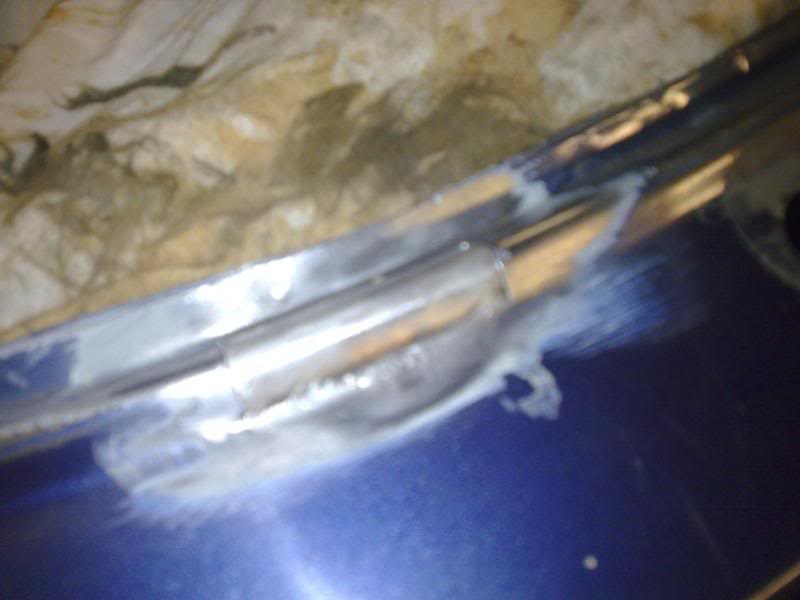
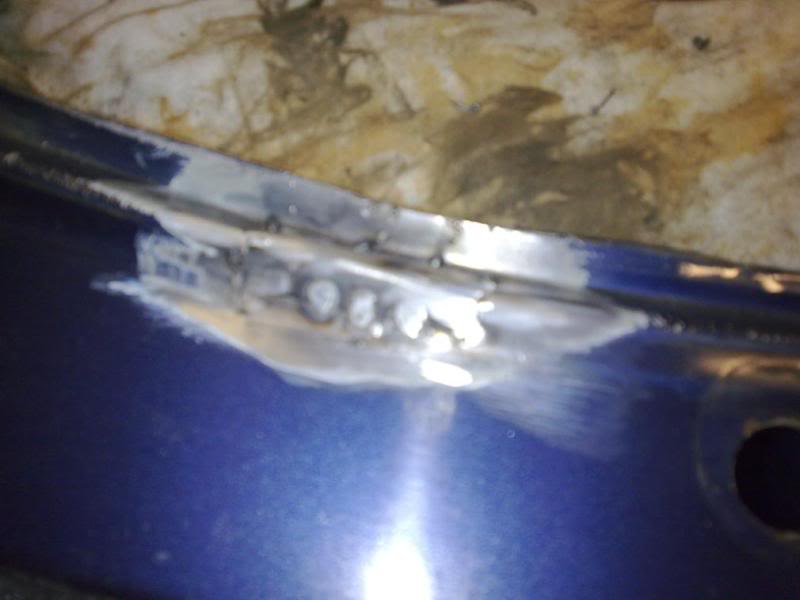
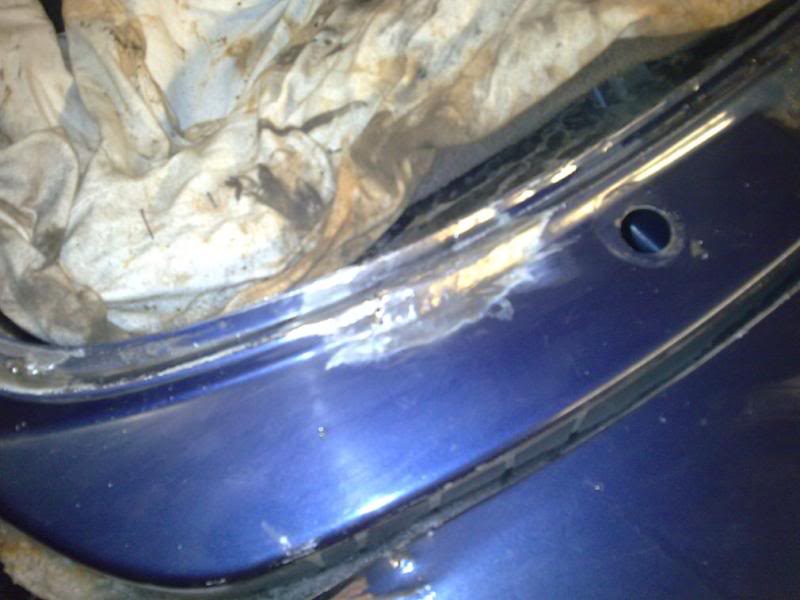
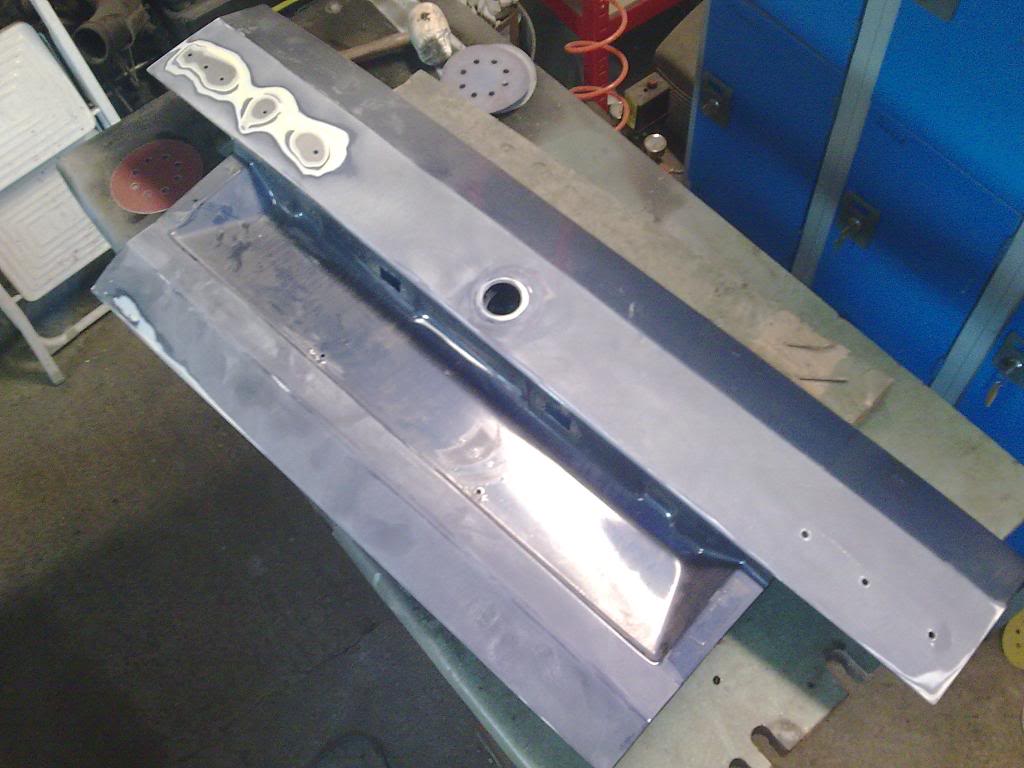
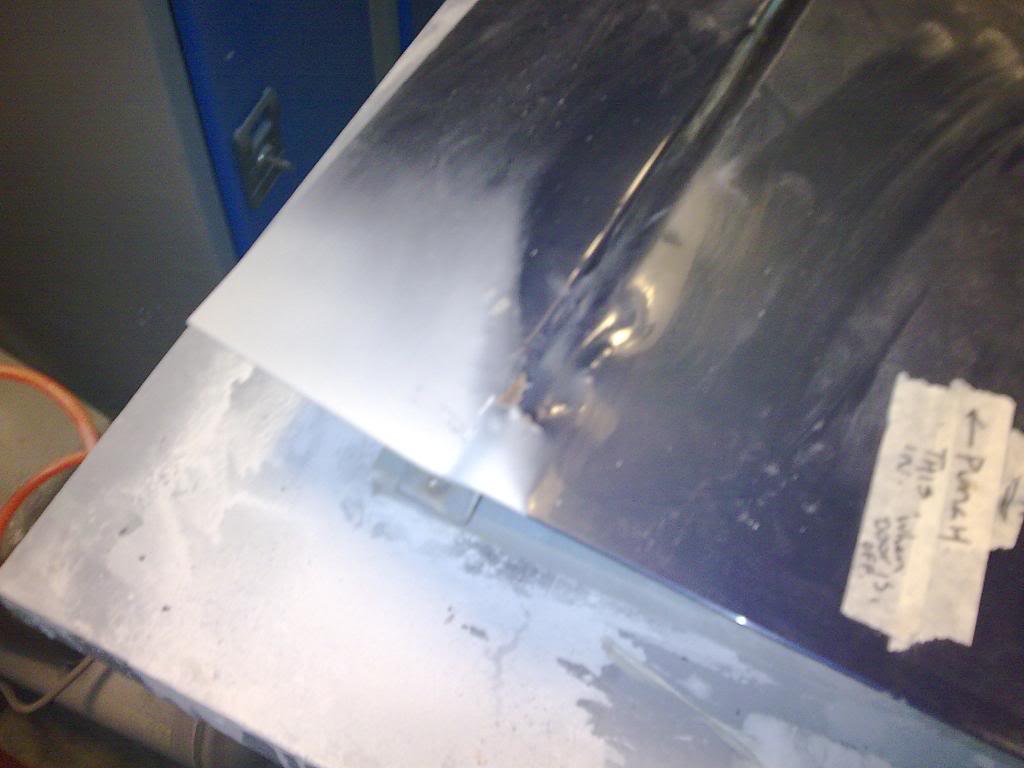
I chopped the bit of metal out of one of the knackered and bashed up front wings. Had a similar radius to that used on the windscreen. just needed a bit of bending in a vice to get it closer.
Not bad for my first bit of MIG welding! EVER! :mrgreen:
Posted

Settling In

Either that or ban her from leaving the house.
Posted
Settled In
dedface said
Man, you need to sack the missus you have.
Either that or ban her from leaving the house.
Well it's her car aswell so she was as gutted as i was!
At least no one hurt - and it's fun putting it back together!!
Posted
Old Timer

Chriselias272 said
hibbs said
i weld up the sides on my cabby looked great took a while and back ones were abit of apain had to strip out back seats as didnt want door cards on fire!!!cabbydave on here is doing the the same conversion at the mo last time i saw it had engine in and was about to put the gti petrol tank which he said aint a nice job !!good luck with it alll
what you mean weld up the sides?? where the side strip trim holes are??
hmm. i thought of that originally but loads of people have said that it's difficult to get looking right? unless they were on about smoothing the recess altogether??
i'm not going to put a gti tank in as i've just bought a brand new cabriolet tank. so i'm going to get hold of the lift pump and main pump from a gti cabby (anyone got a set?? cash waiting..) and fit that into the new tank. I think they're the same anyway.. it's just that the gti has a lift pump and sender in the tank as opposed to just the sender.
Side trim looks alright removed if you take your time
Speeding is like masturbation, everyone does it ,but it's not something you should record and put on the internet!!
Posted
Settled In
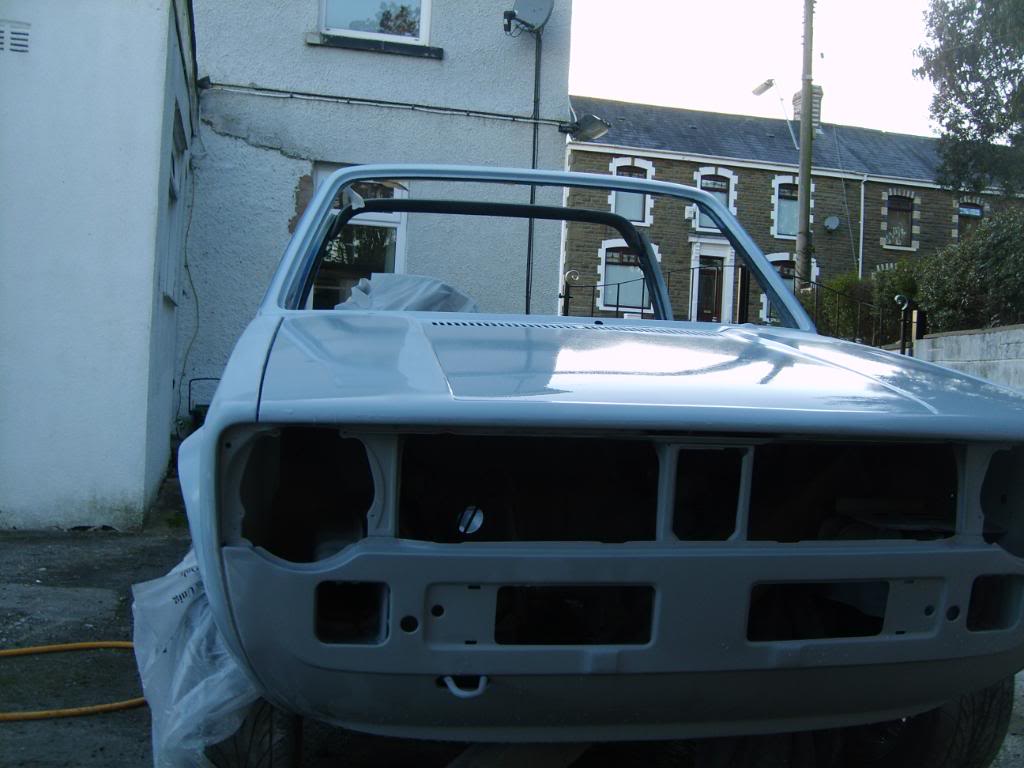
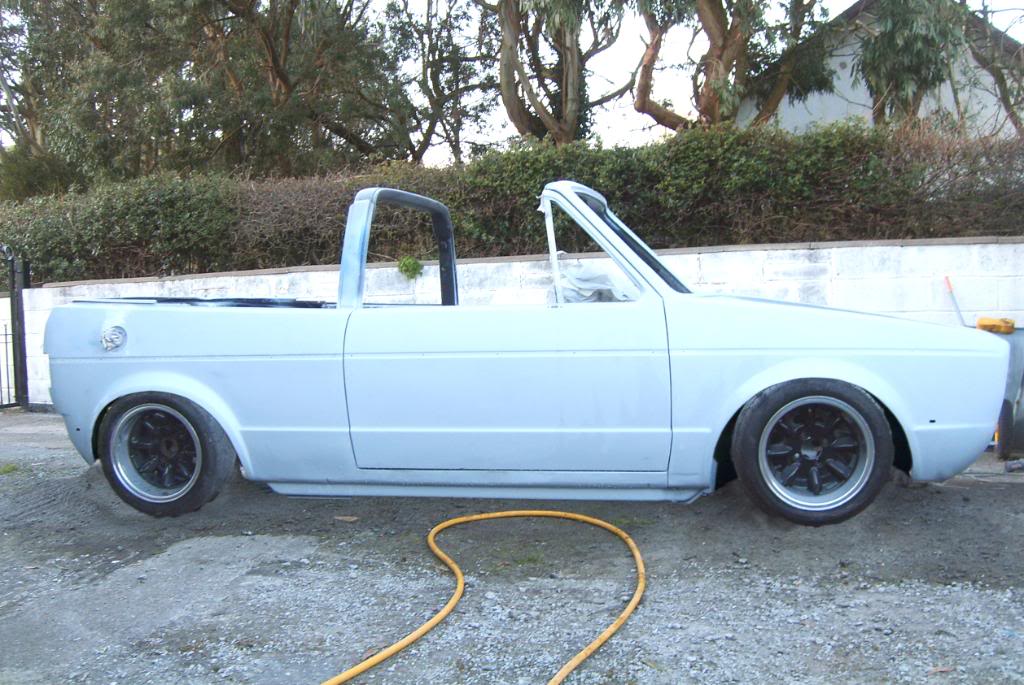
Aiming to get it resprayed in the next 6 weeks!!!!
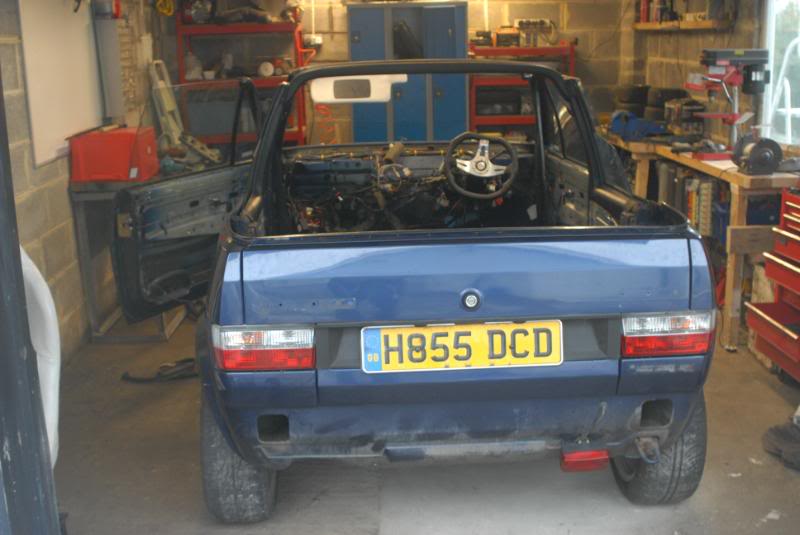
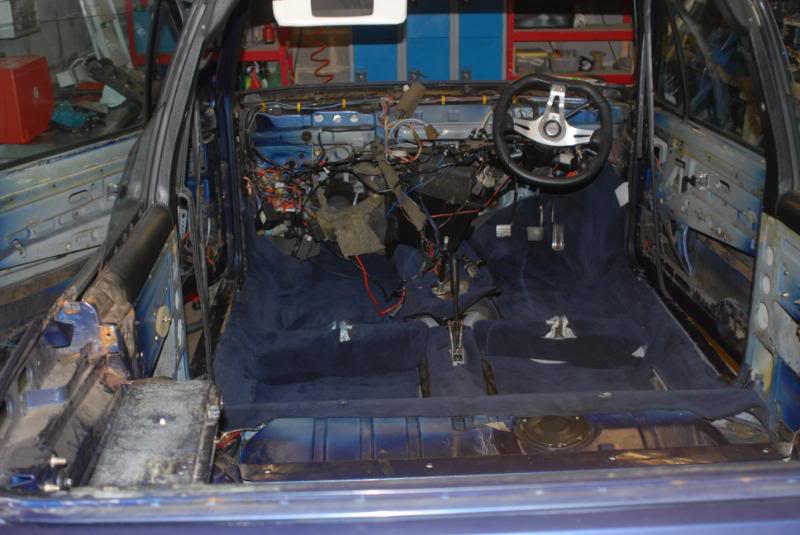
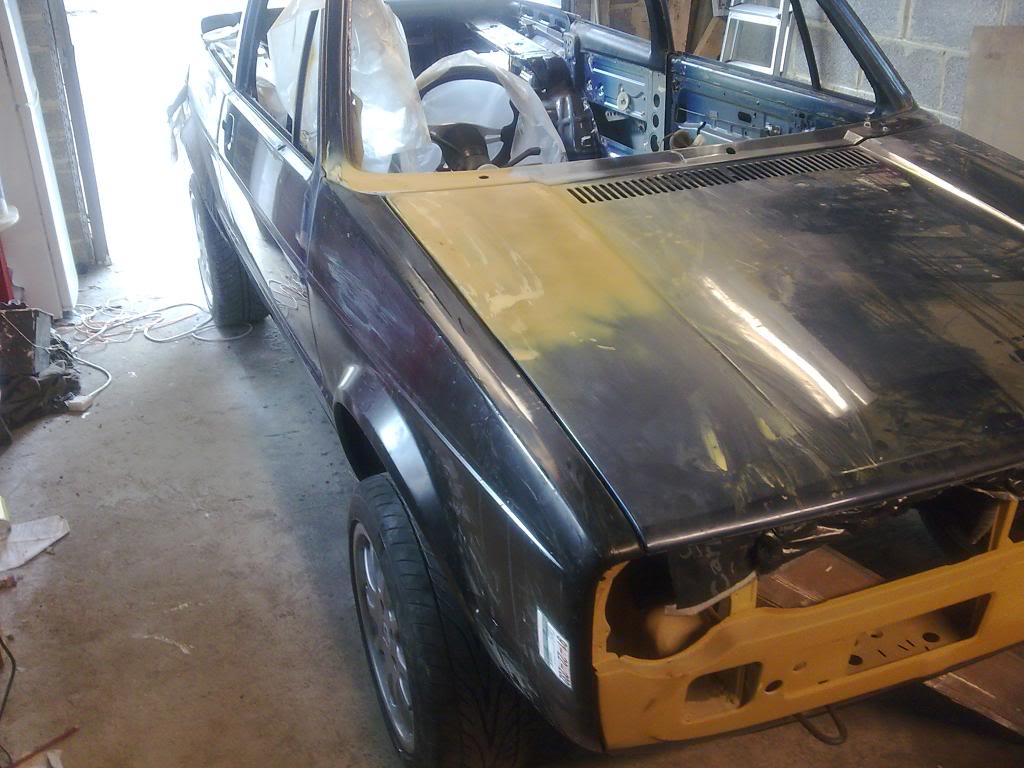
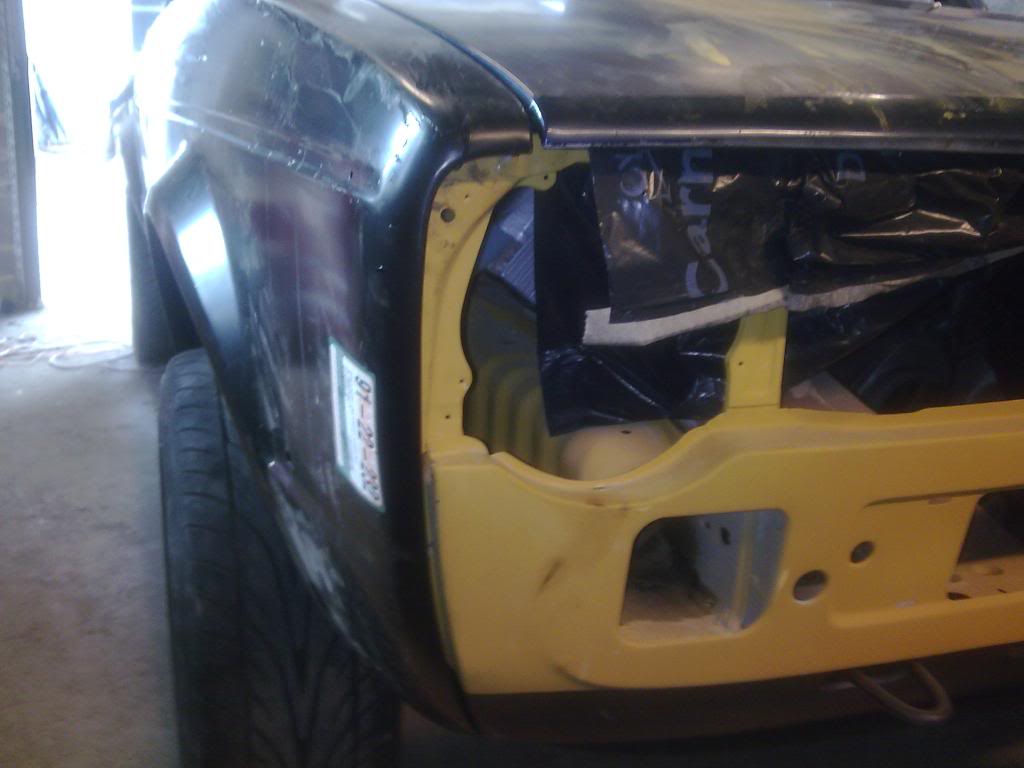
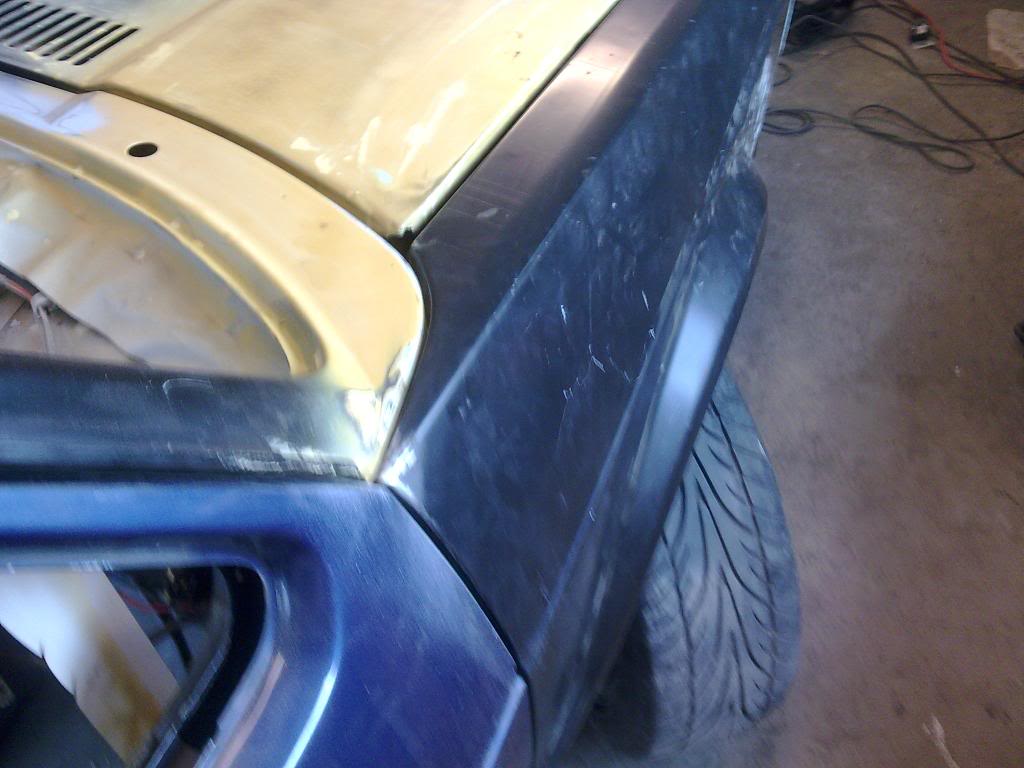
The attic is now full and the car now looks something like::
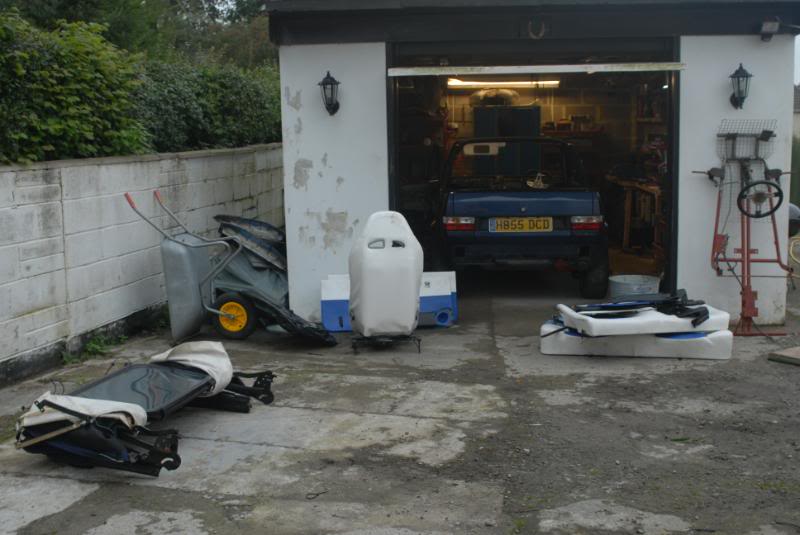
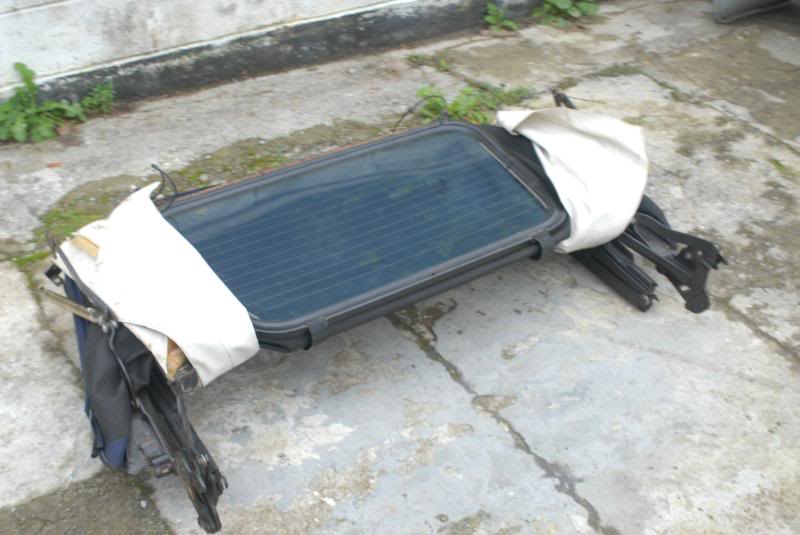

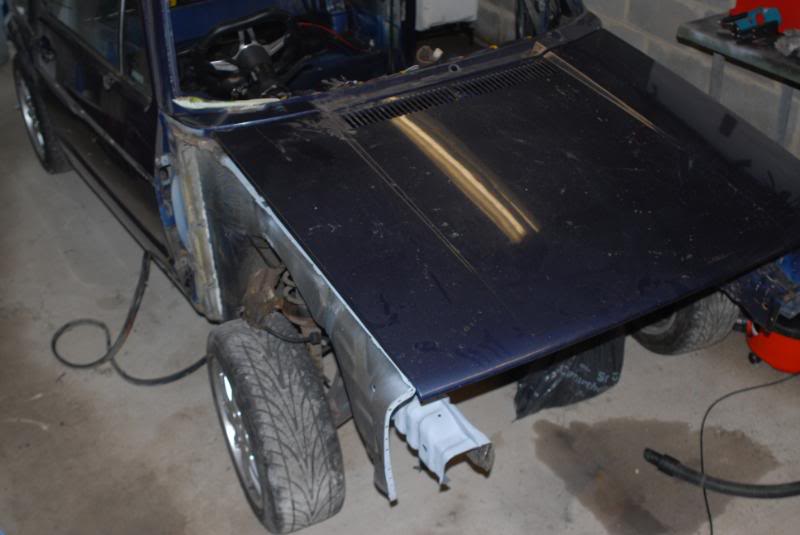

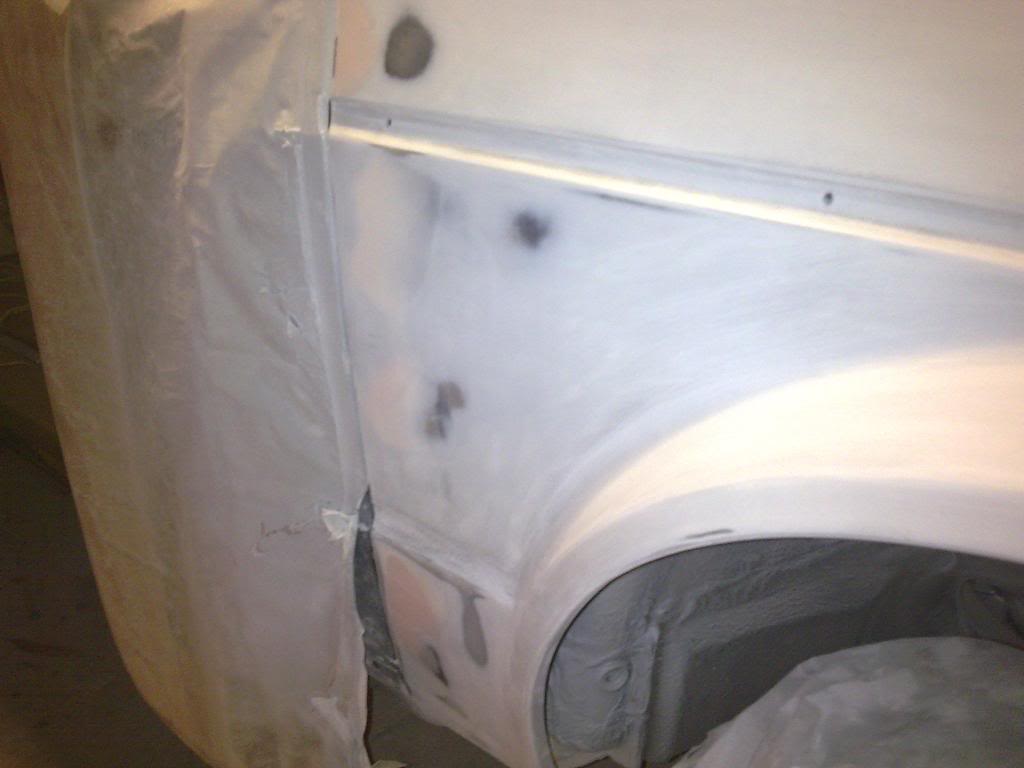
I nearly finished off the window repair (needs final sanding):


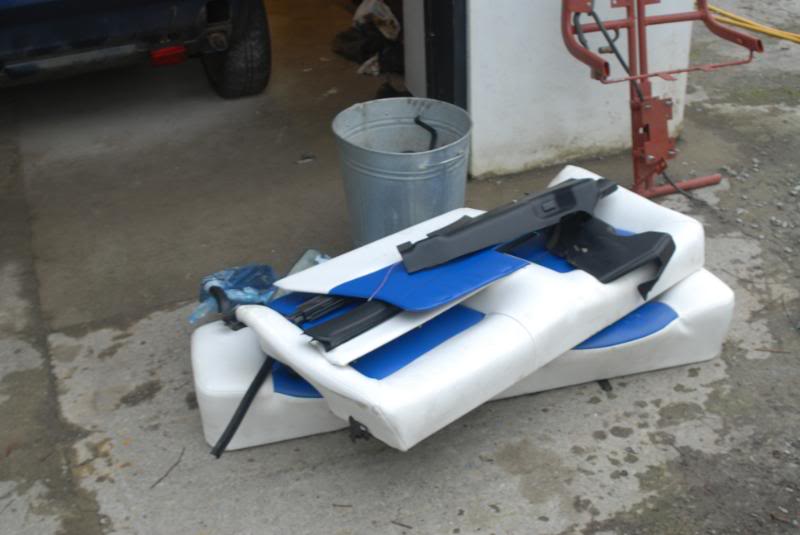
and tonight i've been to pick up a nice (old) set or Recaros tonight - pics up soon.
So if anyones after a pair of blue and white Cobra Bucket seats let me know!!

Posted
Settled In
perfecto..
Good job
Posted
Settled In
Re: perfecto..
blancomcr said
Kudos on your window sill repair. I have exactly the same prob. Has it worked out ok? Im really struggling to get the screen out…how rare are the window seal rubbers do you know? I think i may just chop it out…in fact YEAH….i shal chop away tonight. Mine is in exactly the same situation as yours at the mo (wish i had a garage like yours though grrr envy envy).
Good job
Right - i crack my windscreen trying to do it on my own. Don't cut the seal, it just needs 2 people. One to push from the inside and another to leve the rubber over the frame! i found this out after i'd cracked my screen by using brute force.
Good luck with the repair!!
Posted
Settled In
ahh...urr
Thanks for the advice
Posted
Settled In
Re: ahh...urr
blancomcr said
Ok iv just read this AFTER cracking my windscreen AND the rubber falling to bits in my hand,we pushed and a crack appeared..all is not lost…i took my anger out on a wall.
Thanks for the advice
Oh no!!! Sounds like exactly what i did!!

Friggin windscreens.
Is your car insured? May be worth claiming on the windscreen cover (?50 excess??)
I'm going to be getting some more pics up on friday night (only time i'll have a chance!!!)
Cheers!
Posted
Settled In
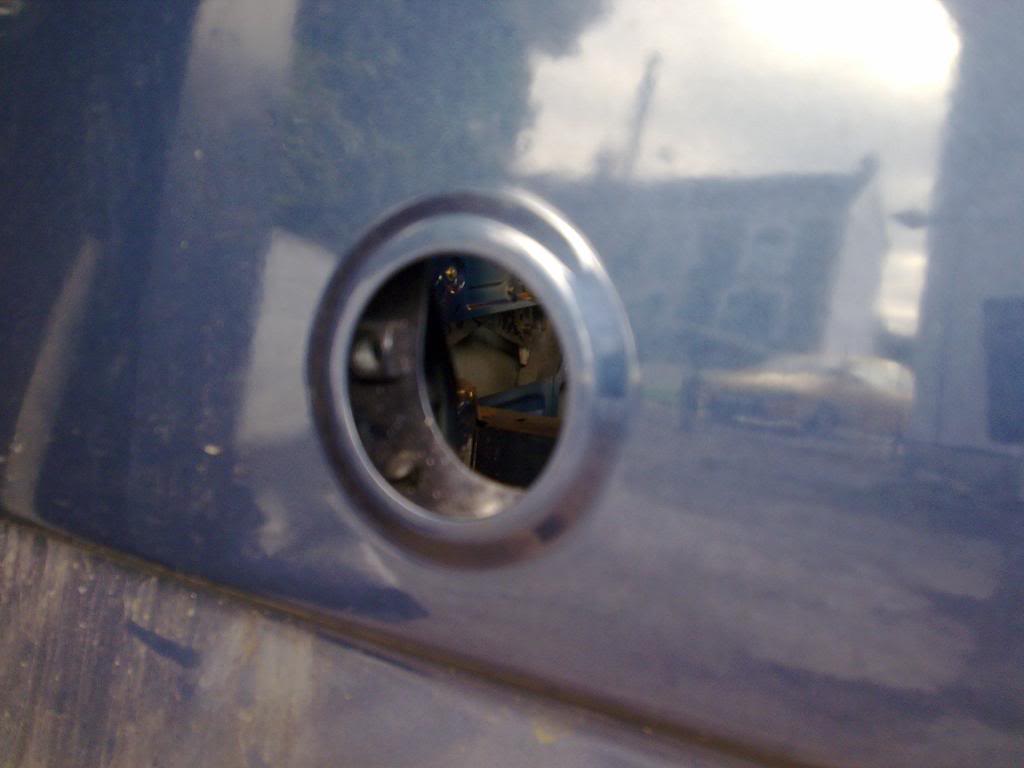
Managed to buy loads of shiny bits and new seals, steering boots and stuff, my collection is getting quite hoooge now.
anyway… some pics of the progress.
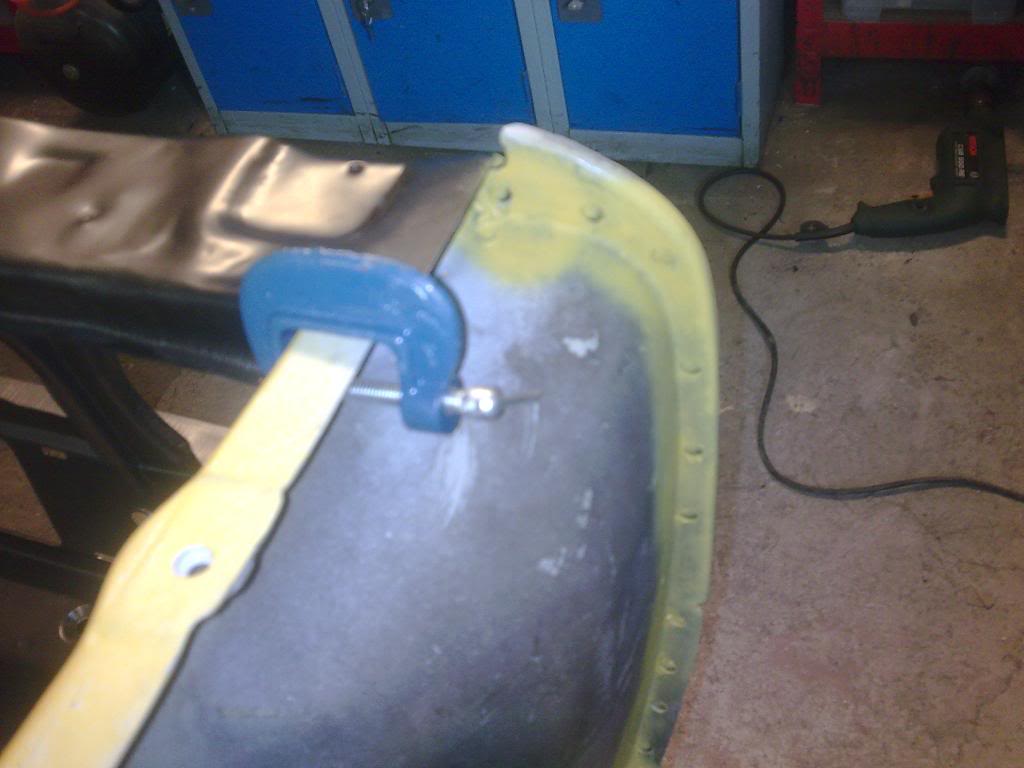
clamping the front panel in place…

couple of spot welds to hold it in nice and tight! didn't blow through – phew!!
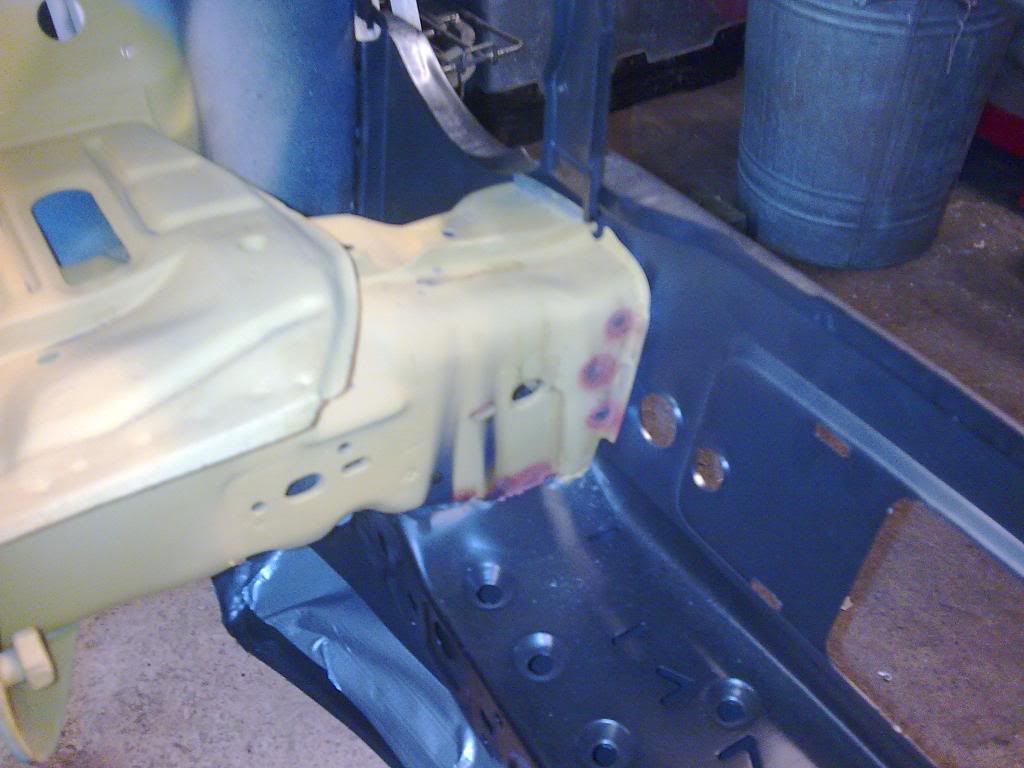
welded onto the chassis rails - no dramas here either!!
Little bit of paint to tidy things up..

Battery tray all nicely derusted, etch primed and primered..

so now it looks like this…

I was pretty please with how things were going at this point becuase i was worrying about the fitting and welding of the front panel. but after checking for penetration and sturdyness it all went well.
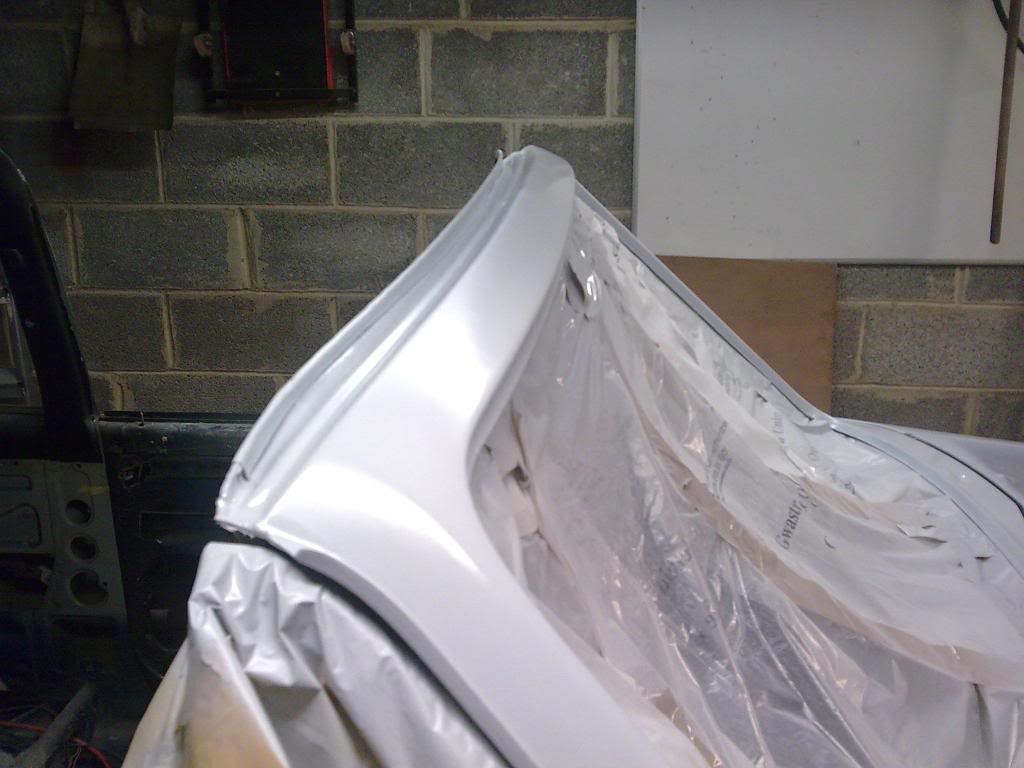
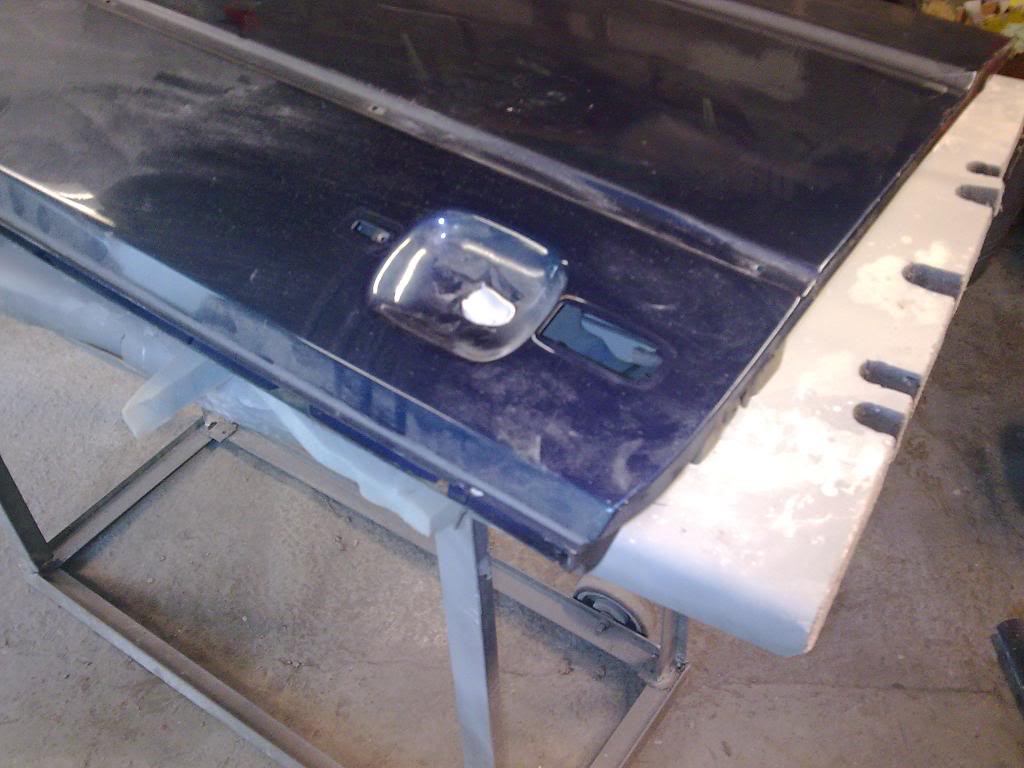
So on with the next bit.. the boot lid.
Before
Let the work commence!!
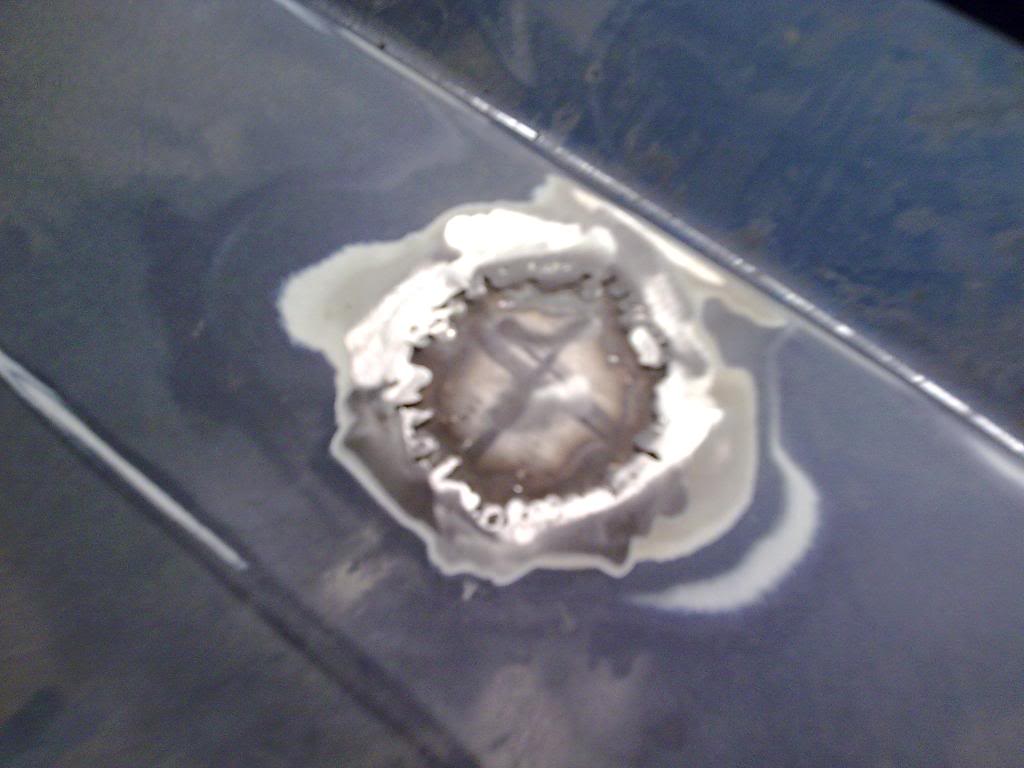
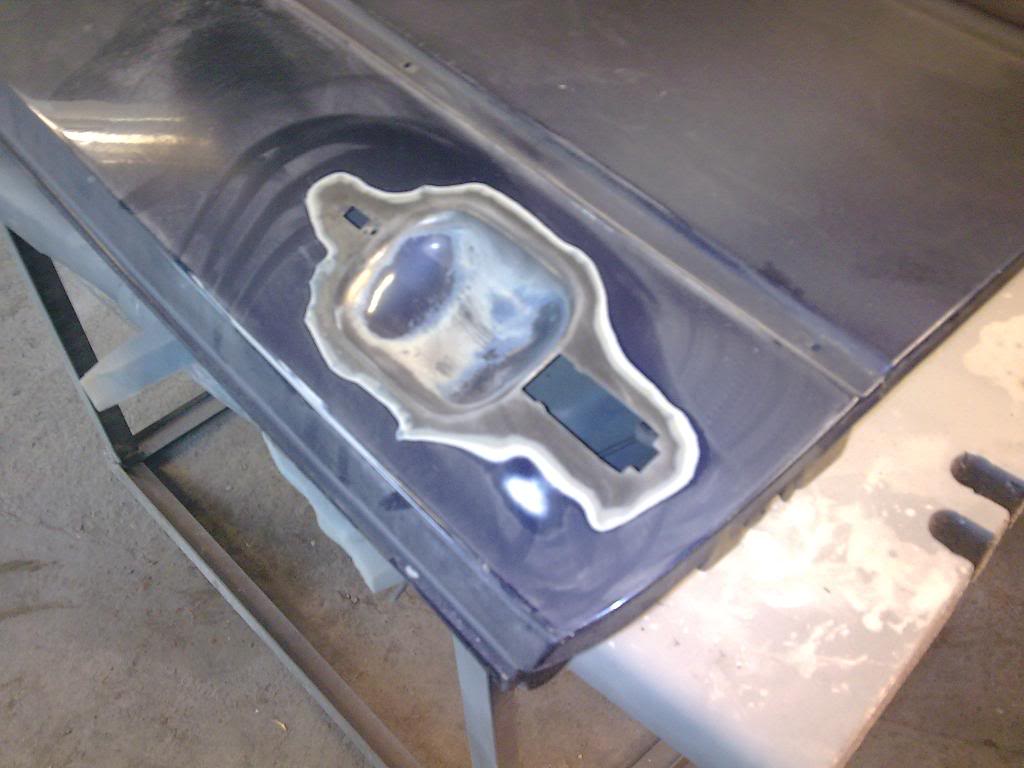
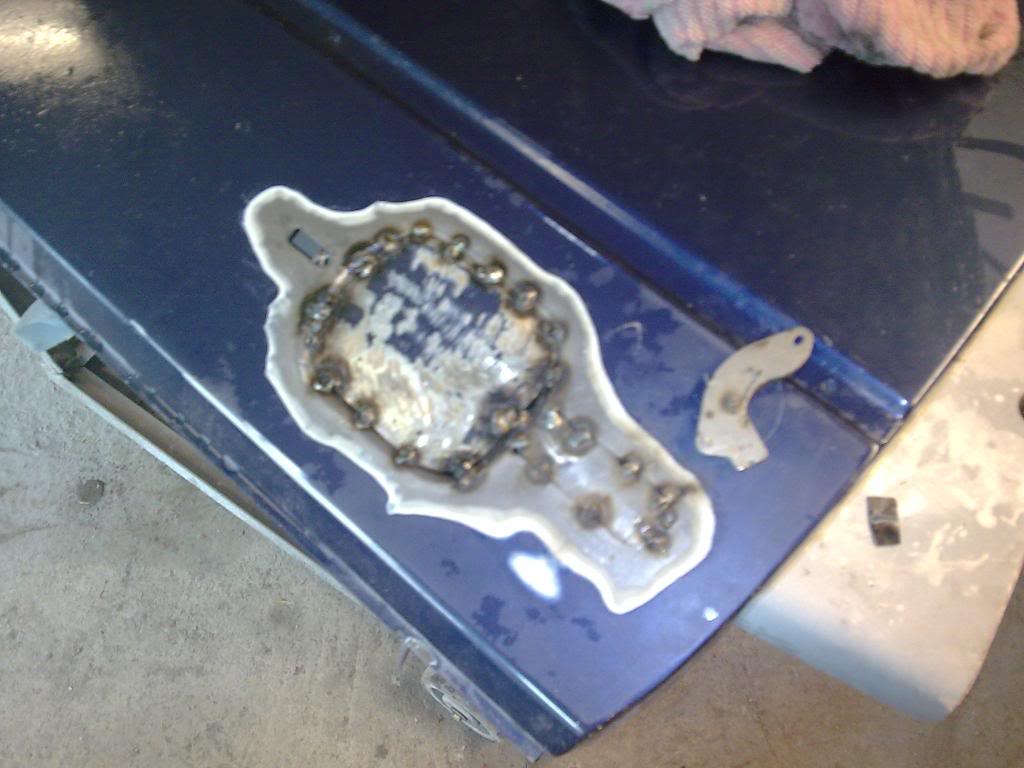
Next, more mig work and carefully weld up the badge holes..
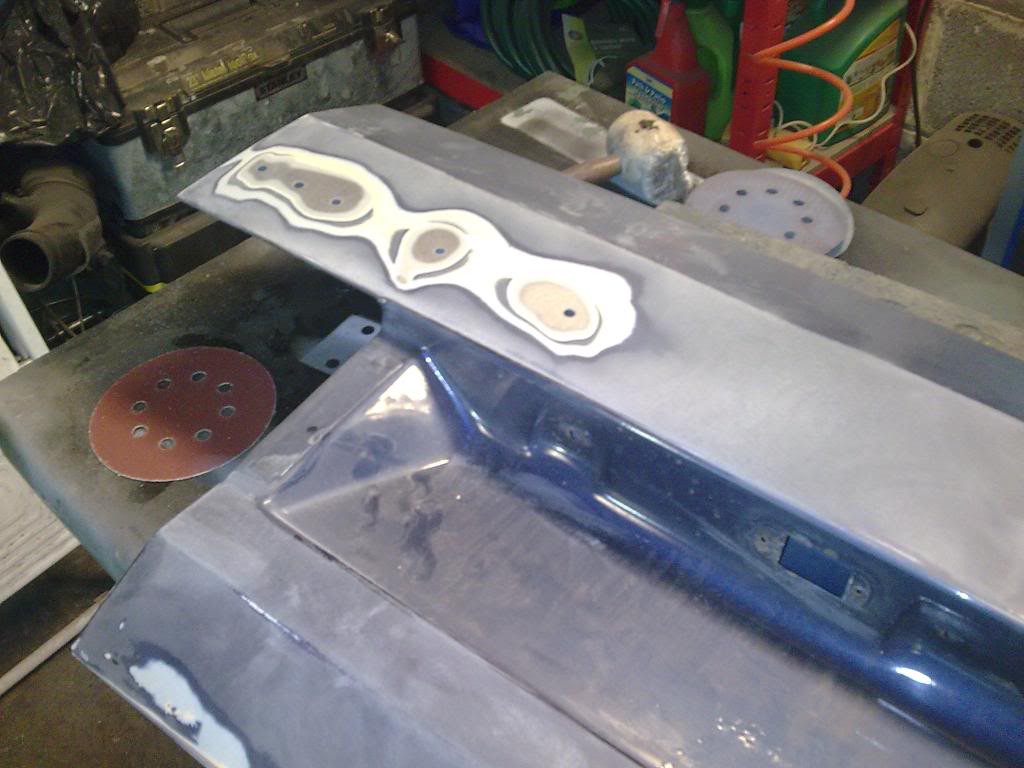


Cut another bid out of the old knackered wing… sized it up…

and welded it on..
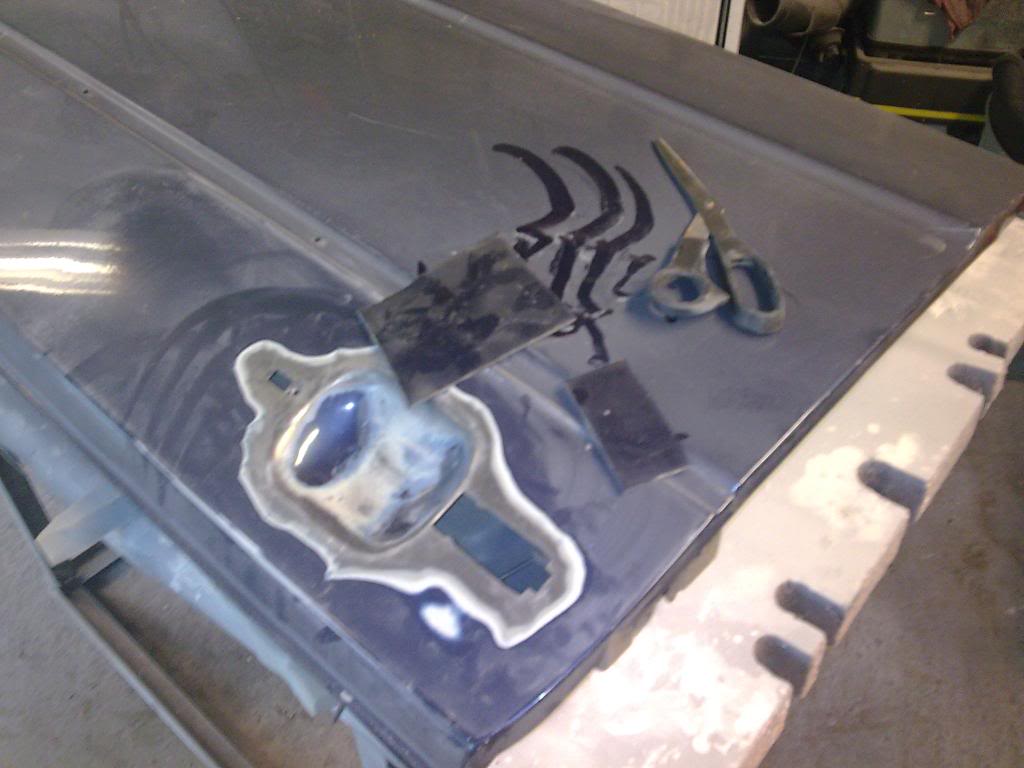
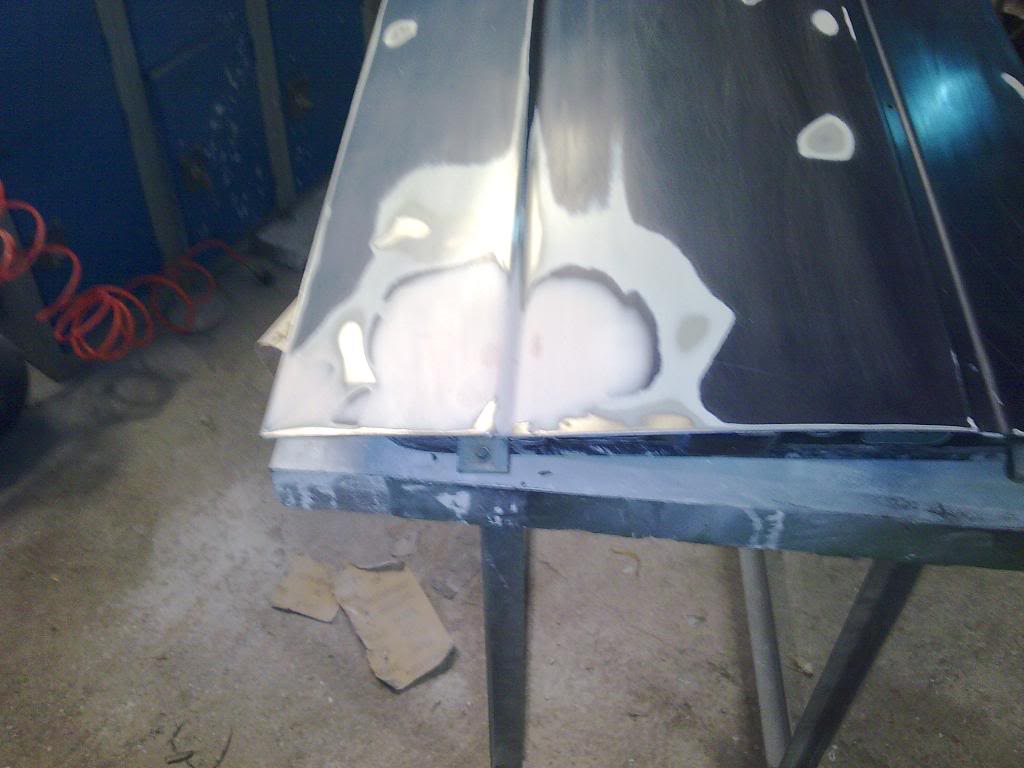
Next for a little bit of filler..
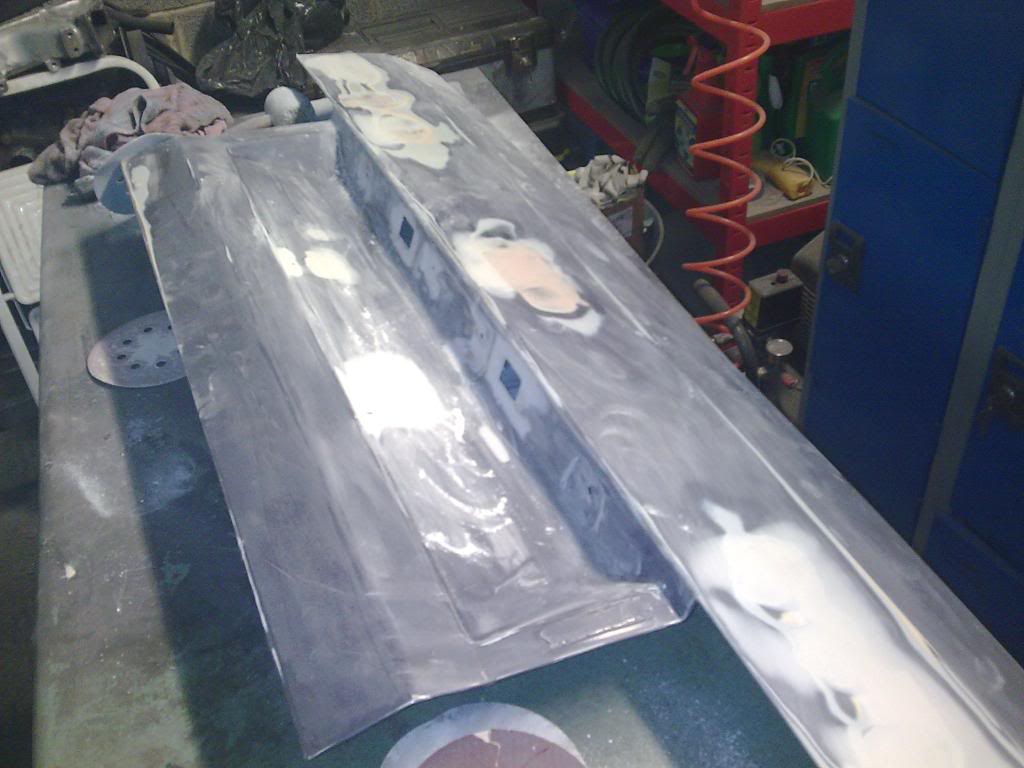
Little bit of High build primer (the proper stuff with hardner - got sick of the expensive halfords crap)

Bish bash bosh… Done!
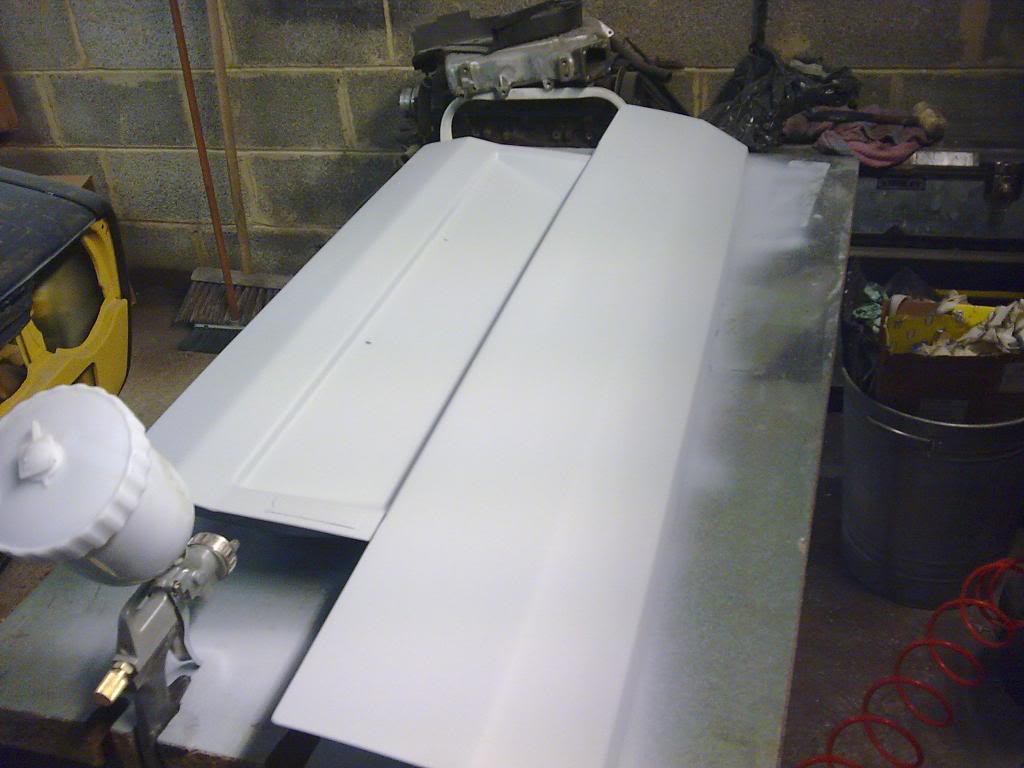
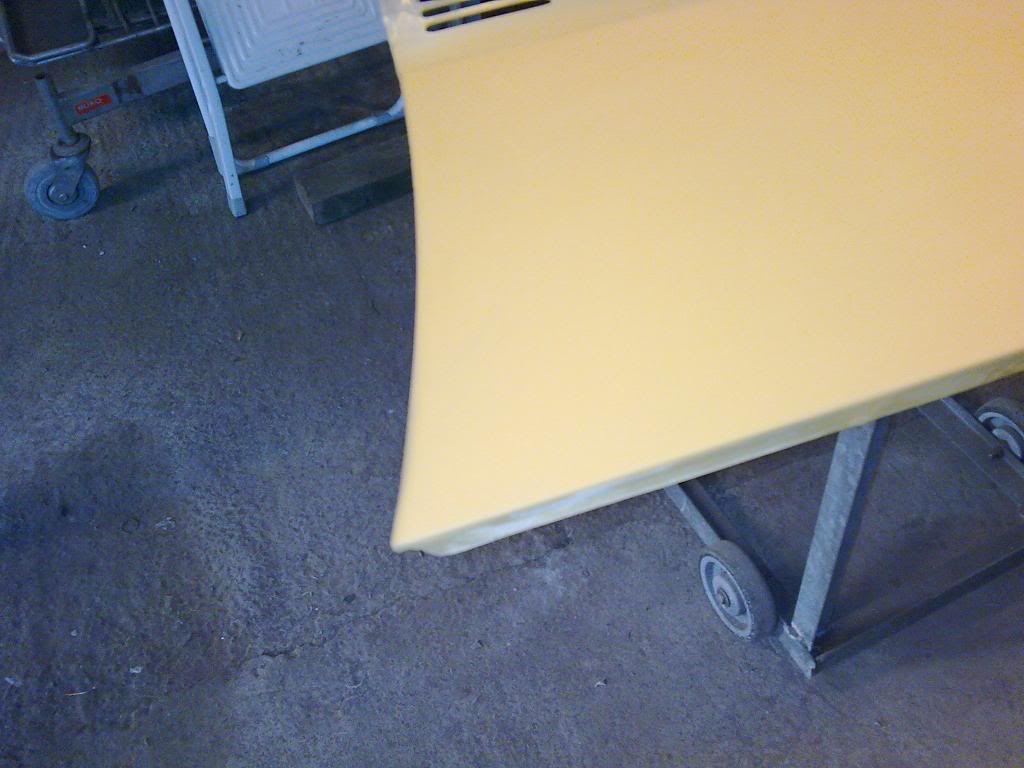
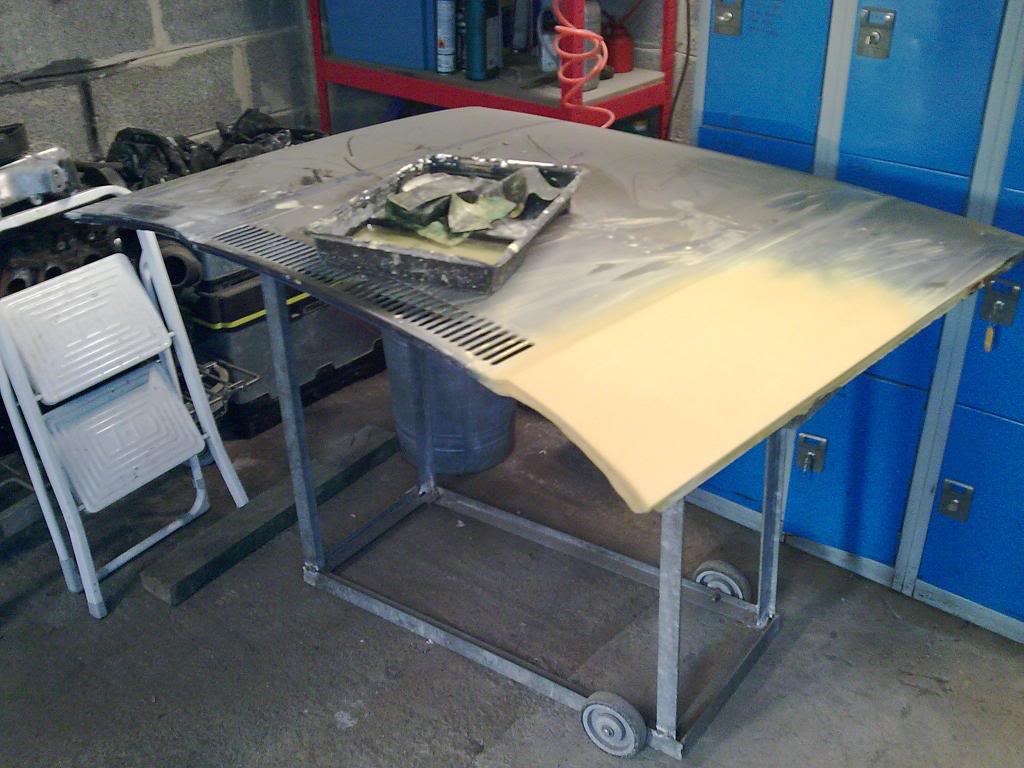
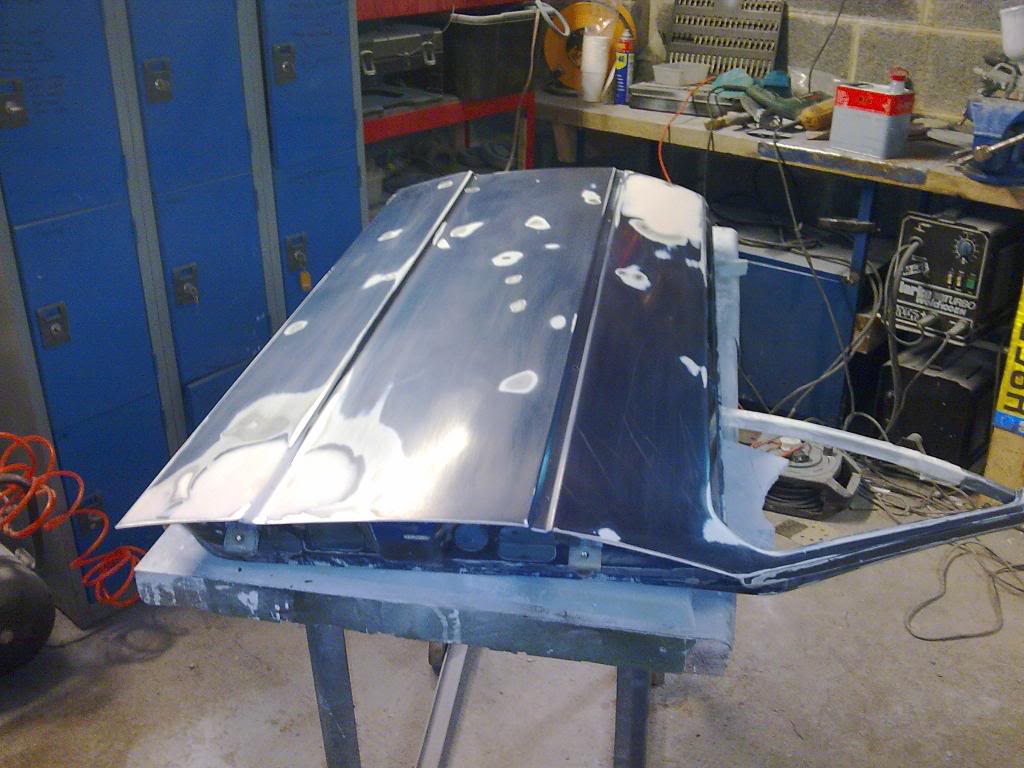
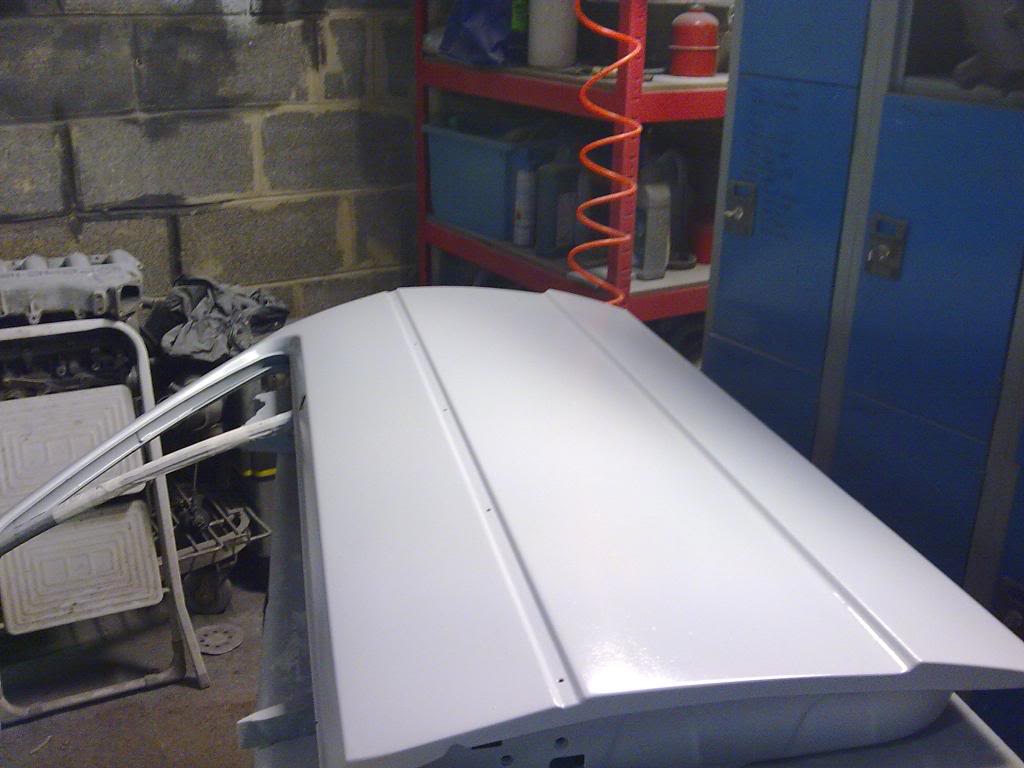
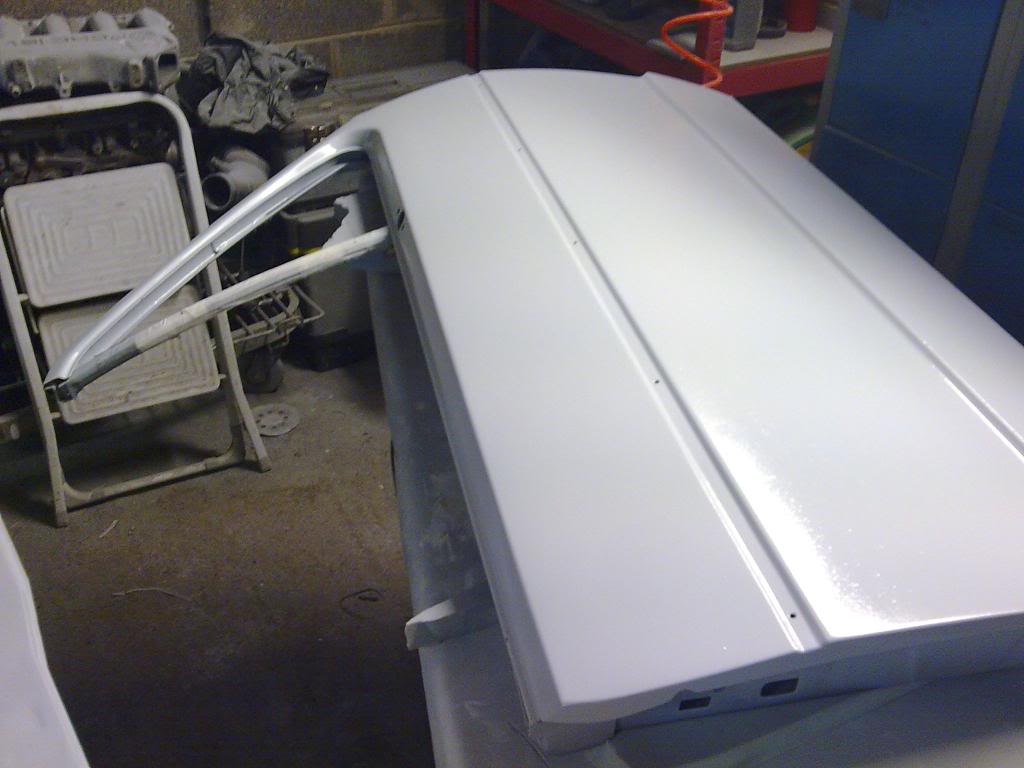
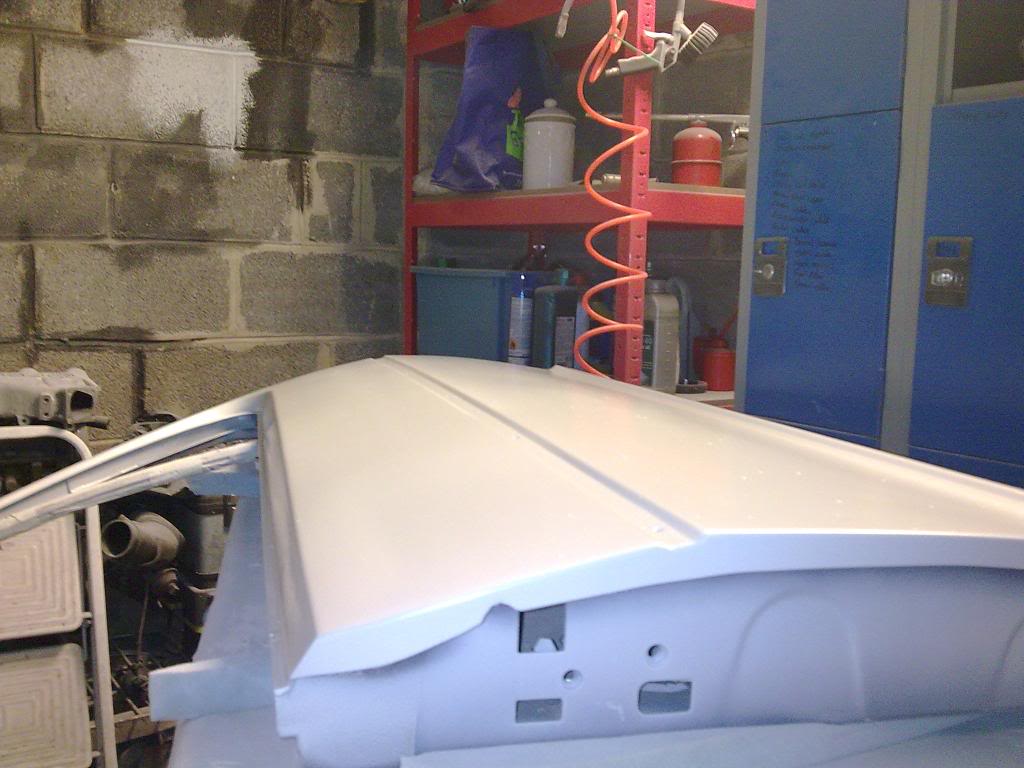
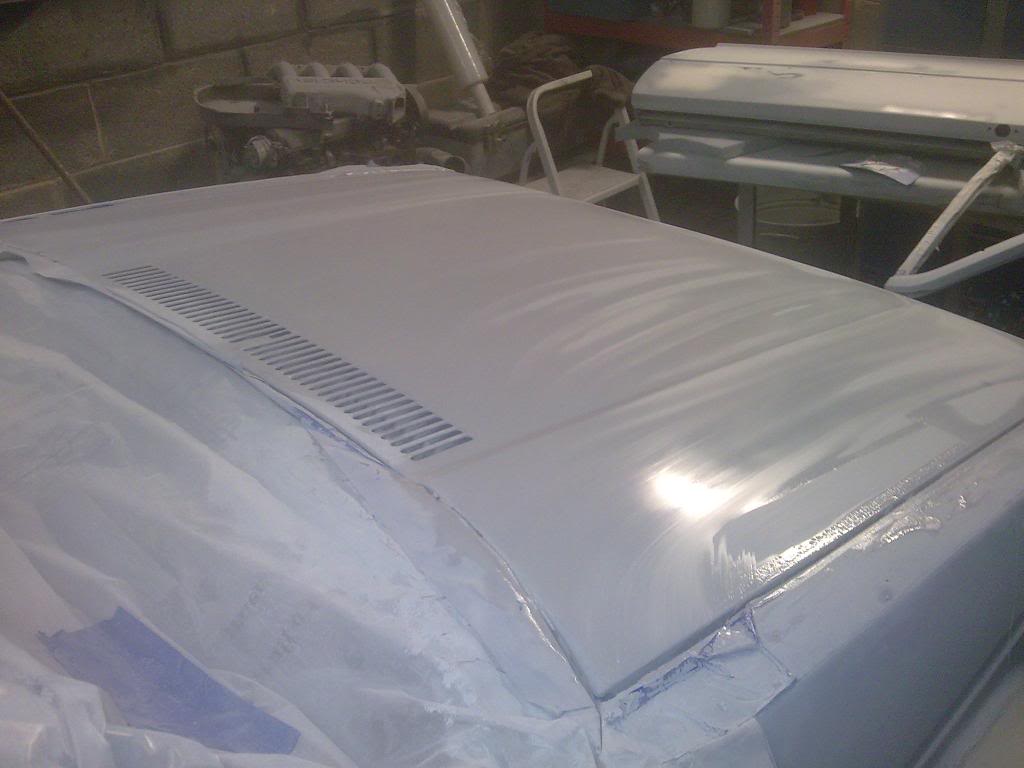
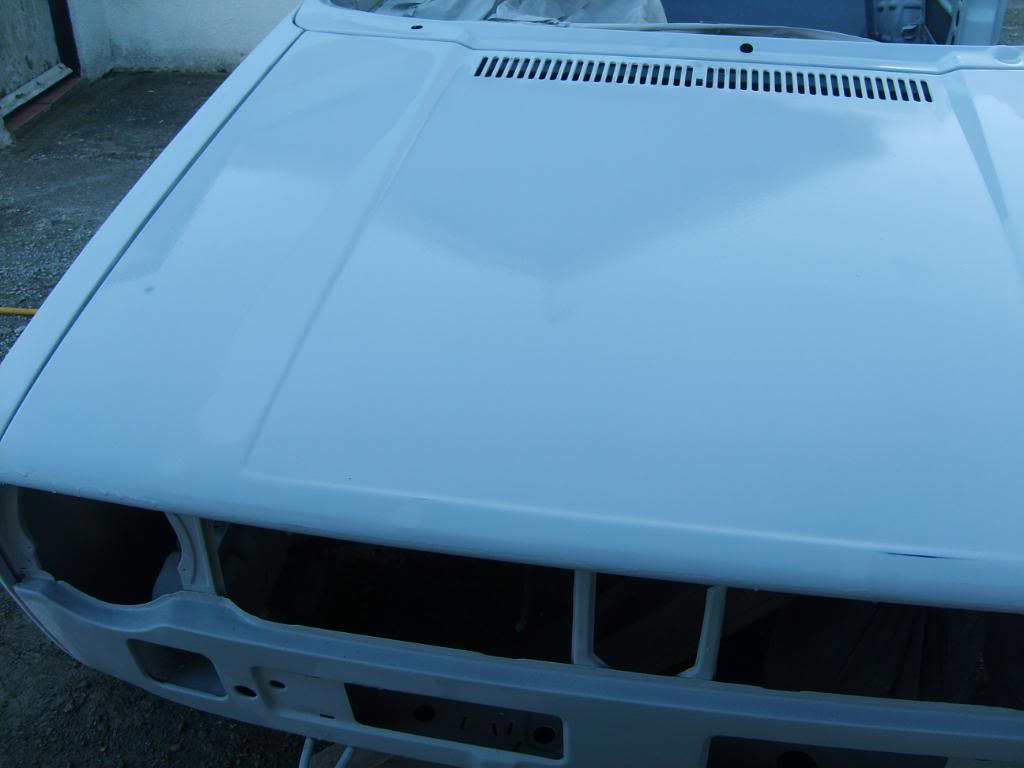
Now for the Bonnet -
Before..


I hammered it out a bit and then filled most of it with weld (getting good now! lol). the skimmed filler over the top. got so into i forgot to take photos!!
but now it looks a bit like this..
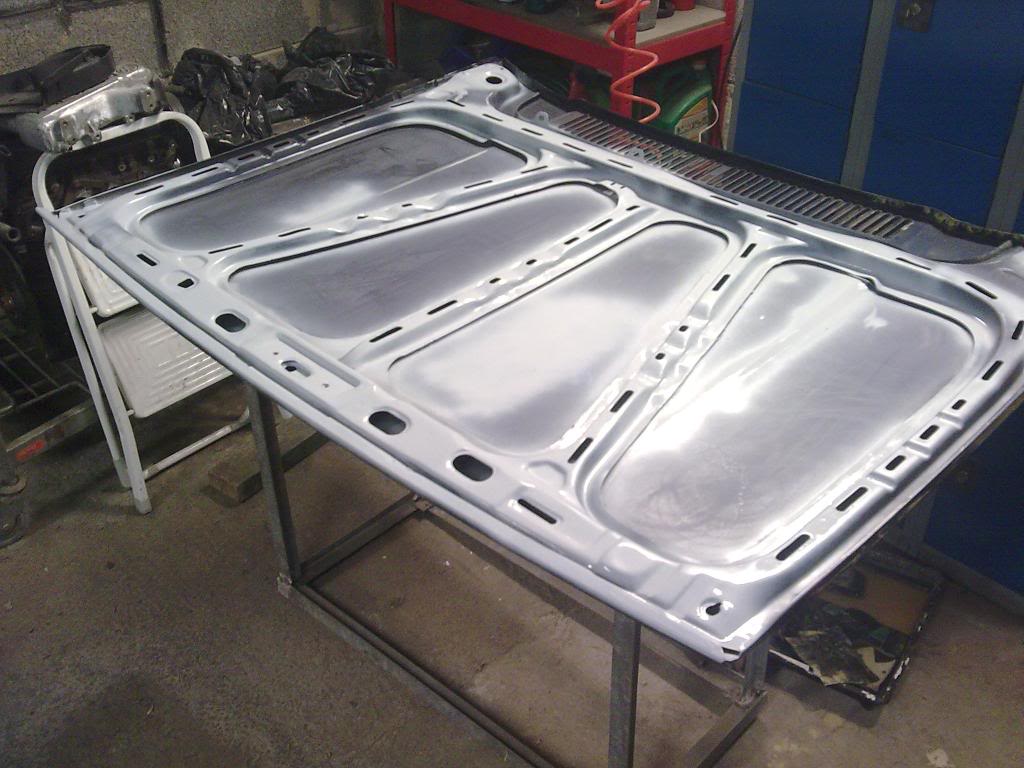
and underneath all de rusted and etched. it's now sprayed matt black stonechip.
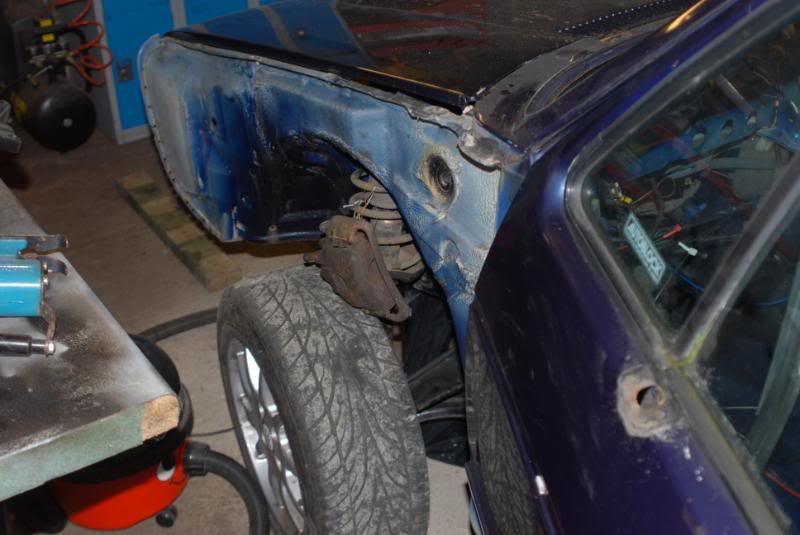
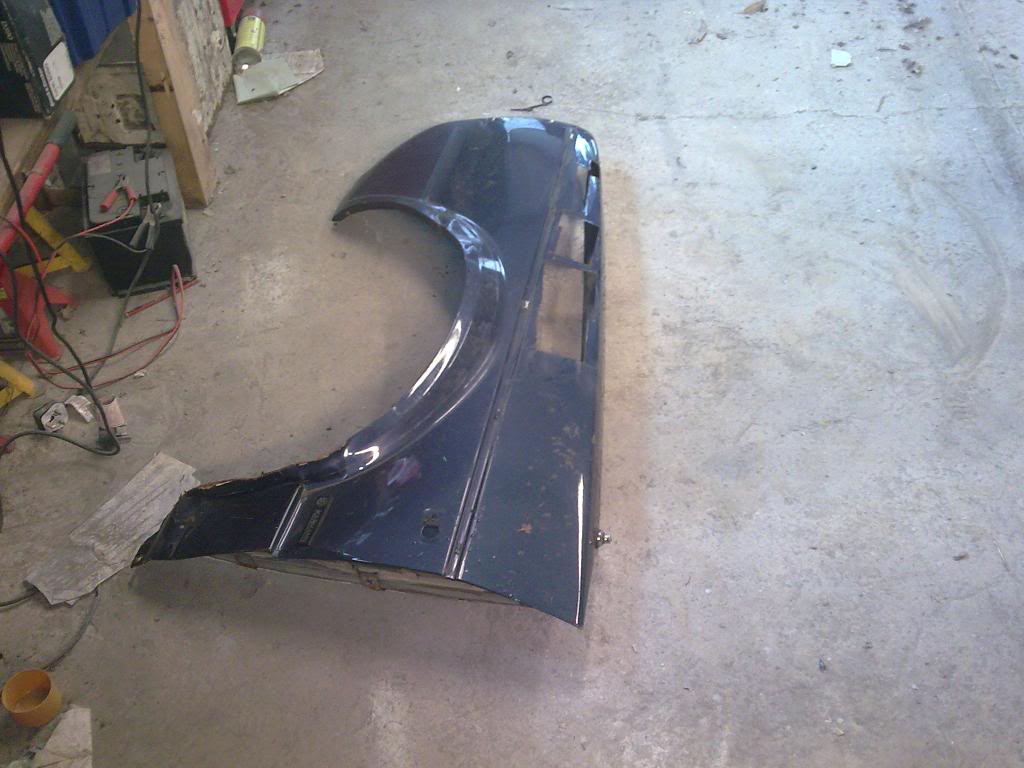
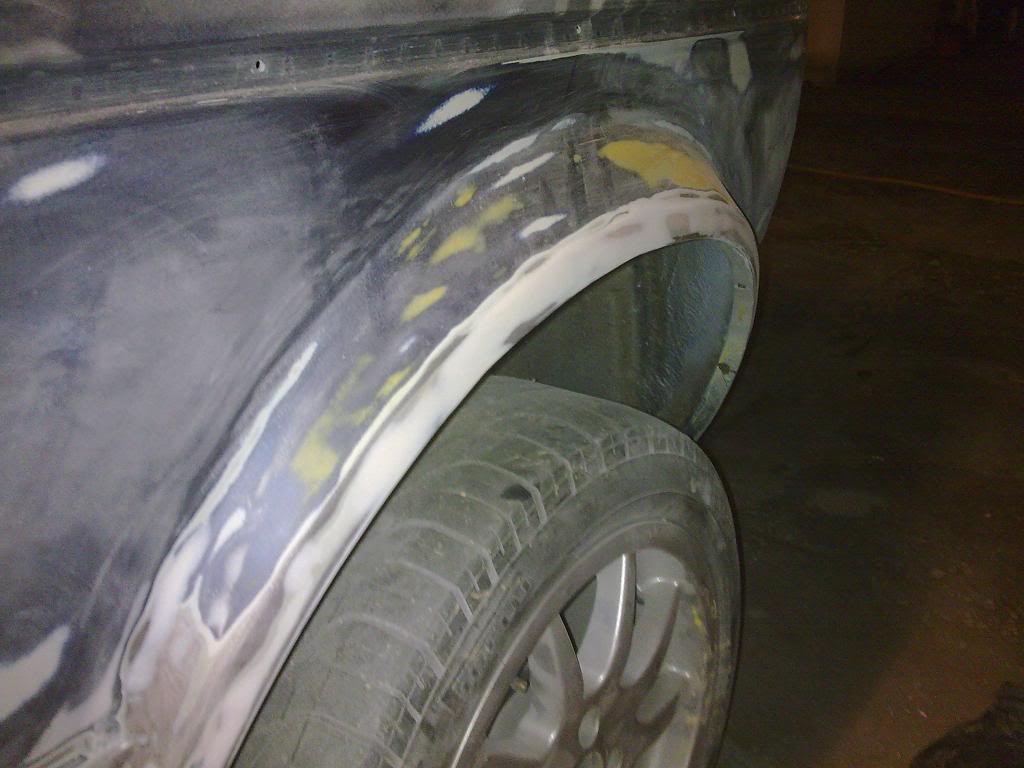
Then for some wings!
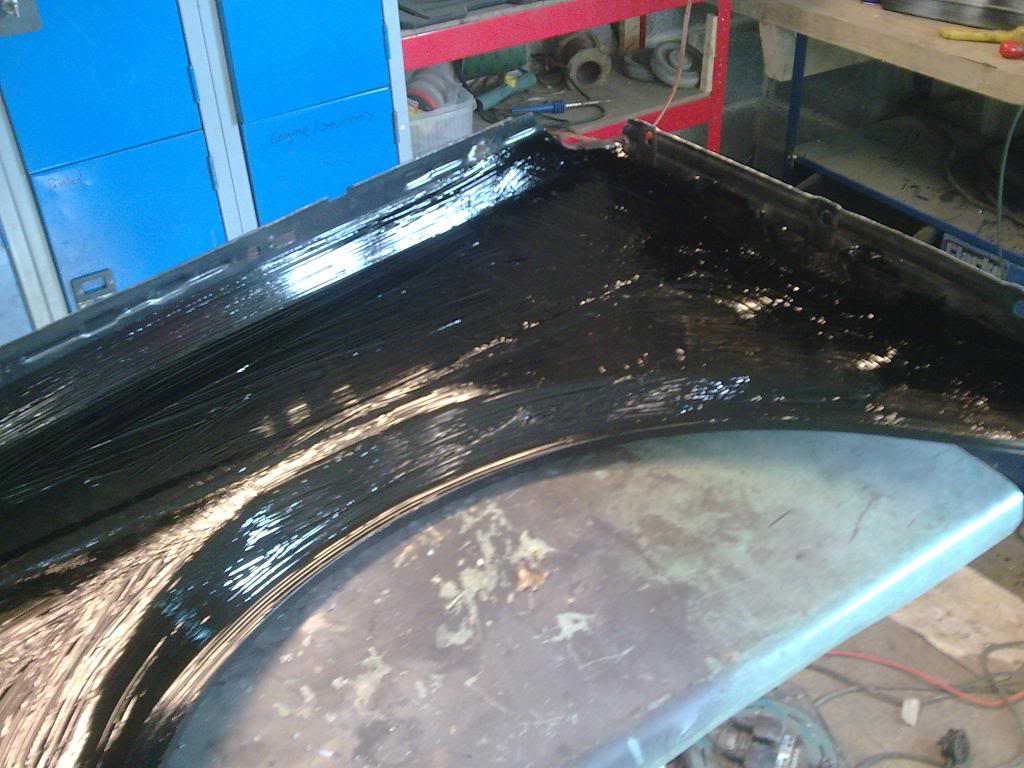
Waxoiling the backs

THese pattern wings were a right pain to fit. Took loads of bashing , grinding, levering, removing and refitting but they look ok in the end.


Once i'd fillered them where i'd bashed them it was time for some more sanding masking

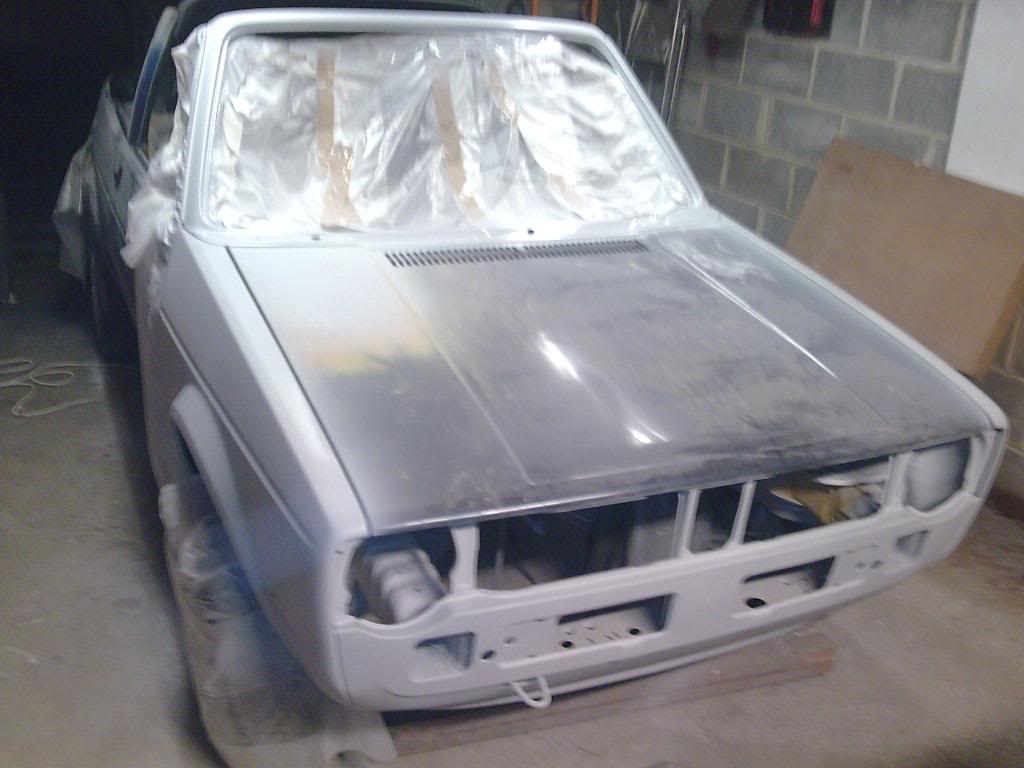

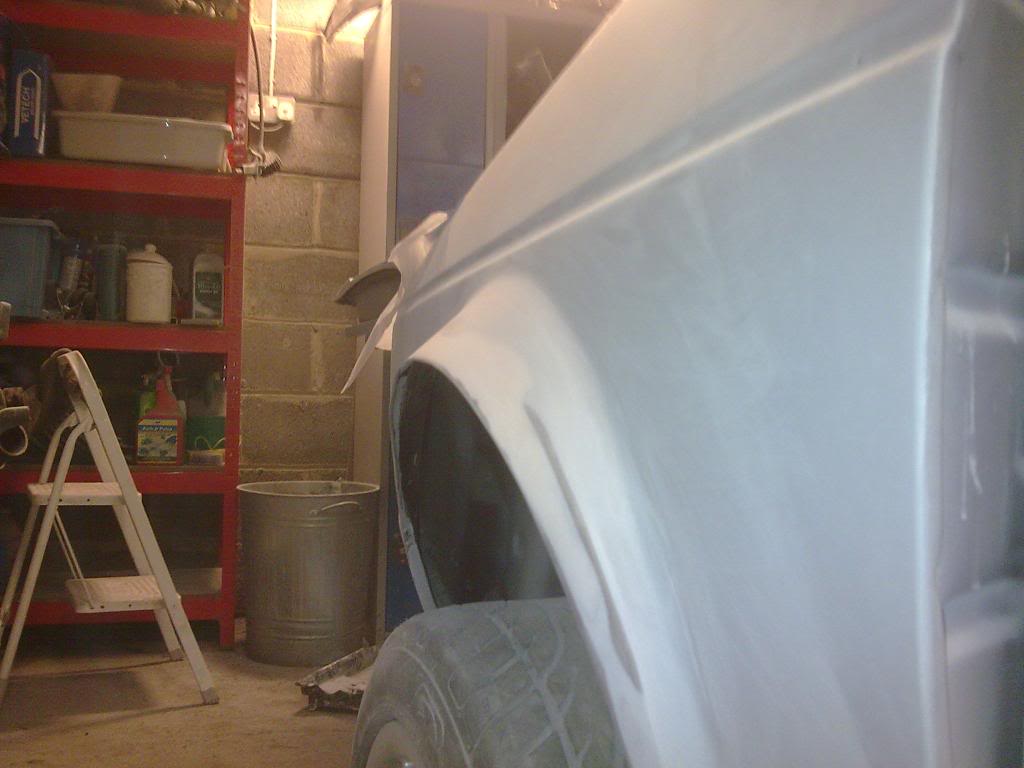
So it's coming on quite nicely - it's not all perfect but i'm learning as i go so sometimes it's like 2 steps forward, 1 step back. but still going forward none the less…..
Posted
Moderator

I told you those wings would be a sod to fit! :mrgreen:
Ever growing range of new mk1 golf parts www.classic-vw.co.uk
Posted

Old Timer
Coming along really well dude, well done!
Posted
Settled In
Getting excited now!!
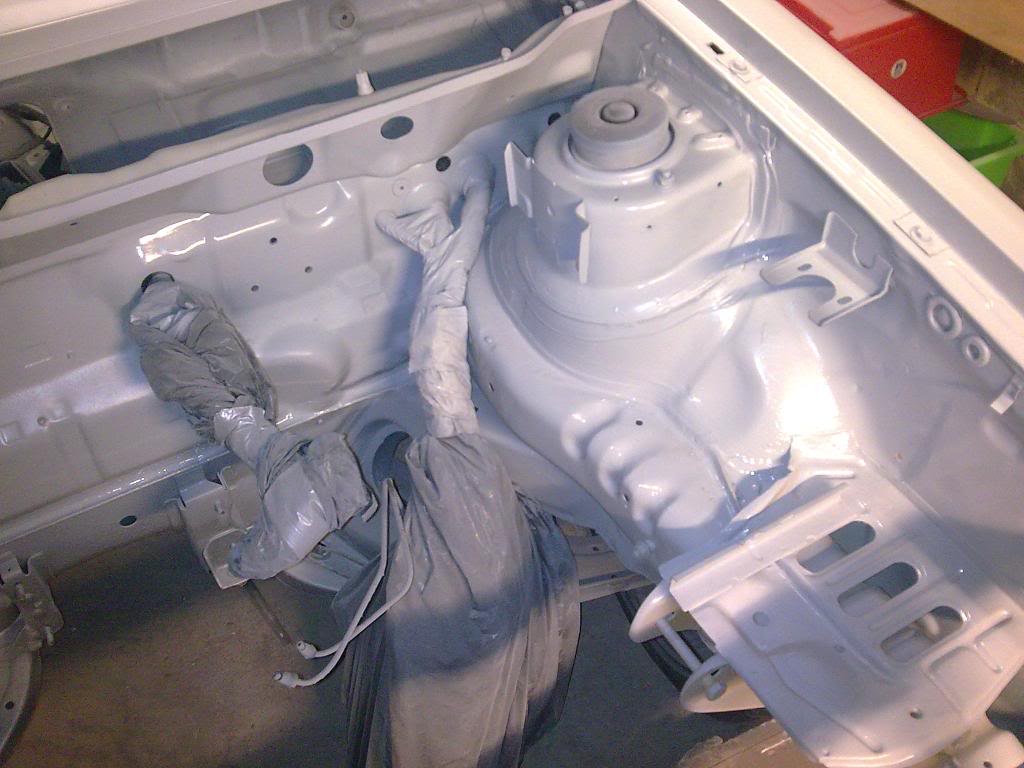
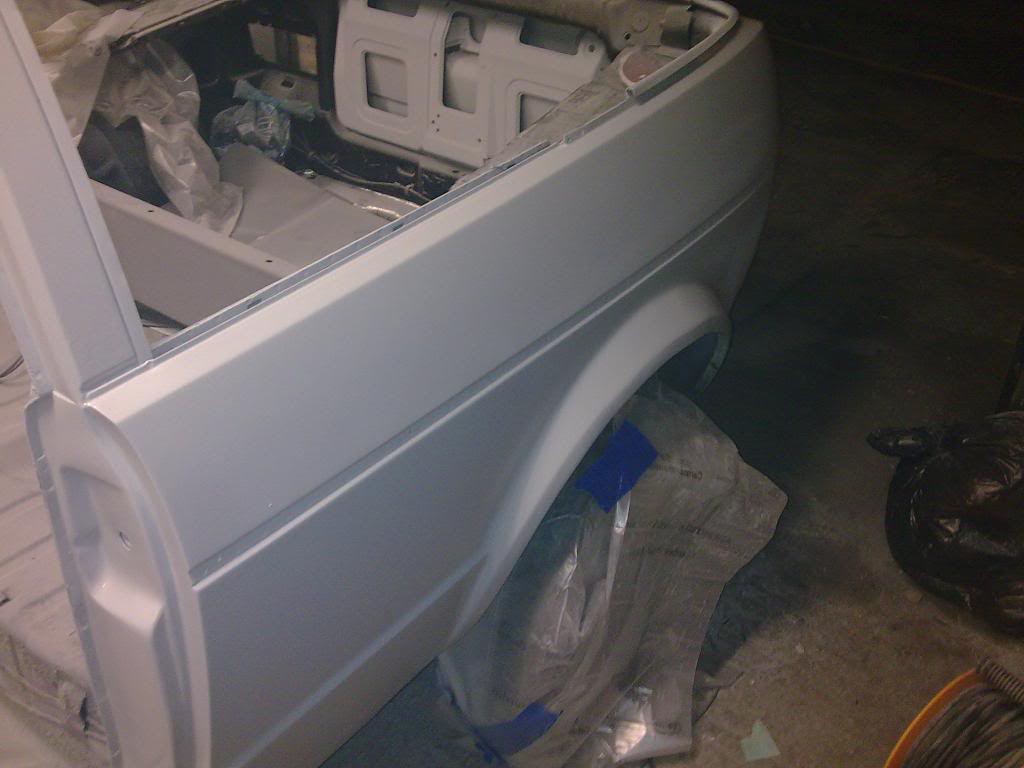
The body work bits are now all smoothed de rusted, de chipped, and re primed.


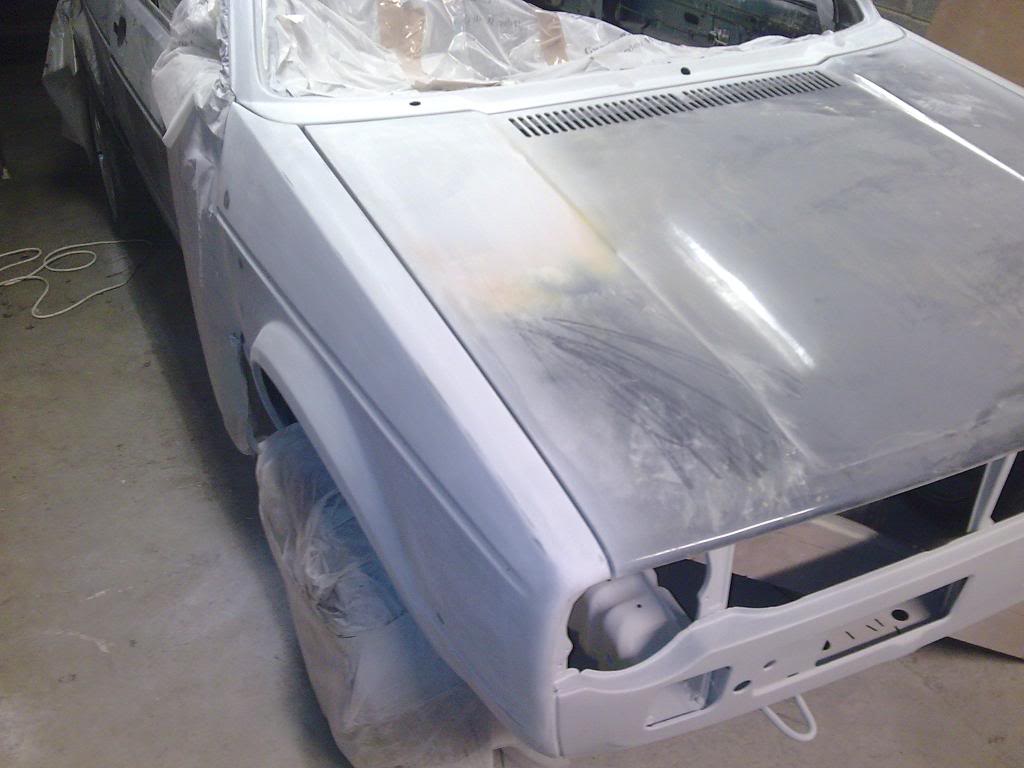
The engine bay de greased, de rusted and painted and primed

Then i pulled off the door and started on smoothing in the door handles.

then took an old sacrificial wing for some donor metal…
then made a slightly vicious temporary bench grinder?!!! :crazy:

cut out a plate.

weldeded it…
Fillereded it

when the filler was going off i sorted out this dent that was in the front lower part of the door..
sanded back all the chips and dents
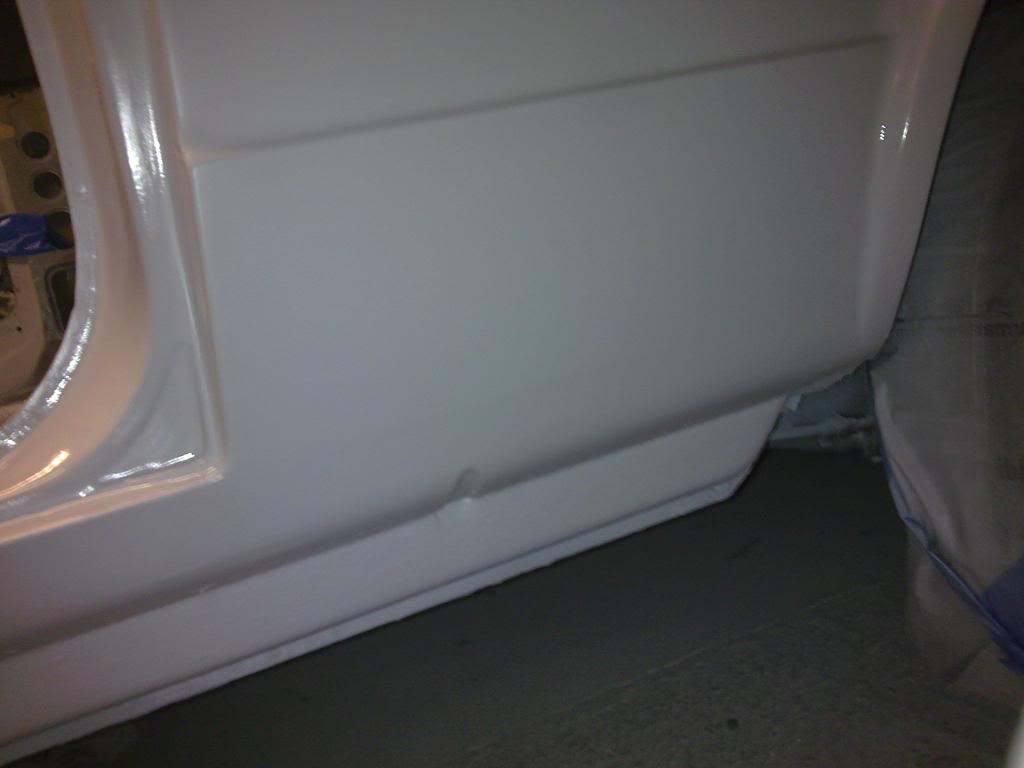
Then sprayed
:assassin:
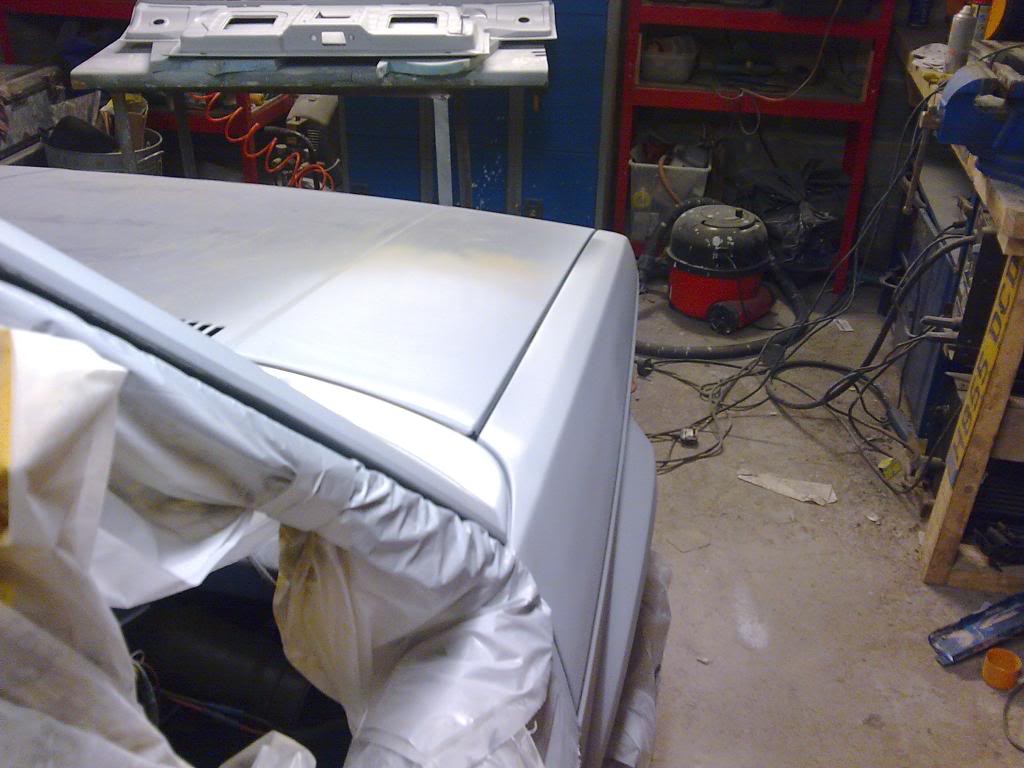
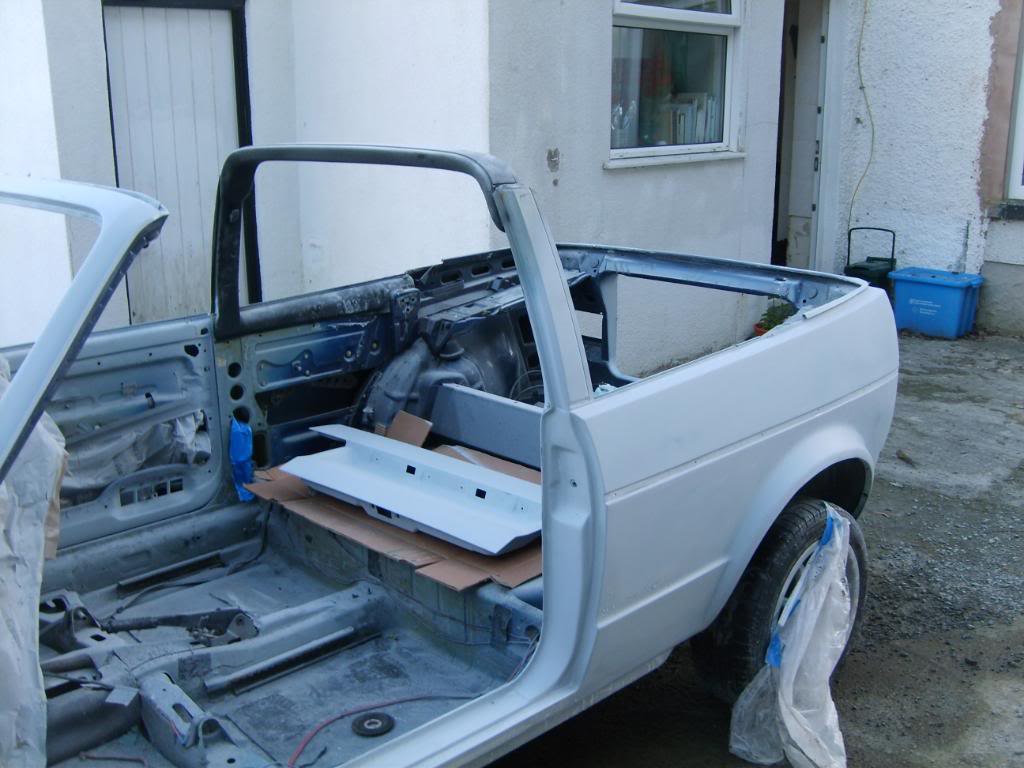
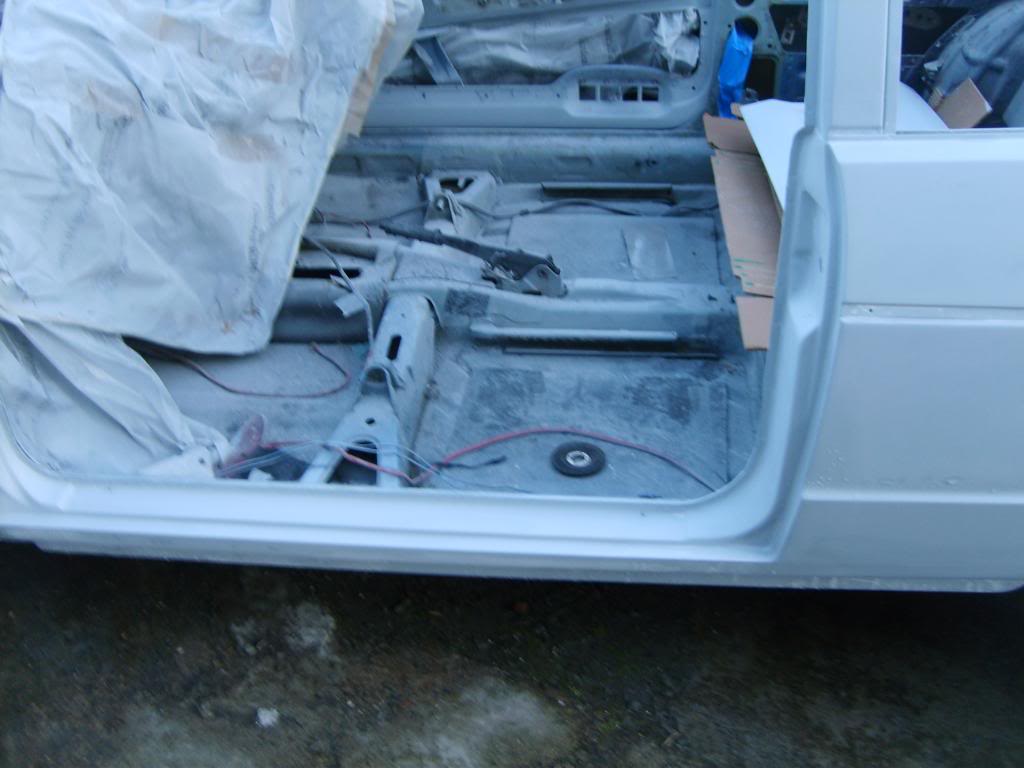
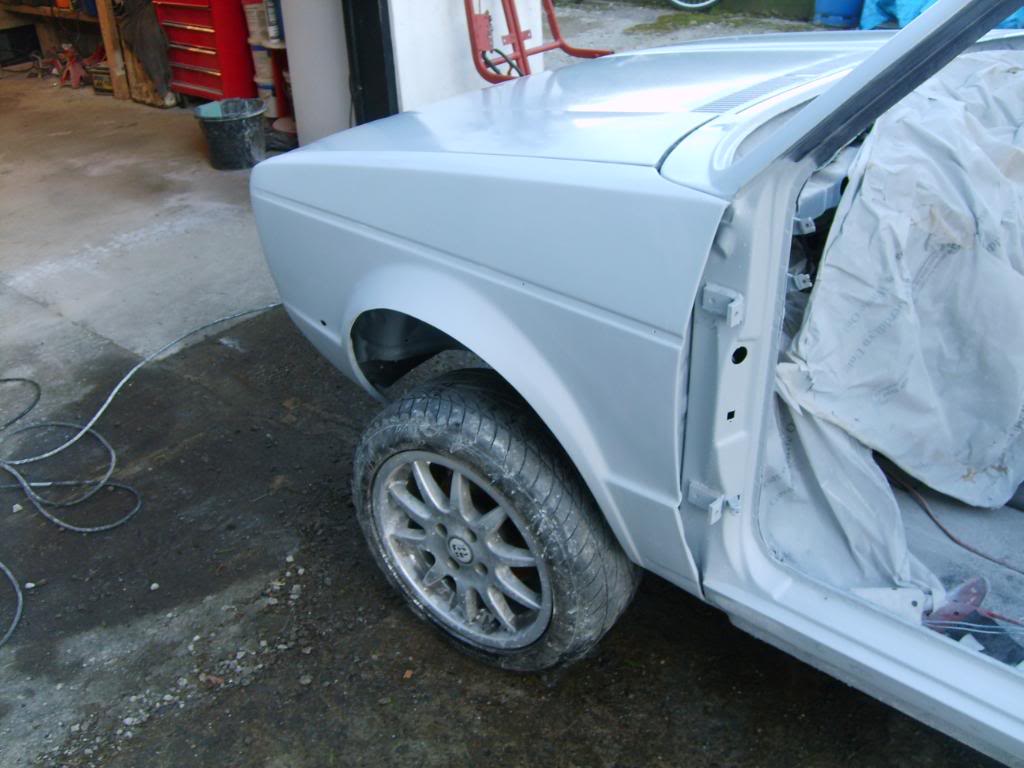
Then i started on the door frame and sills…

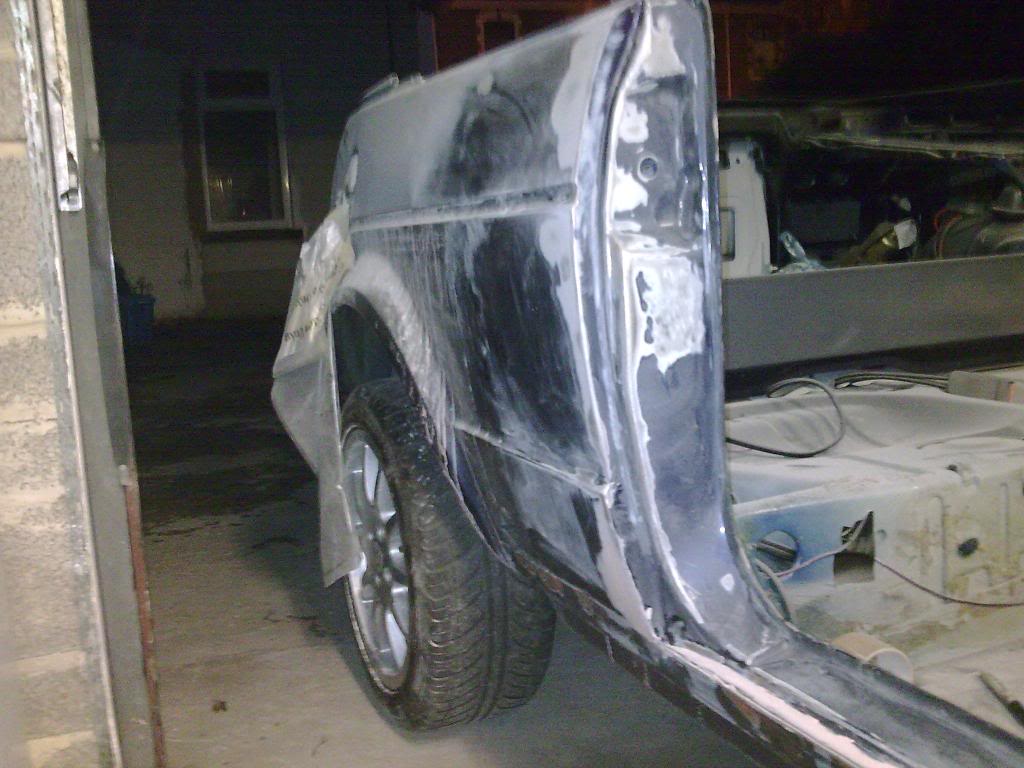
same routine, sand rust spots back and skim or smooth then spray. The last few photos are all sprayed up now and i've done all of the drivers side. The smoothed boot has been put back on.
So left to do is…
Basically this post but on the other side!! lol
Posted
Settled In
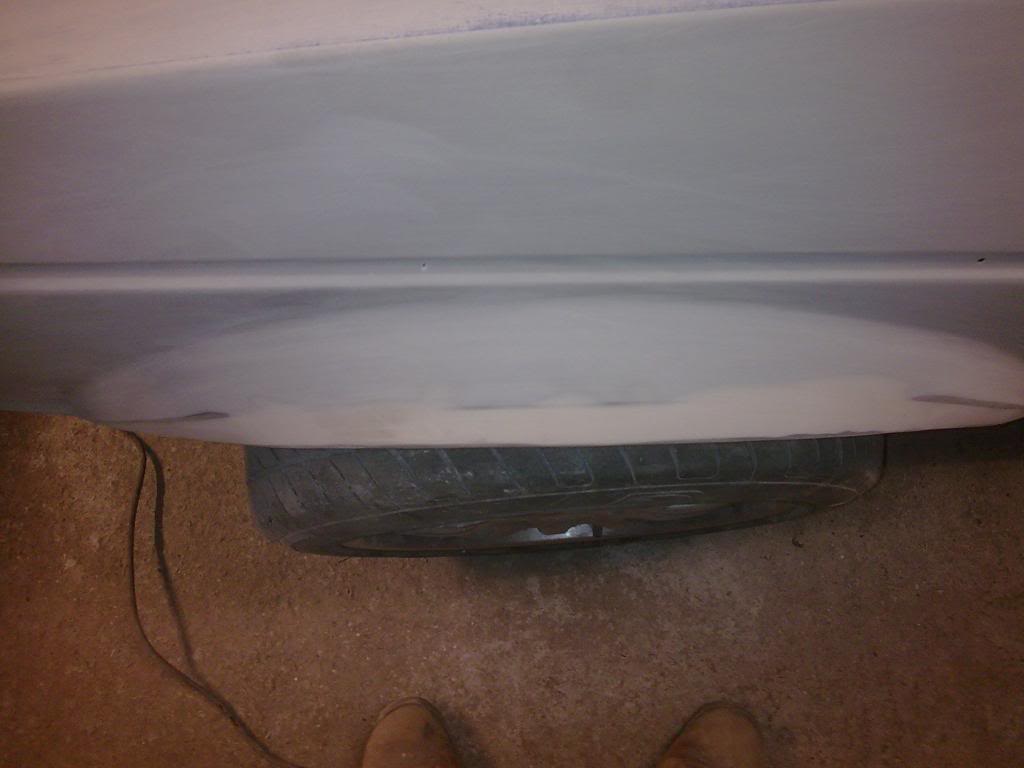
this time… ARCHES, PASSENGER DOOR AND PASSENGER SILLS!!
and NEW WHEELS!!
Whoo hoo!
Fisrtly started on stripping and de stonechipping and rusting the passenger side rear.
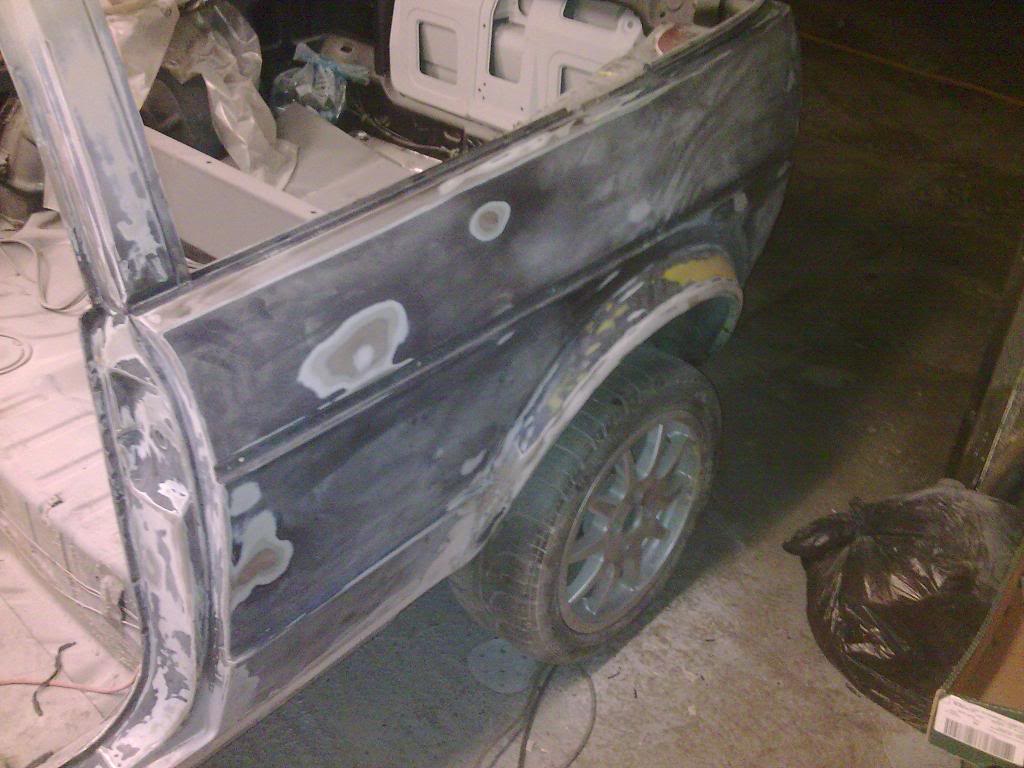
Took off the door and welded up the handle and filled and painted.

Filled the body kit holes and de rusted the sills and door jambs

De stone chipped, Primered and flatted the bonnet
Then onto the arch rolling.. aahem.
Well the rear double seam ones were much tougher than the fronts so went a bit wobbly. i should have cut v grooves in the back but didn't and now can't straighted them out to start again. so i've fiberglassed them to get them smoother. they'll be ok in the end.
but the important thing is that the lip is tight up against the outer skin and they are pushed out about 10mm from what they used to be.
:grin:
The rear..
I'm a bit happier with the fronts. Less cosmetic work afterwards but they have turned out to be more of a flare! there is no lip at all on the underside! it's folded flat.
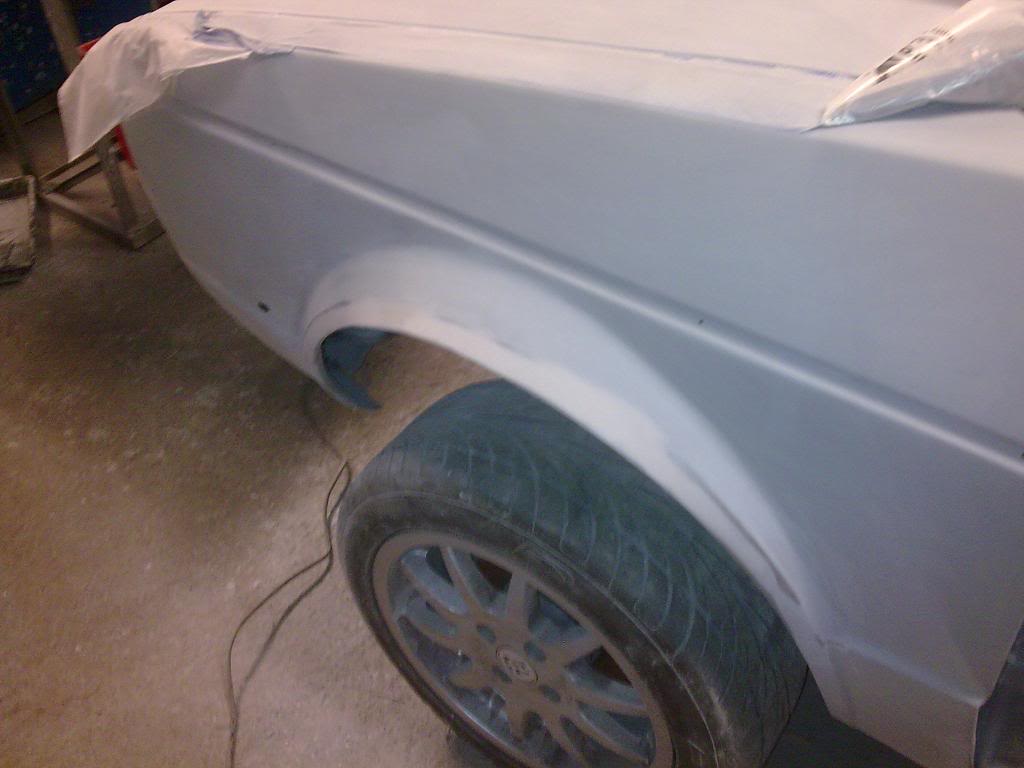
the other side is the same. i wouldn't like to bet they're exactly the same angle bit it looks good!
Then tonight i got the spray gun out and layed on a few coats of high build..


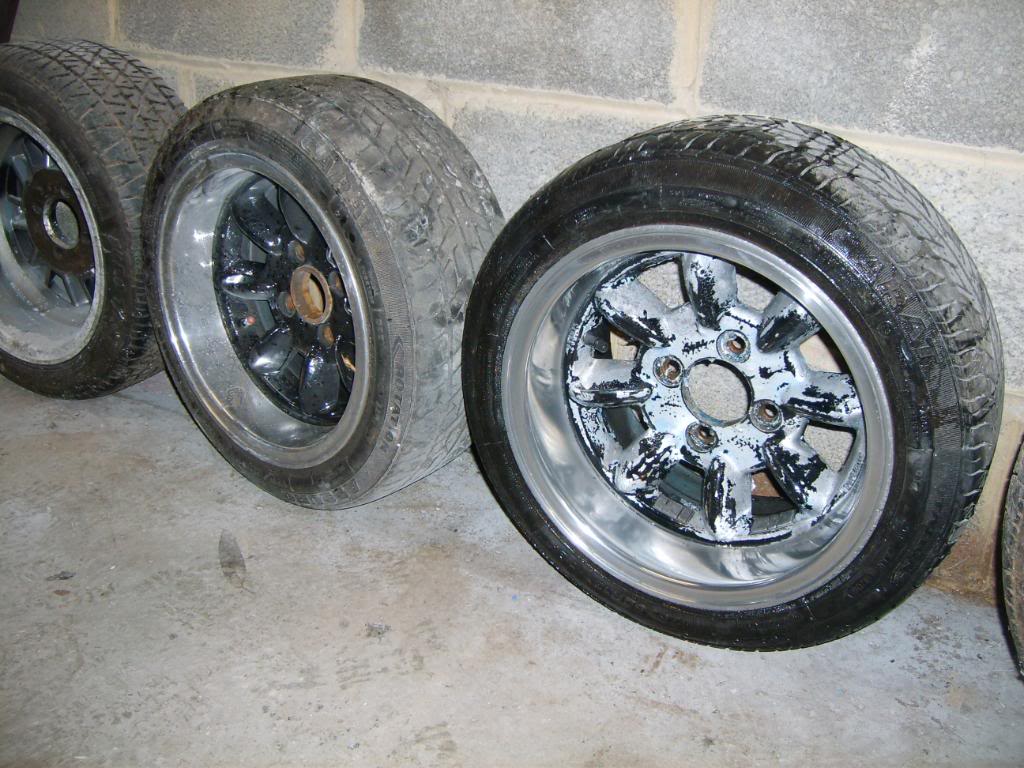
THEN.. on sunday morning i met up with Martin (Blackreflex on here) and ended up buying these::
4 of them!
I've also bought a high pressure fuel pump that doesn't need a lift pump and a few other boring bits that won't interest you at all.
not long now until paint!!
Posted

Local Hero


Andy
LINCOLNSHIRE REGION - https://www.facebook.com/groups/467122313360002/
1983 MK1 Golf GTI Campaign Model - Under (looooong) resto!
1962 Rover P4 80
2002 BMW 745i
2008 BMW Z4 2.5Si
LINCOLNSHIRE REGION - https://www.facebook.com/groups/467122313360002/
1983 MK1 Golf GTI Campaign Model - Under (looooong) resto!
1962 Rover P4 80
2002 BMW 745i
2008 BMW Z4 2.5Si
Posted
Settled In
i've now primered and smoothed most of the car. dusted and wet sanded. Bloody killer of a job, my hands are raw and freezing now!!
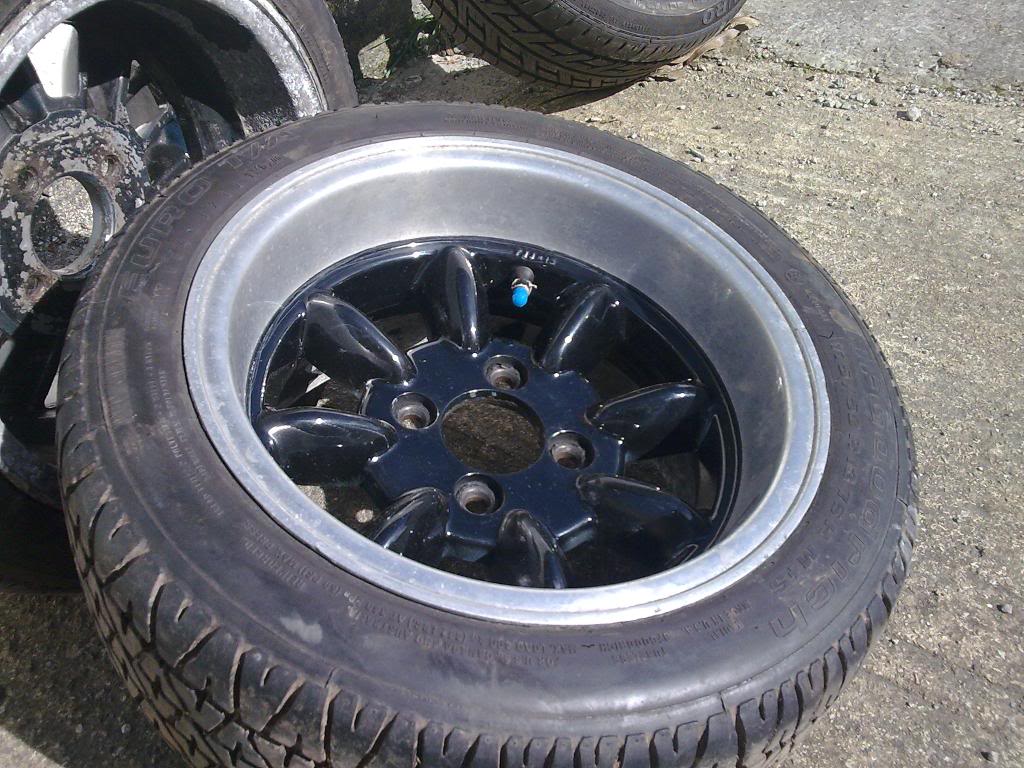
i've also nitromorsed one of the wheels and given it a bit of a polish to see how well it comes up..
not bad really - a few mor cooats and it'll be back to metal ready for priming. anyone know if i can use normal high build on them or will i need acid etch first?
anyway. i took it out of the garage for a little clean up so some pics of how it is today.
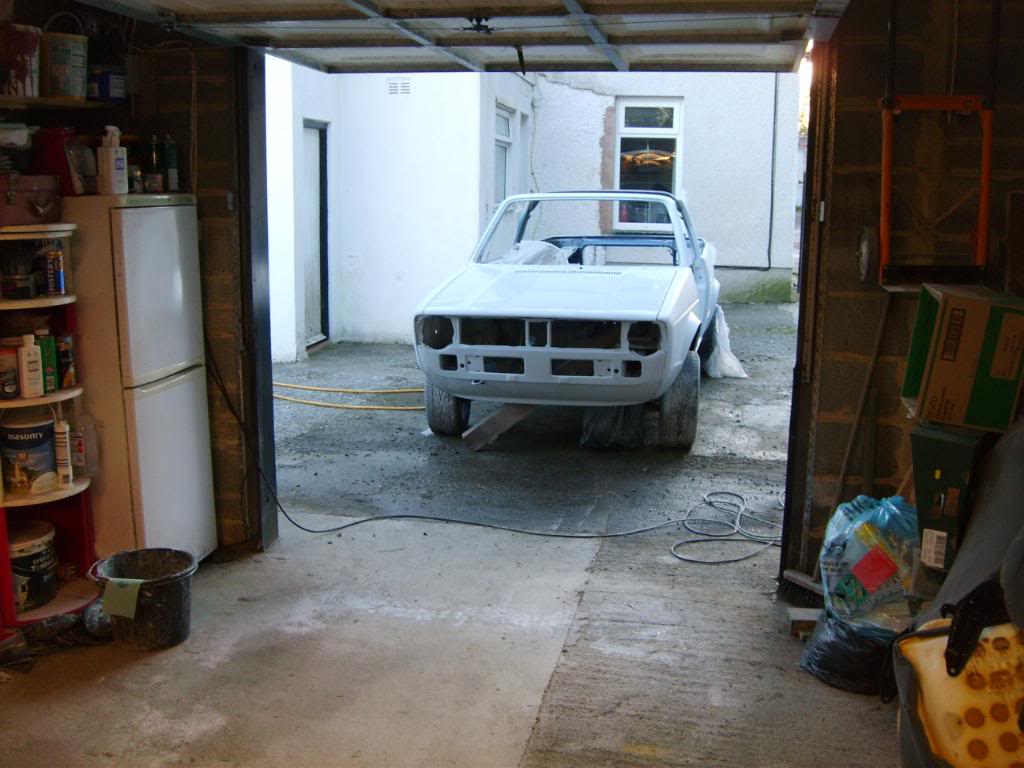
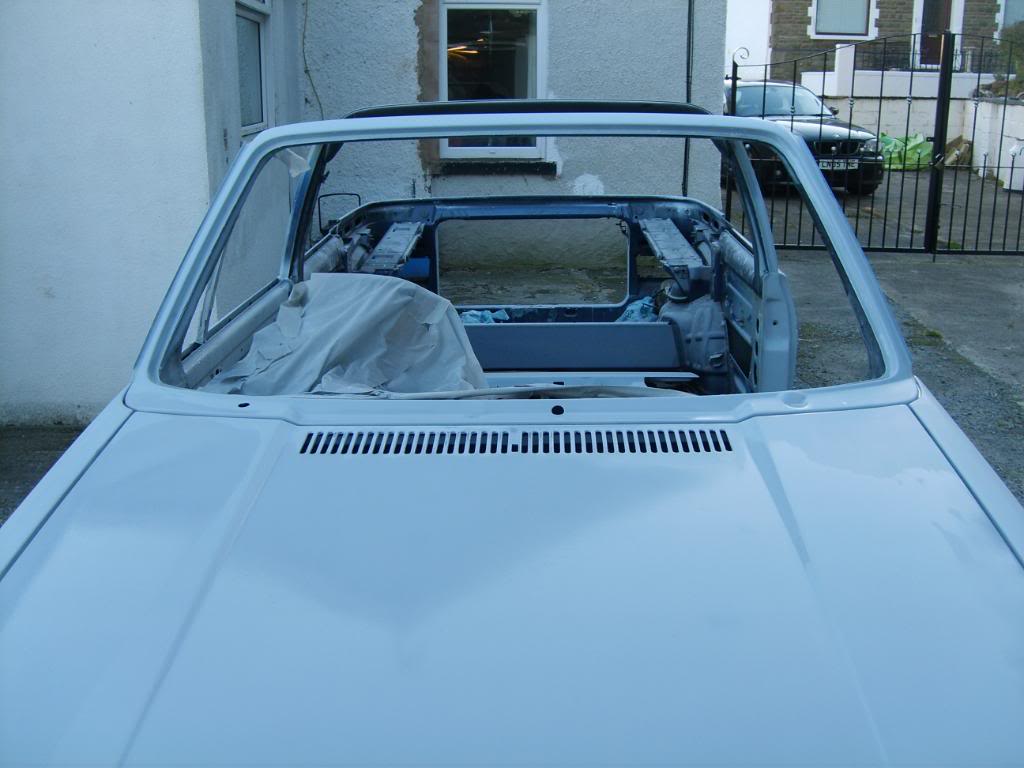


then finally a little bit of fun…

and a little bit of photoshop….
cool huh??
:crazy:
Posted
Settled In
so i've started by removing all the bits from the old engine that i may need for the new one. things like mounts, pipes (always handy), and so but then carried on until the engine was in millions of bits…

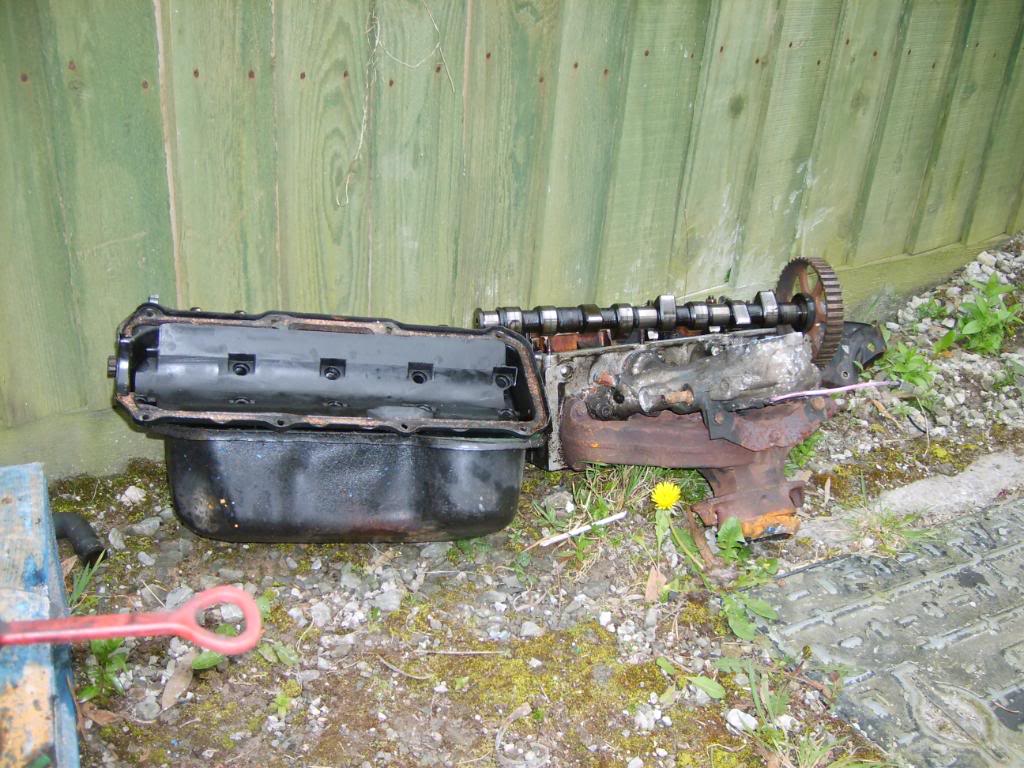

so if anyone is after anything from a 1.8 carb engine, let me know before they get scrapped.
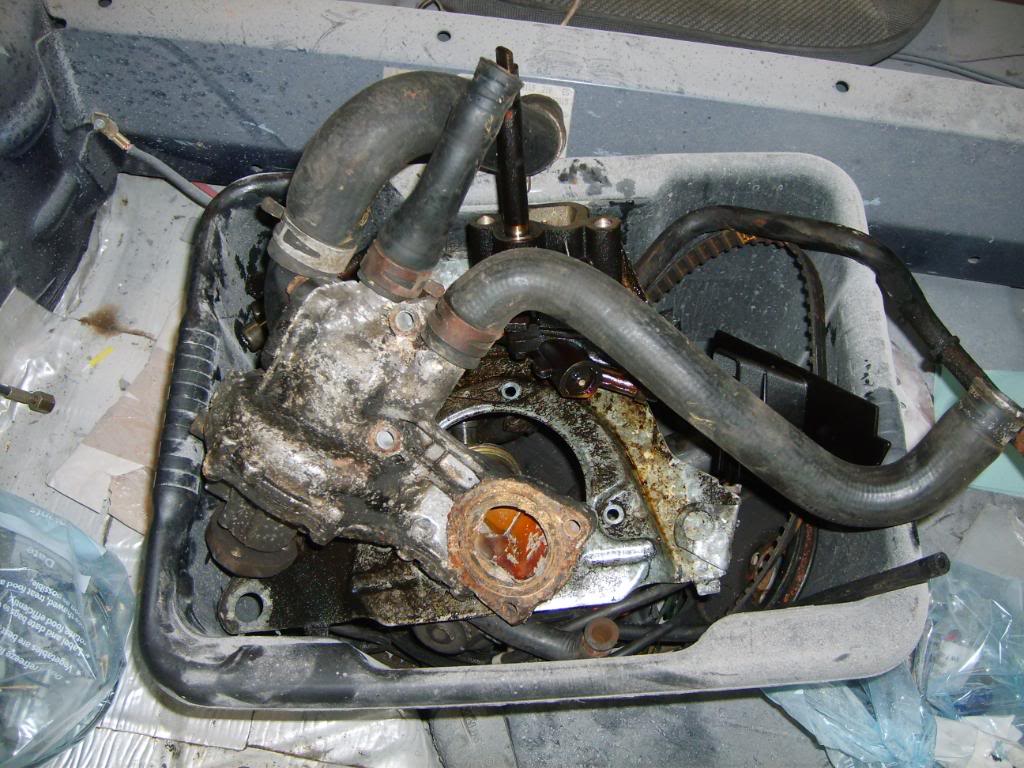
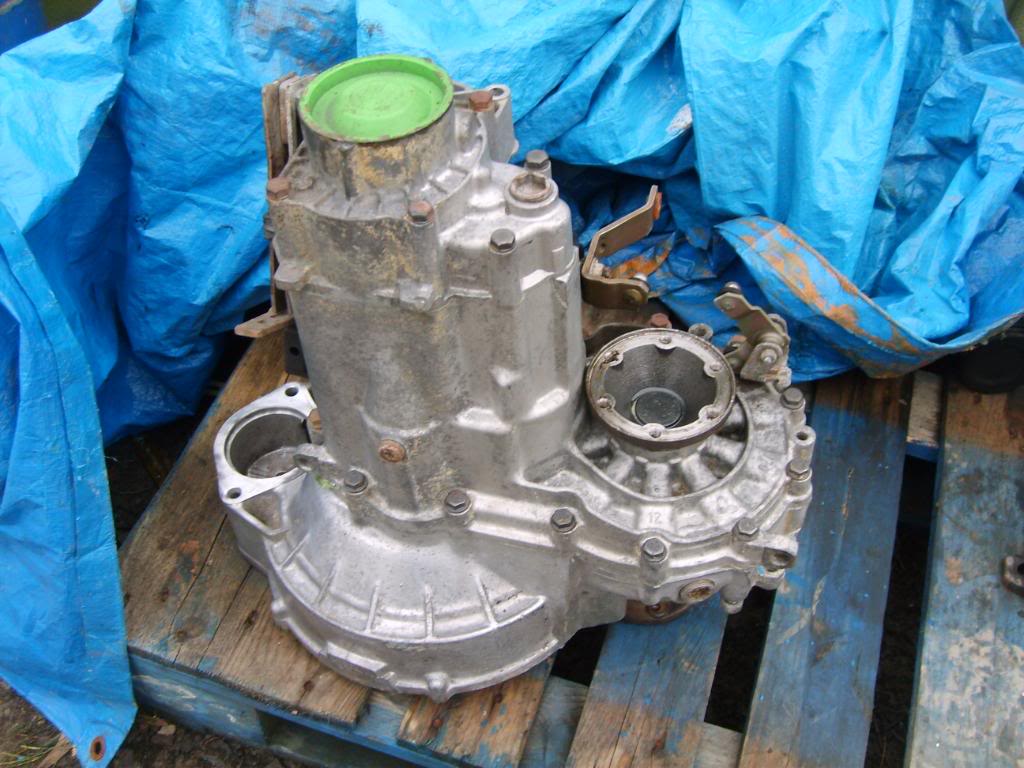
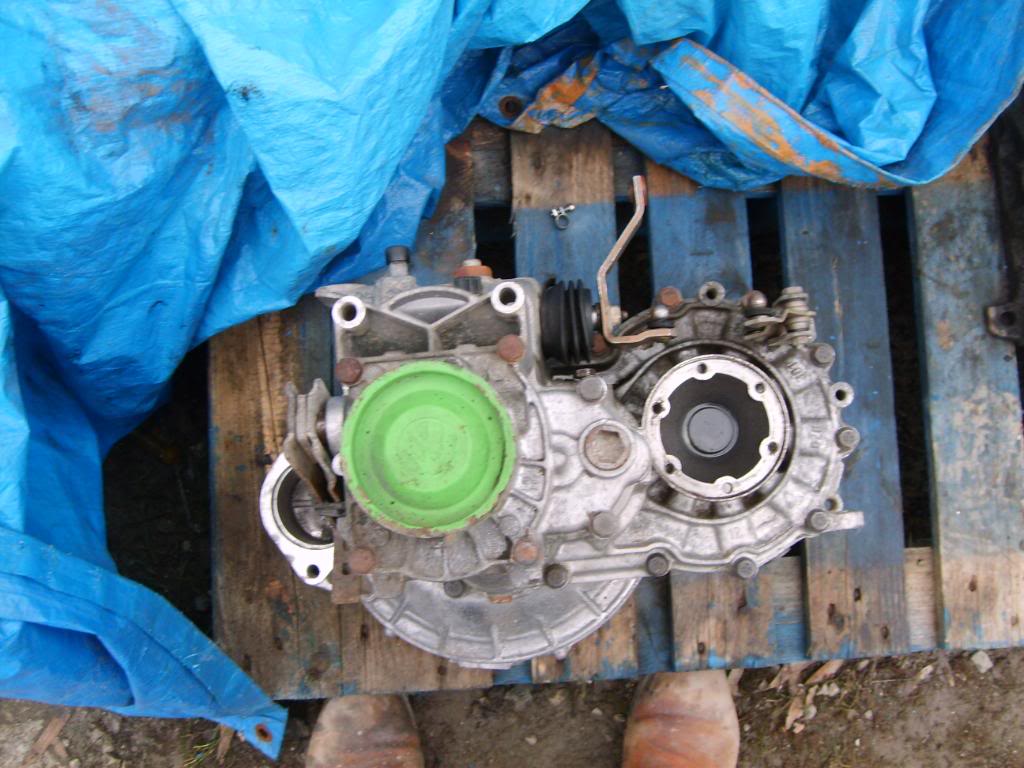
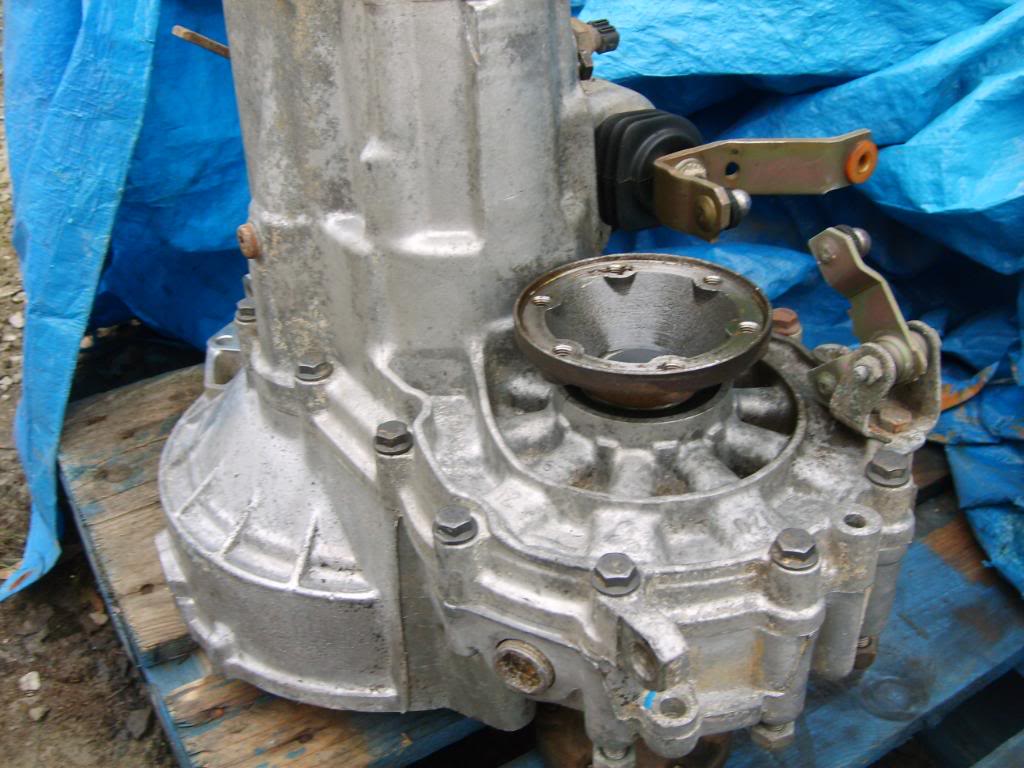
so then i cracked out the GUNK at got down and dirty with the gearbox.
before…

after…


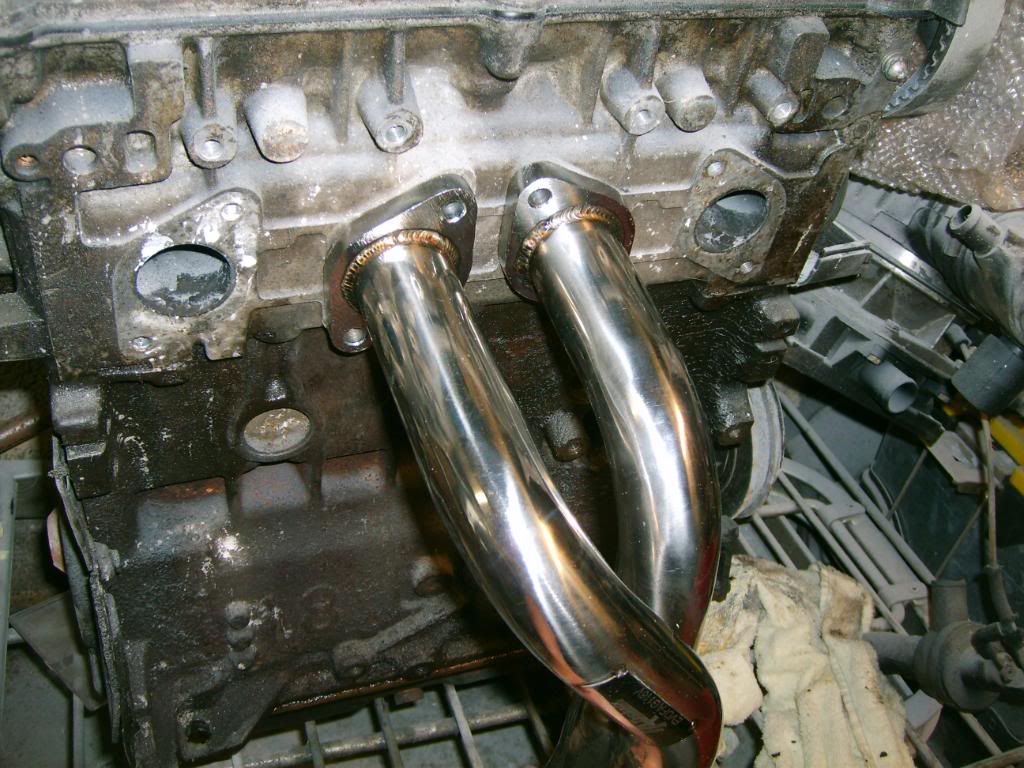
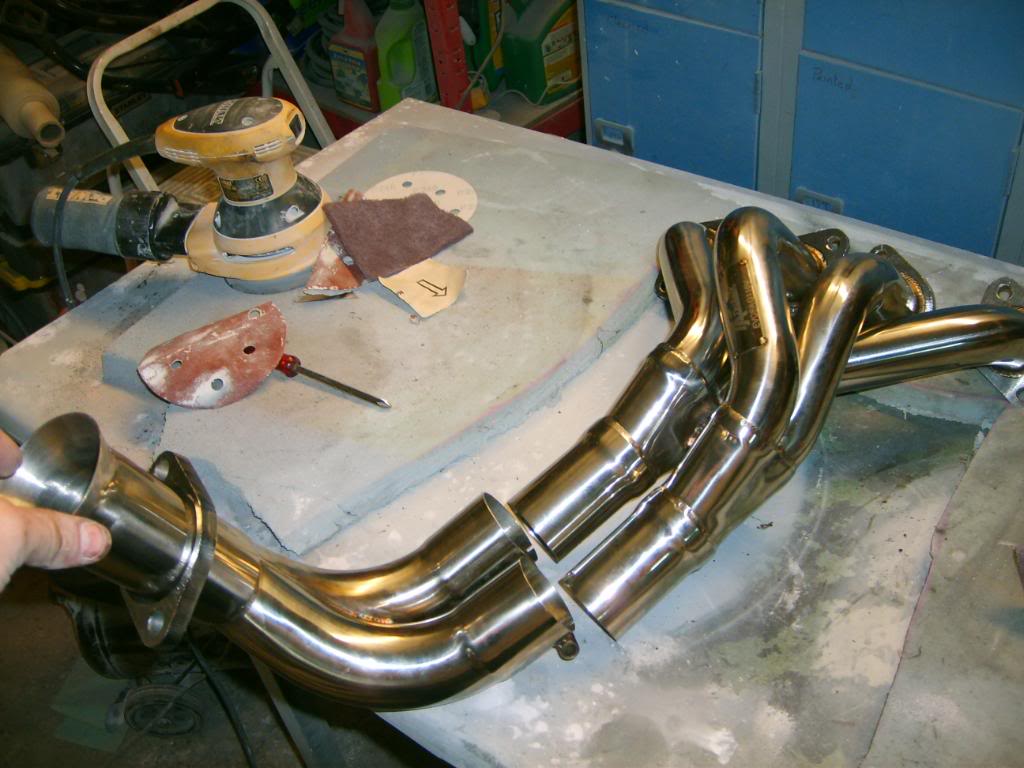
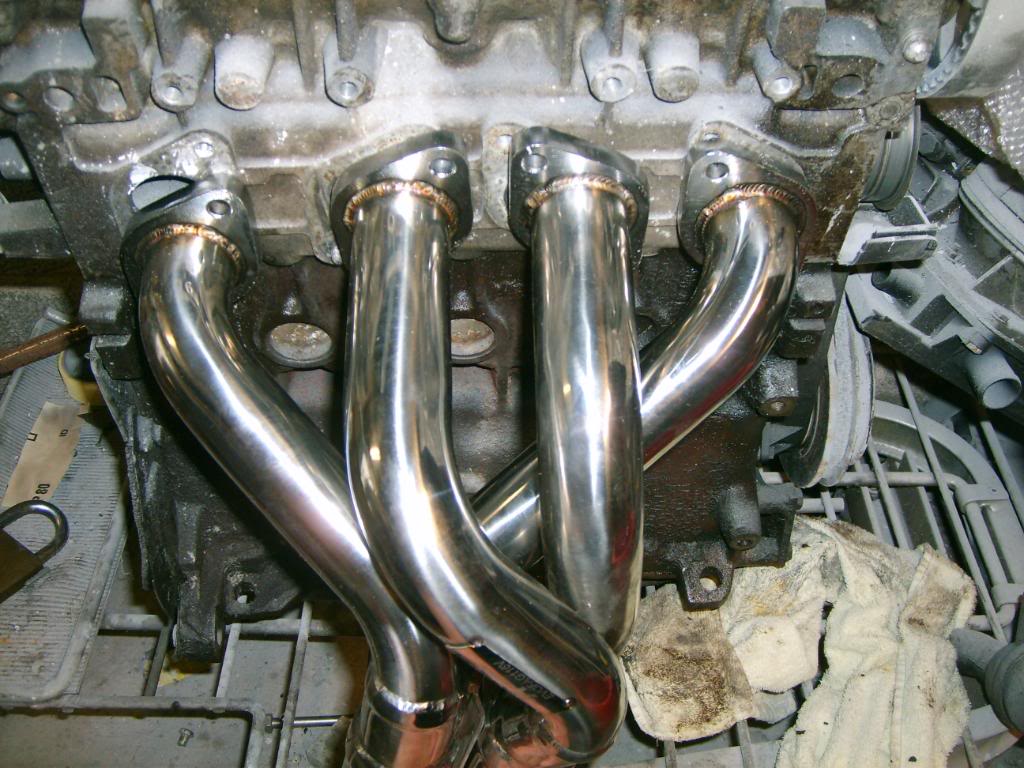
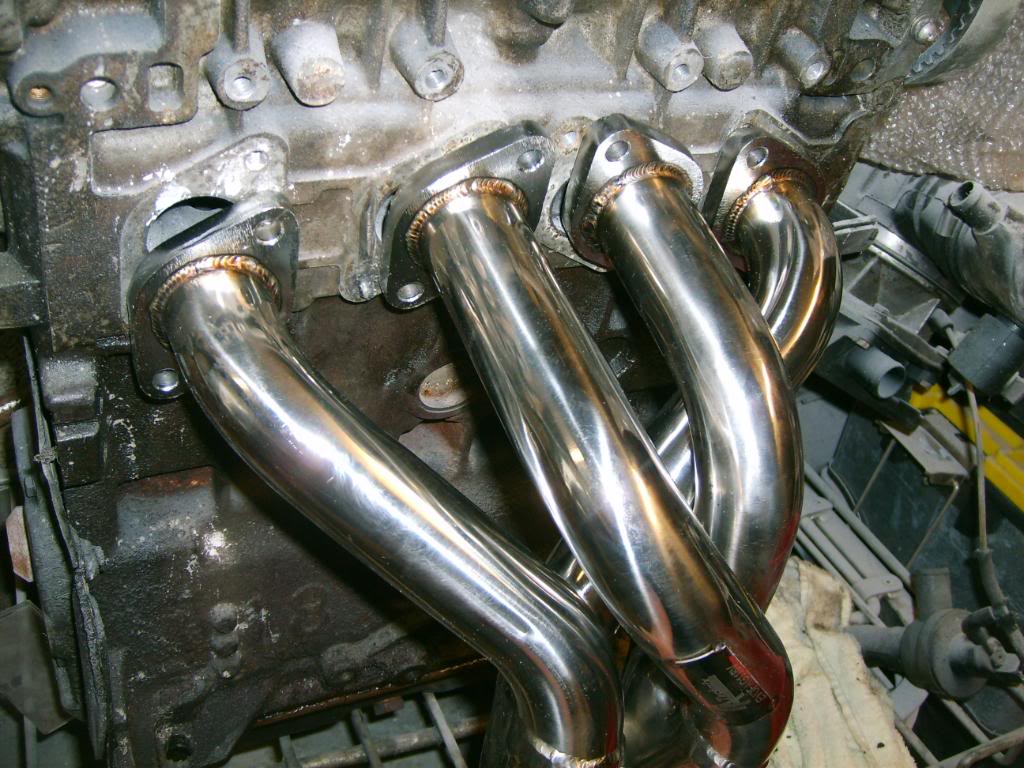
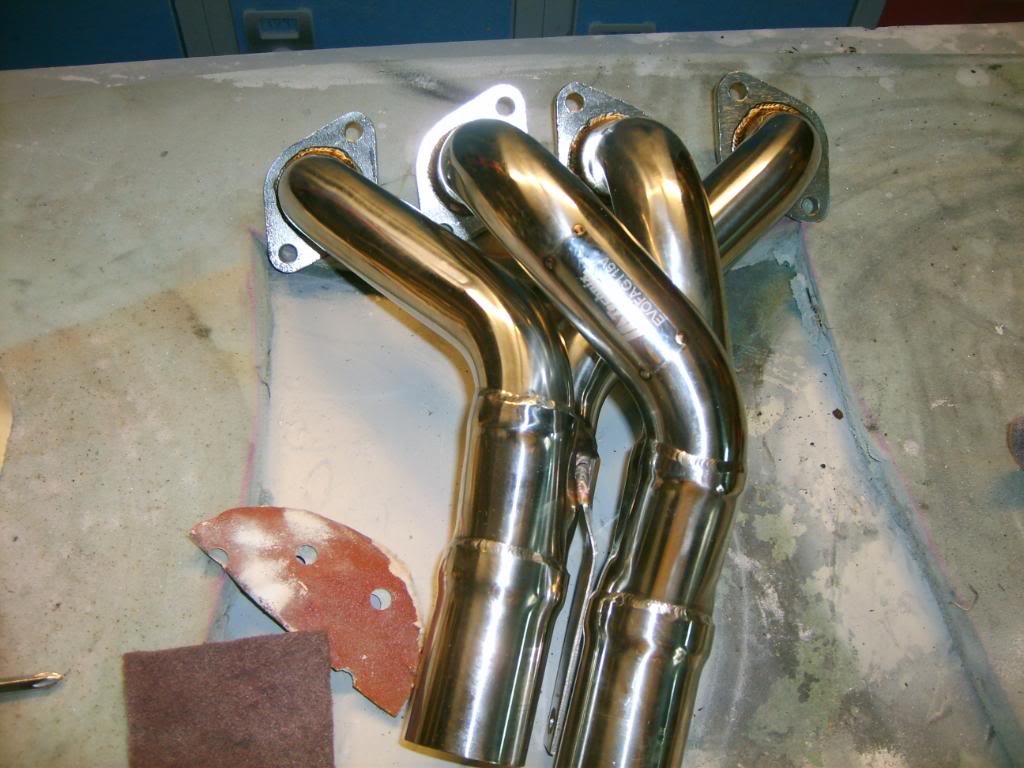
and then i've taken delivery of some SHINY BITS!!!
I've had my coilovers (but haven't taken pics of that), had a good deal from the hottuning stuff and seems brilliant quality for the money.
And i've also had…


oh and i've put the steering rack back in to save the body shop guy the hassle of front wheels wanting to go in opposite directions!!
lol
It's slow but getting there!!
Posted
Settled In
so i've started by removing all the bits from the old engine that i may need for the new one. things like mounts, pipes (always handy), and so but then carried on until the engine was in millions of bits…
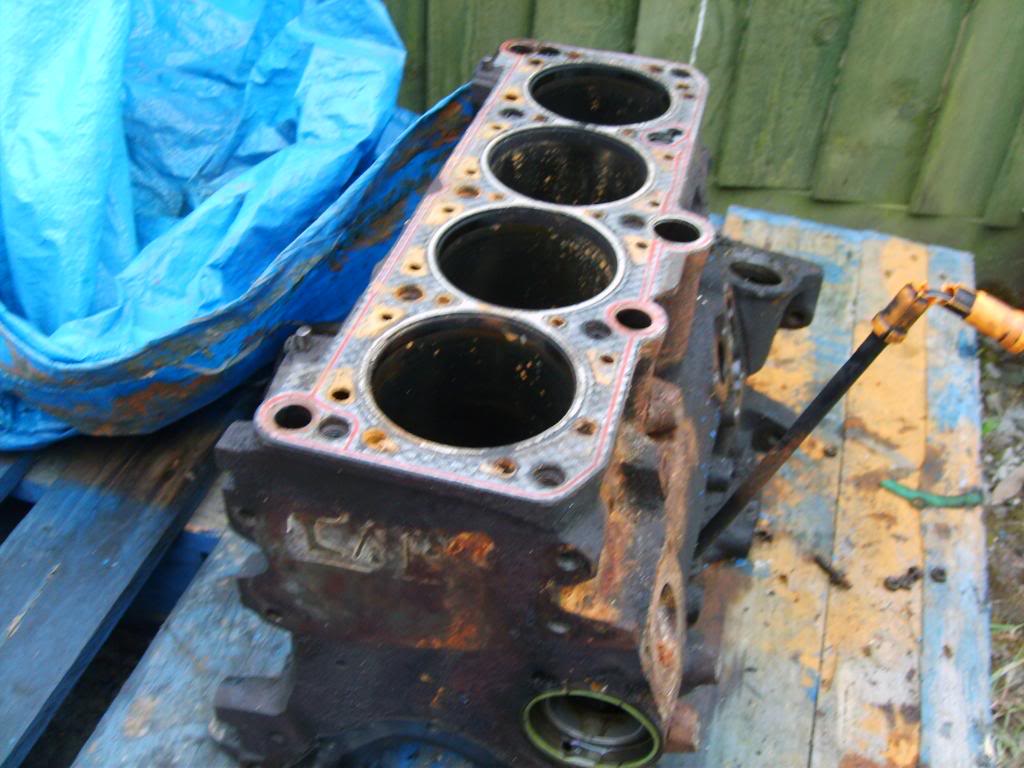

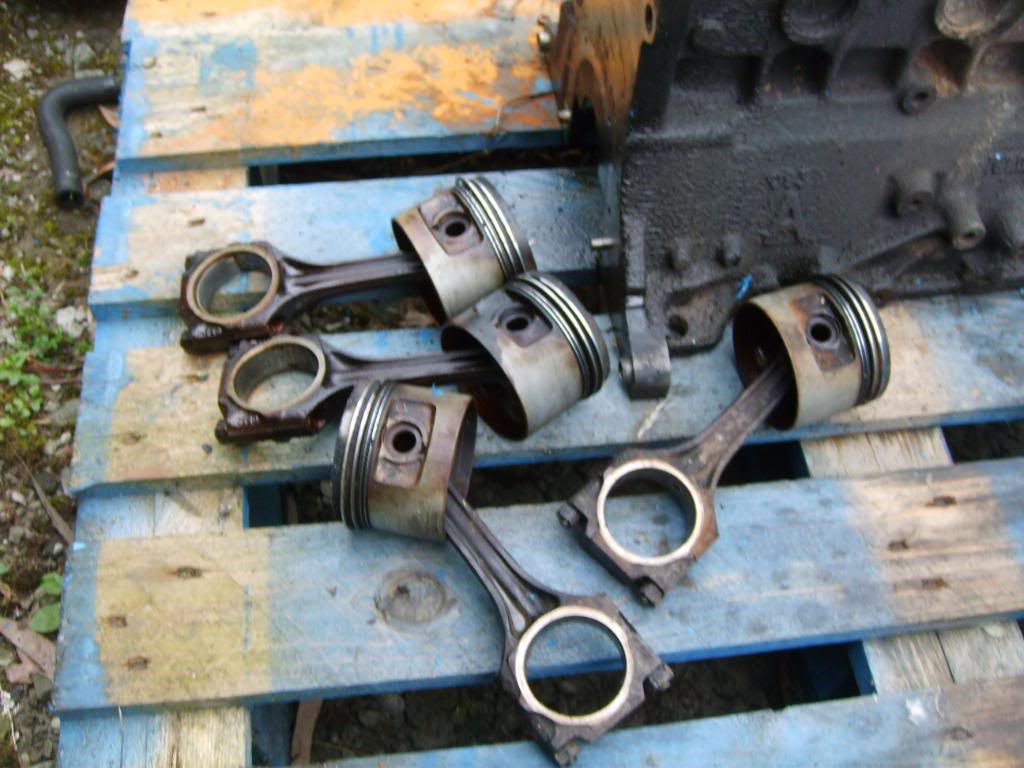

so if anyone is after anything from a 1.8 carb engine, let me know before they get scrapped.
so then i cracked out the GUNK at got down and dirty with the gearbox.
before…
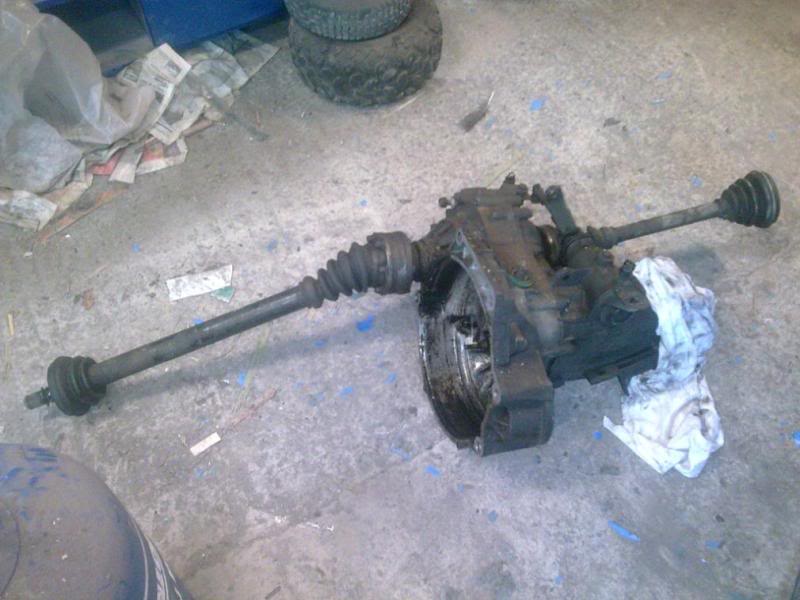
after…


and then i've taken delivery of some SHINY BITS!!!
I've had my coilovers (but haven't taken pics of that), had a good deal from the hottuning stuff and seems brilliant quality for the money.
And i've also had…


oh and i've put the steering rack back in to save the body shop guy the hassle of front wheels wanting to go in opposite directions!!
lol
It's slow but getting there!!
Posted
Settled In
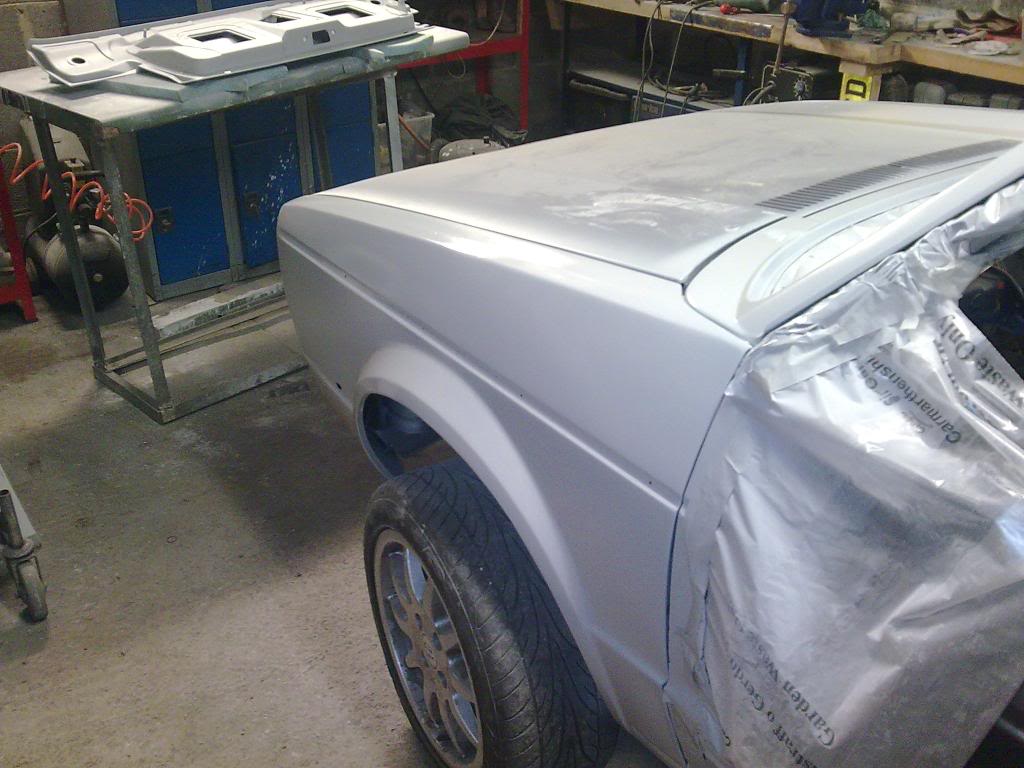
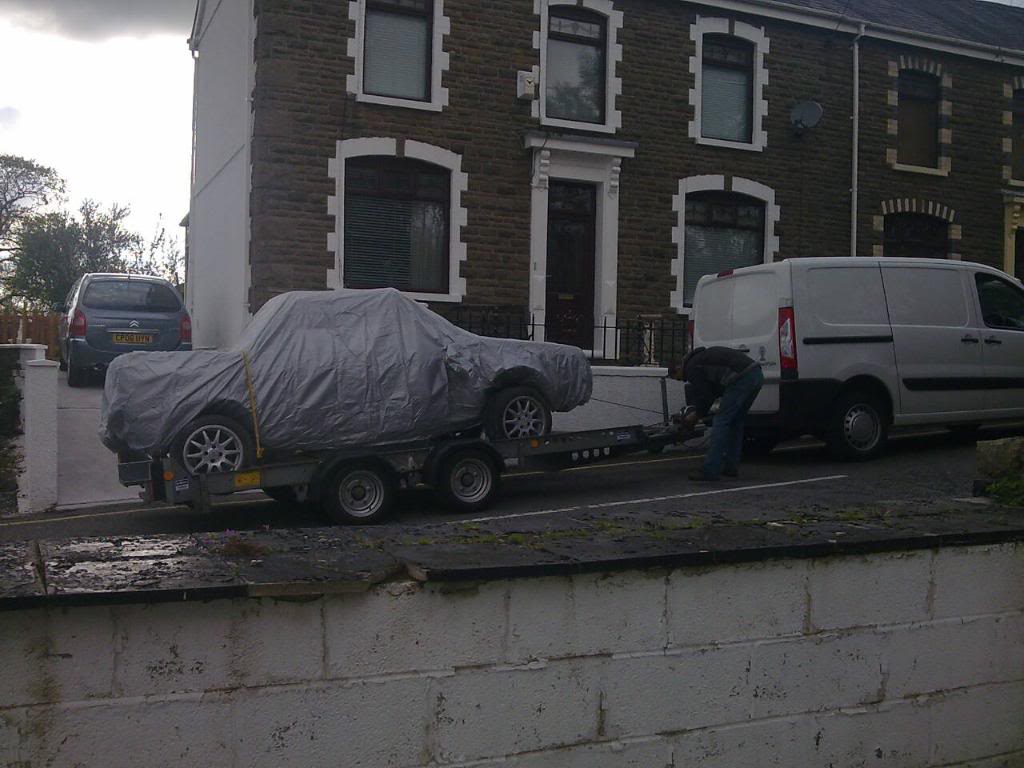
Car is now ready and has been taken away for painting!
now its time to start work on the valver before the car comes back so everything is nice and clean!
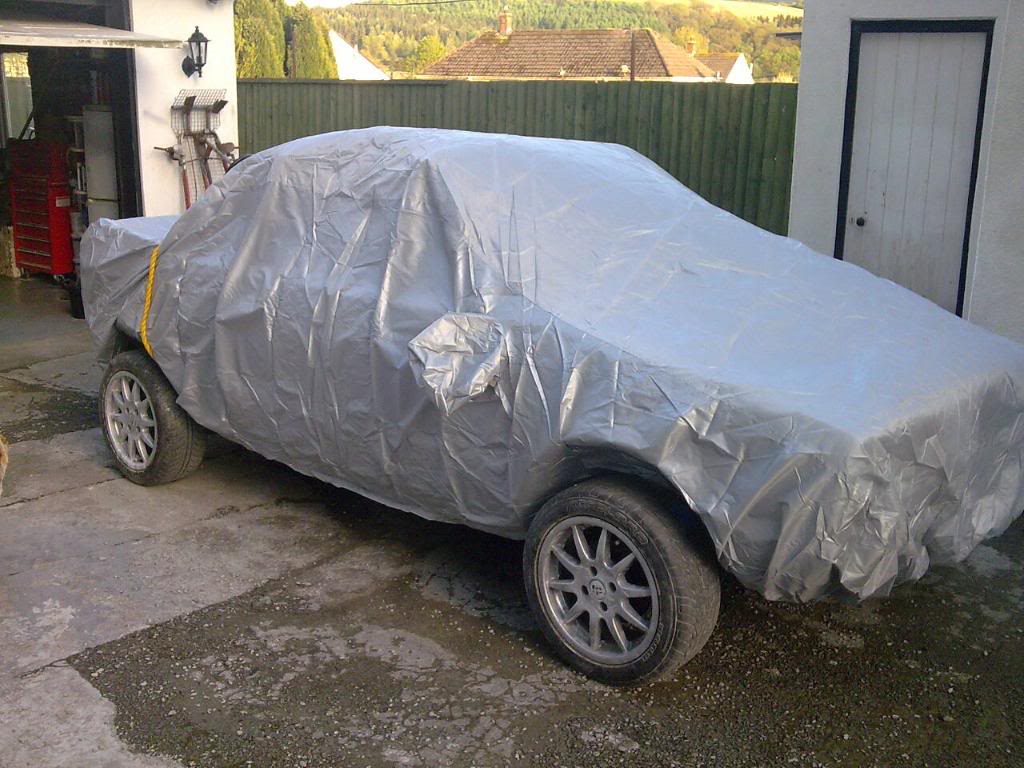
bye bye!!
see you in a few weeks!!
engine pics coming soon
0 guests and 0 members have just viewed this: None.