


Just a quick tidy up..........Oops!! (UPDATE 22/06/10)

Posted
Settled In

Just a quick tidy up..........Oops!! (UPDATE 22/06/10)
jellybelly said
look really good
doing mine soon was planning on Por15 x2 then a coat of chassis black
but now i've seen that might change my mind
Its a nice finish to be fair. You cant beat body colour underneath as far as im concerned. 8)
If you are using Por15 please ensure that the surface is prepped correctly. It doesn't like to adhere to old paint or shiney steel.
Posted
Settled In
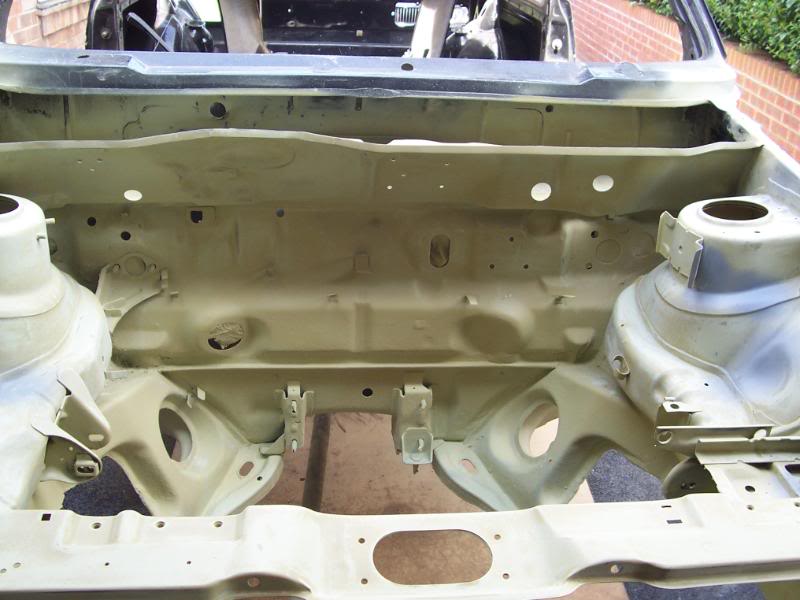
Onwards……………
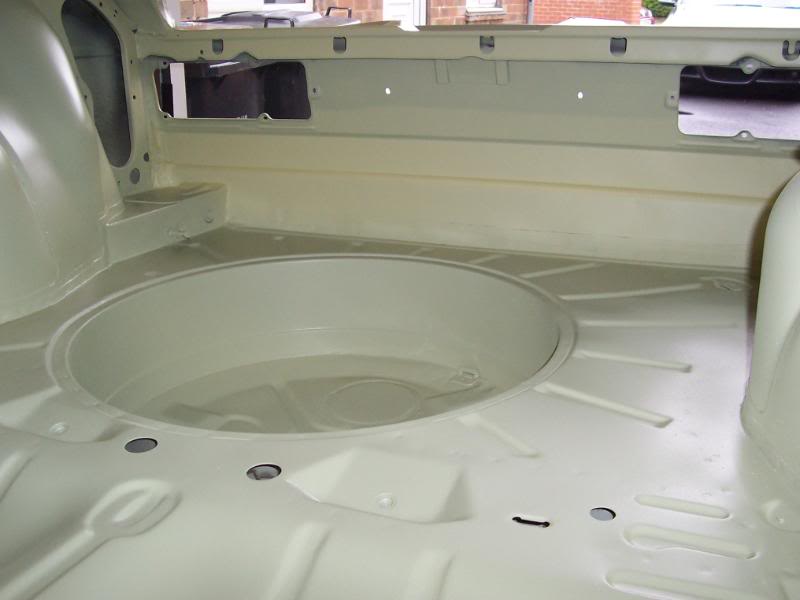
A final coat of high build primer.
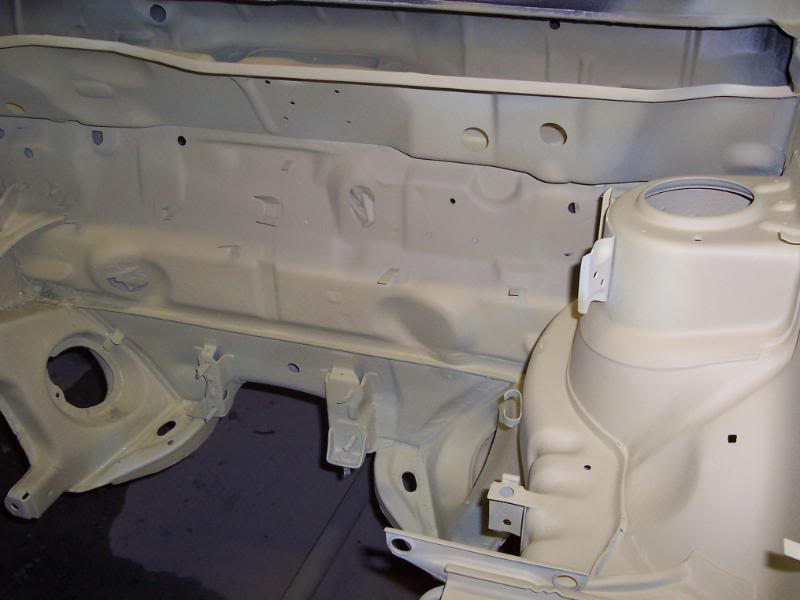

And now we are ready for the top coats Ive never painted before so i thought id try the floor pan first in case i made an pigs ear of it.

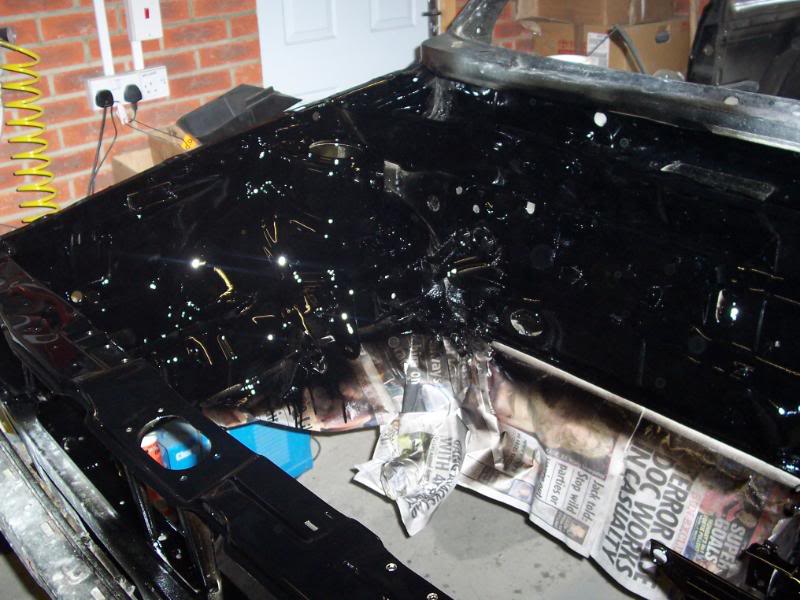
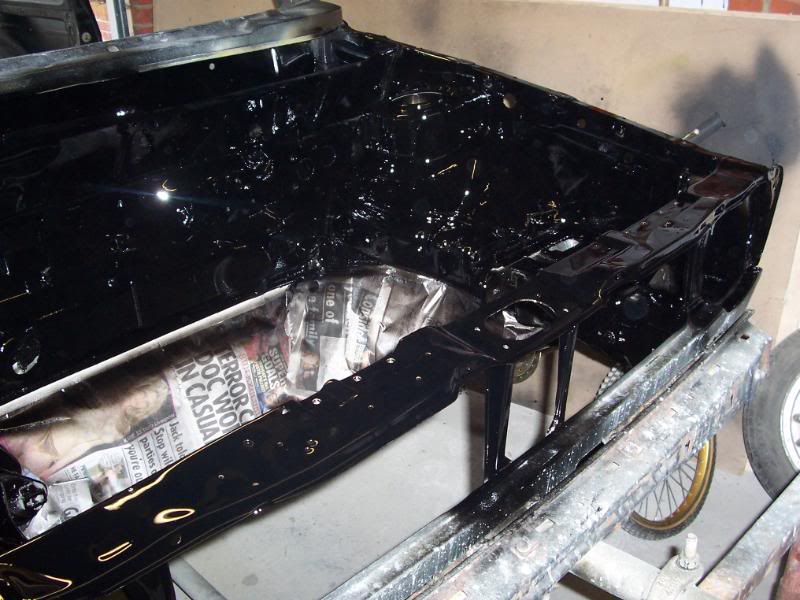
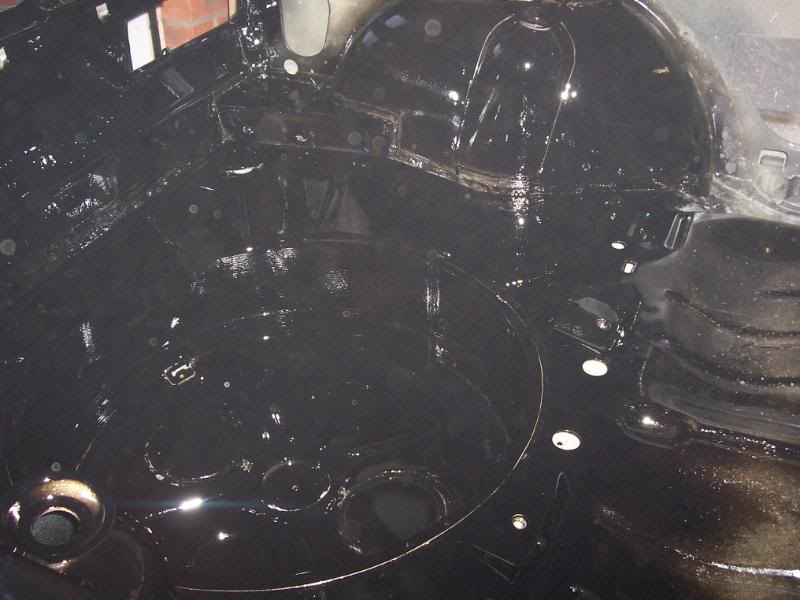
Since i was happy with the results i moved on to the freshly wet flatted engine bay.
And promptly ran out of paint :roll:
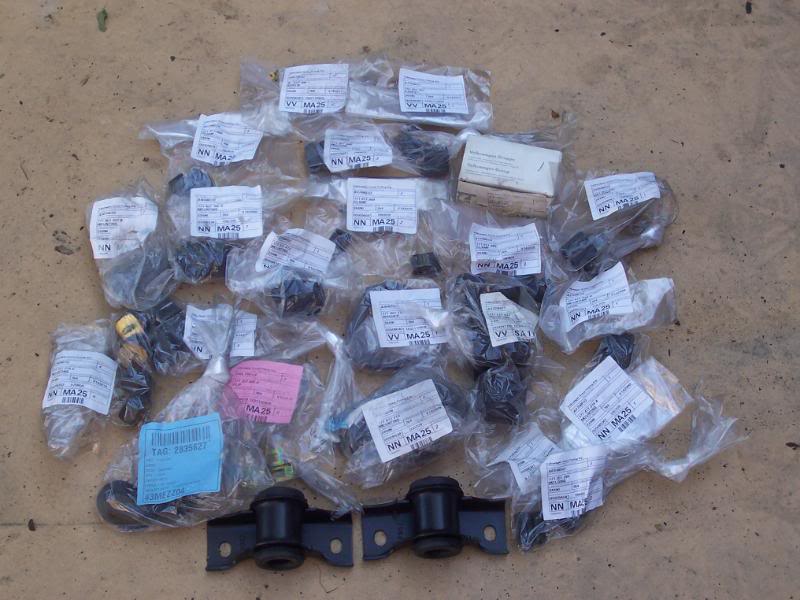
So i dug out all the old rubbers and grommets and cleaned them up.
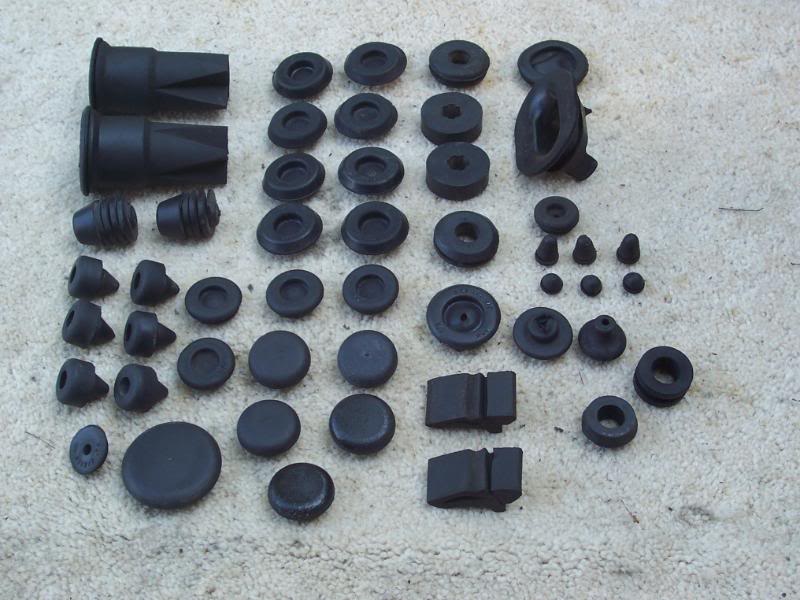
Now i just have to remember where they all go :dontknow:
Ive bought some more paint today so il try and get the engine bay painted this week. Then its the shiney bits
A final coat of high build primer.
And now we are ready for the top coats
Ive never painted before so i thought id try the floor pan first in case i made an pigs ear of it.
Since i was happy with the results i moved on to the freshly wet flatted engine bay.
And promptly ran out of paint :roll:
So i dug out all the old rubbers and grommets and cleaned them up.
Now i just have to remember where they all go :dontknow:
Ive bought some more paint today so il try and get the engine bay painted this week. Then its the shiney bits
Posted

Old Timer


looks awesome underneth
i can but dream
i can but dream

Posted
Settled In
jellybelly said
looks awesome underneth
i can but dream
Cheers fella. Its been a phenominal amount of work to get it this far but i think that it looks pretty decent. I think that i started off with a good shell too so i don't envy those that are starting with a rot box!! 8O
Posted
Old Timer
i am one of them that have started with a rot box but all part of the fun!!!! 
Posted
Settled In
jellybelly said
i am one of them that have started with a rot box but all part of the fun!!!!
Yeah ive seen your thread 8O Looks like your making headway though and its a tidy job too, good work fella 8)
Posted
Local Hero

Hats off to you for all the work done mate
Well done :wink:
Well done :wink:
Diesel Possessed
A97JCE
Feeby
A97JCE
Feeby
Posted
Settled In
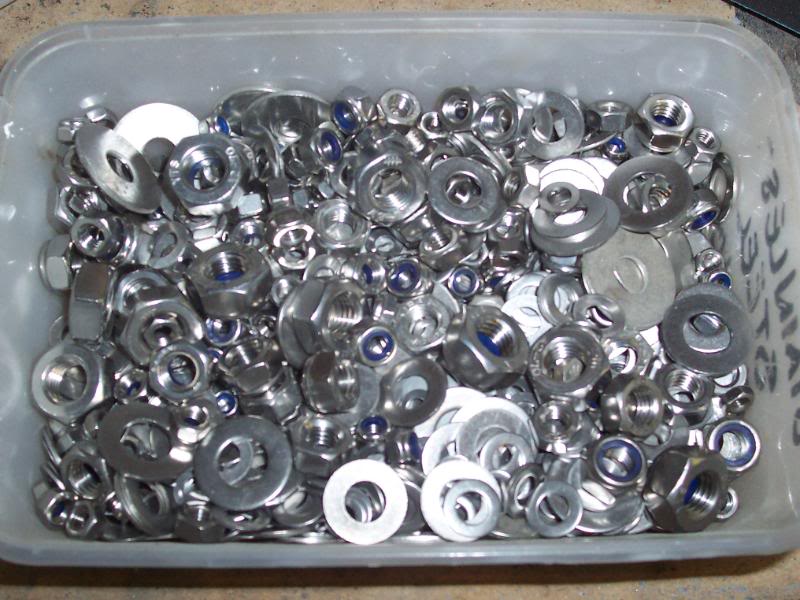
Today i bought some stainless steel fastenings and put them in a plastic tub.
I also did this…………..
:mrgreen: :mrgreen: :mrgreen: :mrgreen:
I also did this…………..
:mrgreen: :mrgreen: :mrgreen: :mrgreen:
Posted
Settled In
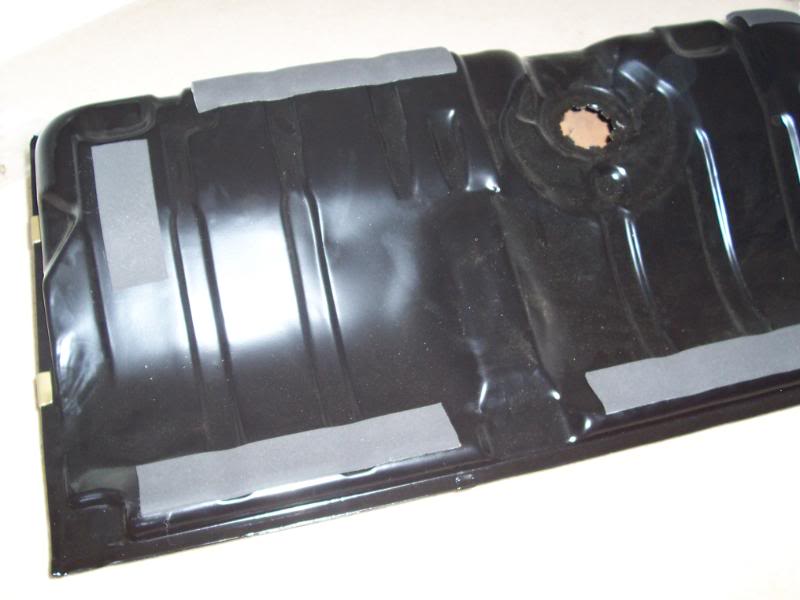
Got a few bits back from the powder coater. So i kicked back on the relative comfort of my livingroom floor and started assembling the petrol tank.
Freshly blasted and coated satin black. New foam strips applied to top side of tank as per original.
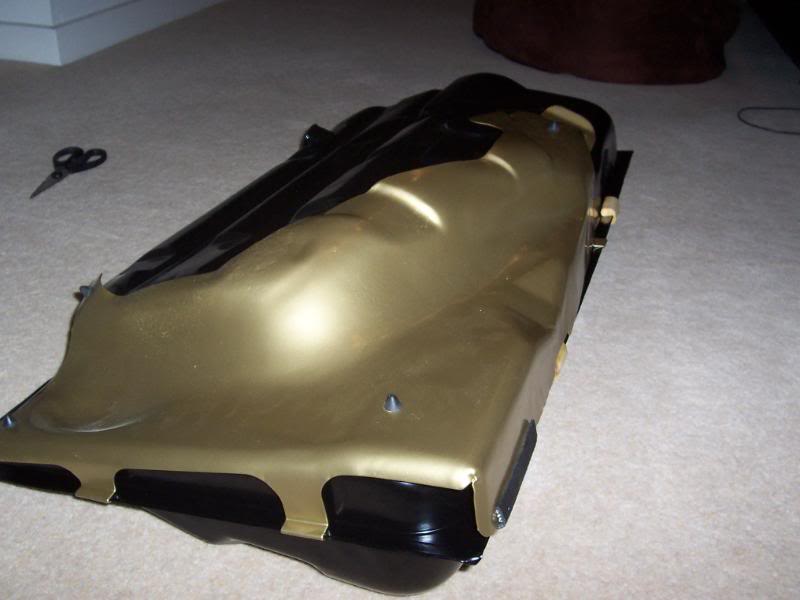
Now for the heat shield. Originally these were cadmium plated which is that gold / green coating. It looks great when new but lasts about 30 seconds against the elements. So my trusty powder coater managed to find a very good match amongst his range. The photos dont really do it justice but in 'real life' it looks spot on.
Tank straps refurbished with powder coat and fresh rubber strips. Also litle strap packers cleaned up and refitted.
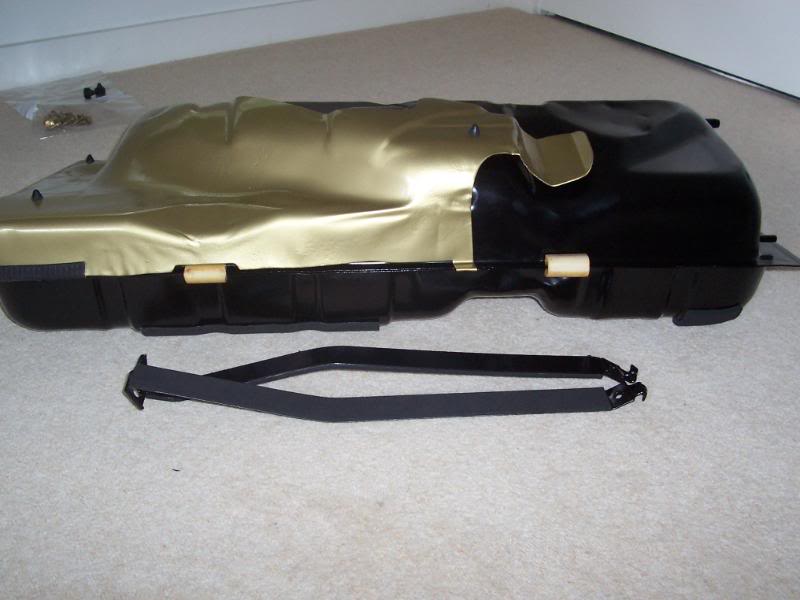
Ill obtain a new sender unit at a later date, but this is now ready to fit onto the car.
Freshly blasted and coated satin black. New foam strips applied to top side of tank as per original.
Now for the heat shield. Originally these were cadmium plated which is that gold / green coating. It looks great when new but lasts about 30 seconds against the elements. So my trusty powder coater managed to find a very good match amongst his range. The photos dont really do it justice but in 'real life' it looks spot on.
Tank straps refurbished with powder coat and fresh rubber strips. Also litle strap packers cleaned up and refitted.
Ill obtain a new sender unit at a later date, but this is now ready to fit onto the car.
Posted
Settled In
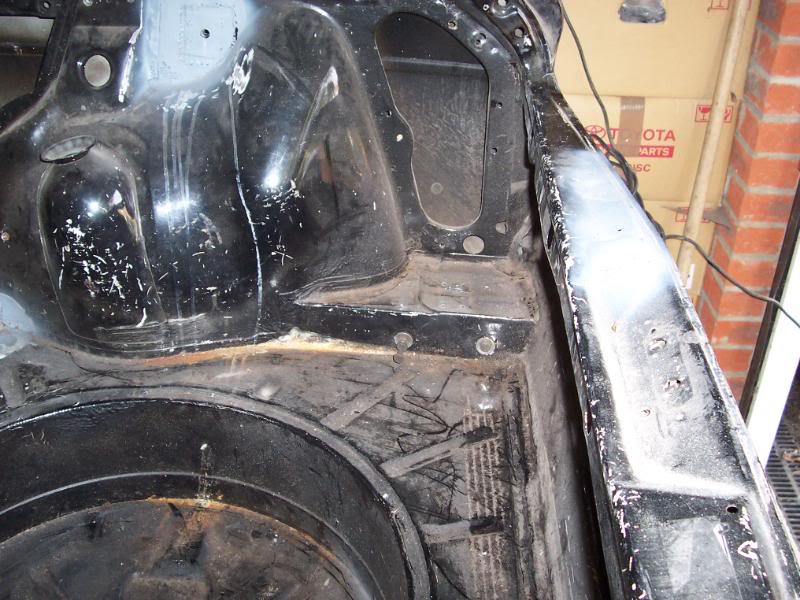
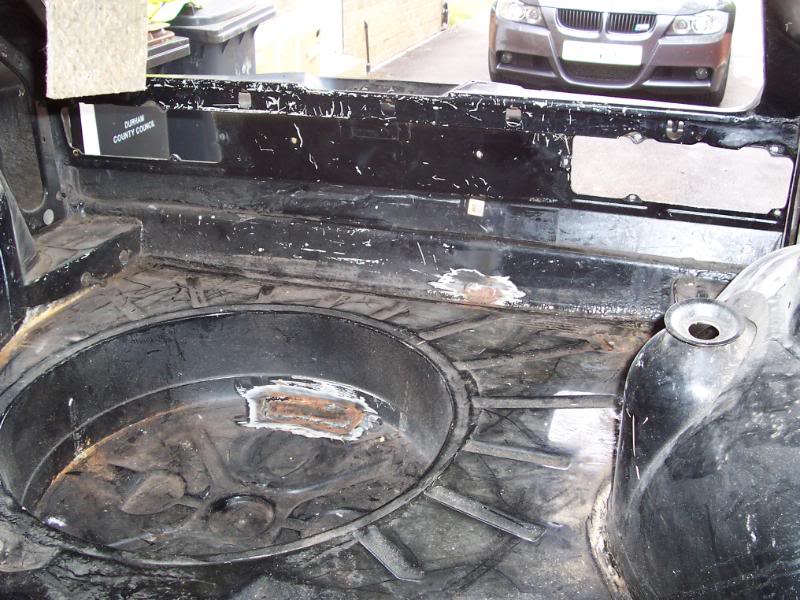
Boot area this weekend.
Started with this.
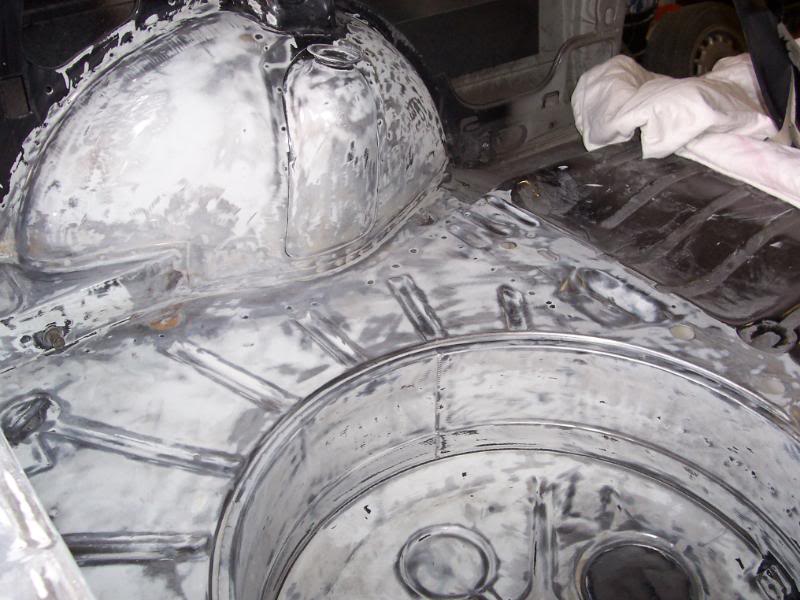
Several laborious hours later i had this.

Dusted off the spray gun and filled it with etch primer.
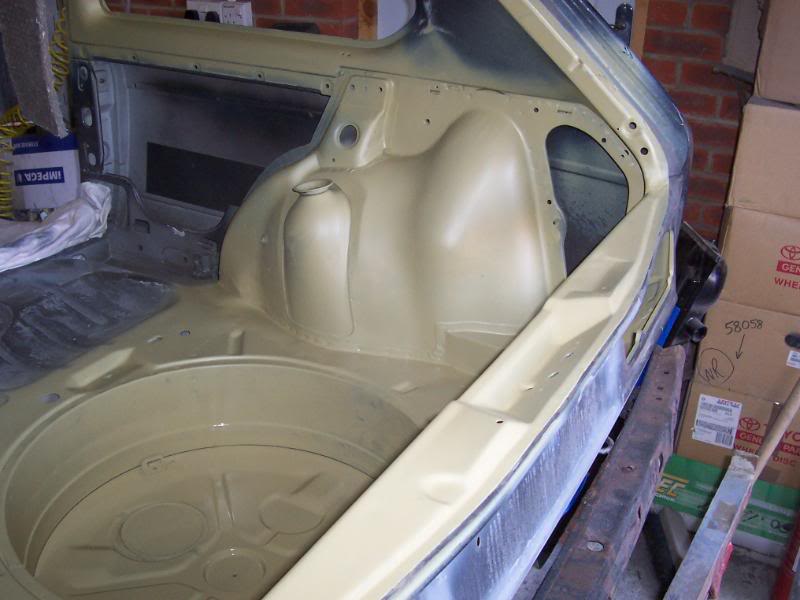
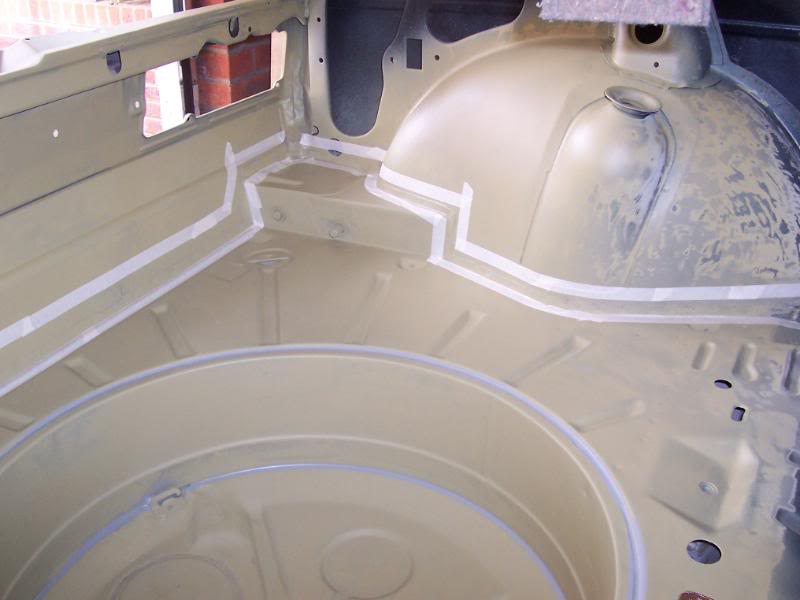
Then broke out the masking tape and masked the seams in order to get a nice neat line with the seam sealer.
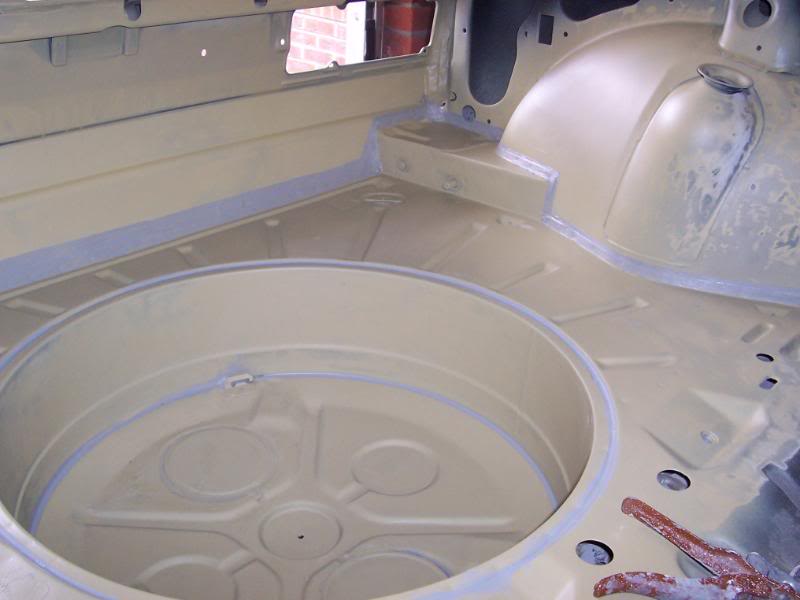
Then its filler primer time.
Next up is a few hours with the wet & dry and then a splash of black :mrgreen:
Started with this.
Several laborious hours later i had this.
Dusted off the spray gun and filled it with etch primer.
Then broke out the masking tape and masked the seams in order to get a nice neat line with the seam sealer.
Then its filler primer time.
Next up is a few hours with the wet & dry and then a splash of black :mrgreen:
Posted
Old Timer
looking good!!!!!
what did you use to strip the paint???
what did you use to strip the paint???
Posted
Settled In
jellybelly said
looking good!!!!!
what did you use to strip the paint???
Cheers fella. I used a DA sander and a cup type wire wheel in a grinder. Oh and all of my finger tips too 8O The wire wheel is good for geting into the indentations.
Posted
Local Hero
Posted
Settled In
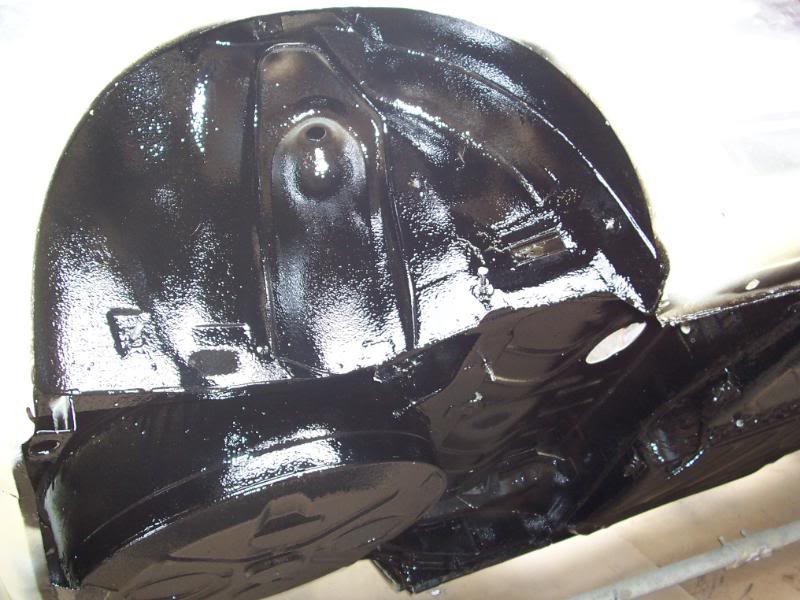
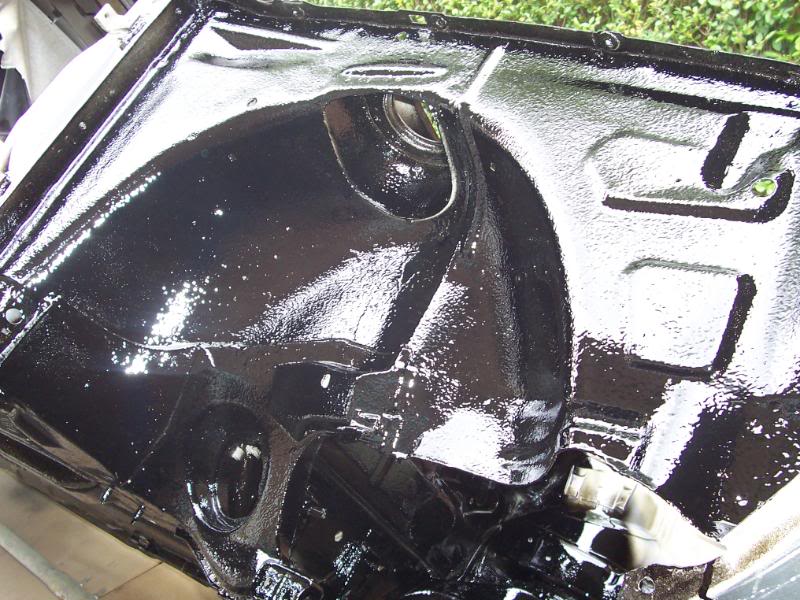
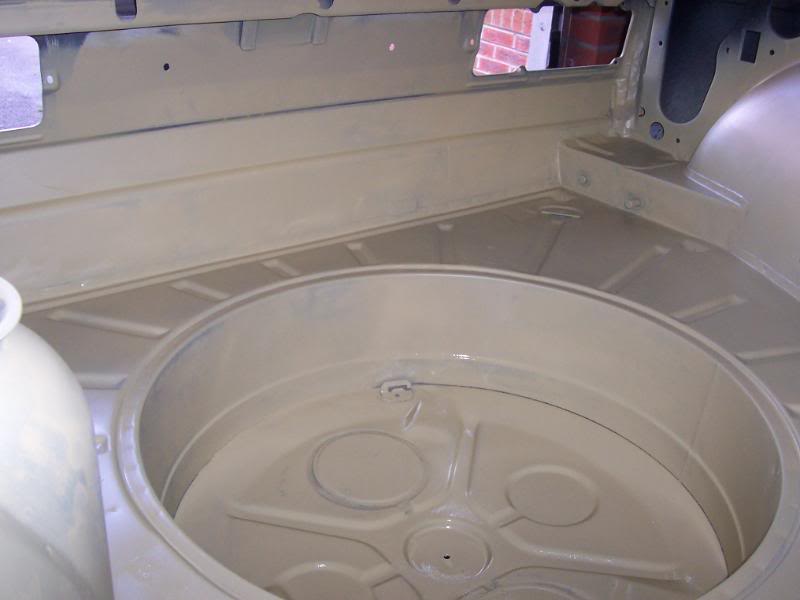
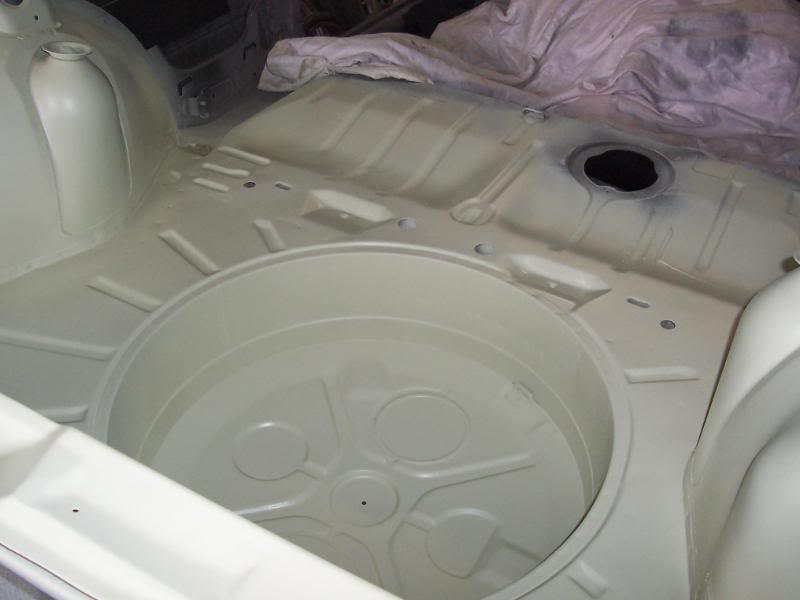
I spent several hours wet flatting the boot area the oher night so that i could do this tonight.

Thats the light reflecting in the paint by the way, not poor coverage. :?
This weekend im going to wet flat the engine bay and boot area and give both one final coat. Then its time to bolt on the goodies :mrgreen:
Thats the light reflecting in the paint by the way, not poor coverage. :?
This weekend im going to wet flat the engine bay and boot area and give both one final coat. Then its time to bolt on the goodies :mrgreen:
Posted
Old Timer
Love it
Madone with the two Cabs 82 (UK RHD) and 85 (US LHD) (92 sold)
Posted
Settling In

Hi, what type of paint are you using, 2 Pack/water based? Looks like a really good job. The cost of the paint work on y project has pretty much stopped it, i'd love to have a go at painting it though. Do you make sure your garage is warm?
Posted
Settled In
Im using good old 2 pack!! Itll get wet flatted off again and then ill put the final top coats on when its a warm day. Ive also got some heat lamps if i need to fire them up. I've never painted before so its a steep learning curve. The body will be getting done by a pro painter in an oven but my efforts are ok for the floor pan and engine bay / boot area.
Posted
Settled In
Moving on. Time to start fitting up the shell with some of these NOS goodies.
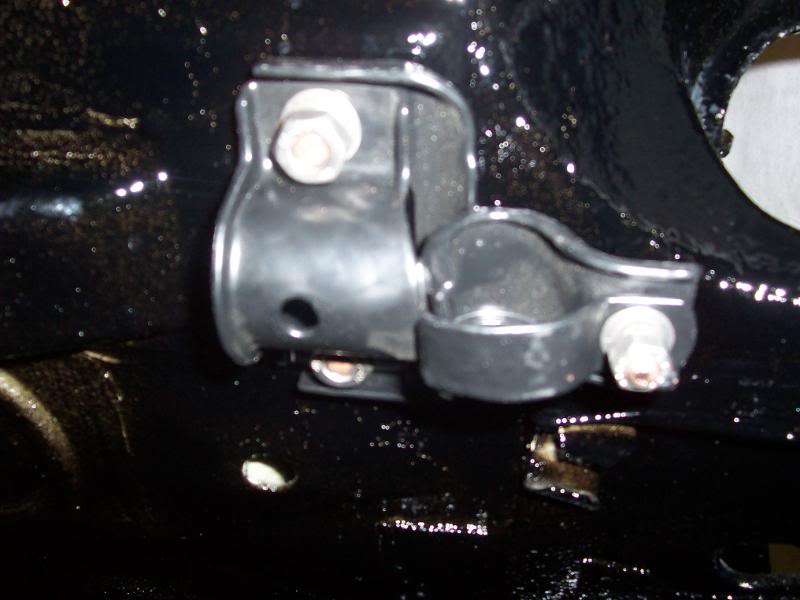
So front wishbones first. Wishbones have been blasted and powdercoated and then fitted up with genuine VW bushes.
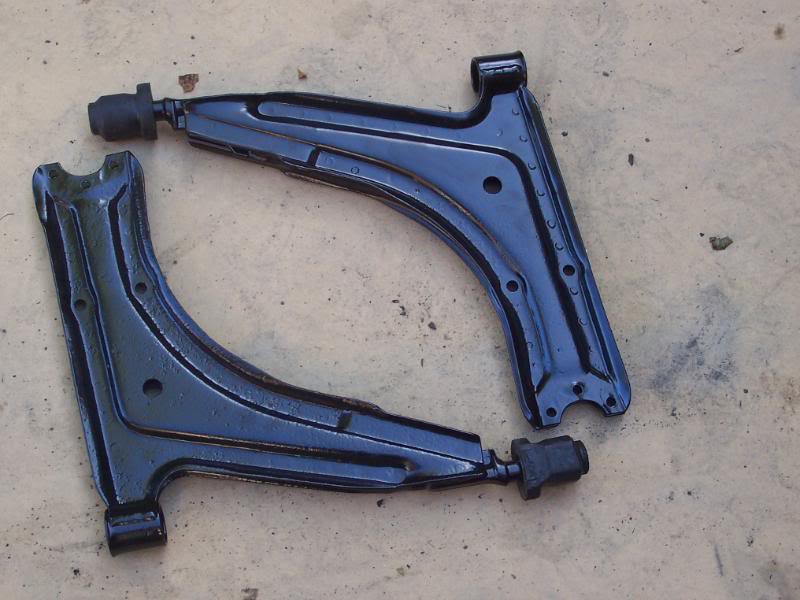
Then fitted to the car with freshly powdercoated brackets and stainless steel washers and nuts. All torqued to the correct settings.
Steering rack next. Stripped down.
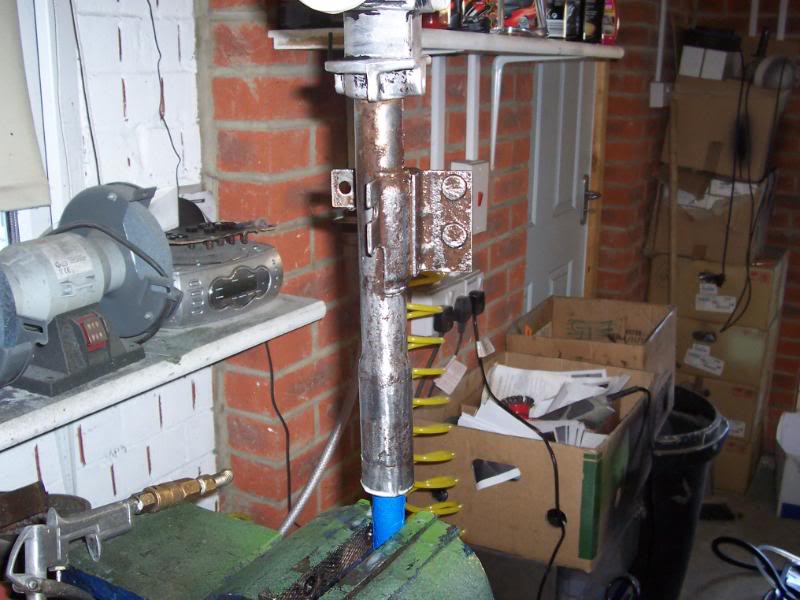
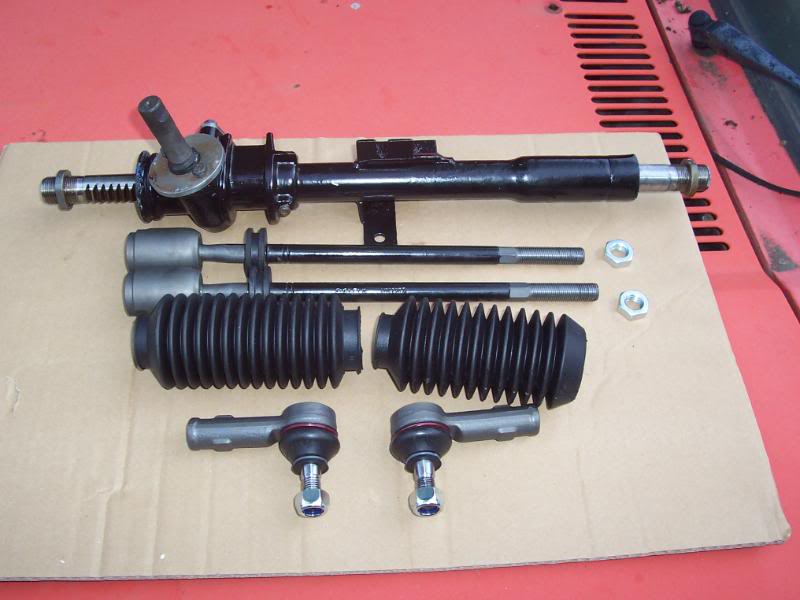
Refurbished and ready to be rebuilt with track rods, track rod ends, rubber gaitors etc.
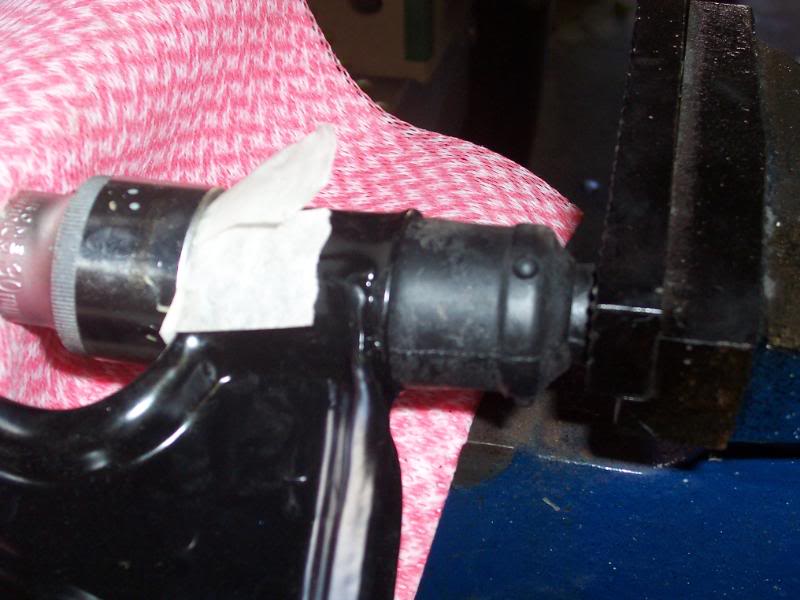
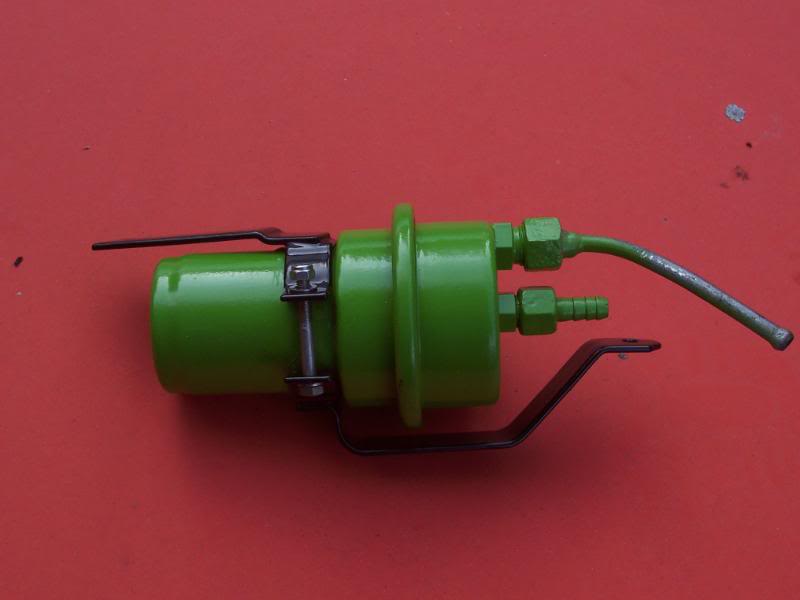
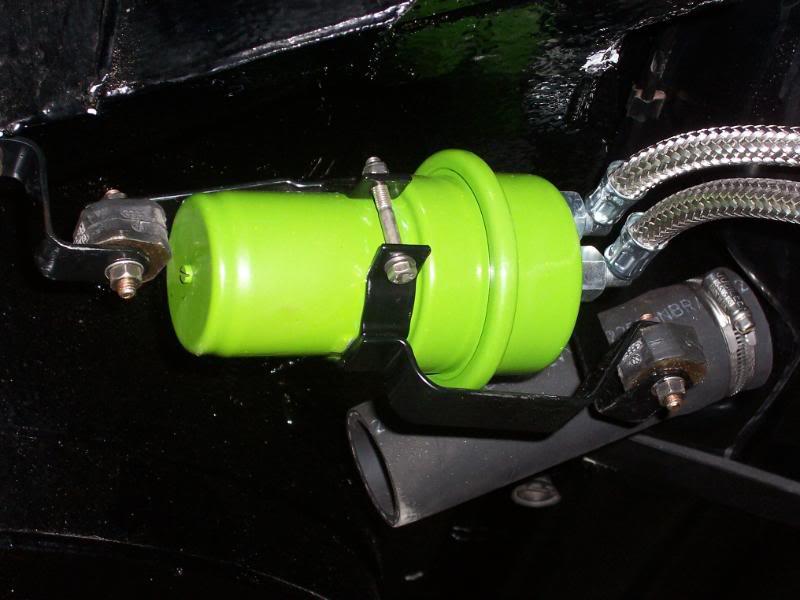
Fuel accumulator is brand new and comes with a very light coating of paint. So i took this off and primed and repainted in something that should last a bit longer. Also powdercoated bracket and added stainless steel fixings and NOS mounting rubbers.
So front wishbones first. Wishbones have been blasted and powdercoated and then fitted up with genuine VW bushes.
Then fitted to the car with freshly powdercoated brackets and stainless steel washers and nuts. All torqued to the correct settings.
Steering rack next. Stripped down.
Refurbished and ready to be rebuilt with track rods, track rod ends, rubber gaitors etc.
Fuel accumulator is brand new and comes with a very light coating of paint. So i took this off and primed and repainted in something that should last a bit longer. Also powdercoated bracket and added stainless steel fixings and NOS mounting rubbers.
Posted
Settled In
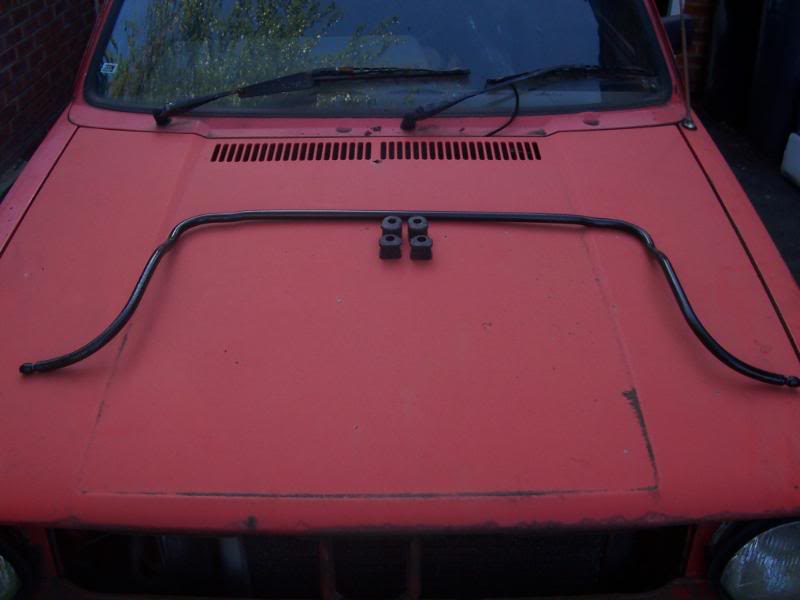
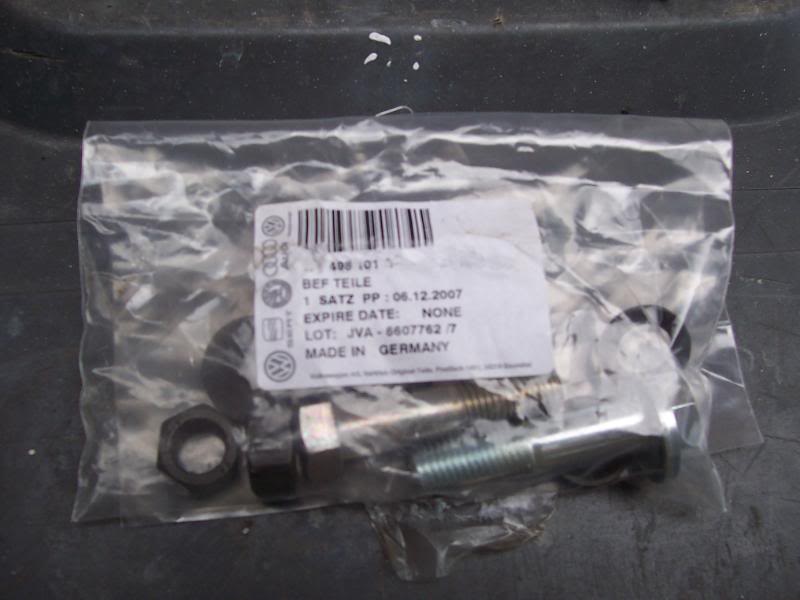
Front anti roll bar next. Powder coated and with NOS rubbers.
And on car.
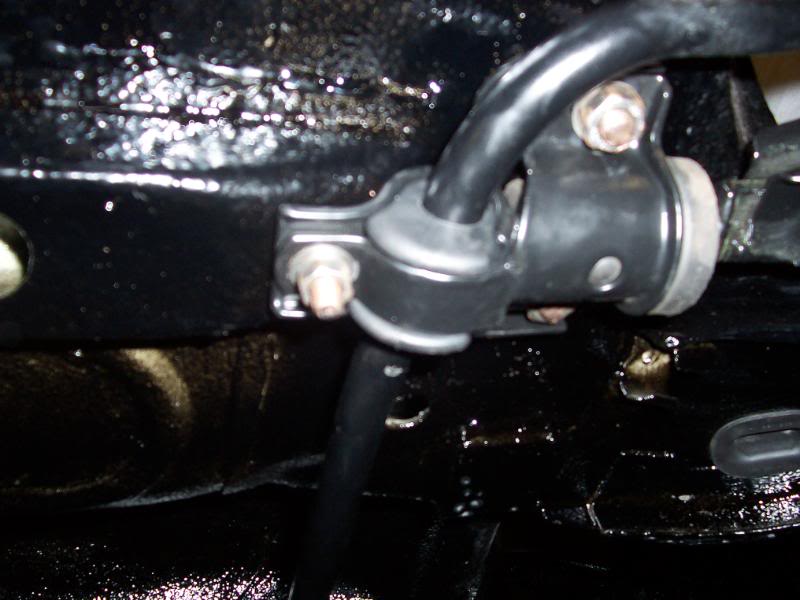
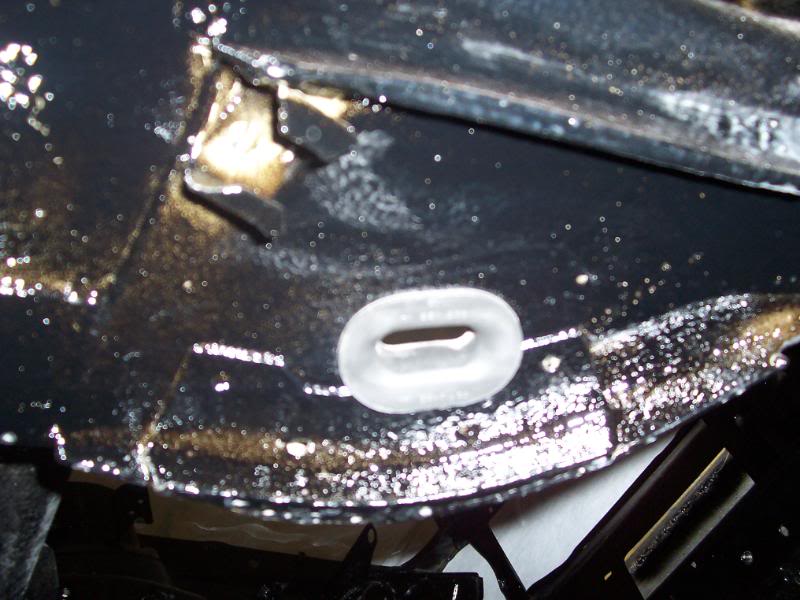
NOS grommets where the fuel and brake lines pass through the chassis.
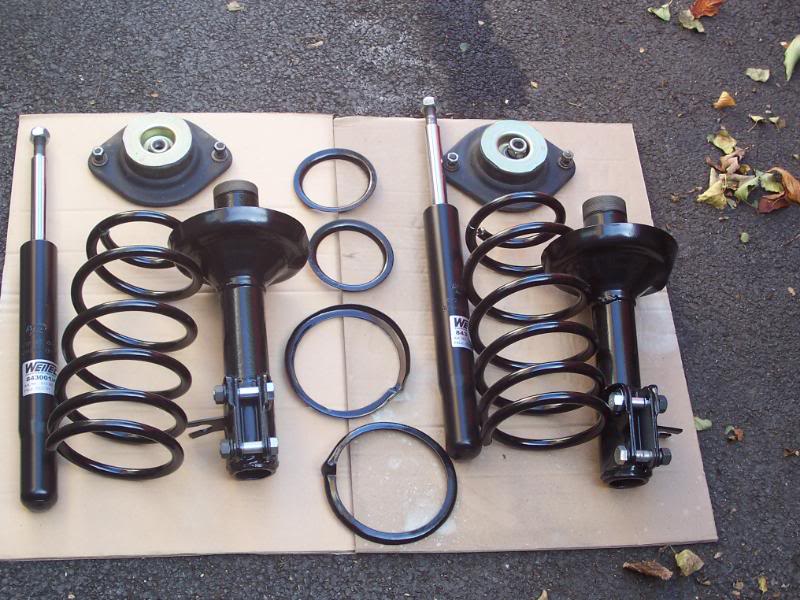
Front struts laid out after refurbishment. Genuine top mounts, powder coated legs and Weitec shocks and springs. The Weitec kit is lime green so ive had it blasted and coated black so that it looks stock. Also NOS camber bolts.
And on car.
NOS grommets where the fuel and brake lines pass through the chassis.
Front struts laid out after refurbishment. Genuine top mounts, powder coated legs and Weitec shocks and springs. The Weitec kit is lime green so ive had it blasted and coated black so that it looks stock. Also NOS camber bolts.
Posted

Old Timer
Sweet, nice new shiny bits :wink:
There are too many online users to list.