


Busters Caddy - ground up restoration project (Pictur heavy)

Posted
Settled In

Busters Caddy - ground up restoration project (Pictur heavy)
Posted
Settled In


most important is keeping the torch cable as straight as posible so the wire can run through freely.
make sure the tip is clean too, inside and out.
if it still dont work bin it :dontknow:
Posted
Settled In
Update
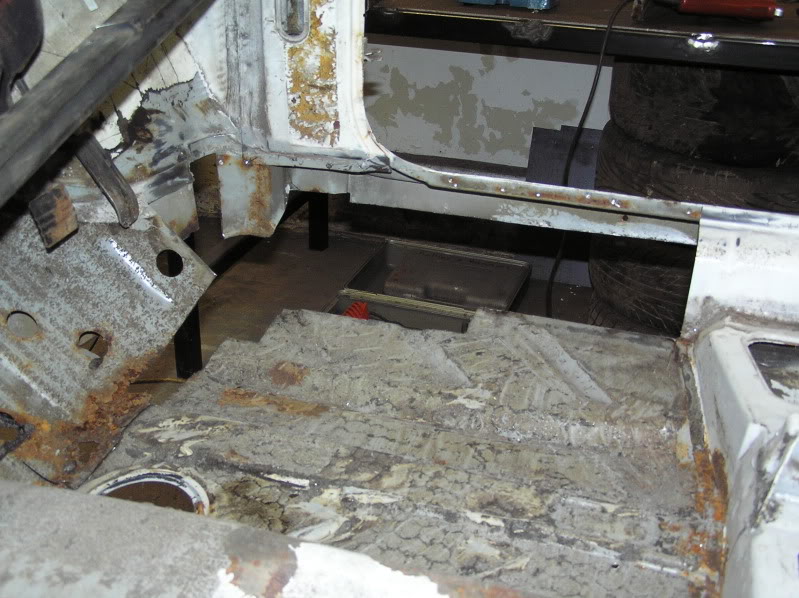
I couldn't really get into it at first. Did a bit more underseal removal and soon got fed up and thought, sod it and decided to sort this mess out.
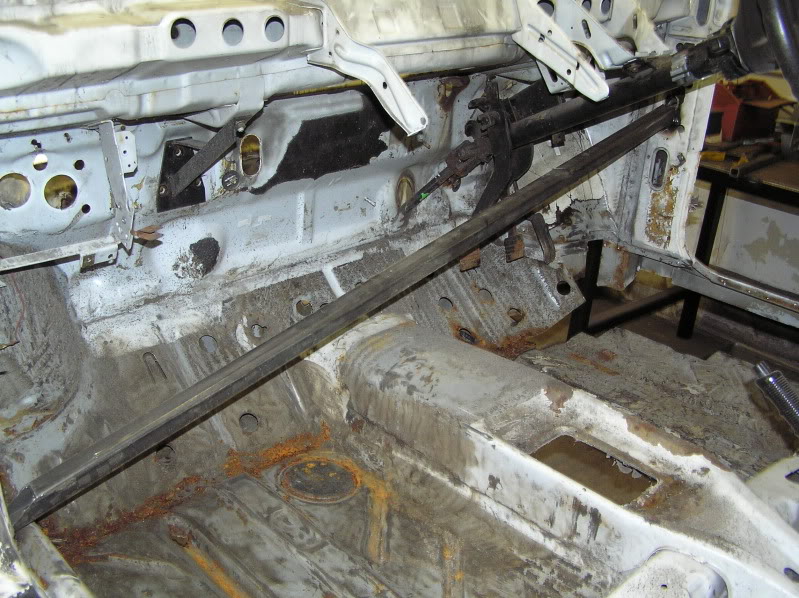
First thing i did was to brace the drivers side to passenger side a pillars.
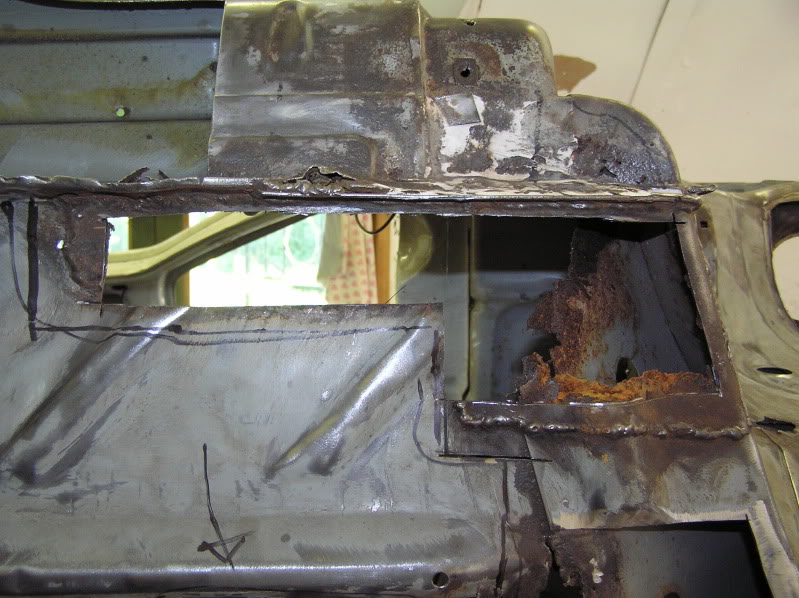
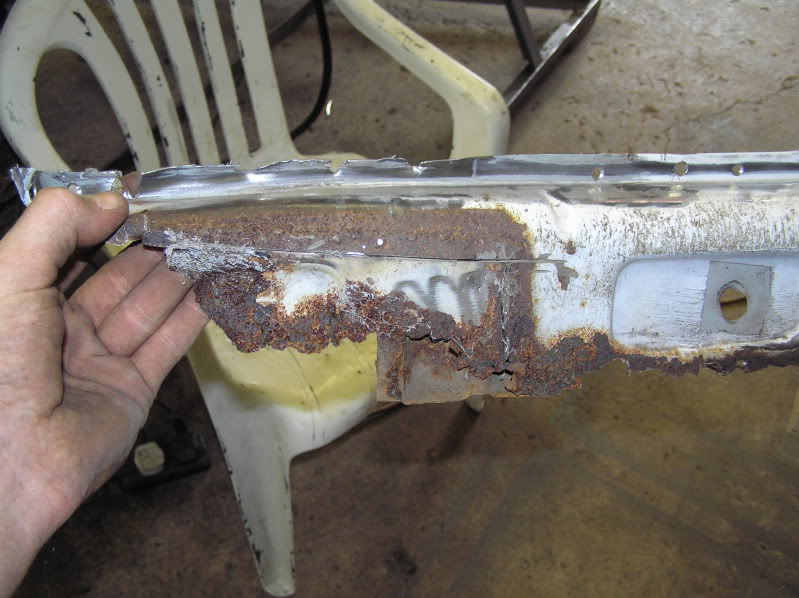
Drilled the spot welds out of the inner sill and with a bit of cutting, grinding and bashing got this sorry looking thing out. Note where there was a previous welded patch repair.
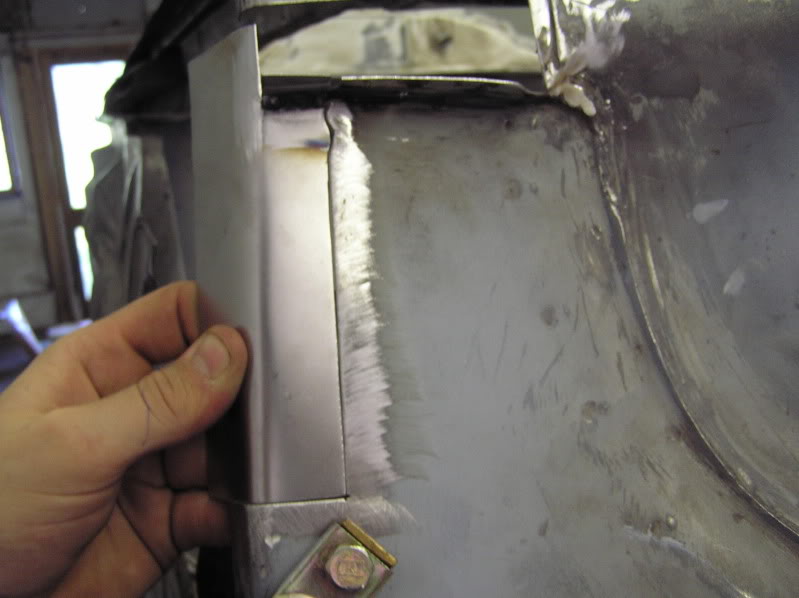
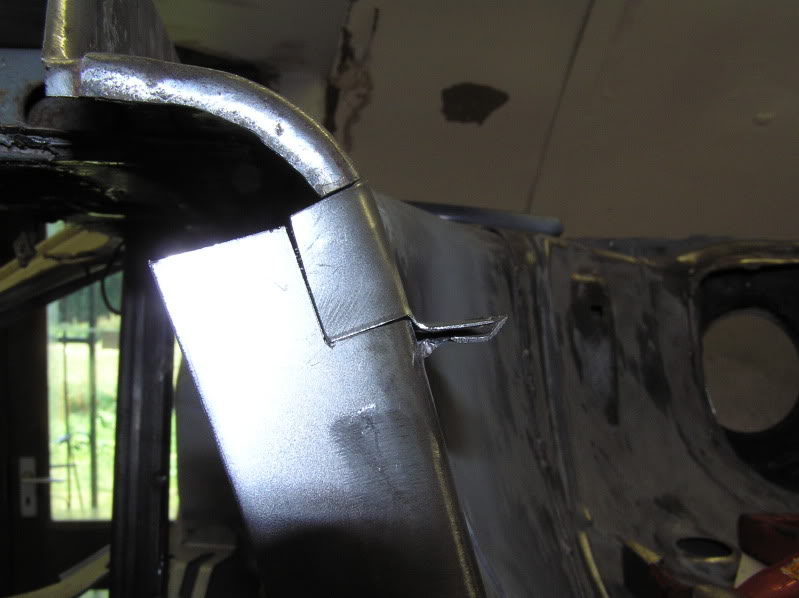
Used a patch off the new outer sill to repair the bottom of the a post. Note the lip to the very lefty of the panel. This is because i am going to roll some straight sill panels, and they will but up to the lip. Saves forming the end of the sill which will cause distortion.
Inner sill door step panel edge nice and straight ready for new inner sill panel.
Cut the sill lip/edge out of the floor and cleaned/squared everything up.
Also cut the repair out of the very front edge of the floor at the bottom of the inner wheel arch.
Made a new patch.
Tack welded.
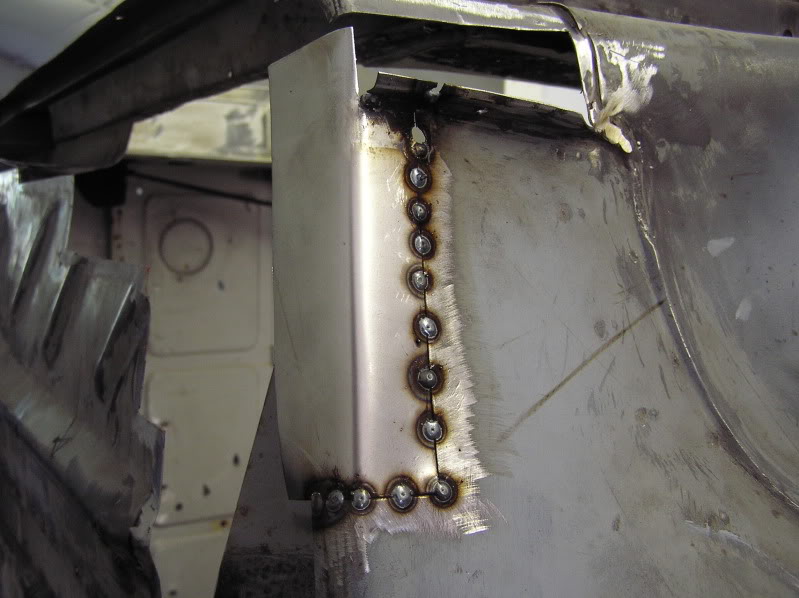
Fully welded. Please excuse the bogie at the top… there was a pigeon flying about the shop…
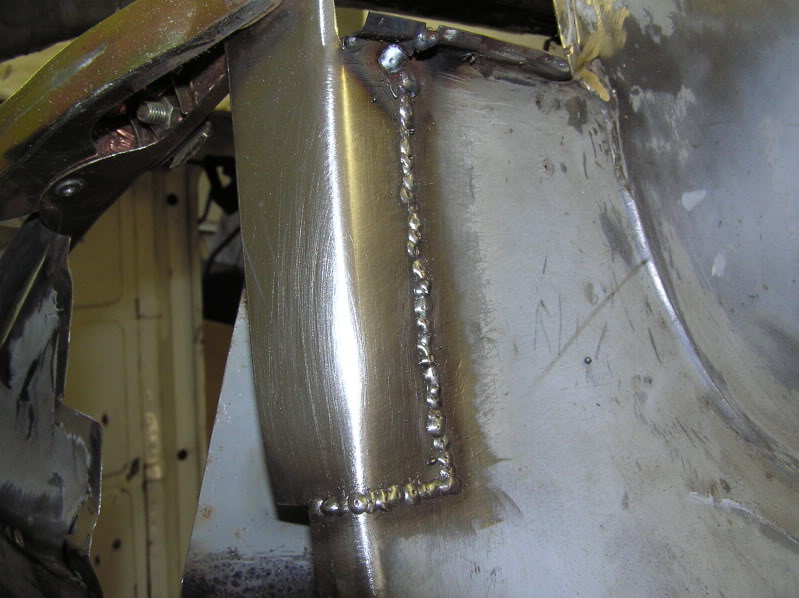
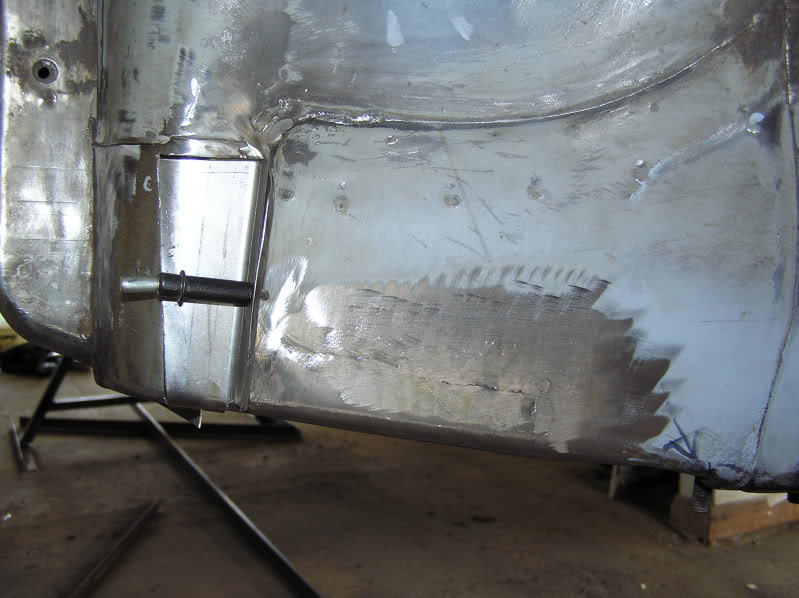
Smoothed the weld off, then made another small patch.
You can see there is a big gap between the two panels. This is because the inner sill panel needs to slot into the gap. Then the three panels get sandwiched and spot welded together. Won't weld this till i have the inner sill made.
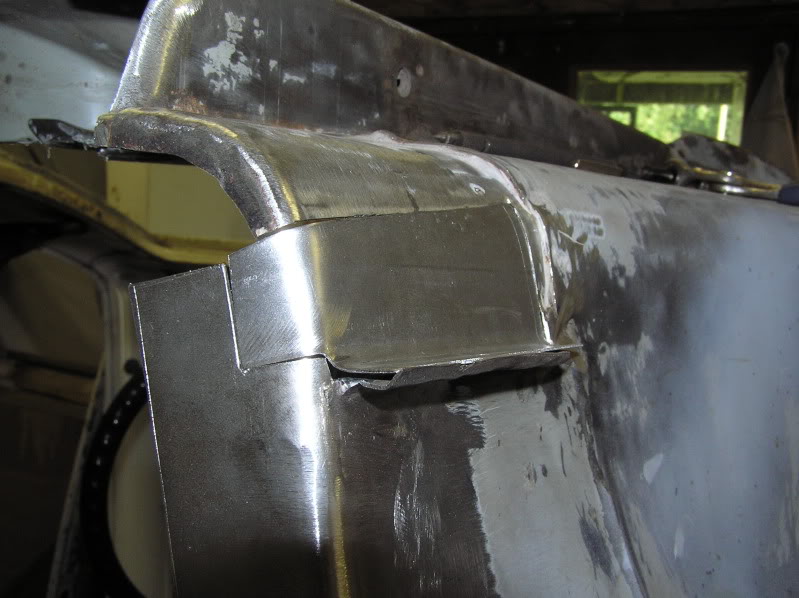
How it will look once finished.
Started to make the inner sill panel, then messed it up. I forgot to leave enough metal on for the edge that will get spot welded to the door step panel :bh. Oh well, it was getting on for 5pm by that point so had a tidy up and called it a day.
Working tomorrow (Tuesday), Taking my dad to hospital wednesday, and then i'm off till next tuesday. Hoping to get the rest of the above buttoned up.
Thats all for now.

Posted

Old Timer

Cheers
Pete.
Posted
Settled In
redpetemk1 said
Excellent work as usual :wink: , Thanks for the help with my question, I pretty sure now my wire feed isn't always keeping up. Will have a look see what I can do.
Cheers
Pete.
No worries Pete, Glad i could be of some assistance.
Posted
Settled In
Busters_Caddy said
jimbomemphisbelle said
I mate,
What are you sanding down the welds with, especially in the tight areas (ie, near the seat runners)? I can weld pretty well but I let myself down when it comes to the grinding/sanding, its hard to get it so you can't tell that its been welded but you seem to have it down to a T!
Keep up the good work
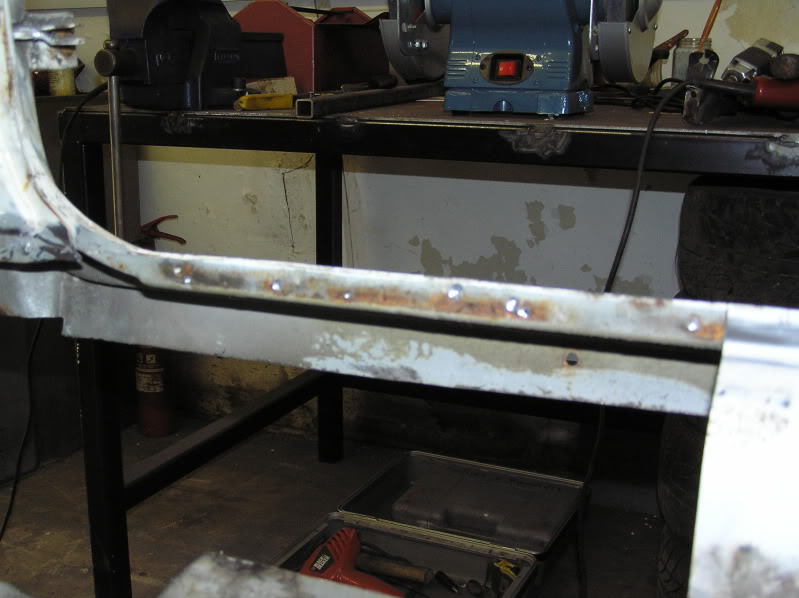
I'll put some pics up of the above tools if it helps tomorrow.
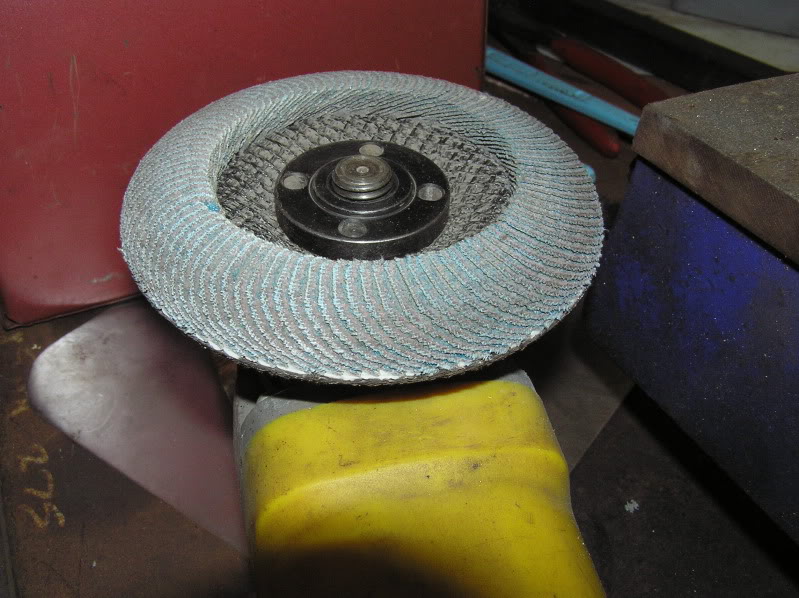
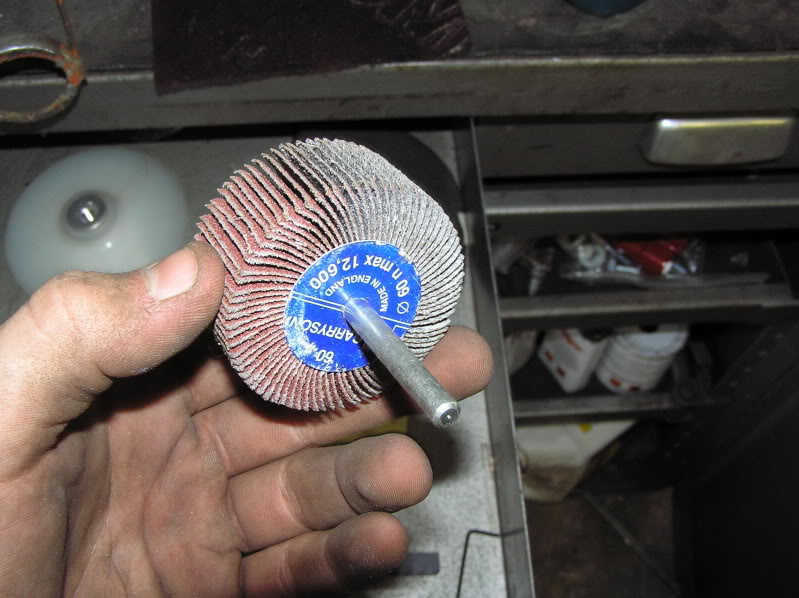
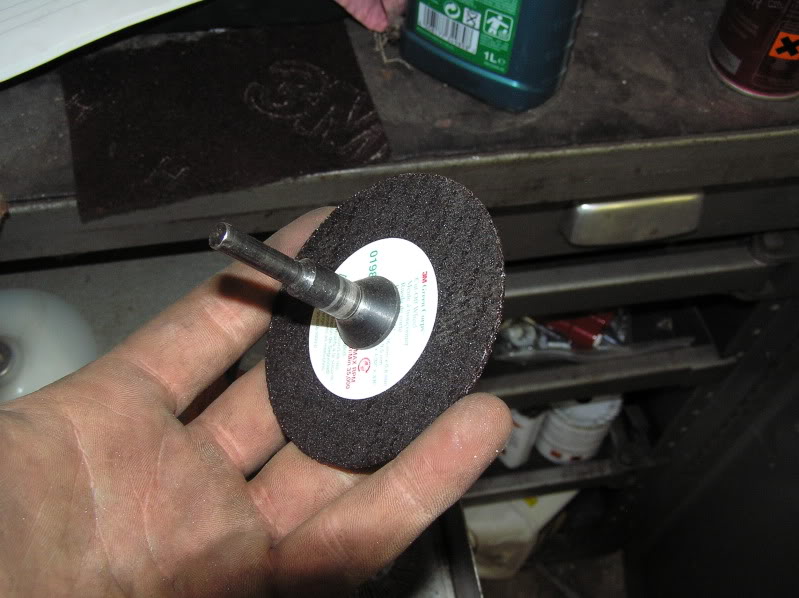
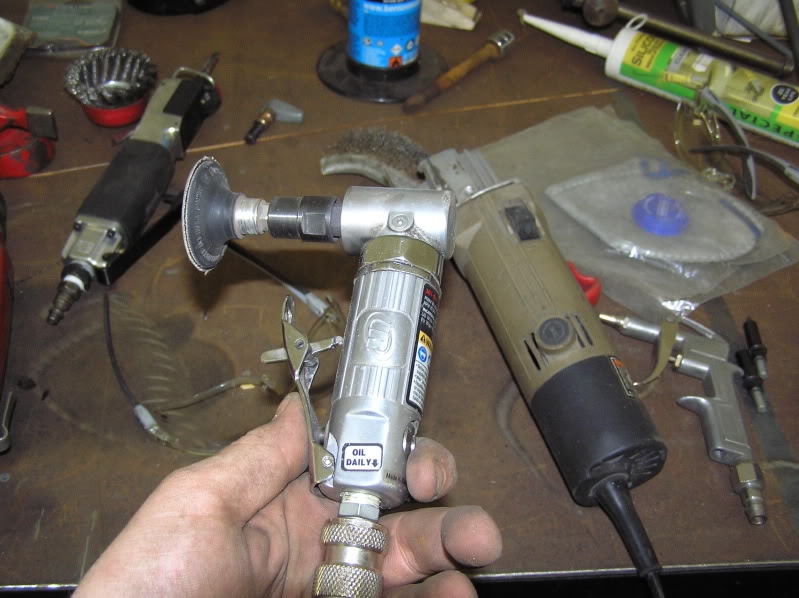
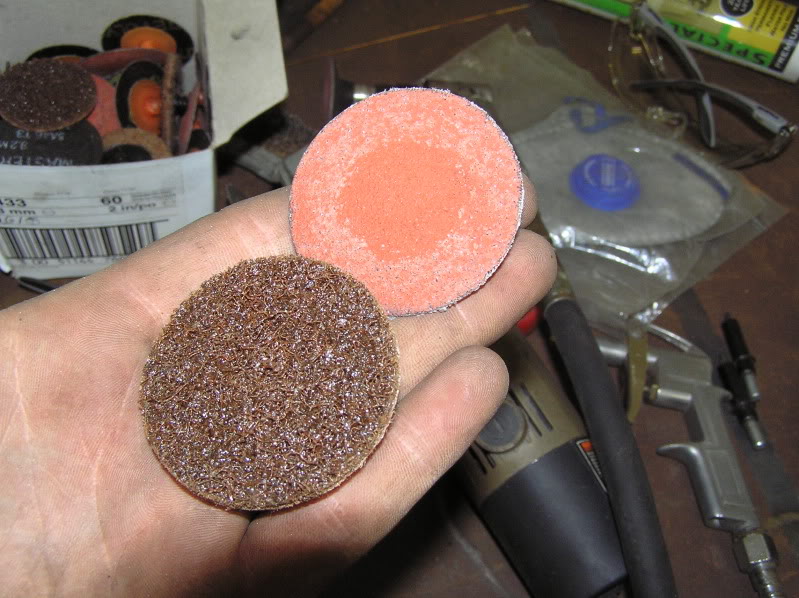
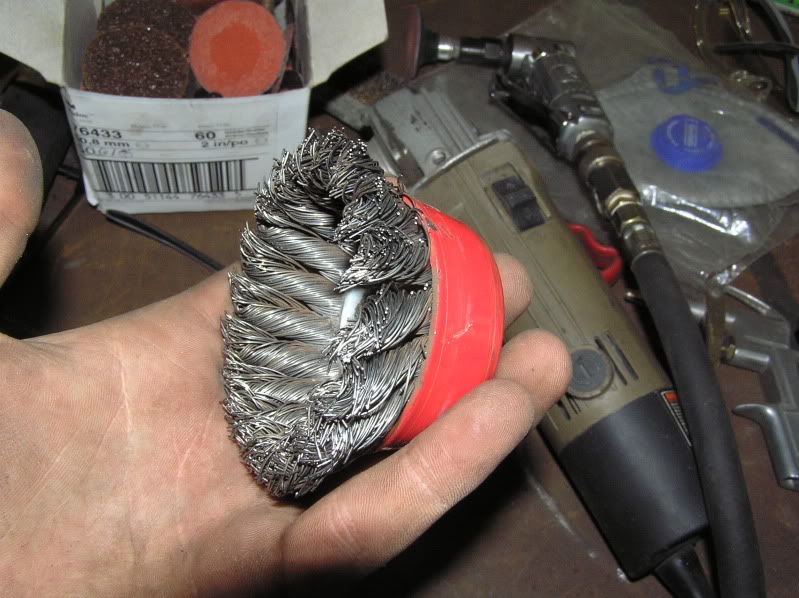
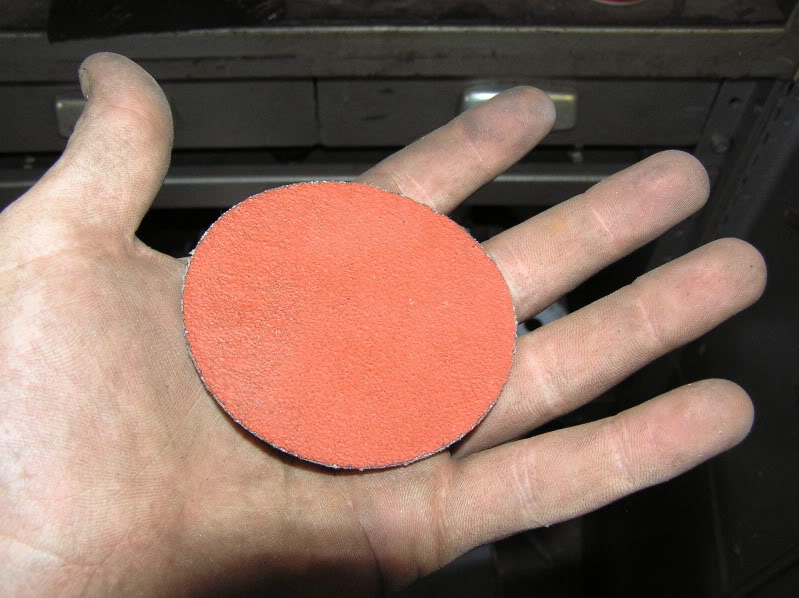
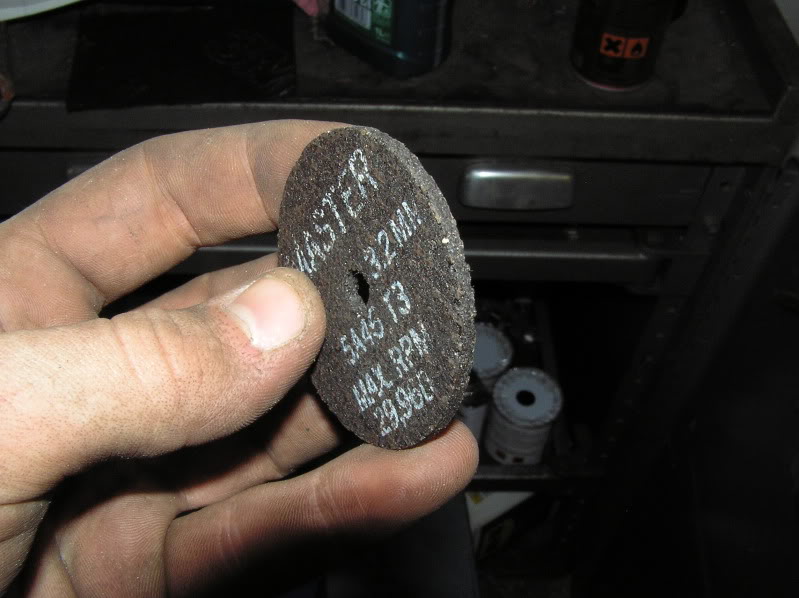
As above. Here are some of the tools i use to sand down the welds.
Flap wheel for the 4 1/2" grinder.
Flap wheel for the die grinder.
1mm cutting discs.
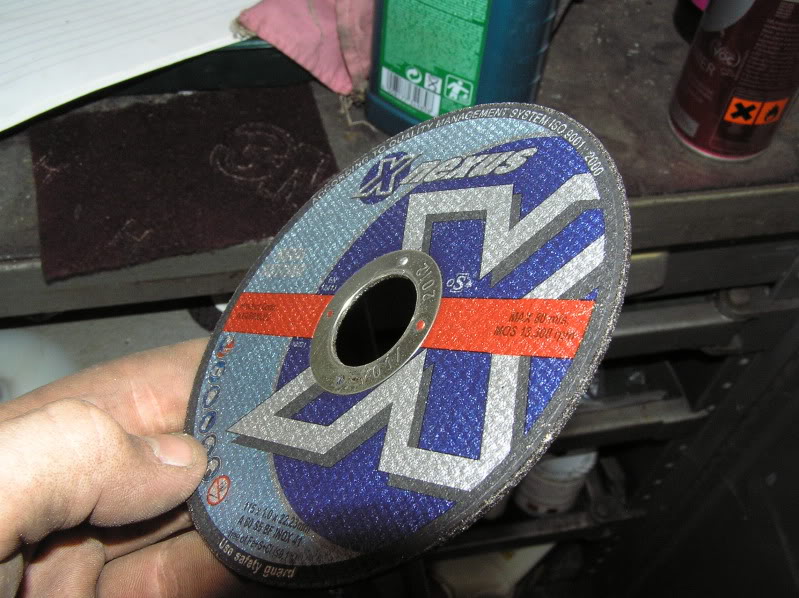
1mm cutting dis for the die grinder.
Ingersol Rand right angle die grinder with 3M sanding pad holder.
2" Scotch bright and medium grit 3M pads.
Wire twist not cup wheel.
3" 3M medium grit pads
3mm grindeing disc for the die grinder.
Posted
Settled In

Posted

Old Timer

like a hot knife through butter

Posted
Old Timer
jellybelly said
1mm cutting disc are the future!!!!!!!
like a hot knife through butter
2nd that, bumped thro' some stainless with them yesterday
Posted
Settled In
Jeevs said
Great work mate looking good….keep it up! cant wait to see the finished product
It could be a while, but i'll get there…
Posted
Settled In
jellybelly said
1mm cutting disc are the future!!!!!!!
like a hot knife through butter
They are really good. Pays to get good quality ones, last a fair bit longer.
Posted
Old Timer
Posted
Settled In
jellybelly said
they last a far while cutting metal but it's when you hit old welds when they wear out quick
True… Guess it's because the weld is thicker and possibly because it is harder than the parent metal.
Posted
Settled In
Posted
Settled In
kemk1 said
keep up the good work mate, i'l try and pop round later in the week c how its going. made a bit of progress on mine, should be up there sat/sun then i can get a good few hours on it.
Cool, i'd say the kettle will be on, but i haven't got one, so i can't
Posted
Settled In
I really like these full on restorations, always learn something along the way. I'm a huge caddy fan and i'm really looking forward to watchin the rest of the build!
This one's gonna be special, keep up the good work fella!!
Posted
Local Hero

What engine you planning on putting in
Diesel Possessed
A97JCE
Feeby
A97JCE
Feeby
Posted
Settled In
cubed said
WOW! just read through the whole thread and I'm mightily impressed!
I really like these full on restorations, always learn something along the way. I'm a huge caddy fan and i'm really looking forward to watchin the rest of the build!
This one's gonna be special, keep up the good work fella!!
Cheers Cubed.
It's always nice when people say they learn from stuff that i do. Likewise i have learn alot from other peoples build threads too. It's one of the reason's i wanted do start a build thread.
All the best.
Posted
Settled In
allana13 said
Good work mate :wink:
What engine you planning on putting in
1600 GTD. Its what was in it when i bought it. Heard noting but praise about them. And it goes like stink too.
Posted
Settled In
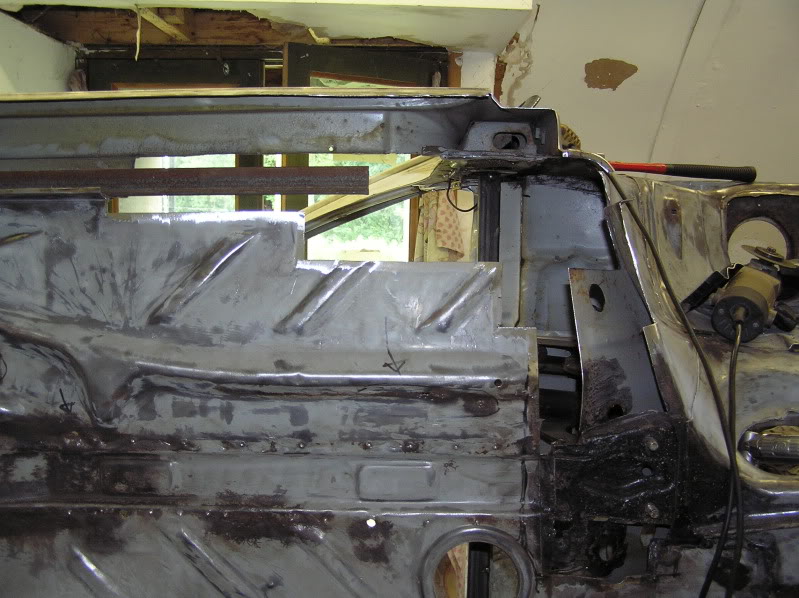
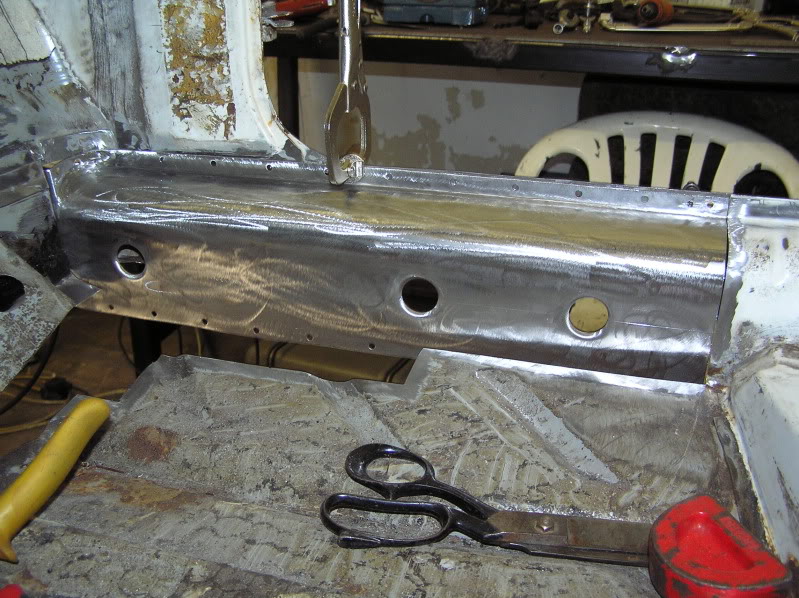
Small update
Still, i got the inner sill panel sorted.
I made the repair panel for this.
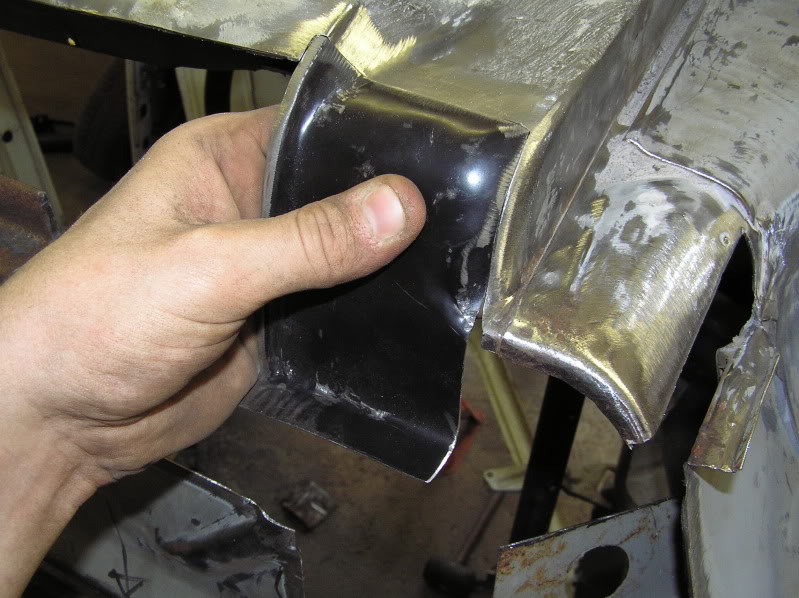
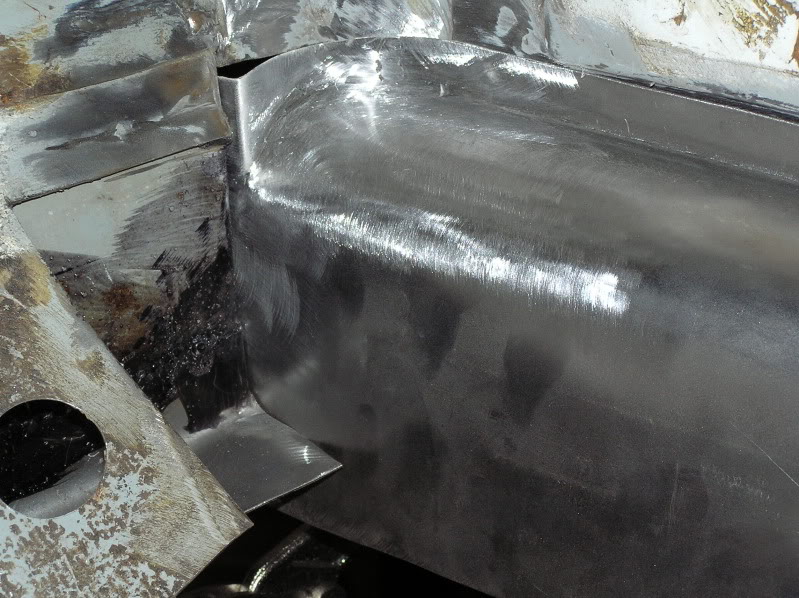
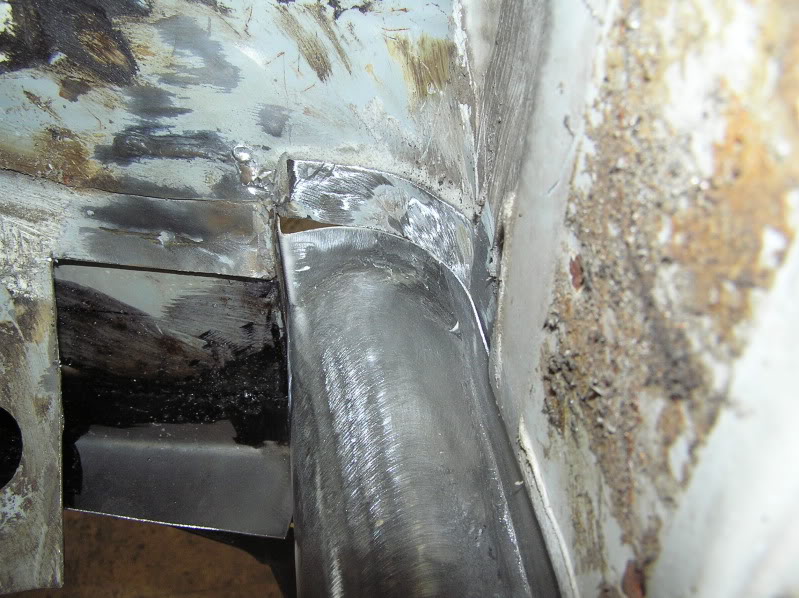
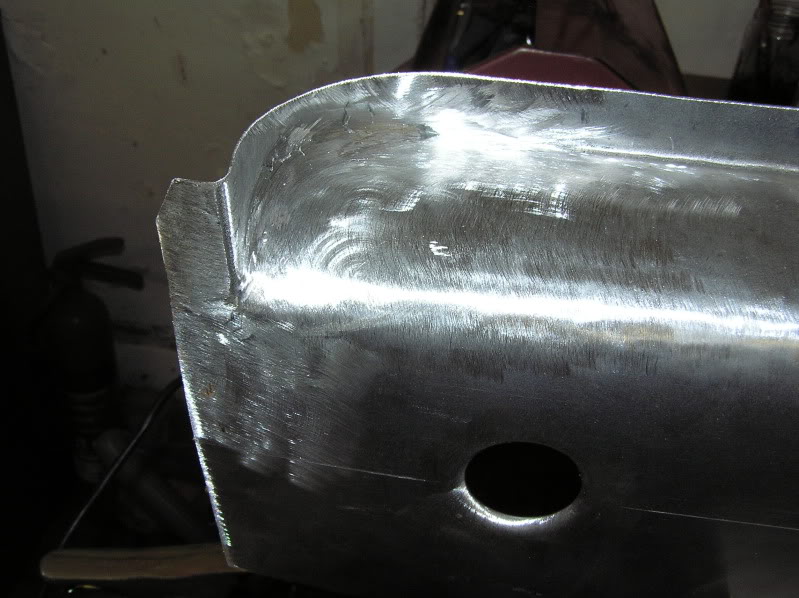
The panel is made from stock 1mm sheet steel. I bent the large radius around a piece of scaffolding tube. Then made the short 90 degree bend over the bench edge and finished it with a hammer and dolly. The end that butts up to the fire wall, i had to cut the radius and weld a separate piece to it, as it would have deformed the larger radius to much, if i had of tried to bend it all in one. The original panel was all stamped in one piece, however i think my method and final result is perfectly acceptable.
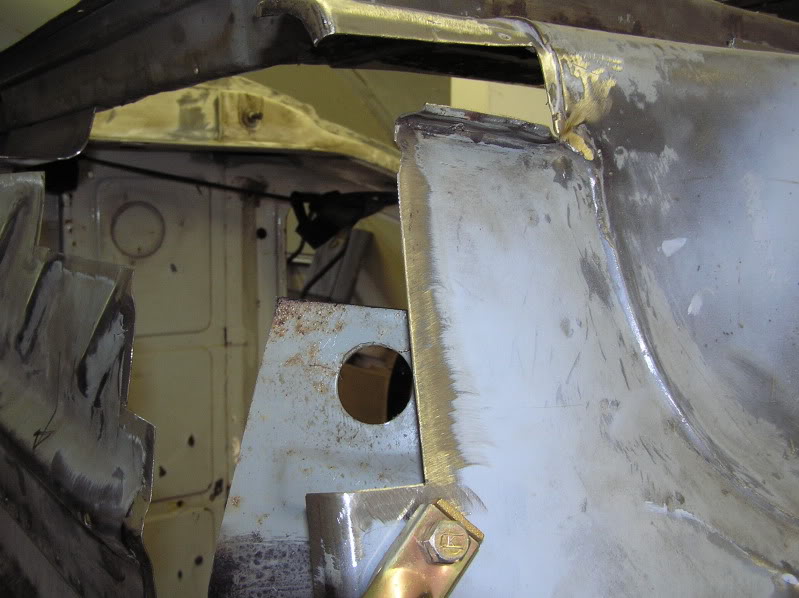
You can see i haven't quite got the radius right where it meets the fire wall. I'll get it fitting better tomorrow, just may have to cut and rework it. That little patch for the bottom of the inner wheel arch blocks this off anyway.
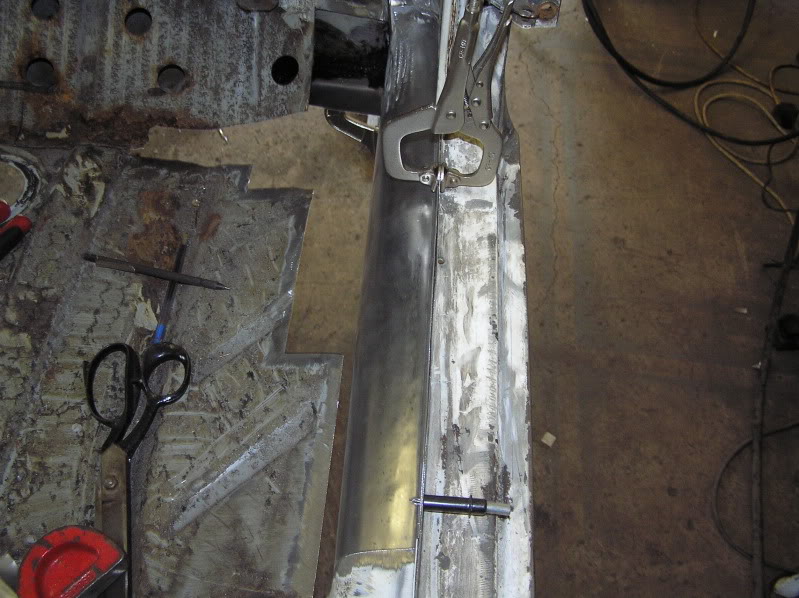
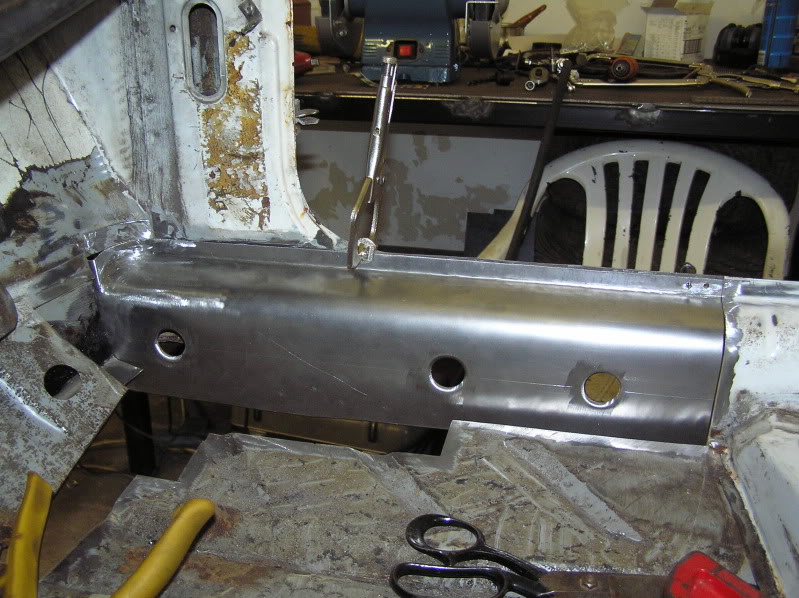
I put some 1" flared holes in the panel to add some strength. Note the large space is for where the "inner sill brace?" goes.
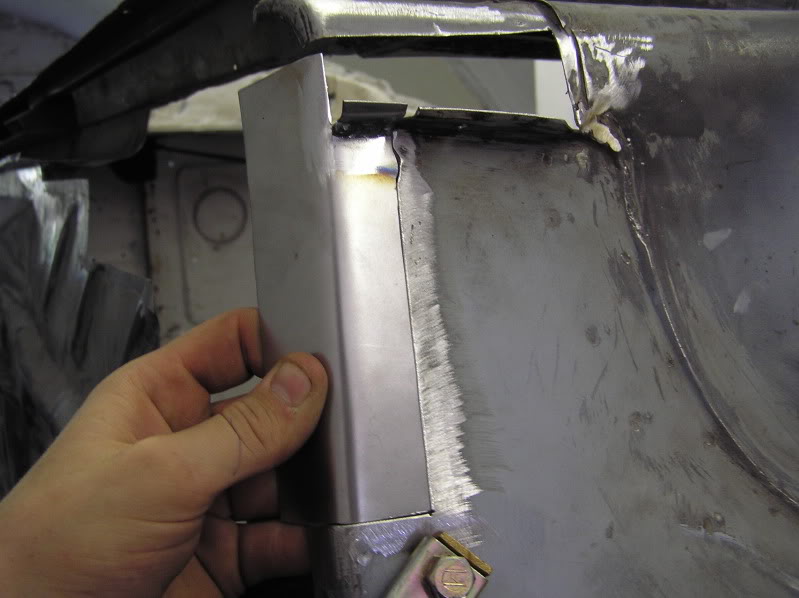
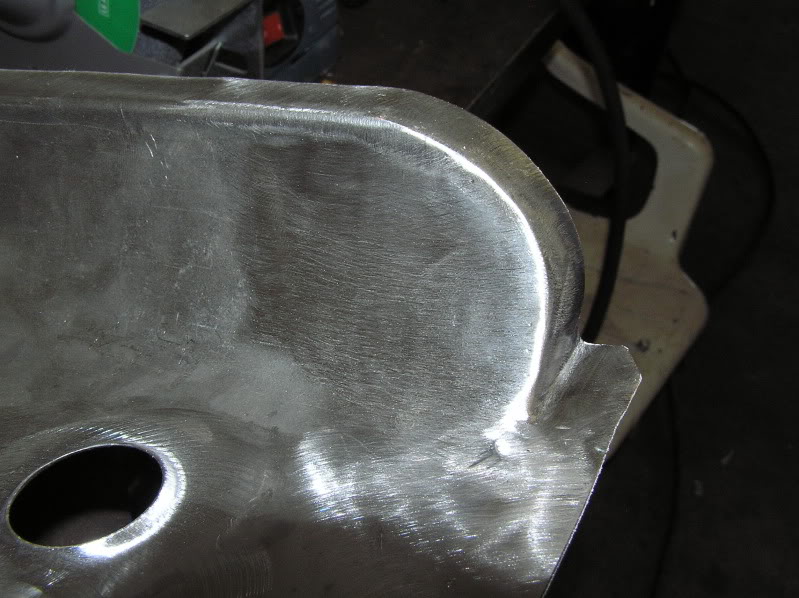
Heres a few close ups of the formed piece near the fire wall, if anyones interested. Still need to finish sand the concave side. It was tricky to get into the tight radius.
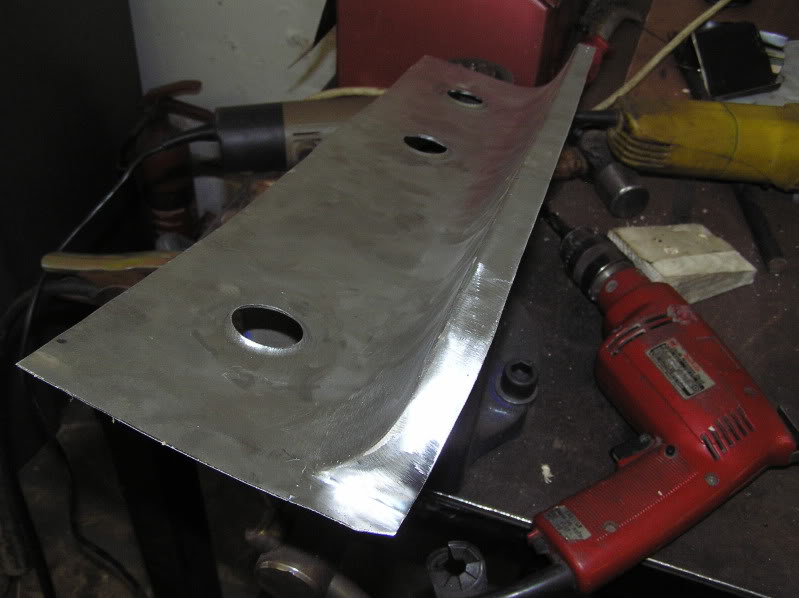
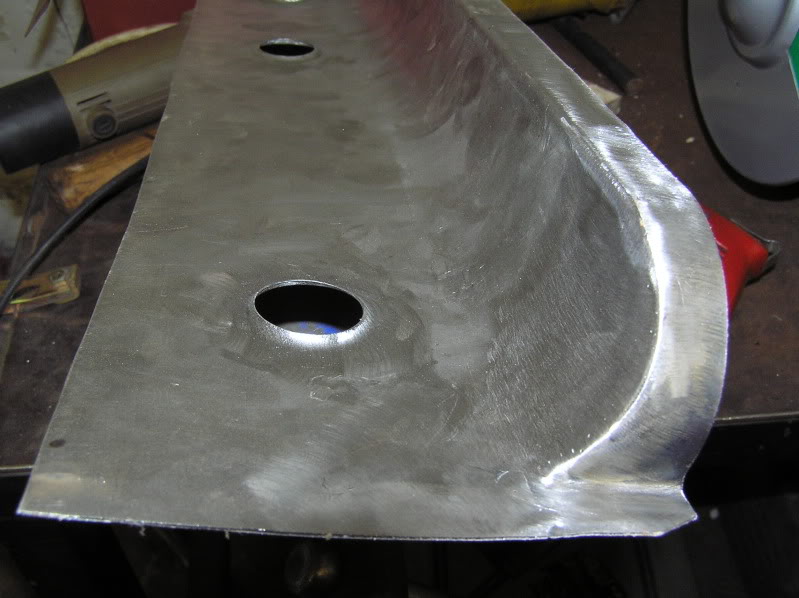
I punched all the holes for the spot welds too.
I gave everything on the inside of the sills and all adjacent hard to reach parts, once the new panel is welded in, a good coat of Zinga in prep for the welding tomorrow.
Thats all for now. Probably update again tomorrow. Hopefully get the above panel welded in and then finish off the floor repair.
0 guests and 0 members have just viewed this: None.