


bitch basket (Hellarust pt. 2)

Posted
#1189320
(In Topic #142117)
Settling In

bitch basket (Hellarust pt. 2)
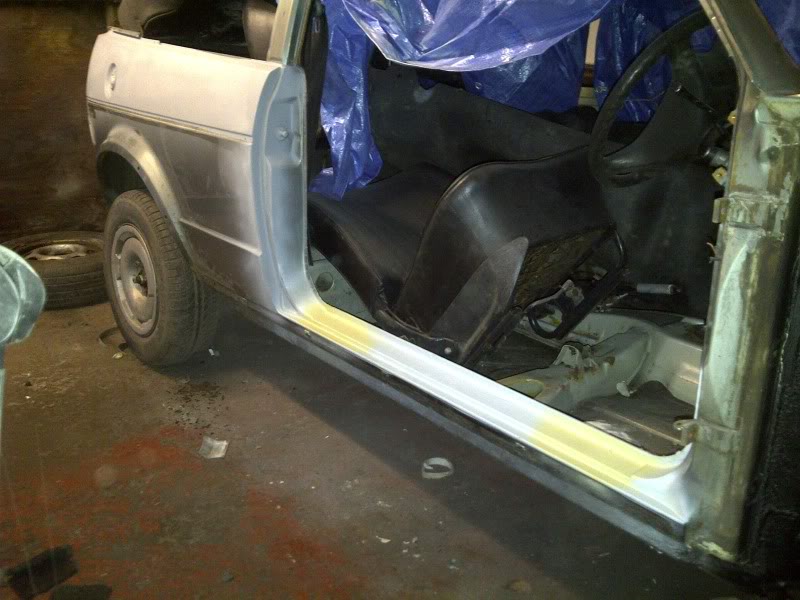
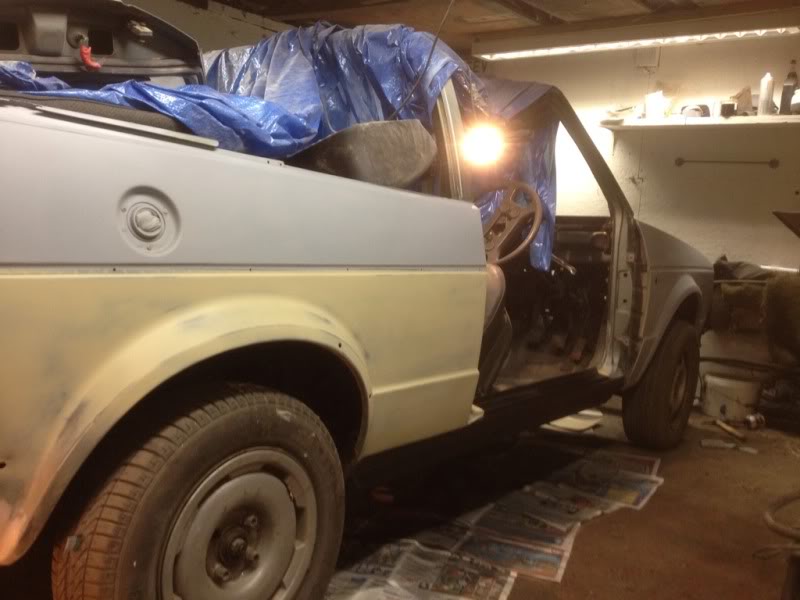
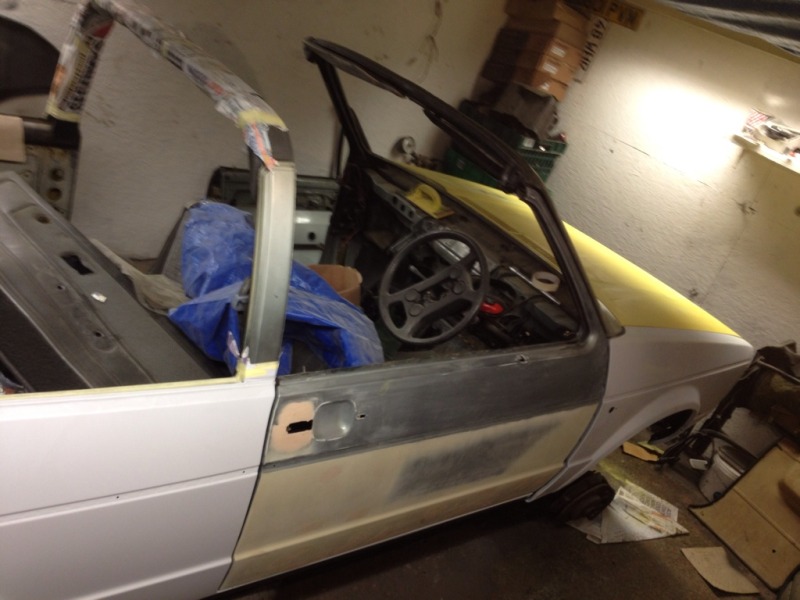
Had this sat around for a year or so, it's my wife's and it's going on the road this summer as an early birthday/wedding anniversary treat 8)
Not really taken any pics of it, this is the only one I took before it was garaged (soon as we got it really)
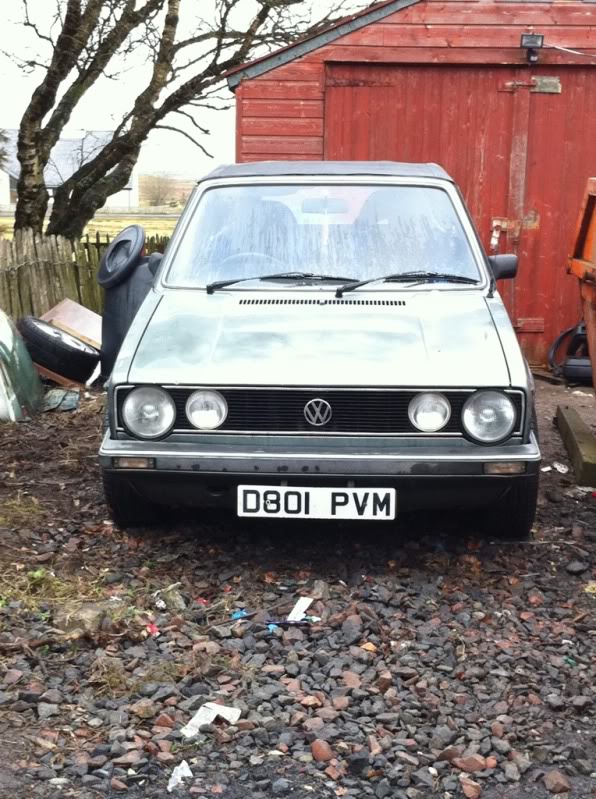
Body is very good, plan is to sort out the minor issues and repaint in it's original Jade Green metallic
Convert it to run a K-JET GTI 1.8 8v.
New hood, and get it sitting a little nicer on some period-correct aftermarket rims.
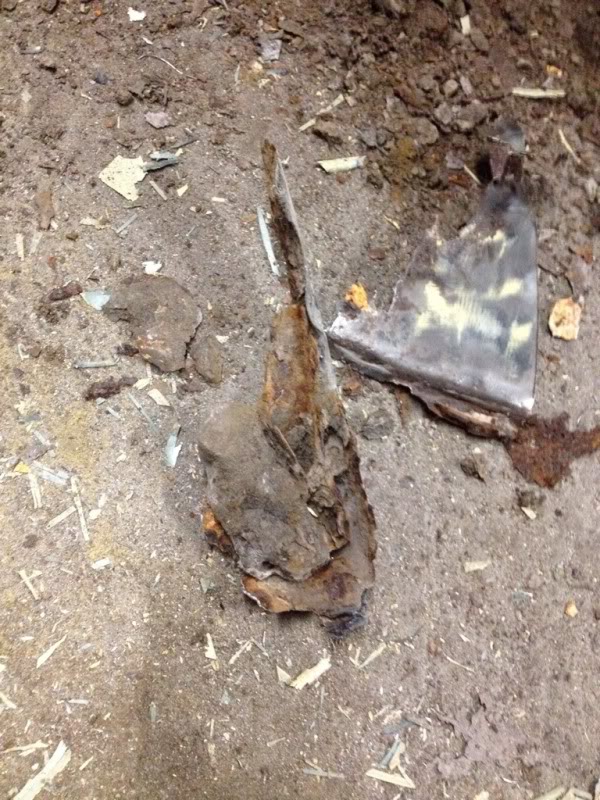
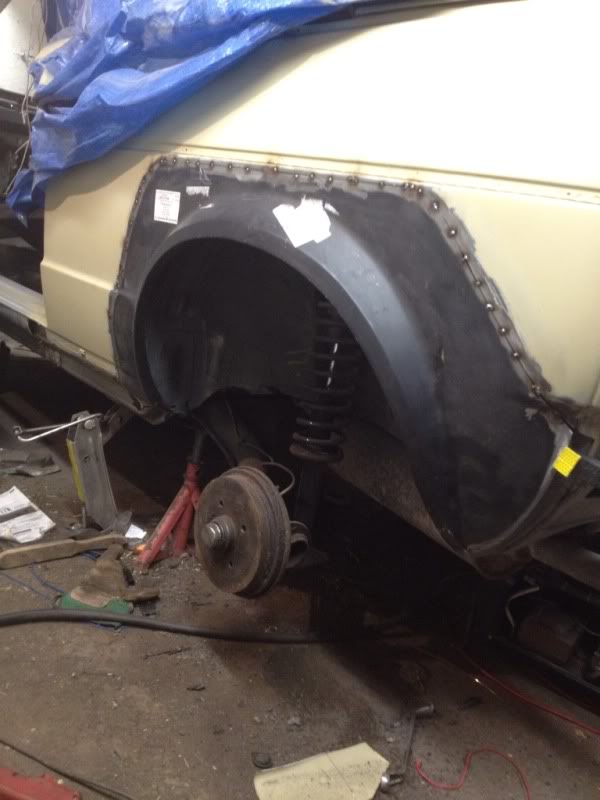
Right away I got in about some rust that was showing on the rear, it was a little surface from a previous top-half 1/4 panel replacement.
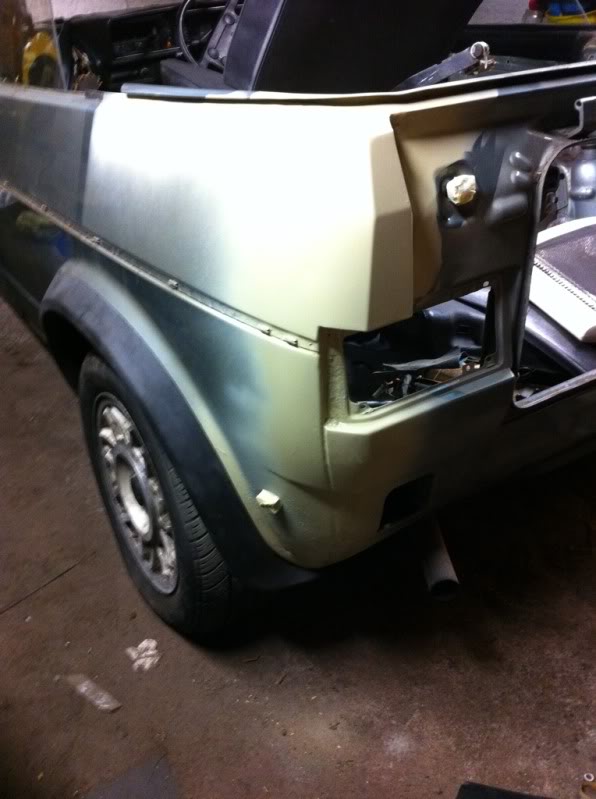
Looks like I did a little better than the other repairer because it's sat in primer only for a year and hasn't broken out again 8)
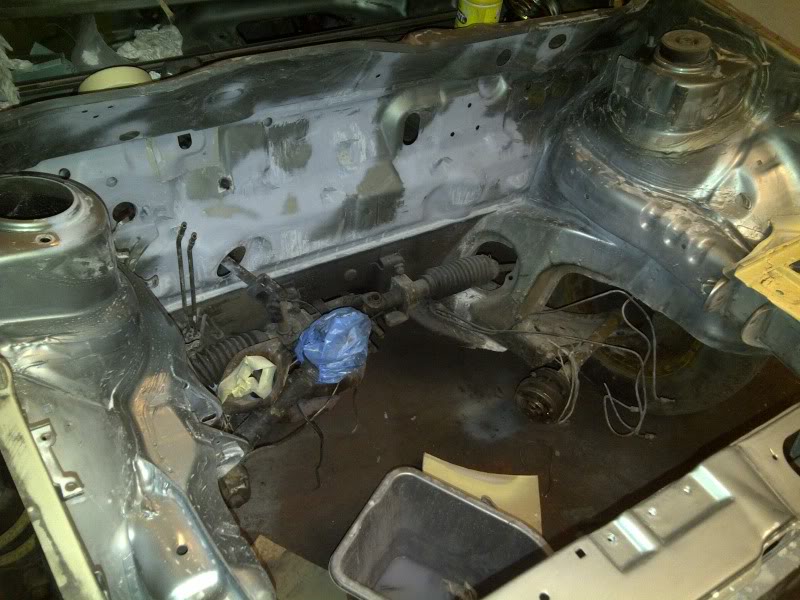
This week I've tackled any blemishes in the bay, ready for spraying.


One last bit to fix

This will be a fast build, Aiming for the road in June 8O
Posted
Settling In
 ]
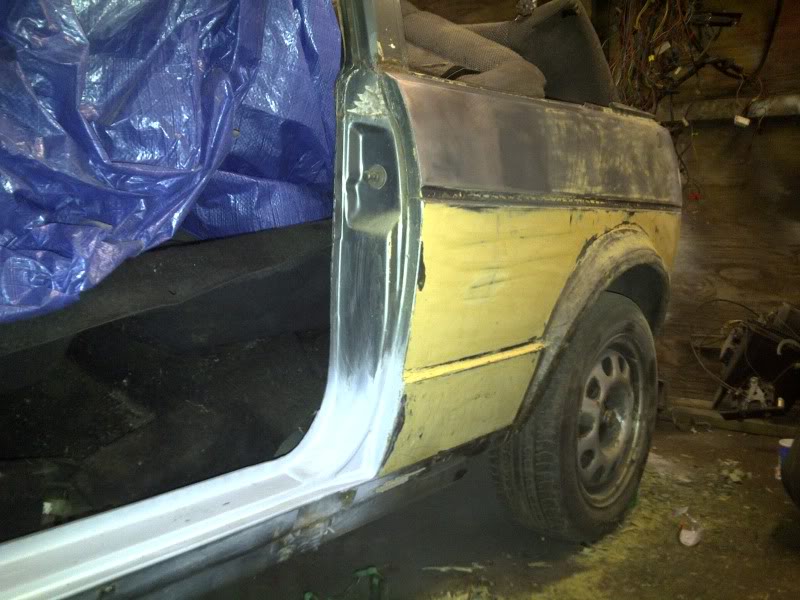
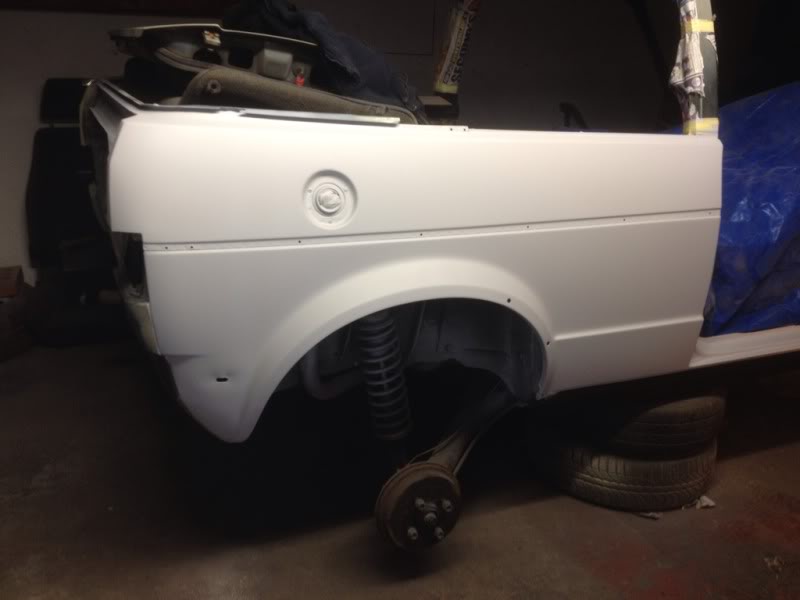
]Wings (almost) finished prep
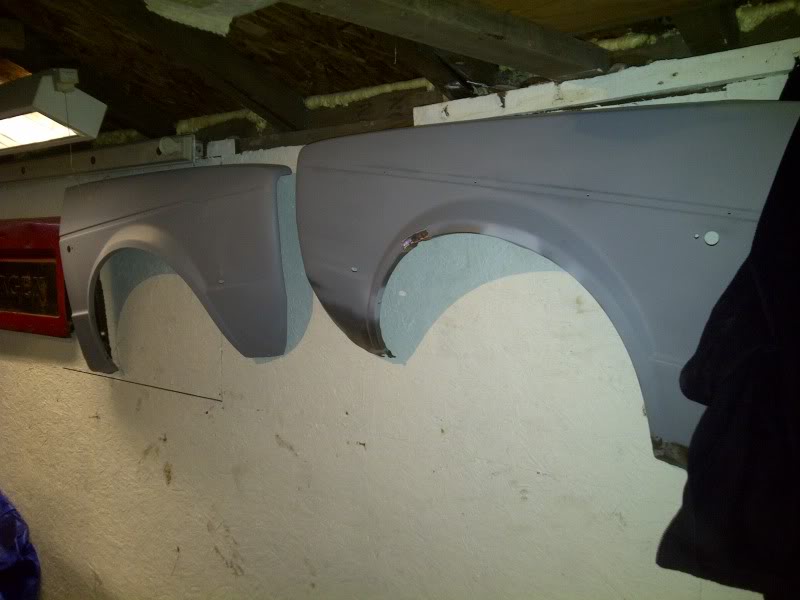
Door check and 1/4 almost there
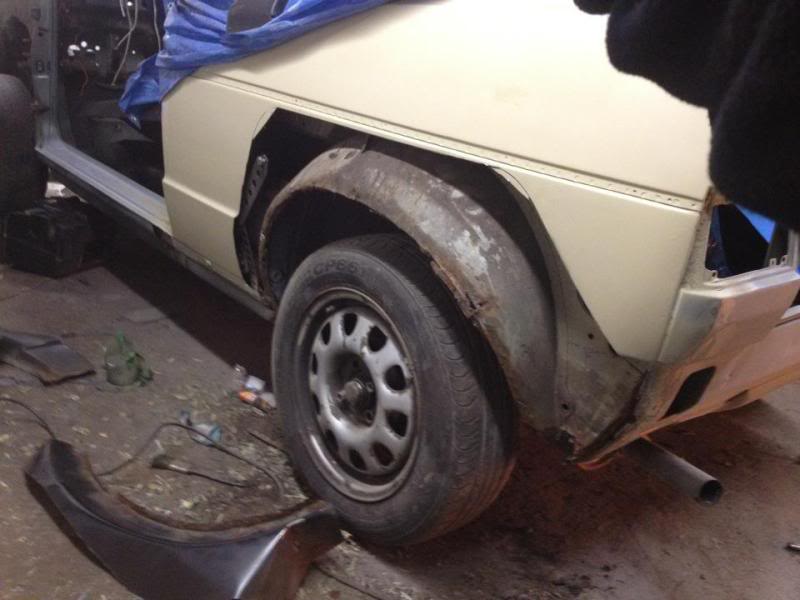
This 1/4 panel was a replaced at some point and bubbled from under the transit epoxy they didnt bother to sand off.
Mid-stripped
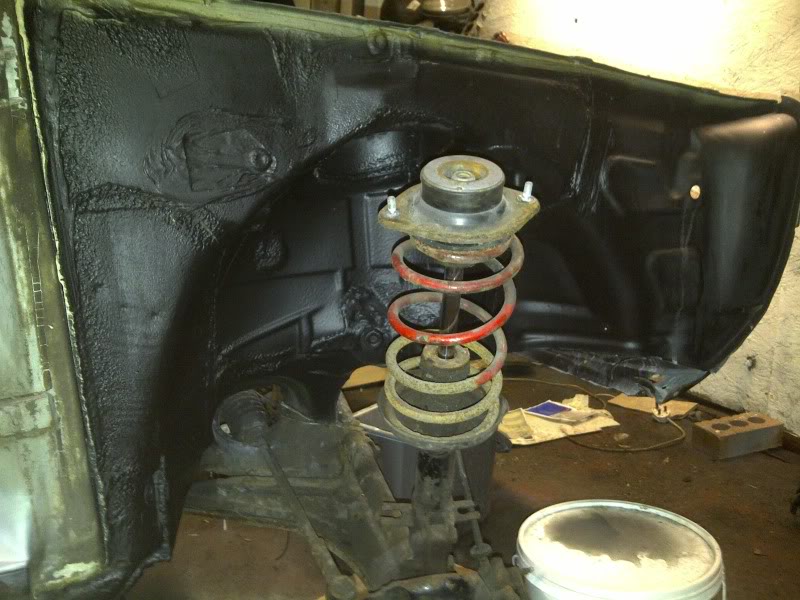
And the wheel well/inner arches are solid

Fresh coat of shutz
Getting there!
Posted
Settling In
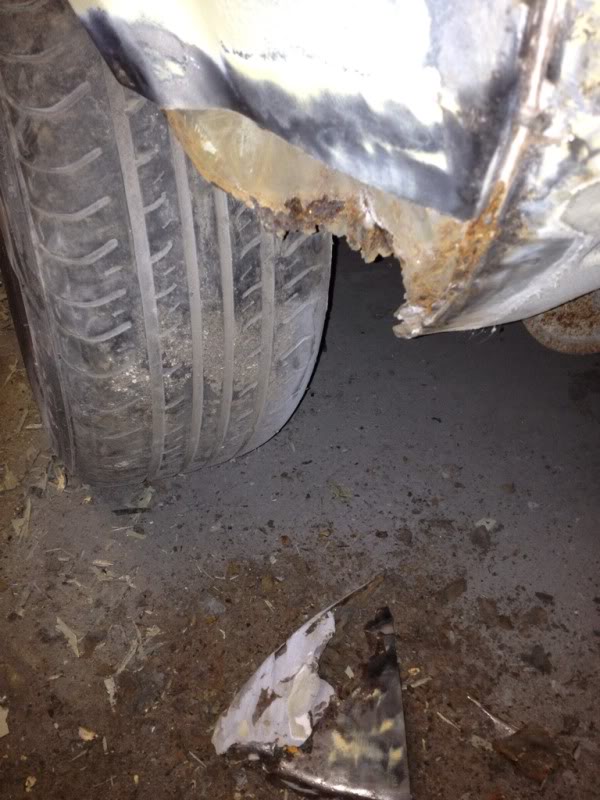
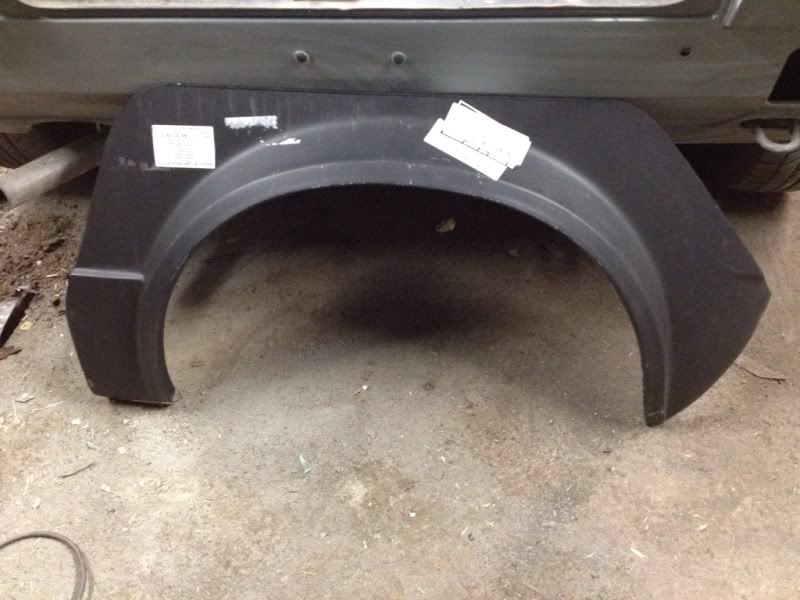
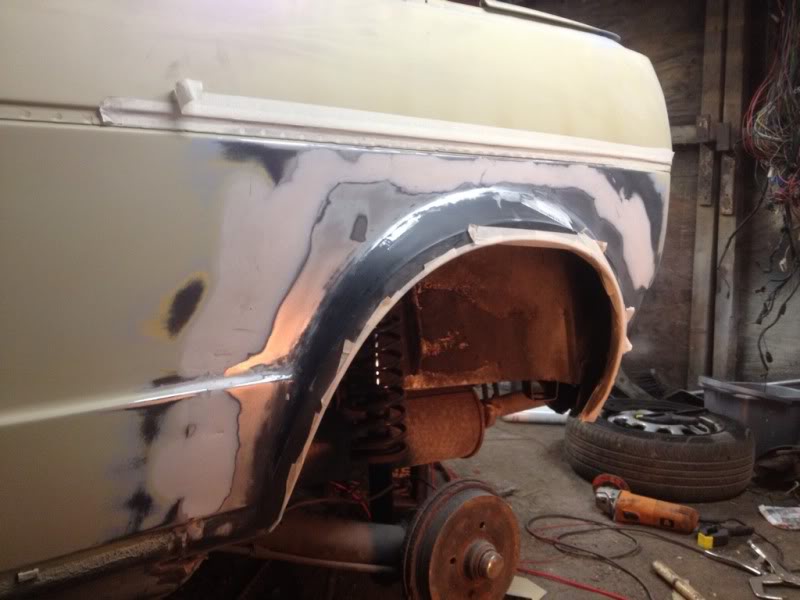
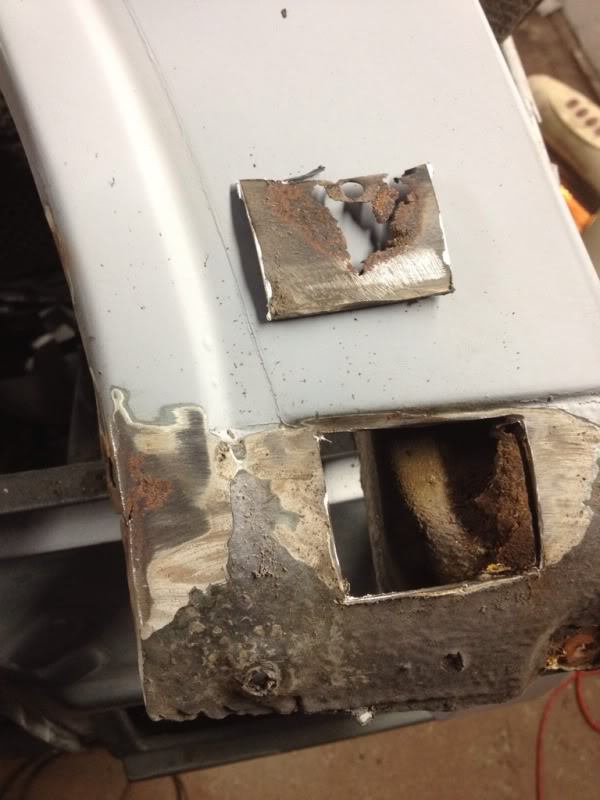
With the general condition of the rest of the arch being so much poorer than the o/s, I decided to replace it all rather than piece in the back corner.
Cheers to Bigstew for supplying this 8)
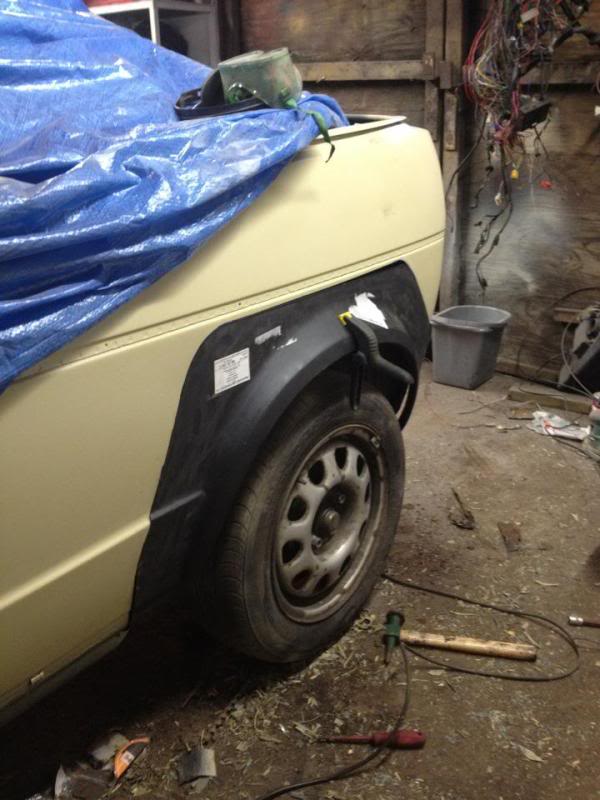
Little patching of the back panel edge and inner arch was done before that went on
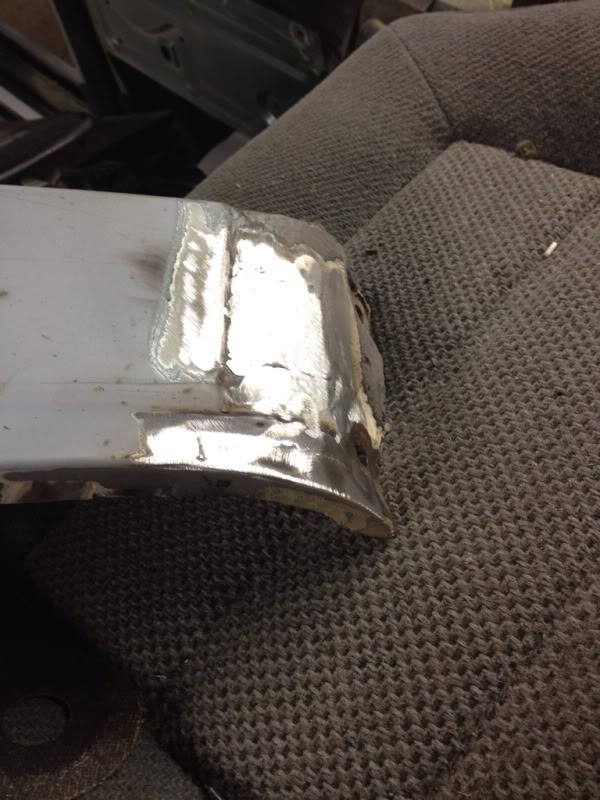
Then tacked
Welded

Welds dressed back, and 1st fill, not too bad IMO, I'd made sure the welded edges were a little shallow, easier to deal with than high-spots.
and on to 2nd.
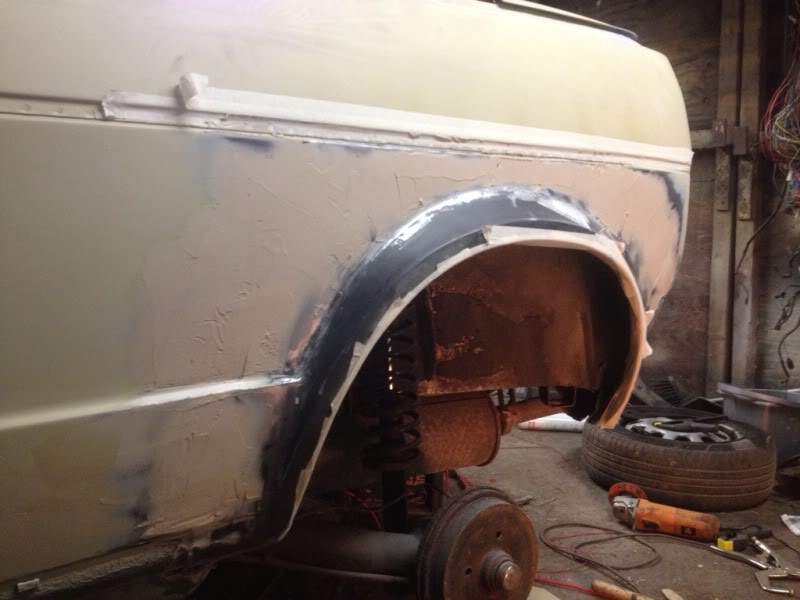
2 fills, topstop then 2k.
Couple small areas to refine then it gets hit with the DA along with the rest of the car, then the final coat of 2k primer for the whole car.
Posted
Settling In
Kinda like doing it twice, I always catch something I might have missed if I'd forged on into the last primer coat.
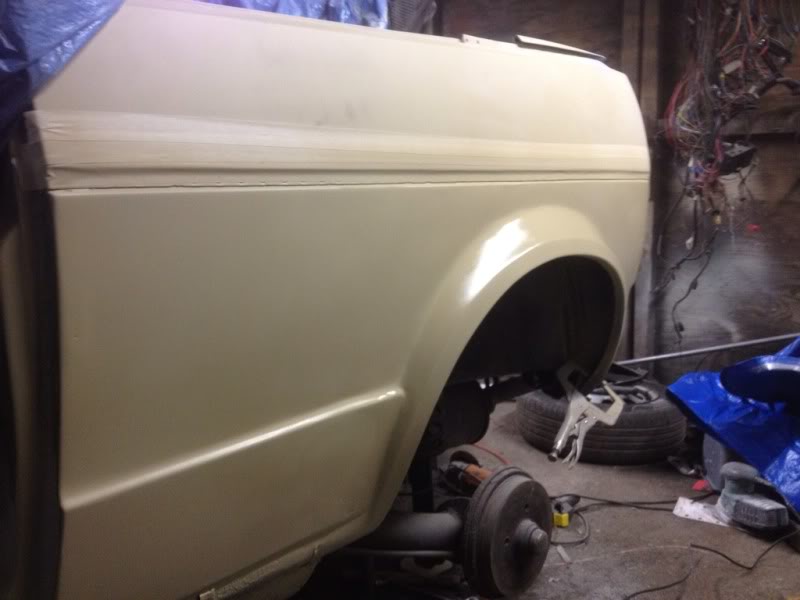
Wee bit sill protection,
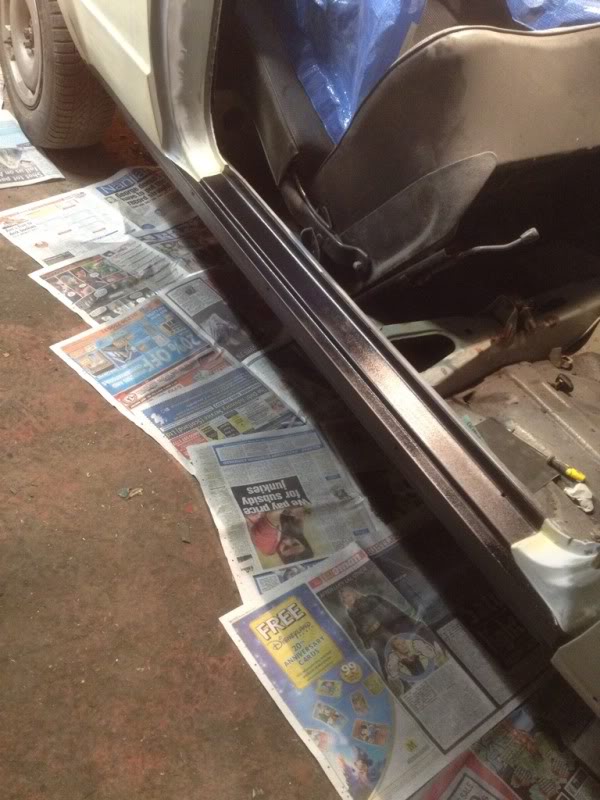
Should have the rest of the car looking like this in the next week or so
That's it for now folks, feel free to comment.
Posted
Old Timer


Posted
Settling In
Greenmk1 said
I think thats quality work there mate where u based could take lessons from u in body work
Cheers mate. I'm, up in Scotland near Edinburgh.
Posted
Old Timer

Posted
Settling In
Greenmk1 said
i would need a very big wallet to take lessons just for travelling from u as I live in Manchester.
I'm sure your money could be better spent nearer home :wink:
Getting nervous about fitting this new hood :redfaced:
Posted
Settling In

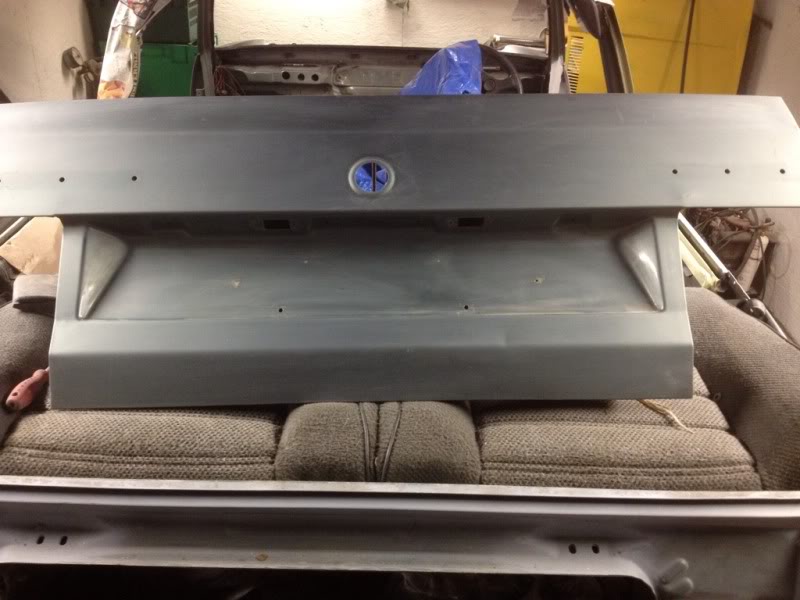
Tailgate work needed, slightly less minor, 3 dents on swage lines and it's been shut on something and bent a little
As seen here, the inner skin is pushing out against the outer skin.
But overall it's free of rust!
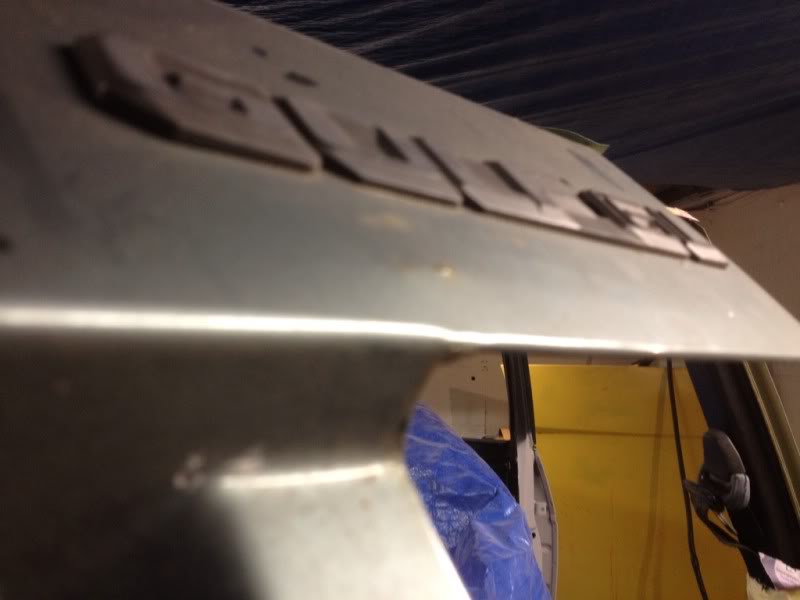
Though it has been painted before, pronanly when the 1.4 was done, it has runs and was painted AROUND the badges :roll:
The badges are being deleted but keeping the boot lock.
Posted

Settled In


92 caddy, Now stripped for full rebuild
83 golf gti R1 carbed 16v(soon to have 1.8T)
07 Leon FR TDI daily
Cambridgeshire regional host
83 golf gti R1 carbed 16v(soon to have 1.8T)
07 Leon FR TDI daily
Cambridgeshire regional host
Posted
Settling In
as said before. this car is my inspiration to crack on. too much love for it
Posted
Settling In
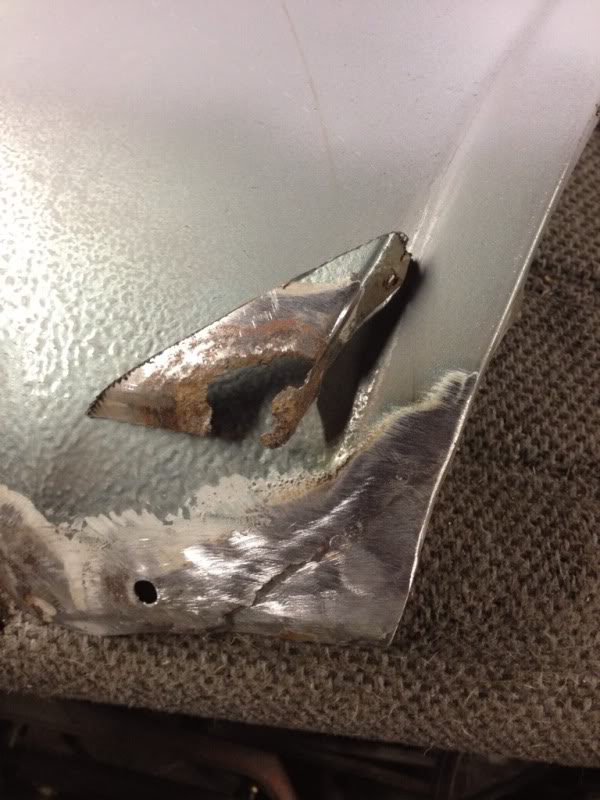
n/s/f wing was 95% good, and the bad bits were hidden behind trim, but it had to be 100%.
4 small repairs in total.
2 on here
here
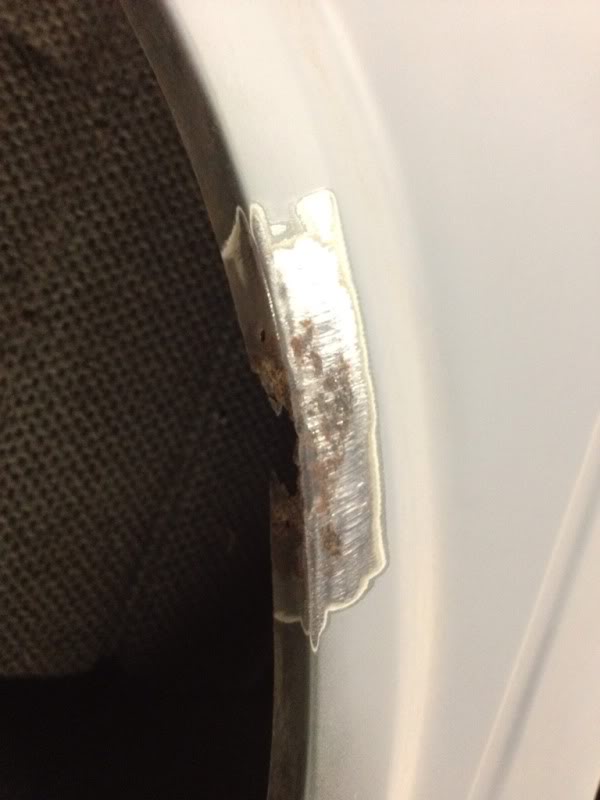
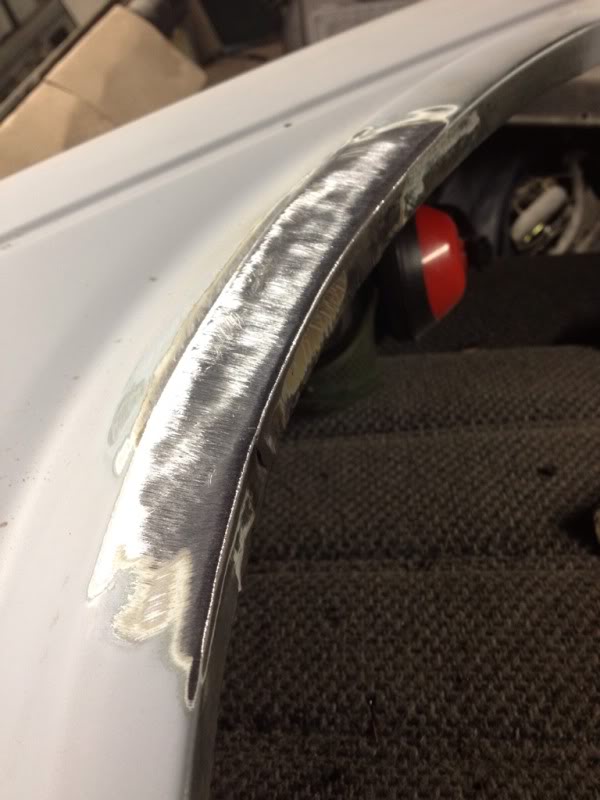
and here
Posted
Settling In

Posted
Settling In
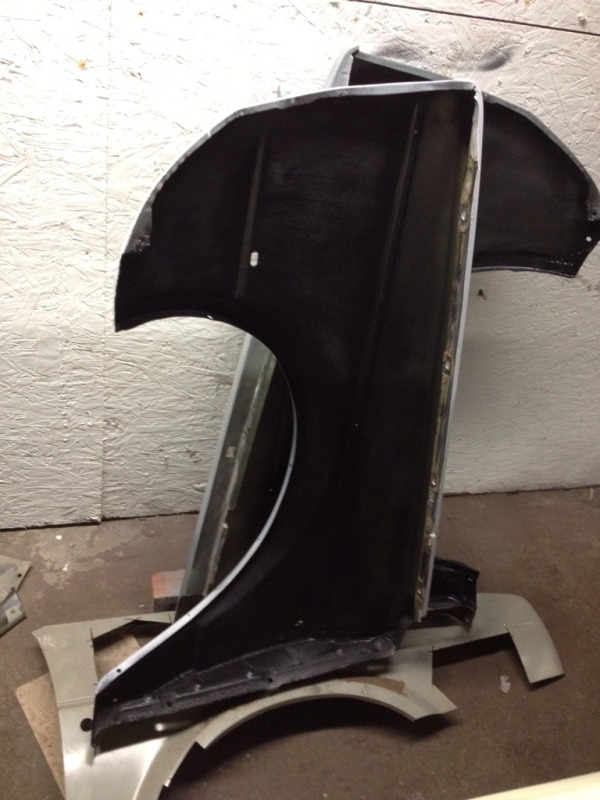
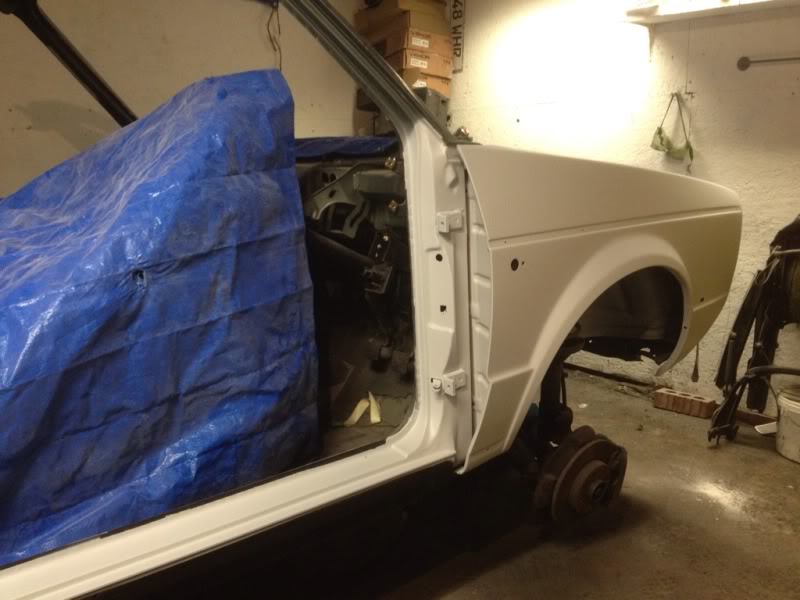
Popped the door, wing and bonnet on
bonnet was pretty good, it came off the caddy, blocked it down and etched, I'll hit it with the 2k high-build when I do the rest.
0 guests and 0 members have just viewed this: None.