


nose dive - rebuild 16v - Update page4 - now painted.

Posted
Settled In

nose dive - rebuild 16v - Update page4 - now painted.
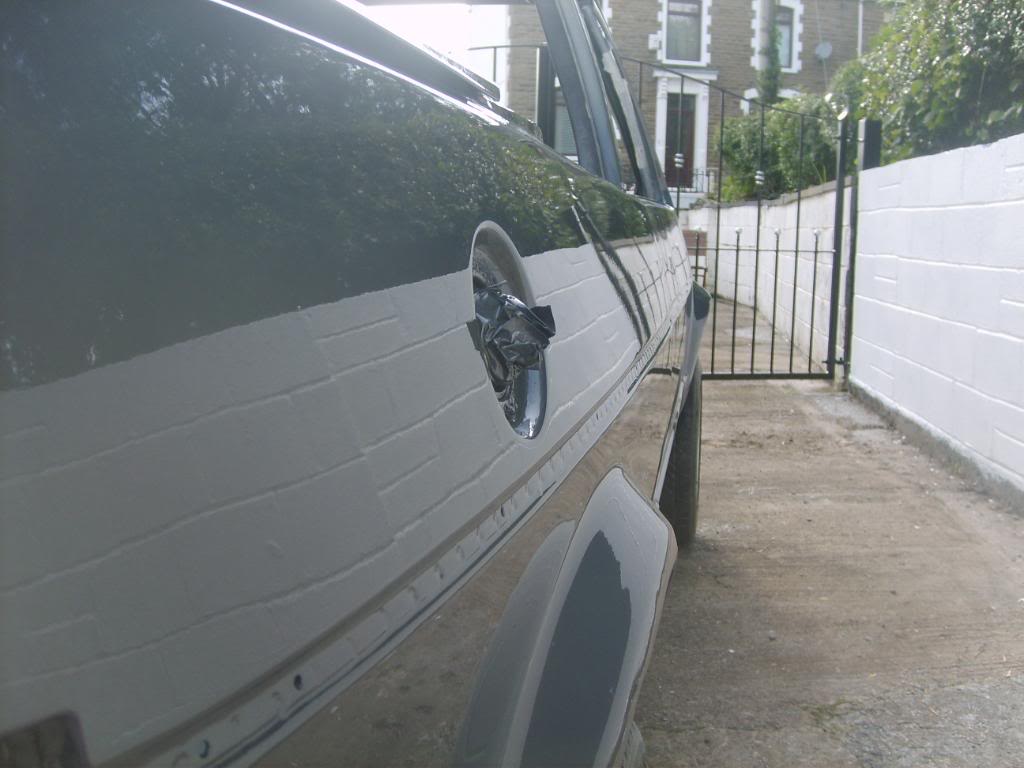
so spent ?30 on some garage floor paint and wilkinsons best external masonary paint.

great!
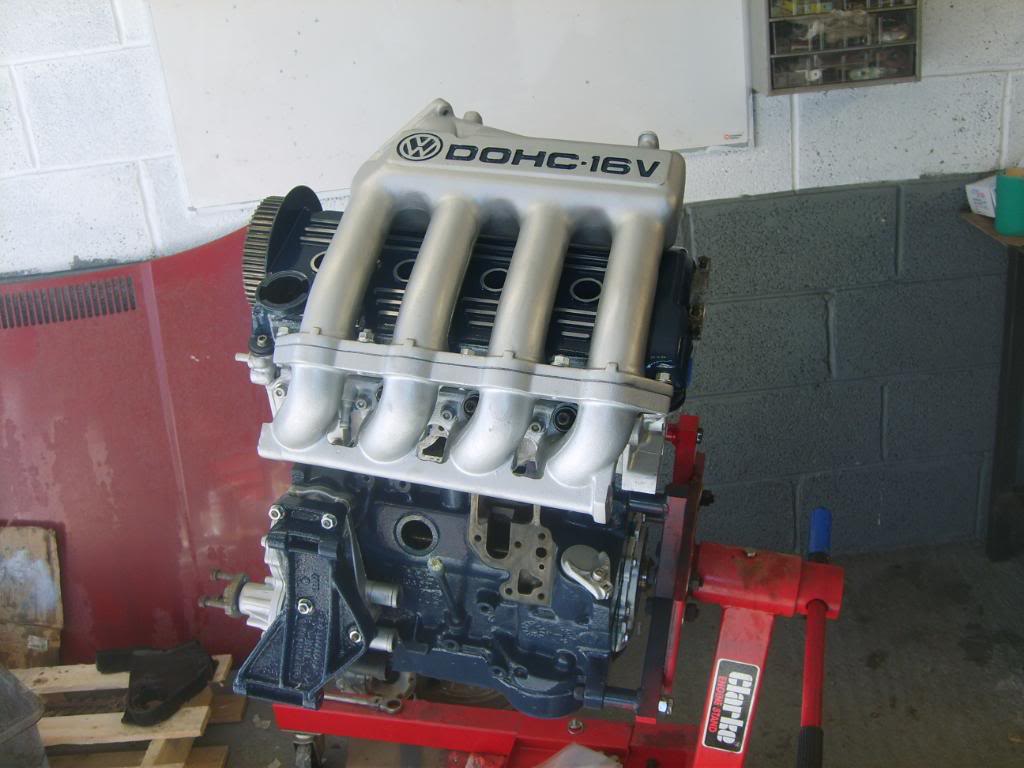
so i started on the engine…
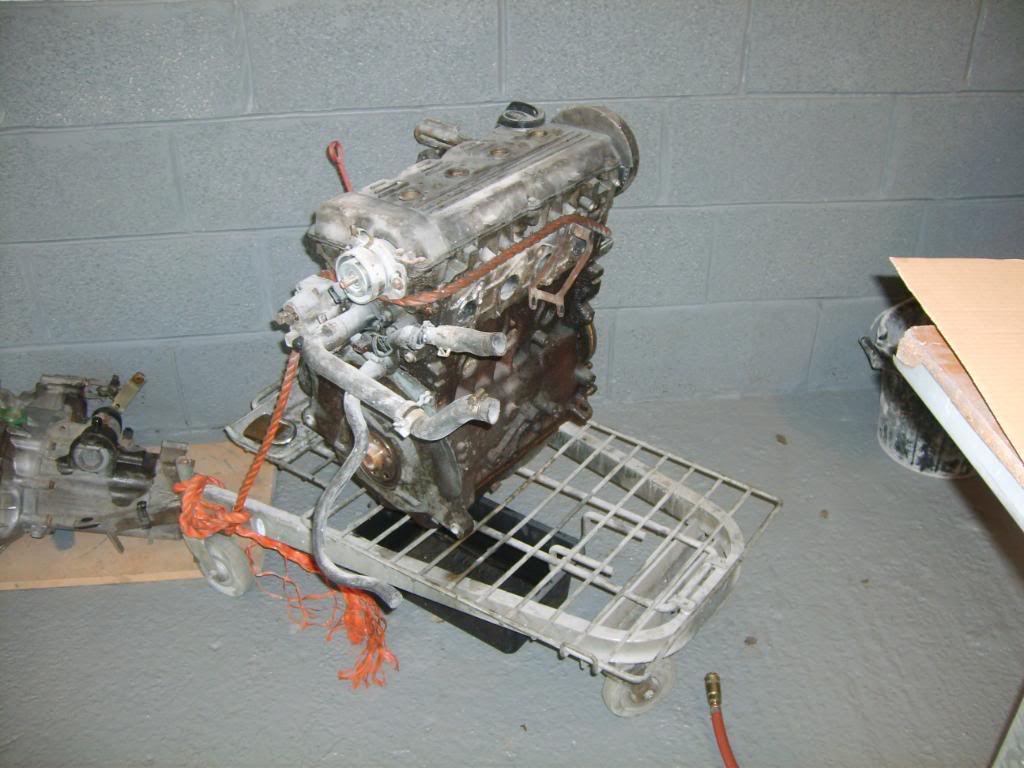
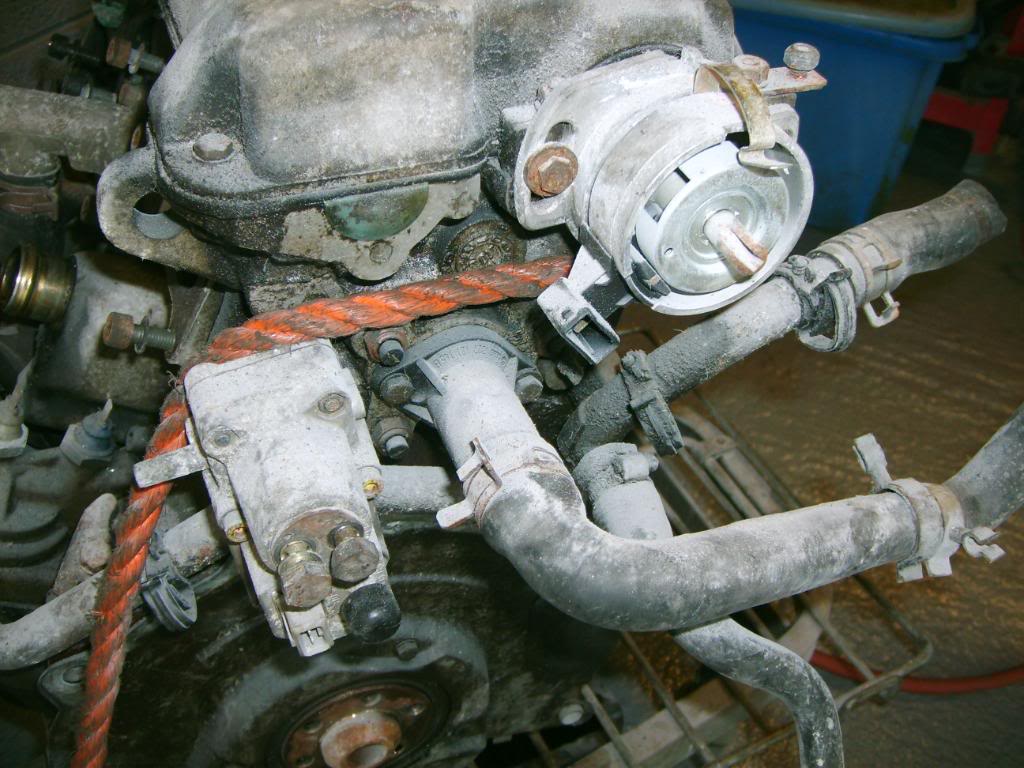

getting less…
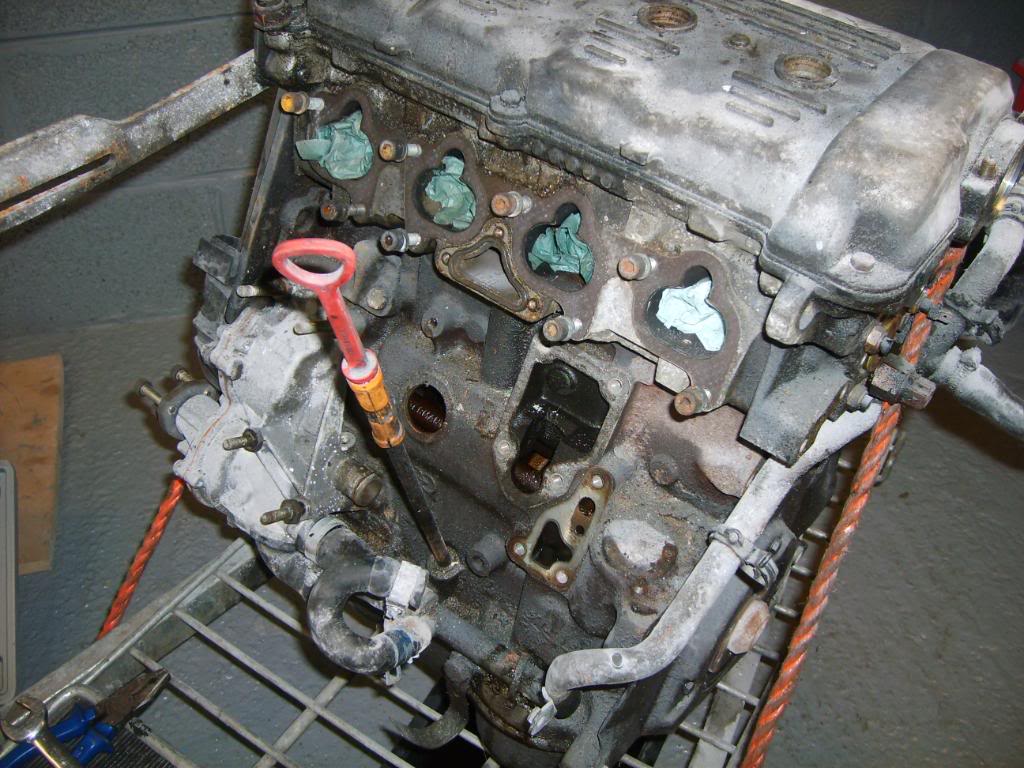
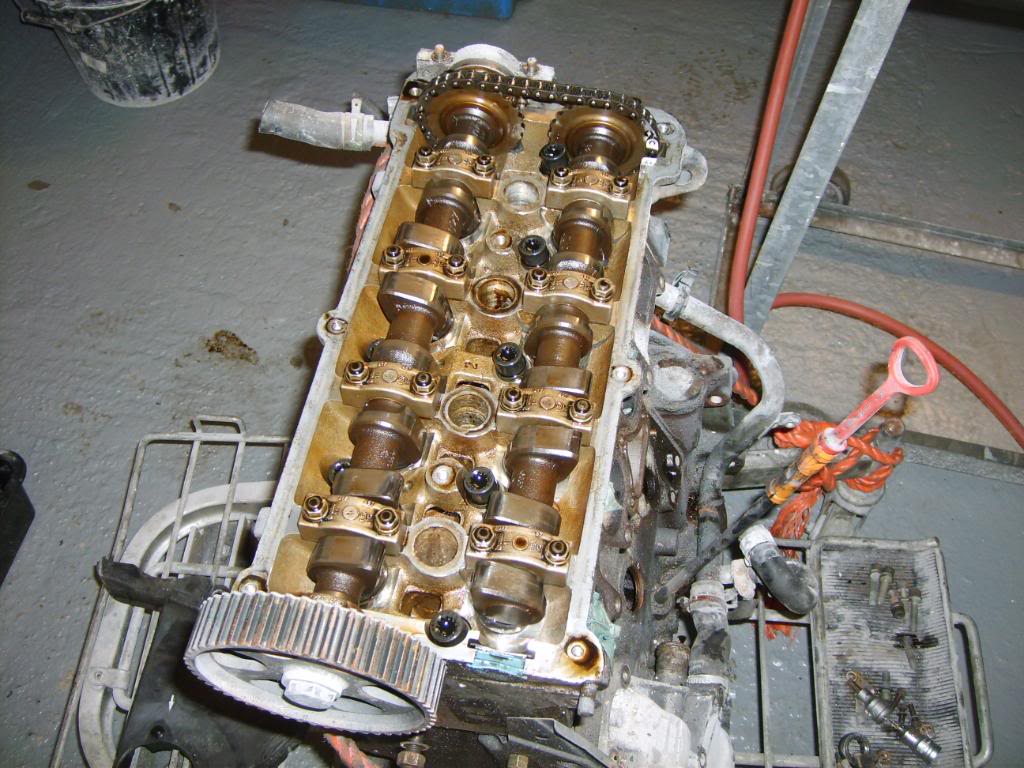
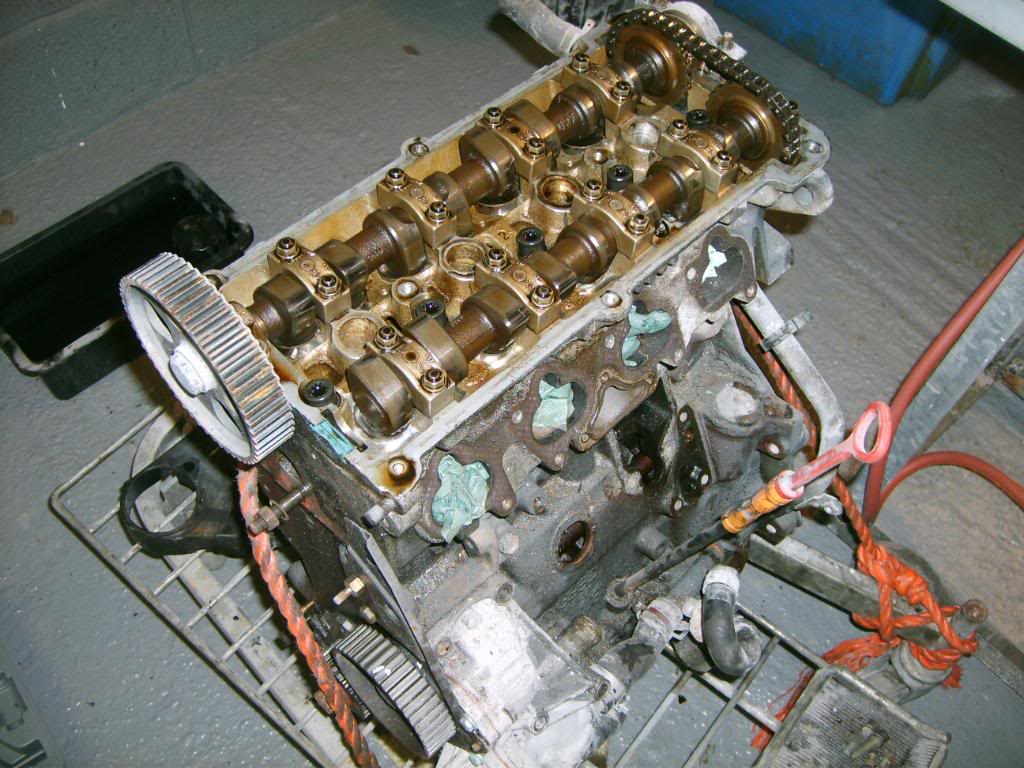

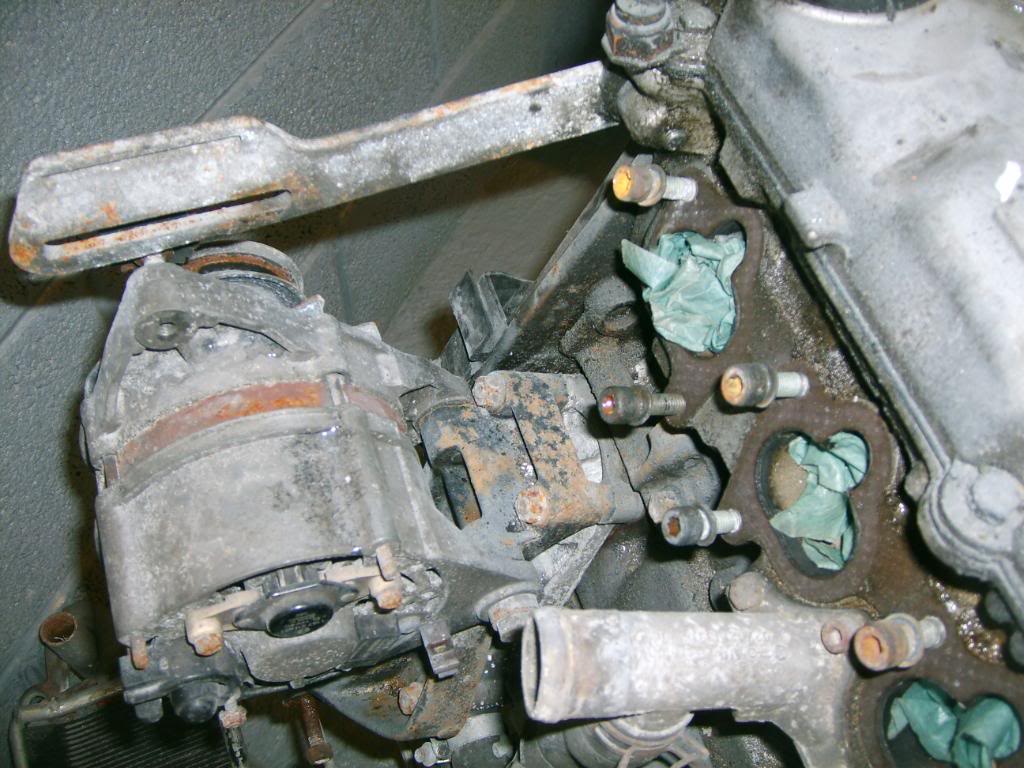
the head comes off…
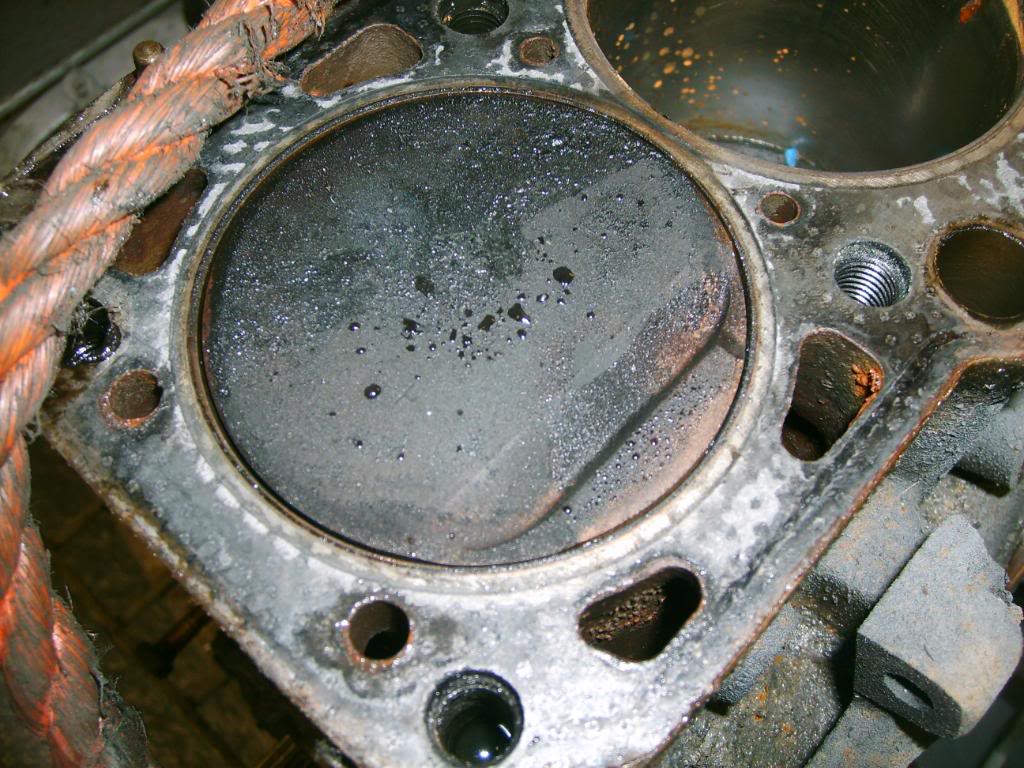

So i'm waiting now to strip the bottom end and clean it then strip the head and then i'll be taking them down to swansea auto place next week to have them skimmed and honed. I'll alsobe asking them drill out and retap one of the exhaust manifold studs.
Then i'll be getting new rings, shells and gasket sets. a coat of paint and i'll be chuffed.
Posted
Settled In
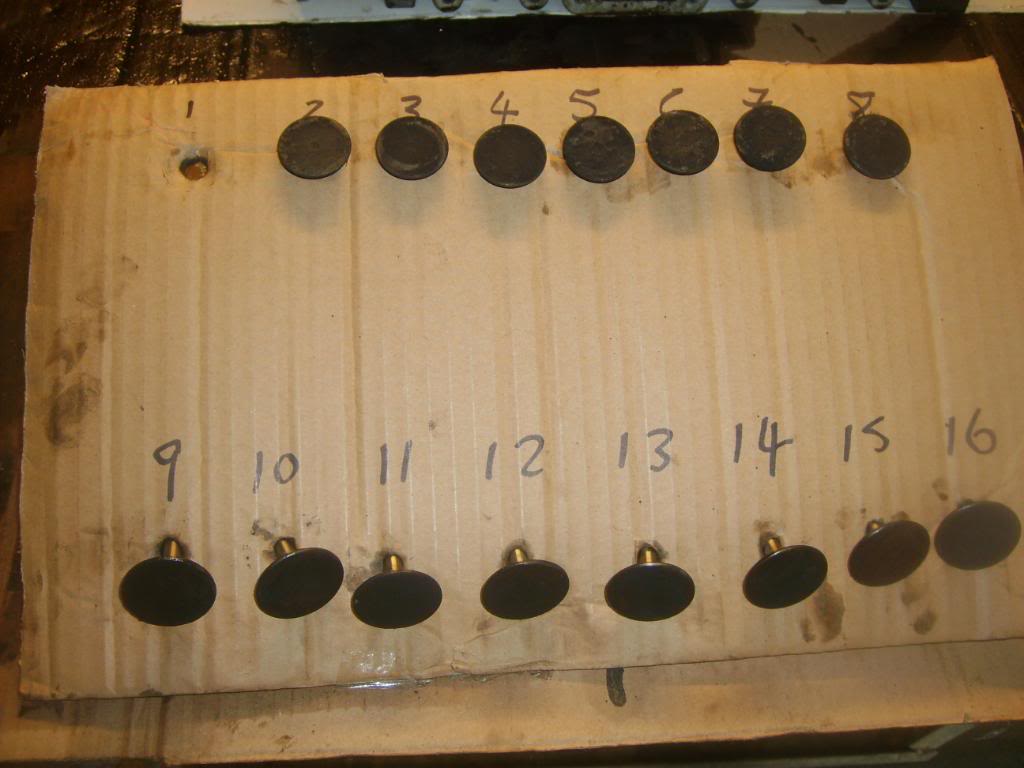
since my last update i have stripped the engine into millions of bits, all neatly laid out
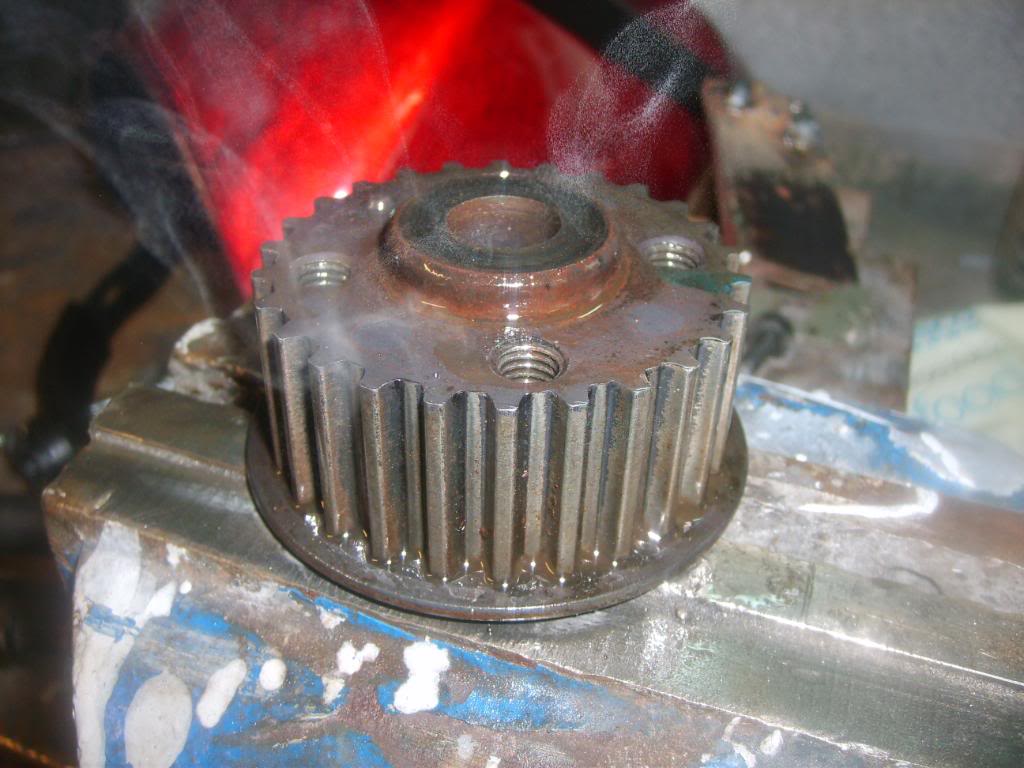
had a real pig of a job getting the crank pulley off though so had to use my initiative..
then..
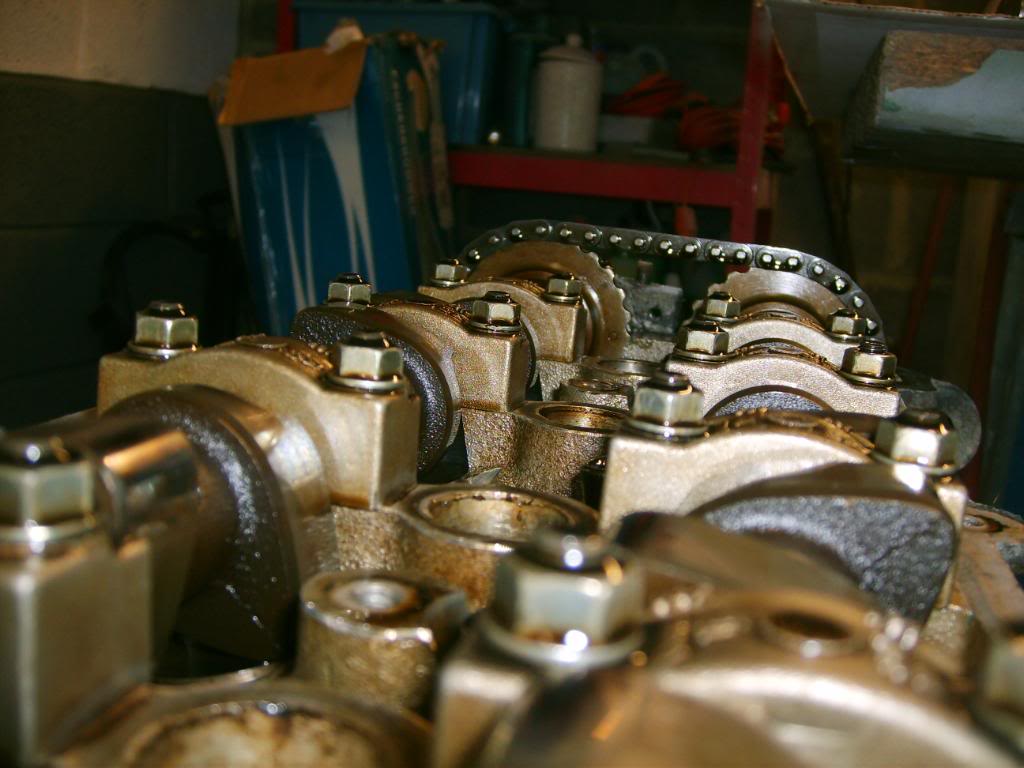
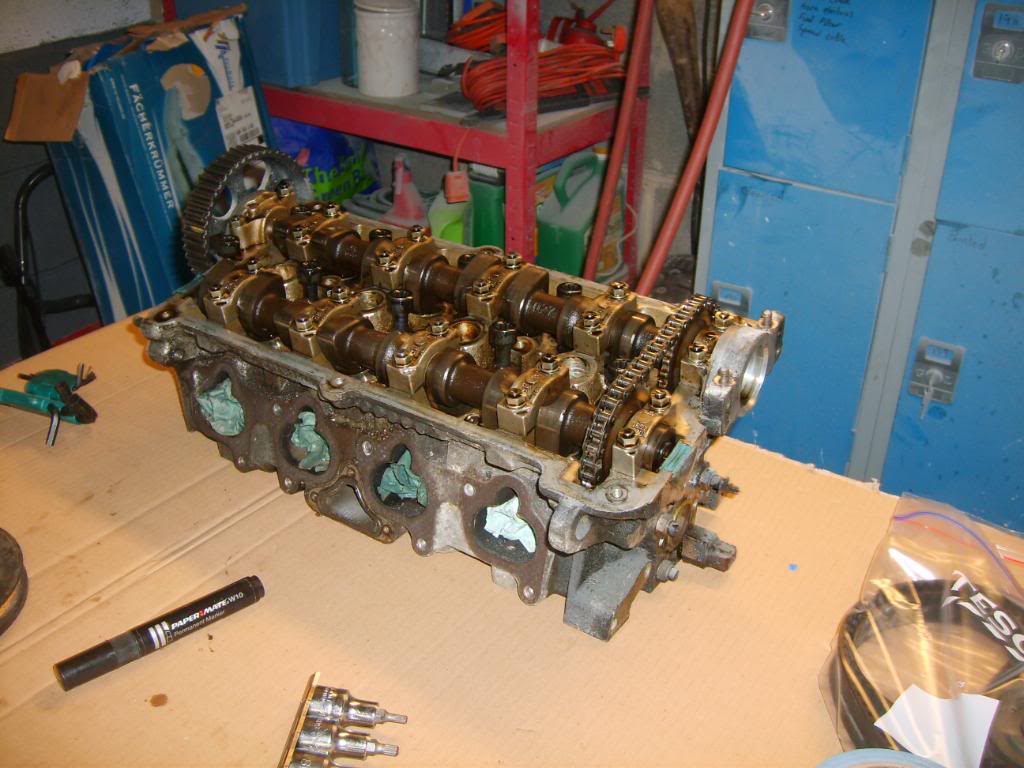
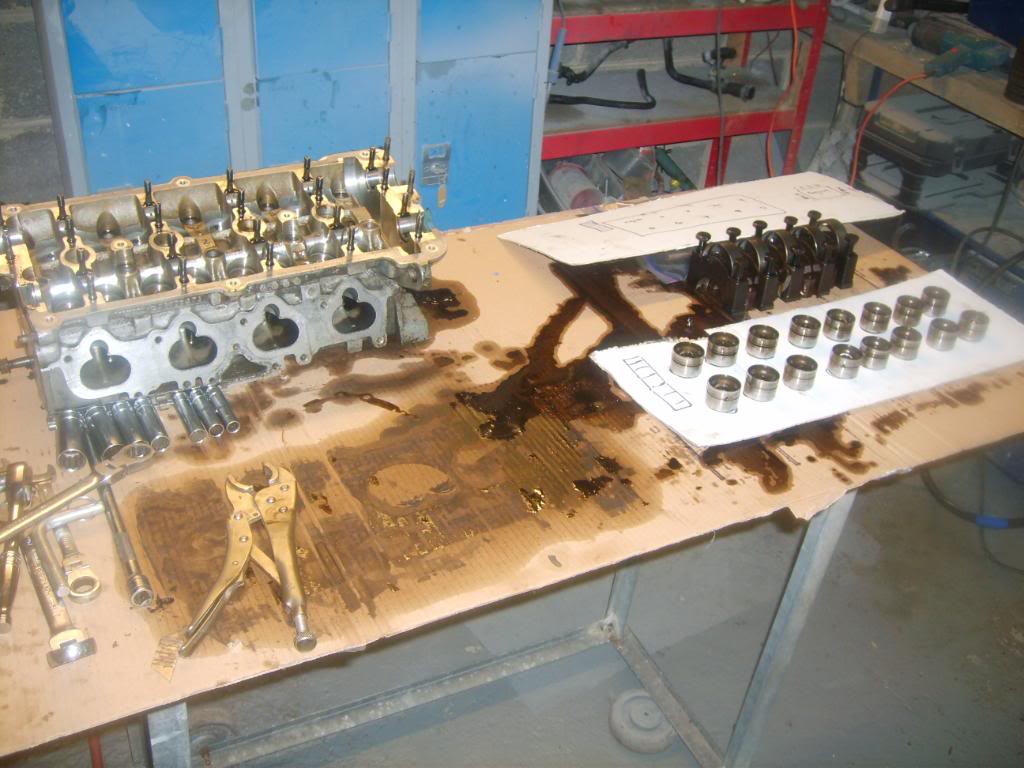
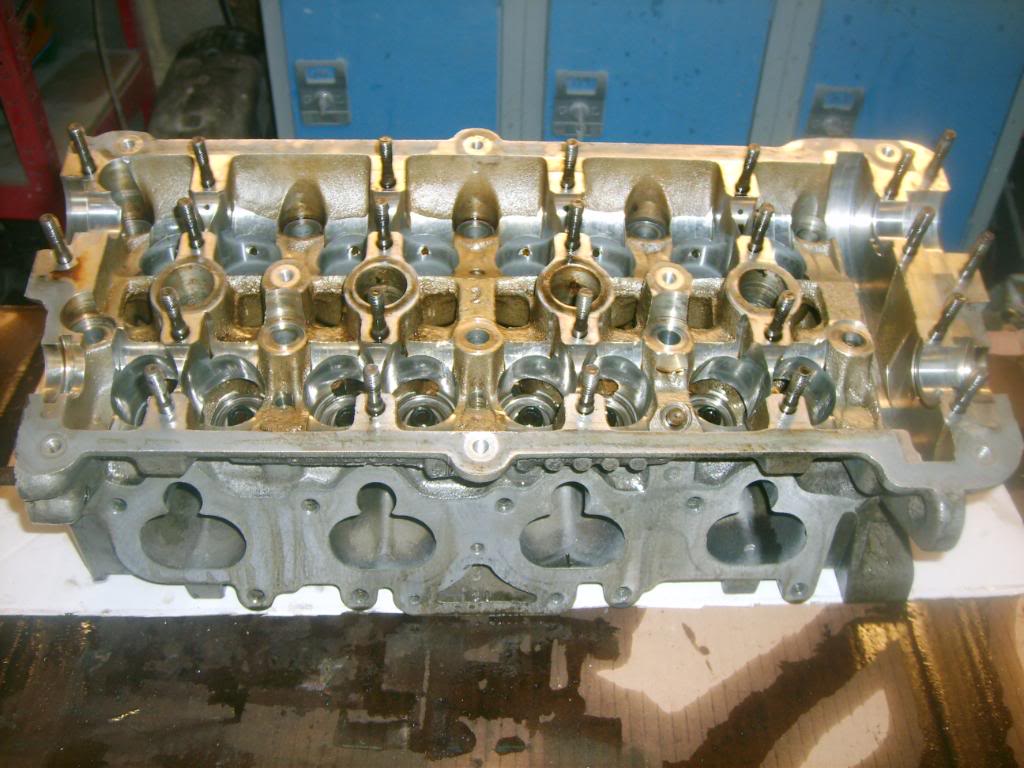
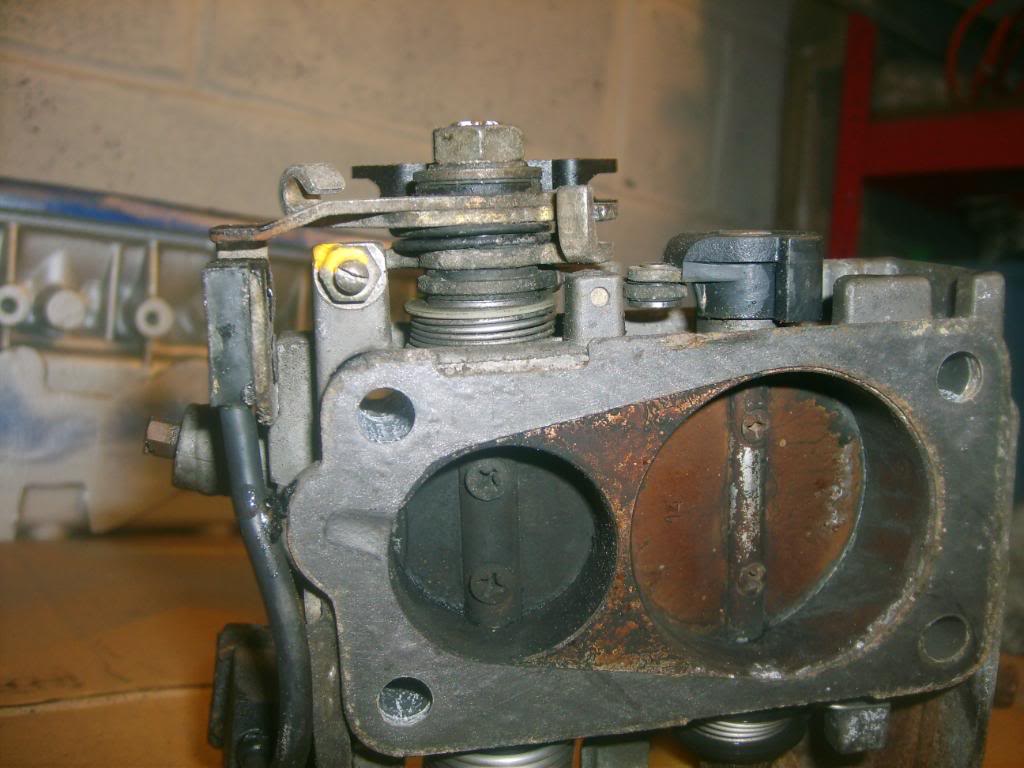
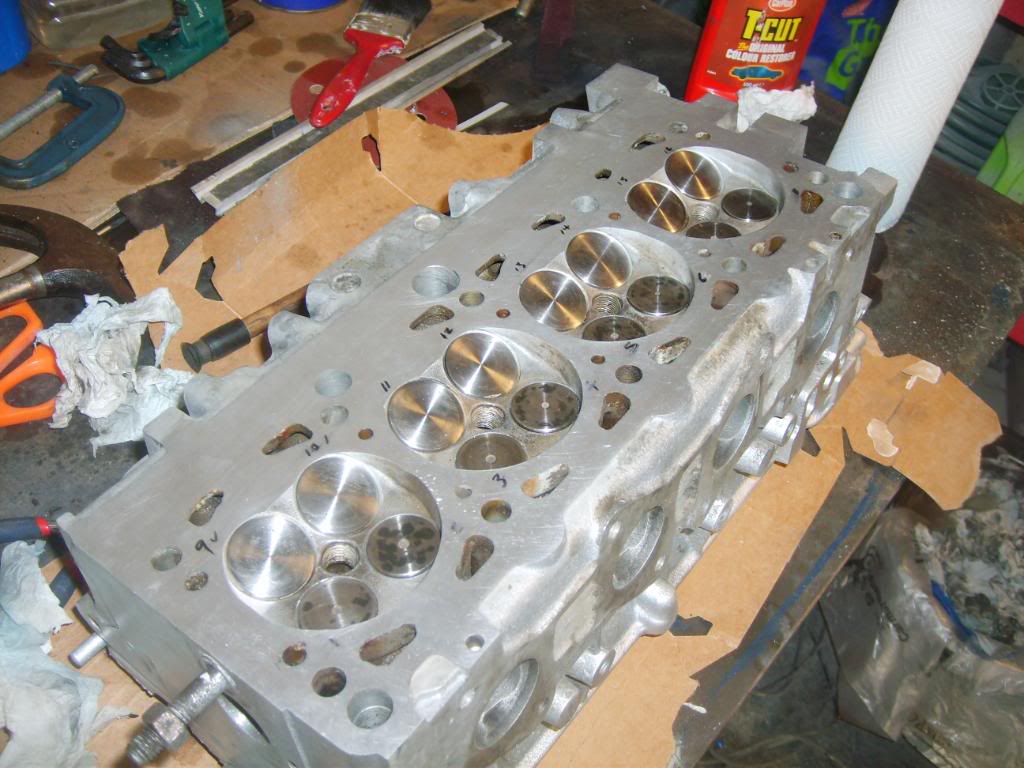
then i stripped the head

cleaned the head up
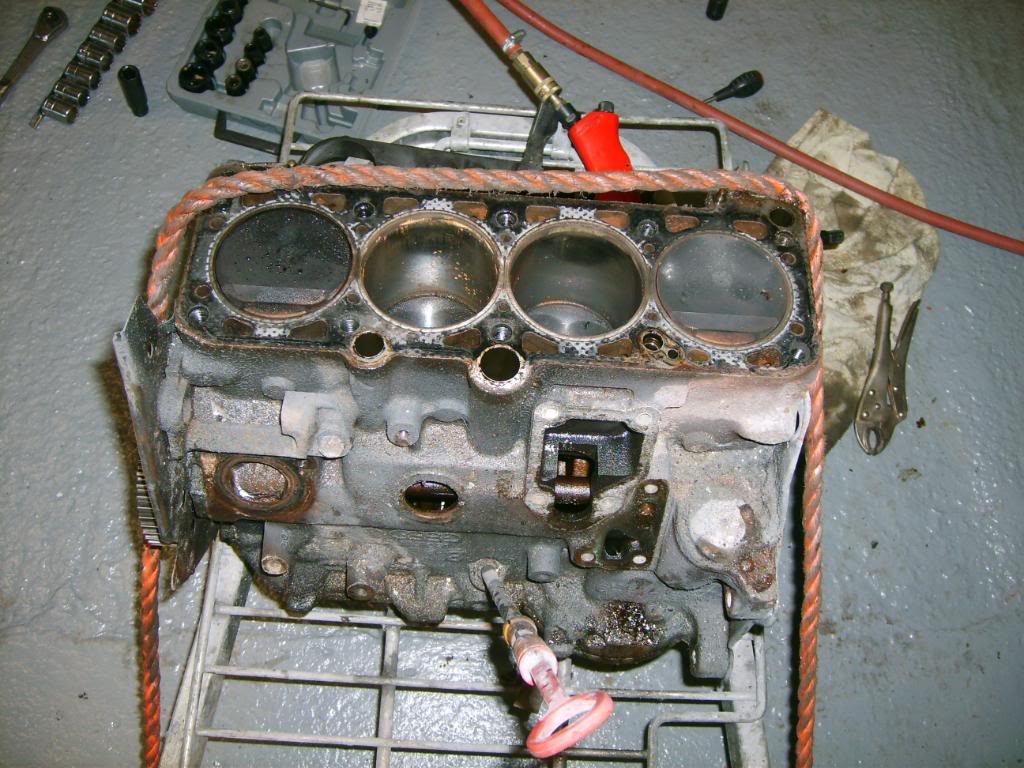
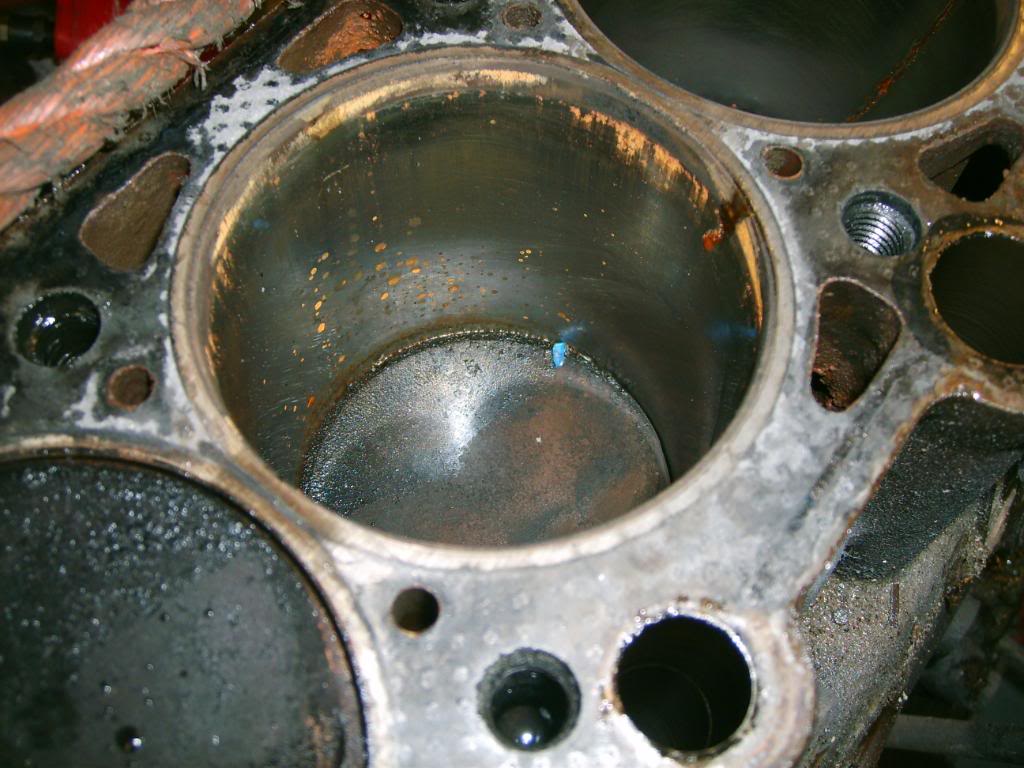
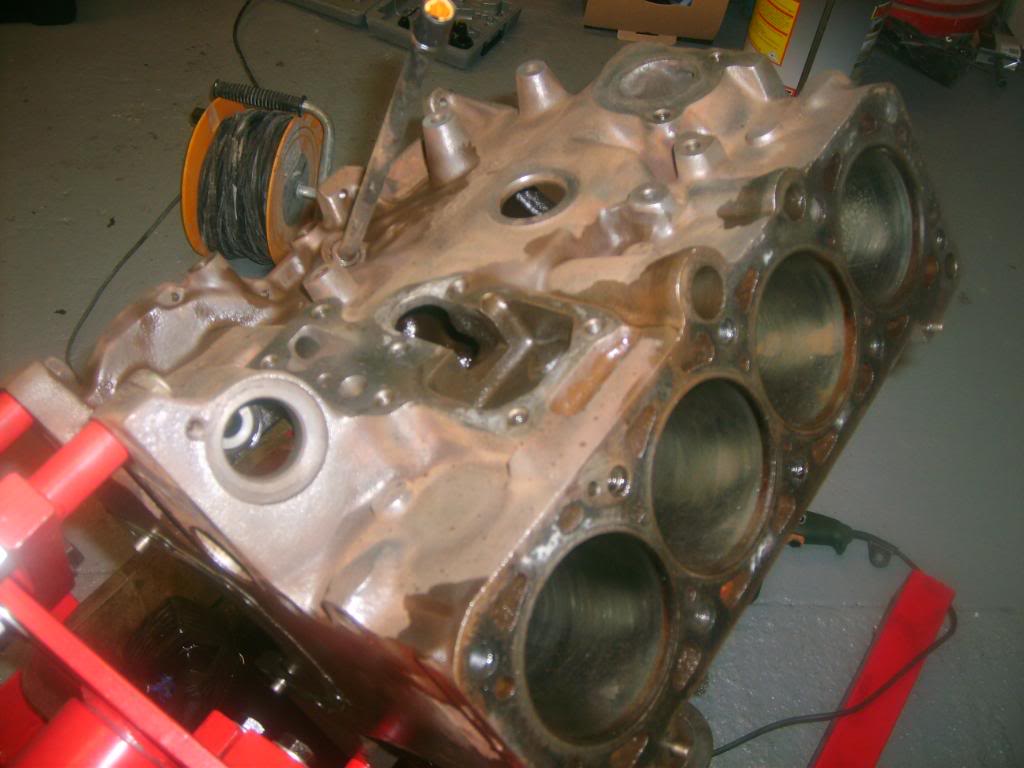
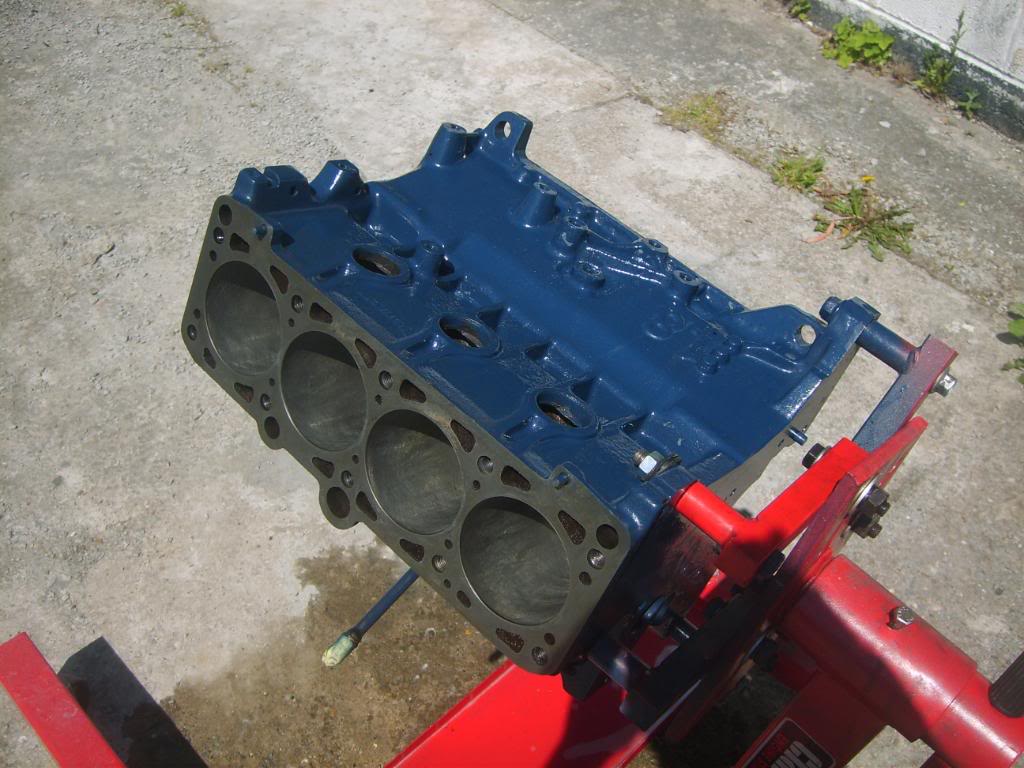
cleaned the block up
and then sent the head and block off to be honed and skimmed.. when it came back it looked much the same.. if a bit shinyer..


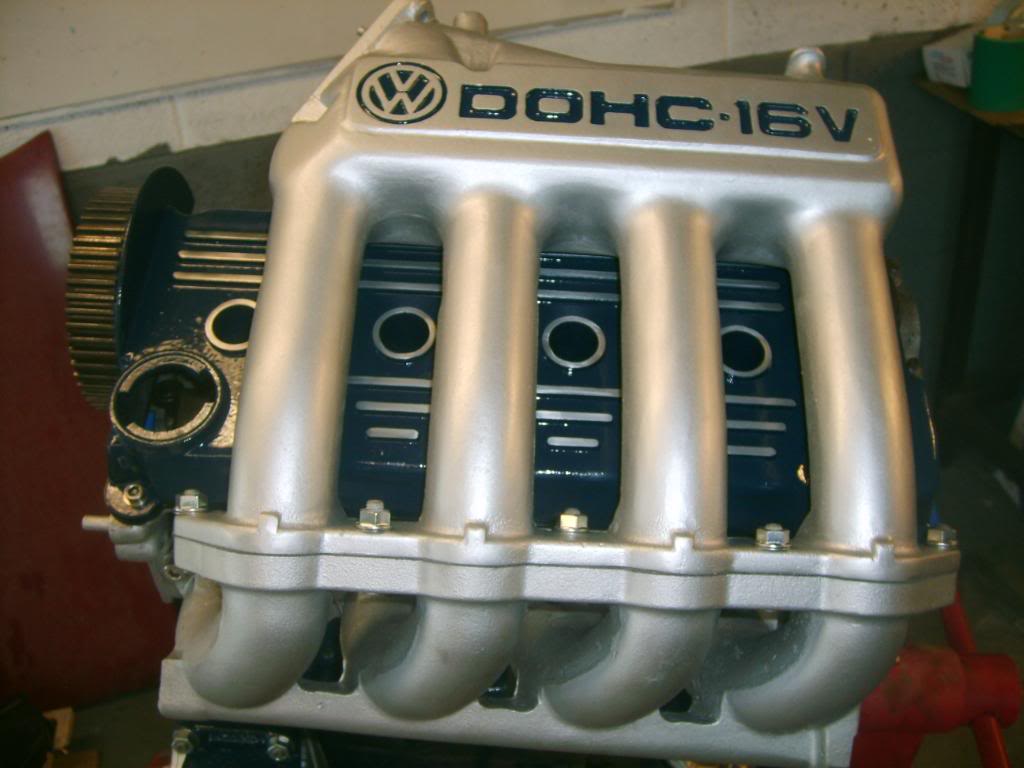
i bought some POR15 engine enamel and etch primer
masked up the block..
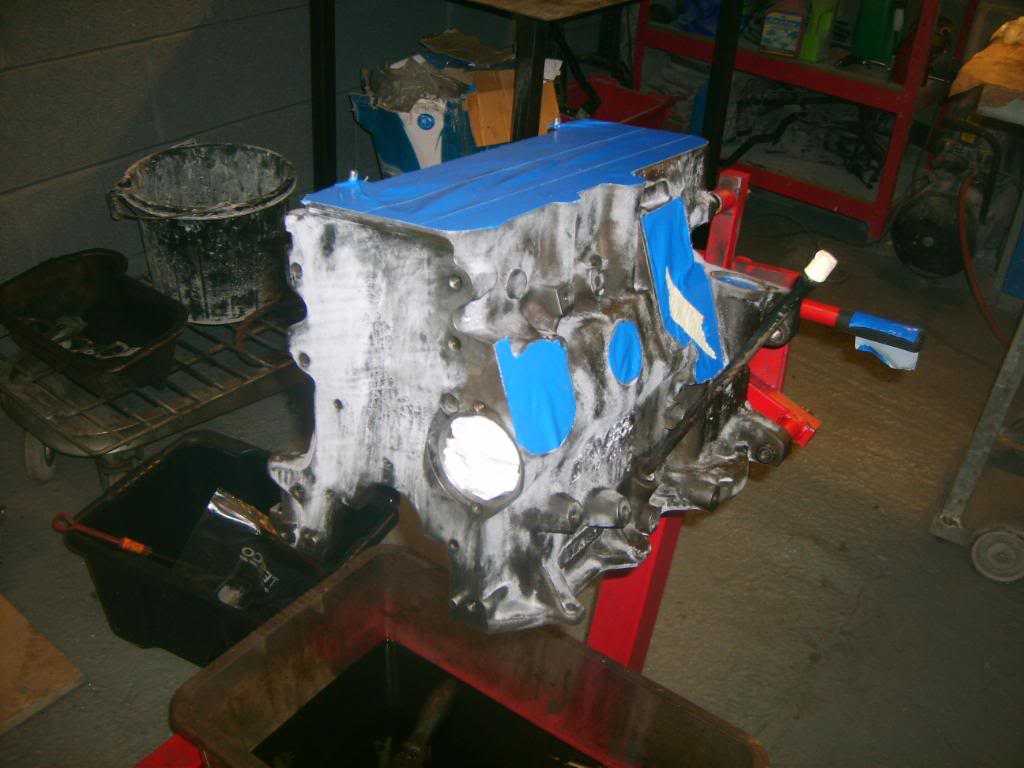
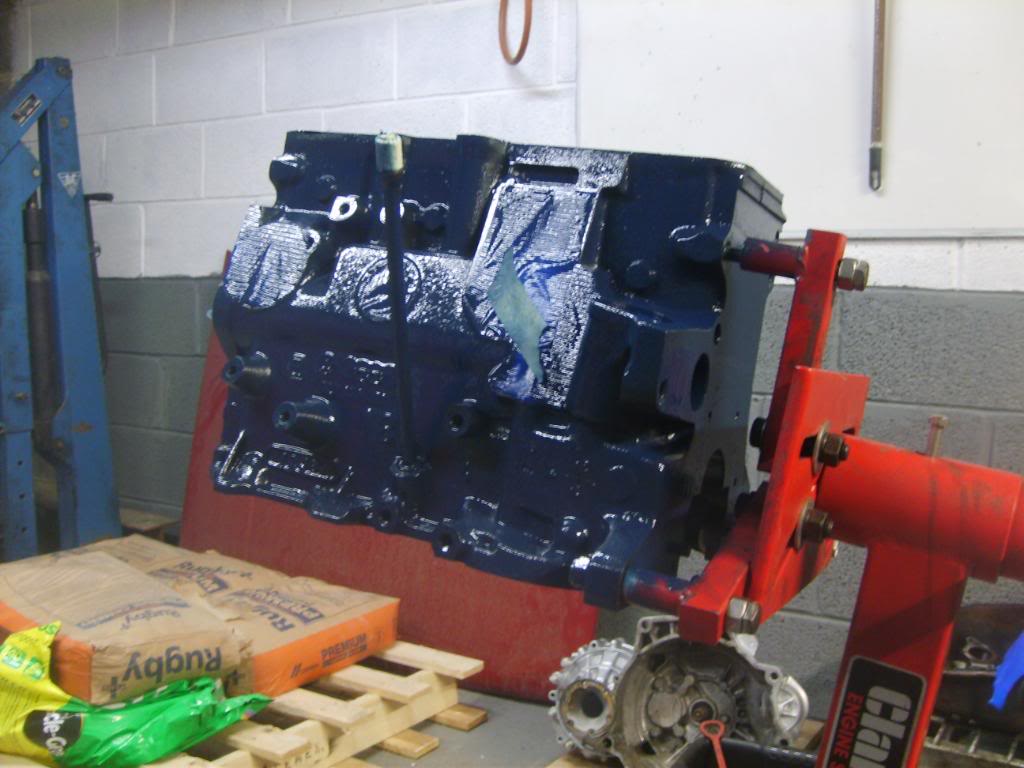
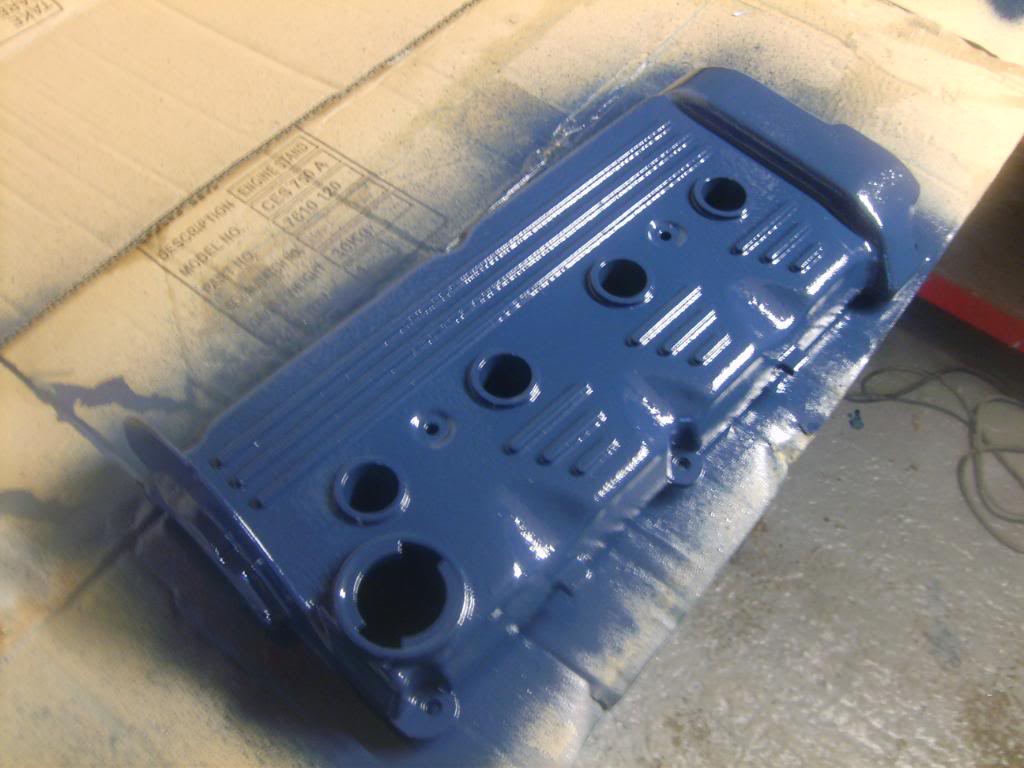
then… COLOUR….
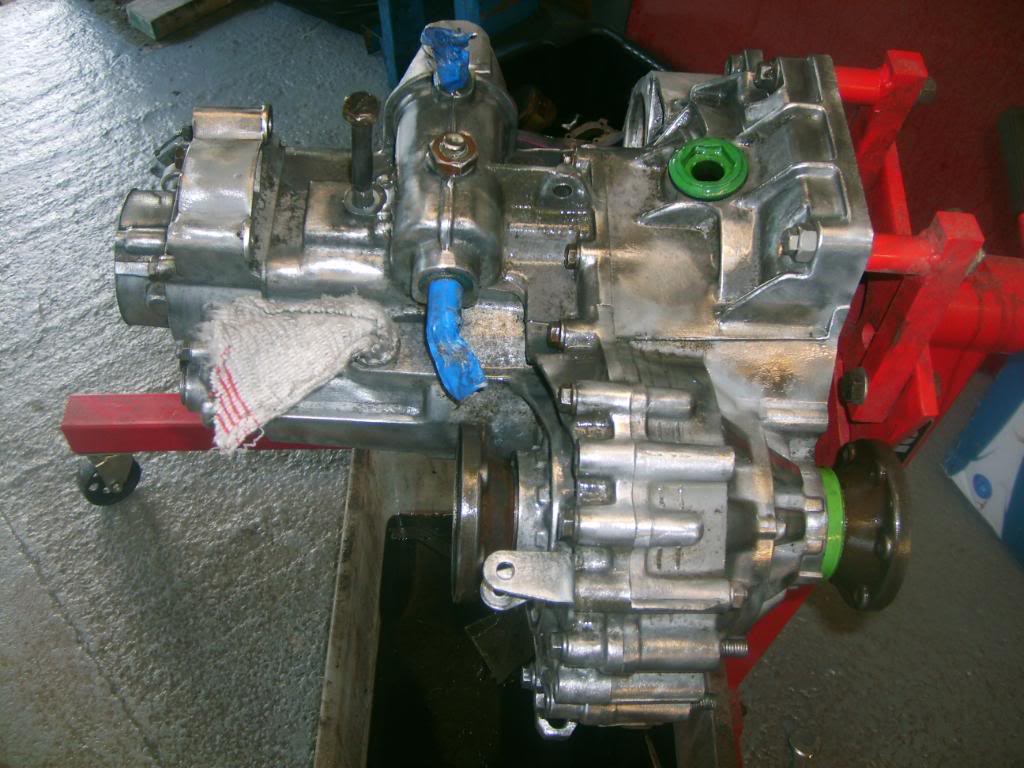
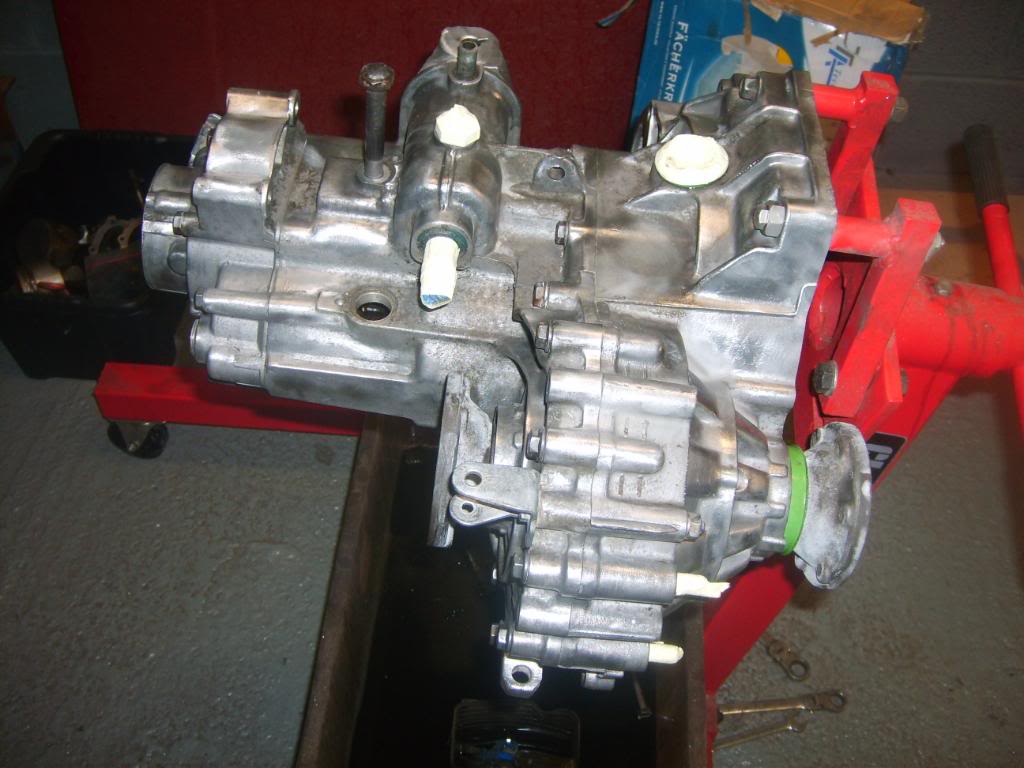
then the gearbox
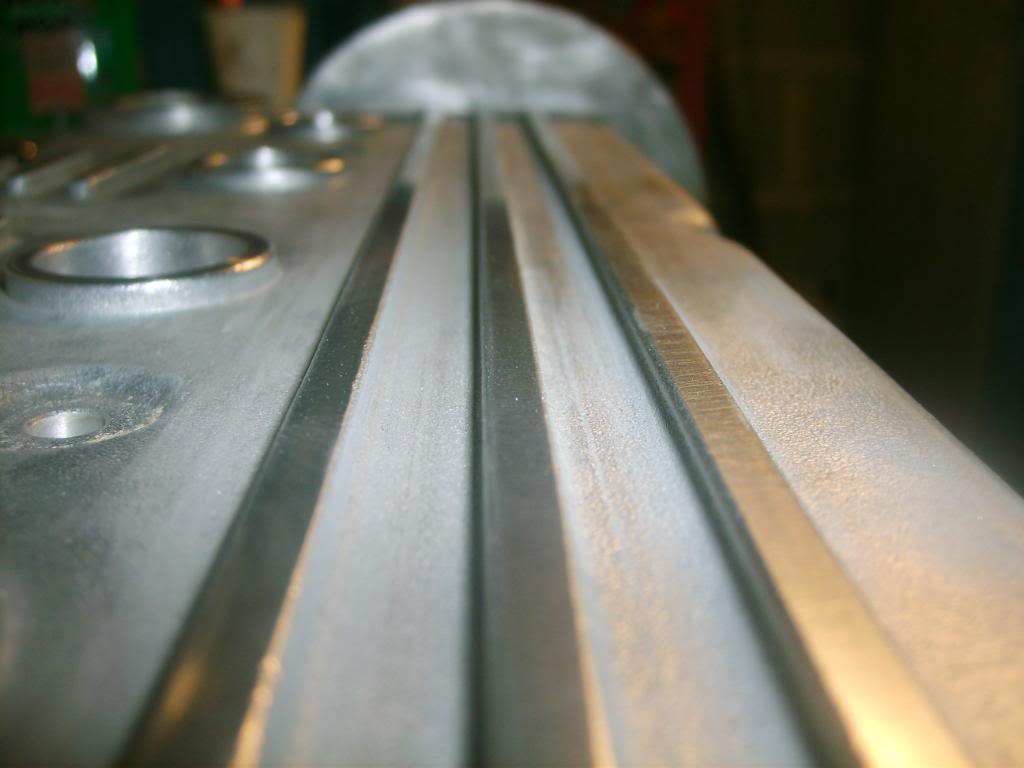
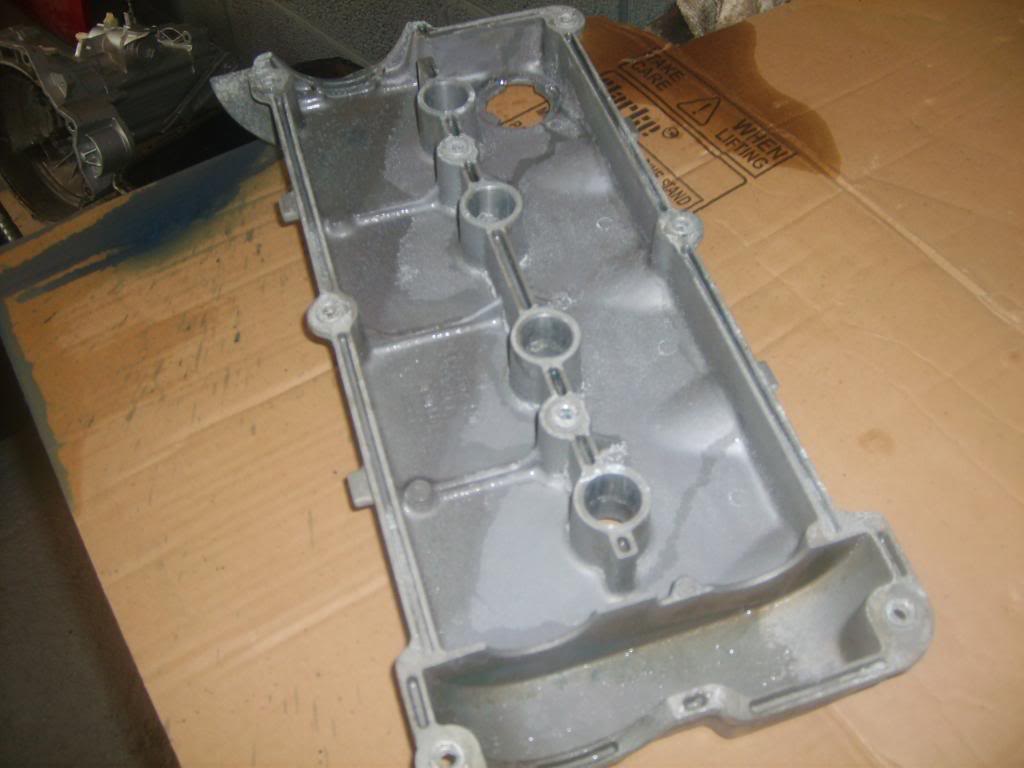
the i cleaned the cam cover and polished the ridges.
thena quick run through the dishwasher too!!


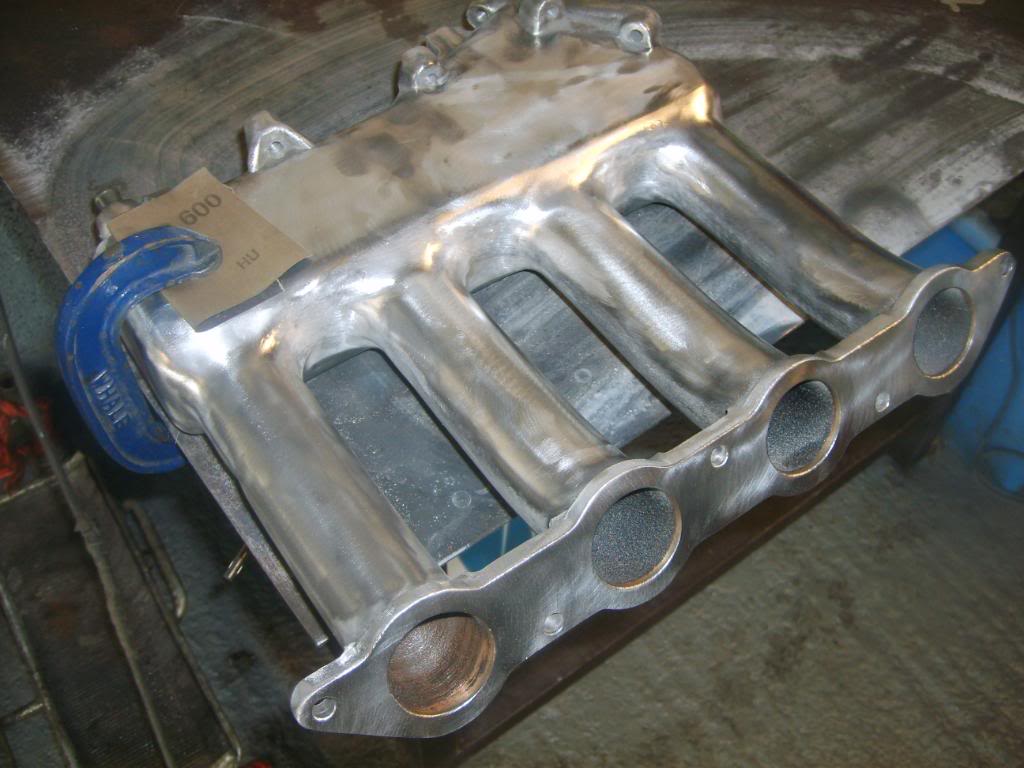
then started on my inlet manifold and that where i stopped!
need to finish painting bits and get some gasket sets, core plugs, new shell bearings and a few other bits and bobs.
not long before the car comes back now!
Posted
Settled In
PICS!!!
The last few nights have been laborious and has gone something like:
dirty part,
soak in petrol
brush for a bit
chuck parts in the dishwasher :crazy: :crazy:
rub down to remove dust and salt
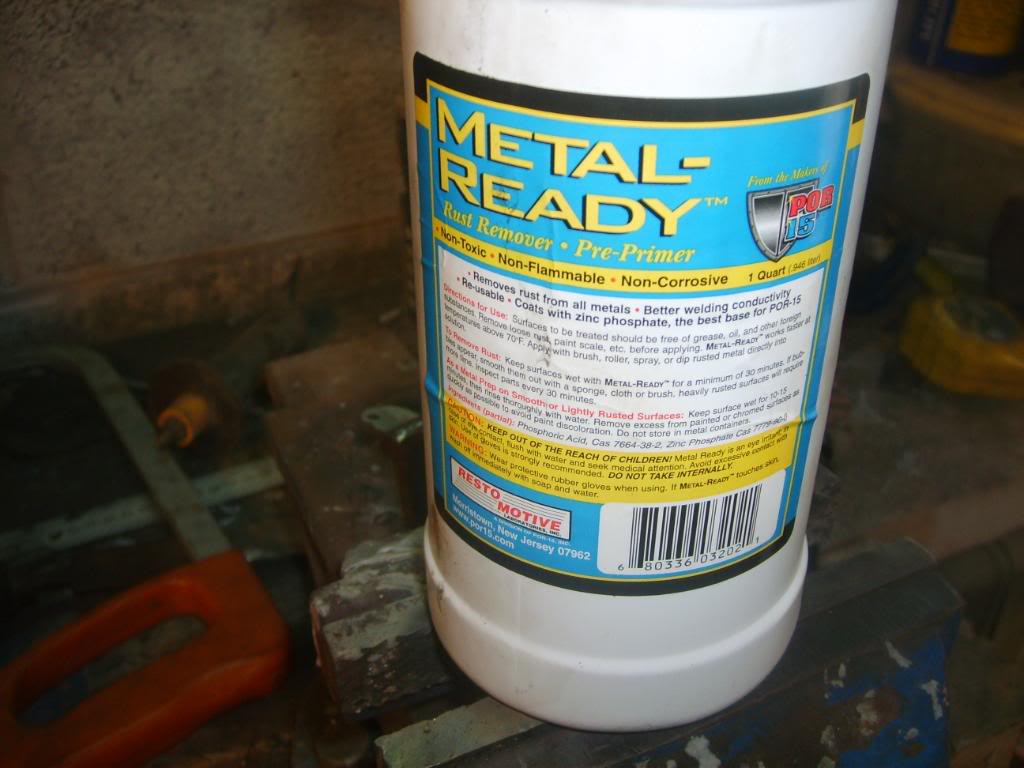
spray in metal ready
mask up
hang up and paint.
repeat process..
pphhh.
boring.
BUT when you start to get more clean parts that dirty parts it starts getting good.
My garage has loads of things hangin up either ready to be sprayed or have been sprayed.
so on with the pics!
head has been sprayed in aluminium POR15 same as the gearbox.
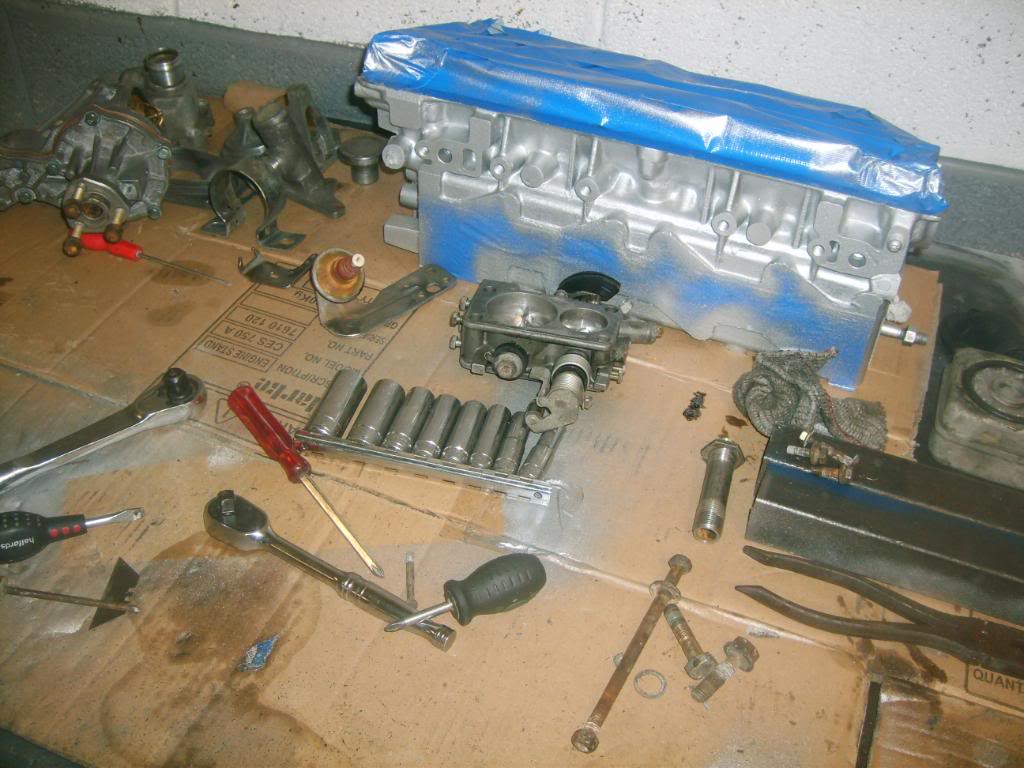
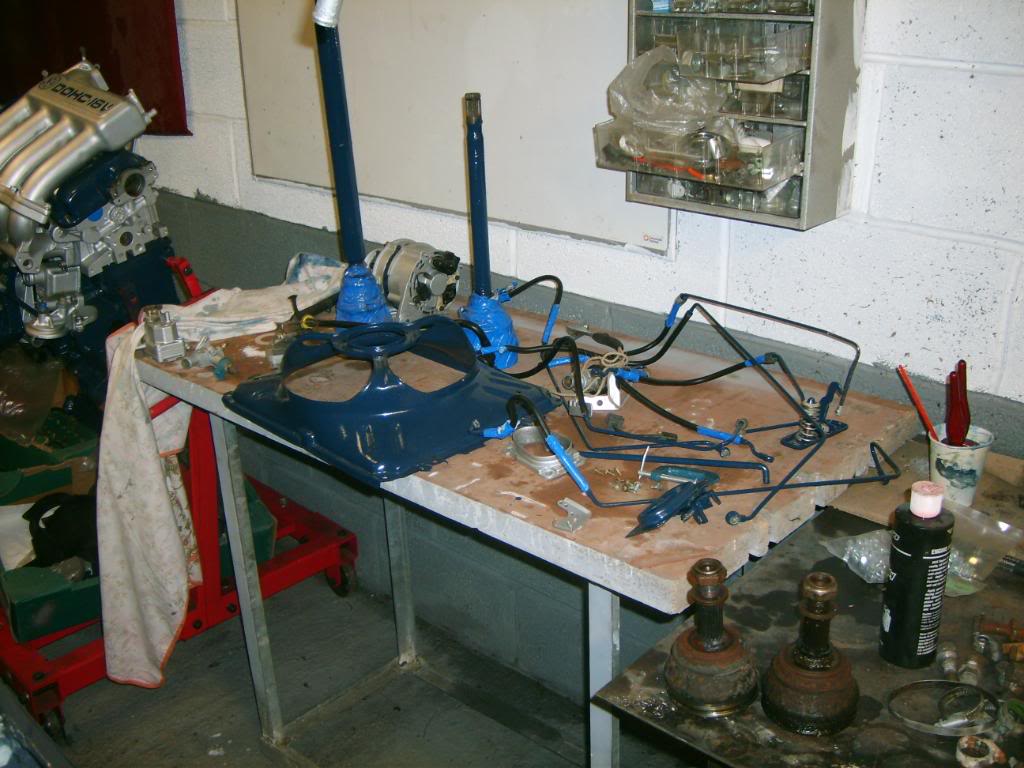
and you can see al the dirty bits from the 16v.. flipping loads of em!
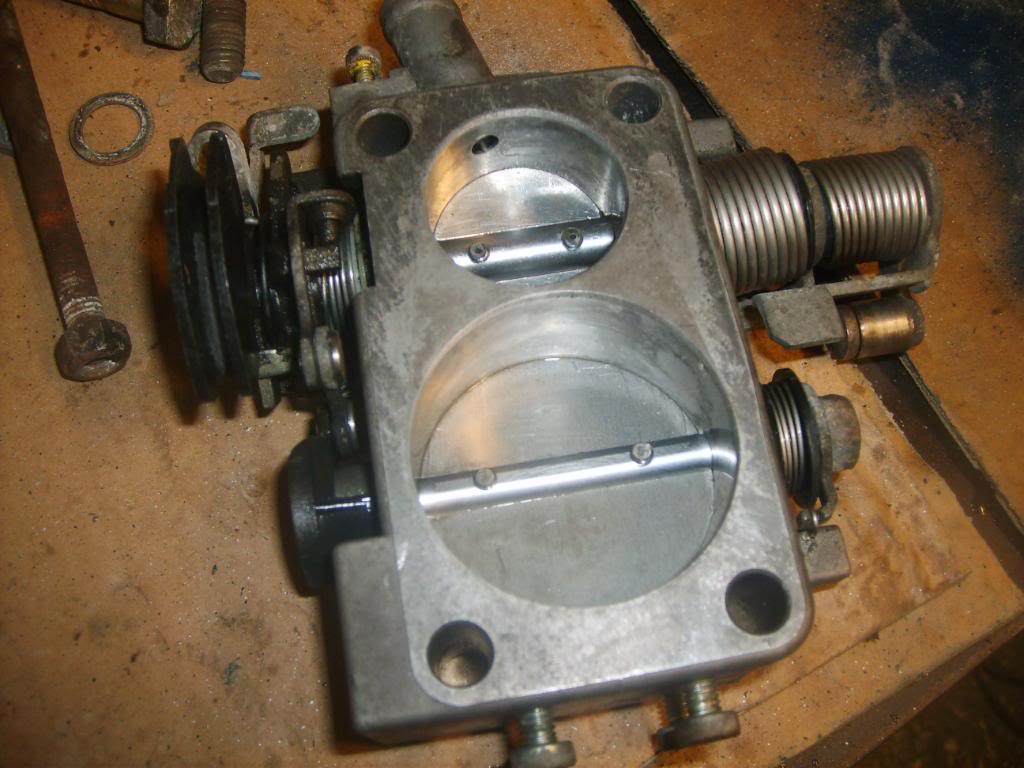
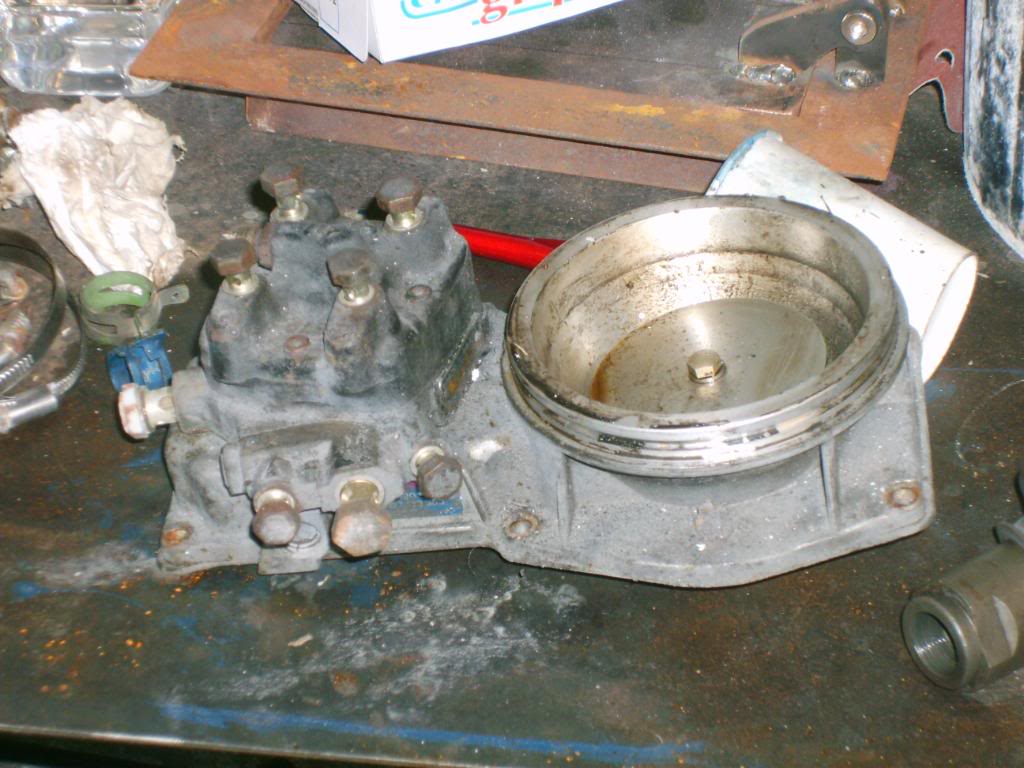
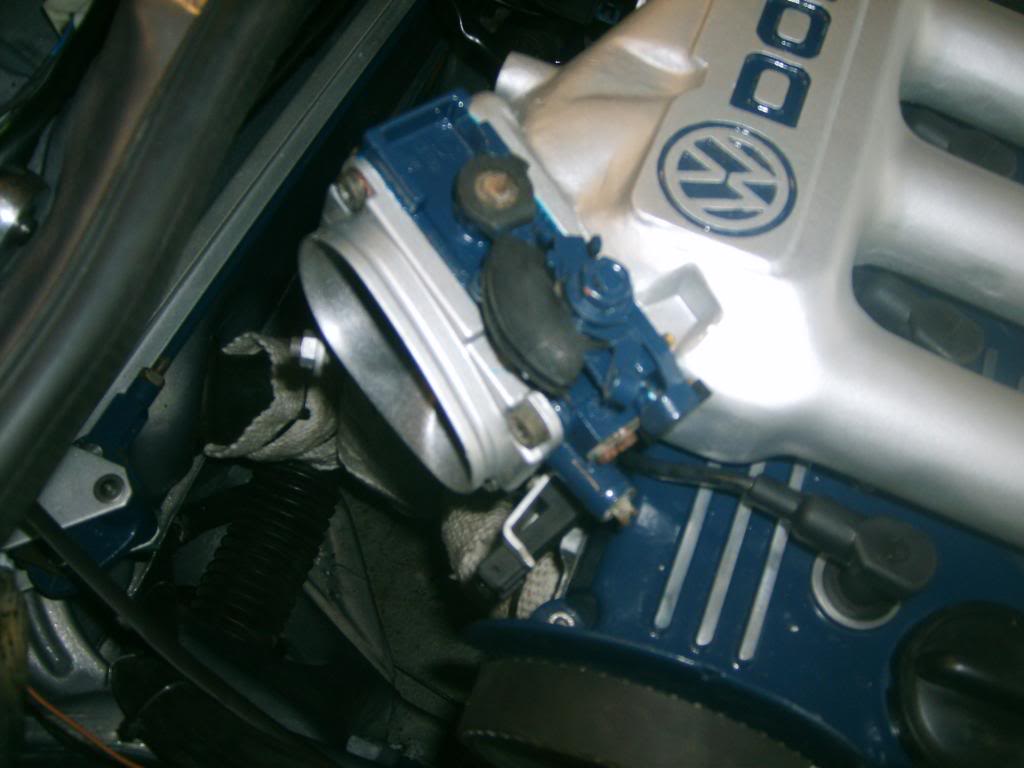
cleaned up the throttle body from
to this
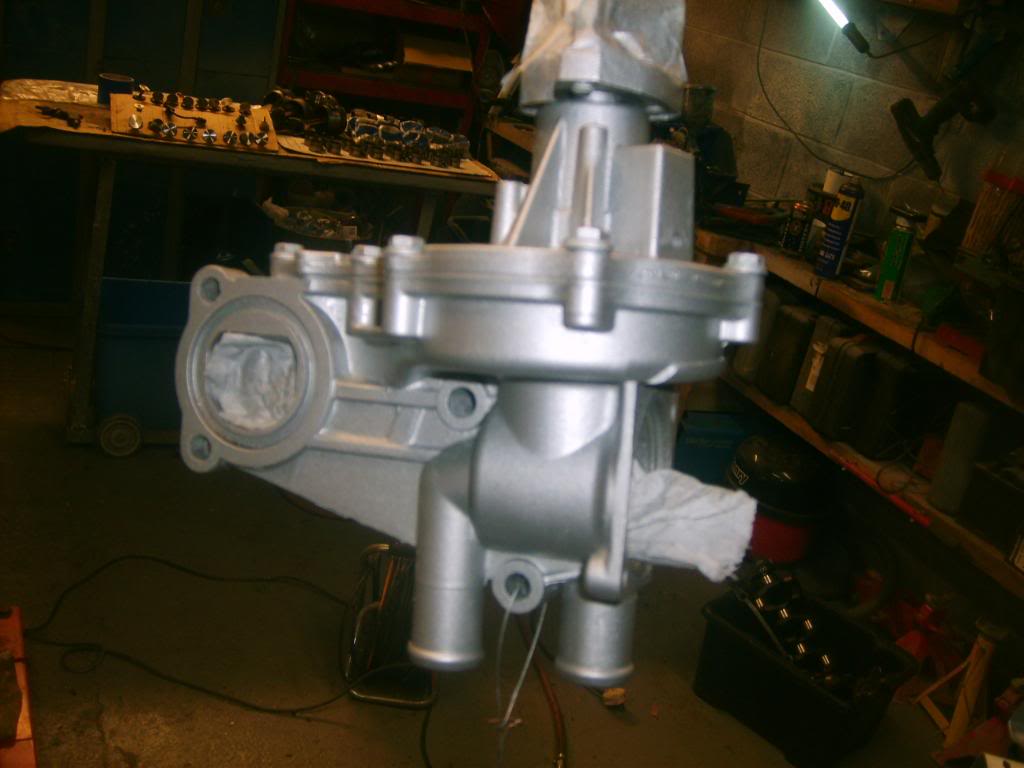
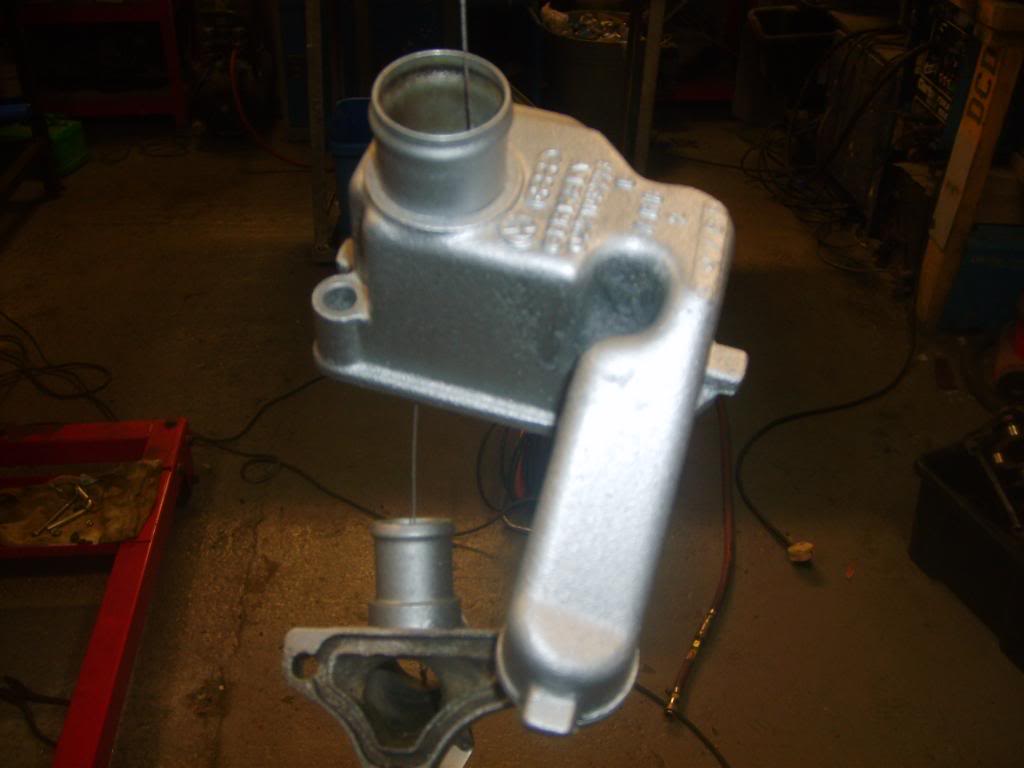
water pumps and stuff all ready for metal ready

then sting em up..lol en paint em..
also done the starter and alternator but what i'm really chuffed with tonight was my ZEN LIKE CALM that i found to do this….
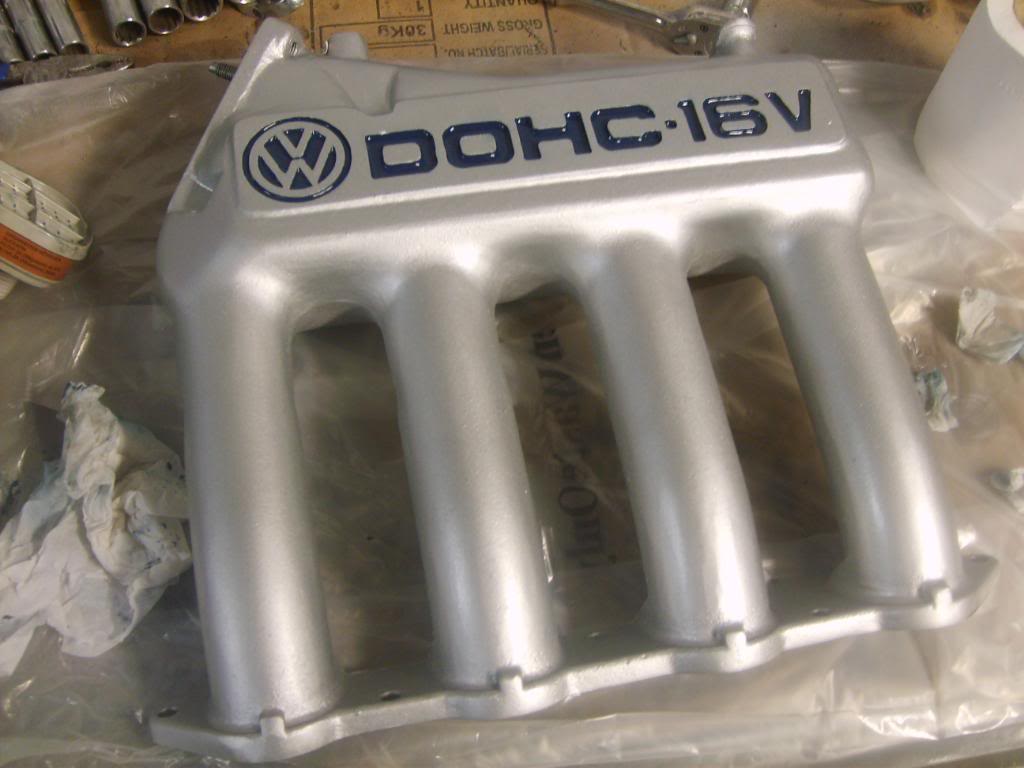
Free hand nerves of fecking steel!!

ordered my bottom and head gasket sets today and new head bolts and got a day off friday so hopefully will be building it up then!!
What you think?
Posted
Settled In
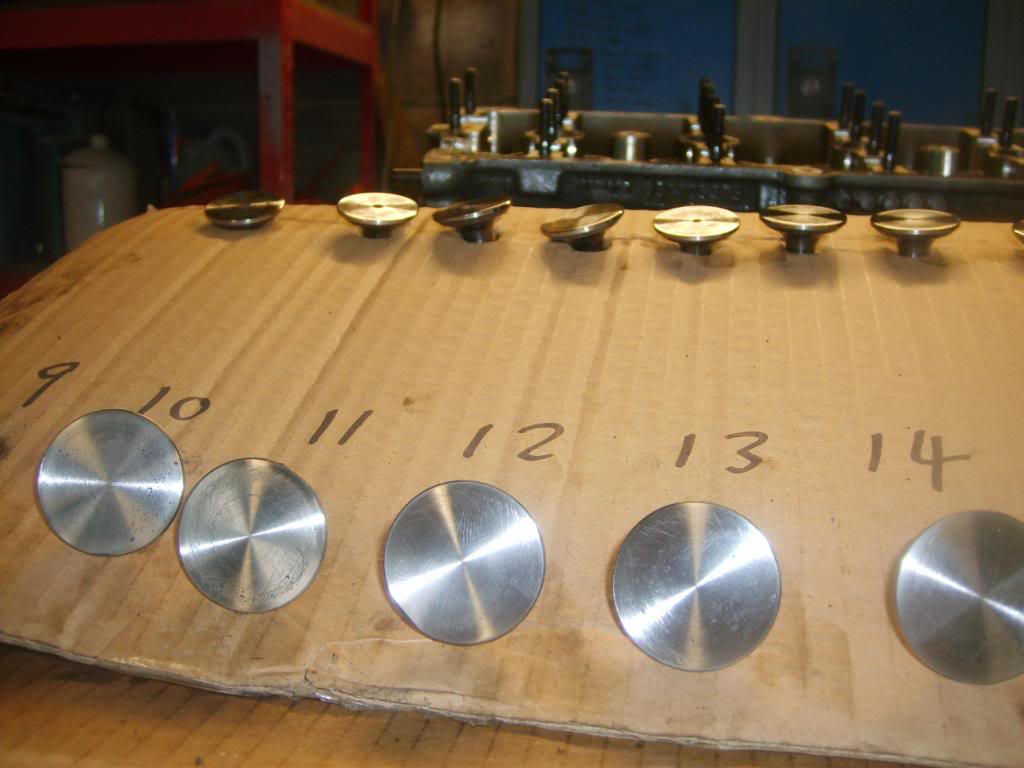
some new core plugs, piston rings, copper washers, shell bearings, main bearings, crank shims, and ?73s worth of exact replica stainless bolts and washers from swansea fasteners.

then new top end kit, head bolts and bottom end kit.

some engine lube and gasket sealant

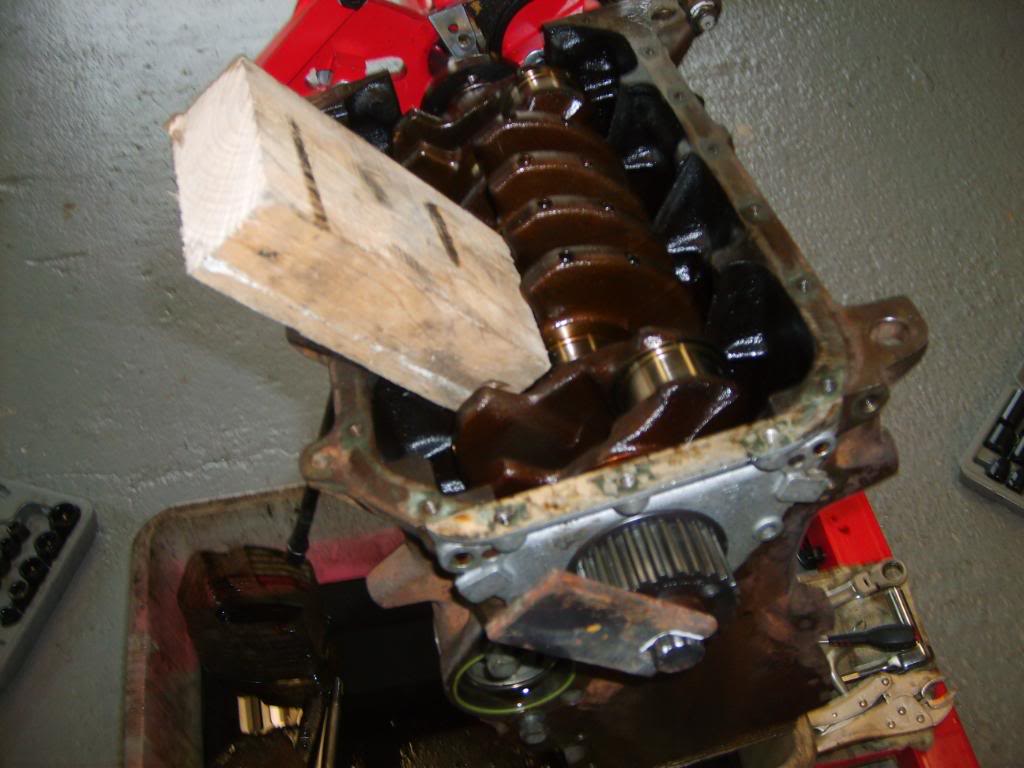
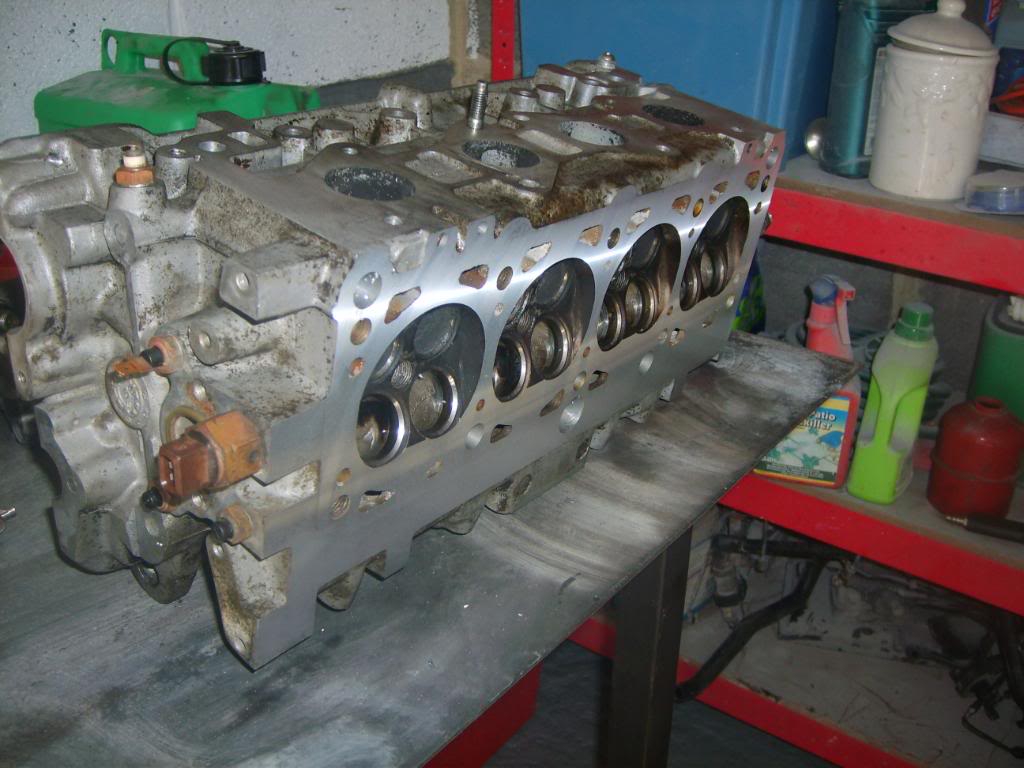
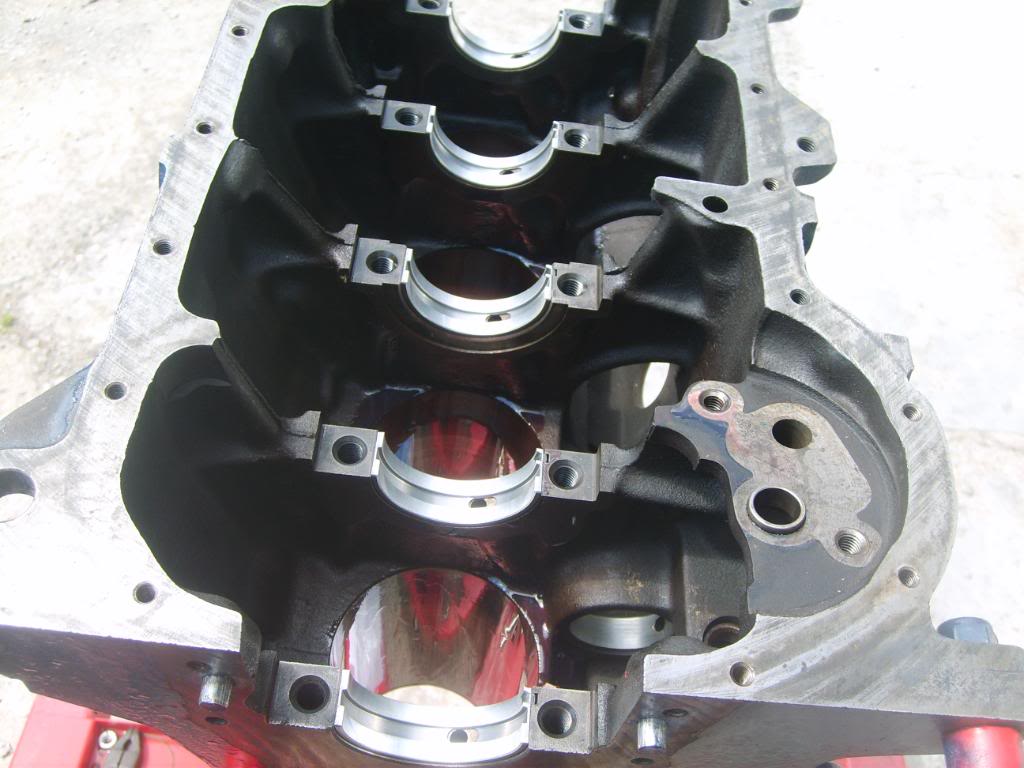
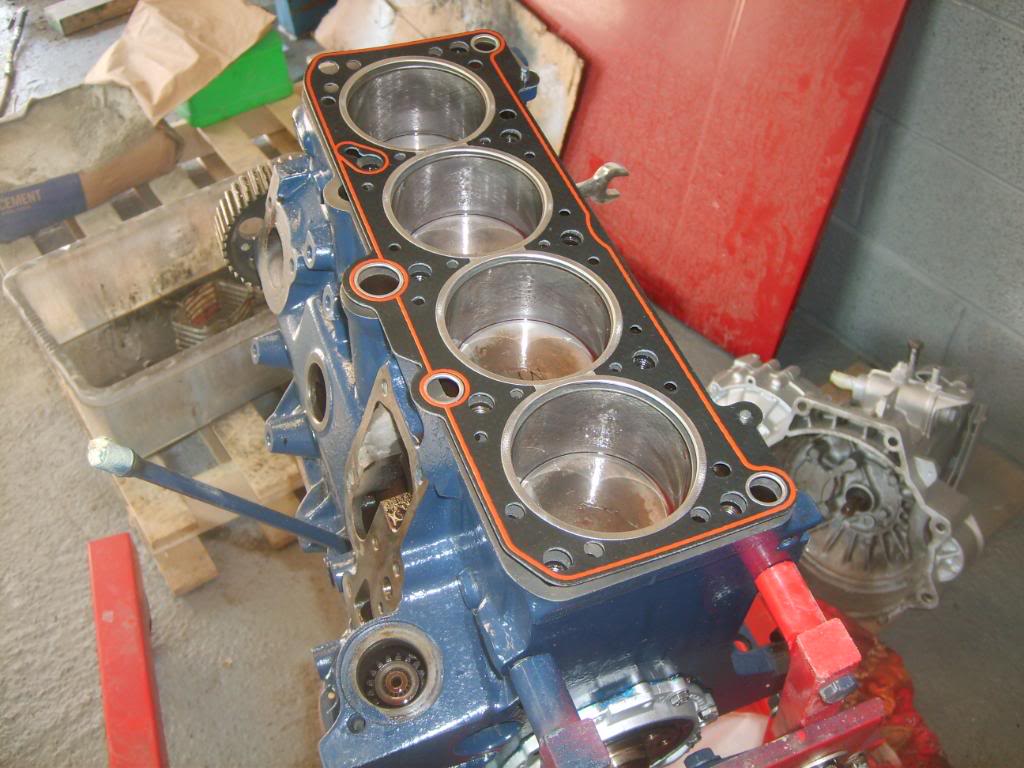
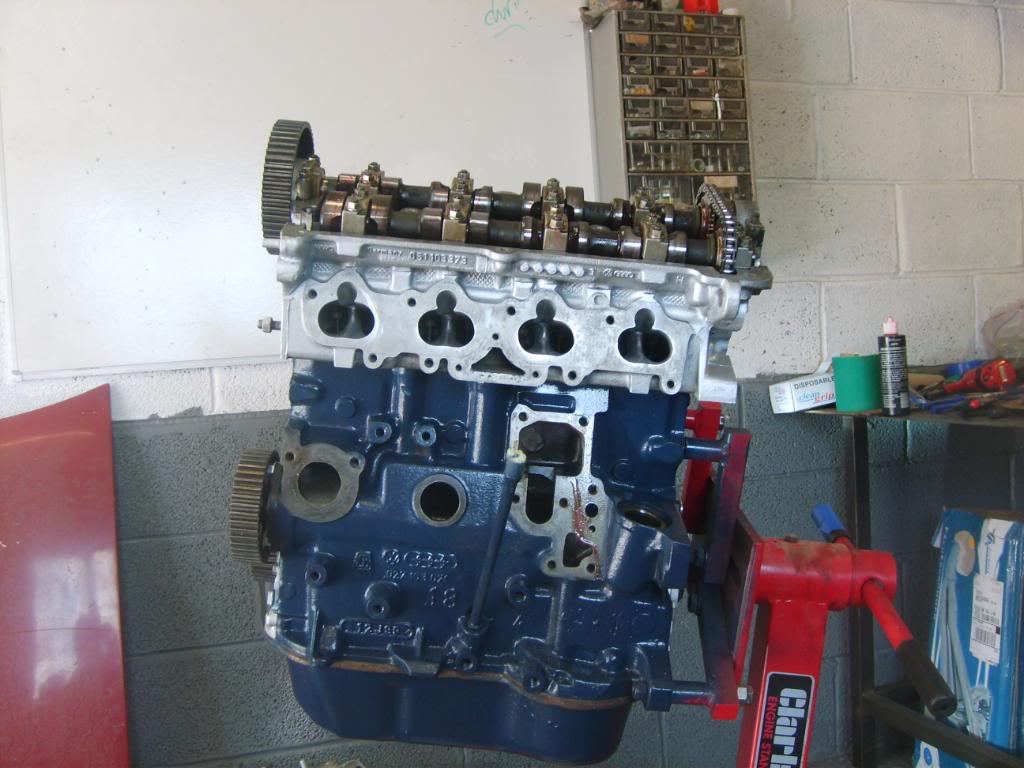
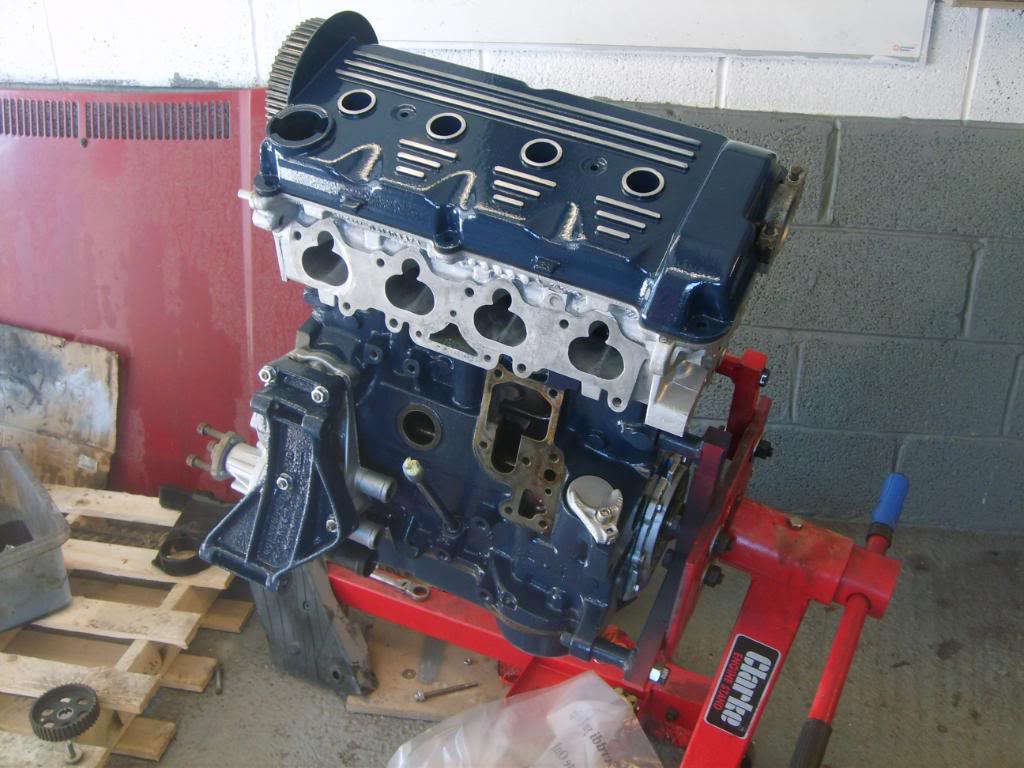
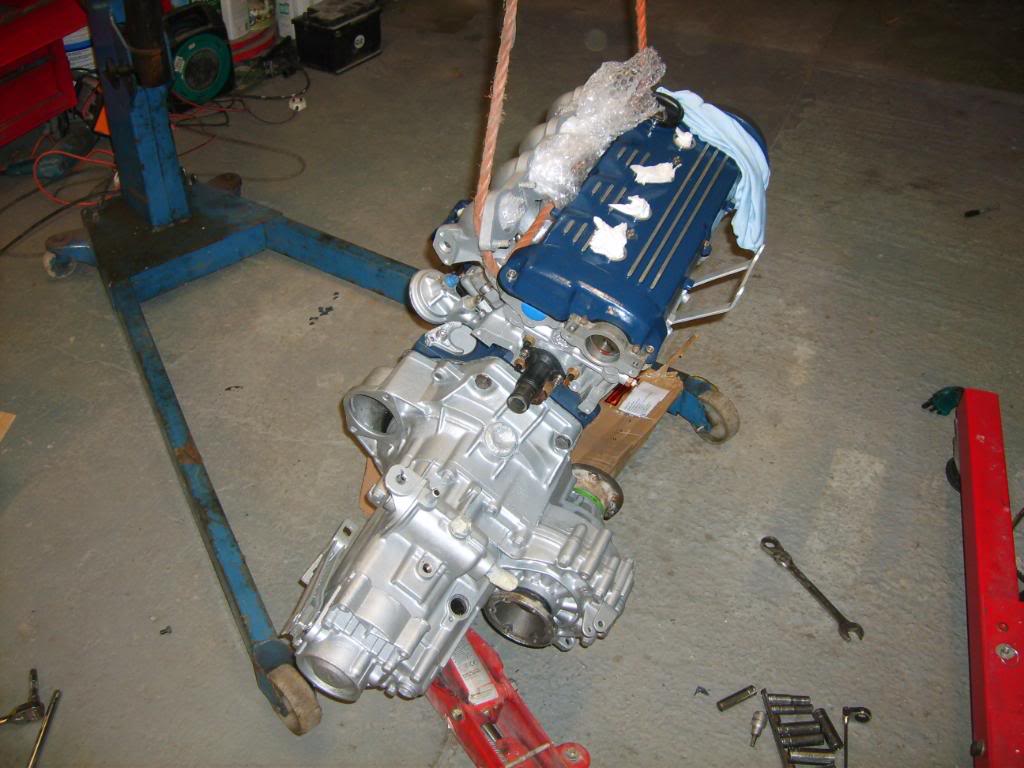
a nice clean honed, skimmed, painted block

i forgot to take photos of every step as i was concentrating for most of it…
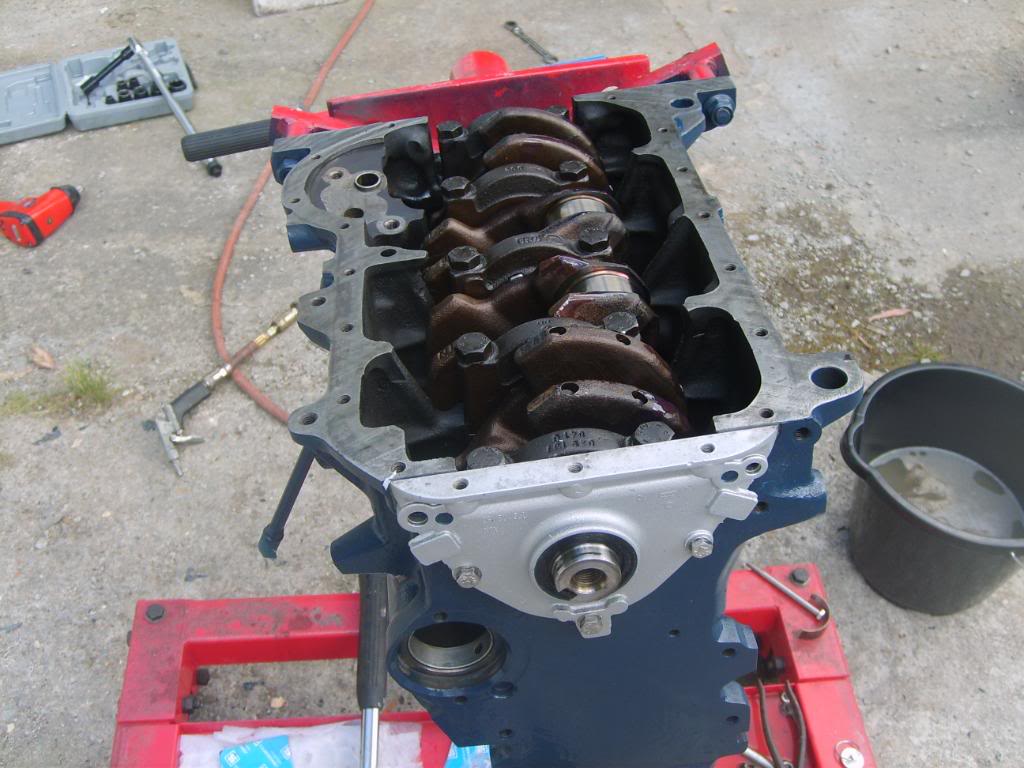
all new bearings and seals installed.

then cleaned up the pistons and got the old rings out…
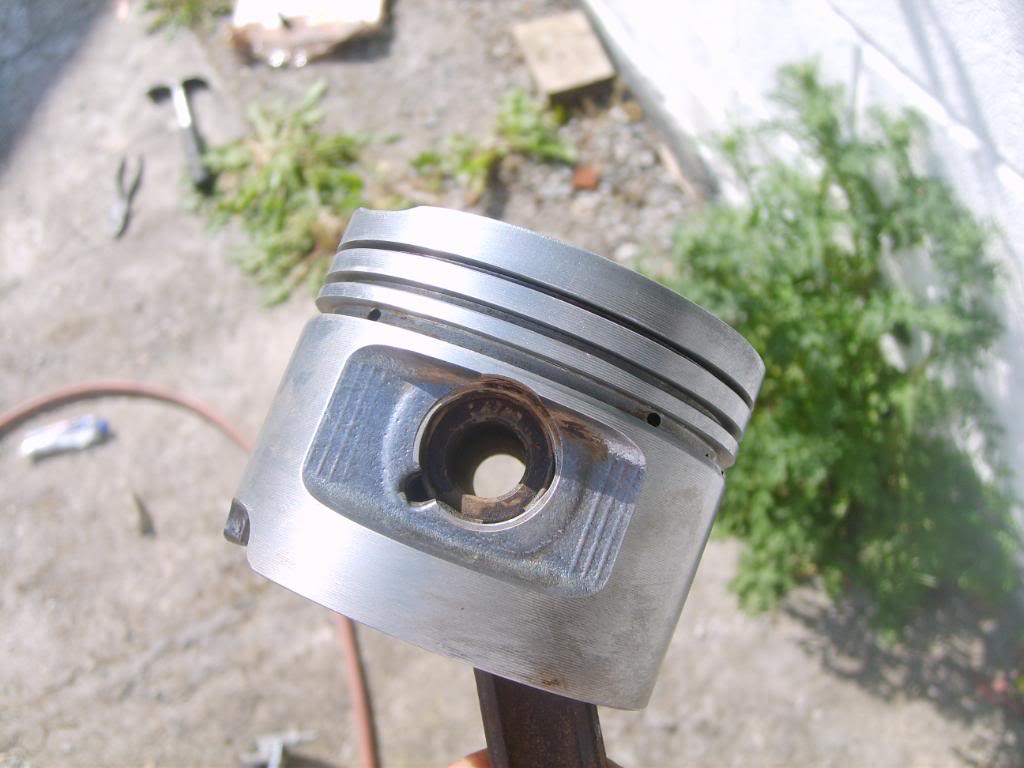
1st piston in…

basically at this point i repeated with the other 3 and then when it came to torquing up the conrod bolts i snapped the last but one bastard bolt so had to strip it all back again to replace them!
grrr
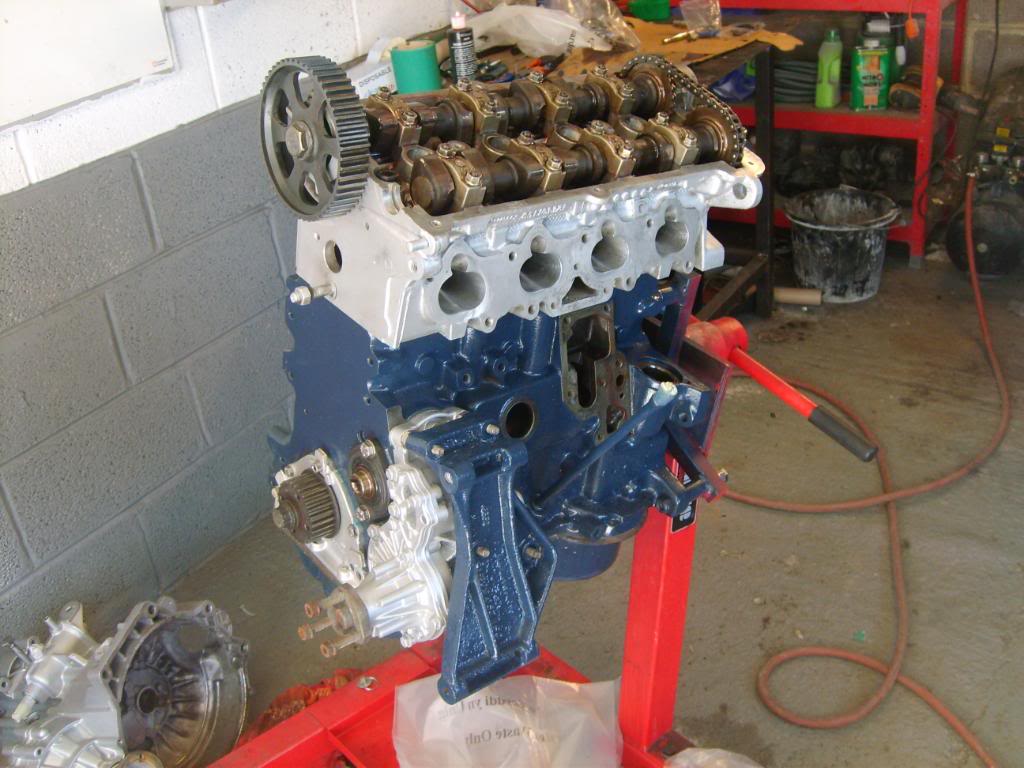
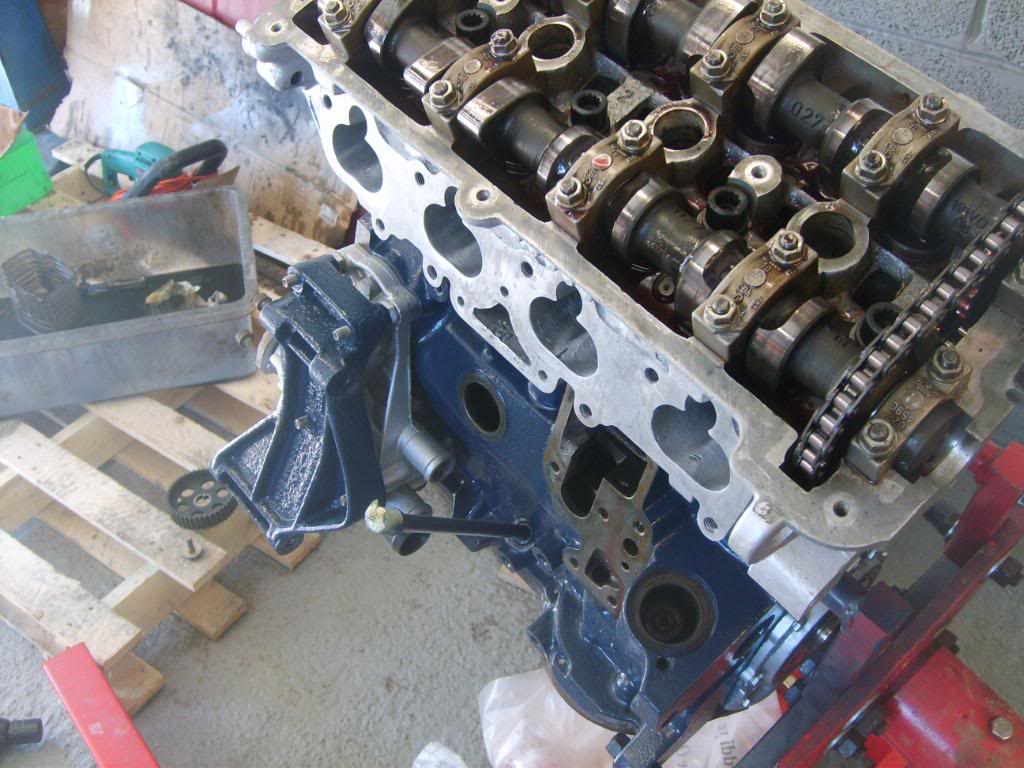
then put the rest of the bits on
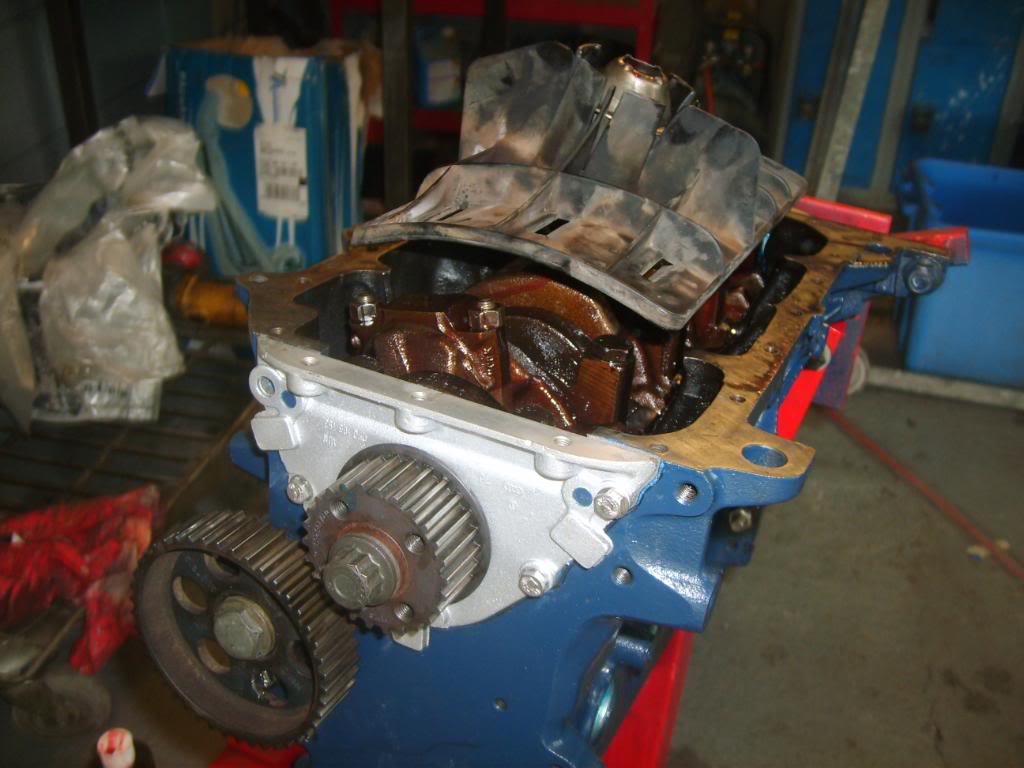

forgot to take a pic with the sump on though. looks good!
then to the head…
all skimmed, nitromoursed, painted, cleaned the fuck out of.
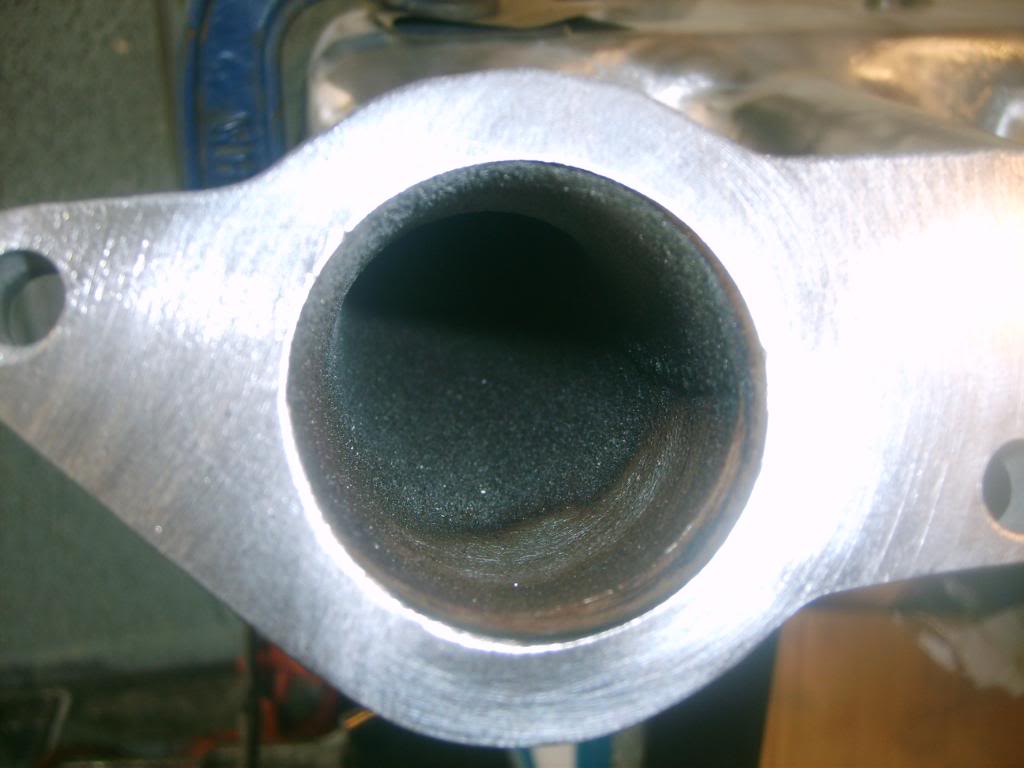
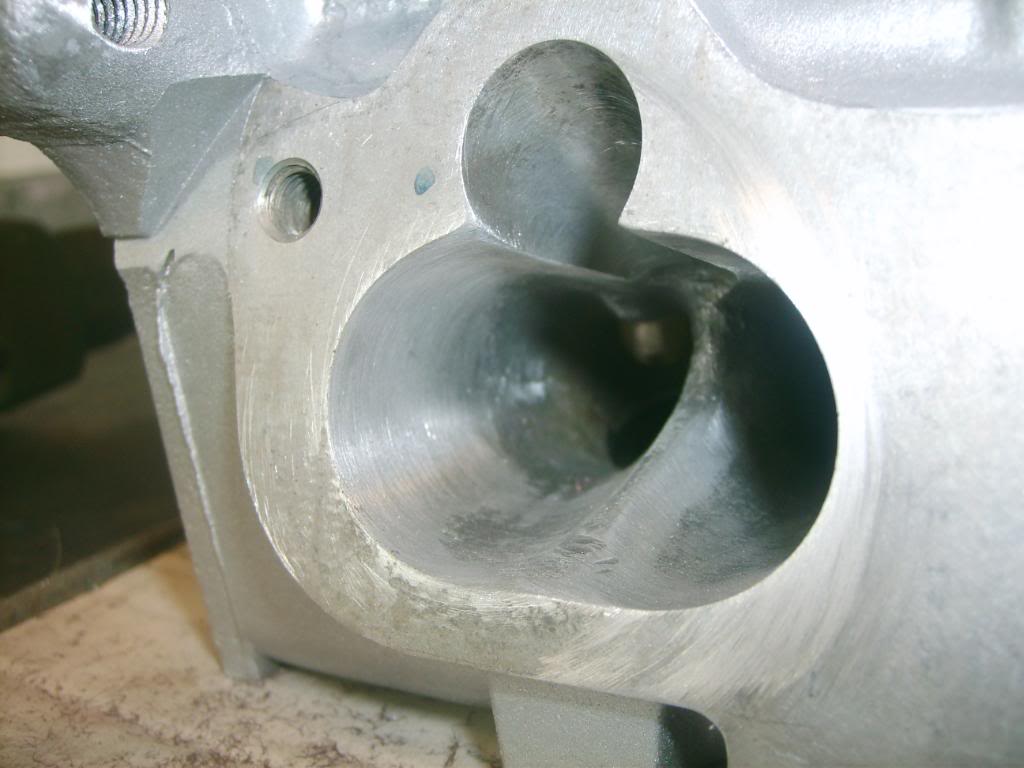
cleaned the ports up, not polished but clean and a little bigger than normal.

lapped all the valves

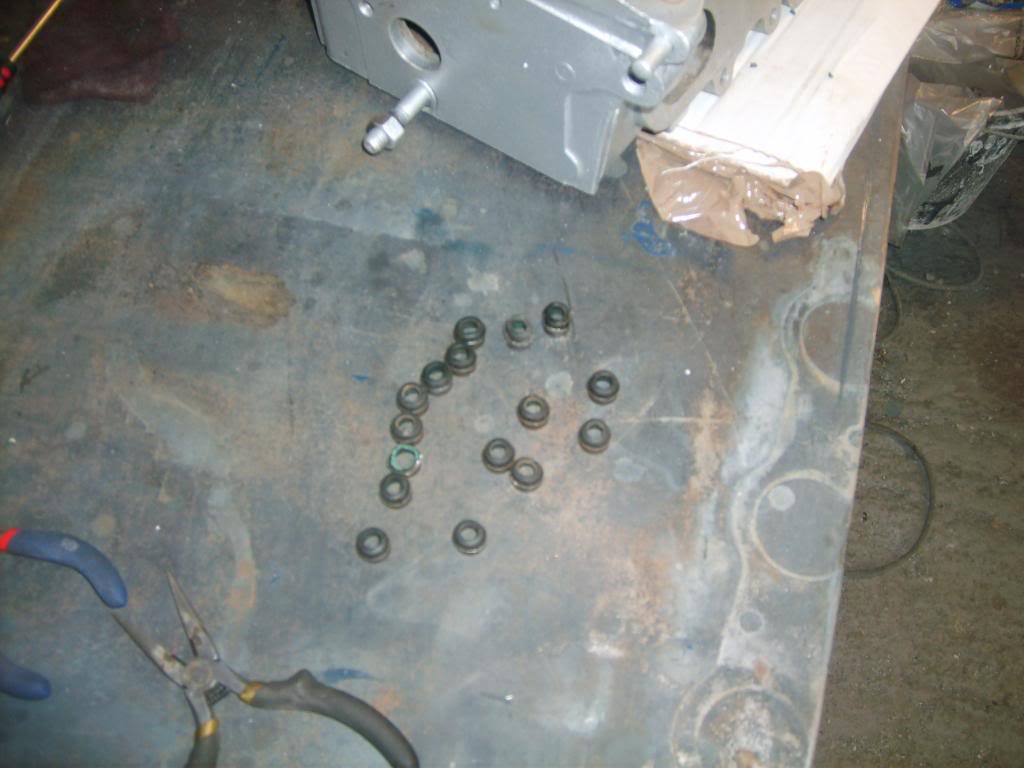
renewed the valve stem seals
put all the valves in their newly ground seats
bastard of a job then putting the collets back in (i wish it was an 8v!!)….

then the tappets….
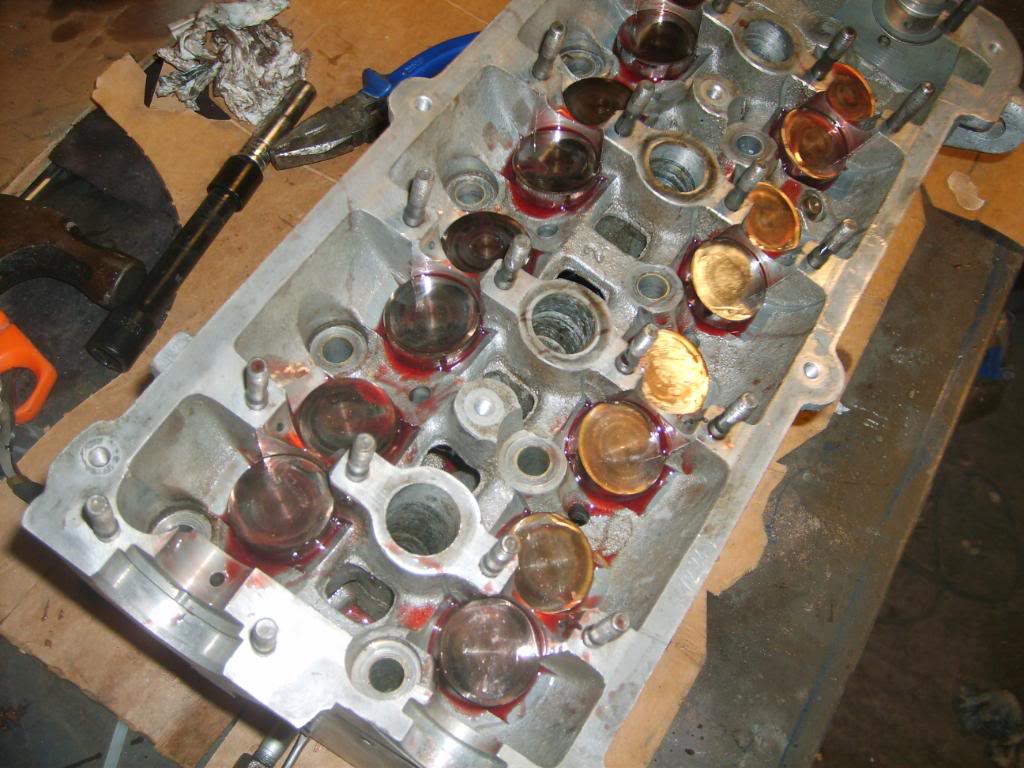
all with loads of engine lube, and that's where it is now…

hope you like.
Exciting bit next where it all comes together with the new shiny, painted bits!!
Posted
Settled In
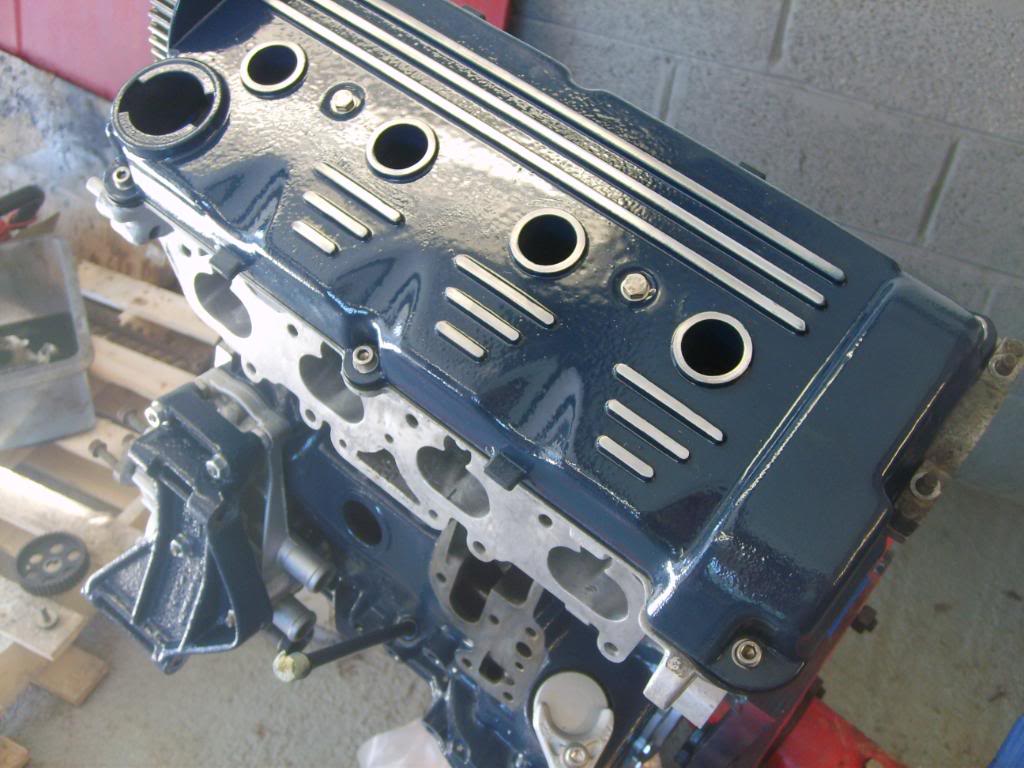
head gasket on(upside down if any of you notice, but i did realise when i put the camera down and flipped it)…
Head on…
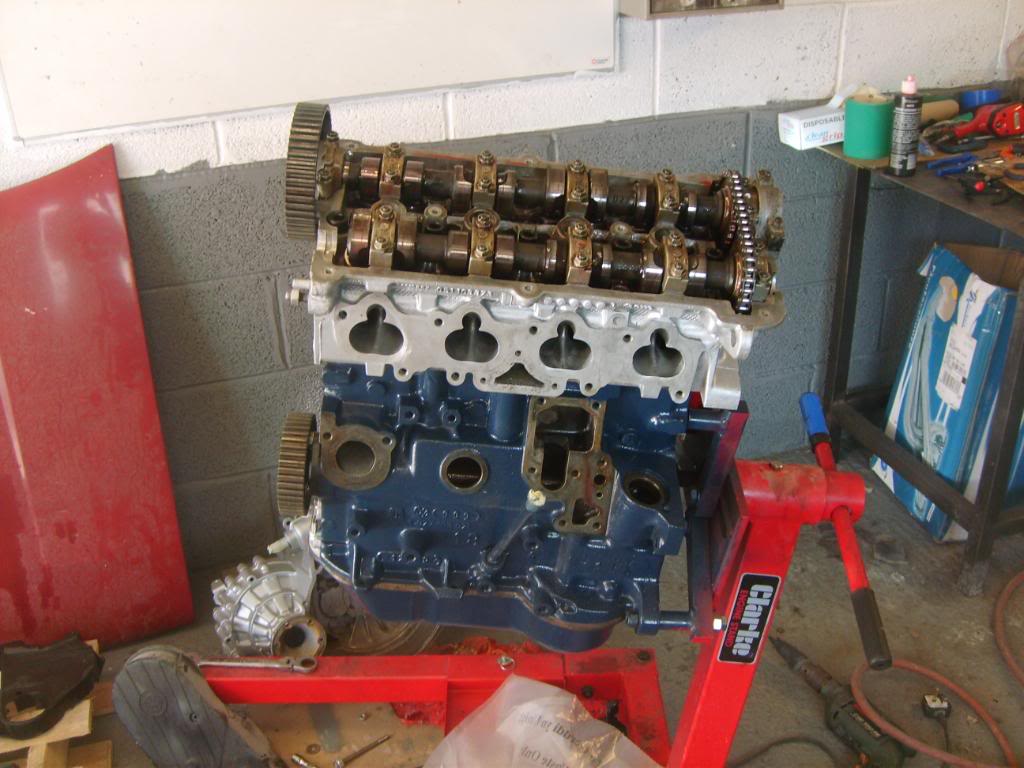
water pump on…
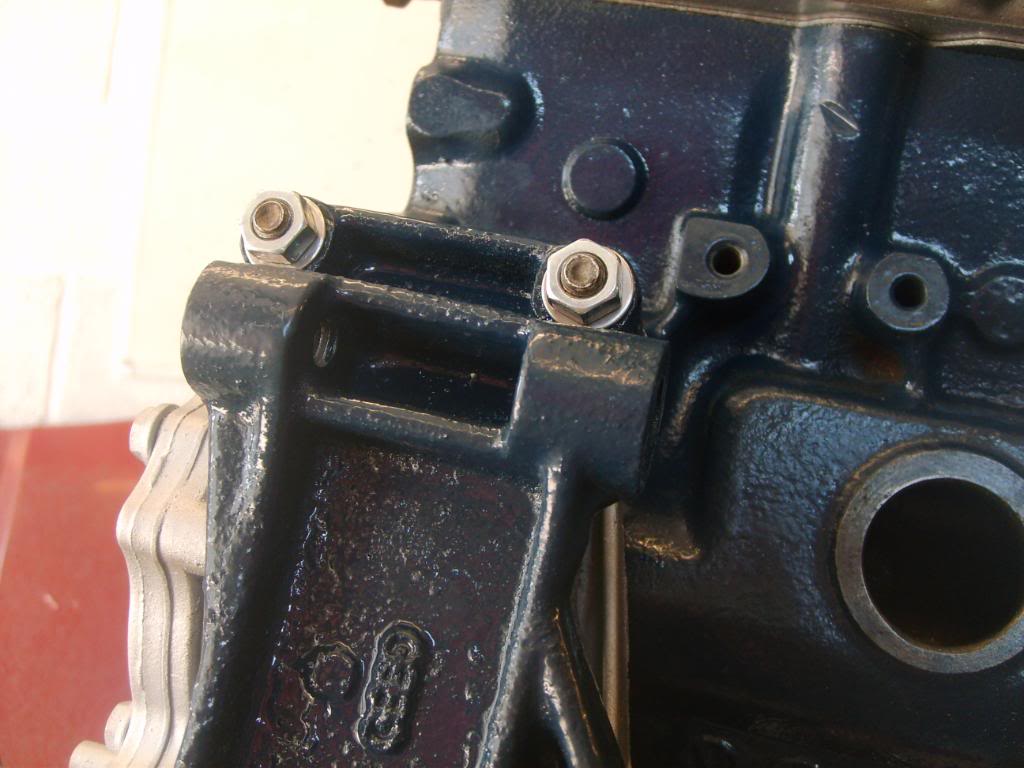
alternator bracket bolted to water pump.. all new bolts!!
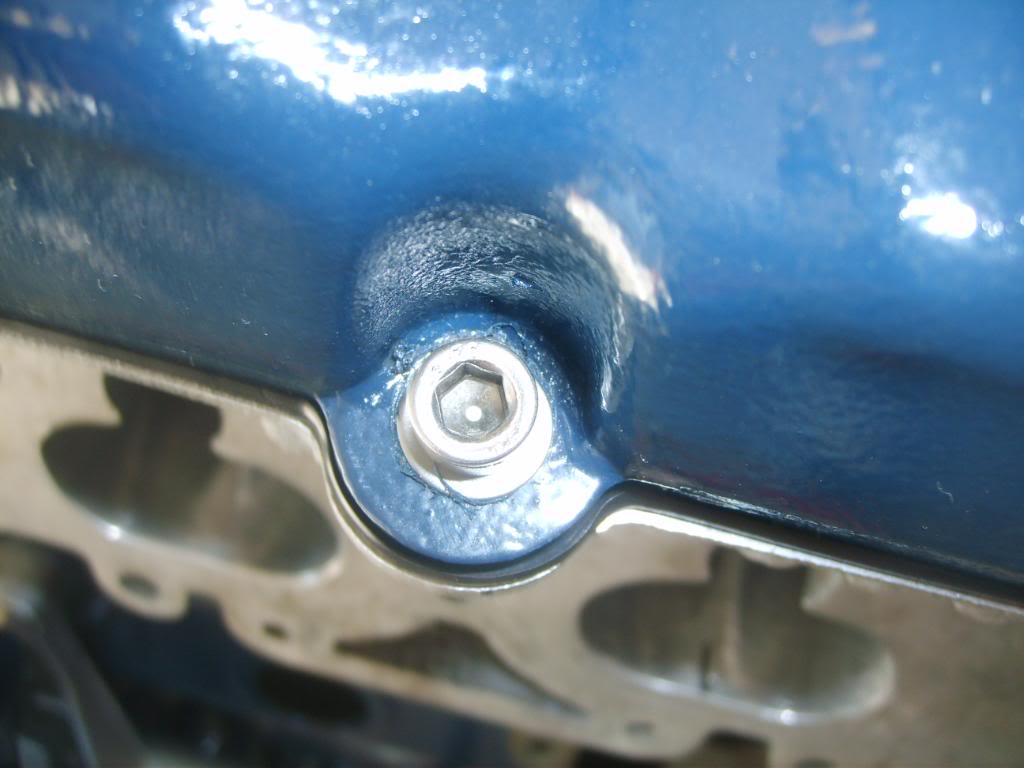
hole plug..

had to have a look at this..

Stainless bolts.. mmmm.
getting exited??
injectors were pulled out and cleaned, blown through, new seals and pressed back in (what a bugger of a job! - made a tool in the end.)

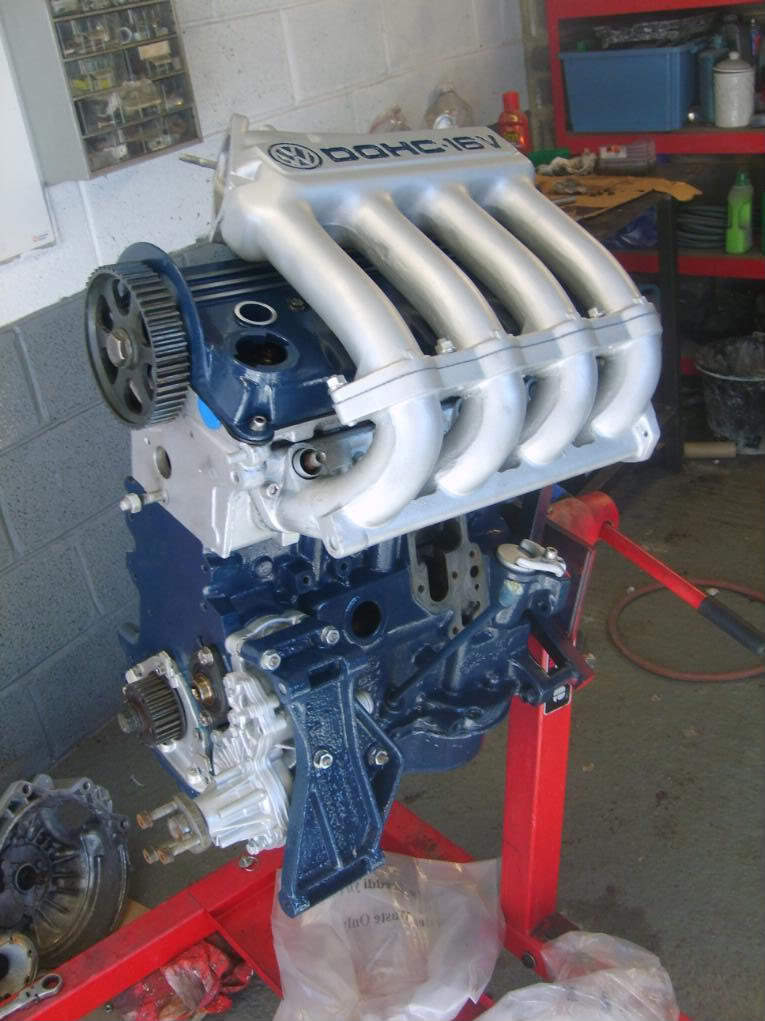

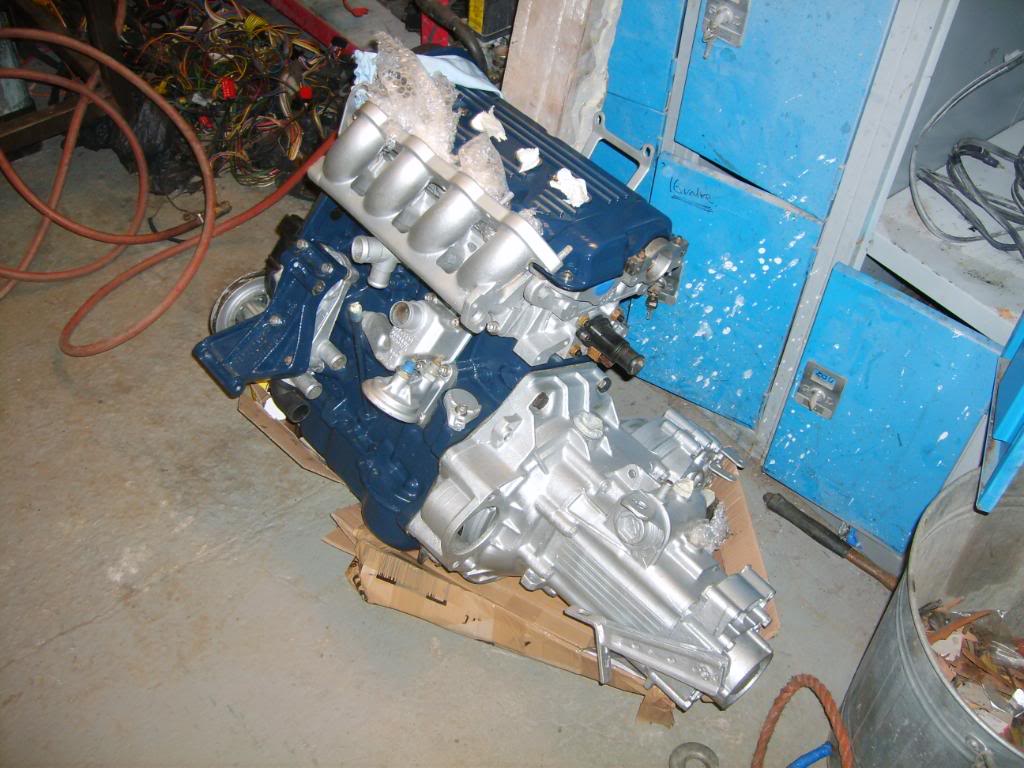
i will prob pull the inlet off again but had to put it on for a look!
Posted
Settled In
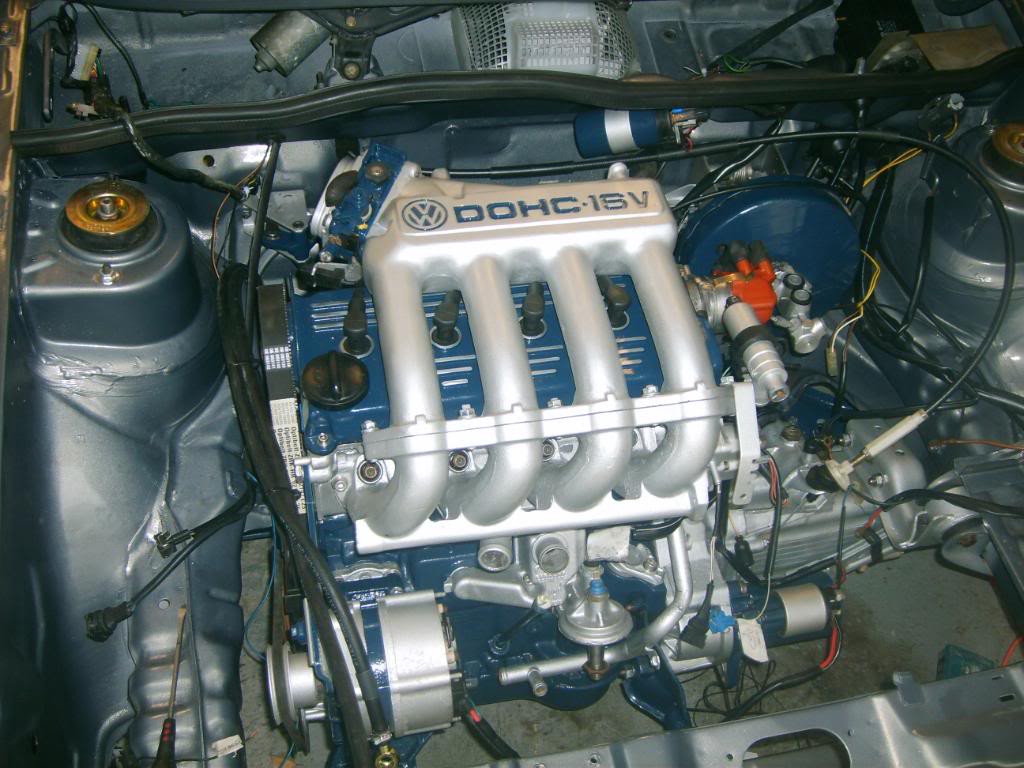
well i'm chuffed. very chuffed.
extremely pleased.
want some pics?
here goes….


Posted
Settled In
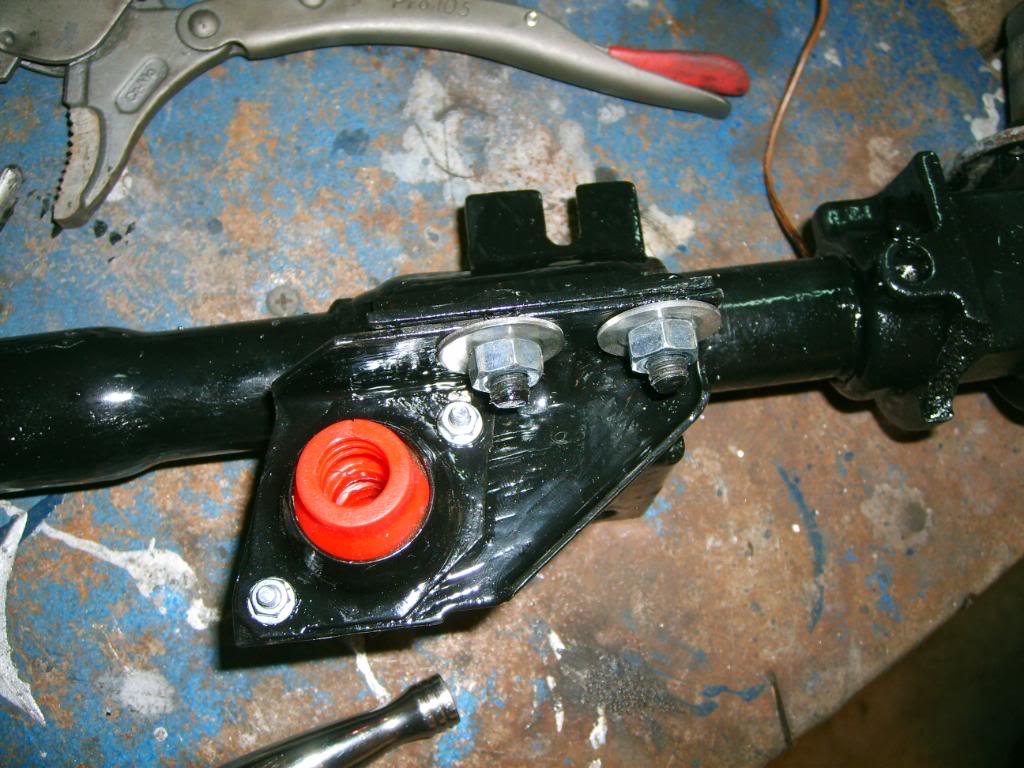
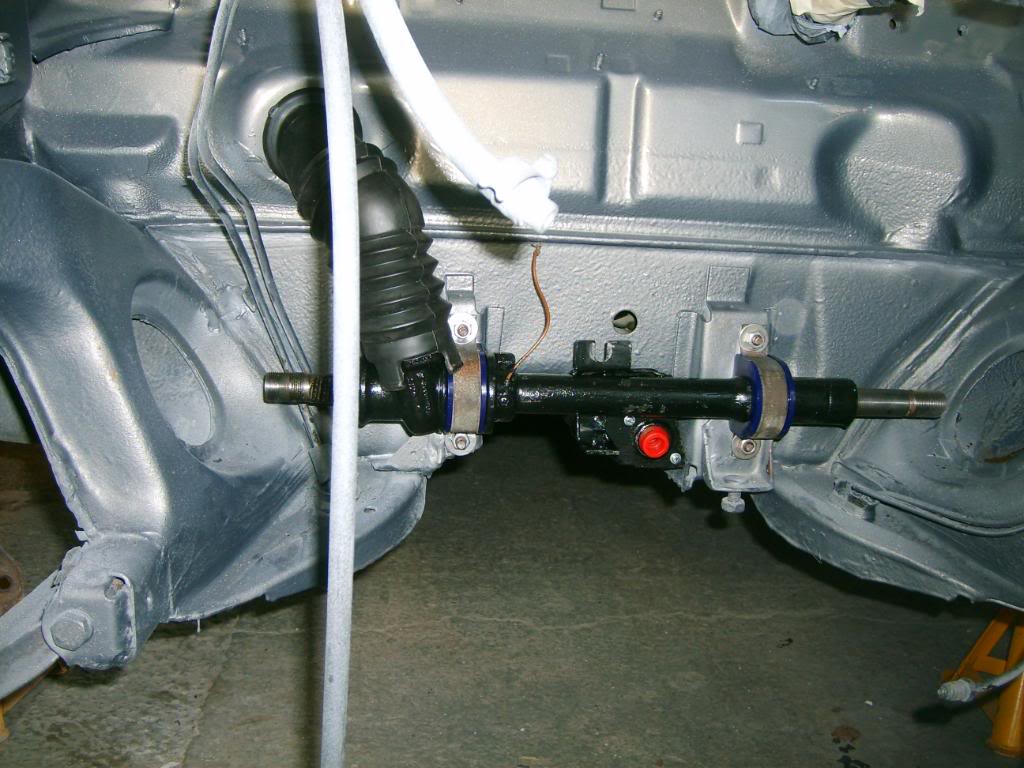
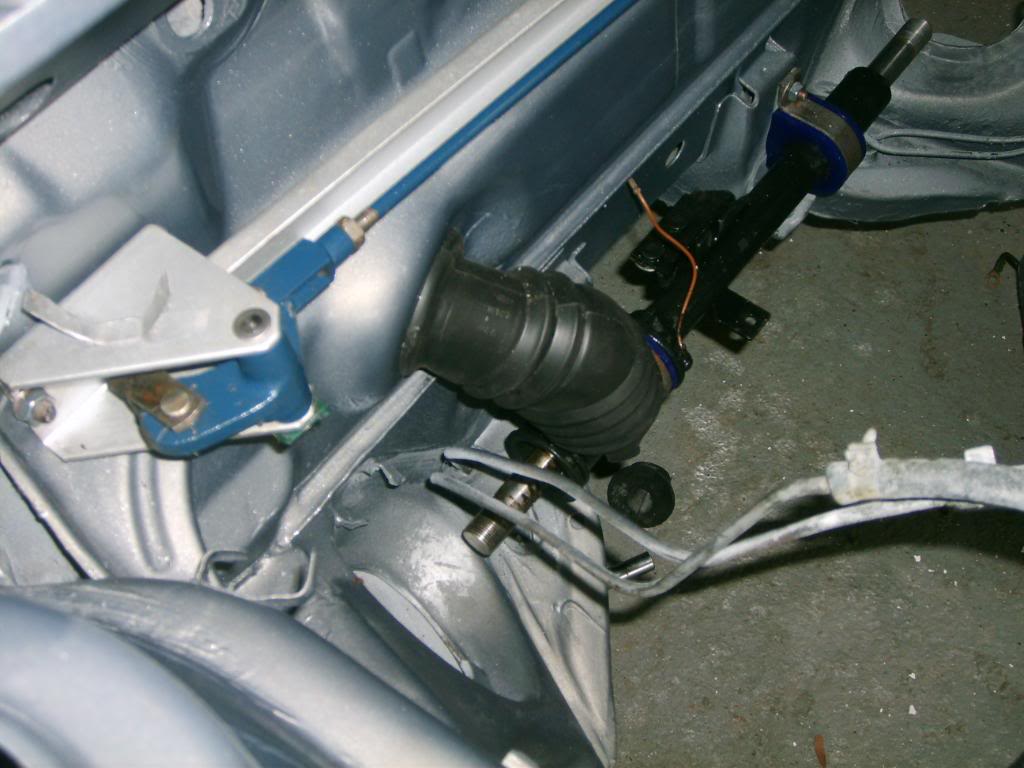
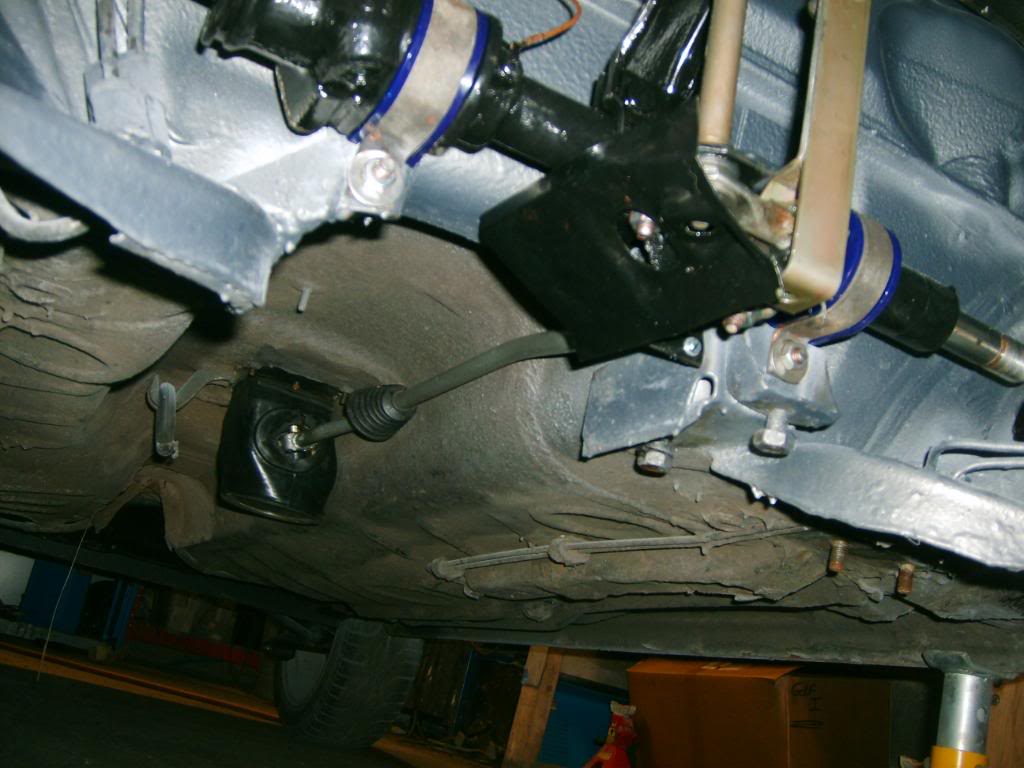
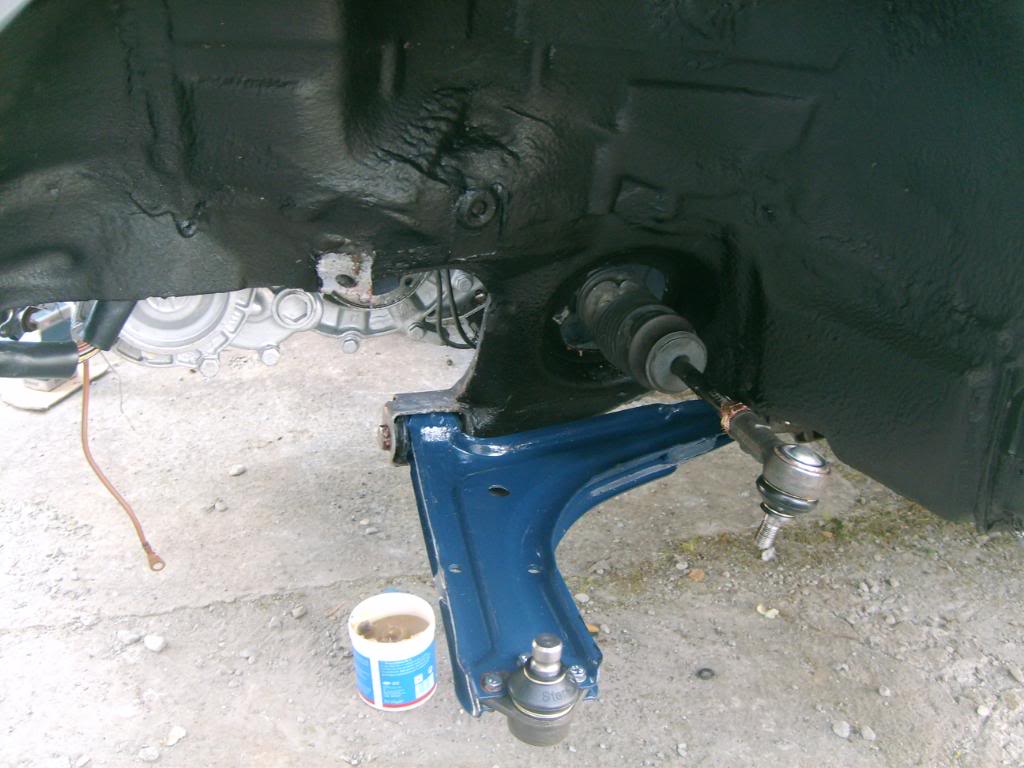
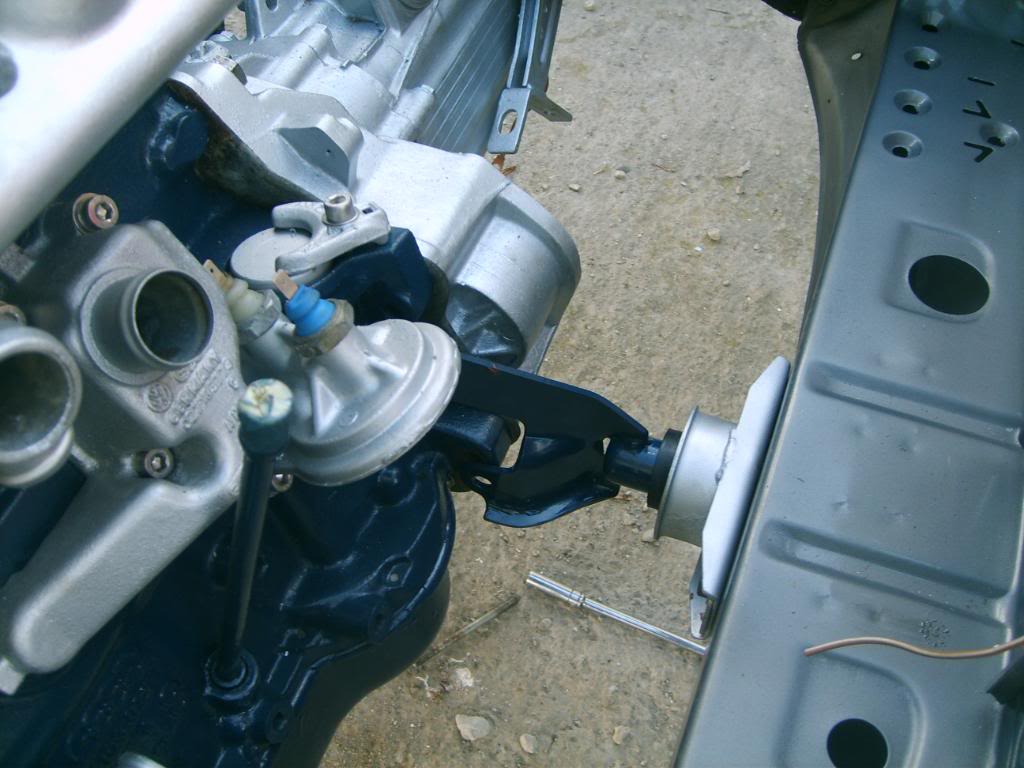
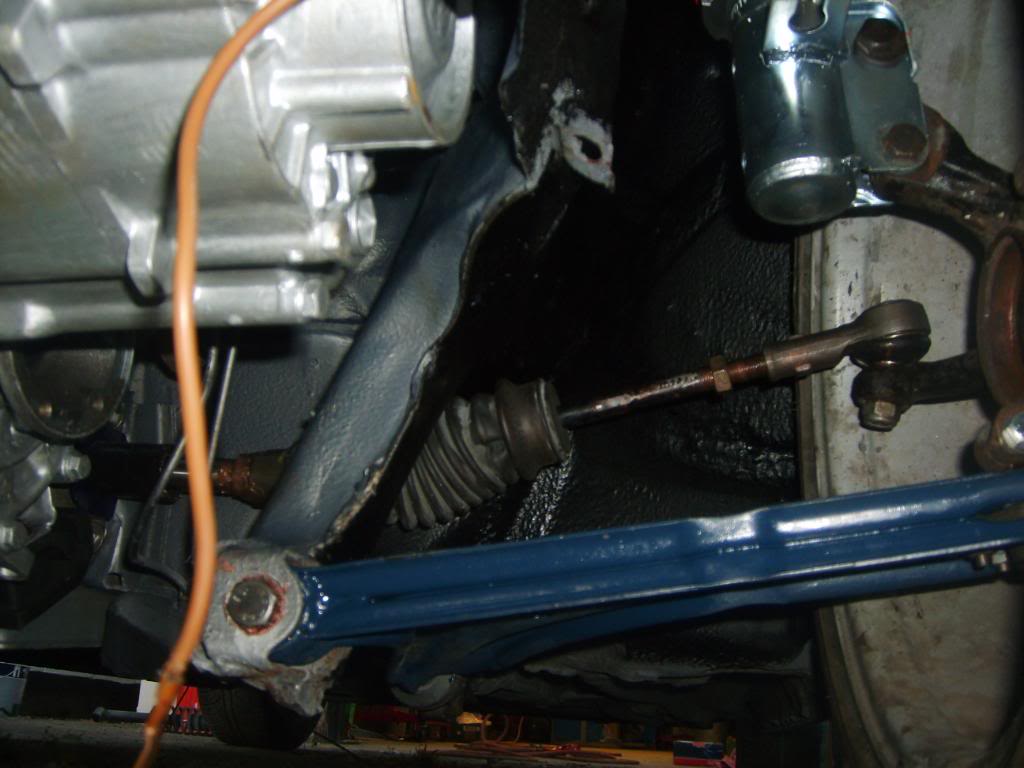
Steering rack has been stripped, cleaned, painted and repacked with grease.
then i added a new gear selector rod bush (the red thing) and new nuts and bolts. centered it all up and reattached the steering linkage.
Also got to use my new old stock universal joint gaitor (rare as fook now - as andy16v will tell you lol).
Brake linkage tomorrow…


nice.

Posted
Settled In
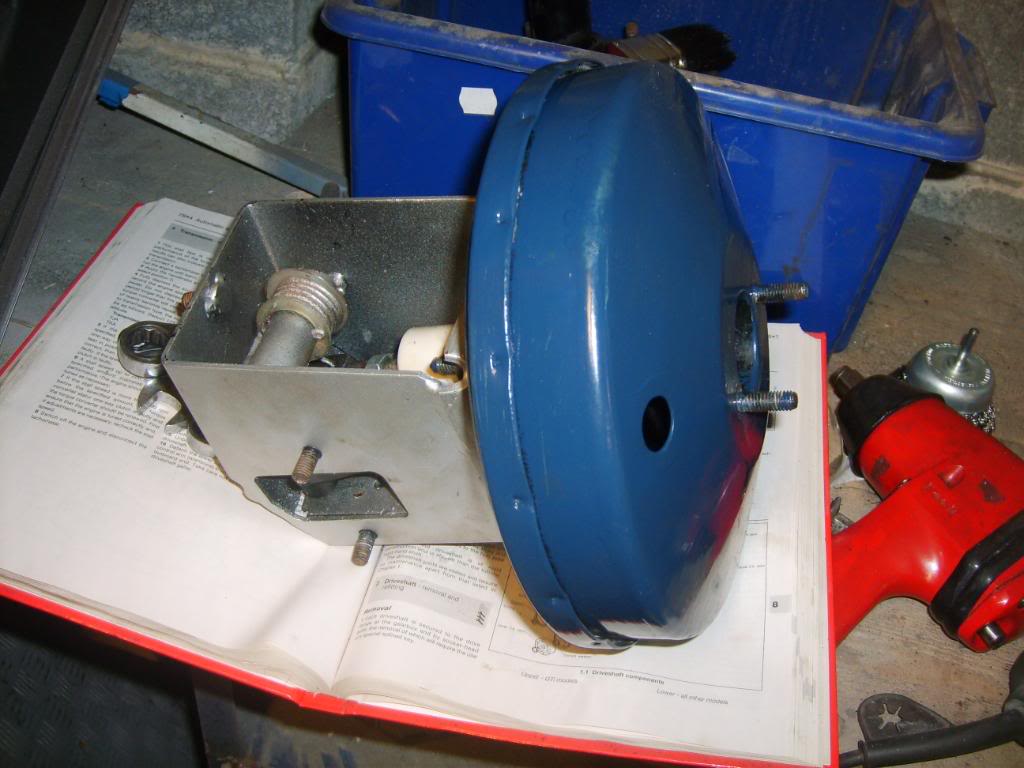
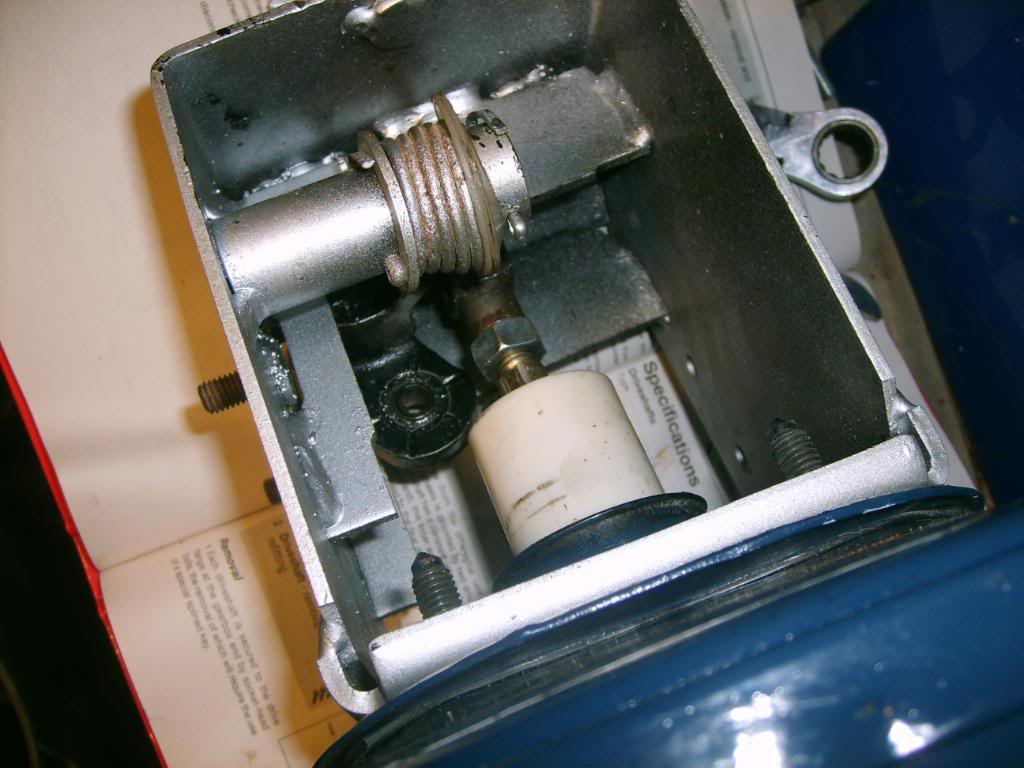
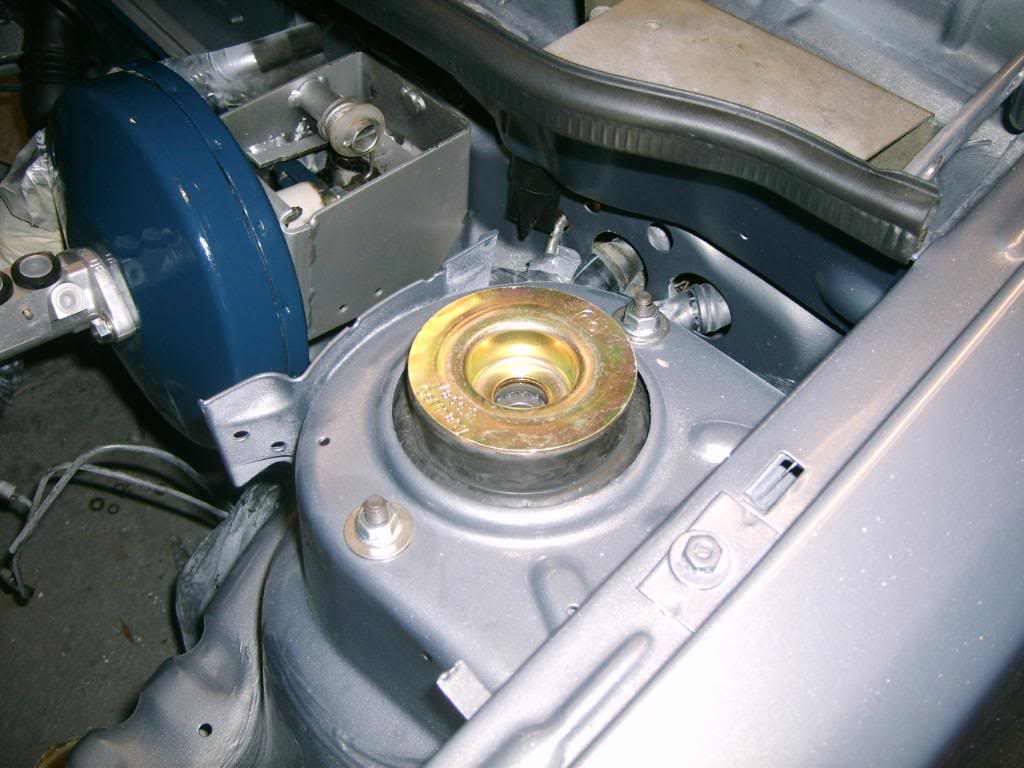
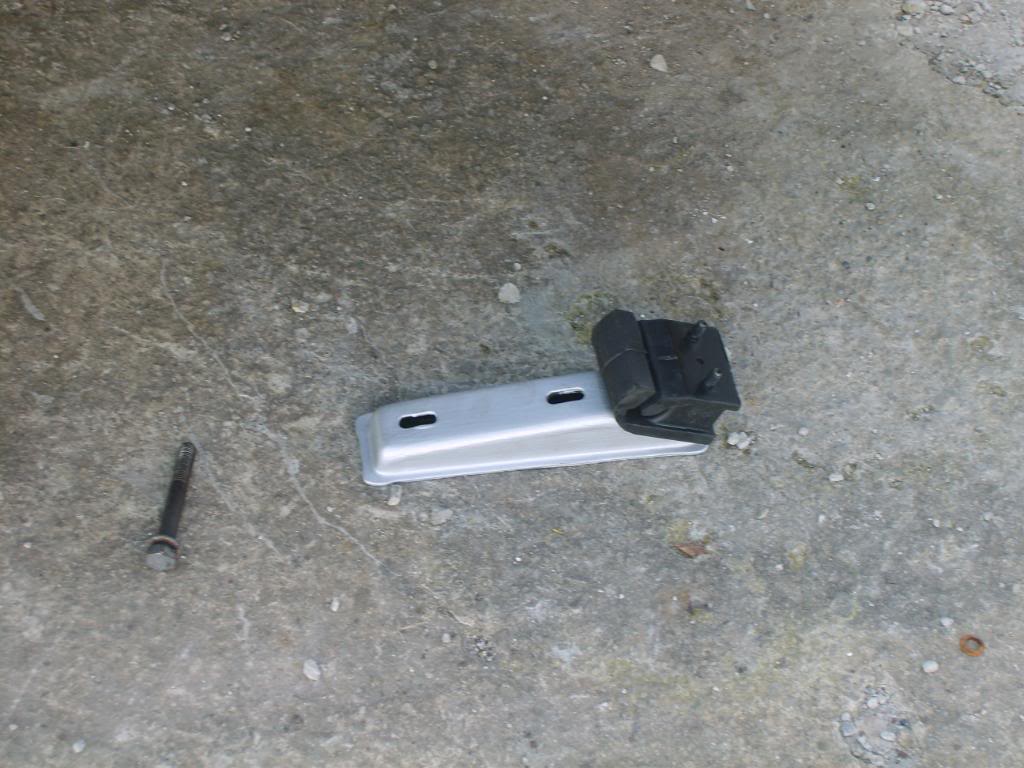
assemble brake servo mounting//
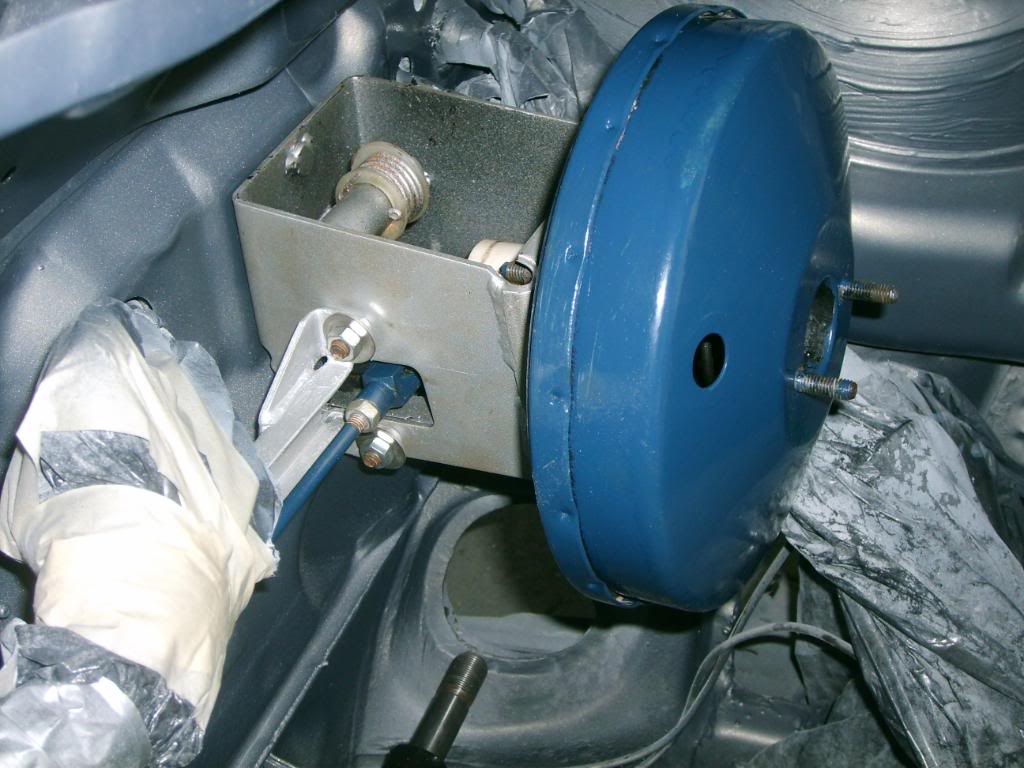

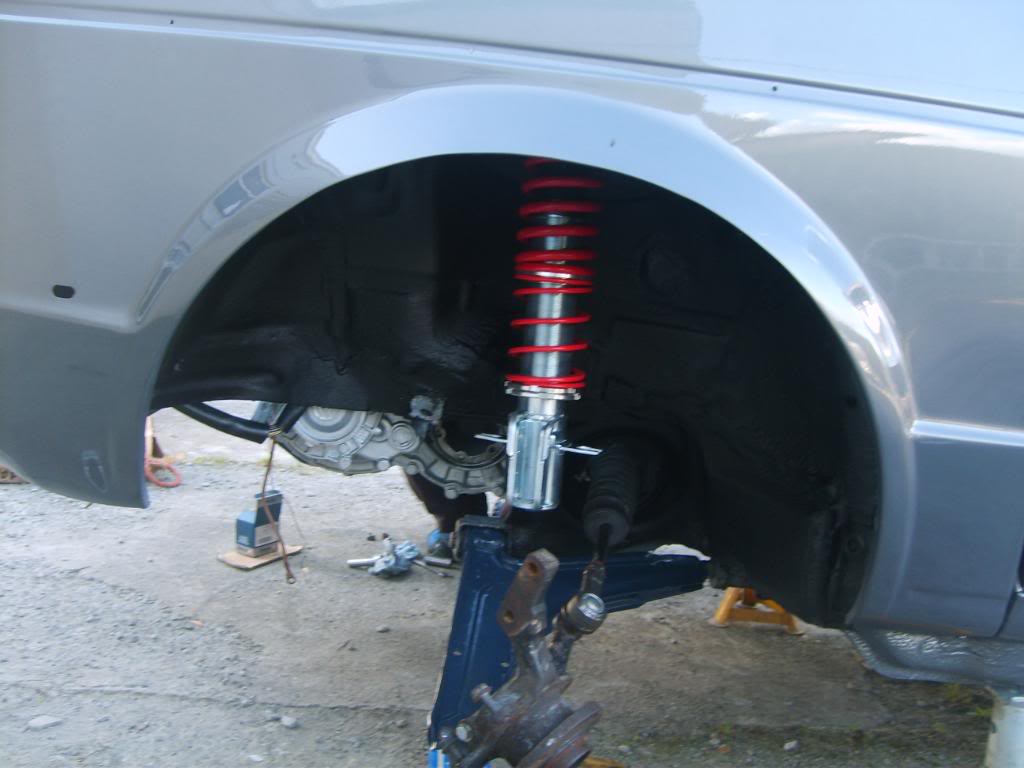
and waxoiled all the front arches before the coilies and top mounts go on next week.
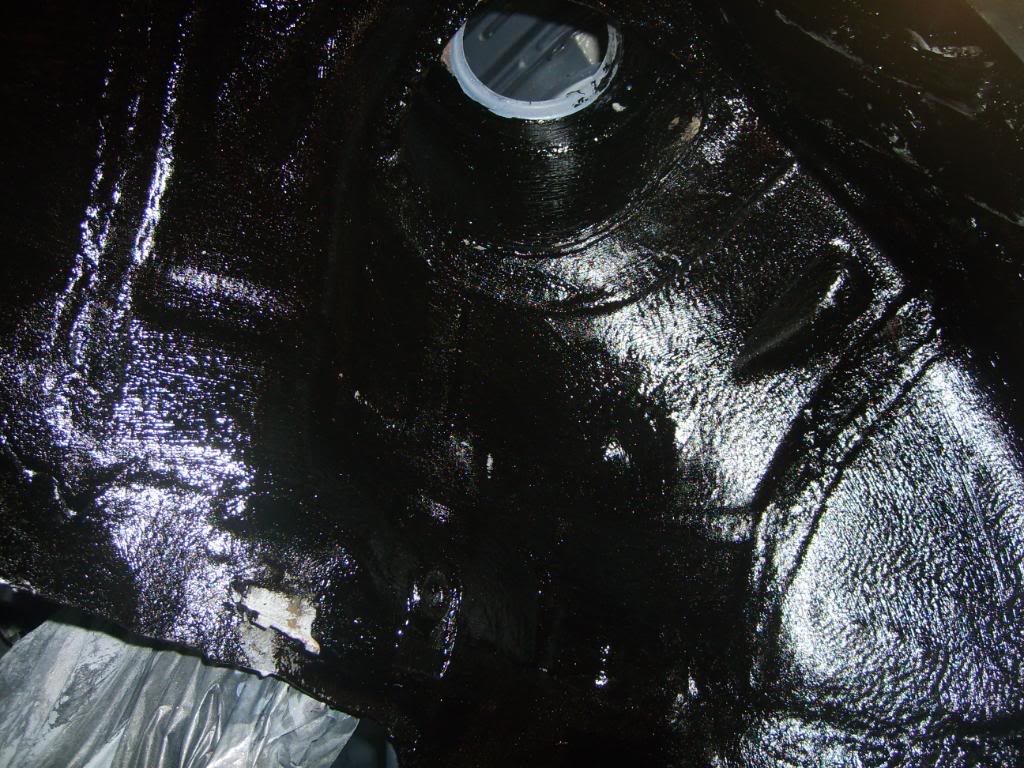
no problems so far!
Posted
Settled In
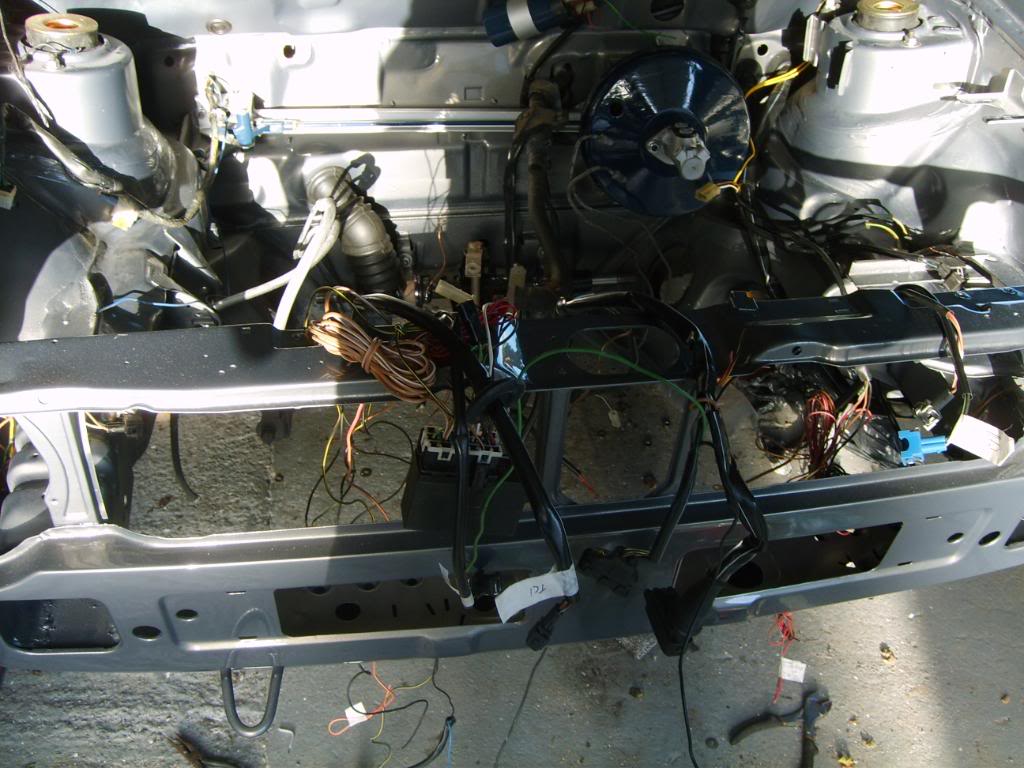
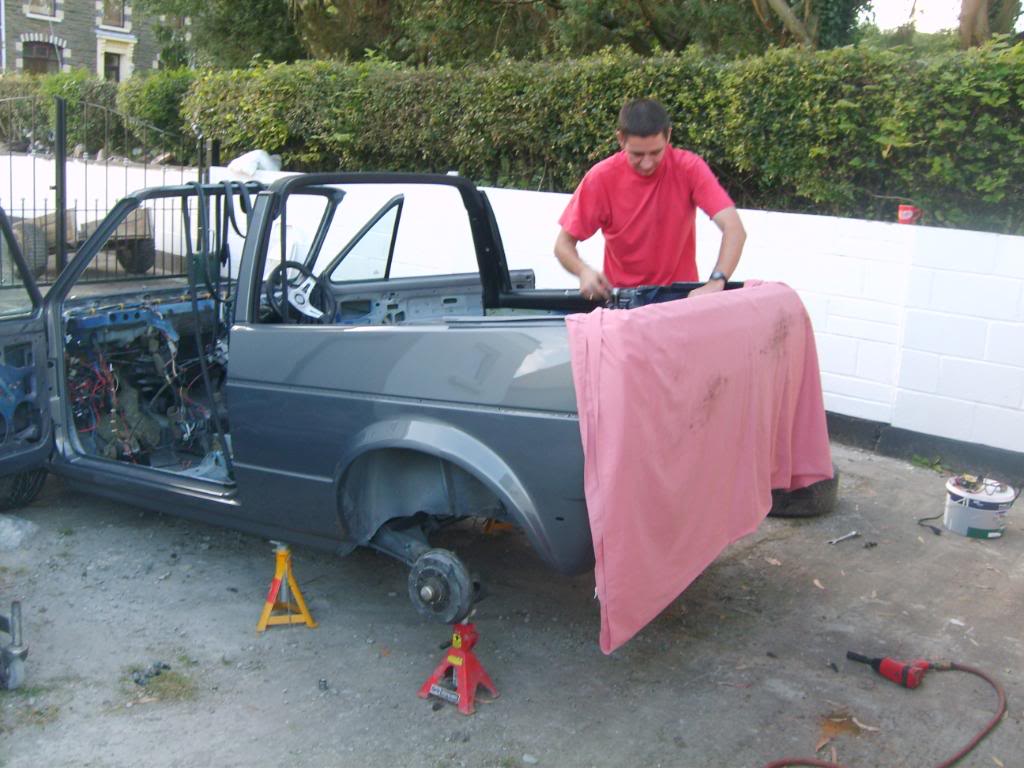
could i get it back in the scuttle… could i eck as like..
it's in now. so i can breath properly again.
anyway - some pics.
Painted the 16v coil.
put the gear linkage in and refurbed all the bushes and bearings, circlips and springs. Had one of the kits of ebay - really comprehensive good quality kit!! hell of a difference over the old stuff that had pretty much disintegrated! lol
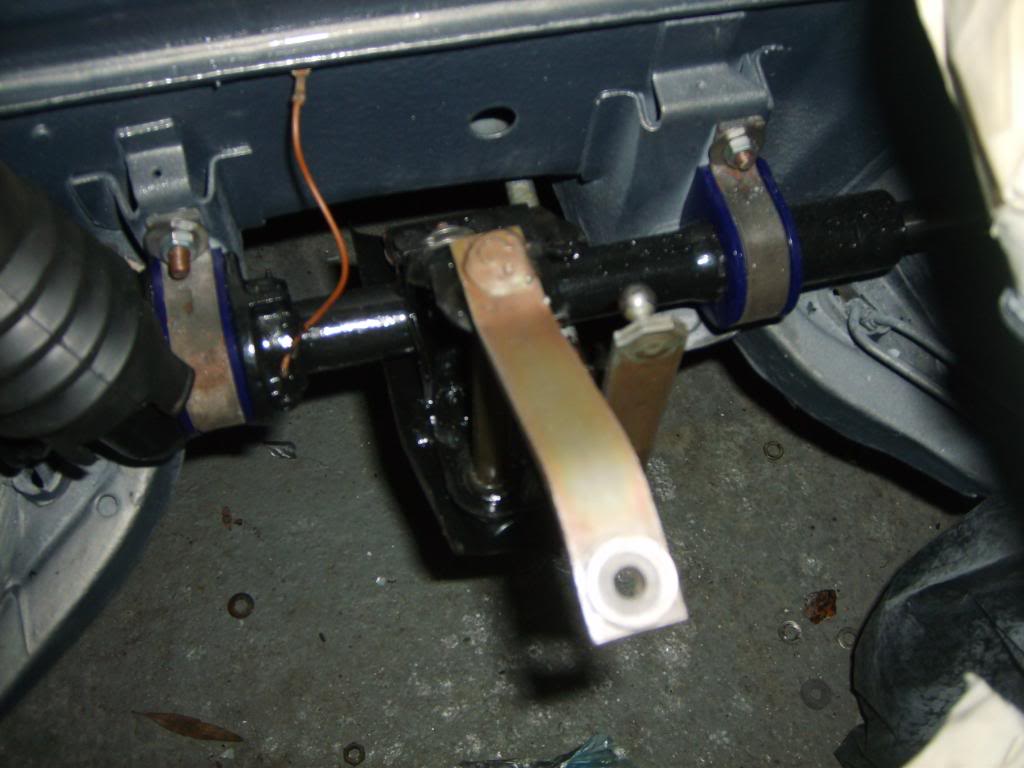


clean huh?
brand new FEBI top mounts
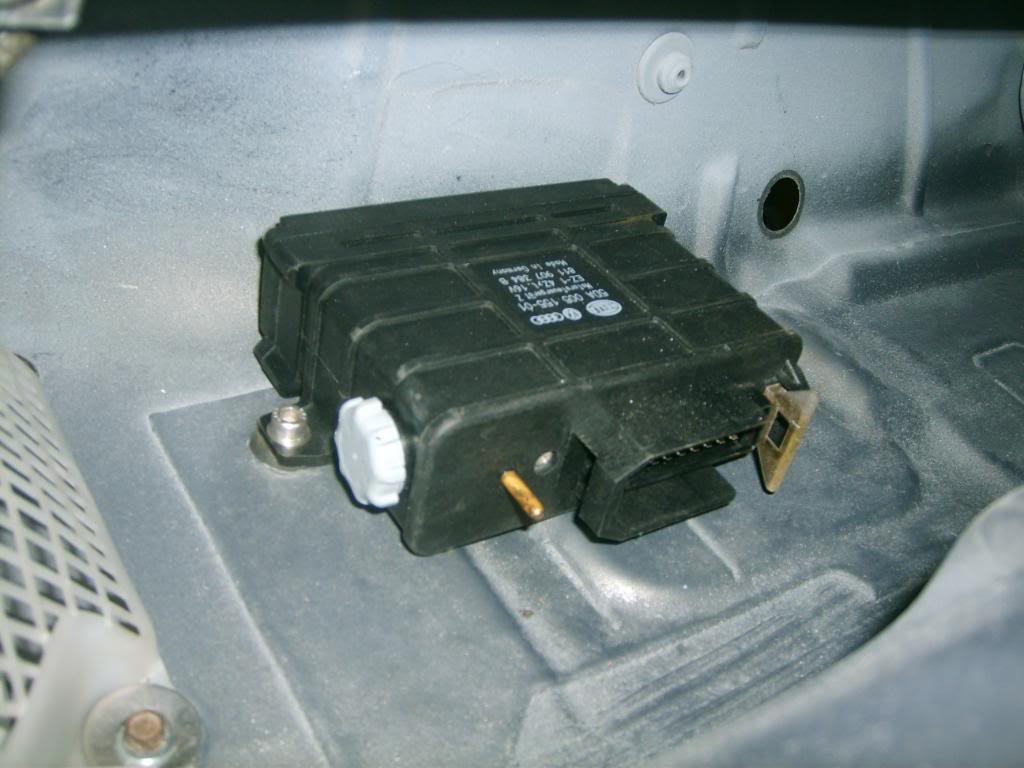
TCI unit mounted - swapped over the 8v for the 16v one. They had different part numbers so thought i'd play it safe.
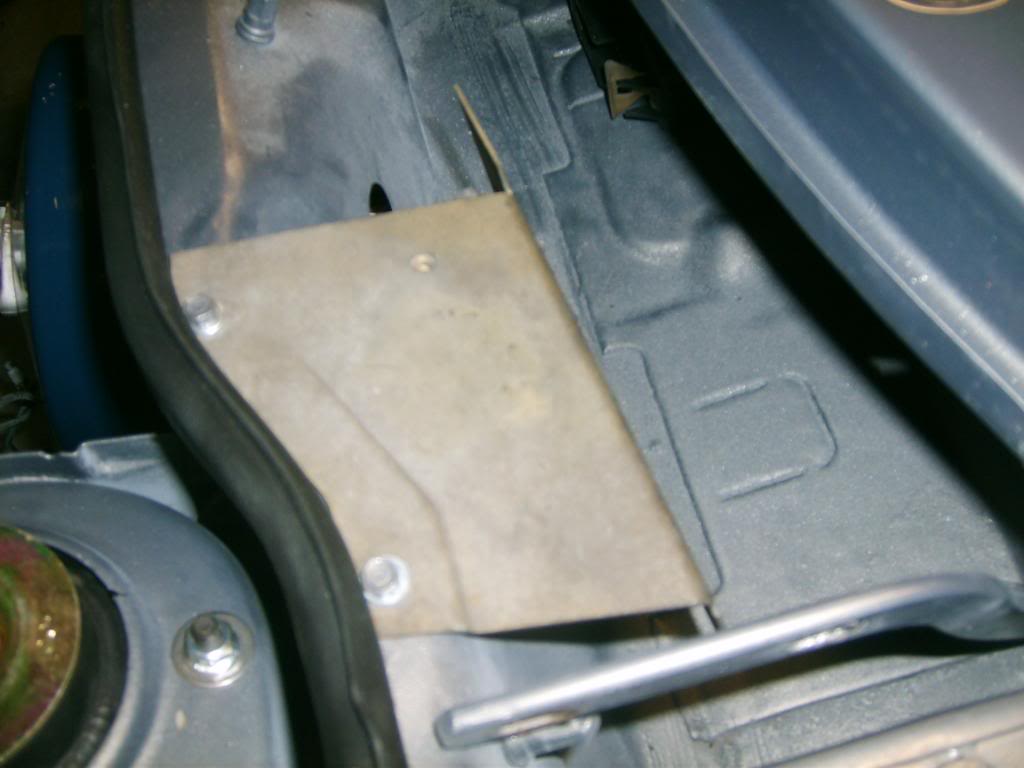
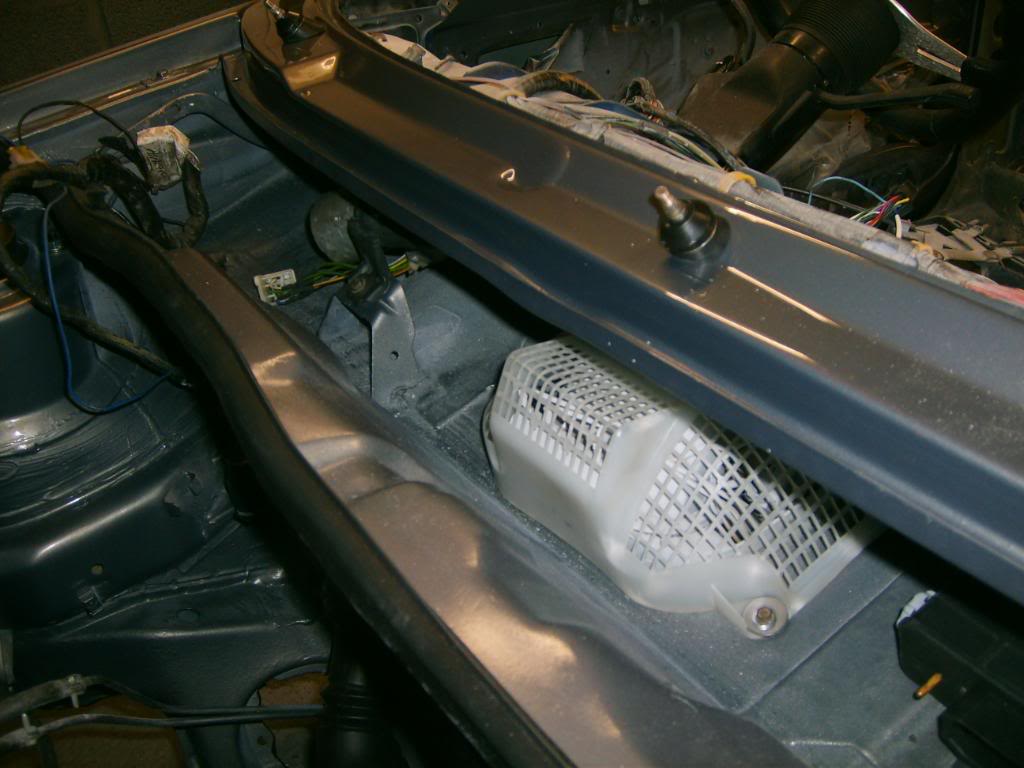
drilled some holes in the scuttle panel and found a nice little place for the 16v ECU.

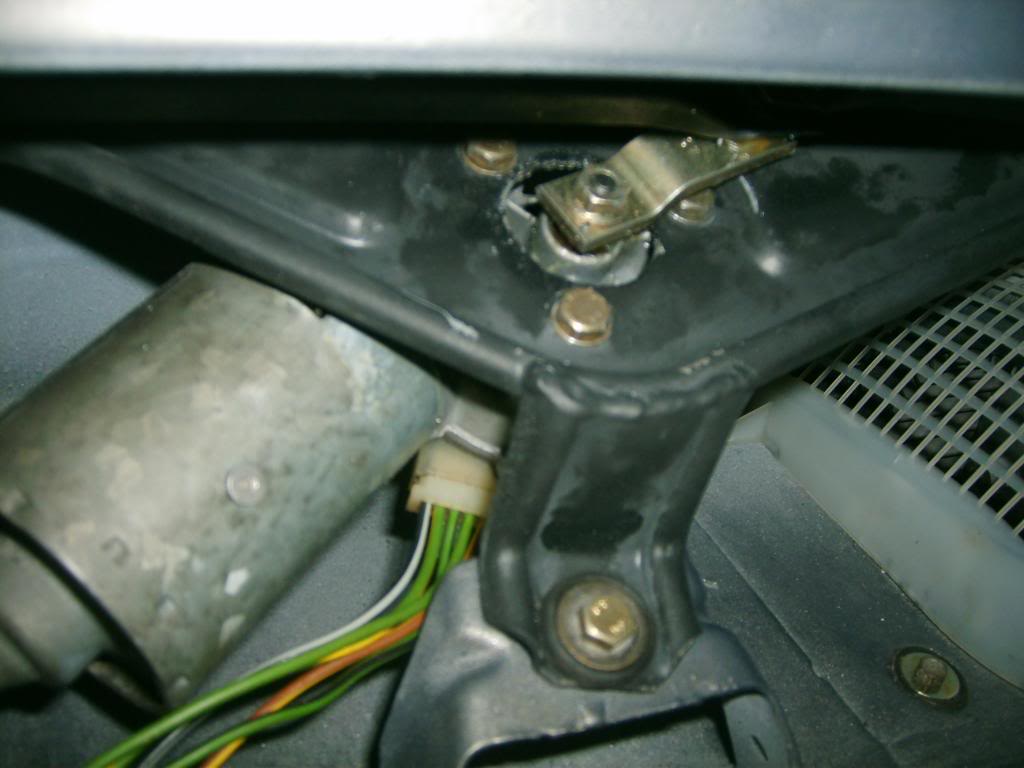
Then did the BASTARD wipers.
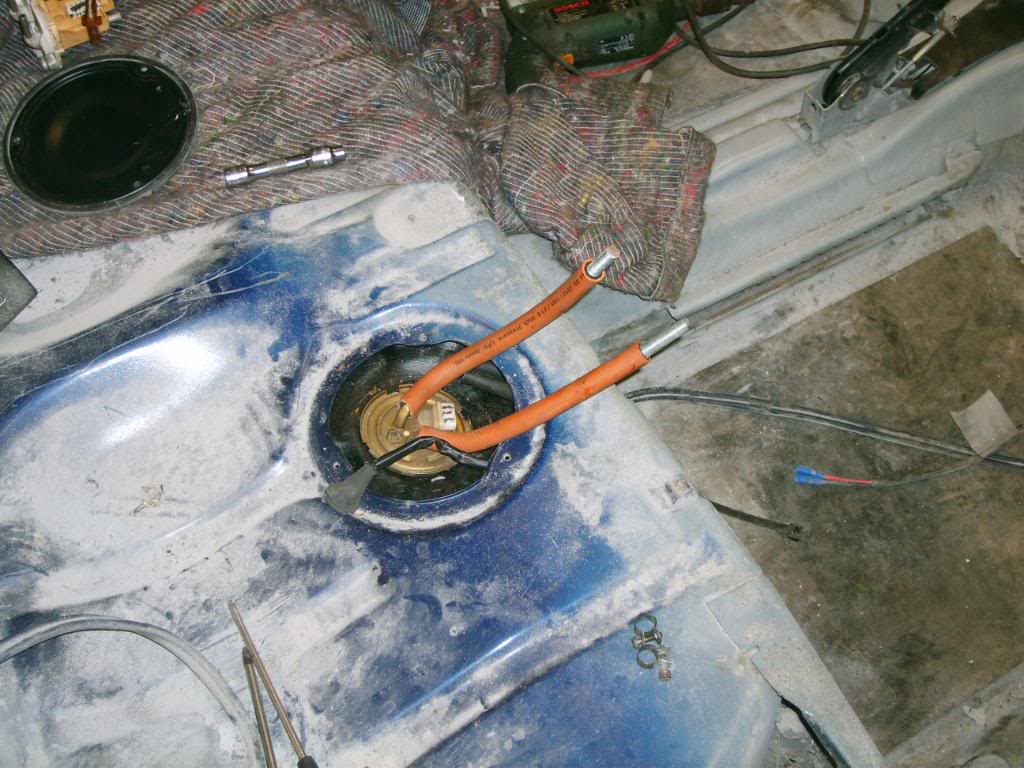
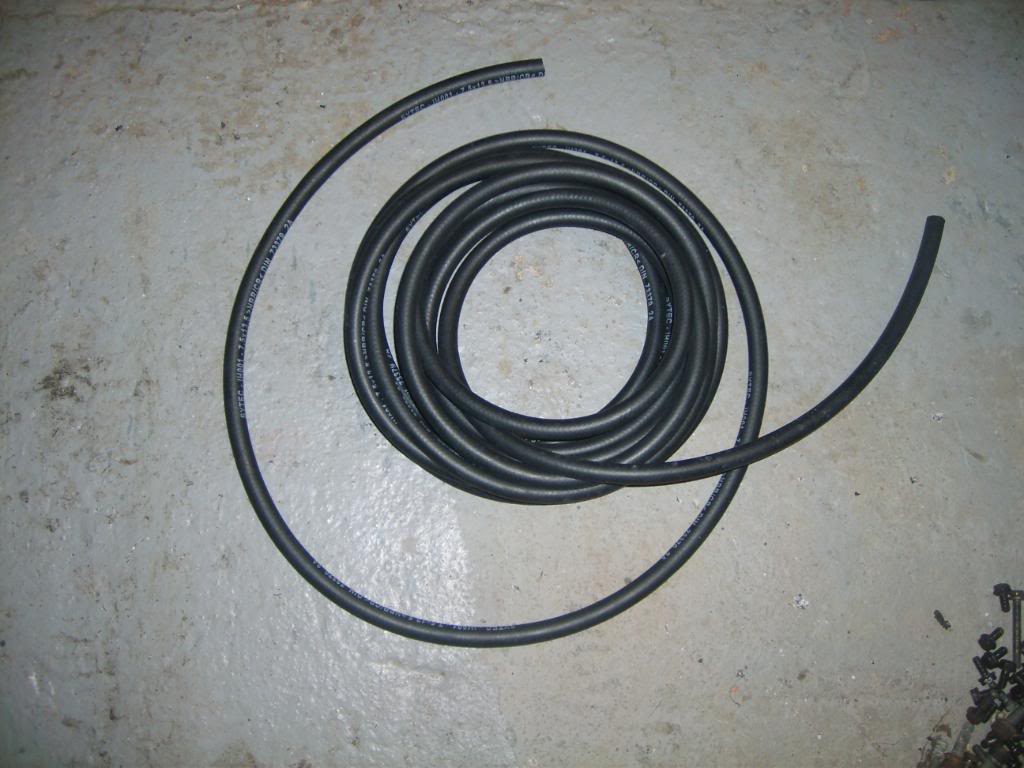
swapped out the old carb fuel sender for the GTI one with a lift pump. i need to get some 8mm fuel line now to replace the small dia stuff that's in there now.

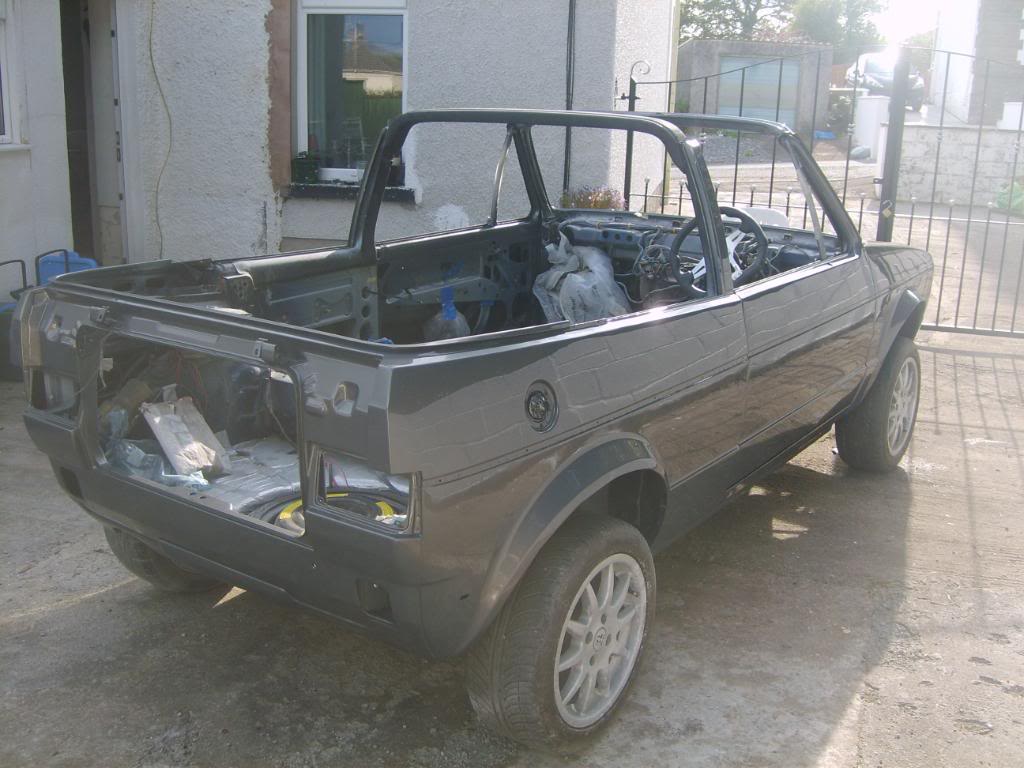
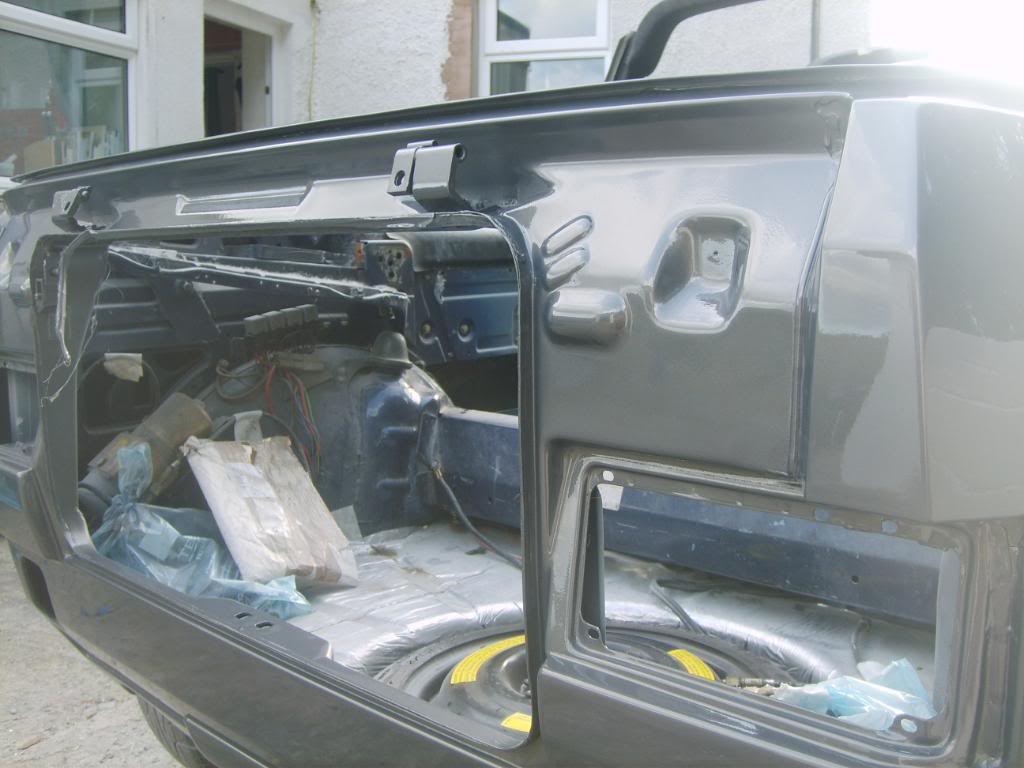
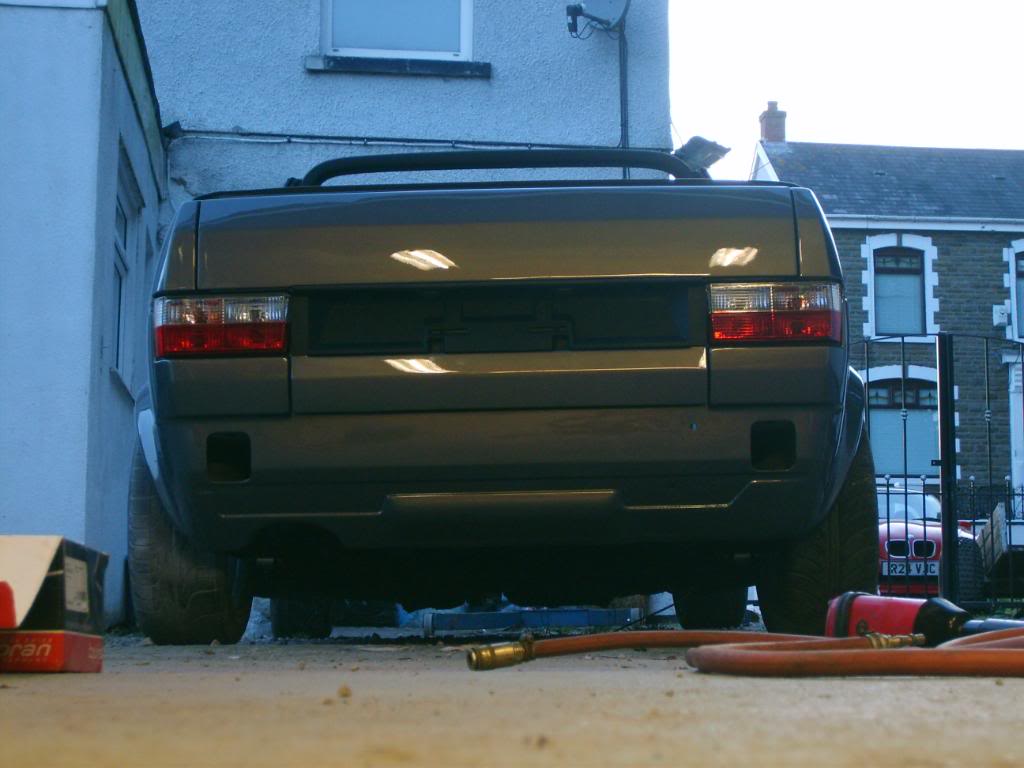
Then i replaced the boot rubber and cleaned it all up.

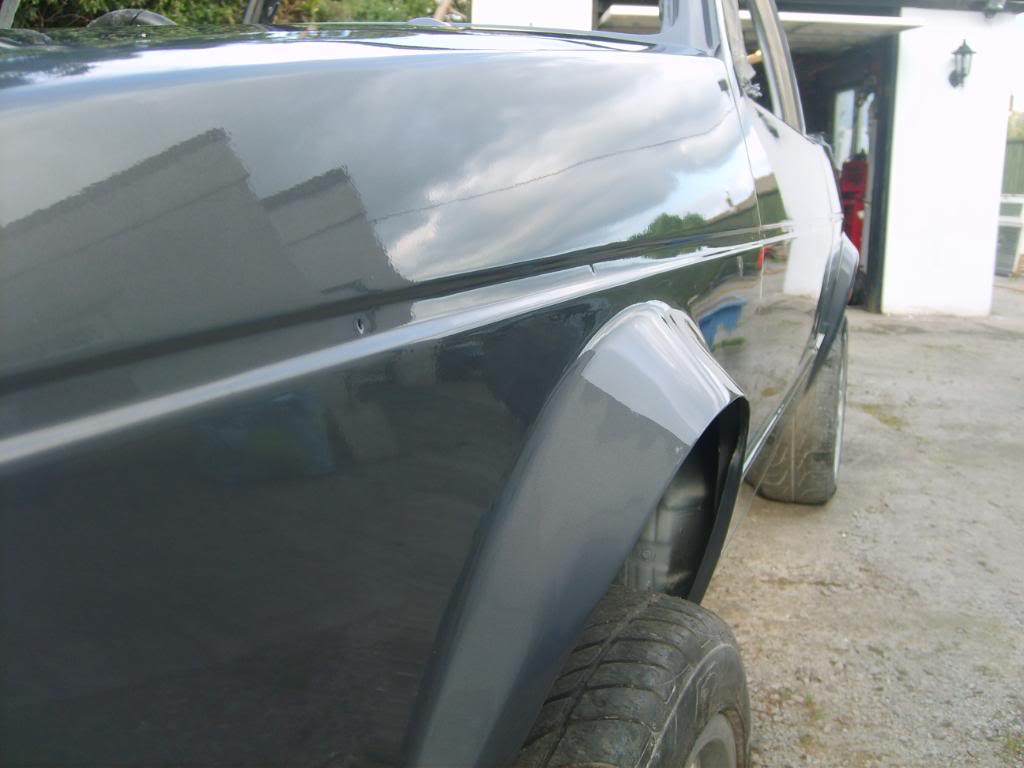
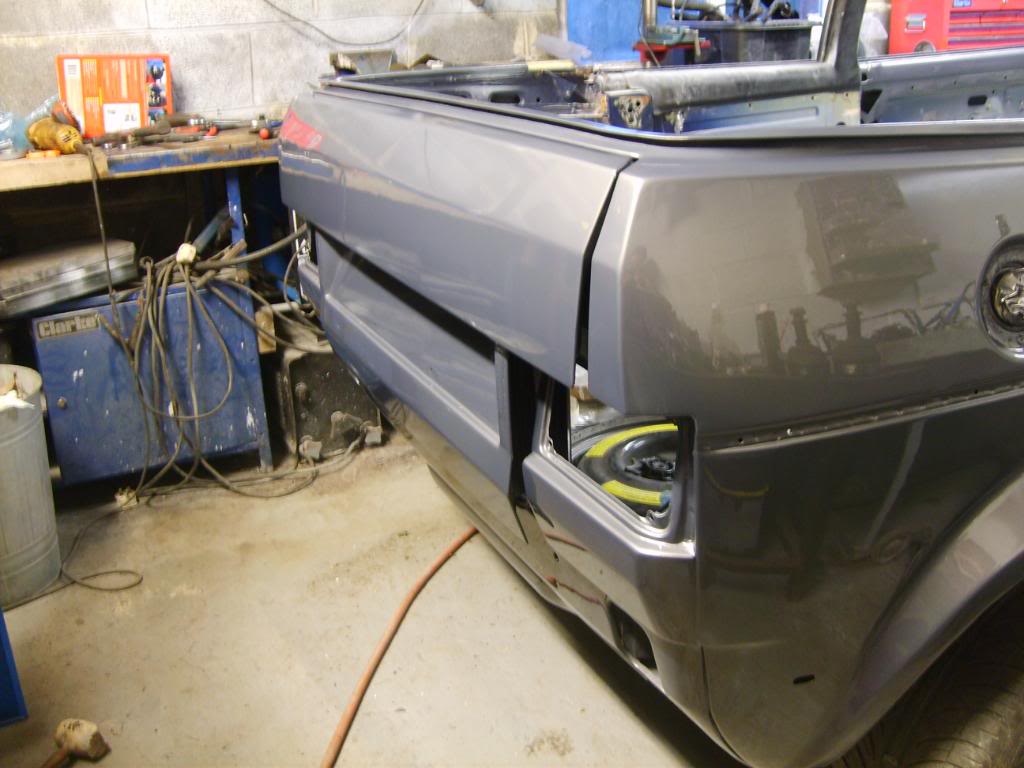
Then i replaced the boot lid….smoothing came out alright!!
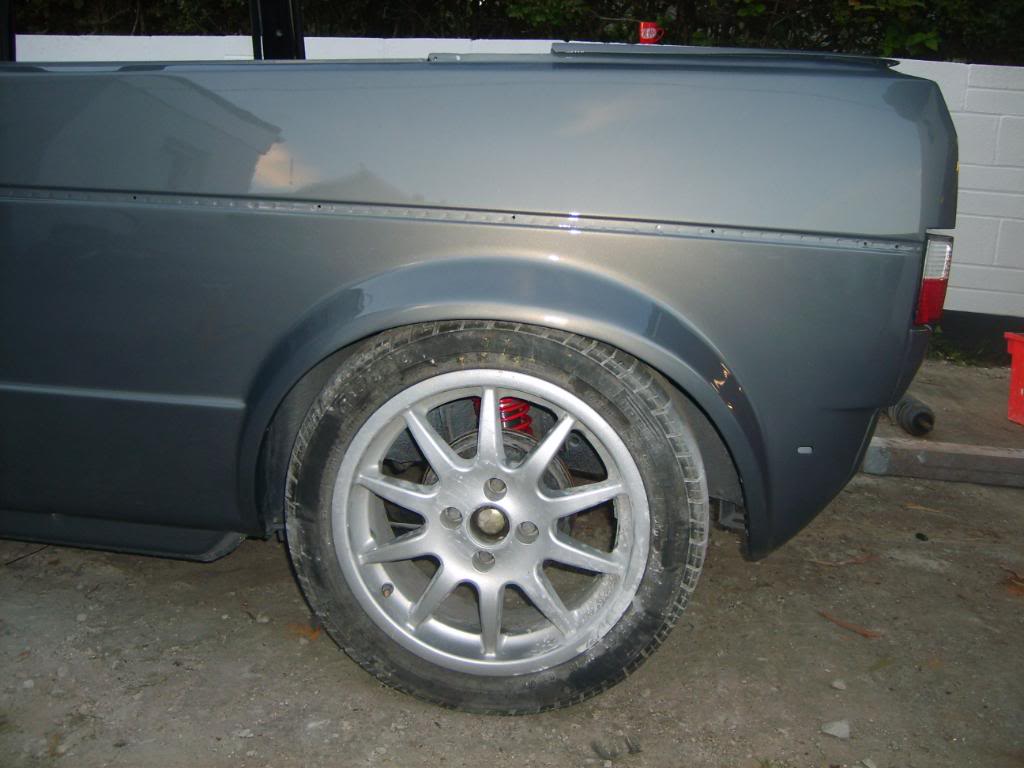
Look at the ass!!

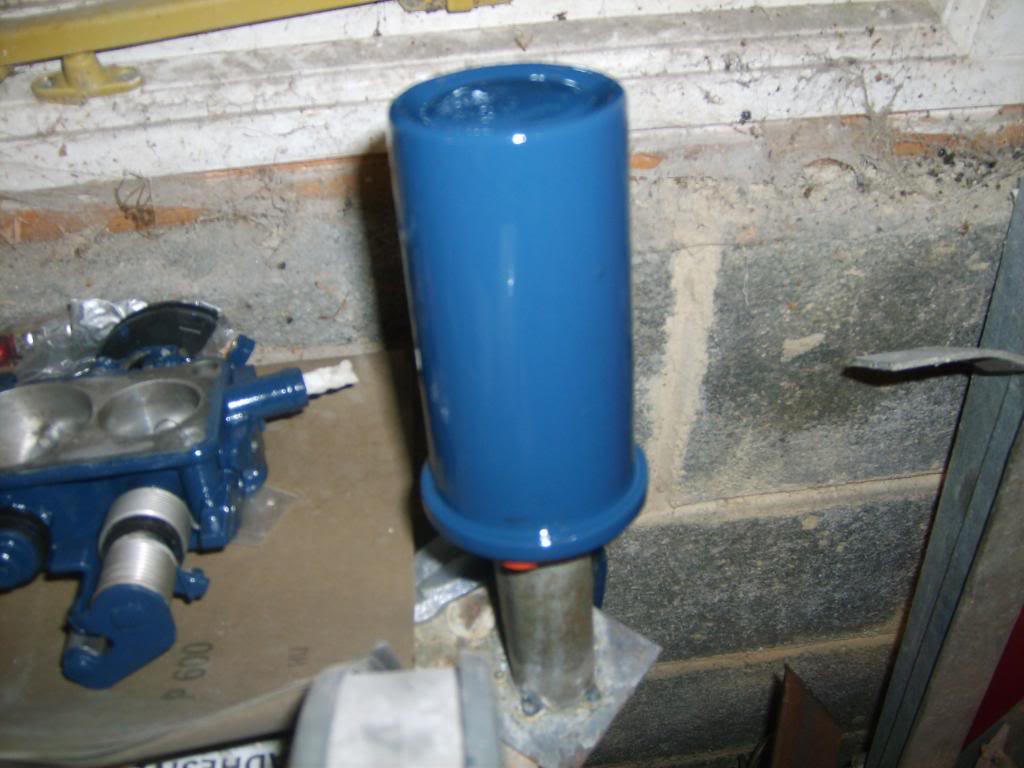
Fitted the brand new 22.5mm master cylinder

Millions of bit to go back on…
coming on ok…. need to get some heatshrink tubing and cable now to wire in the fuel pumps anyone got any idea how to do this? i'm stuck!!
there are 2 pumps, a liftpump and a main high pressure pump. Is the lift pump meant to be on all the time or just for a few seconds to prime the main pump?
I'm sure it's only meant to be on to prime the main pump. but can't thnk how to do that unless the output (red and yellow) wire from the ECU triggers it?
HELP!
Posted
Settled In
been seriously bending my brain over these wires.
fuel pump circuit - sorted, easy peasy.
KR ignition circuit - sorted, piece of piss.
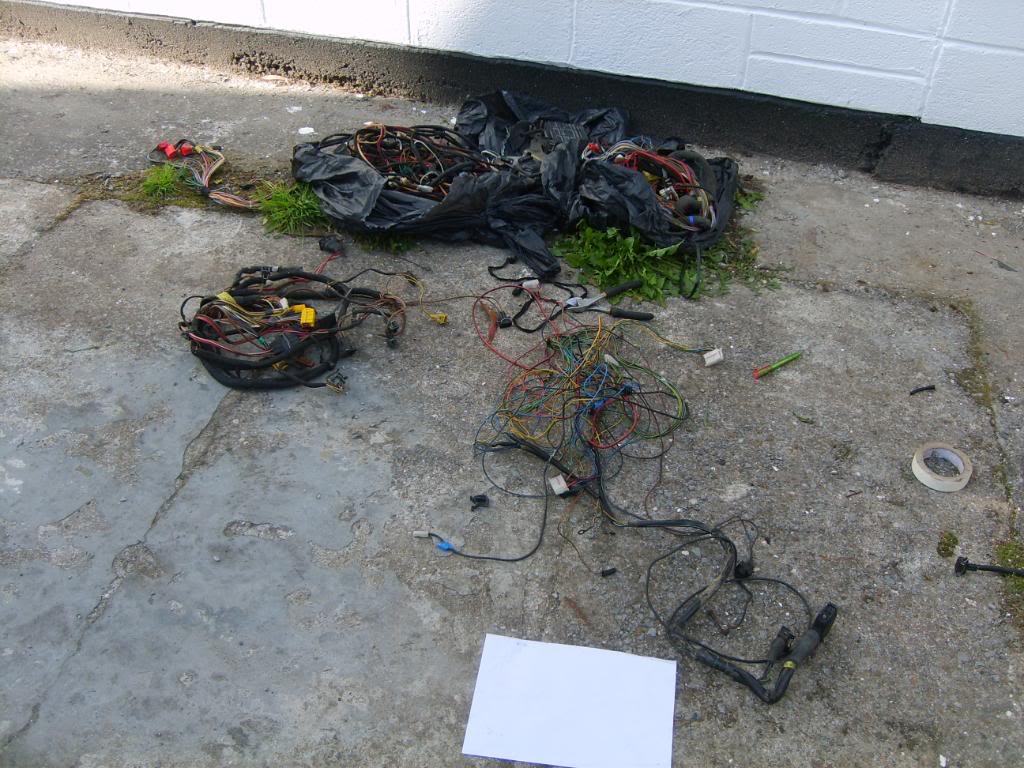
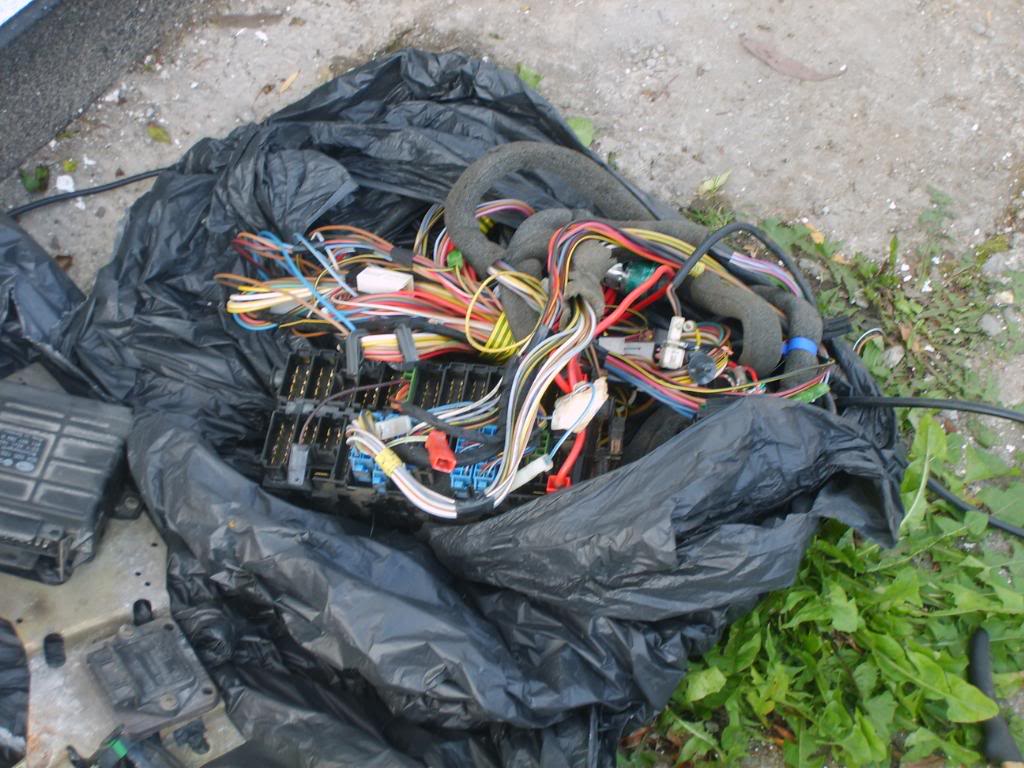
KR engine loom - headache. This controls:
the cold start valve (CSV),
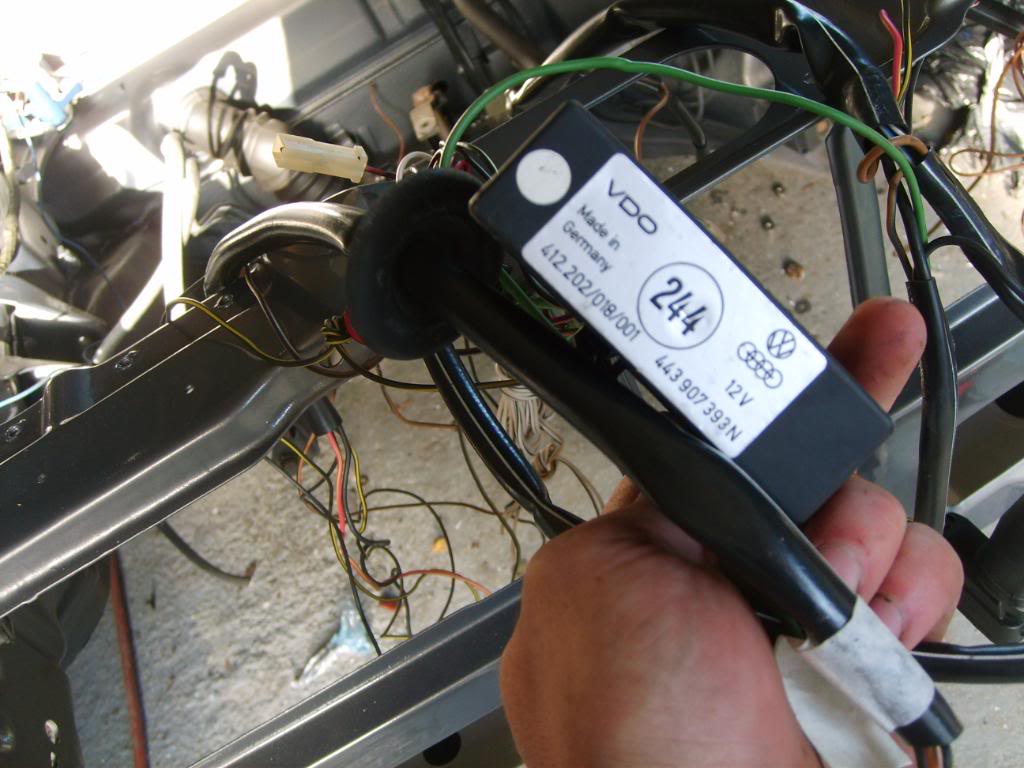
Idle stabilisation valve (ISV)
Overrun cut off valve
Thermotime switch (TTS)
Warm up regulator (WUR)
Throttle switch
Vacuum Time switch.
Fookin hell
It's confusing. But basically i bought an entire corrado 16v wiring loom from GTmark3 but the bastard didn't include any instructions! lol
But i'm getting there i think, slowly. Eating through heatshrink and solder at a fair rate of knots.
but haven't been taking that many pictures (too much headscratching!!)
but here's a few:
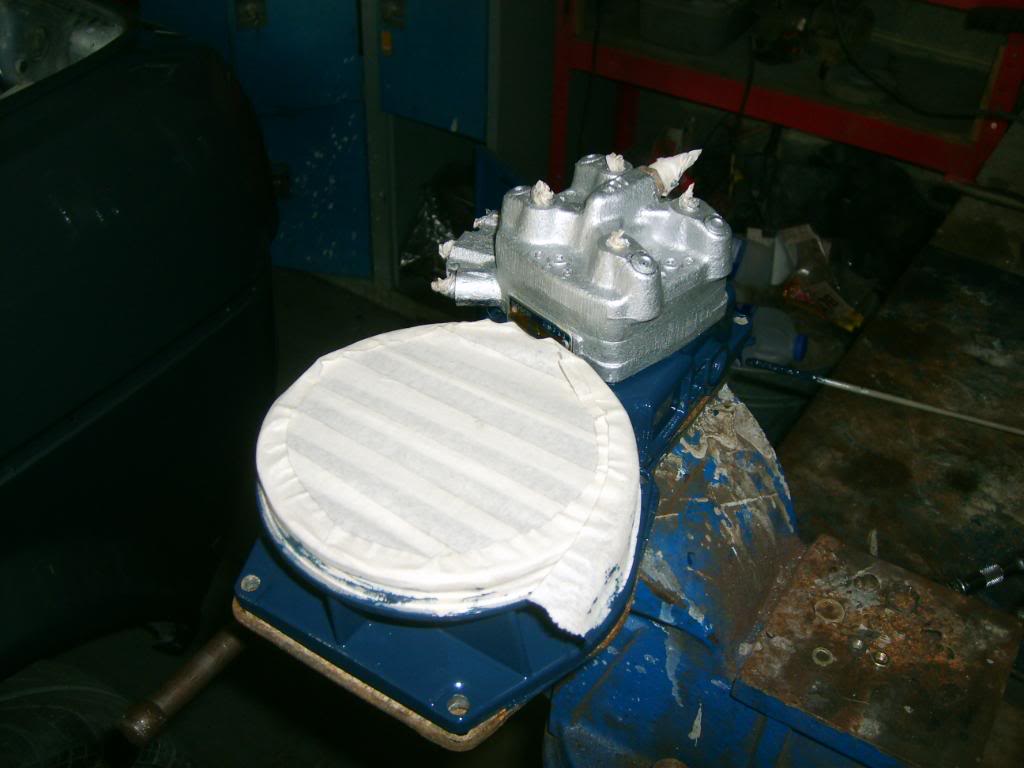
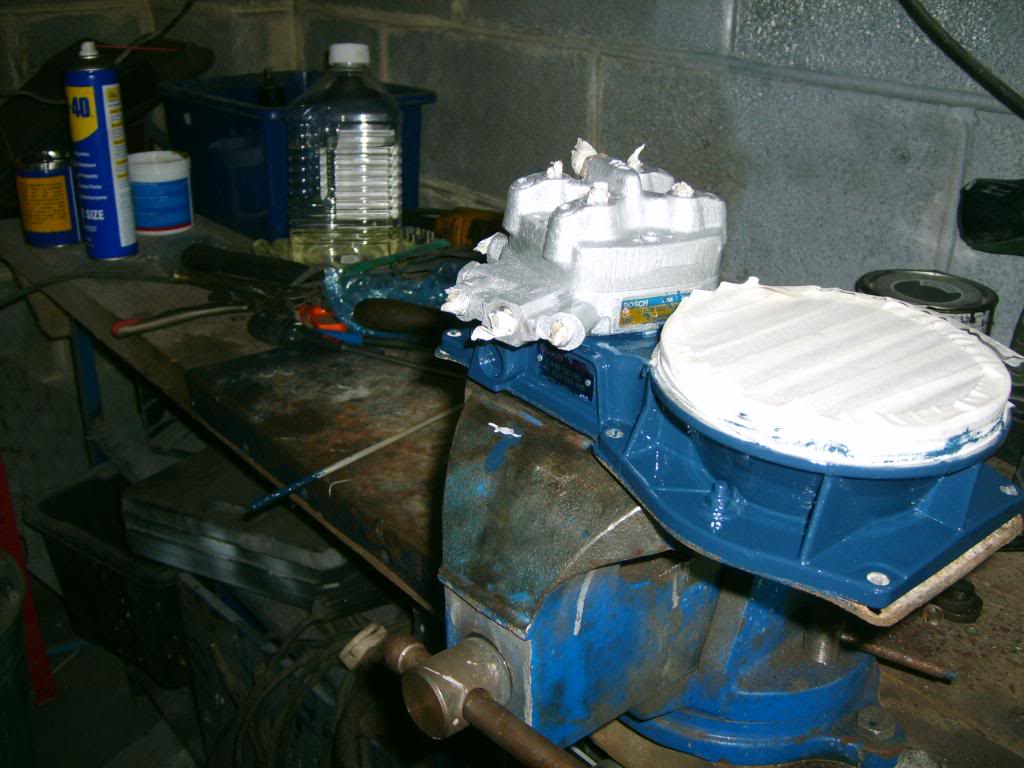
more cleaning, on the metering head
then a bit of paint
got my idle stabilisation valve control module. This is to keep the idle nice and sweet. I didn't want to just put the engine in with the ignition loom and leave it hunt like a bastard.

this is where all the action is at the moment!! urgghh.
so there's going to be a fair few miles more wiring in the car now than what it had before…
why do we chose to do these things again???
good to see you all at VFW today though - top stuff.
Posted
Settled In
Firstly thanks very much to mike (coolmk1) for the engine mount, and Paul (Griffo) for giving up a sunday to help me with the golf!
Really really much appreciated.
Ok, now on to pics and stuff.
I bought a new engine mount set, clutch, timing belt, tensioner, and managed to get it all back on.
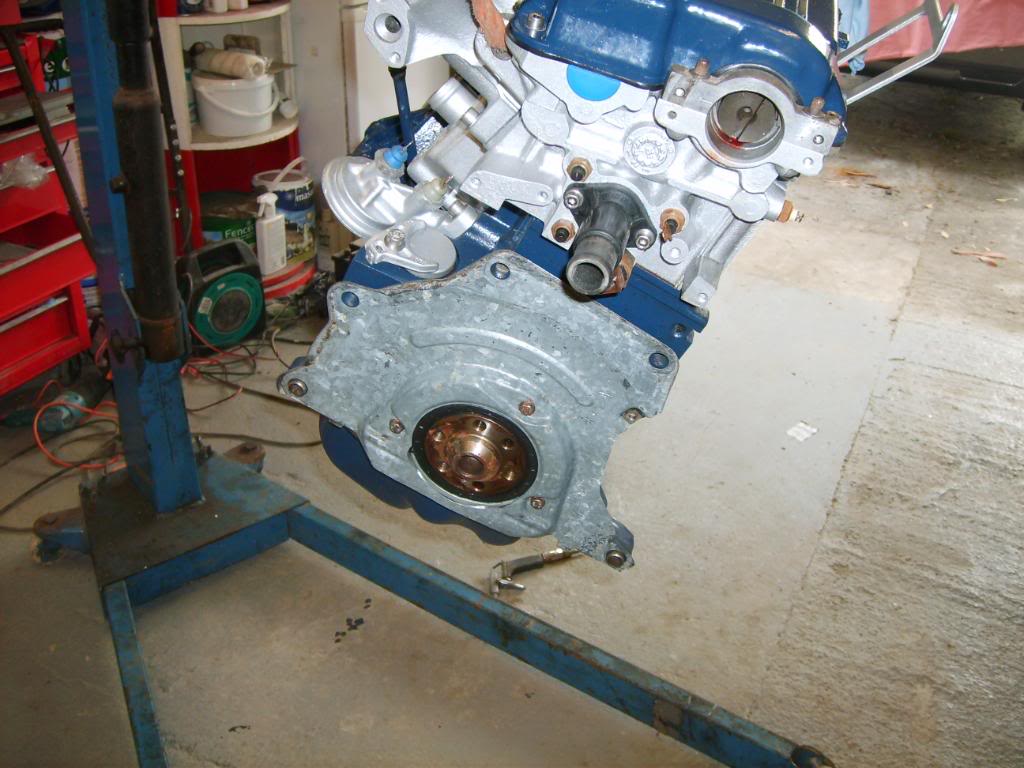
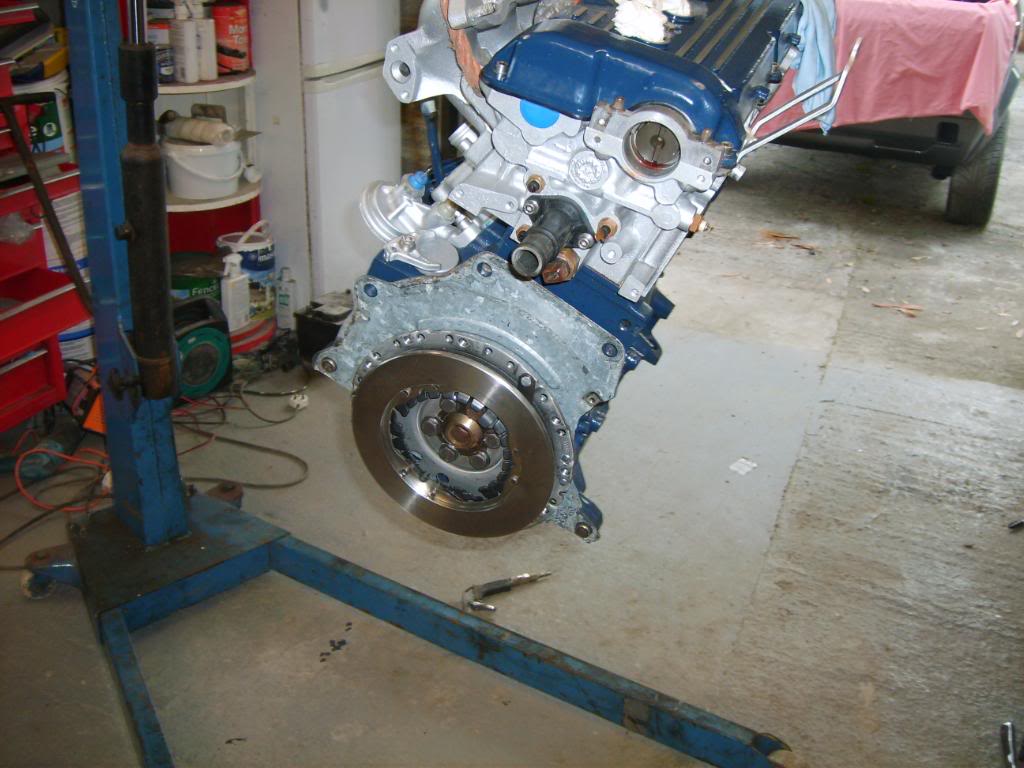
Firstly polished up the flywheel from
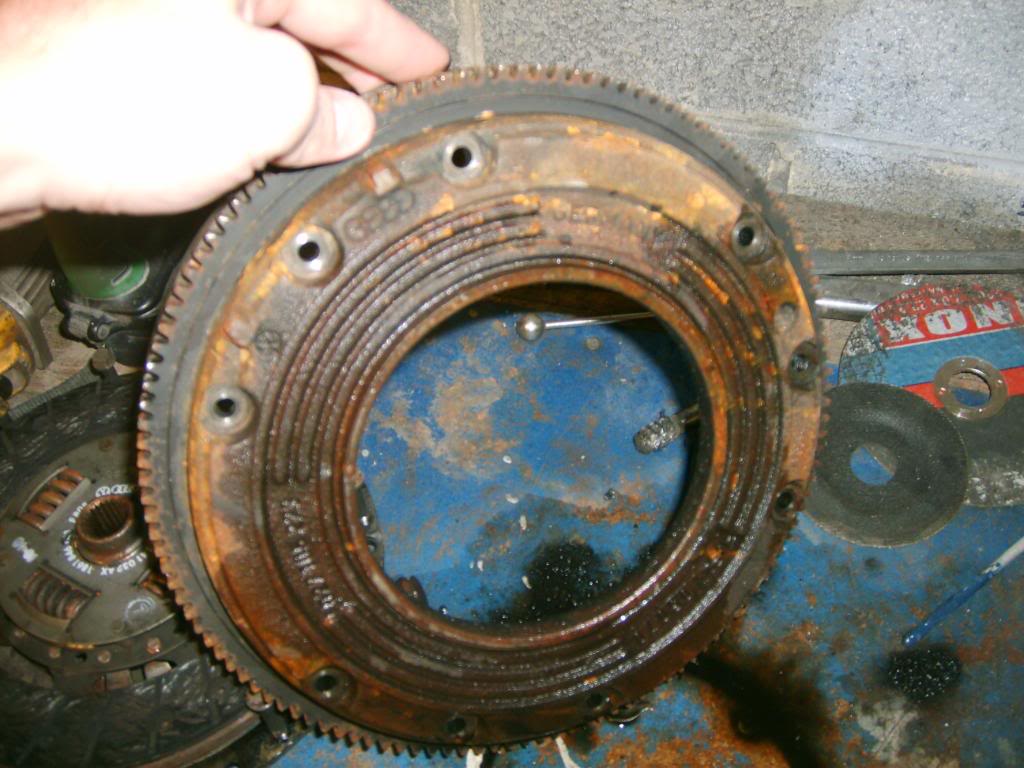
to
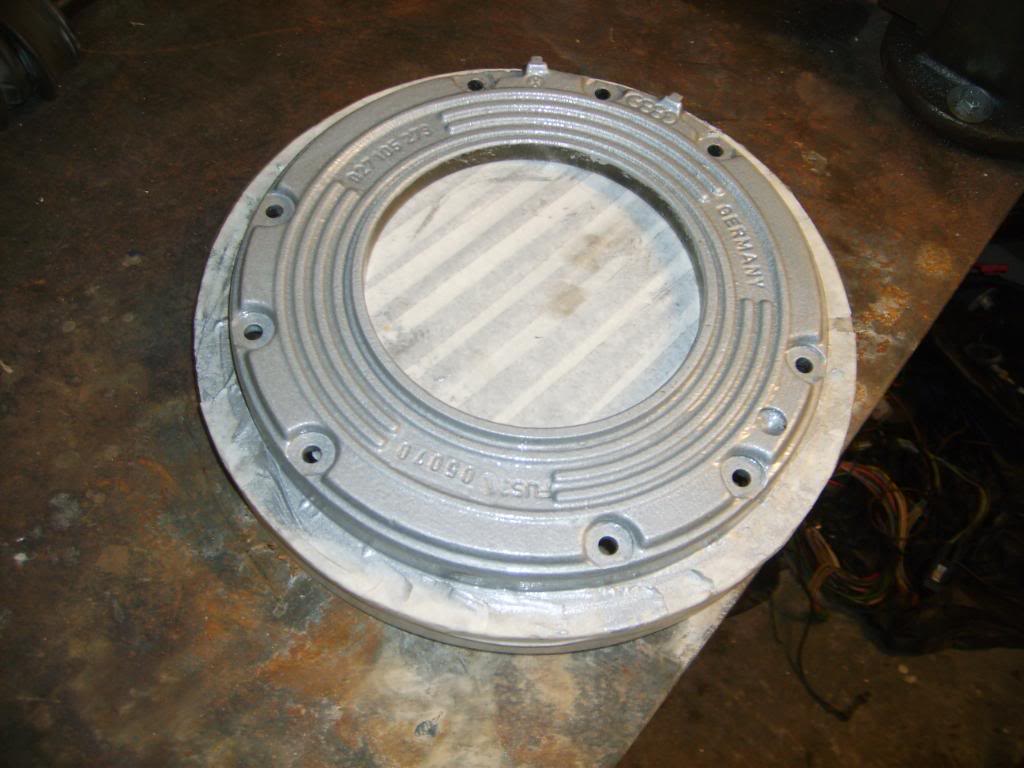
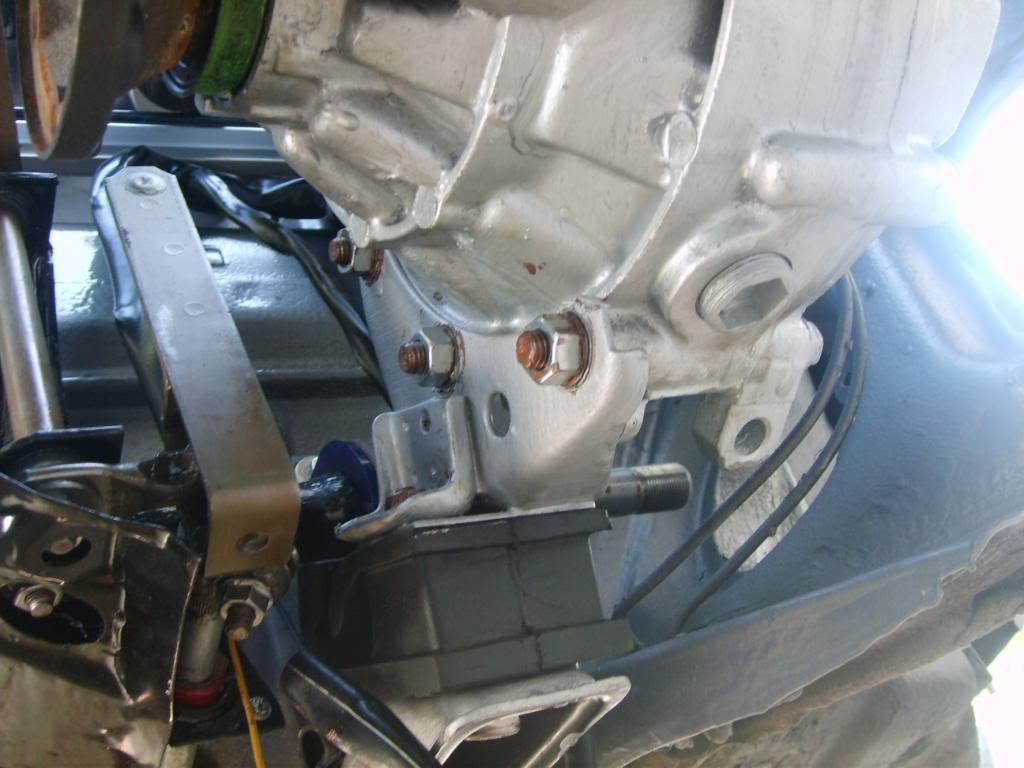
got my old mounts out and pressed in the new ones (with a little bit coolmk1 help - thanks!)
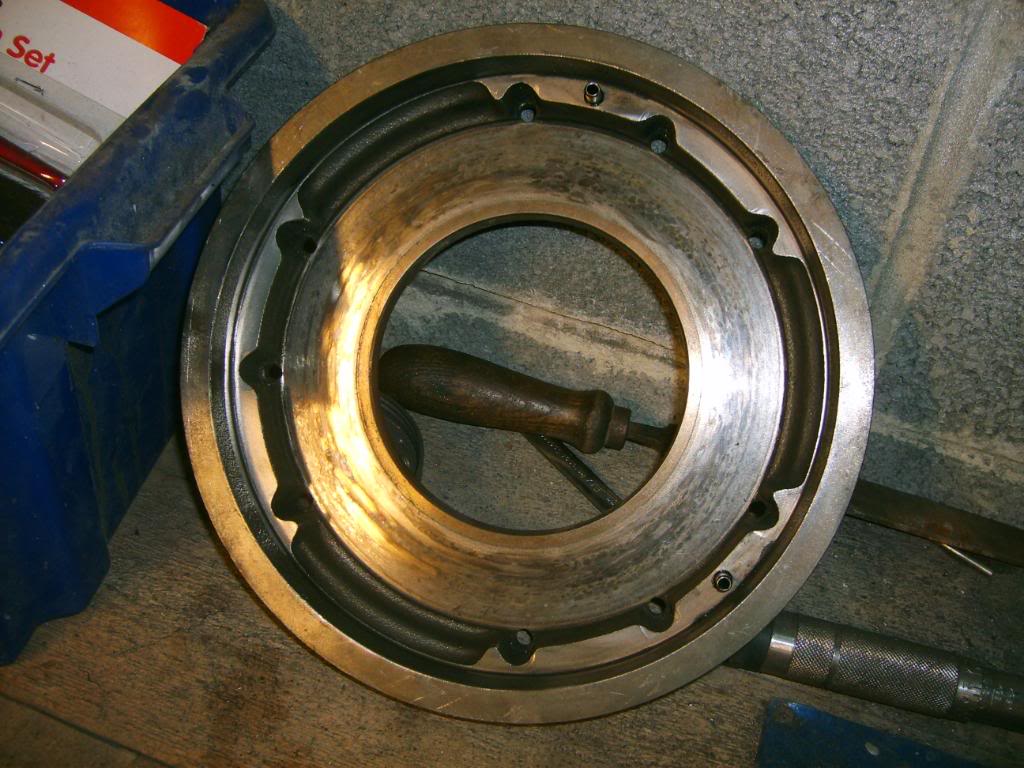
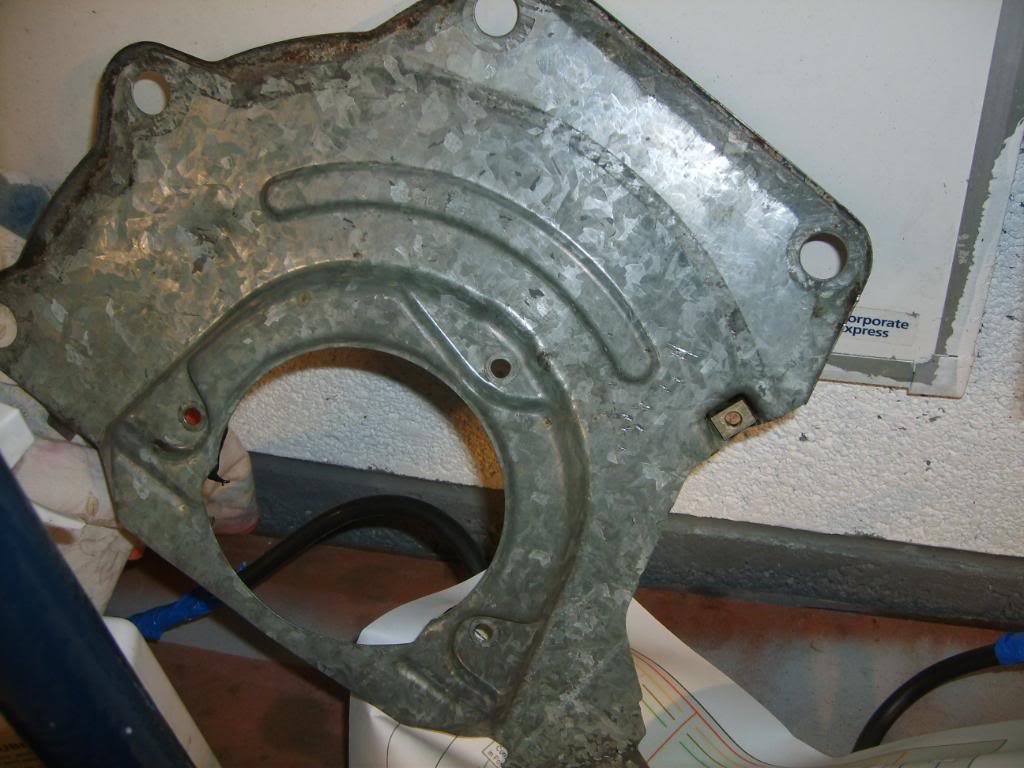
cleaned up the guard
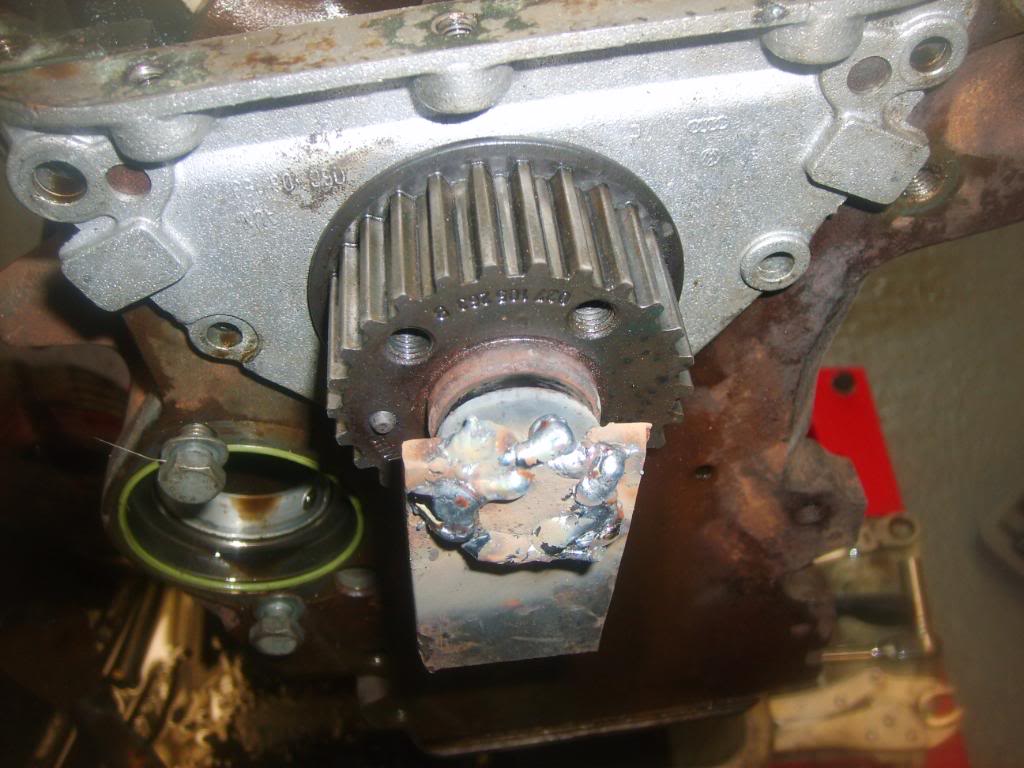
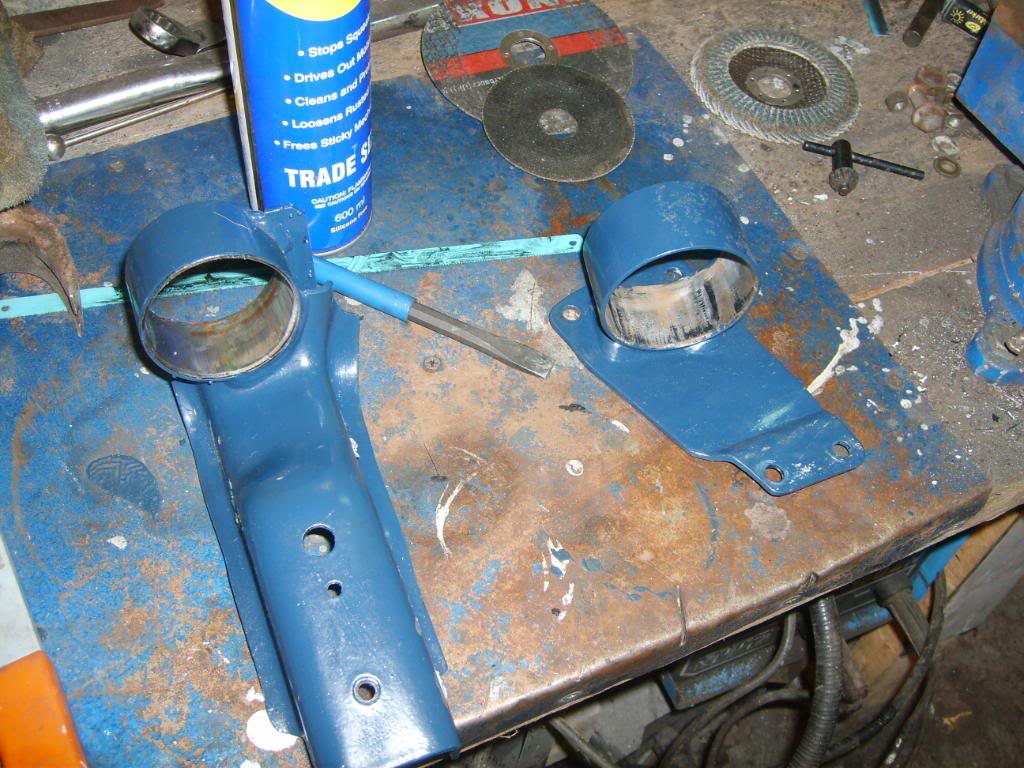
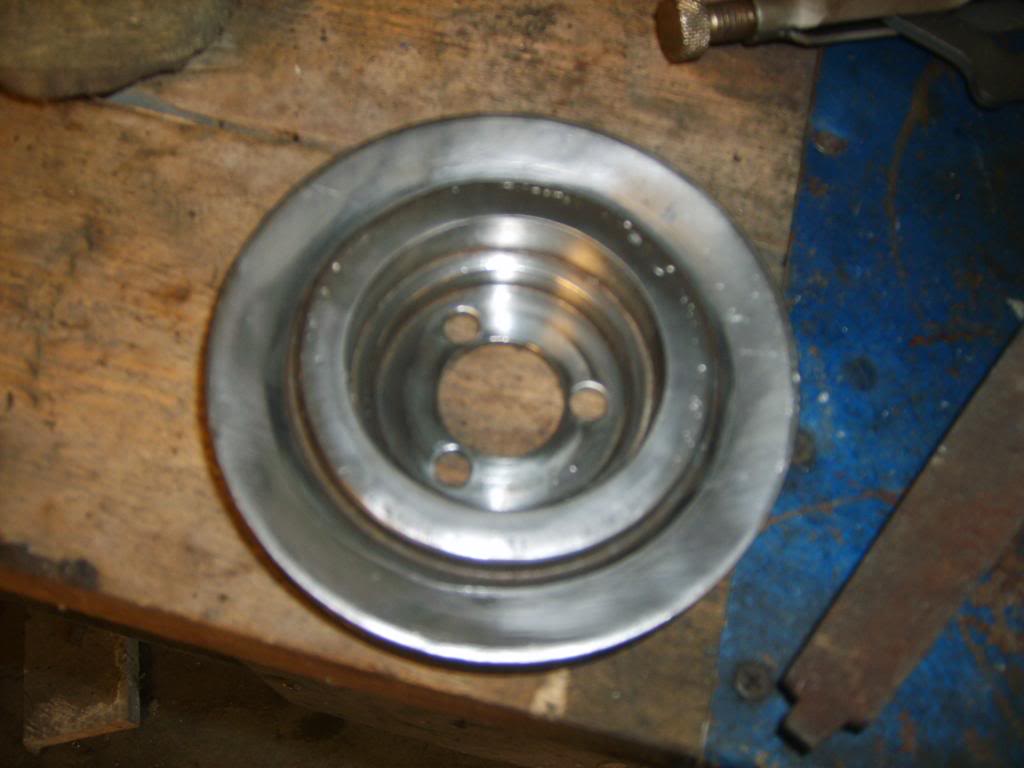
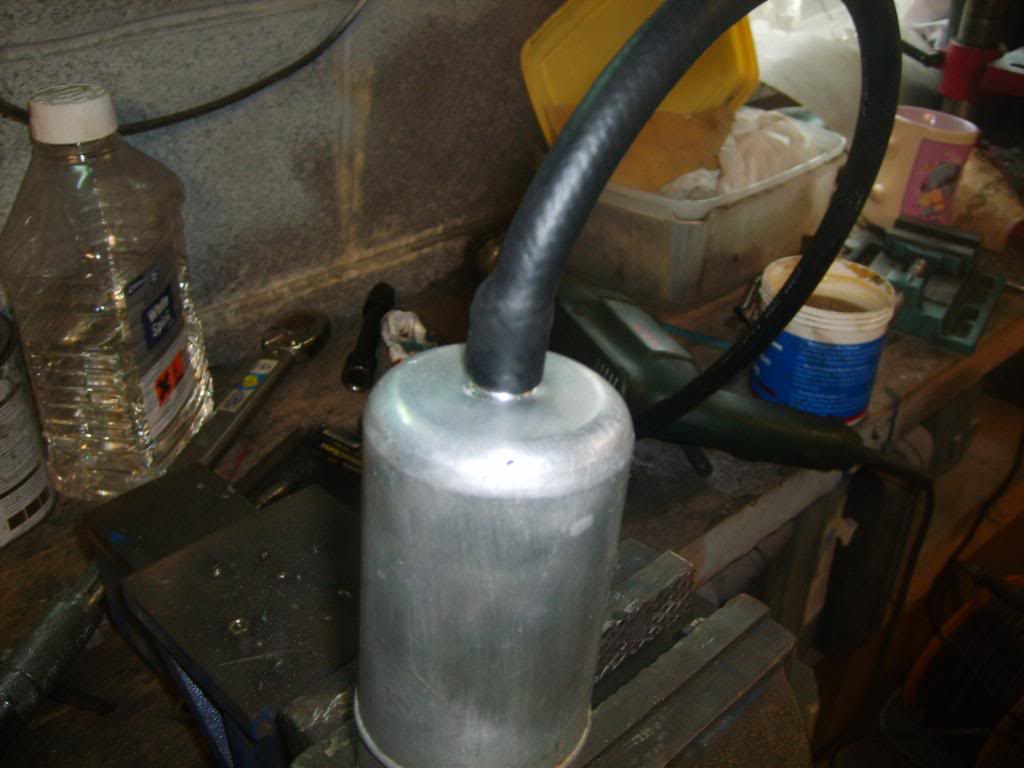
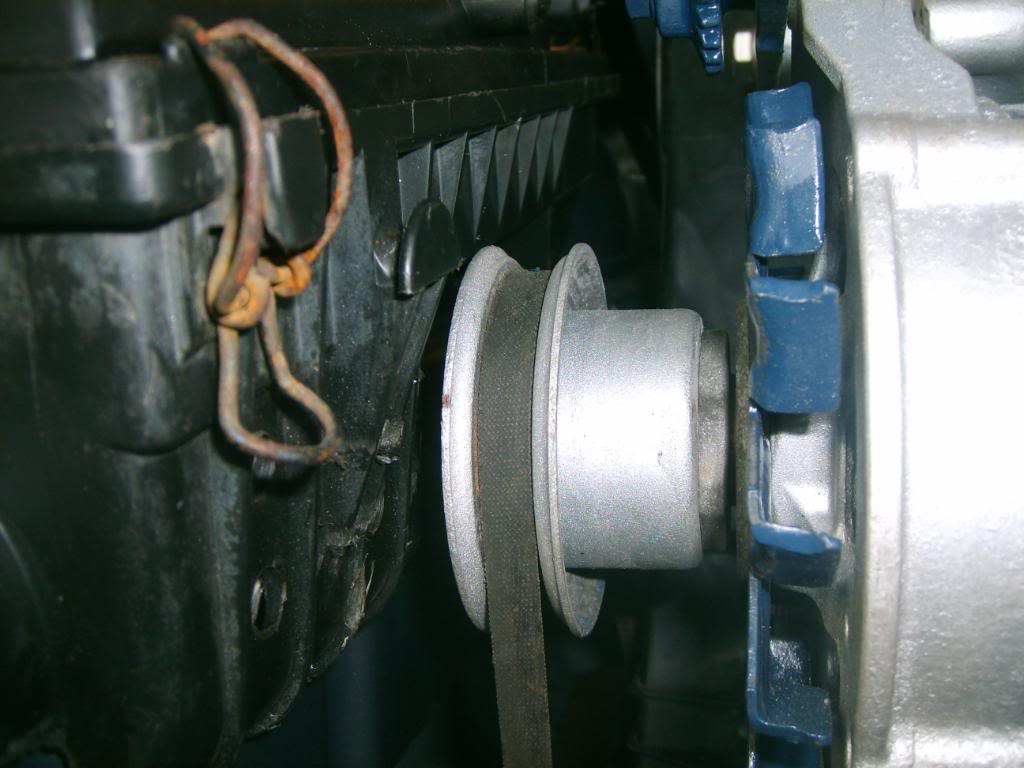
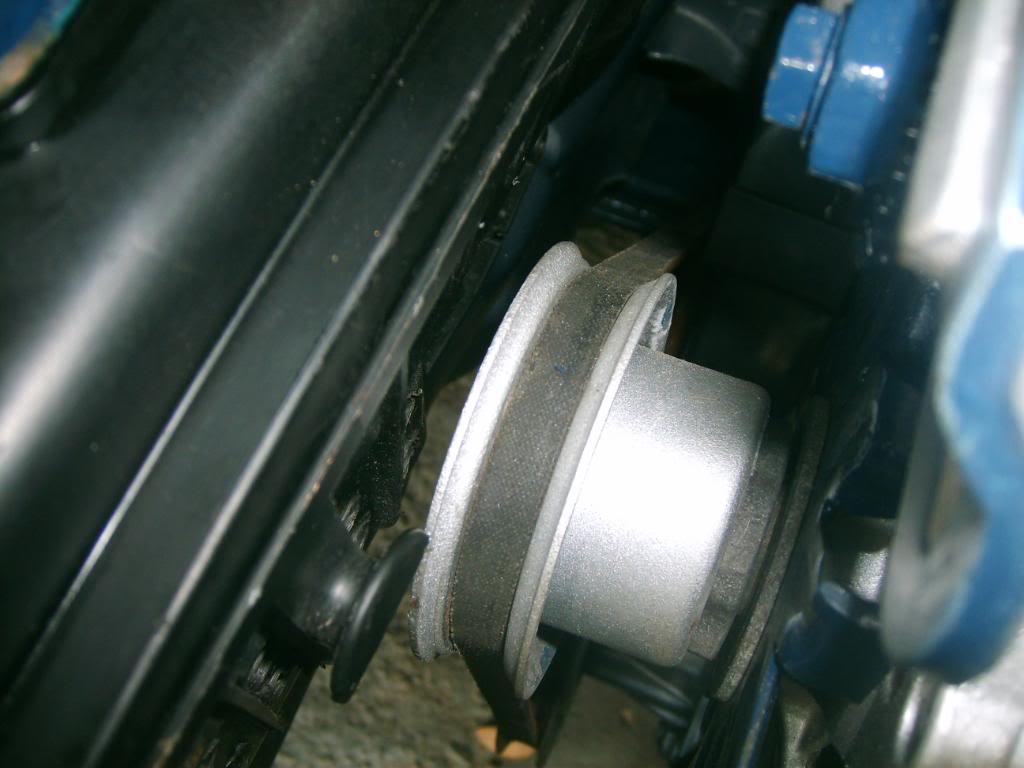
then i had to go about making my own pulley for the water pump because i've lost the powersteering pump. Basically welding up the idler wheel has save me ?20 for a non pas pulley!
so here it is welded and smoothed..
timing belt..
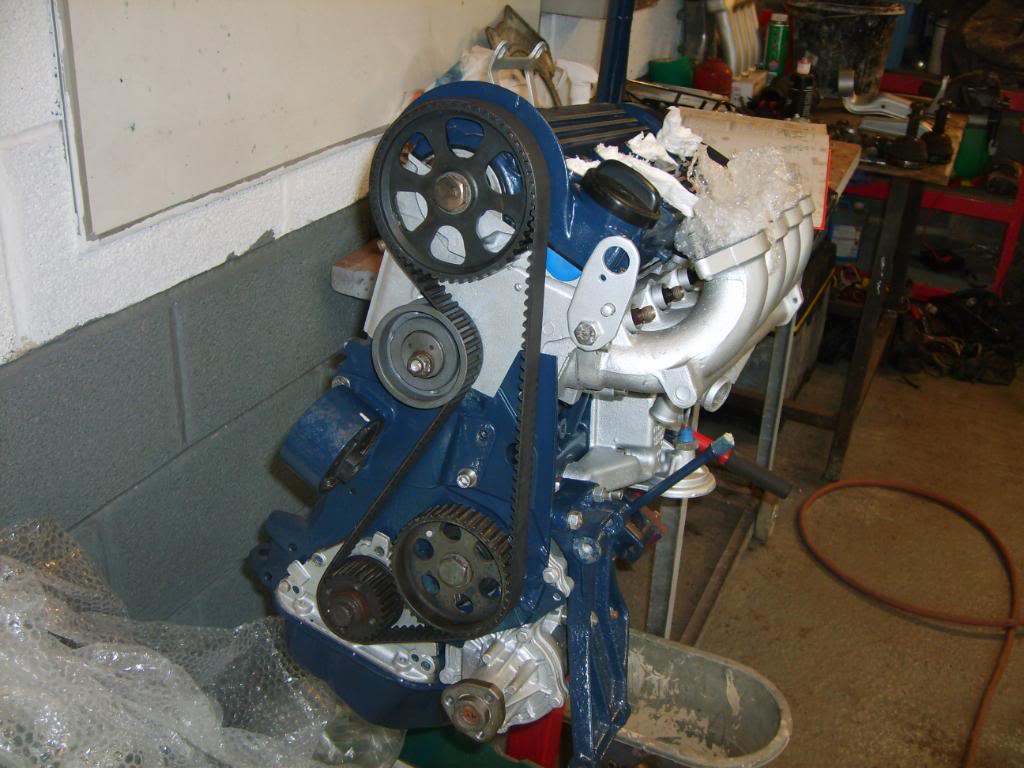


that was all yesterday..
but today….
Paul came up and gave me a helping hand and some calm words as i was getting nervous - loads to scratch or not fit properly!!
can you guess what we're doing?

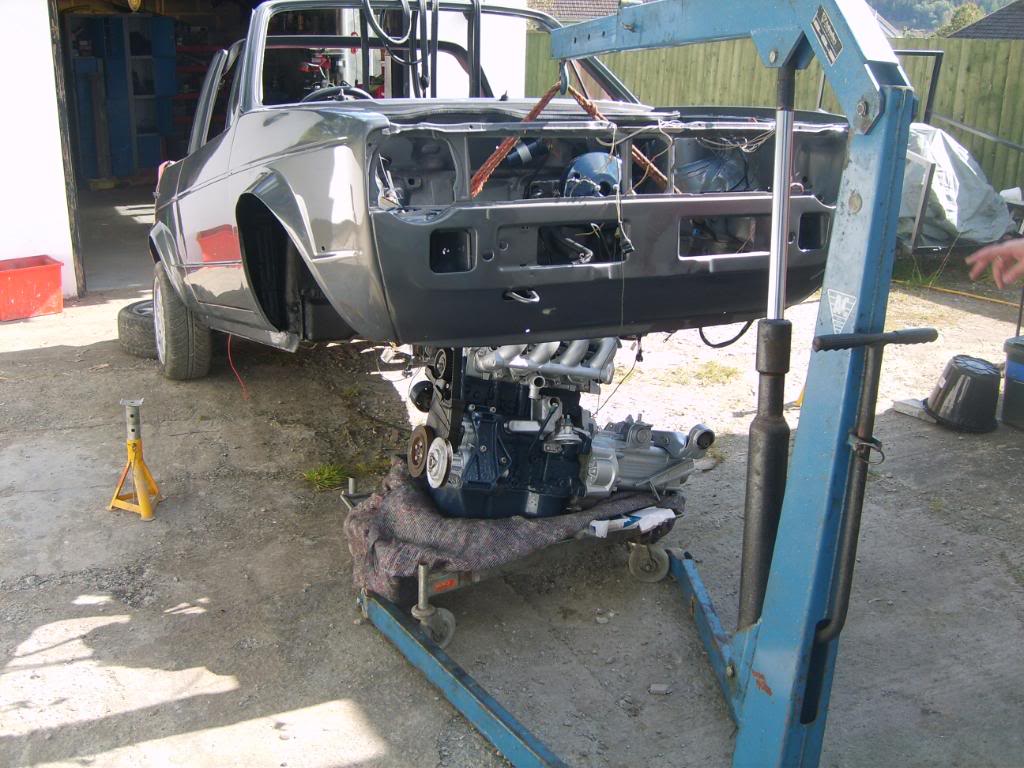

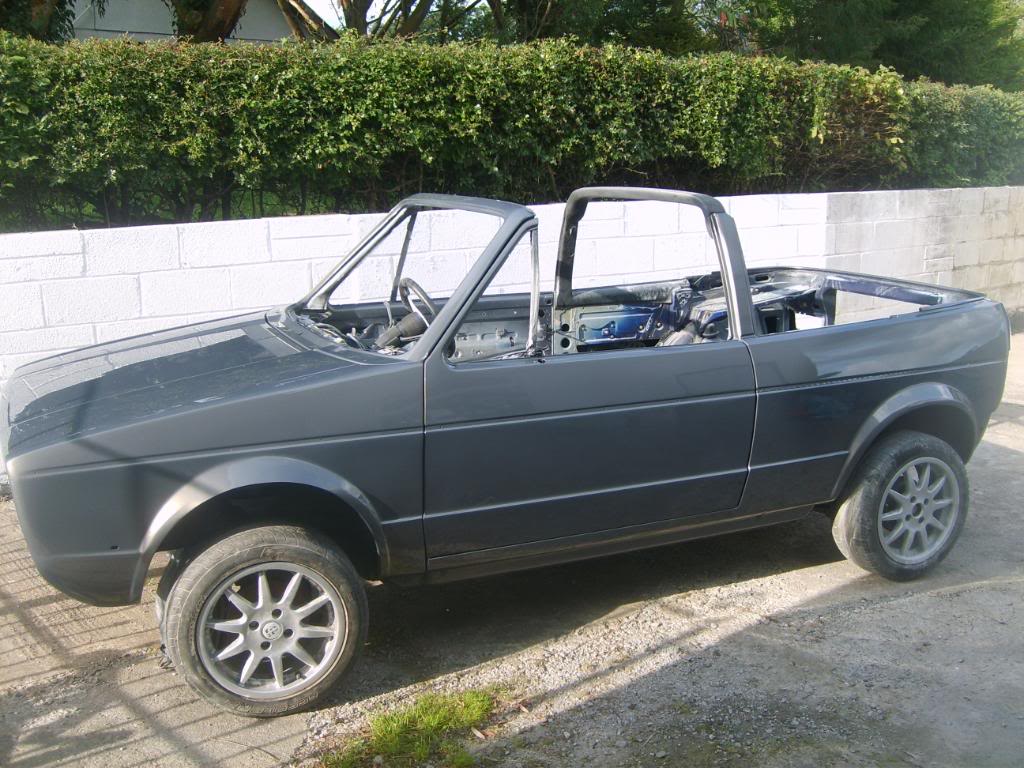
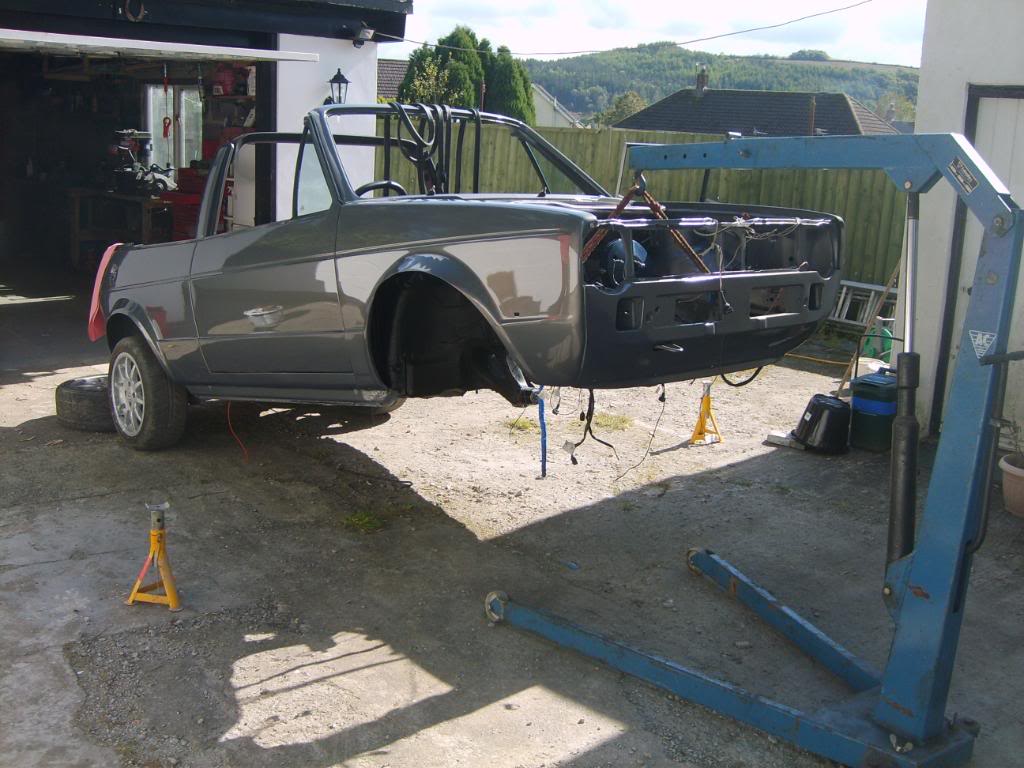
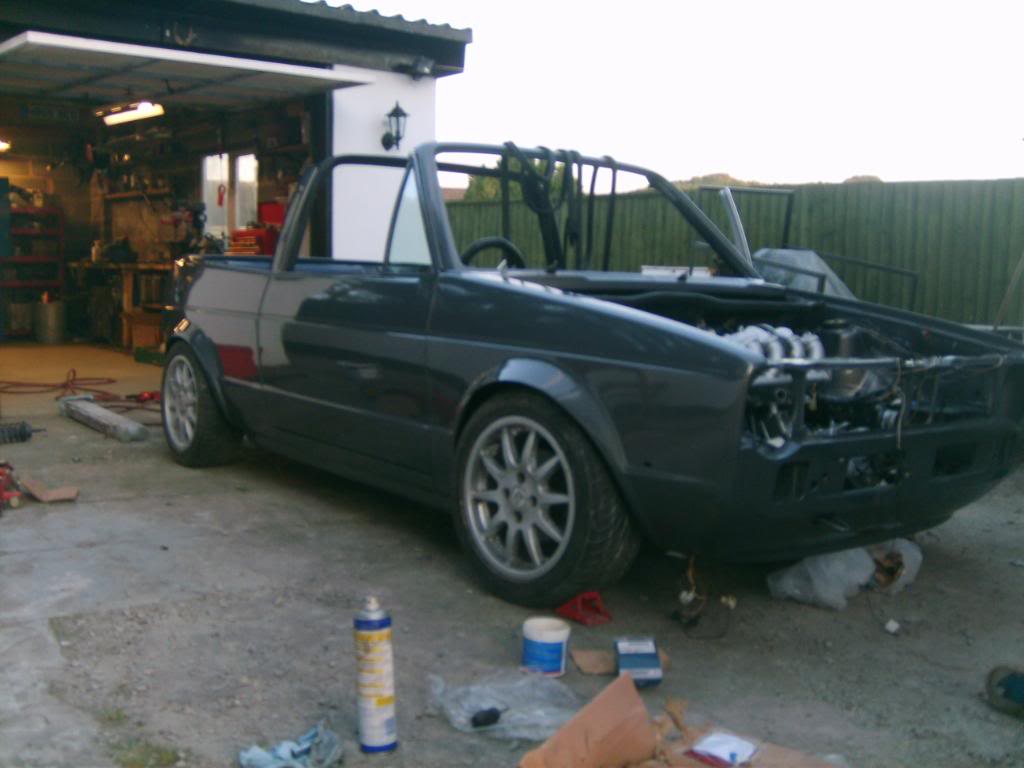
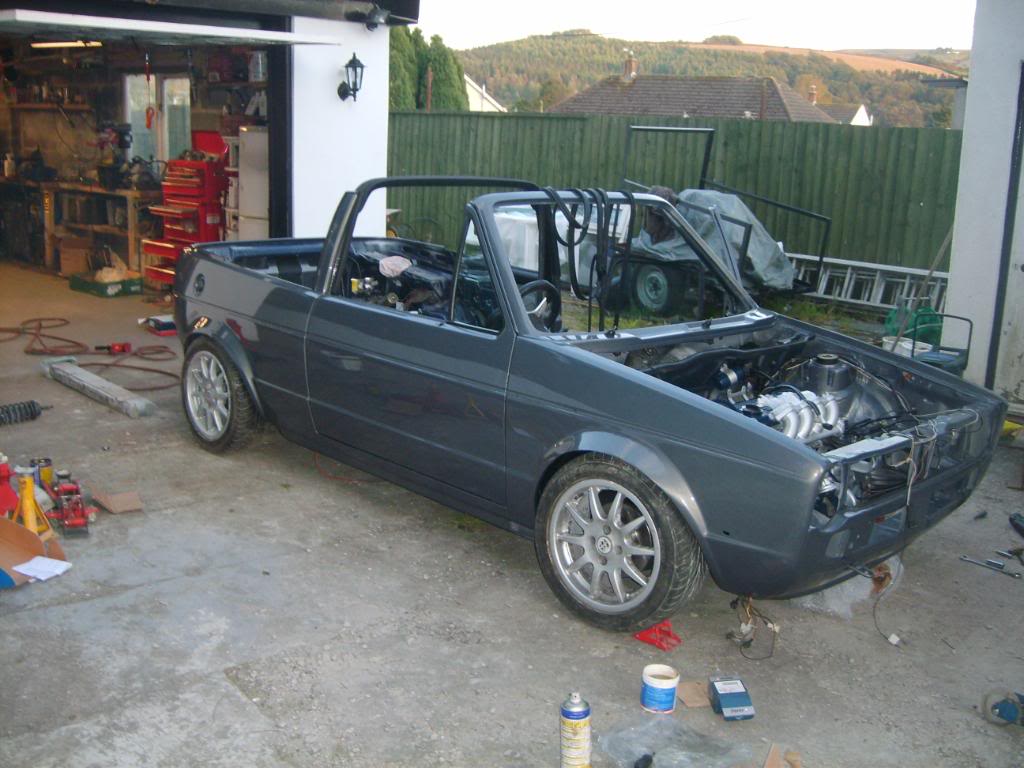
engine in.

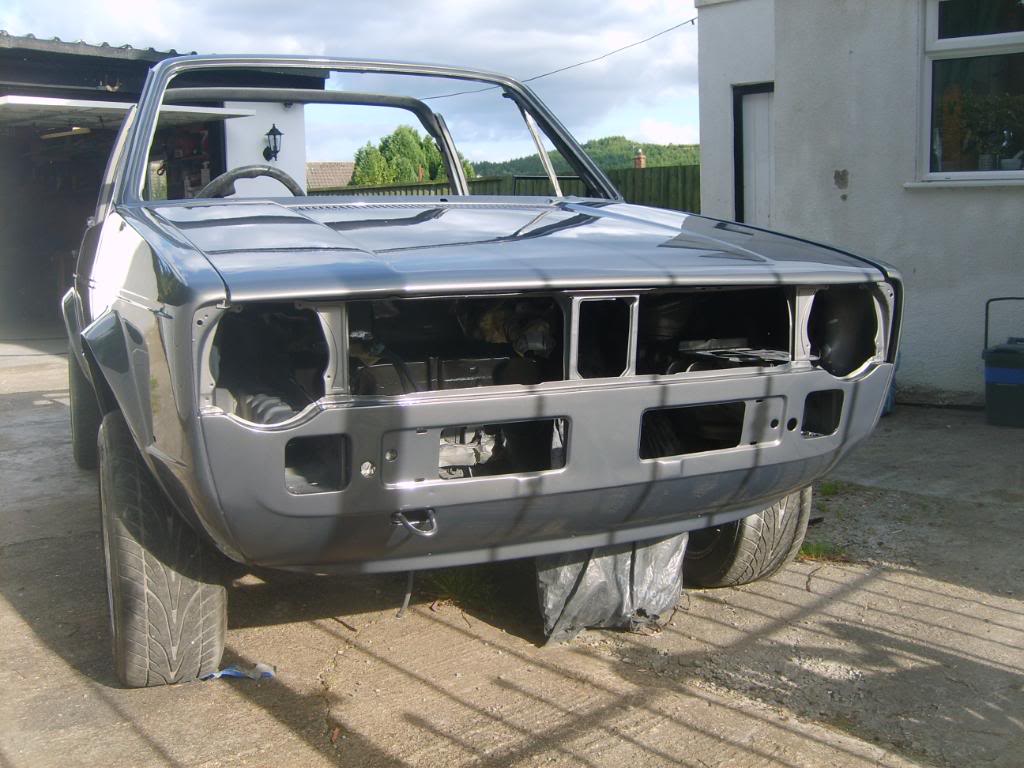
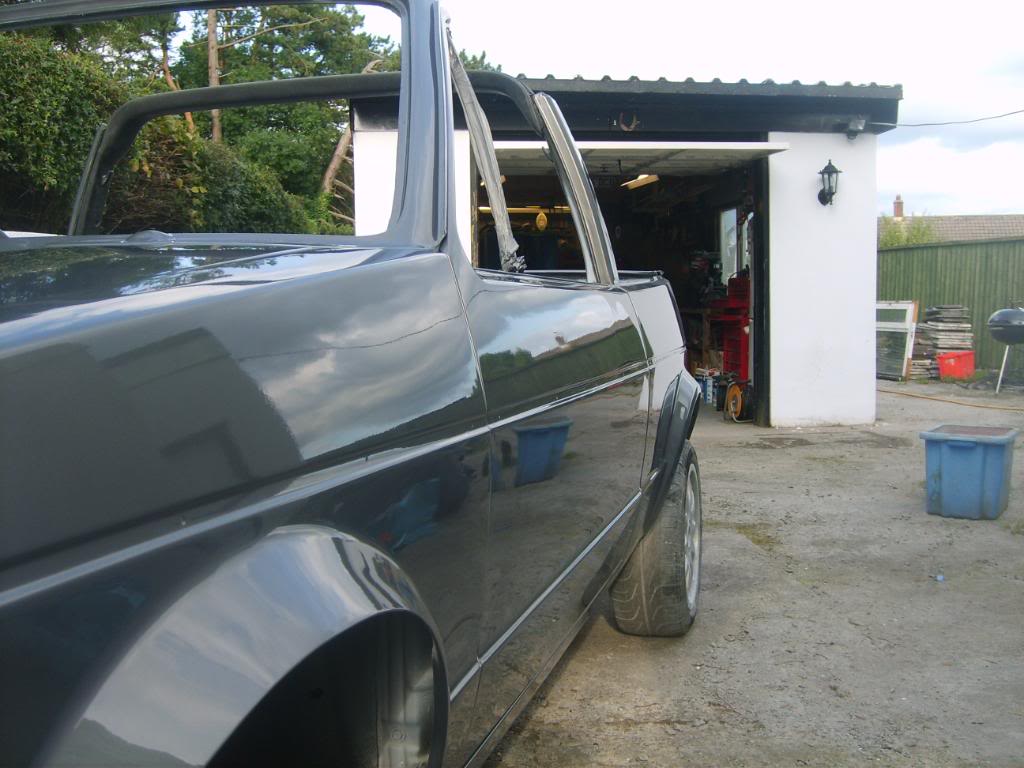
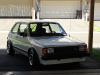
low much??? dropped on it's nose!!
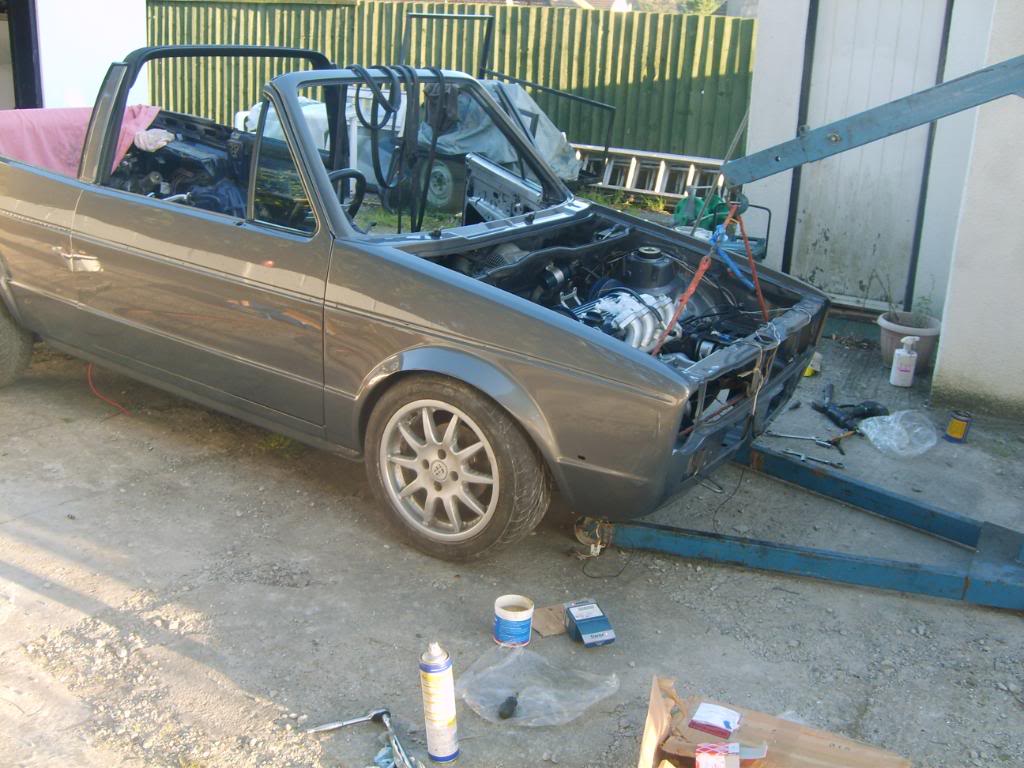
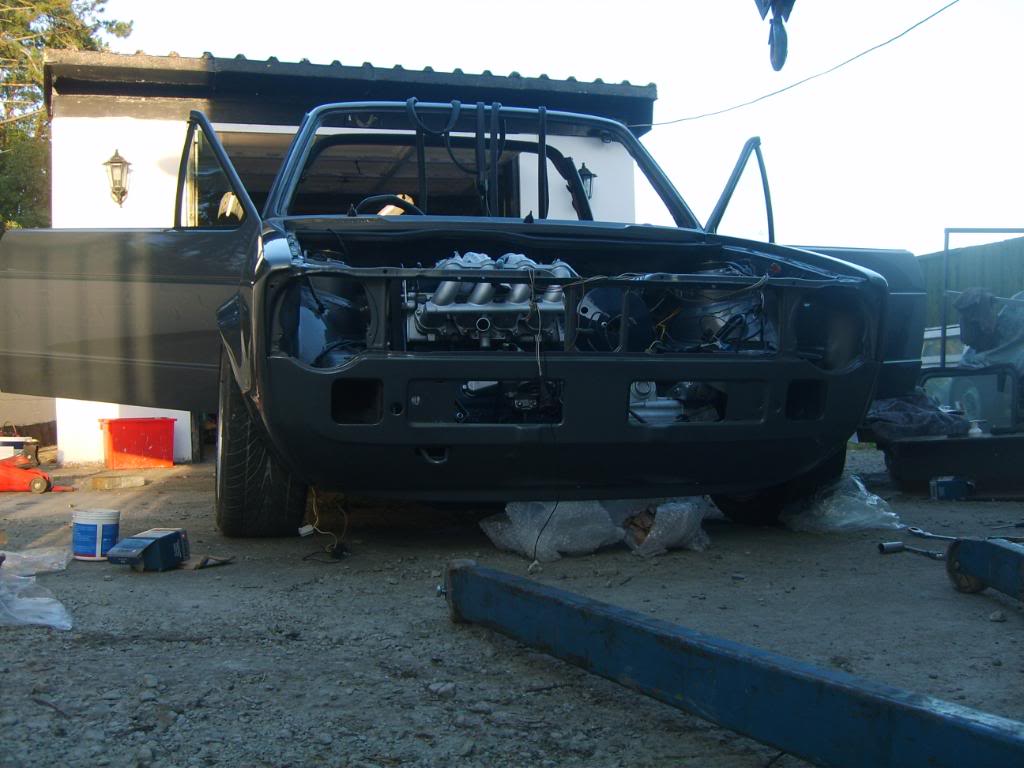
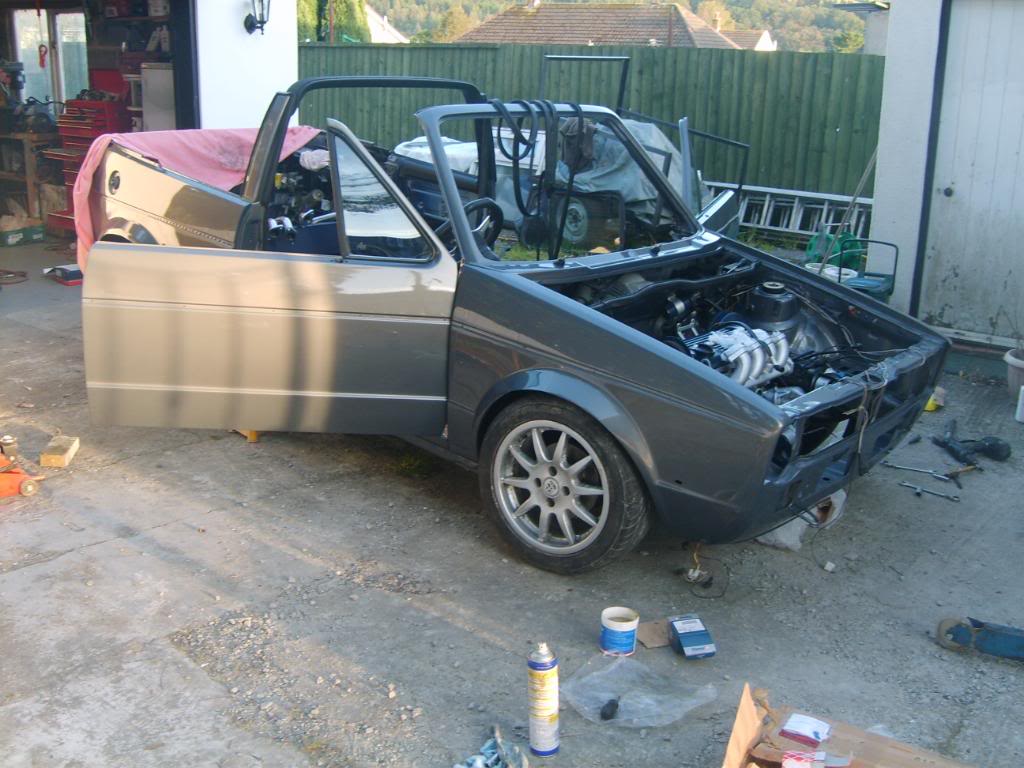
all new gear linkeages and brackets
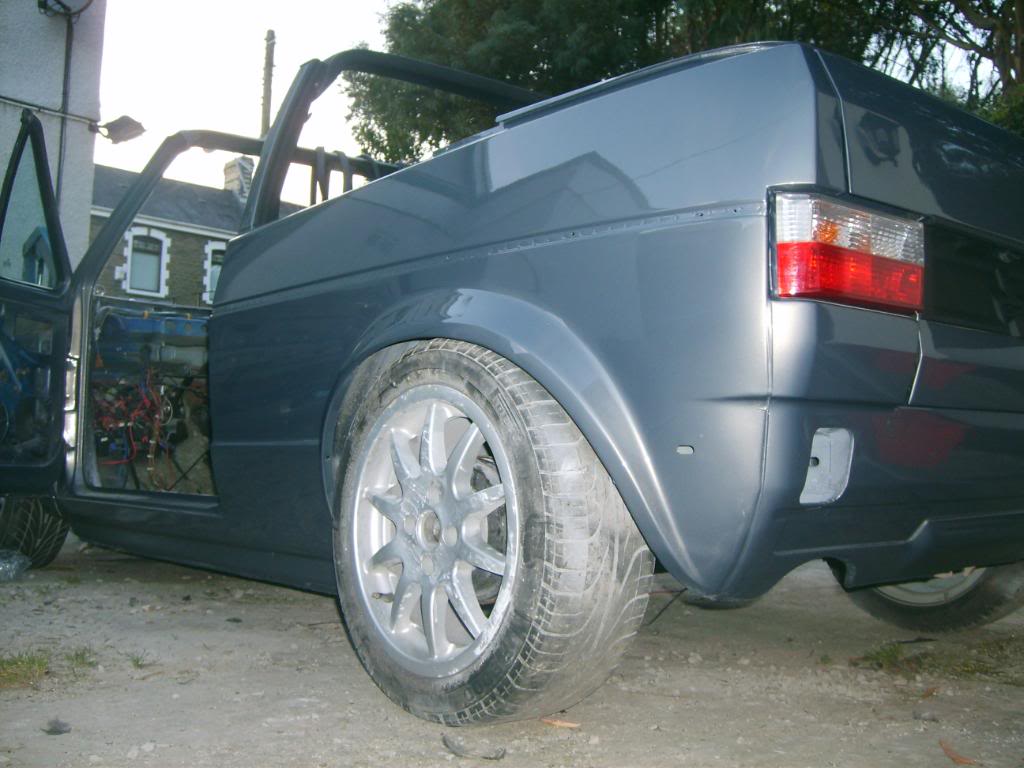
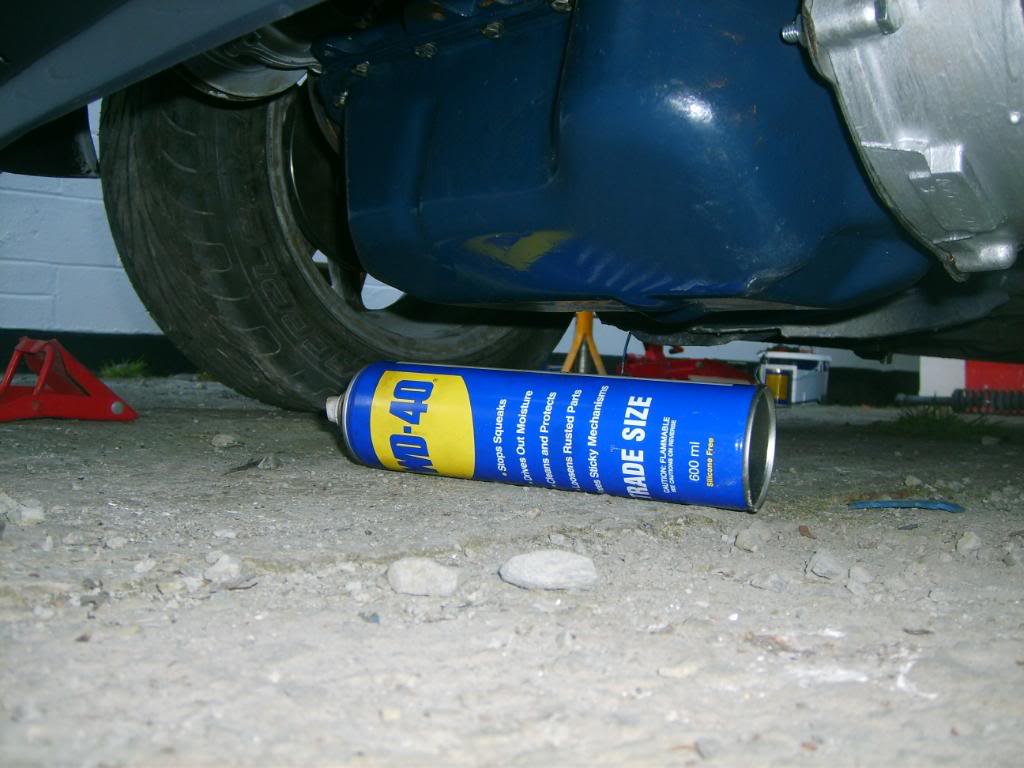
i've got a bit of a problem with my front geometry – lol :crazy:
and it'll be a little lit lower again with the 13" wheels.
whatcha think?
Posted
Settled In
i've had:
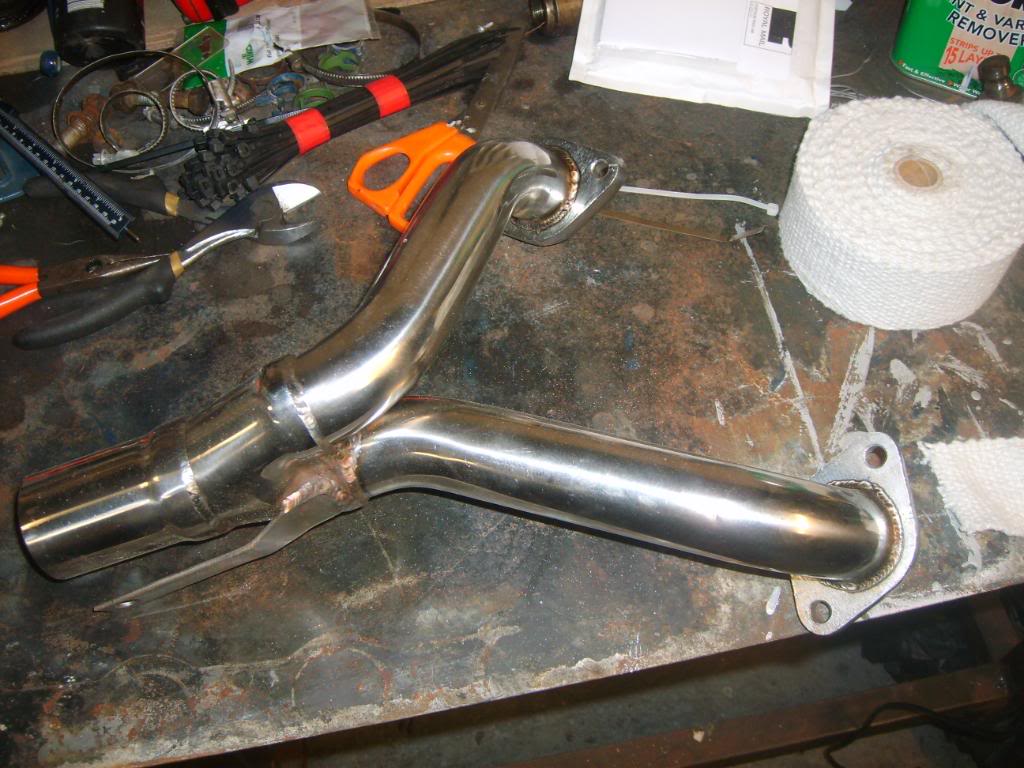
ceramic fiber heat wrap for the exhaust
stainless cable ties
black screws for refitting trim, headlights ect (replacing the rusty
ones)
new VW clutch cable
banjo fittings for fuel
8m of high pressure sytec 8mm fuel hose
aero style fuel filler cap and beauty ring
black tigerseal
m14 rose joints with teflon spherical bearings to replace track rod ends to recoup some of the angle from lowering
spark plugs
ABF 2.0 16v dizzy cap (exits at 90 degree so clears the new larger servo)
i'm trying to figure out a way of rising the ball joints on the front so that the wishbone isn't at such a silly angle… any ideas?
Posted
Settled In
Jobs done:
New fuel lines run,
Fuel pump wires run
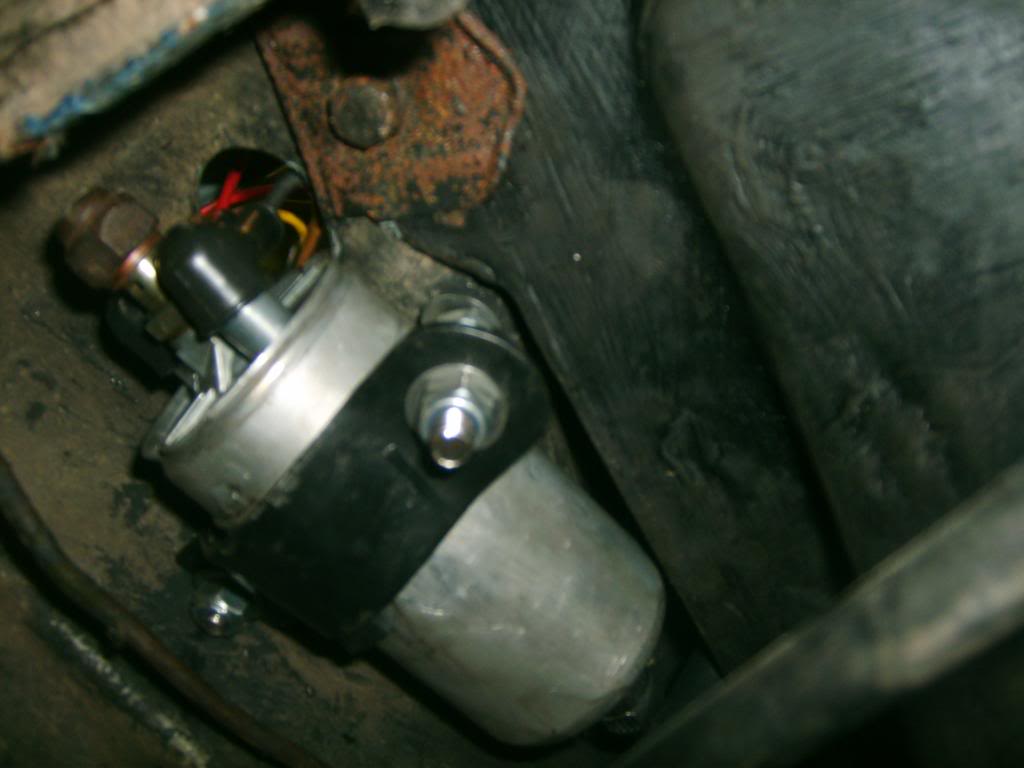
Fuel pump lift pump wired in
Fuel pump fitted
ABF Dizzy cap fitted with leads exiting to rear
Bosch spark plugs (iridium) fitted
HT leads fitted
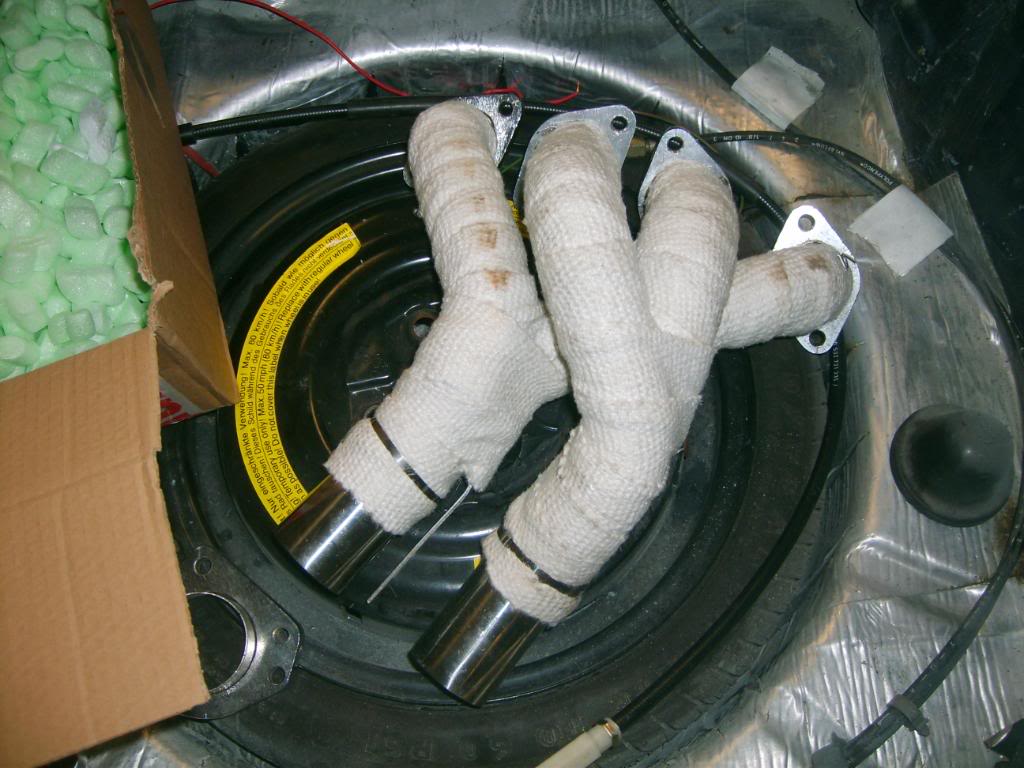
Exhaust wrapped
Steering UJ wrapped
fuel pipe..
then Huzey messaged me telling me about an ingenious little invention him and richie dreamt up… these little buggers.
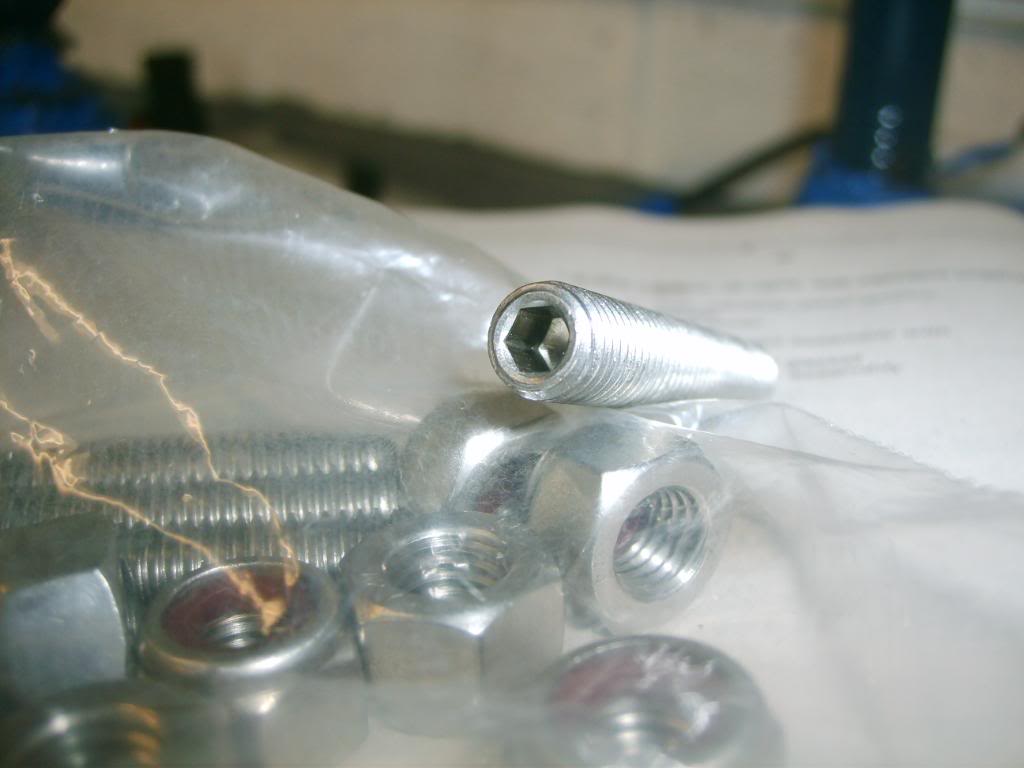
allen head studs with nyloc nuts that are good for 3000degrees. to hold my manifold on with. Apparently don't seize and are strong as hell. stainless.
give him a PM if your after some.
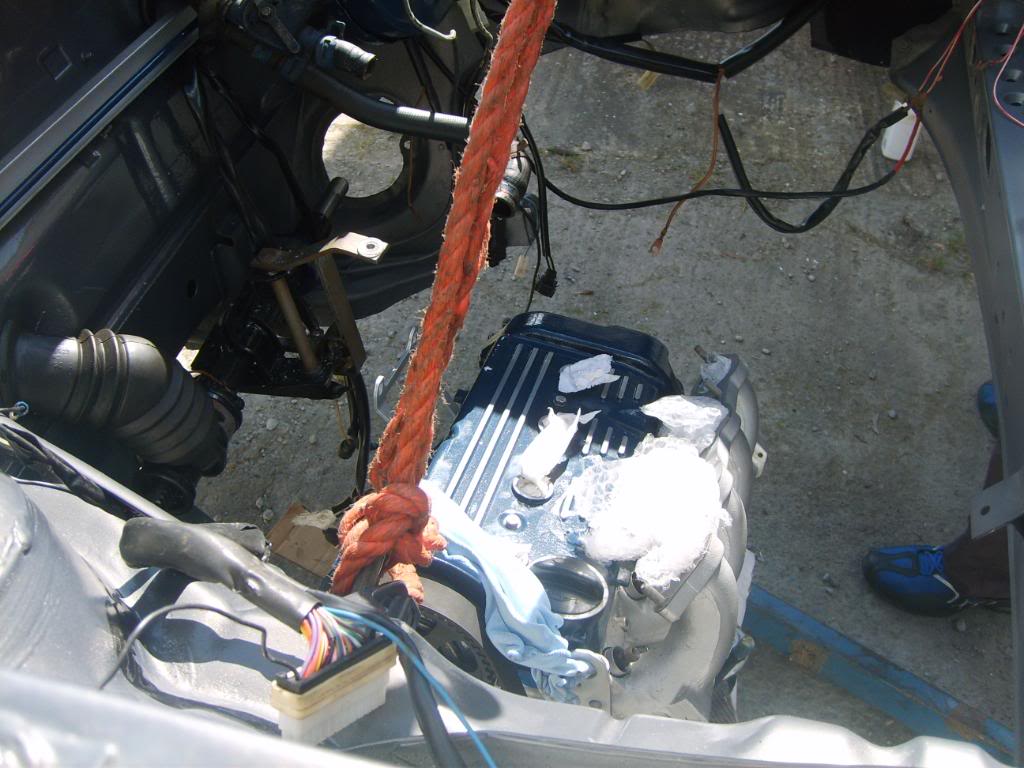
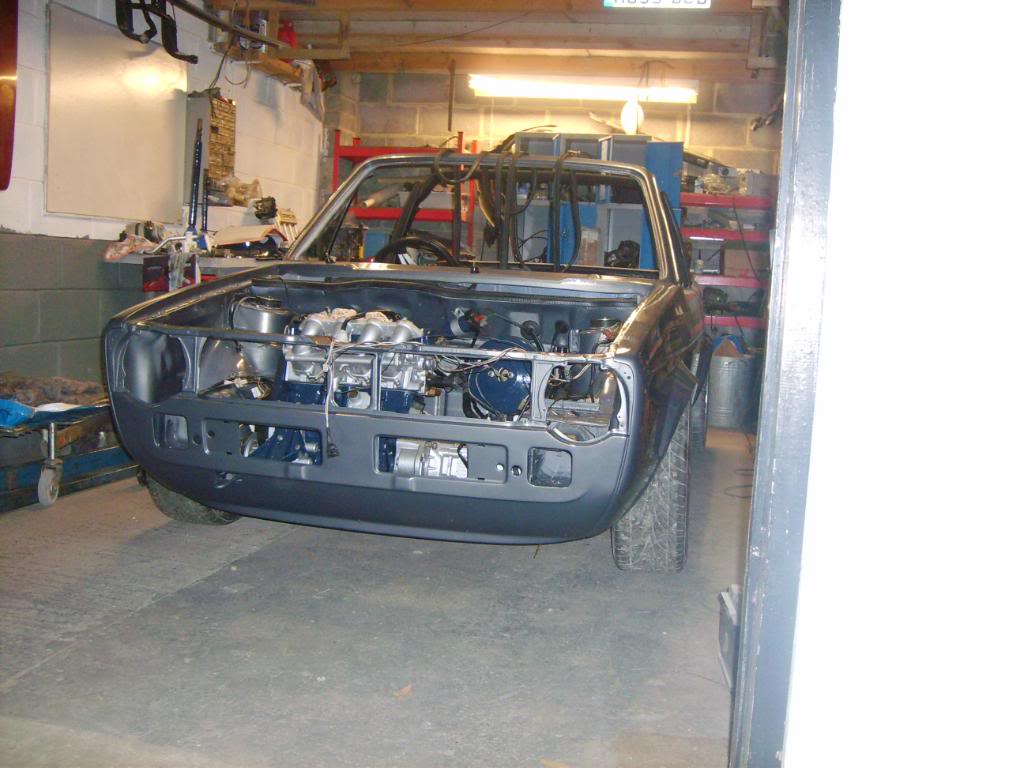
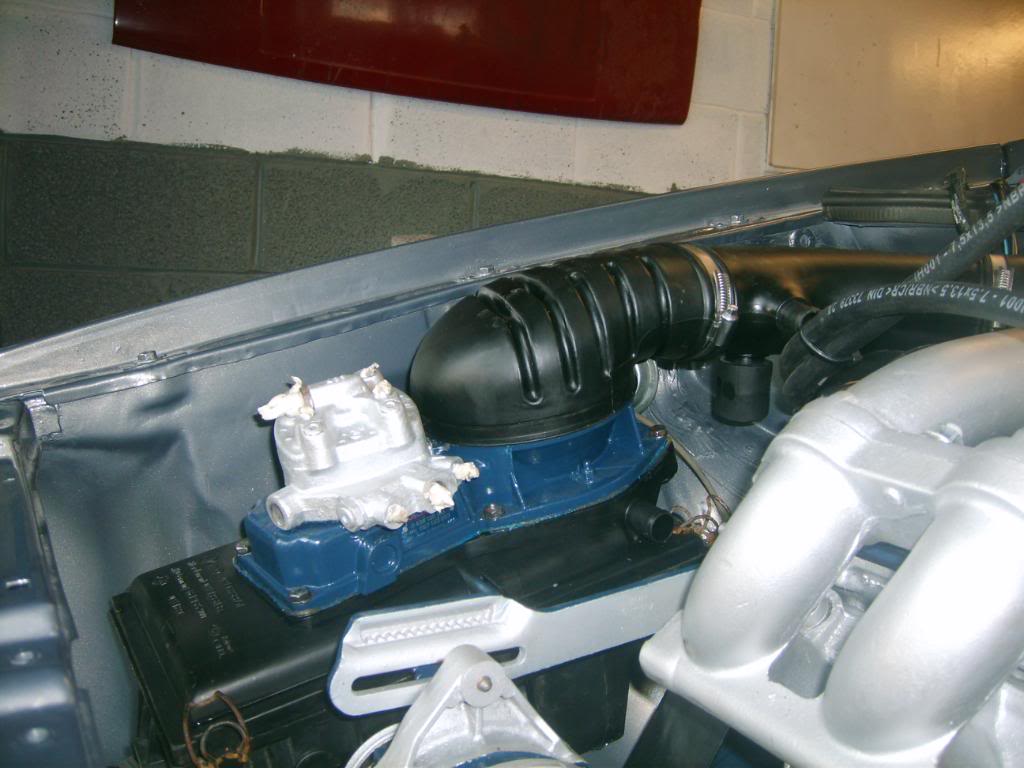
Right then.. some pics..


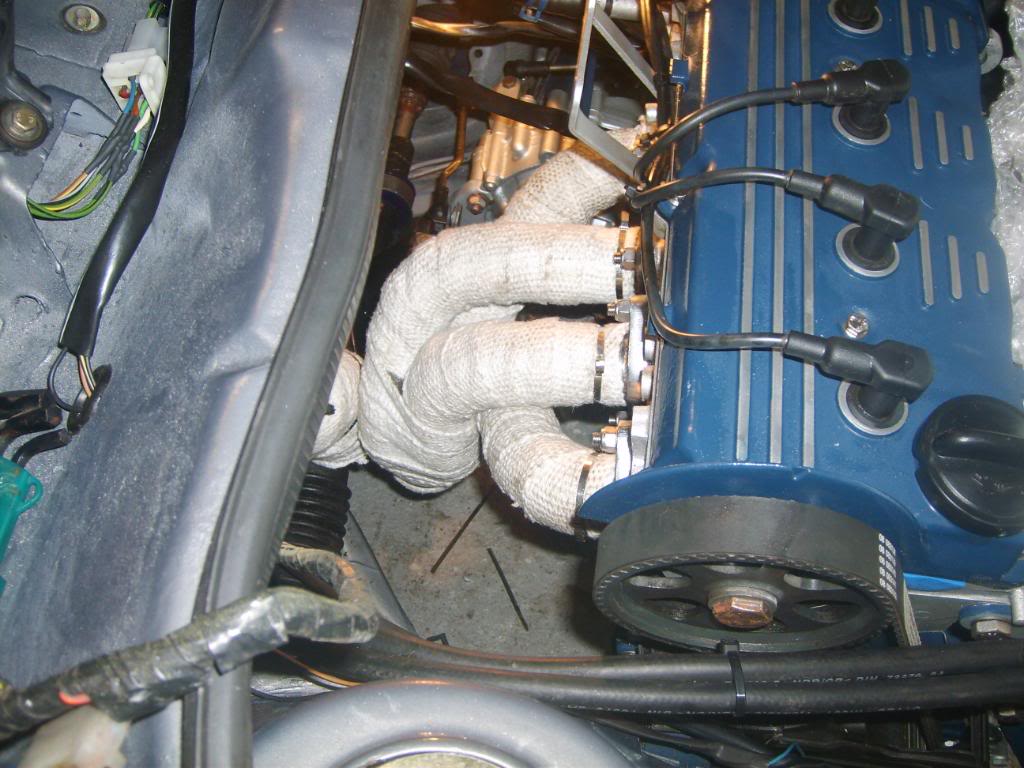

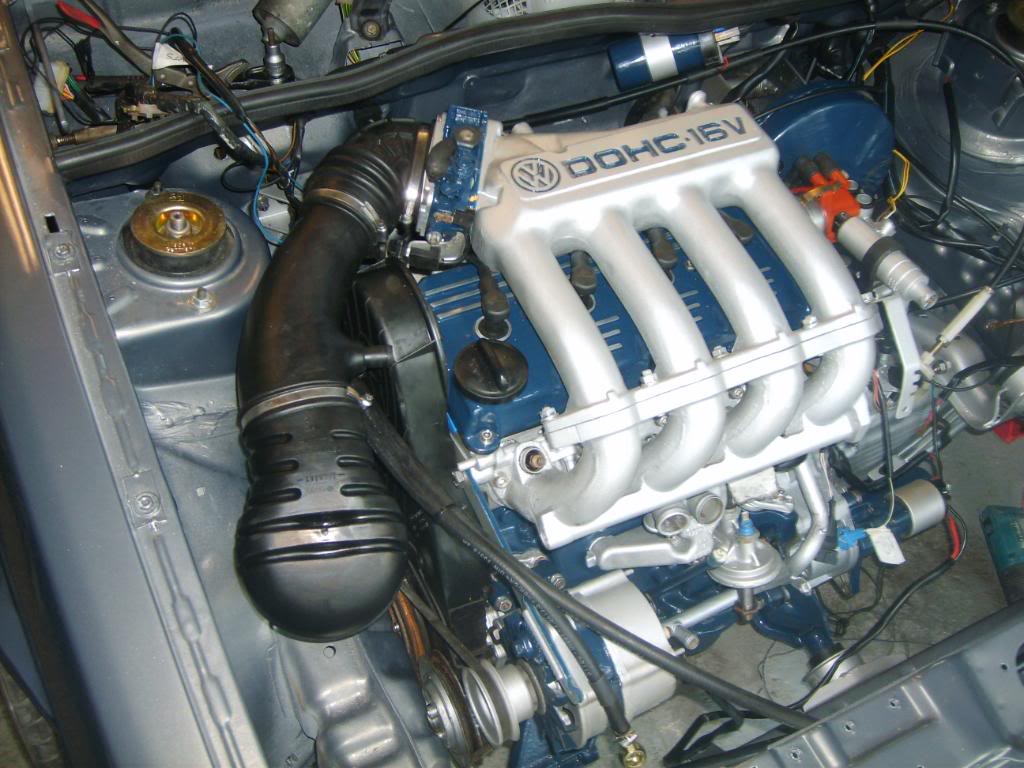
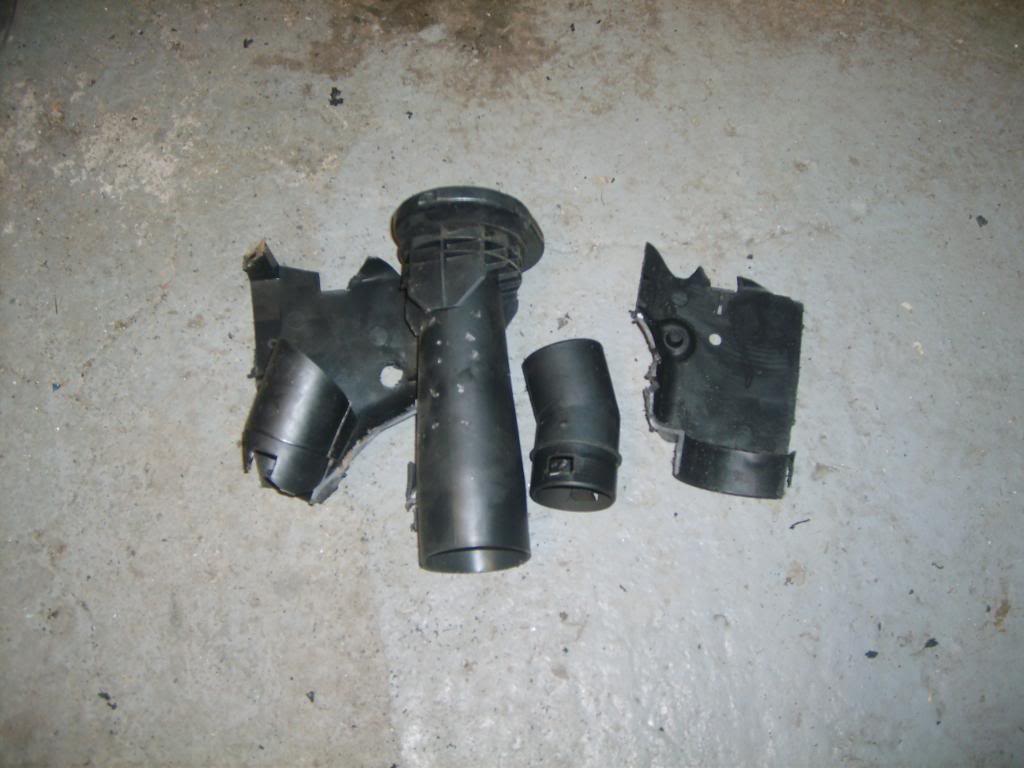
then i hit a problem The metering head and airbox was much too big for the gap.
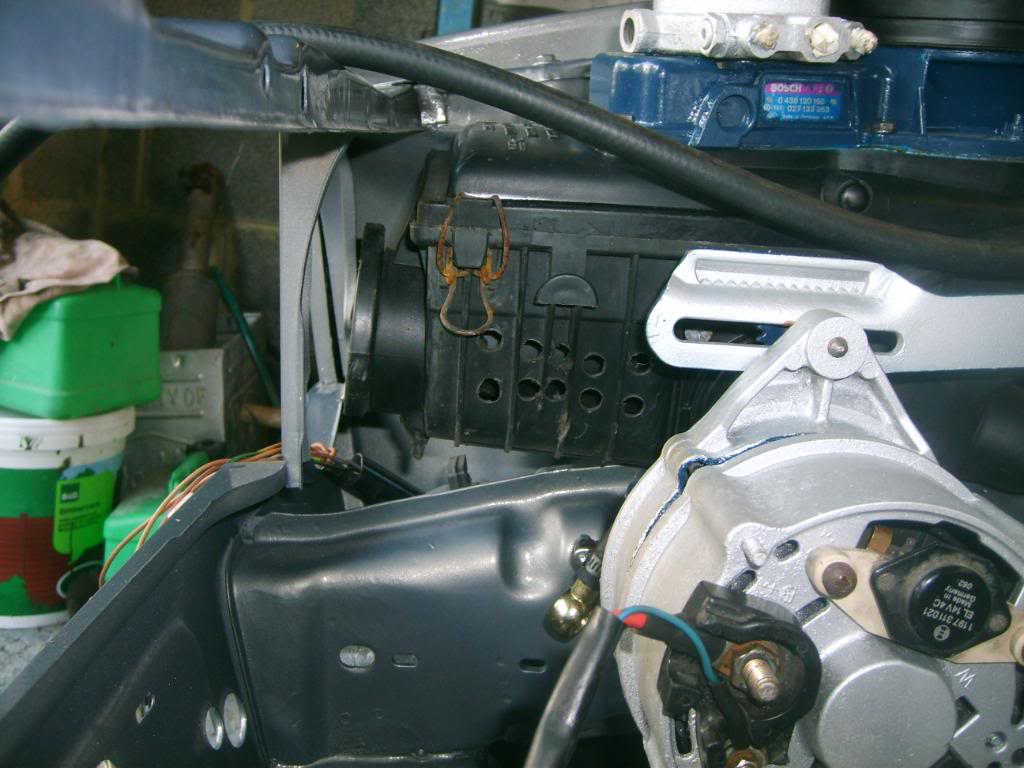
so what did i do??
:grinder: :toot:


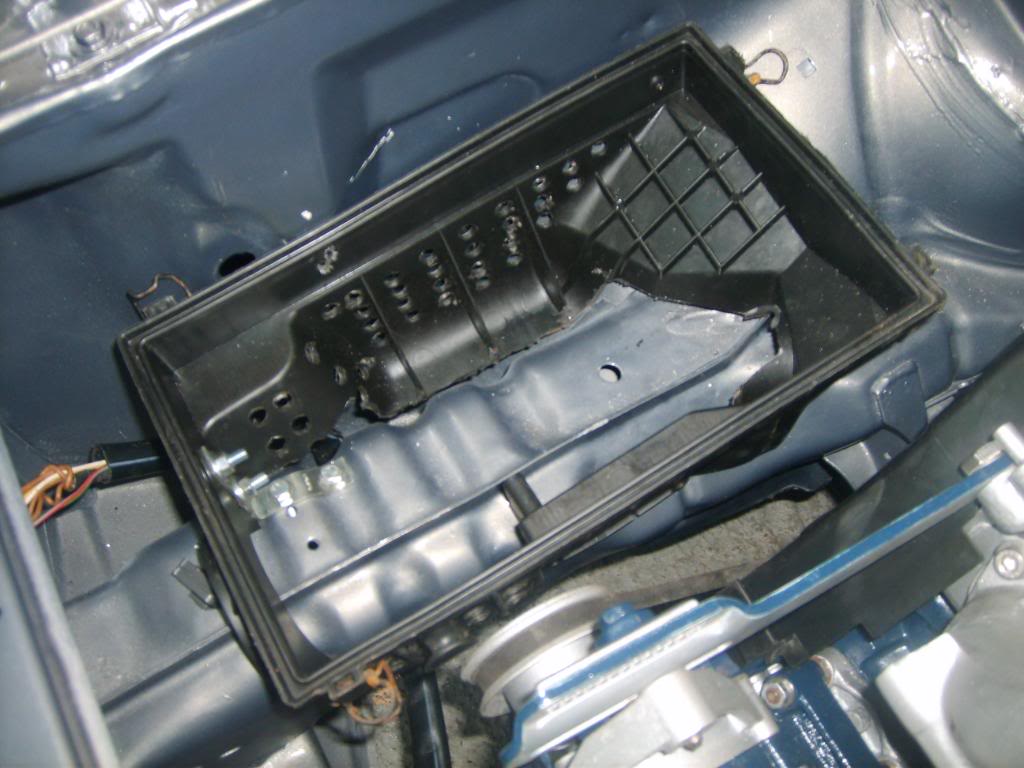
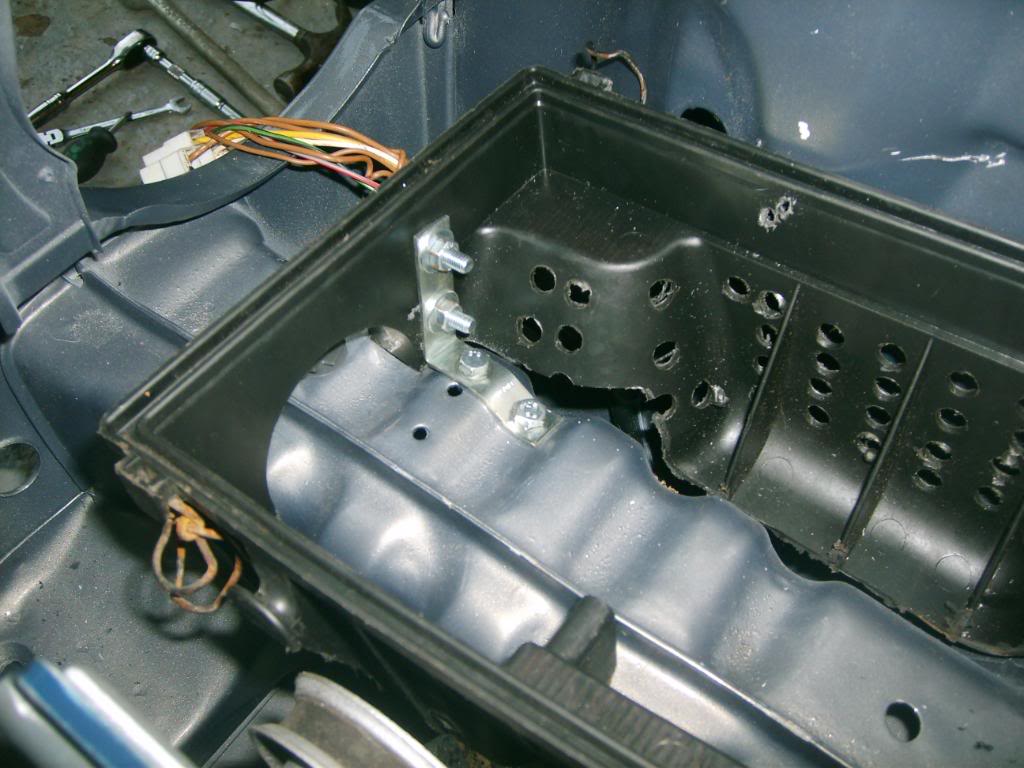
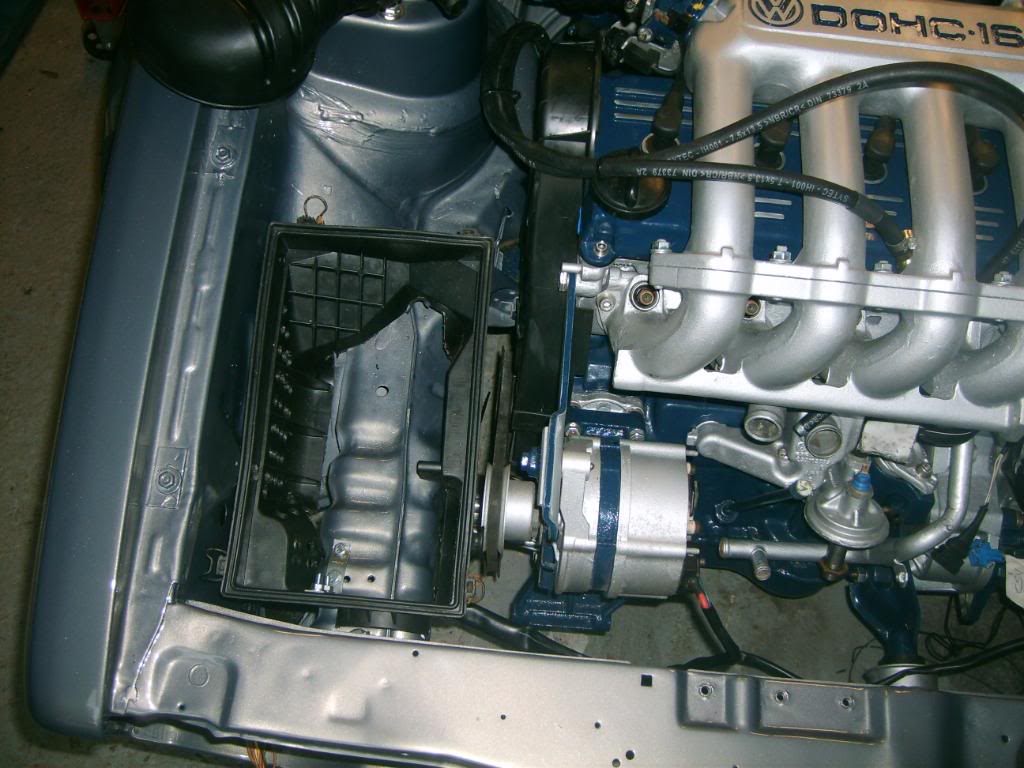
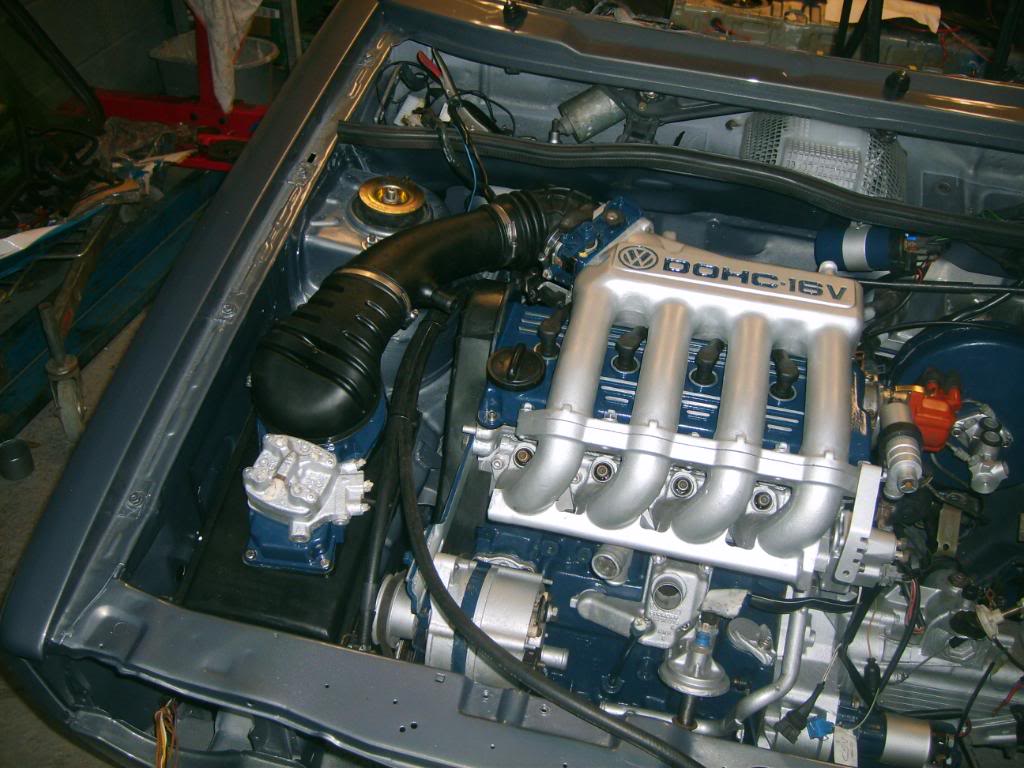
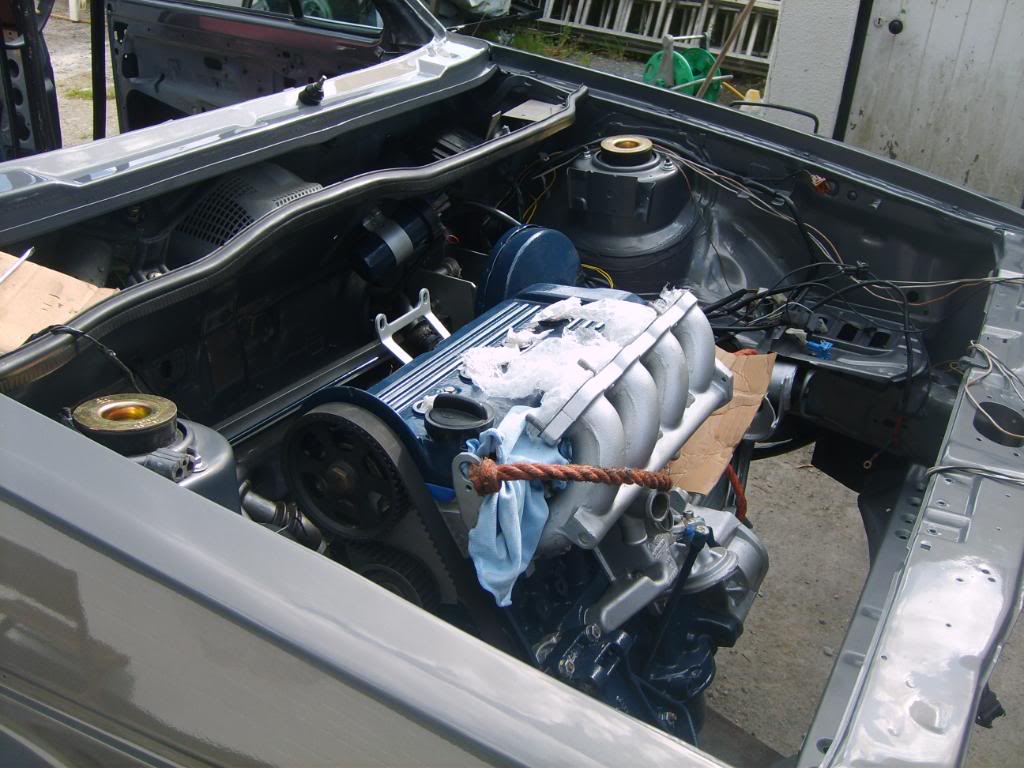
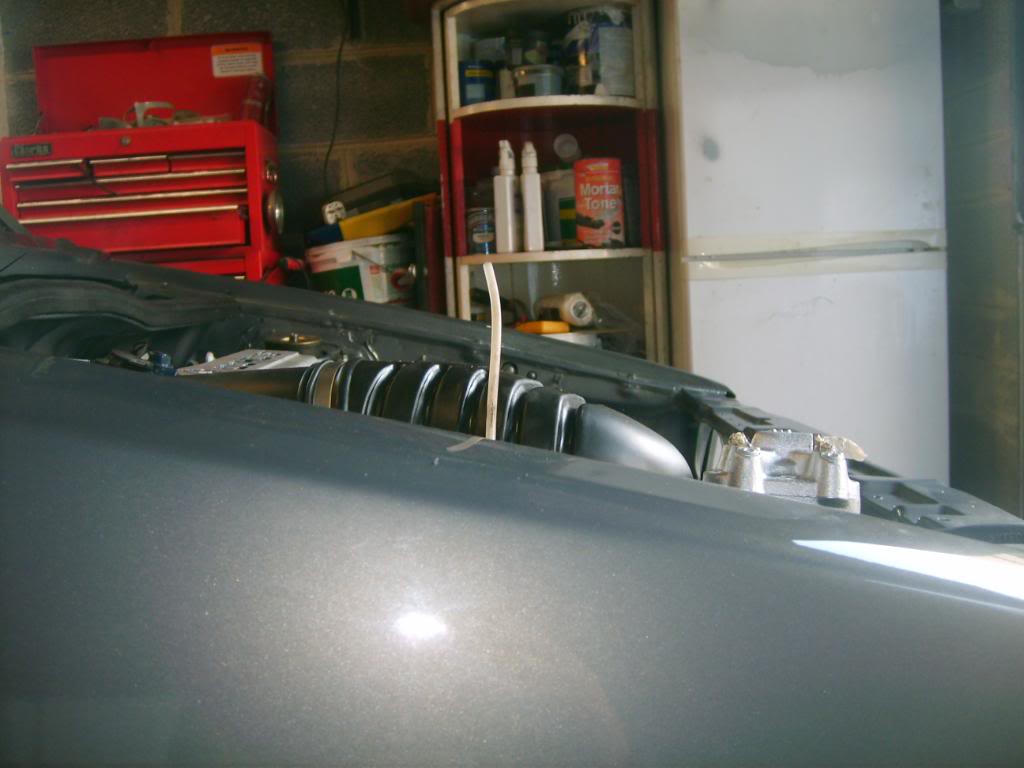
it's a bit tight and i don't know if the bonnet will fit yet but it hopefully be ok.
Posted
Settled In
cool colour aswell, but, i'm not too keen on the blue detailing on the engine, i think either the same colour as the car, or black.
but, yeah, keep it up!

'87 Mk1 Cabby.
MK5 Golf Daily.
Instagram - woahnowboys
Posted
Settled In
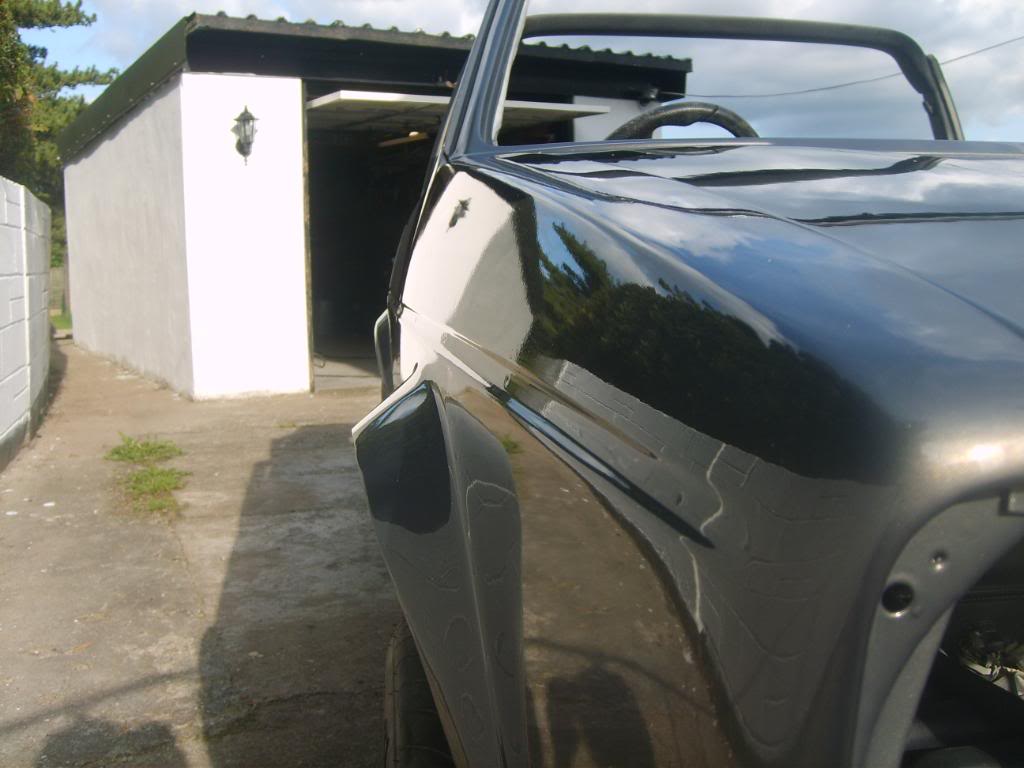
Idea was to match the roof.
We'll see how it pans out.
Posted
Moderator

Are you useing a kr or abf?
Ever growing range of new mk1 golf parts www.classic-vw.co.uk
Posted
Old Timer


Posted
Settling In

Top work!!! :twisted:
Posted
Settled In
it's a KR. i've wired all the isv, wur, and stuff in to which was a bit hard but i think i've done it right… we'll know in a week or 2 when i try and start the bugger.
Posted
Old Timer
Oh yes and the wrap will smoke badly for a few minutes till it cures - its a bit dramatic when you first see it and smell it!!! 8)
0 guests and 0 members have just viewed this: None.