


83 Gti set to get full resto

Posted

Moderator


My 83 Gti set to get full restoration
Yomp said
Just had chance to look at the You tube vids Andy.
He forgot to put tallow on the paddle at the beginning but yea thats pretty much how you do it.
I can tell you have a good feel for metal so you'll soon get the hang of it.
If you need to, you can add a little bit of water to your flux over time otherwise it can thicken, leaving the lid off etc.
I would also use a whurly wirewheel on your spot welds lightly just to remove those last bits of engrained carbon deposits around the welds. Although the acid in the flux will also clean you want that to have to do minimum work ideally.
It looks like you only have one flat paddle with your kit. A half round one is needed ideally as well to get around the inside radius of the arch (above where you spot welded)
Yeah just a flat paddle in the kit I bought, I'm going to machine mart in the morning hopefully they will have one, if not I'll just postpone until I've got one.
Cero said
Andy nice work on the repair work so far. I got additional flux from a firm in Dalry, Ayrshire, I think they were called 'earlybird'. The lead work is really all down to experience and judging the level of heat, if you can master that you're away.
Keep up the good work.
Cheers Cero, The leading will take a bit of getting used to but I'll crack it I reckon.
Andy.


Posted
Moderator
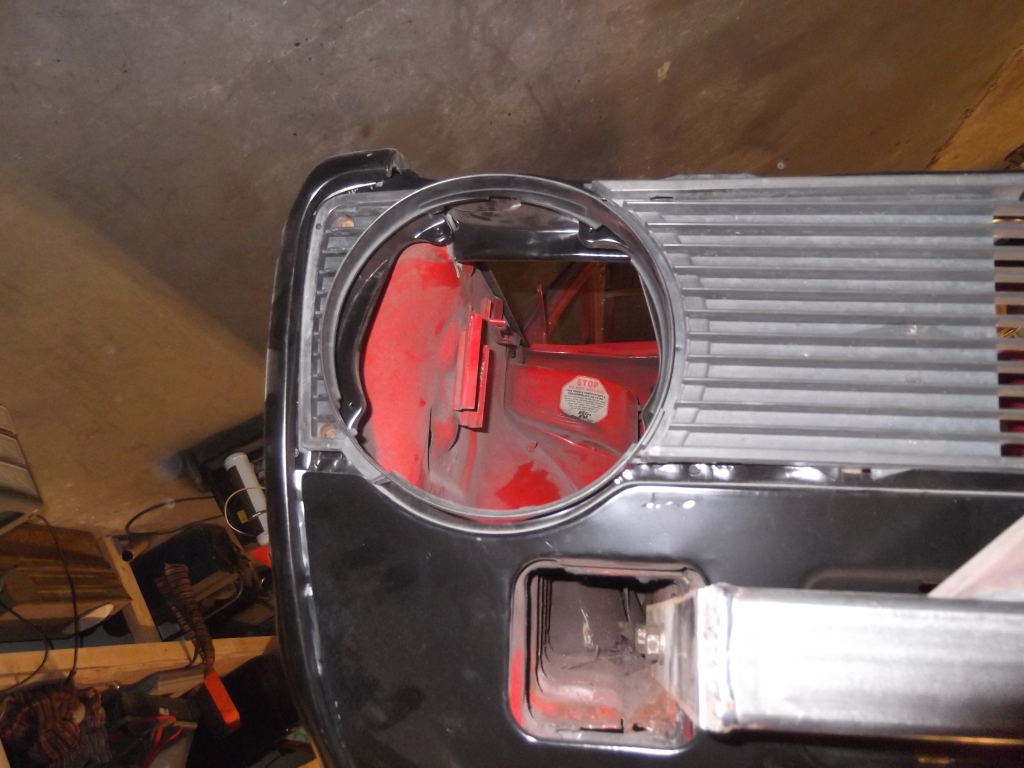
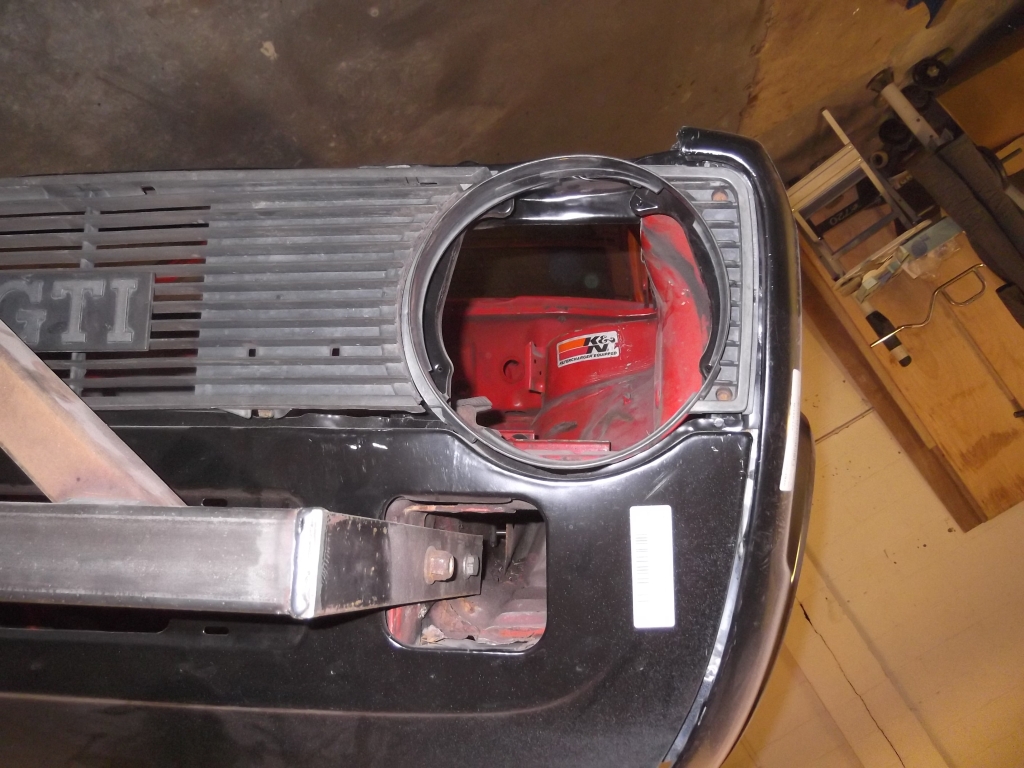
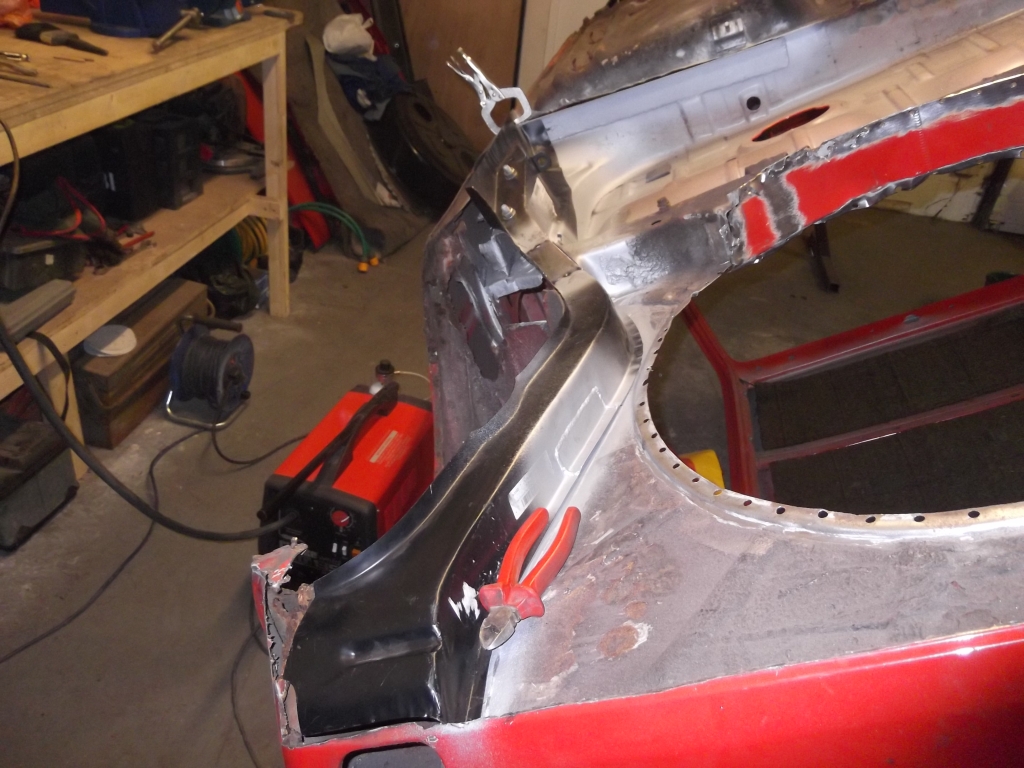
First off I tried the wings back on with the grille fitted to see how it all lined up. It's not that bad tbh, just a small amount of tweaking and it'll be good I reckon.
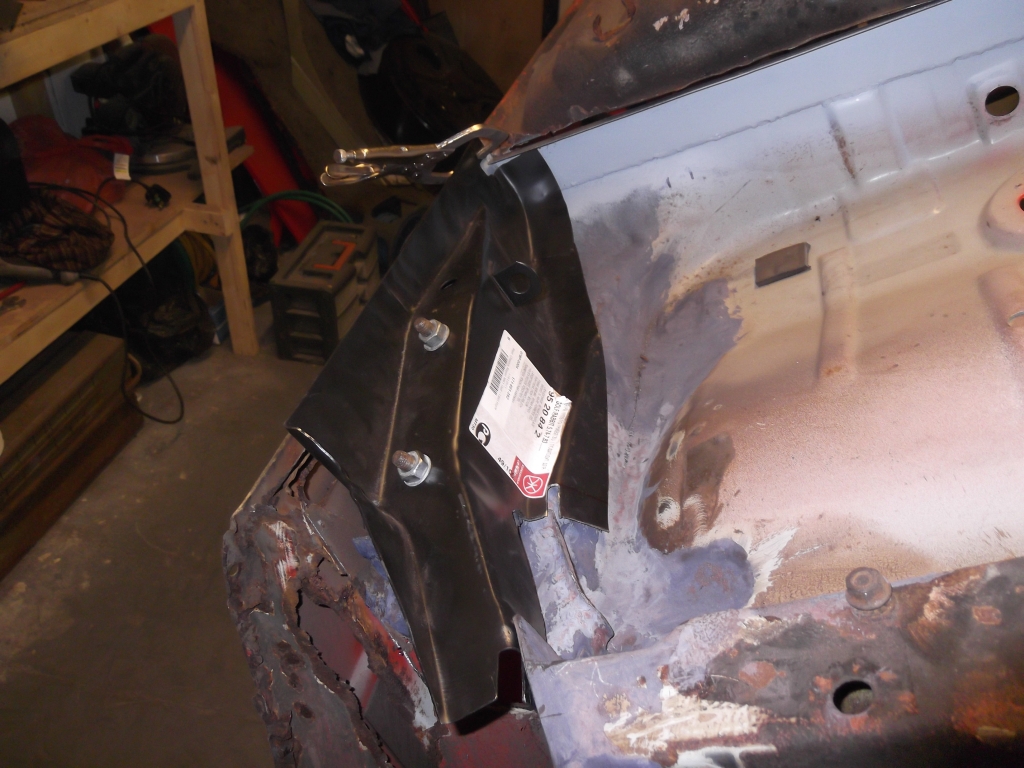
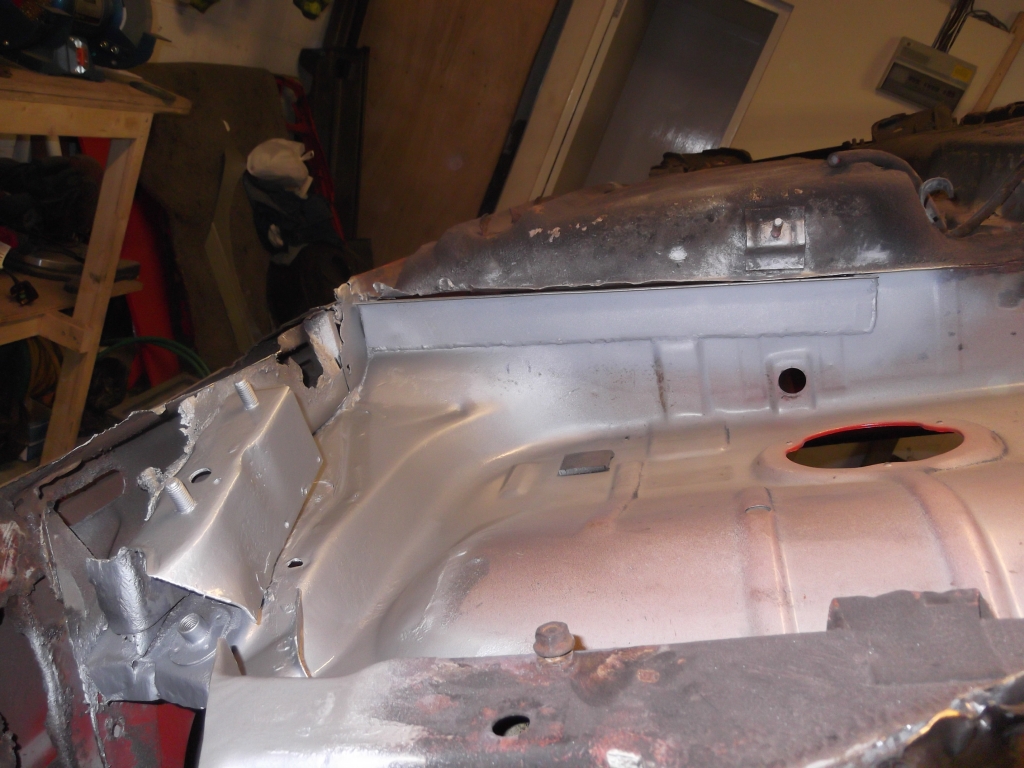
I then moved on to sorting the o/s axle mount/chassis leg area. I started off removing the rot from the rear bench where it meets the axle mount repair panel. I forgot to do this on the n/s, so that still needs sorting.
Piece bent and marked up
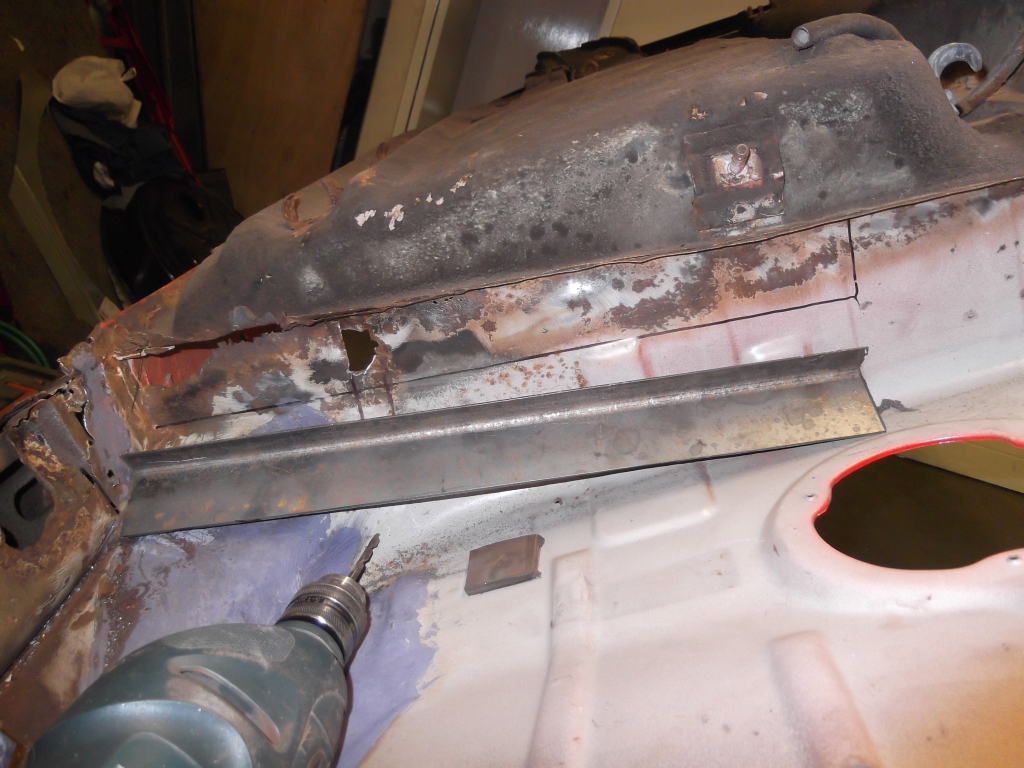
I welded it in, both sides of the panel(inside and out)
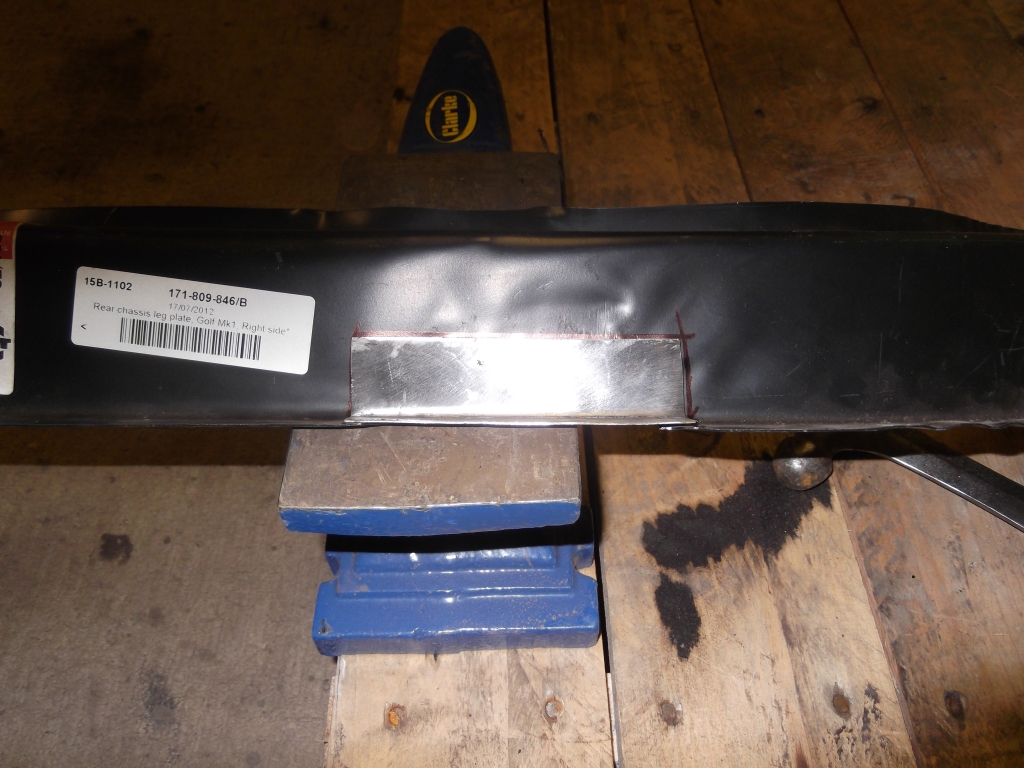
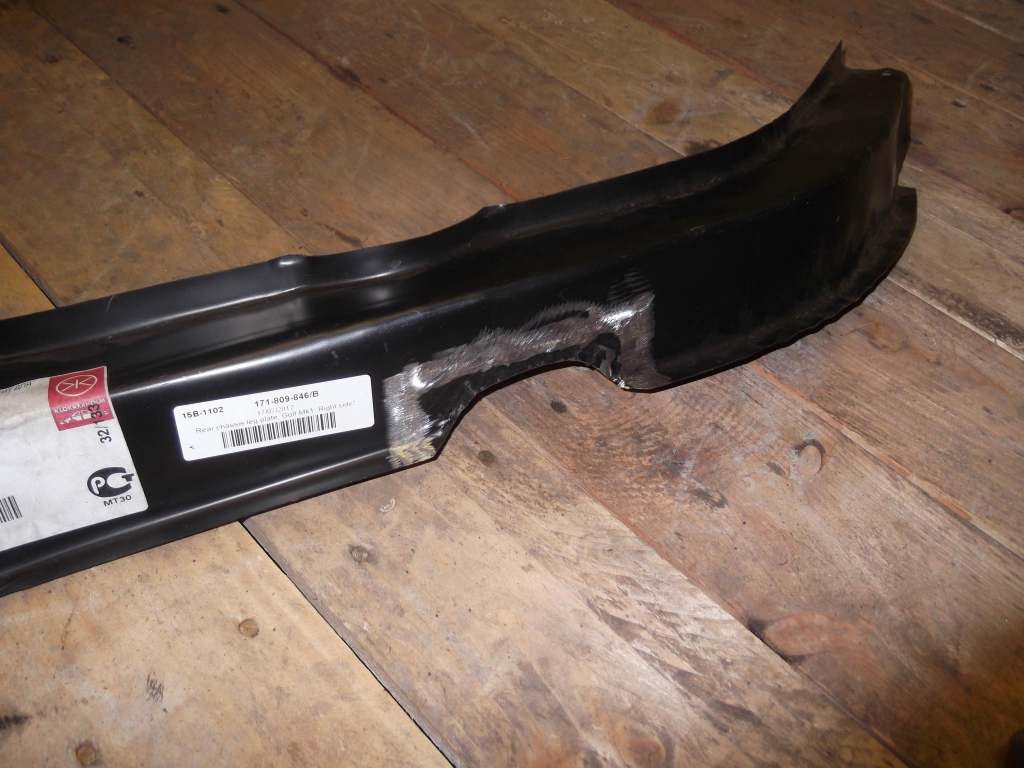
Moved on to reworking axle mount repair plate to fit around the hole for the breather pipes…
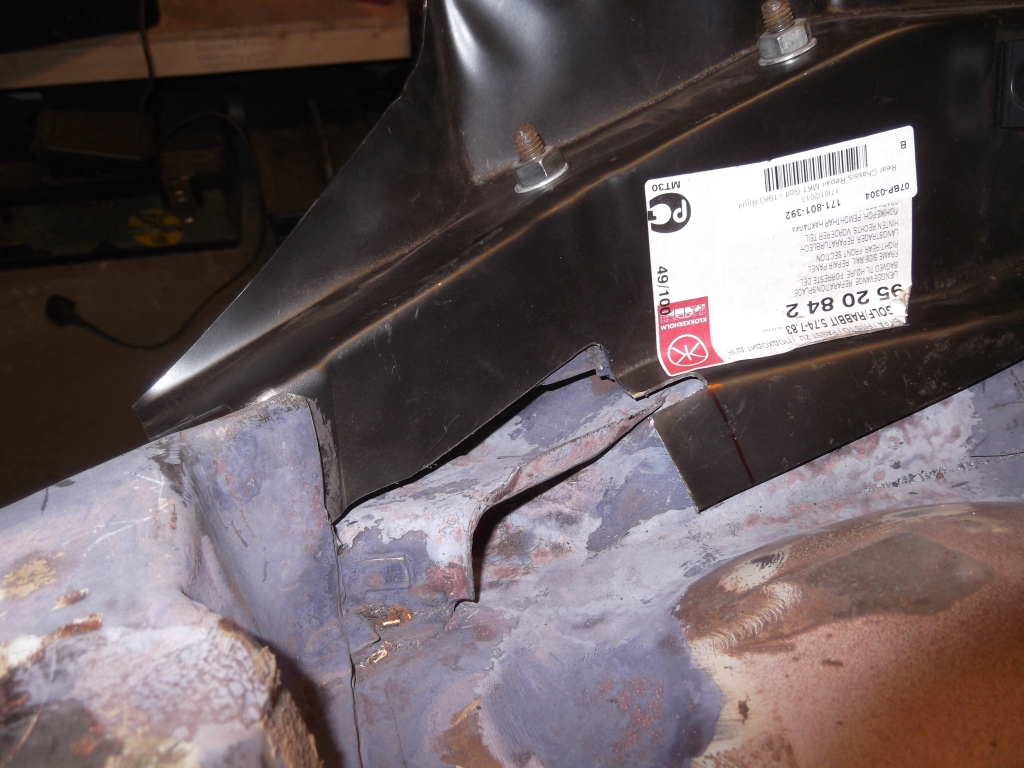
Filling in the gaps…
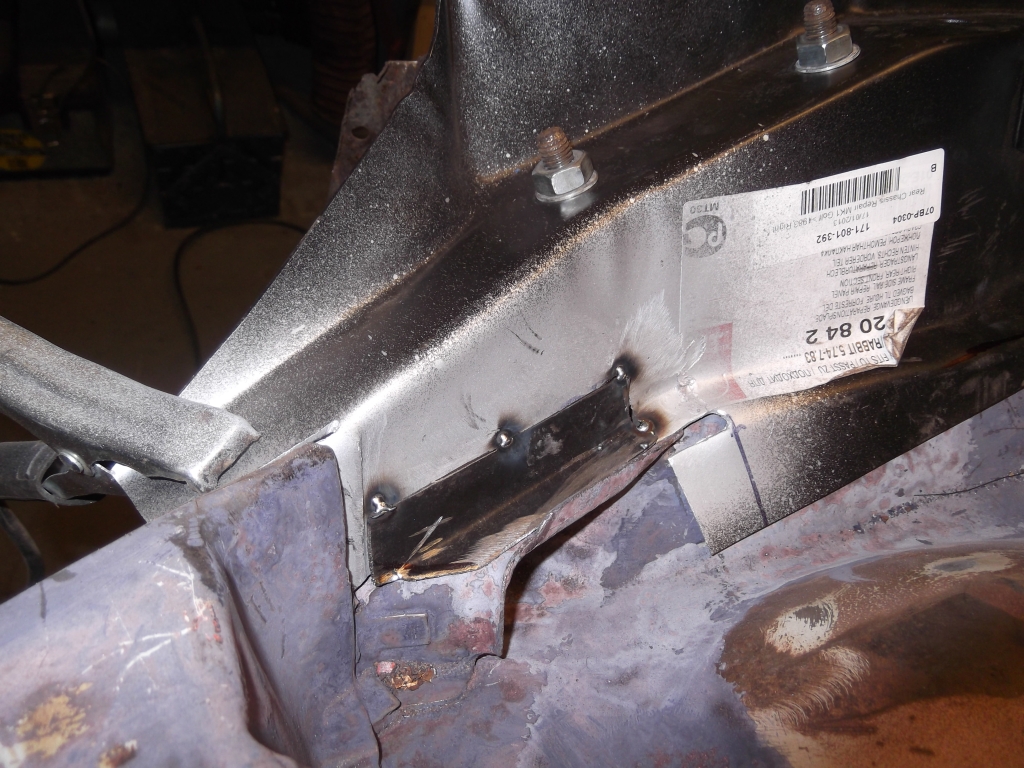
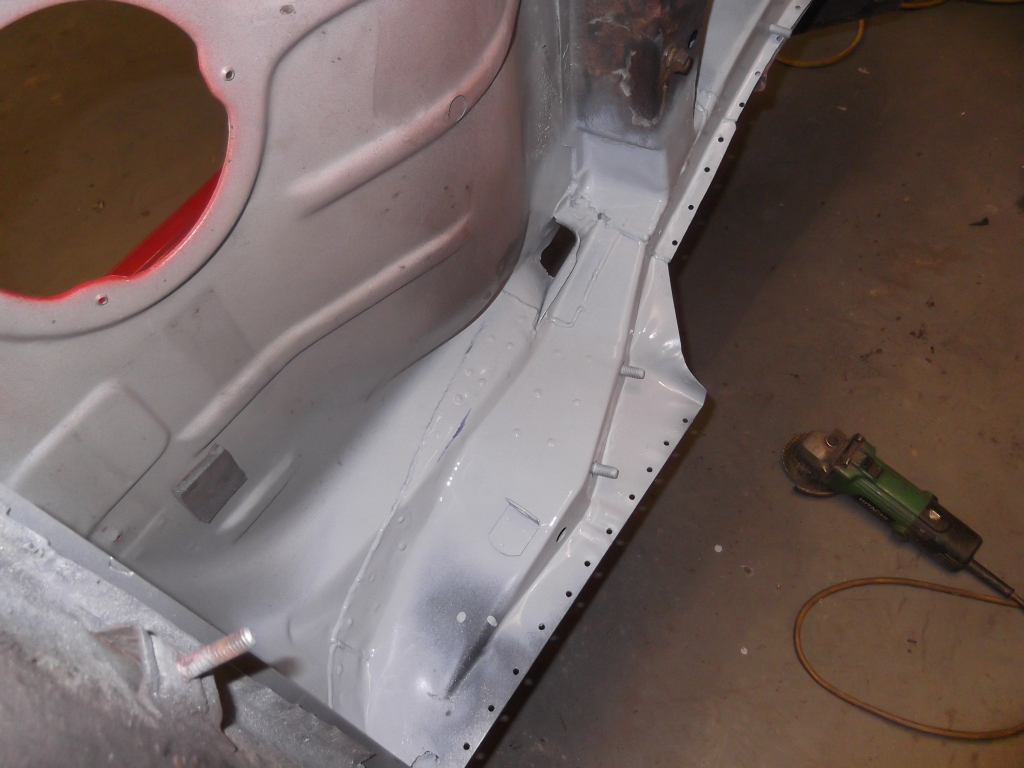
I then moved on to the unwanted cut out in the chassis leg..
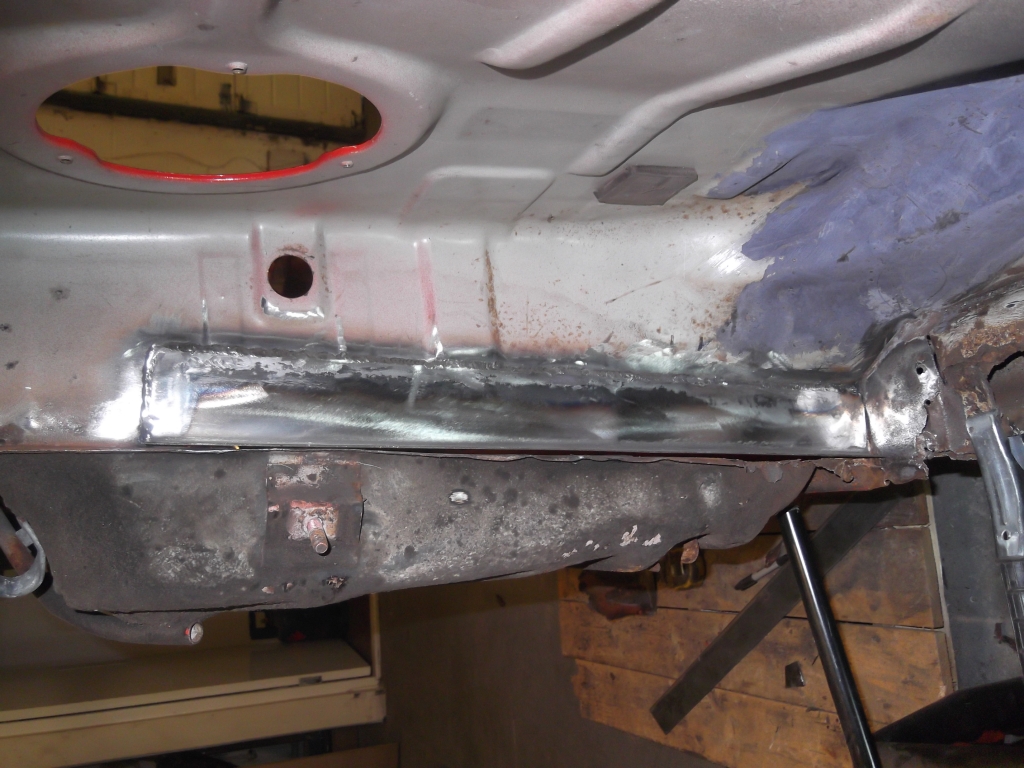
As always, I use weldable primer on all bare metal surfaces at every stage…

This area was treated with locktite rust treatment last night and was cleaned back off before pirimering..
That's as far as I got today. I'll have another update tomorrow after another day at my 2nd home
 Andy.
Andy.
 Last edit: by Melteddrummer
Posted

Local Hero

 EDIT - Your photos just appeared when I posted - more good work
Andy
LINCOLNSHIRE REGION - https://www.facebook.com/groups/467122313360002/
1983 MK1 Golf GTI Campaign Model - Under (looooong) resto!
1962 Rover P4 80
2002 BMW 745i
2008 BMW Z4 2.5Si
LINCOLNSHIRE REGION - https://www.facebook.com/groups/467122313360002/
1983 MK1 Golf GTI Campaign Model - Under (looooong) resto!
1962 Rover P4 80
2002 BMW 745i
2008 BMW Z4 2.5Si
Posted

Local Hero
Photos never quite portray the amount of time involved to get it right!
I was doing alot to mine this time last year and was basking in 20 degrees. I'm glad I'm not doing one this spring!
 Looking forward to the updates!
Posted
Moderator
Posted

Moderator


Posted
Moderator
smudger1980 said
Nice skills Andy. You'll be a master at MK1 welding by the time that little lot is finished.
I hope so Smudger. I hope to be doing this for a living or at least a second income eventually. Just practicing on my own car first
Posted
Moderator
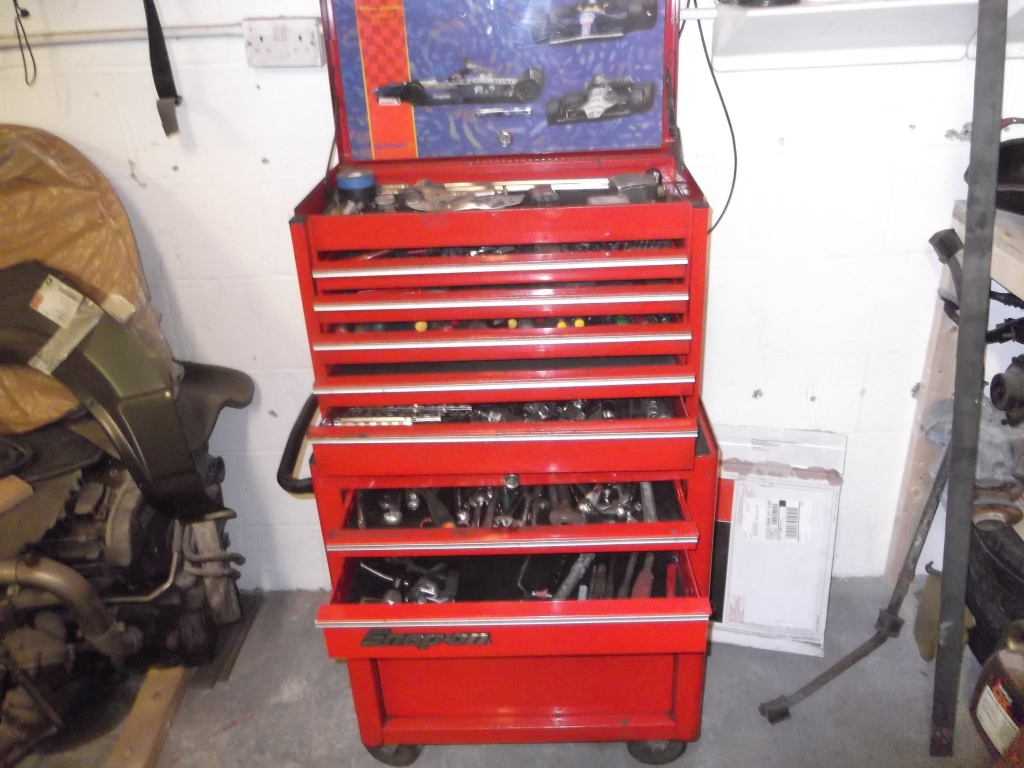
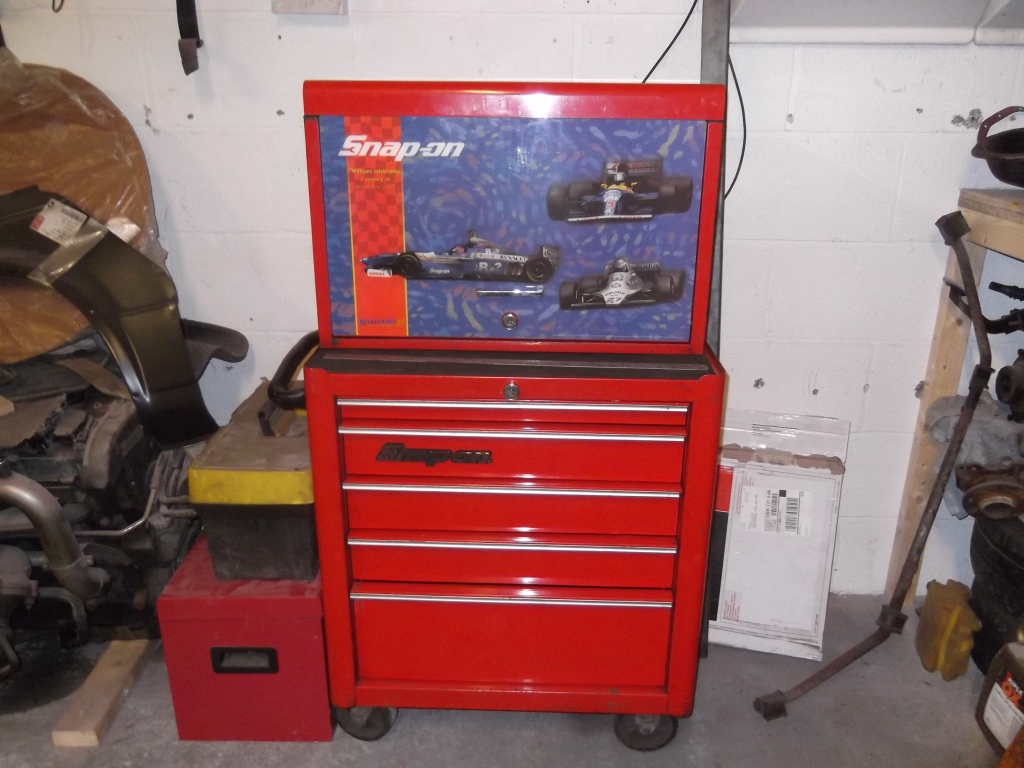
Got a late start today as I was bidding on a new tool box for the lock-up on ebay and didn't wan't to miss it! I still haven't ventured into the smartphone era

New Box in it's new home
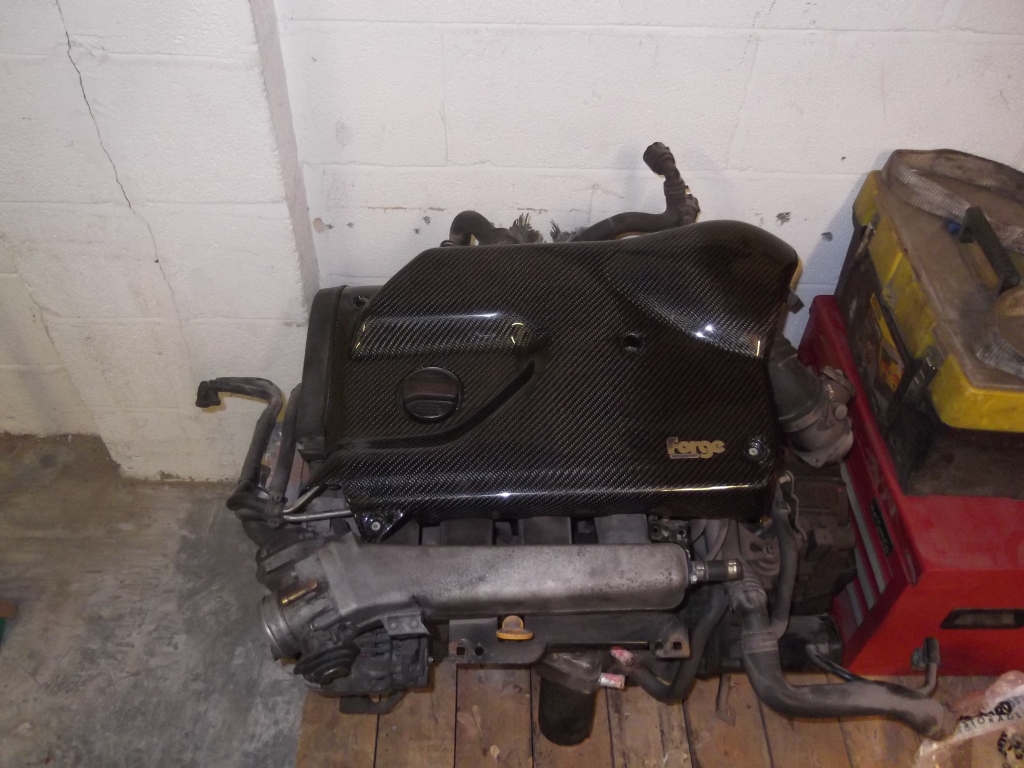
Tried on the carbon cover from Smudger, the pics don't do it any justice and the engine could do with a good clean as well.
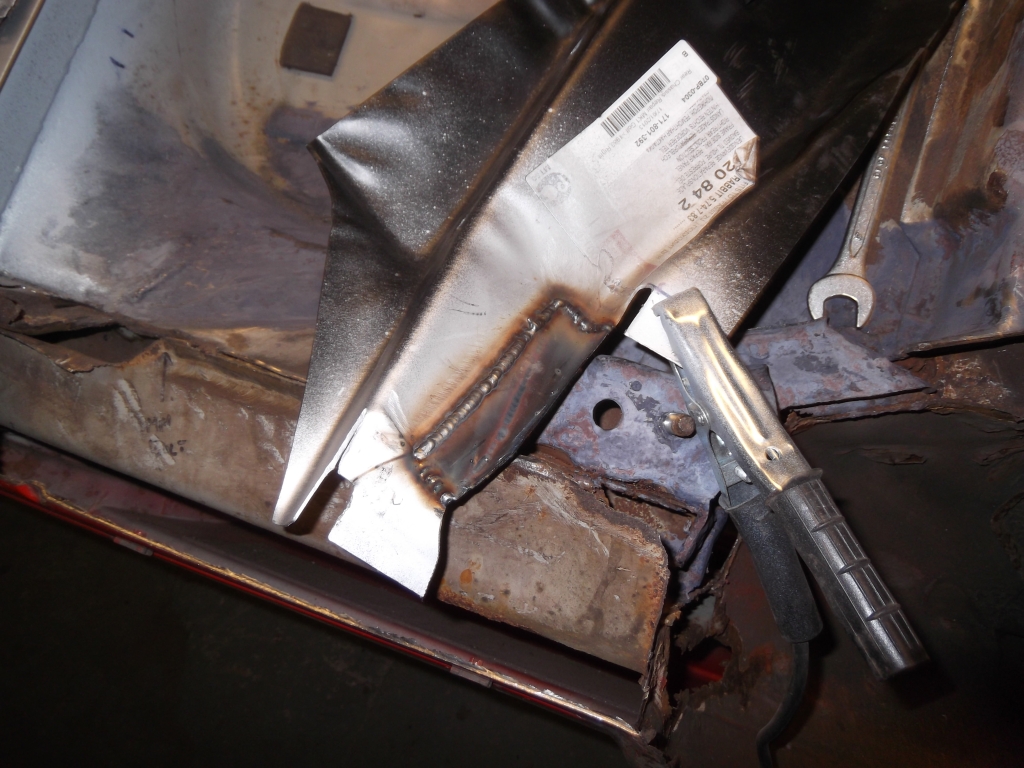
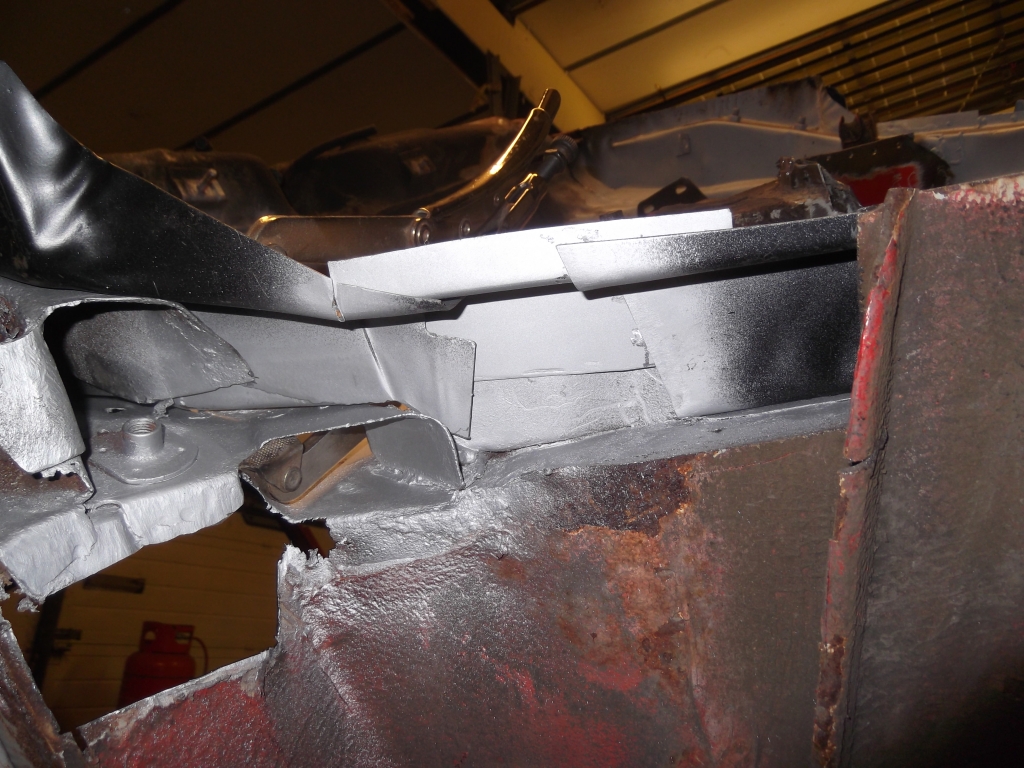
Anyway got on to making up the bridging piece, to make the axle mount and the chassis leg all one unit, as I did on the other side.

From the side
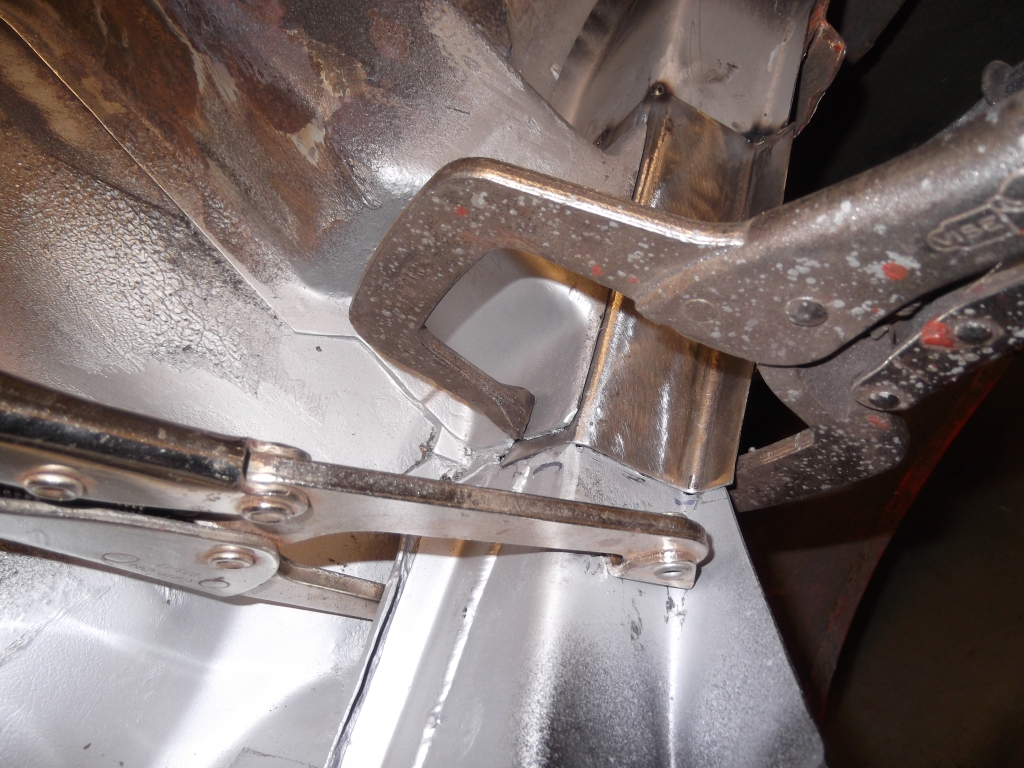
Clamping it all together before tacking up
All tacked up and ready to be removed and welded fully.

Heres a view of the whole rear chassis, all new and nearly completed.

It's a good feeling to know that the car will be safe again when it's finished.
More updates tomorrow.
Andy.
Posted
Local Hero
I so wish I had room in my garage for a roll-over jig. Had to do all mine laying on my back with little room - not fun!
Need to re-do my chassis leg repair too now I've got a new welder, the SIP MIG wire feed was so inconsistent it was a nightmare to work with, and whilst I'm no expert at body work I know it screwed up my results
Andy
LINCOLNSHIRE REGION - https://www.facebook.com/groups/467122313360002/
1983 MK1 Golf GTI Campaign Model - Under (looooong) resto!
1962 Rover P4 80
2002 BMW 745i
2008 BMW Z4 2.5Si
LINCOLNSHIRE REGION - https://www.facebook.com/groups/467122313360002/
1983 MK1 Golf GTI Campaign Model - Under (looooong) resto!
1962 Rover P4 80
2002 BMW 745i
2008 BMW Z4 2.5Si
Posted
Moderator

Posted
Moderator

Posted
Moderator
Posted
Settled In

Old dubs never die, they just get lower
Posted
Moderator
dik-van-dub said
it amazes me how quickly you are tackling this
Cheers mate. I have the advantage that my lock up is only a ten minute walk from my house and I have no family to think of, so I spend every night after work, Saturday all day and Sunday all day at the lock up
I need to get a life, most of my mates are out on the lash over the hols and I'm working on the car
Posted

Old Timer

Also when you're working on the rear arch it would be the right time to fold the lip under in order to fit a larger wheel/tyre combination.
Posted
Moderator
Posted
Moderator
Would have been sooner but my internet was cut off due to spending too much money on the car lol Took the chassis leg/axle mount, which is now one piece, back off the car to weld up fully.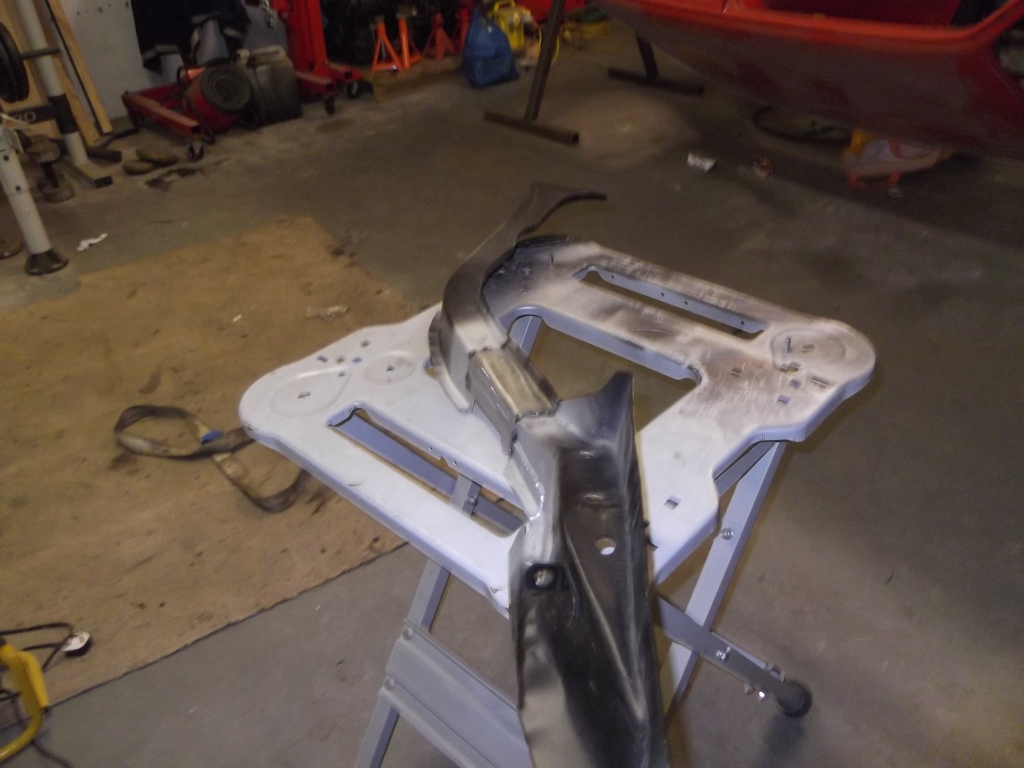
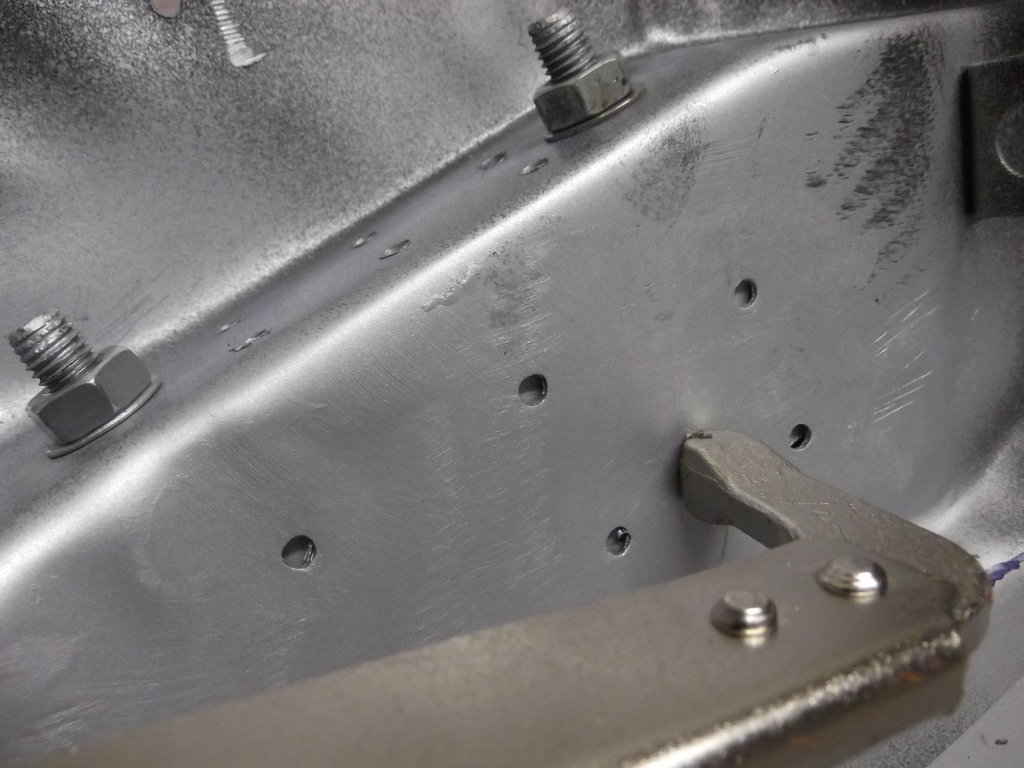
All finished
added a bolt that I can't remember what's for?

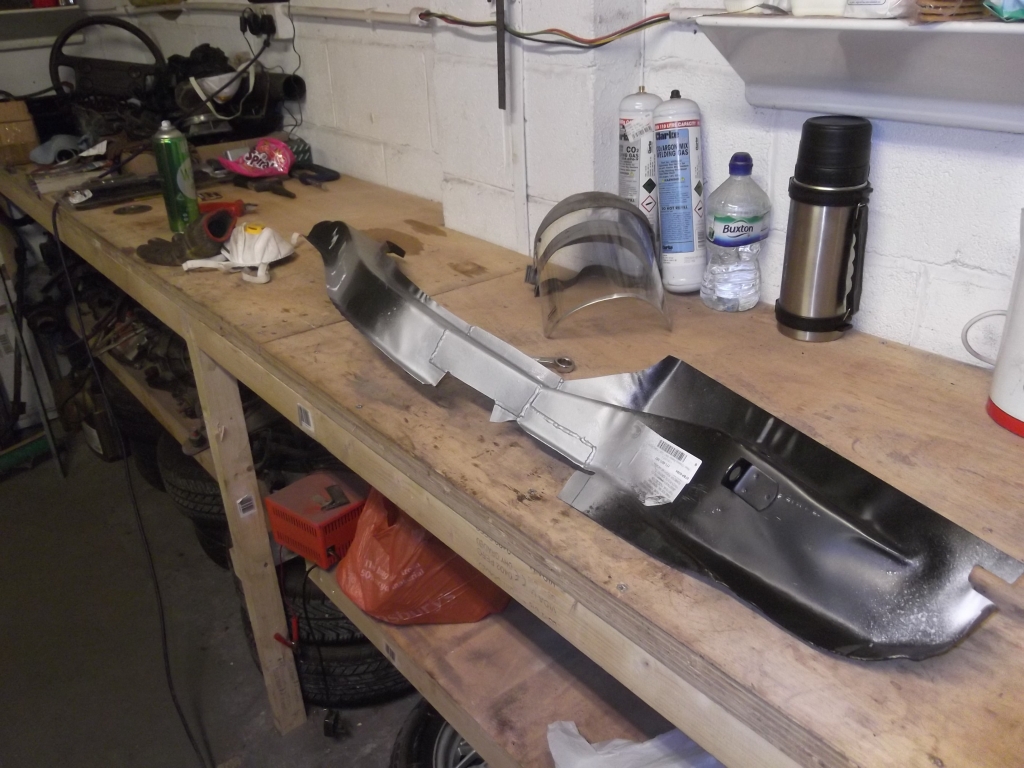
Tried the new panel on but there was a bit of a gap between the panel and the axle mount, not much but I'm never happy lol
Solution - added a new plate to take up the gap
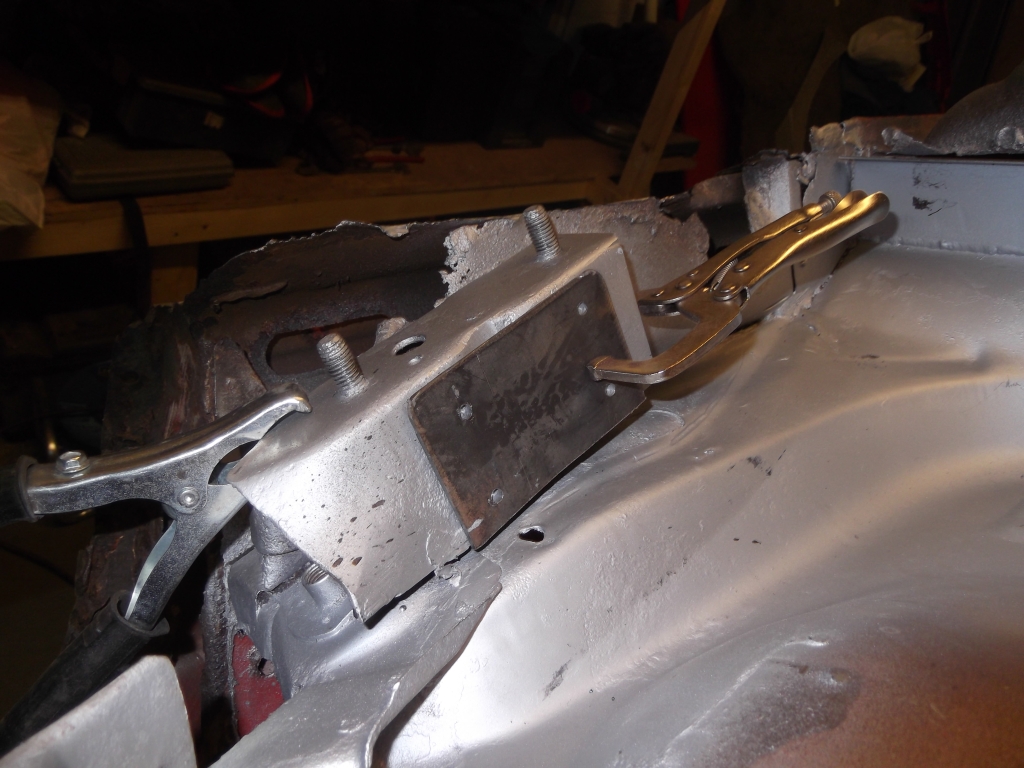
Now no gap
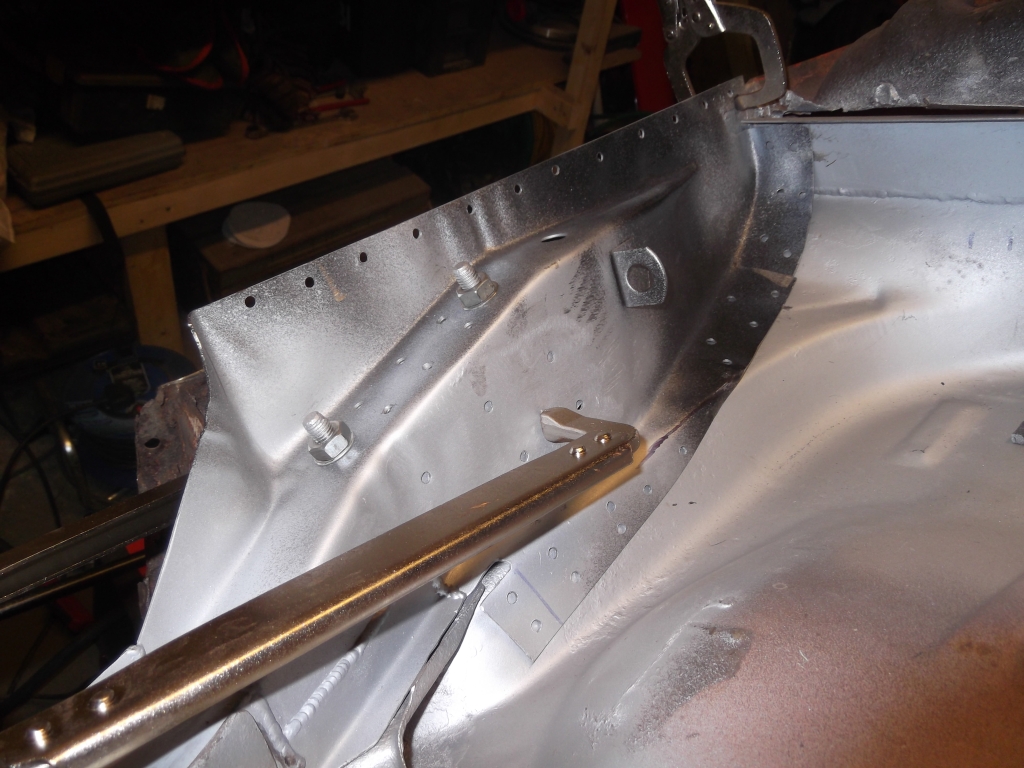
Plug welded in
I then seam welded and primed
Added the original exhaust hanger back on the N/S
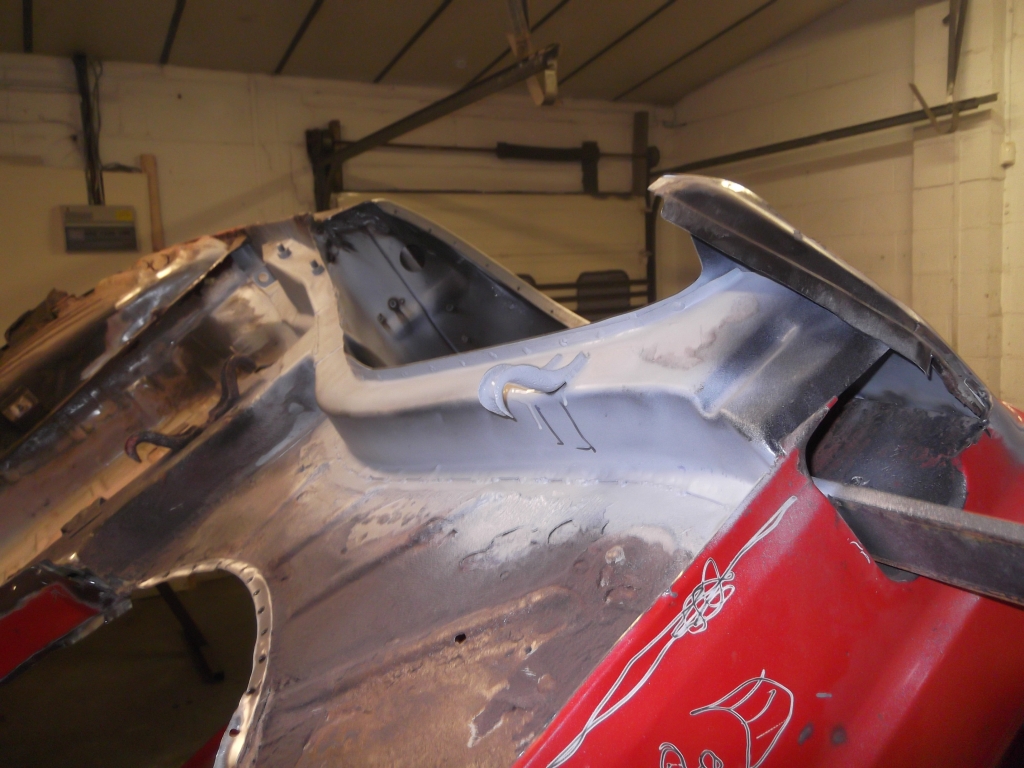
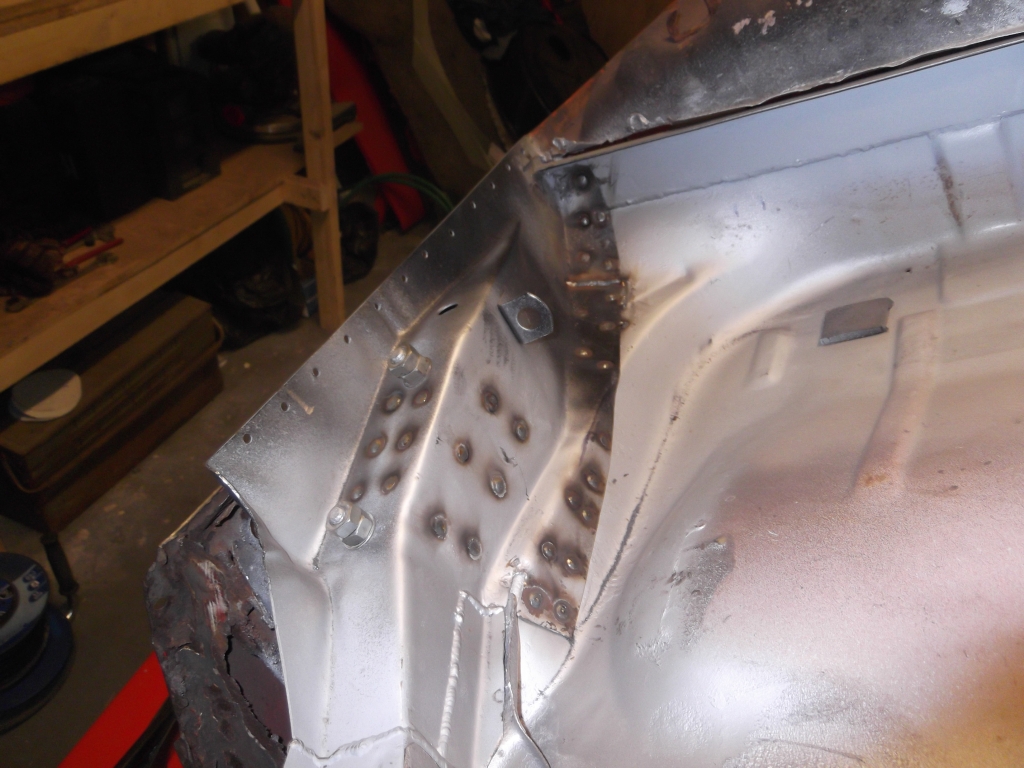
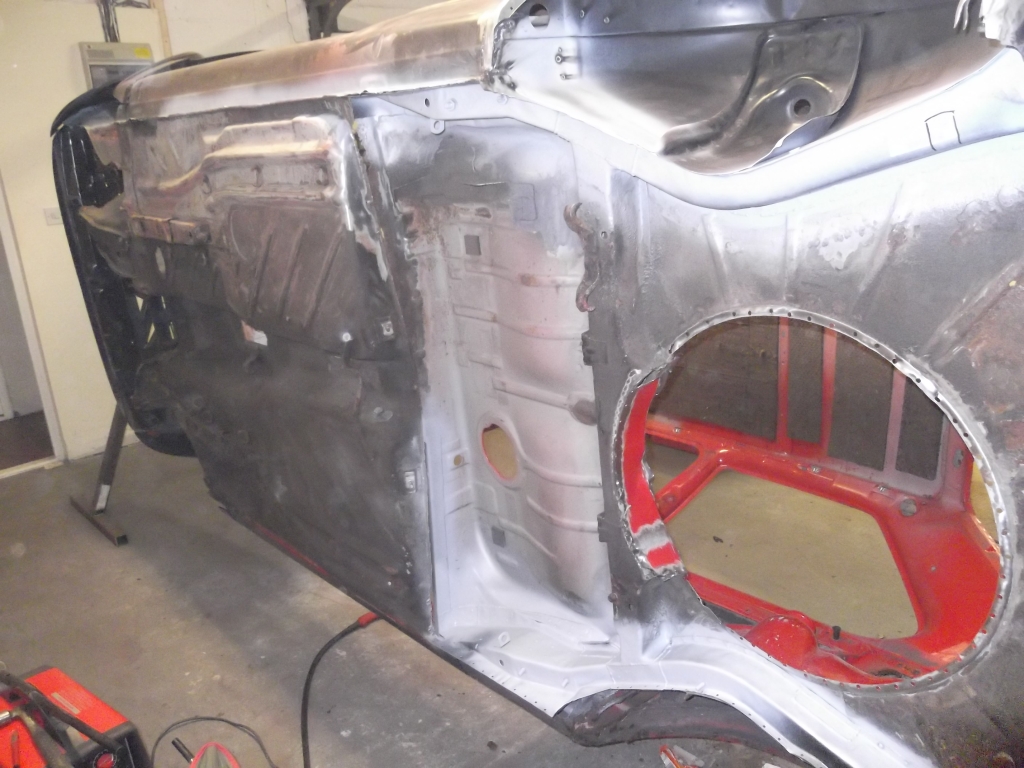
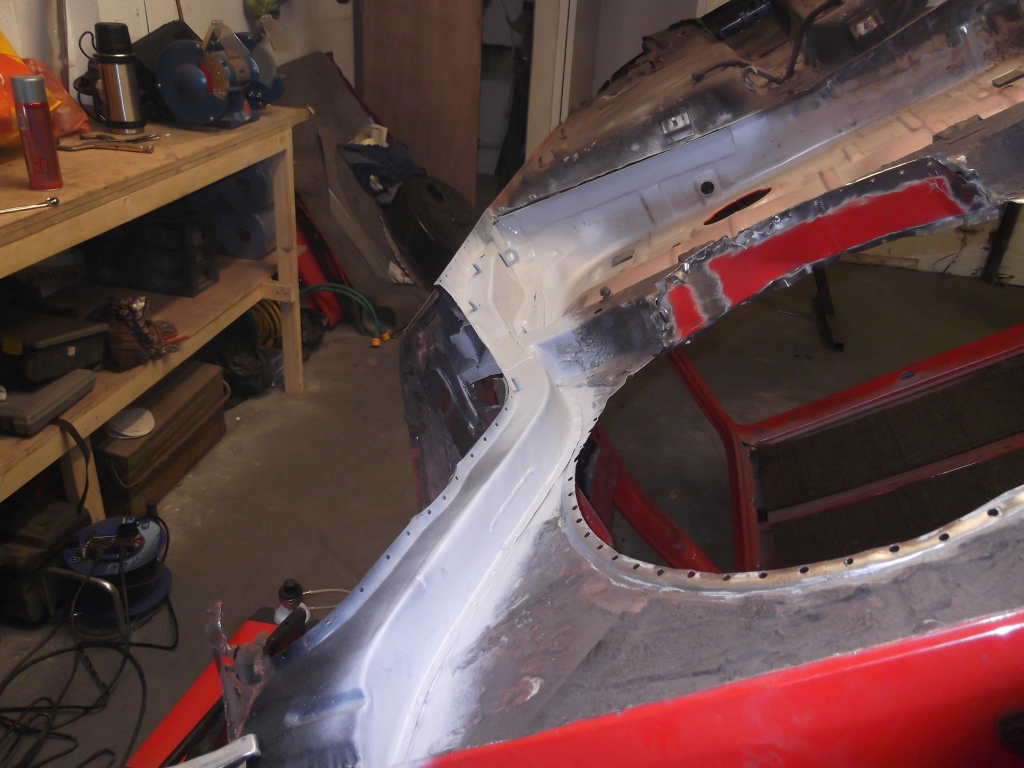
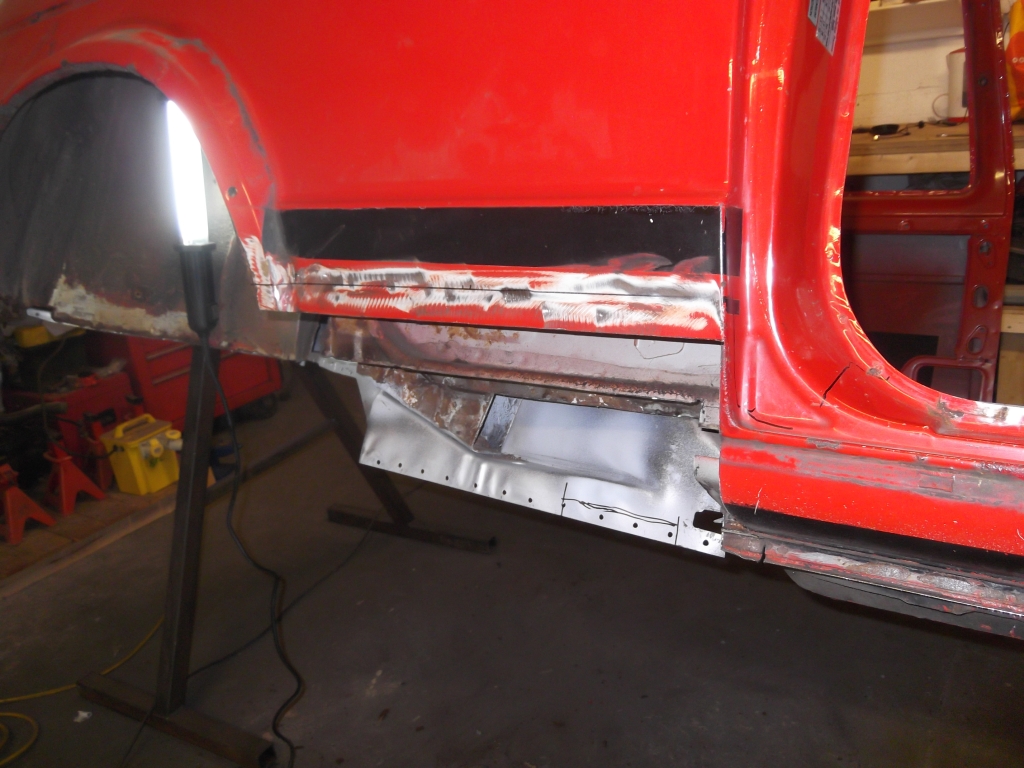
That's pretty much it as far as the rear chassis goes. Next I made a start on the O/S sill (inner/outer). Doesn't look to bad at the minute, in fact I'm not sure whether to remove the whole sill or not, or just try to patch it?
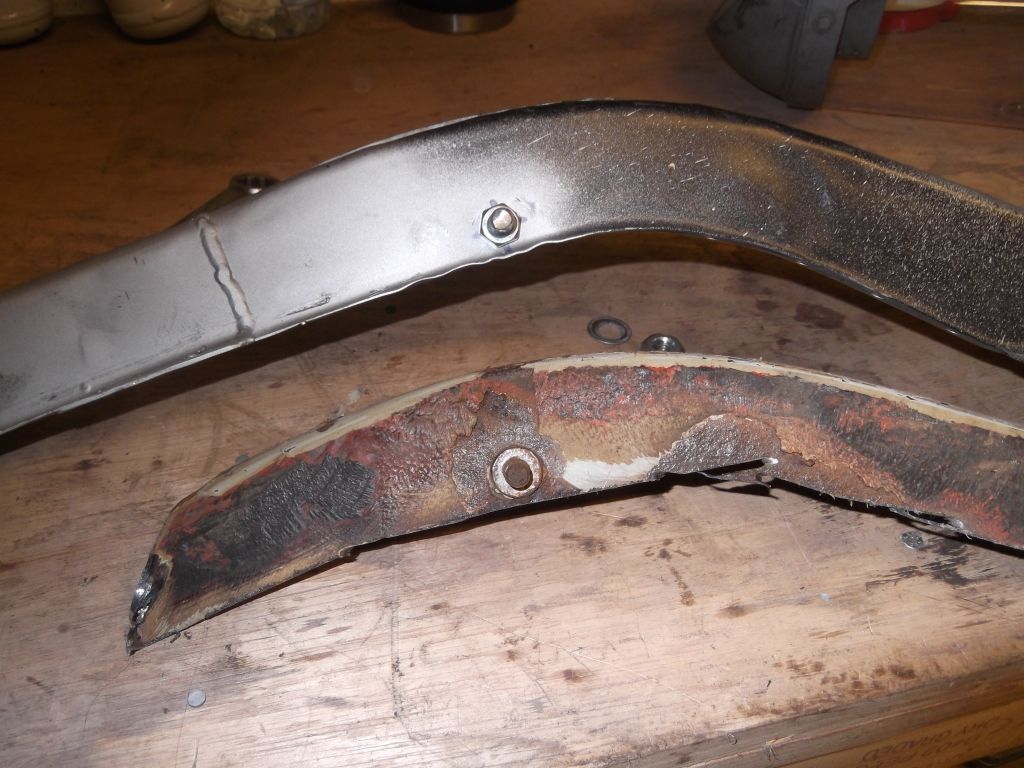
I removed the rear part of the sill where it meets the arch to see what's behind. The outer inner is not too bad but the inner inner has gone at the jacking point..
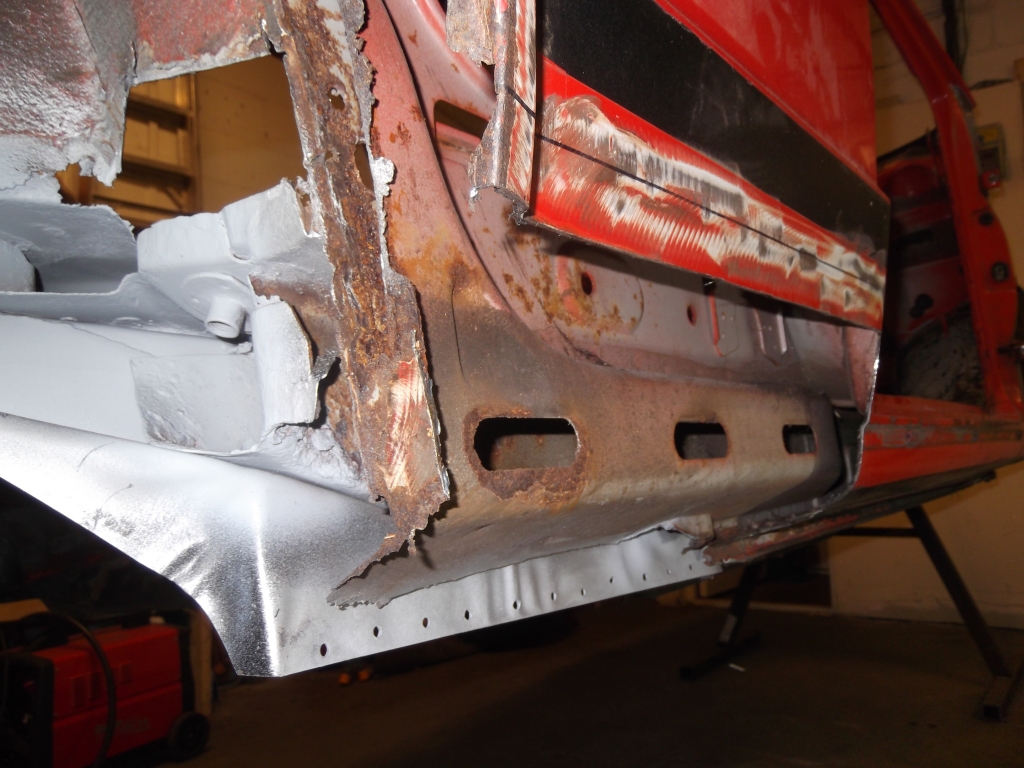
Jacking point rotten..

Cut the rot out, I can now get to the other side of the axle mount to treat and paint it

That's as far as I got so far, all thought's, comments and advice welcome as per usual.
Cheers, Andy.
Last edit: by Melteddrummer
Posted
Local Hero
I think that bolt is for the accumulator bracket but I could be wrong, it's been about 5 years since I took mine apart!!
Ref the inner sill, I reckon you can patch up what you got left now no problem. Mine didn't need as much work in that area as yours but it was easy enough to do
Looking forward to the next installment as always
Andy
LINCOLNSHIRE REGION - https://www.facebook.com/groups/467122313360002/
1983 MK1 Golf GTI Campaign Model - Under (looooong) resto!
1962 Rover P4 80
2002 BMW 745i
2008 BMW Z4 2.5Si
LINCOLNSHIRE REGION - https://www.facebook.com/groups/467122313360002/
1983 MK1 Golf GTI Campaign Model - Under (looooong) resto!
1962 Rover P4 80
2002 BMW 745i
2008 BMW Z4 2.5Si
Posted
Moderator
in fact there is another bracket that needs welding on, cheers for reminding me!!Andy.

Settled In
There are too many online users to list.